Objective: Find the KVA Key-Man
After the scenes you’ll be having a coffee with Ilona. You now have to find the KVA Key-Man. He’s a guy wearing a hoodie.
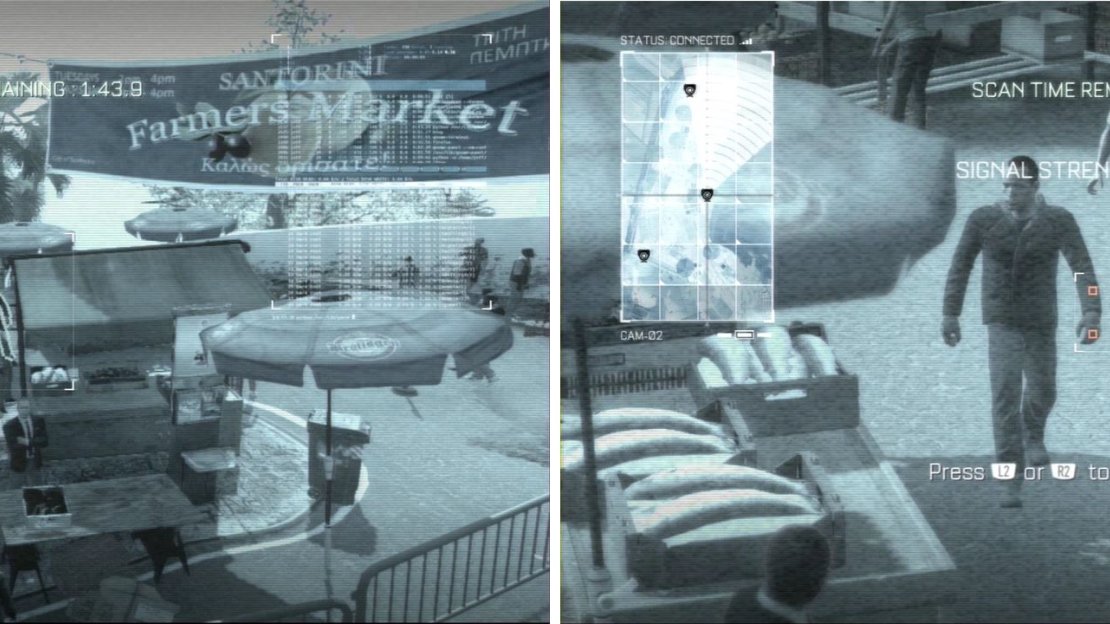
Make sure to change to the second camera to see your man.
As soon as you start zoom in to the guy on the left picture above, press R2 to change cameras and you’ll see your KVA man coming on the left side. Scan him and you’re good to go.
Objective: Infiltrate the Safehouse
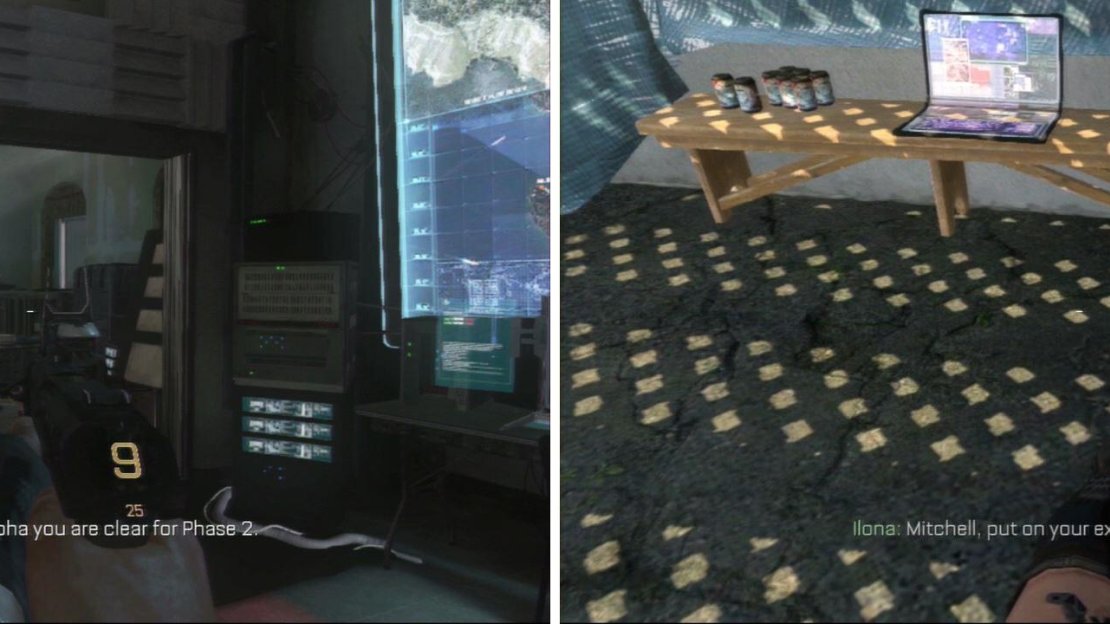
Start moving alongside Ilona and keep following the path once you split up. When you reach a fork in the path you’ll see Ilona in trouble. Knock out the enemy and proceed inside the house. After Ilona marks the enemy, take them out (easy headshots here) and proceed. Ilona kills the guard up here and you take care of the one in the other room. Go outside to find Enemy Intel #01 [16/45] .
You can’t miss this one. Grab it just before using your Wasp.
Now its time to take control of the Wasp.
When the enemy approaches the driver, shoot him and another team comes in. Shoot the two soldiers that are patrolling the terrace and Alpha comes in shooting the ones in the courtyard. Keep your eyes on Gideon, who’s going solo on the second floor because an enemy surprises him.
Move to the other side of the building and locate most of the enemies in here. Order the Mute Charge to activate and quickly dispose of all the enemies you can. Now shoot a car so you’re able to kill the three soldiers.
When told, shoot Hades… or rather the decoy and time to protect Alpha. Shoot the enemies using the turrets as fast as you can and then intercept the rest of the enemies. Keep killing until your Wasp is destroyed.
Objective: Intercept Hades’ Convoy
As you move downstairs KVAs ambush you. Be careful when exiting the Safehouse. Follow Ilona while killing the enemies and soon enough you’ll have enemies shooting while civilians are on the run. Kill them all and you’ll see that the path forks.
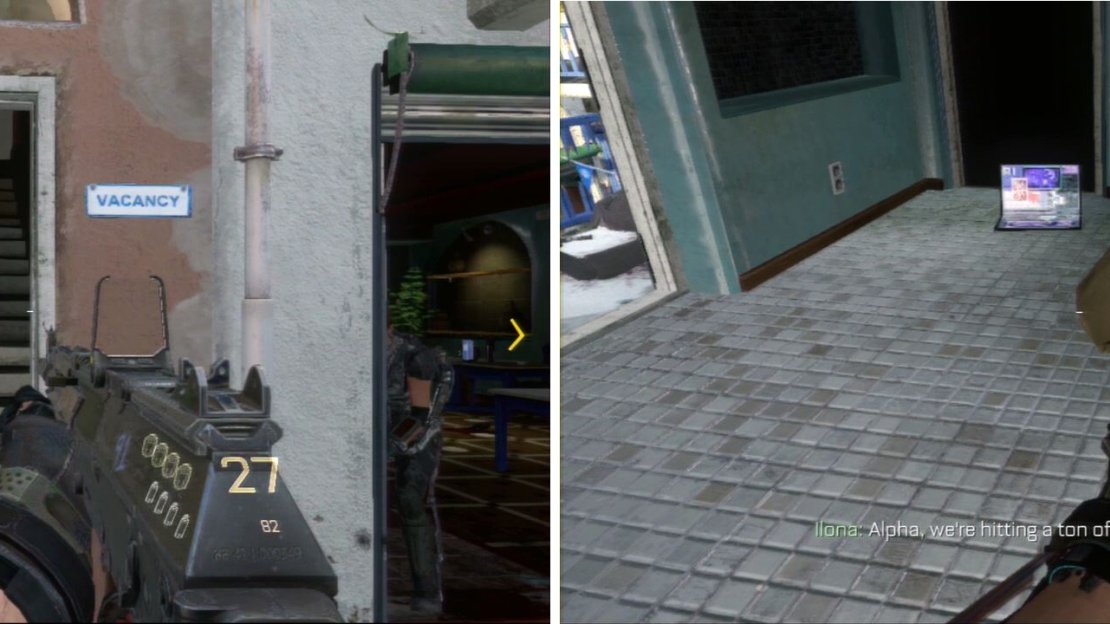
They take you to the same place but follow the left path while killing the TONS of enemies that come at you and then you’ll see on the left side a door open that says Vacancy . Go up the stairs and enter the room on the right to find an “ammo crate” and Enemy Intel #02 [17/45] .
This one is hard to find if you’re looking for Intel as there’s no reason to come to this room at all. Remember to stick to the left side of the area at all times.
Now its time to kill, big time. There will be a ton of enemies coming at you from the plaza in front so I recommend getting a ton of Grenade kills to level up your EXO. Be careful because as you move in there will be Rocket users so dodge them and dispose of them ASAP. There will be also a new enemy, which are armored soldiers. These take quite a few hits to kill but nothing too bad.
Once the sniper appears, make a run for it and jump across to the other building. As you see the sniper killing the people in the hallway, suppress him at the end of it, jump out and make a run for it once again. Jump down to be greeted by Drones. Use your EMP grenades to take care of them.
Once inside the restaurant you’ll find Torres in the back.
Objective: Eliminate the KVA Sniper
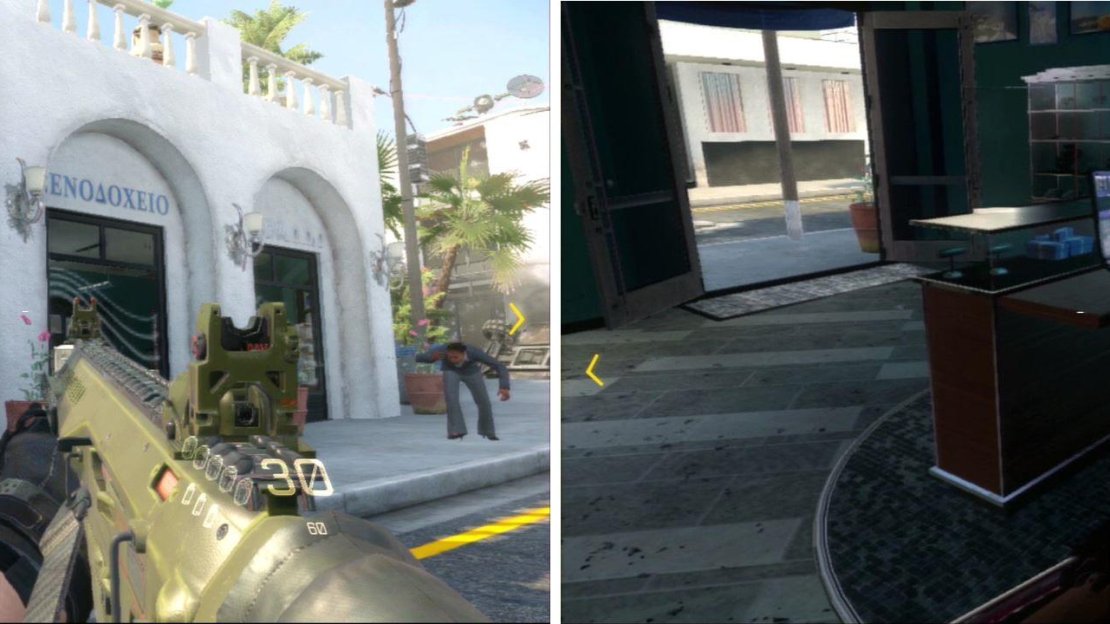
Run outside and enter the building right across the street to find Enemy Intel #03 [18/45] .
Be careful with the sniper! This is located behind the counter.
Run outside and go up to the second floor following the objective marker and you’ll find the Stinger. Shoot at the Sniper and its time to pursue Hades once again.
Objective: Intercept Hades’ Convoy
Plant the charges when prompted and destroy the first car. You now have to take care of all the enemies here. Push forward while moving through the buildings on the right and you’ll find an MDL. Use it to kill the enemies faster and easier. Now open the door to find Hades but you’re ambushed by a truck and a little event happens. Make sure to press those buttons.



No Comments