
Your leash is long in Chapter 2, as you’re given freedom to explore most of the Koronus Expanse. At least, most of the systems that have remotely anything to do with the von Valancius dynasty. There are at least three distinct story locations for you to seek out and land at, including Footfall, Janus, Kiava Gamma and Dargonus, but in addition to these main quest locations there are numerous planets housing optional areas you can explore, sometimes with interesting loot you wouldn’t find just following the main questline. One such place can be found on an Ice World in the Pillars of Viridice System, where you’ll find an Inquisition Wreck upon scanning the aforementioned planet. This page will provide a walkthrough for the Inquisition Wreck on the Ice World in the Pillars of Viridice System in Rogue Trader, including tips on defeating the Occluding Orb and how to find the Inferno Pistol.
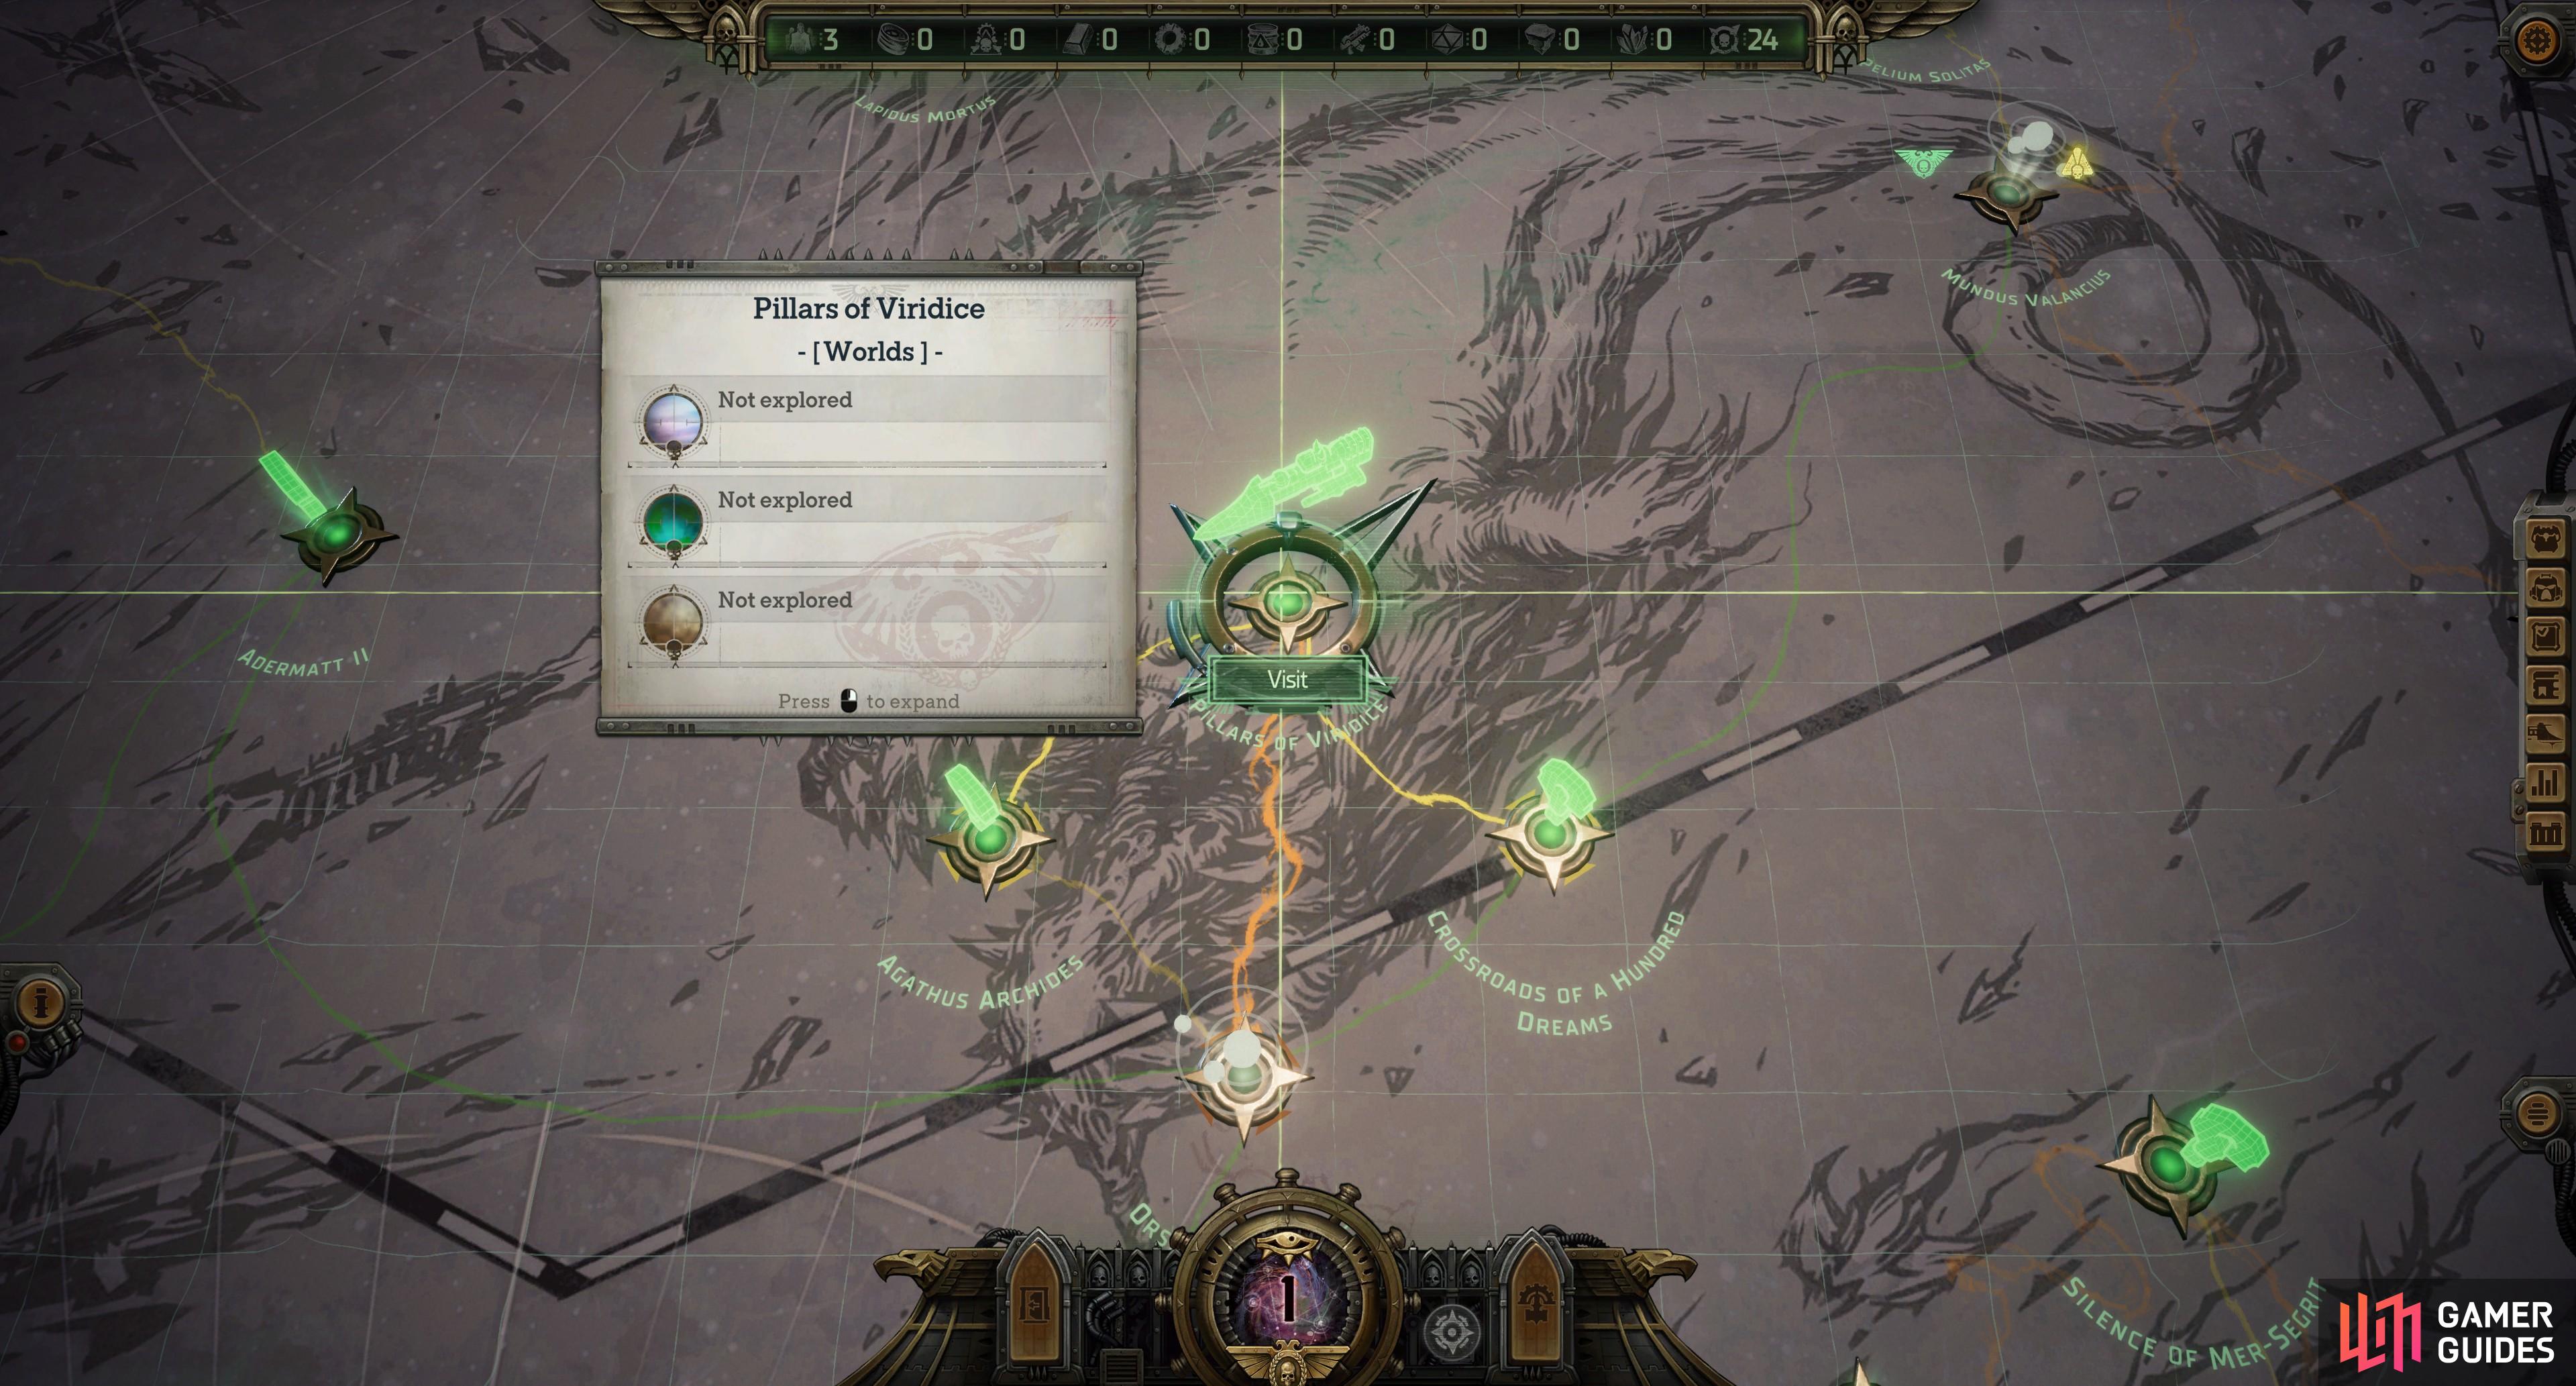
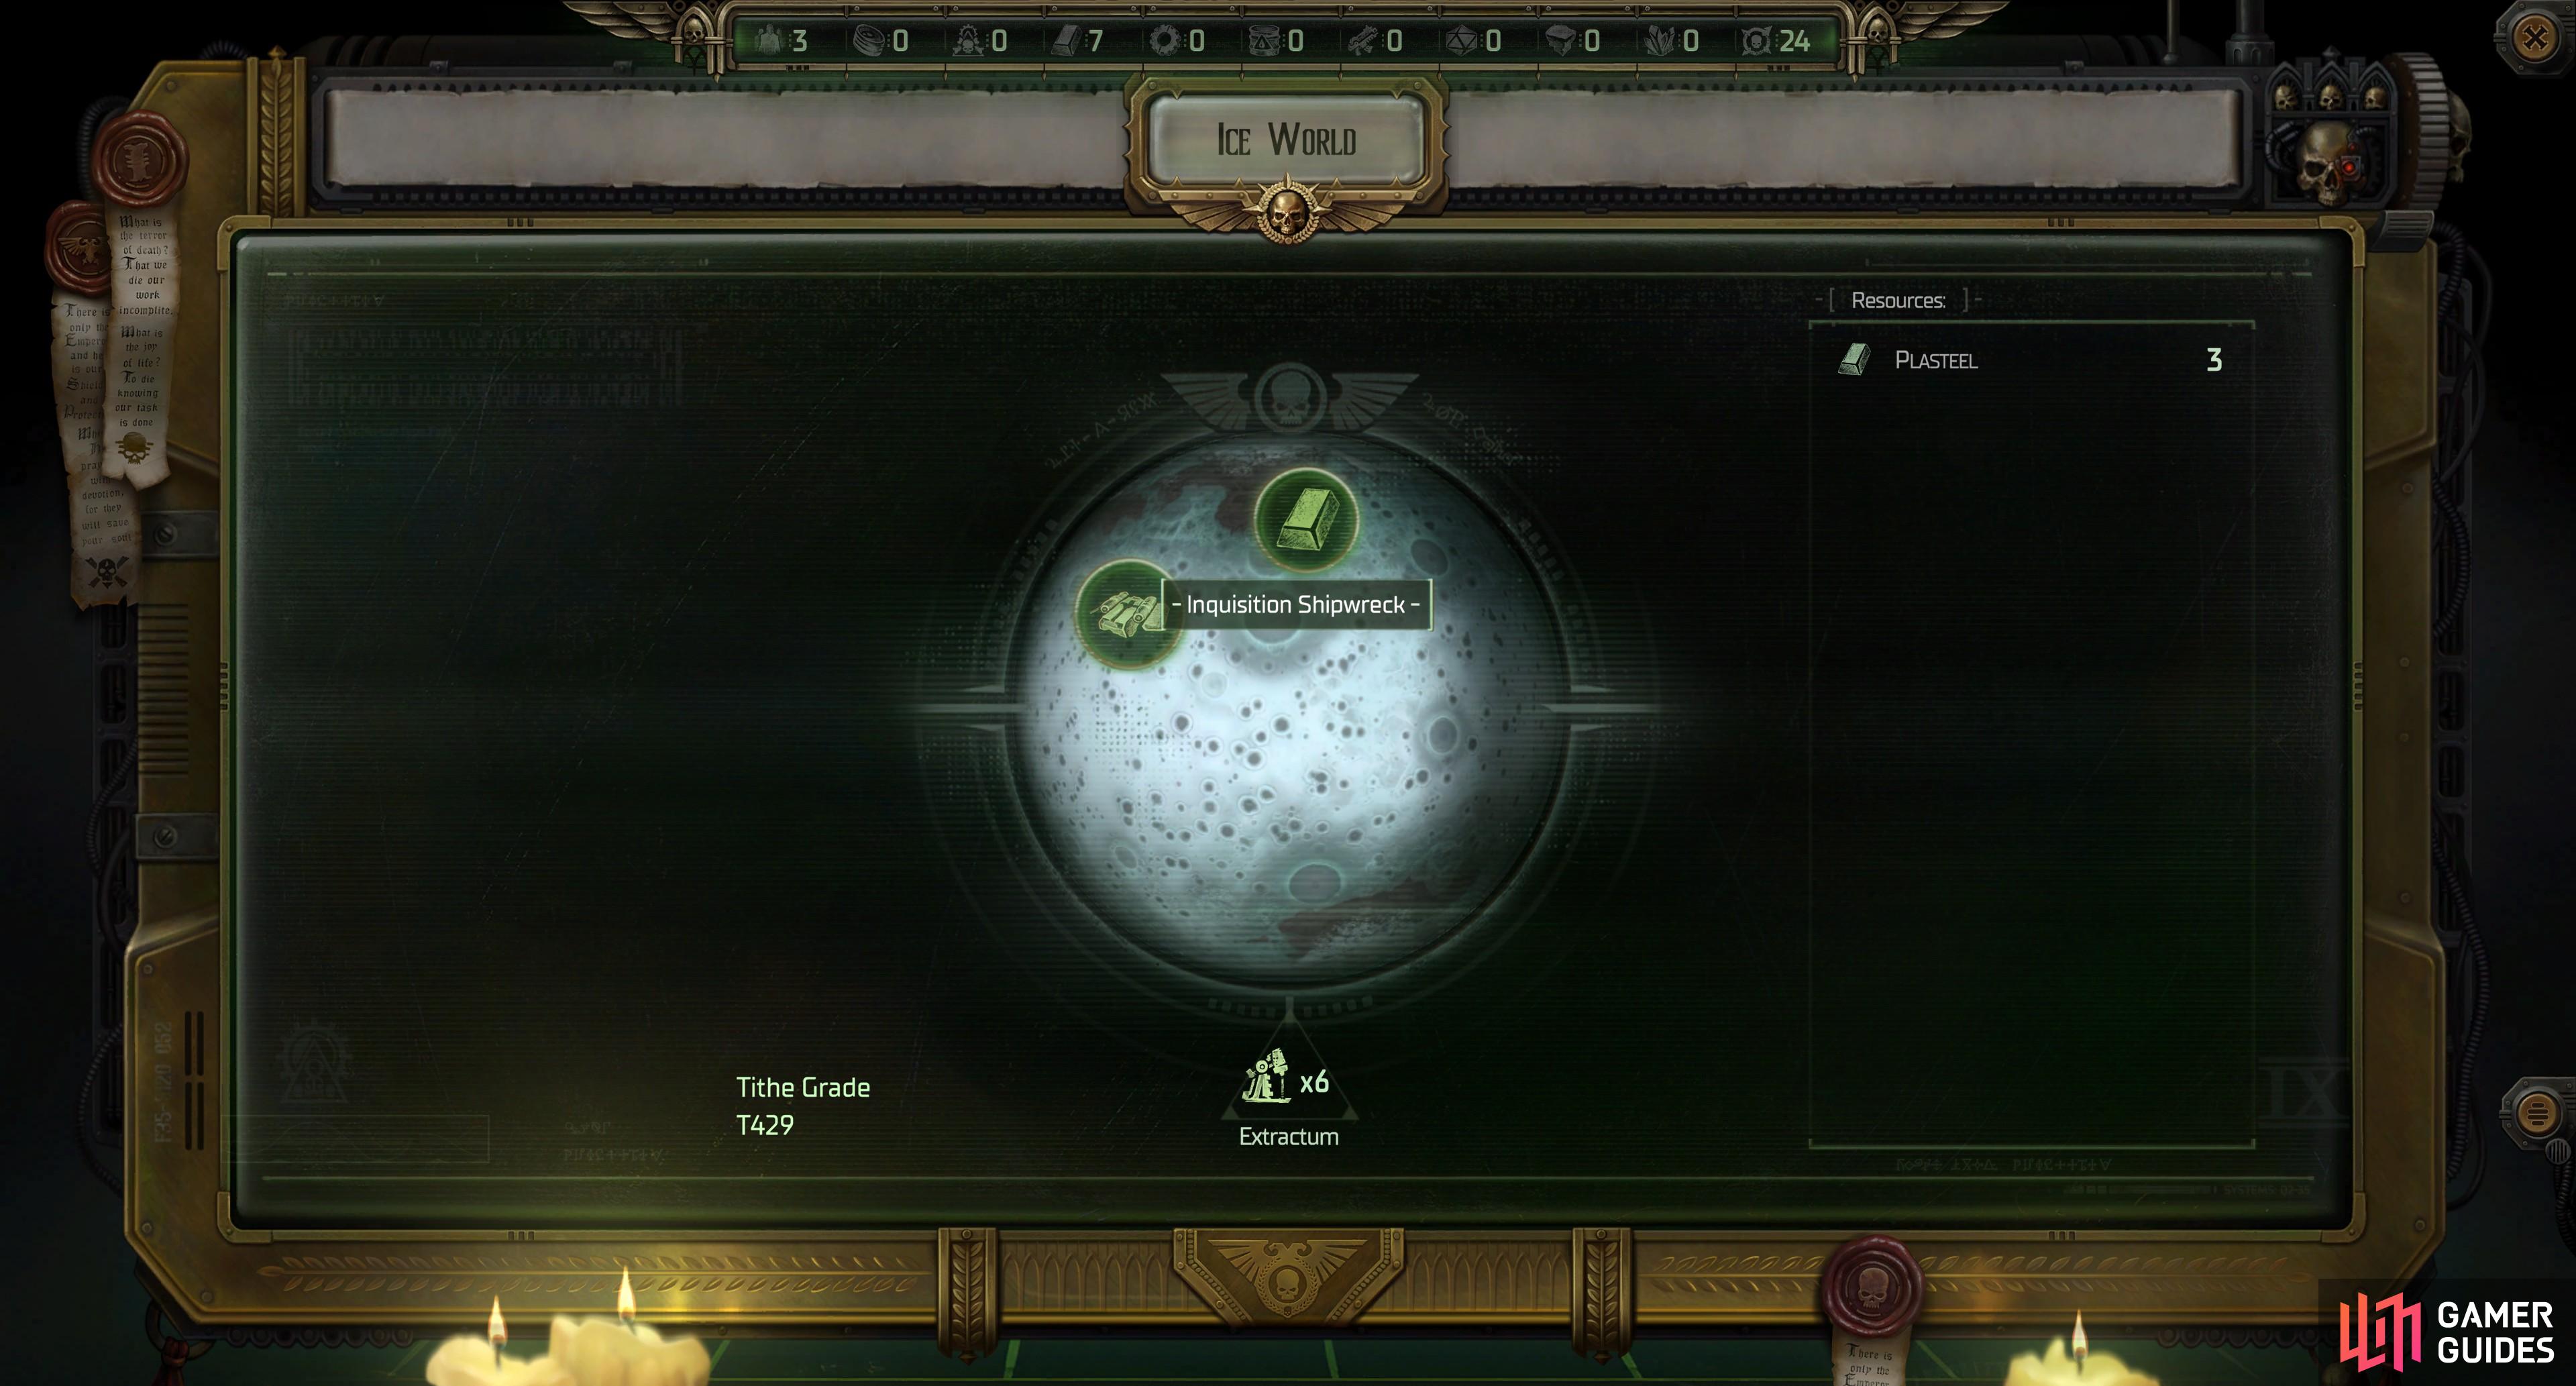
(1 of 2) Travel to the Pillars of Viridice system,
Travel to the Pillars of Viridice system, (left), and scan an ice world to locate an Inquisition Shipwreck. (right)
Where to Find the Sentry’s Key
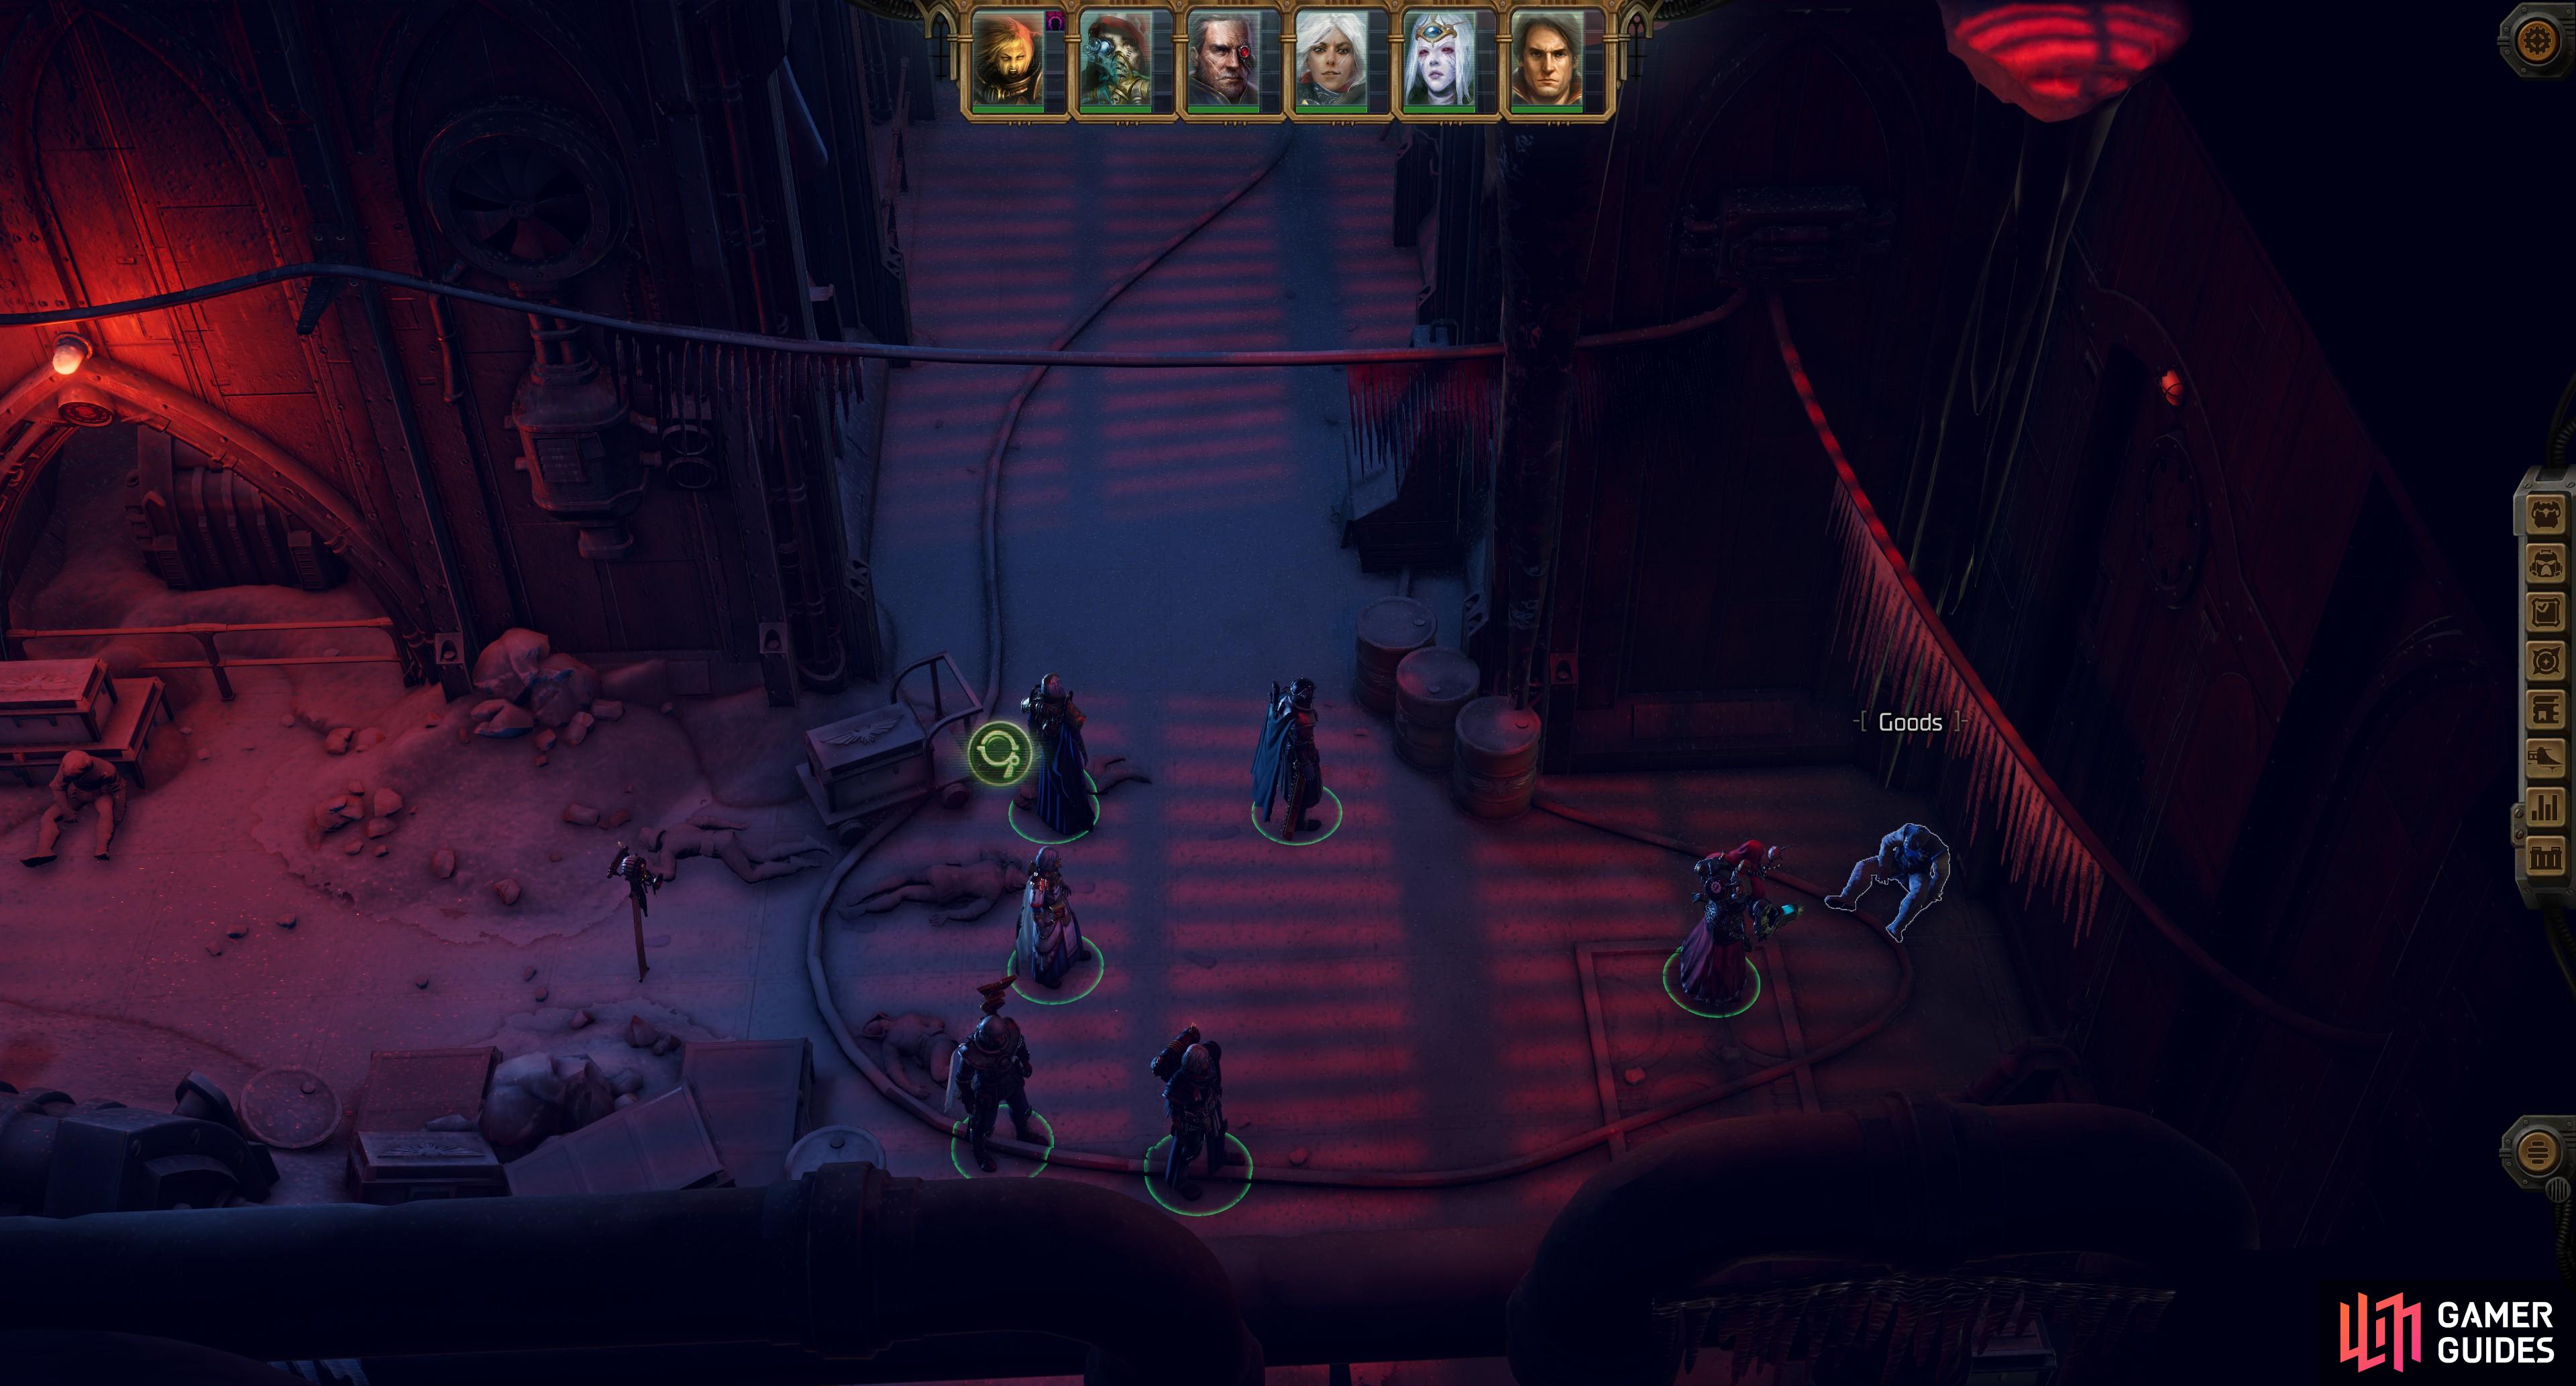
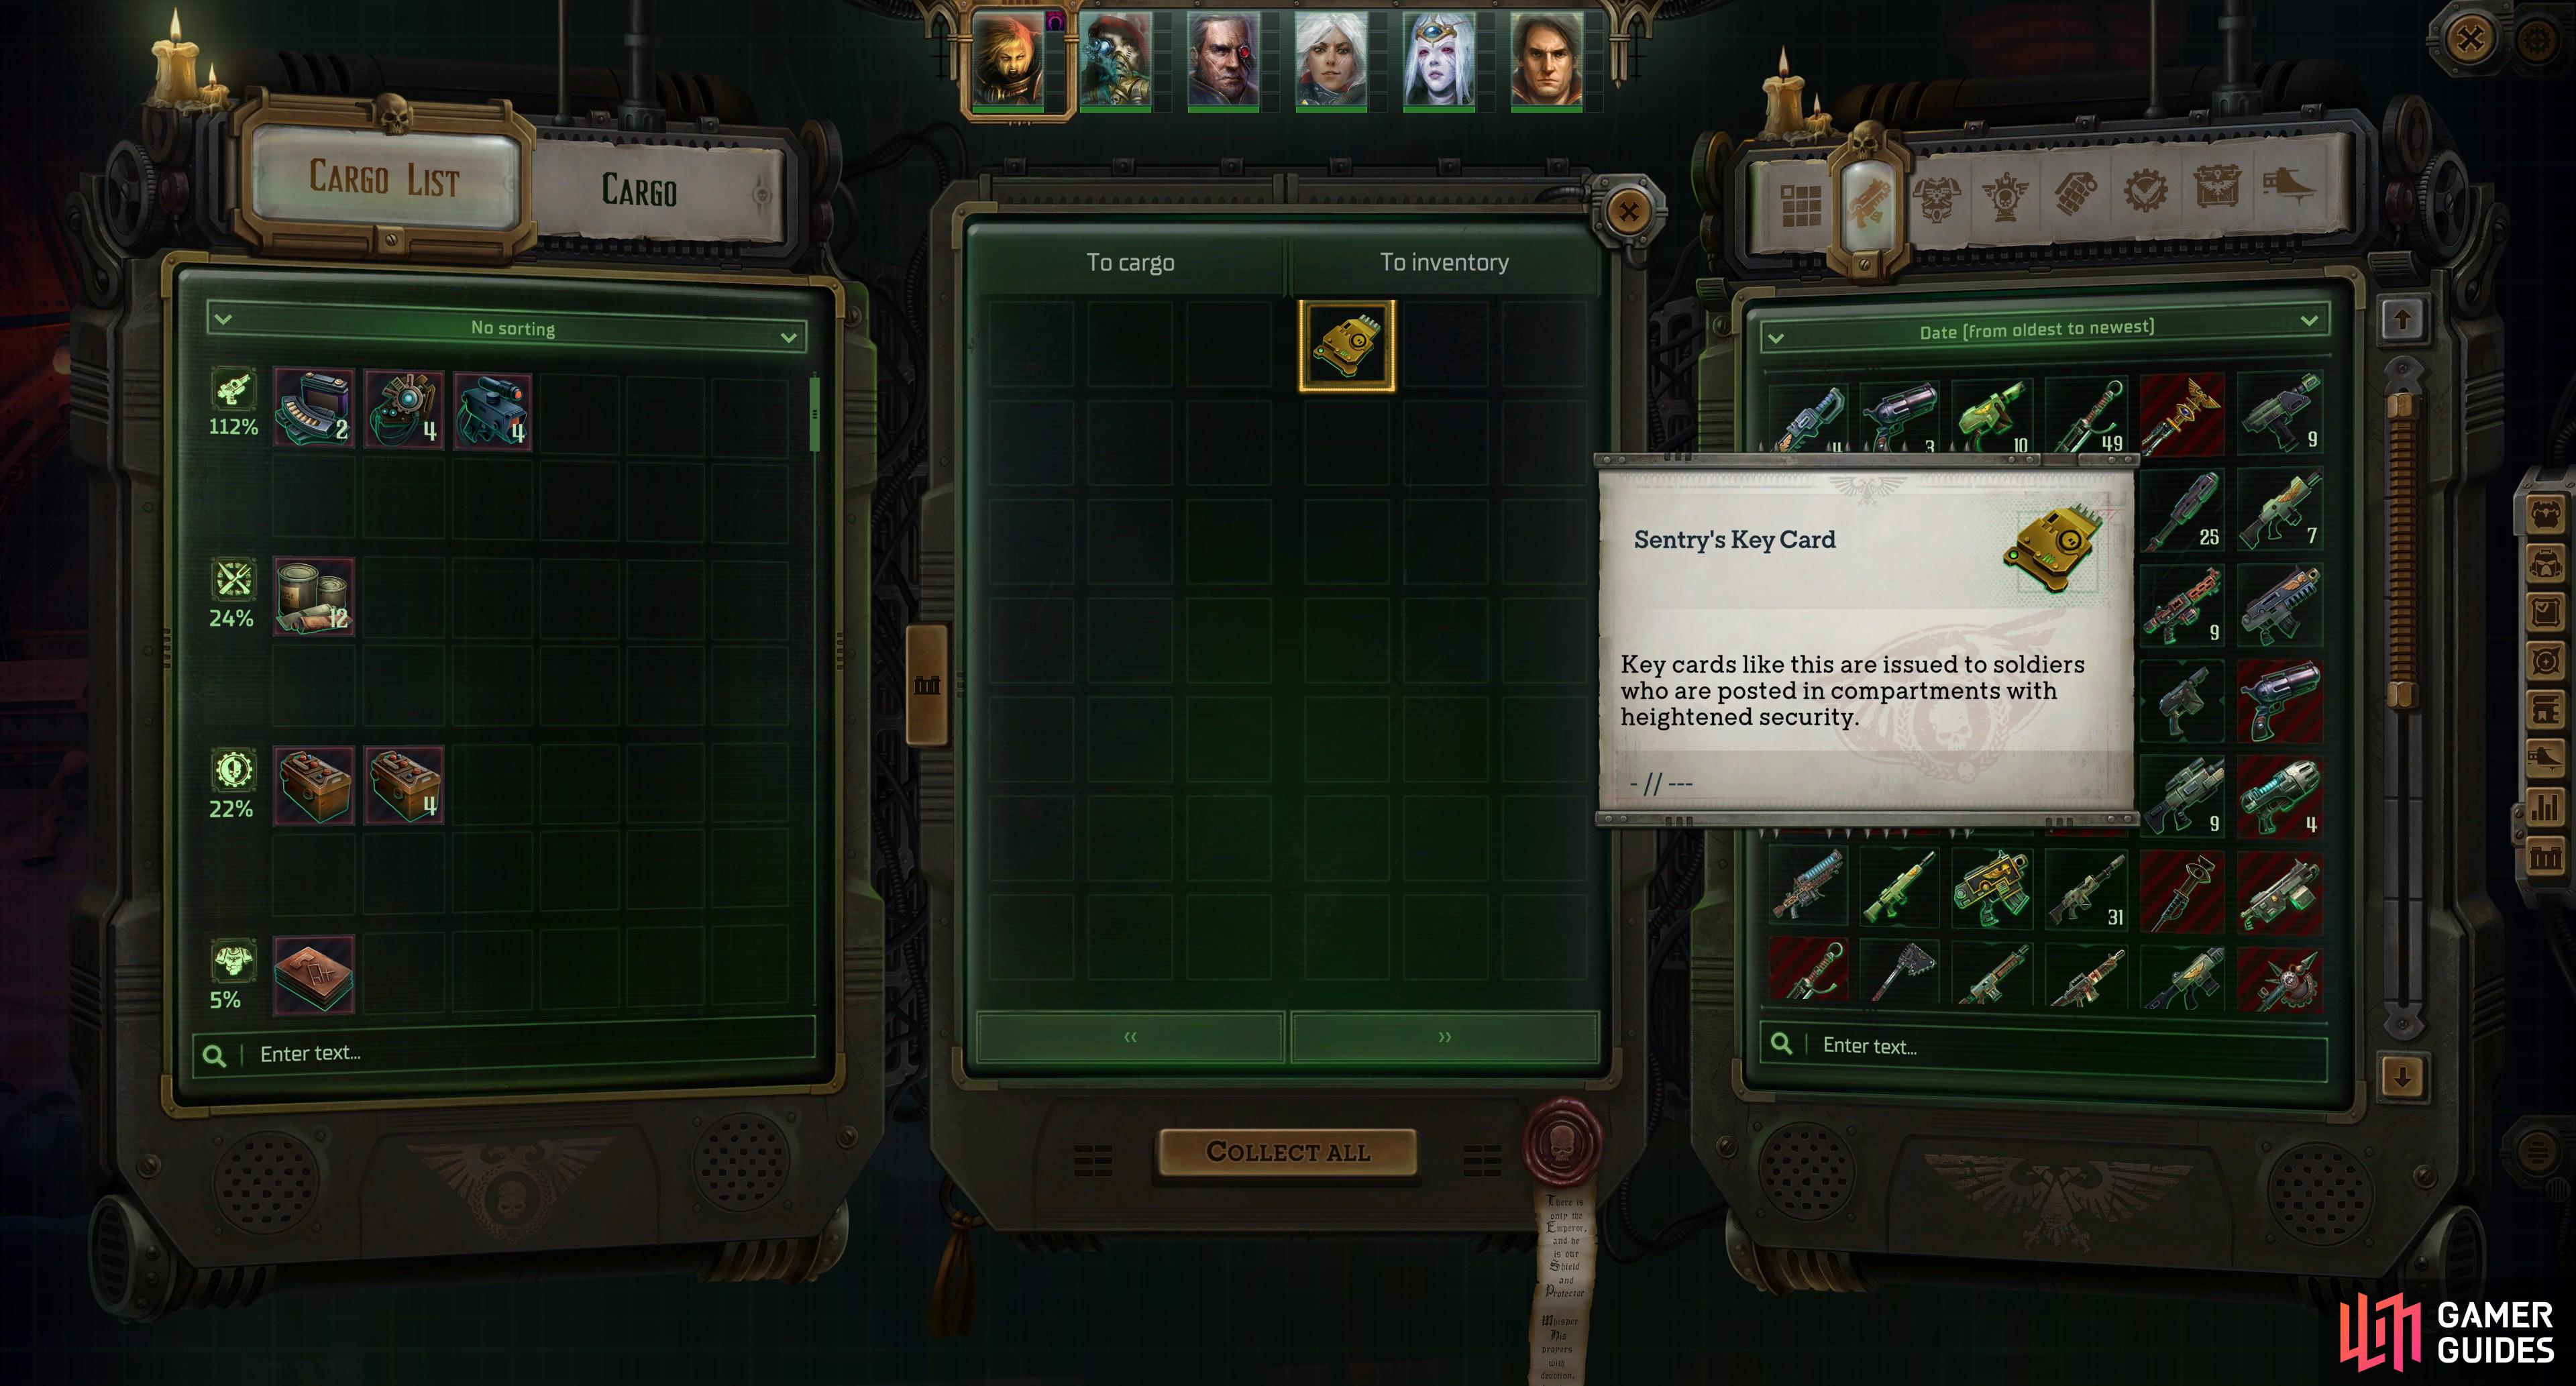
Your shuttle will land on the northeastern corner of the map, leaving you with a clear route ahead - go south into the crashed ship, turn right (west) down a hallway and loot some corpses and crates when you reach them to score some cargo. You can also attempt a [Medicae] check on the corpses if you want some details regarding their demise. Be sure to loot a corpse to the west to score a Sentry’s Key Card, then head north to reach a more open area of the ship. Turn left (east) and disarm a trap, then press forward to spot a terminal which you can interact with [Logic] to get some fluff about the ship’s reactor. Pass an [Athletics] check to cross a buckled bridge, then head east to trigger a scene of atrocities past (and present, knowing the Imperium). You can also try to pass a difficult [Lore (Warp)] check to get some useless info, but it’s honestly not worth the time.
(1 of 2) Search a corpse on the ground,
Search a corpse on the ground, (left), To find the Sentry’s Key Card. (right)
Go through the hole in the wall to reach the prison area where the previous vision took place. The fetid growths to the south should give Warhammer 40,000 veterans some warning about what lies ahead. Head west into the putrescence of another prison room, then exit to the north where you’ll get another difficult, meaningless [Lore (Warp)] check. Now that you’re back in the large frozen room (albeit on the other side of the gap) continue west and loot a corpse for some junk weapons, then continue around to the west to find some crates you can search for some cargo.
![Pass a [Demolition] check to blast open a wall,](/assets/media/17/328/rogue_trader_inquisition_shipwreck_demolition_check-aadeb4b7.jpg)

(1 of 2) Pass a [Demolition] check to blast open a wall,
Pass a [Demolition] check to blast open a wall, (left), and find a secret room, where you can find a locker full of medical supplies. (right)
Head west through a hole in the wall to find a wall you can blow up [Demolition] to reveal a hidden room, inside of which is a locker. Pass a [Medicae] check to score more loot, including 2x Medikits, a dose of Onslaught, a dose of ![]() Stimm and some cargo. Leave the secret room and continue south, then west through the increasingly dense yuck covering the ship and you’ll trigger a second flashback. Even newbies to Warhammer 40,000 should have a good idea about what happened to this ship, even if they can’t quite put a name to the powers at play…
Stimm and some cargo. Leave the secret room and continue south, then west through the increasingly dense yuck covering the ship and you’ll trigger a second flashback. Even newbies to Warhammer 40,000 should have a good idea about what happened to this ship, even if they can’t quite put a name to the powers at play…
Continue west, looting some more remains to find junk gear and wasting time on (or wisely ignoring) another [Lore (Warp)] check. Loot the crates strewn throughout the large room you find yourself in - it’s mostly cargo and junk gear - and be wary of a flamethrower trap [Demolition]. As you head through the center of the room, Heinrix will comment on the ship, provided he’s in your party. Continue looting your way north and pass a [Lore (Imperium)] check when searching the northern end of the room to discover a Voidsman’s Diary, which gives a glimpse into daily life on the black ship and hints at the source of the contagion that now flourishes here.


(1 of 3) As you explore the shipwreck, you’ll see various visions exposing the events that led up to this ship’s fate.
Poxwalkers and Corrupted Turrets
A doorway beckons to the north, while another closed door sits to the left. The latter contains some chests, but the one with noteworthy loot is locked, so ignore it for now and instead go through the doorway to the north to find several rows of corpses lying in the muck. As you may guess, they won’t remain prone for long, and they’ll be joined by enemies behind you, as well. The first fight in this area sets the tone for what you can expect going forward - a horde of Poxwalker Guards and Poxwalker Prisoners threaten you, along with two Corrupted Turrets. The latter will keep you honest and in cover, and have enough Deflection and Armor to encourage you to seek out softer targets. The Poxwalkers make fine candidates, and while the Poxwalker Guards have a fair number of Wounds, they’ve little in the way of Armor or Dodge. While the numbers may be discouraging, AoEs will thin the herd really quickly, as will the aforementioned turrets, who will cut through lines of Poxwalkers in an attempt to deal damage to you.


(1 of 3) In the Occluding Sphere’s chamber you’re better off forming a defensive line, luring Poxwalkers and Plaguebearers to your melee combatants.
How to Destroy the Occluding Sphere in Rogue Trader
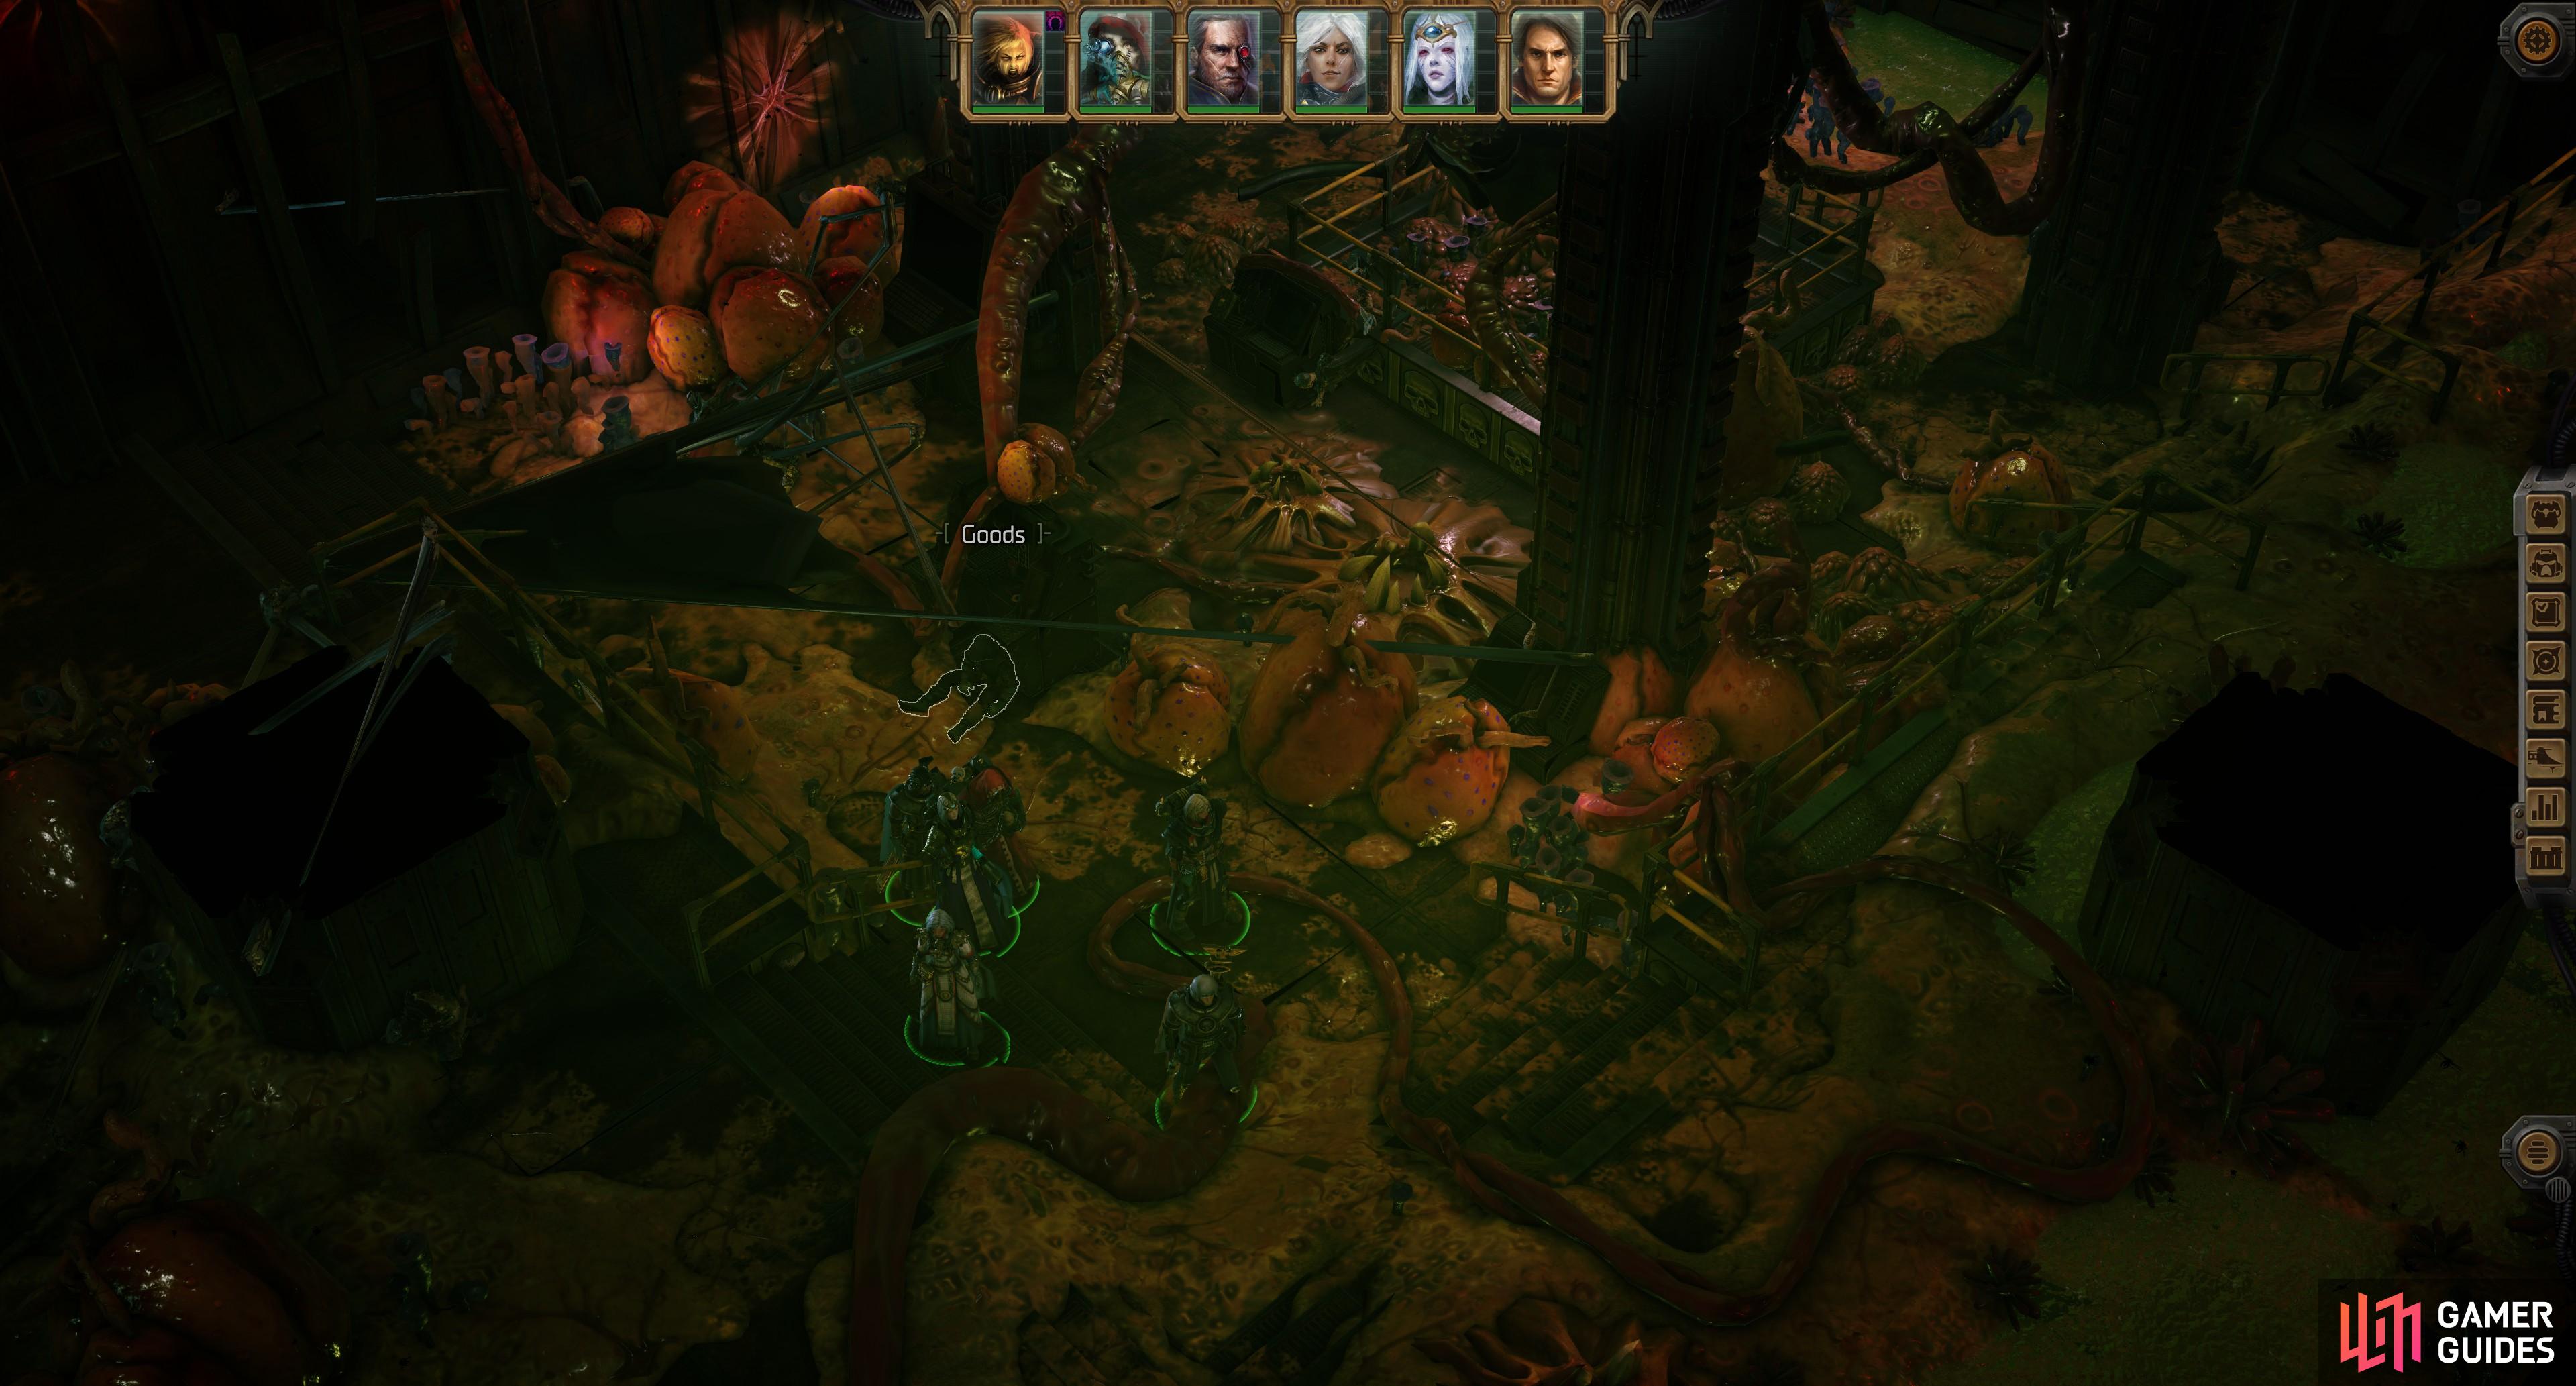
Dispatch the forces of chaos and continue north past the turrets, spend time save-scumming to read another useless [Lore (Warp)] check. Exit out into the snow and take a sharp right (east) and follow the linear path ahead until you end up back in the ship, where another encounter awaits you. This time you’ll be facing off against another horde of Poxwalkers led by the odd Plaguebearer, while some accursed device - an Occluding Sphere - hangs over the center of the battlefield.
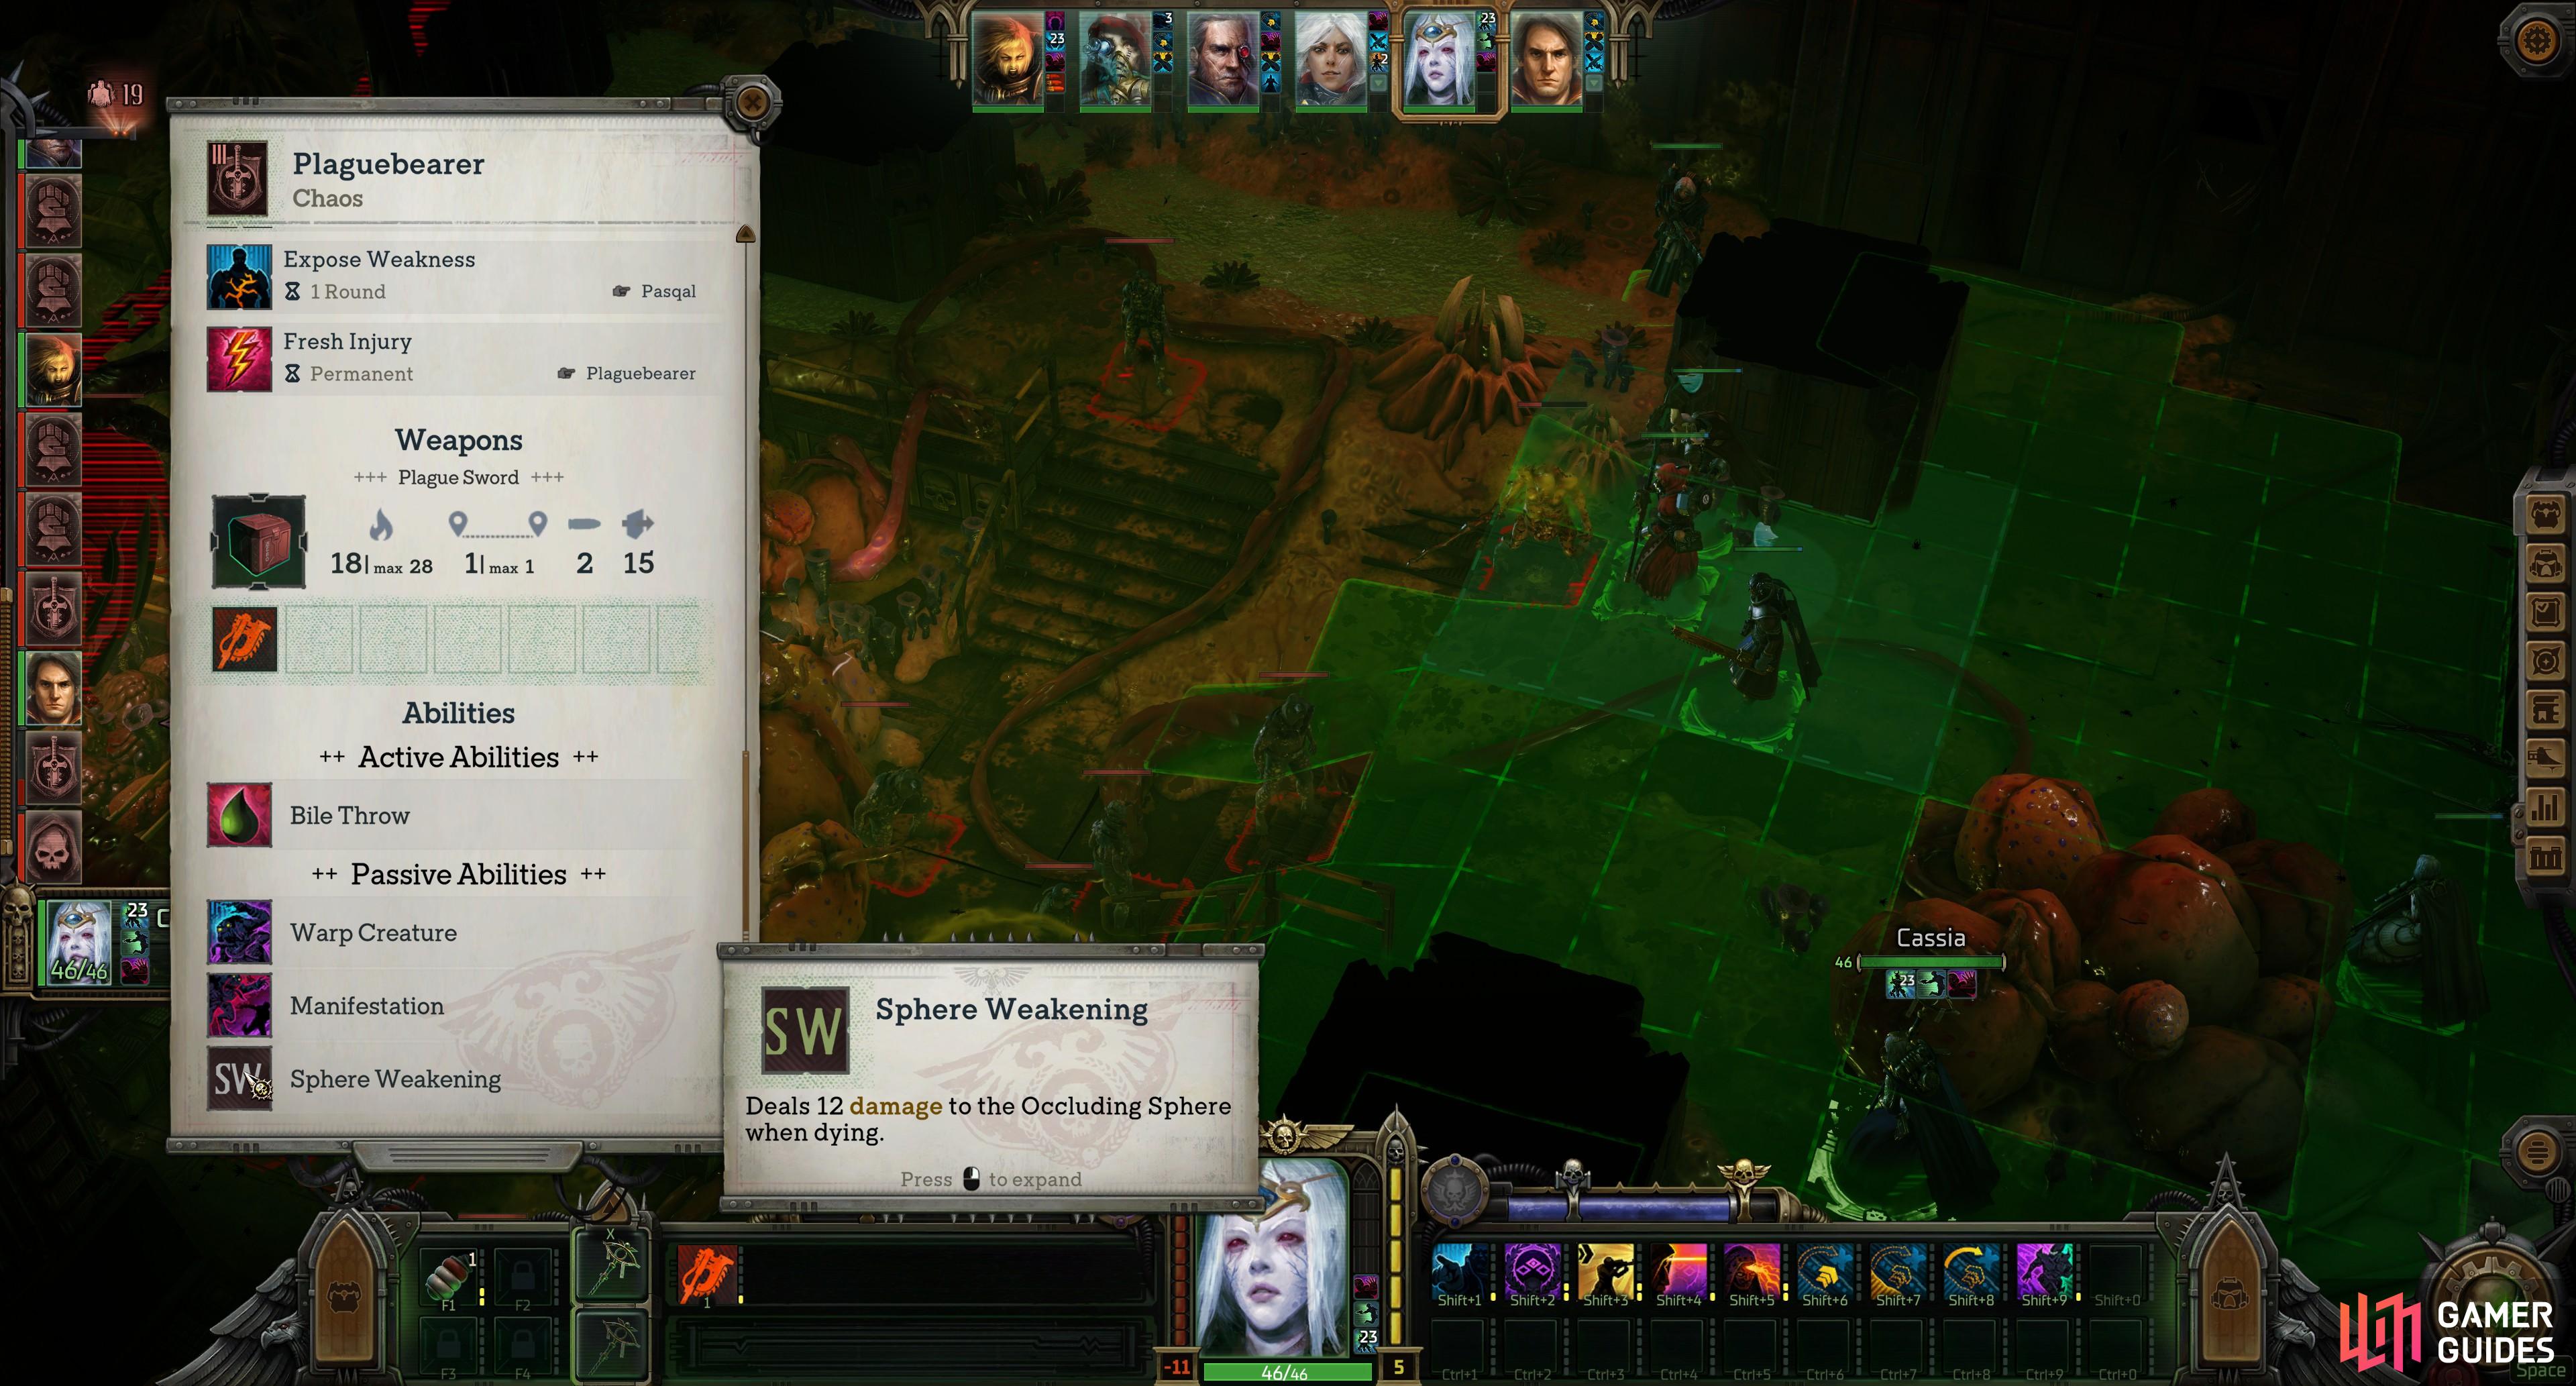
This Occluding Sphere is actually the key to the fight, as it will continuously buff its allies and spawn more Poxwalkers and Plaguebearers as long as it’s intact. The smart money, then, is on attacking the Occluding Sphere directly… except that it is impervious to damage. Instead, as you dispose of these festering abominations the Occluding Sphere will lose durability. Each enemy has as “Sphere Weakening” stat which indicates how many Wounds the Occluding Sphere will sustain when they’re defeated, with Plaguebearers leading the way at 12 Wounds per kill, Poxwalker Guards being worth 4 and Poxwalker Prisoners being worth a mere 2.
All in all, it’s an obtuse way of forcing you to fulfill the standard battle objective of “kill all the things” while ensuring the enemy numbers remain high throughout. You’re familiar with Poxwalkers, and they’re not much of a threat - they’re just there to clog things up and encourage you to toss out AoEs, which remain as viable as ever. Plaguebearers are easily the greater threat, as they have a great deal of Wounds, a moderate amount of Armor and Dodge, and worse, they regenerate a significant number of their lost Wounds every time the Occluding Sphere gets a turn. If you don’t focus all your fire on one in a single round you may not have the damage output to finish it off before it heals, making them annoying foes. Worse, they spit toxin at characters (dealing minor damage and a small amount of DoT), hit fairly hard in melee and explode into a toxic cloud when defeated.

(1 of 3) After you defeat the Occluding Sphere, search a corpse,
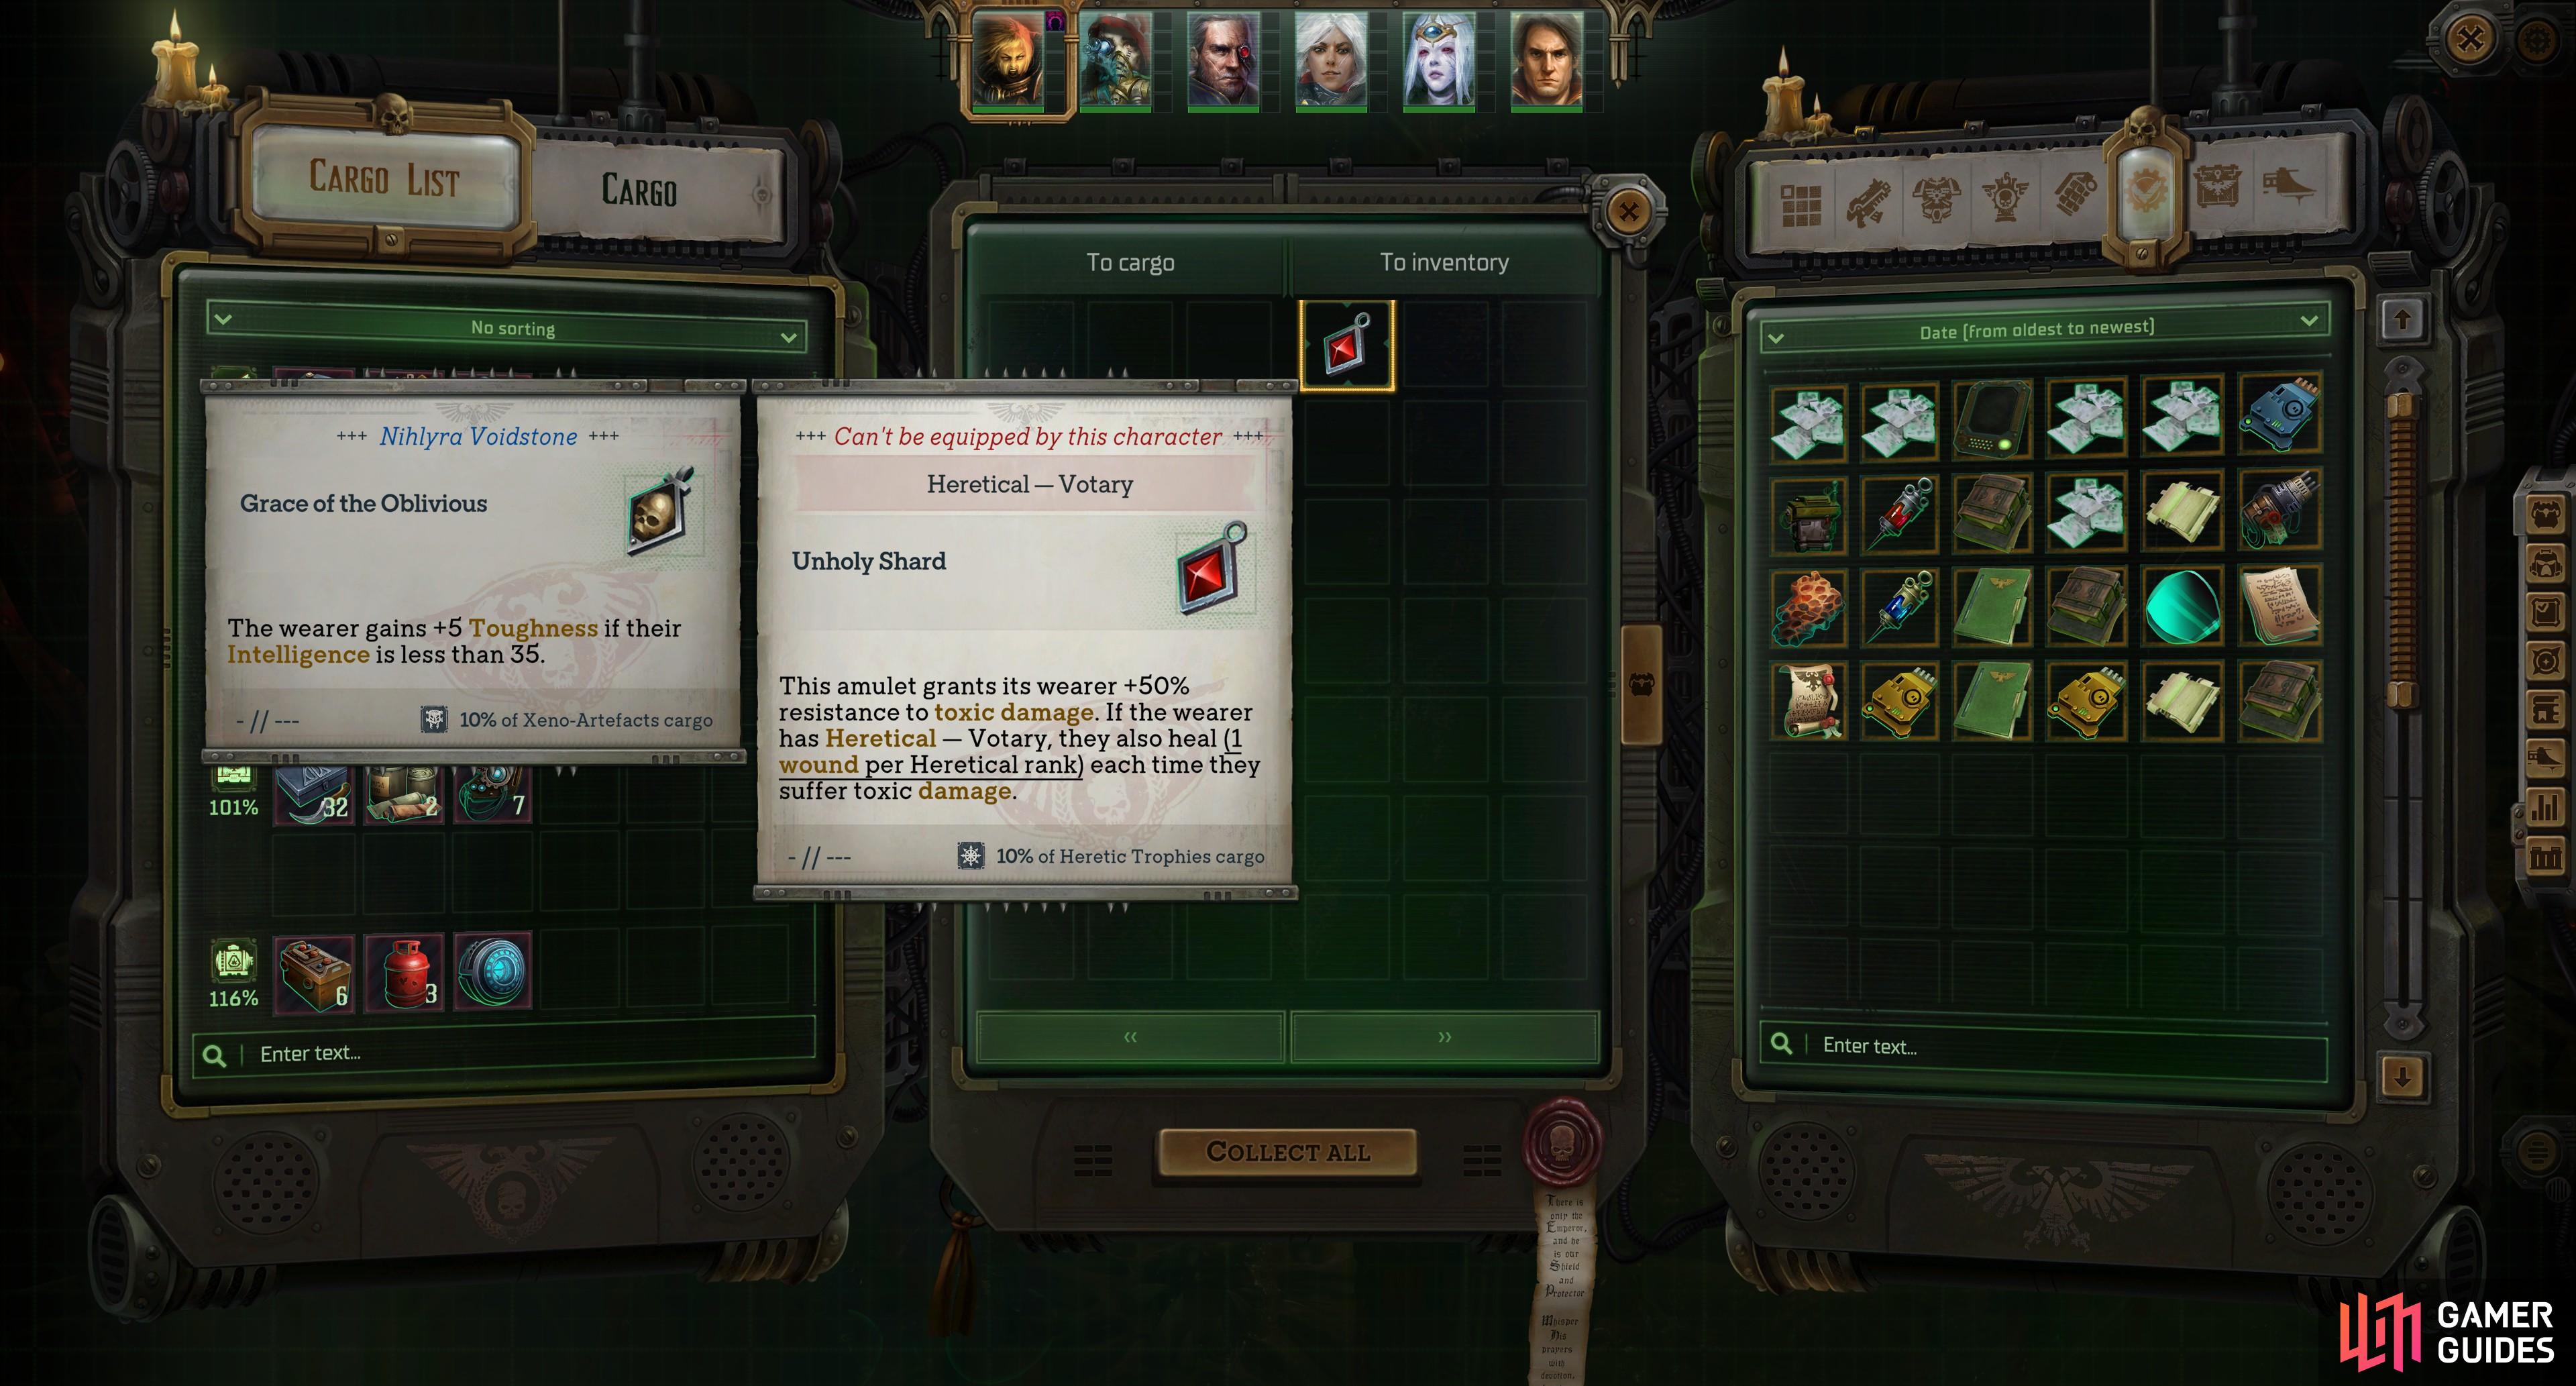
This is definitely a fight where you’re going to want to build up a strongpoint and let enemies come to you. They don’t have much in the way of ranged attack and if you can funnel them through kill zones, keeping yourself safe and mulching Nurgle’s minions at the same time. Survive and kill until the Occluding Sphere runs out of Wounds and the fight will promptly end, without much fanfare. Loot a corpse in the room near the Occluding Sphere to find the Ship’s Log and the Master of Arms Seal. You can also find the Guide for Voidsman nearby, if you want to indulge in the extra lore. Finally, loot the Occluding Orb itself and succeed at a [Lore (Warp)] check to score an ![]() Unholy Shard.
Unholy Shard.


(1 of 3) With the Sentry’s Keycard and the Master of Arms Seal you’ll be able to open both a door and a chest,
Now that you have both this area’s keycards, backtrack to before the first Poxwalker/Turret fight and go through the first door, which requires the Sentry’s Key Card, which you should have found at the beginning of the area. There are two chests beyond this door, one to the left which contains 3x Fire Grenades and 3x ![]() Lasguns, while the other chest is locked, requiring the Master of Arms Seal. It’s worth getting this keycard, however, as inside this second chest you’ll find the
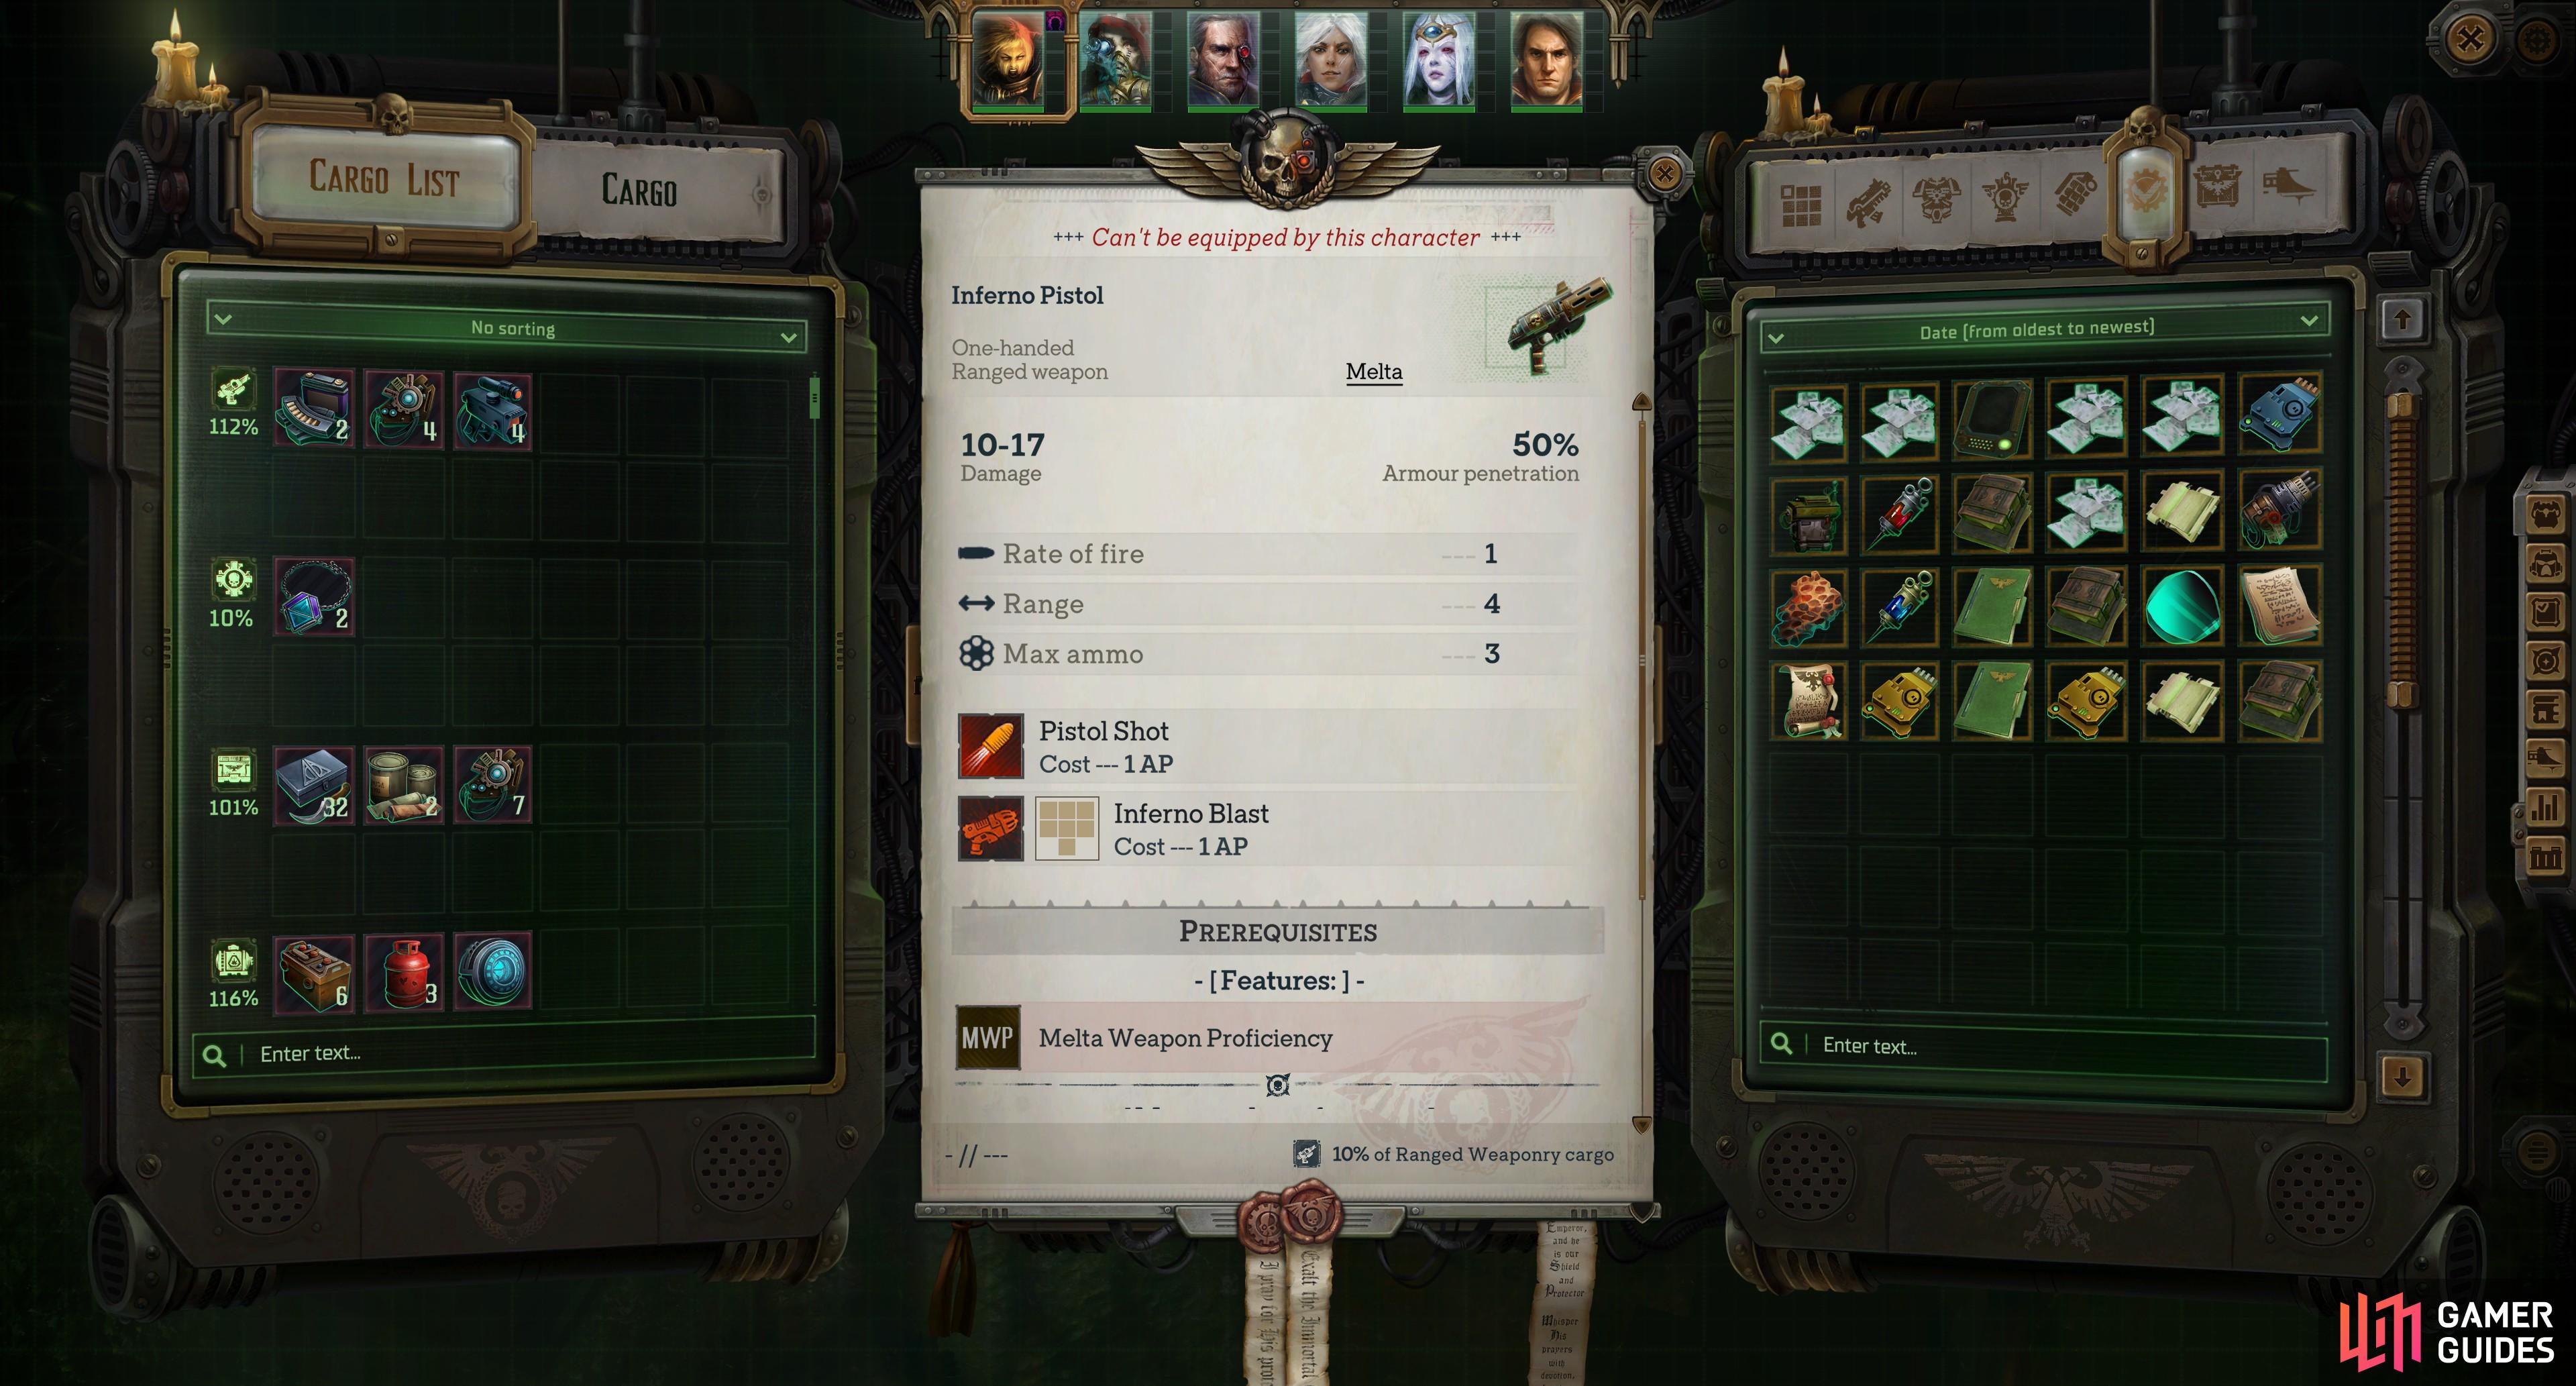
Lasguns, while the other chest is locked, requiring the Master of Arms Seal. It’s worth getting this keycard, however, as inside this second chest you’ll find the ![]() Tempestus Carapace and an Inferno Pistol, the latter of which is one of the earliest Melta weapons you can get your hands on. Like most weapons of this type it features moderate damage, high Armor Penetration, short range and a default cone AoE - a great sidearm for a character who intends to be in close quarters combat, anyways.
Tempestus Carapace and an Inferno Pistol, the latter of which is one of the earliest Melta weapons you can get your hands on. Like most weapons of this type it features moderate damage, high Armor Penetration, short range and a default cone AoE - a great sidearm for a character who intends to be in close quarters combat, anyways.
Return to your shuttle and once you’re back on the voidship you’ll be asked what you want to do with the wreck. You’ll have four options, which yield the following effects:
| Response | Effect |
|---|---|
| “Bombard that vessel.” | +5 Dogmatic |
| “Send out a boarding party.” | +5 Dogmatic |
| “Send out technicians…” | +5 Heretical, Cargo |
| “I am no longer interested in this vessel.” | – |
Make what choice you will and you’ll be done with this site, one way or another. For more points of interest to explore around the Koronus Expanse, check out the following pages:

 Sign up
No Comments