
Many of your companions have important duties on your ship, and their personal foibles often directly influence their professional performance, and hence, their interpersonal relationships with you. Simply put, it’s hard to find work-life balance in the Warhammer 40,000 world, especially when your companions have the bad habits of pushing their own failures up the chain of command and holding grudges when you take actions contrary to their beliefs. A rather low-stakes example of this can be found in Chapter 1, courtesy of ![]() Abelard’s companion quest Dark Echelons. This page will provide a walkthrough for the Dark Echelons, discussing the choices you can make and their potential consequences.
Abelard’s companion quest Dark Echelons. This page will provide a walkthrough for the Dark Echelons, discussing the choices you can make and their potential consequences.

Complete quests in Chapter 1 and while traveling on your voidship you’ll be summoned to the bridge by an upstart officer named Avrilla Vent.
How to Start Dark Echelons - Rogue Trader
As one of Abelard’s first companion quests, it should be no surprise that this game begins fairly early in Chapter 1. Completing any main quest in Chapter 1 should suffice to get this quest started (flying around in space after completing The Starport was enough for us). If that isn’t enough, enter the bridge of your voidship and give High Factotum Janris Danrok a verdict about his errand, Defective Servitors - even if it’s just to tell him to solve it himself. You’ll know when it triggers, as you’ll be summoned to the bridge.


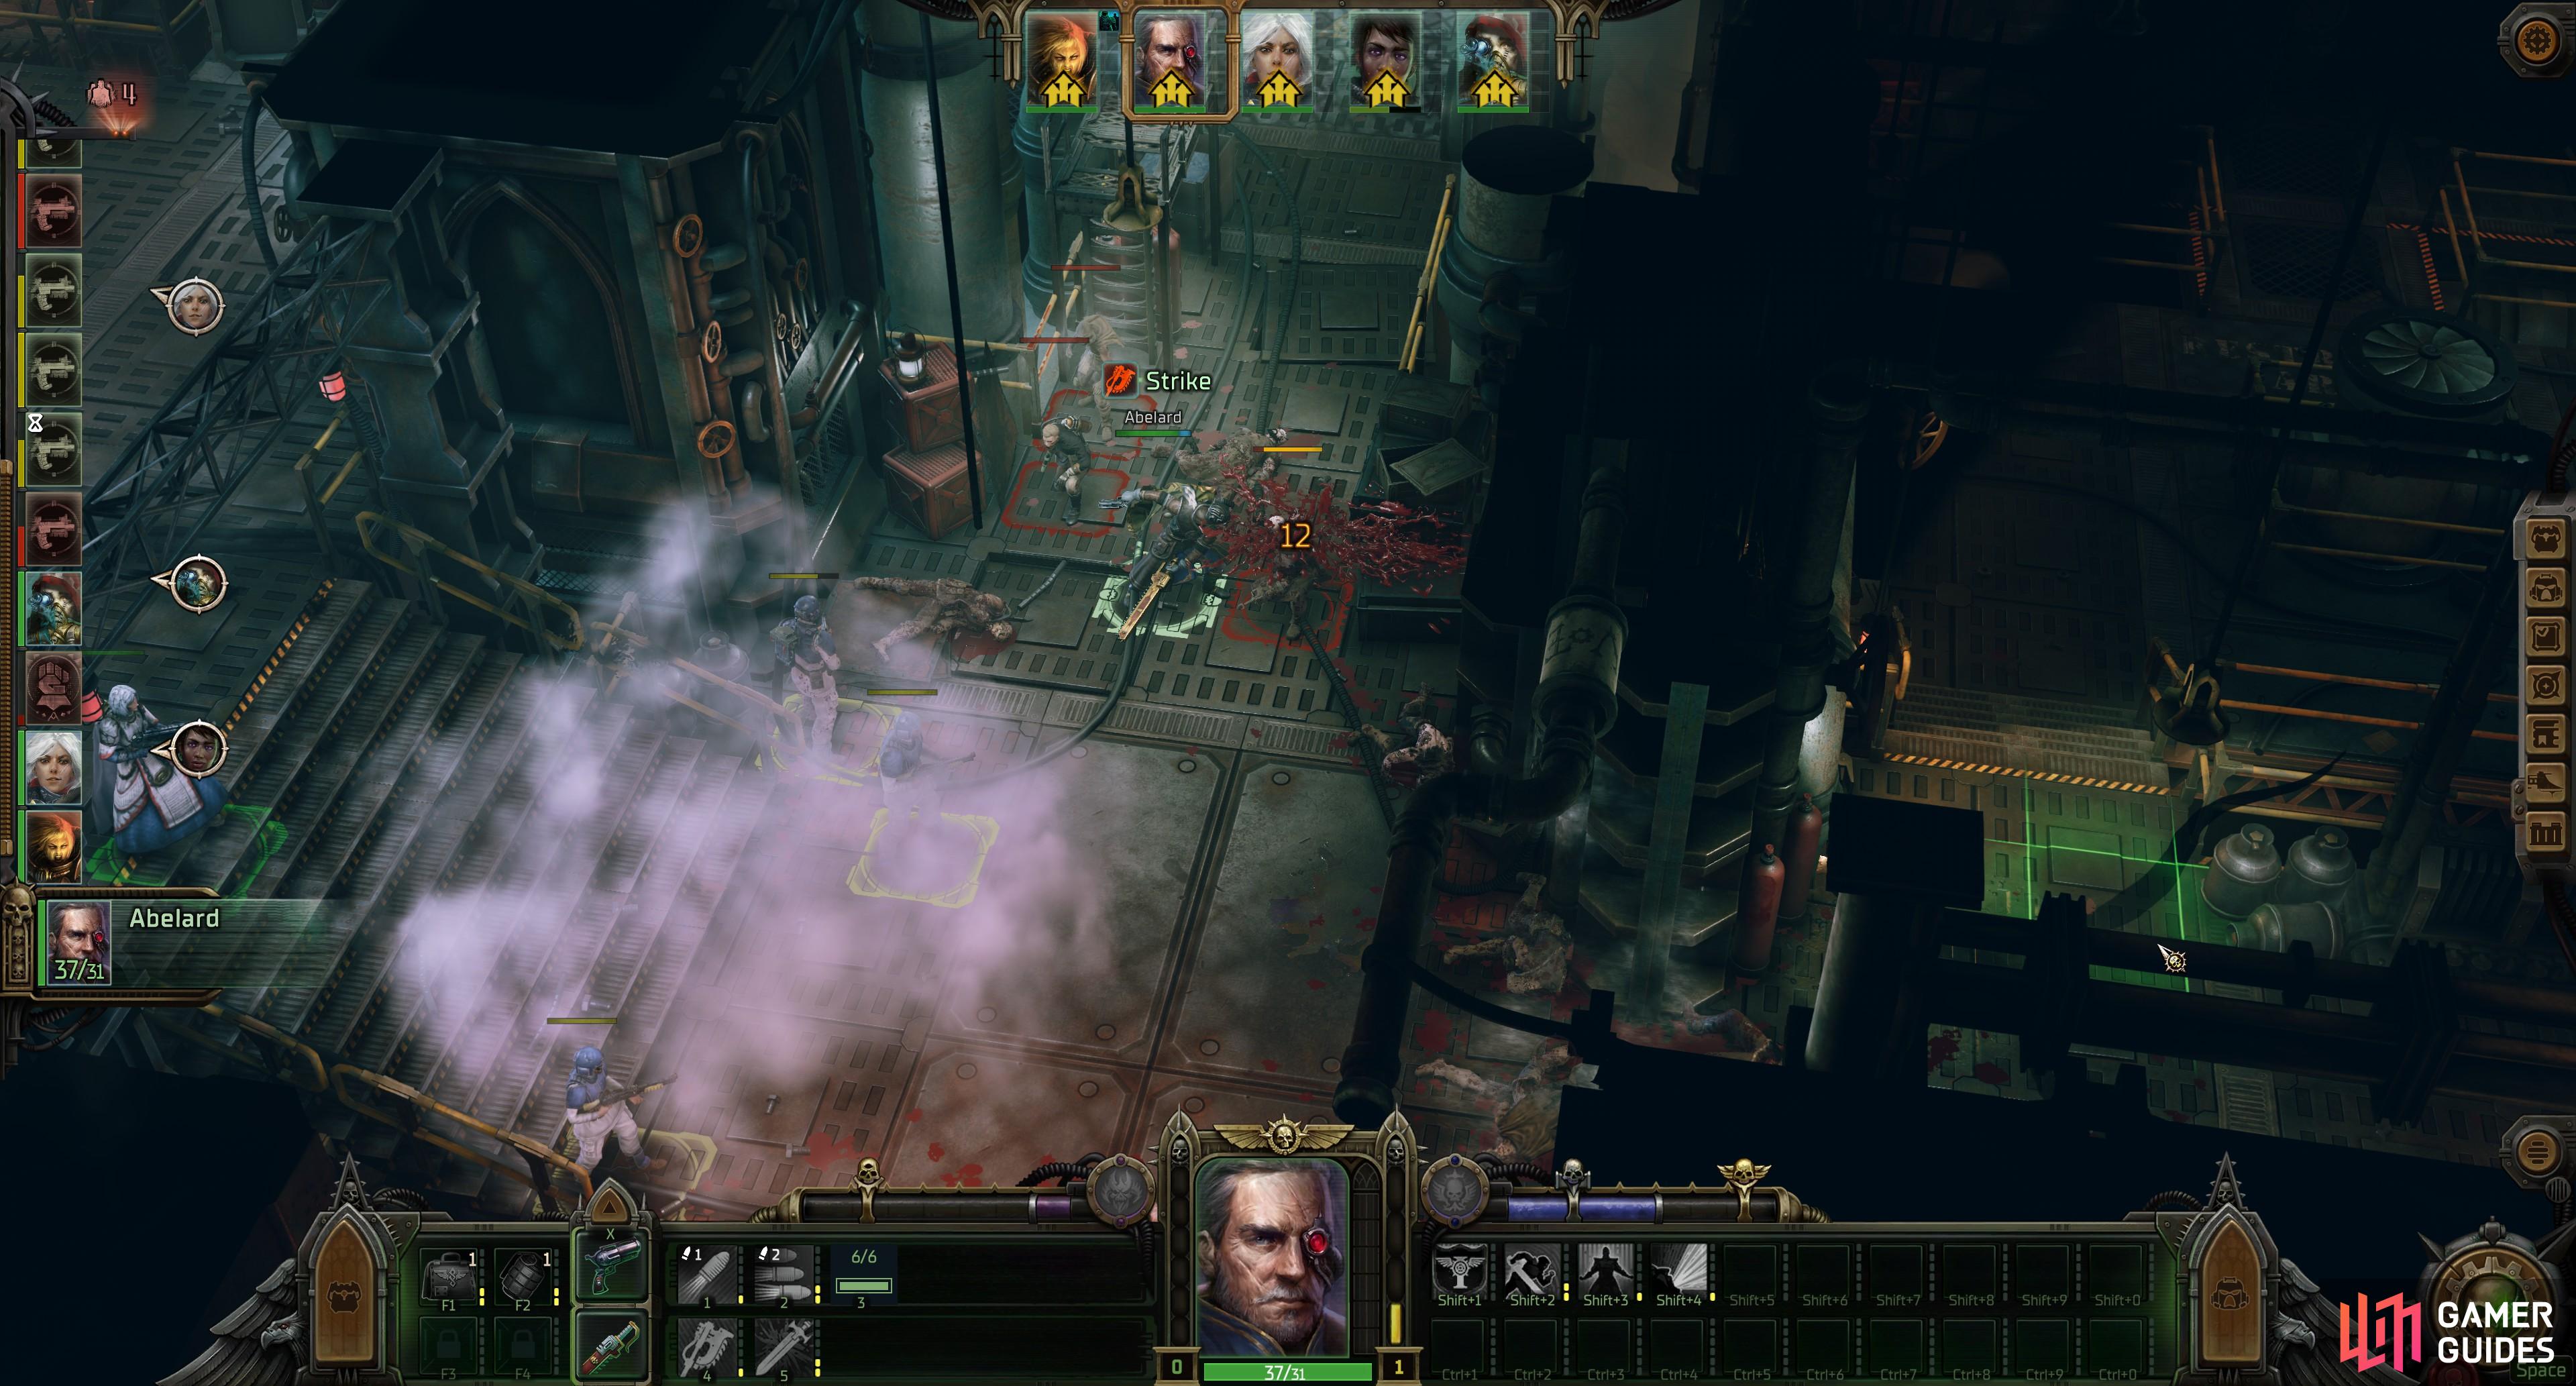
(1 of 2) Agree to oversee the matter personally and find Avrilla on the lower deck. You can either execute the rebels or try to mediate.
Agree to oversee the matter personally and find Avrilla on the lower deck. You can either execute the rebels or try to mediate. (left), If you choose to talk to the rebels, you’ll again get the option to execute them, but you can also concede to their demands, or find some middle ground that appeases them while keeping them disarmed. (right)
Dark Echelons Walkthrough and Choices
After being summoned to the bridge you’ll be witness to a squabble between one Avrilla Vent and Abelard, the former of which jumps the chain of command to bring word of a lower deck insurrection to your attention - and Abelard’s heavy-handed approach to suppressing it. What you say at first doesn’t matter, but eventually you’ll get three dialog options - if you pick “This matter is not worth the Rogue Trader’s time. Leave the bridge and don’t ever disturb me again!” you’ll delegate responsibility to where it belongs, and while this might seem like a good Dogmatic choice, you get no conviction for doing this, and you fail the quest. That said, this is less of a “choice” than it is a trap for the unwary. To properly continue, pick either the option “I’ve heard enough. I will go down to the lower decks and deal with the problem personally.” or “I am certain the Seneschal was acting within his authority, but I will verify the soundness of his decisions for myself.”. Assemble your party over Abelard’s restrained disdain and you’ll find yourself on the lower decks.
When you arrive, note the Valves adorning numerous pipes - you can’t interact with them yet, but you’ll be able to shortly. Make your way south to find Avrilla, arguing with one of the ship’s guards, who is on the verge of carrying out Abelard’s orders. If you pick the dialog option “I give the assault unit permission to open fire. We will crush the seeds of insurrection with full force.” you’ll end up in a fight with various Lower Deck Rabble. In this encounter, at least, the game chooses to be reasonable rather than challenging - the rabble are armed with primitive weapons and armor and aside from some smoke grenades, they don’t have a lot going on. You also have a retinue of guards helping you out… although they’re arguably more dangerous than the rabble, as their unrestrained use of burst fire and shotgun AoEs are likely to cause more harm to you than the rebels are. Killing the rebels will end the quest successfully, after a chat with Abelard.
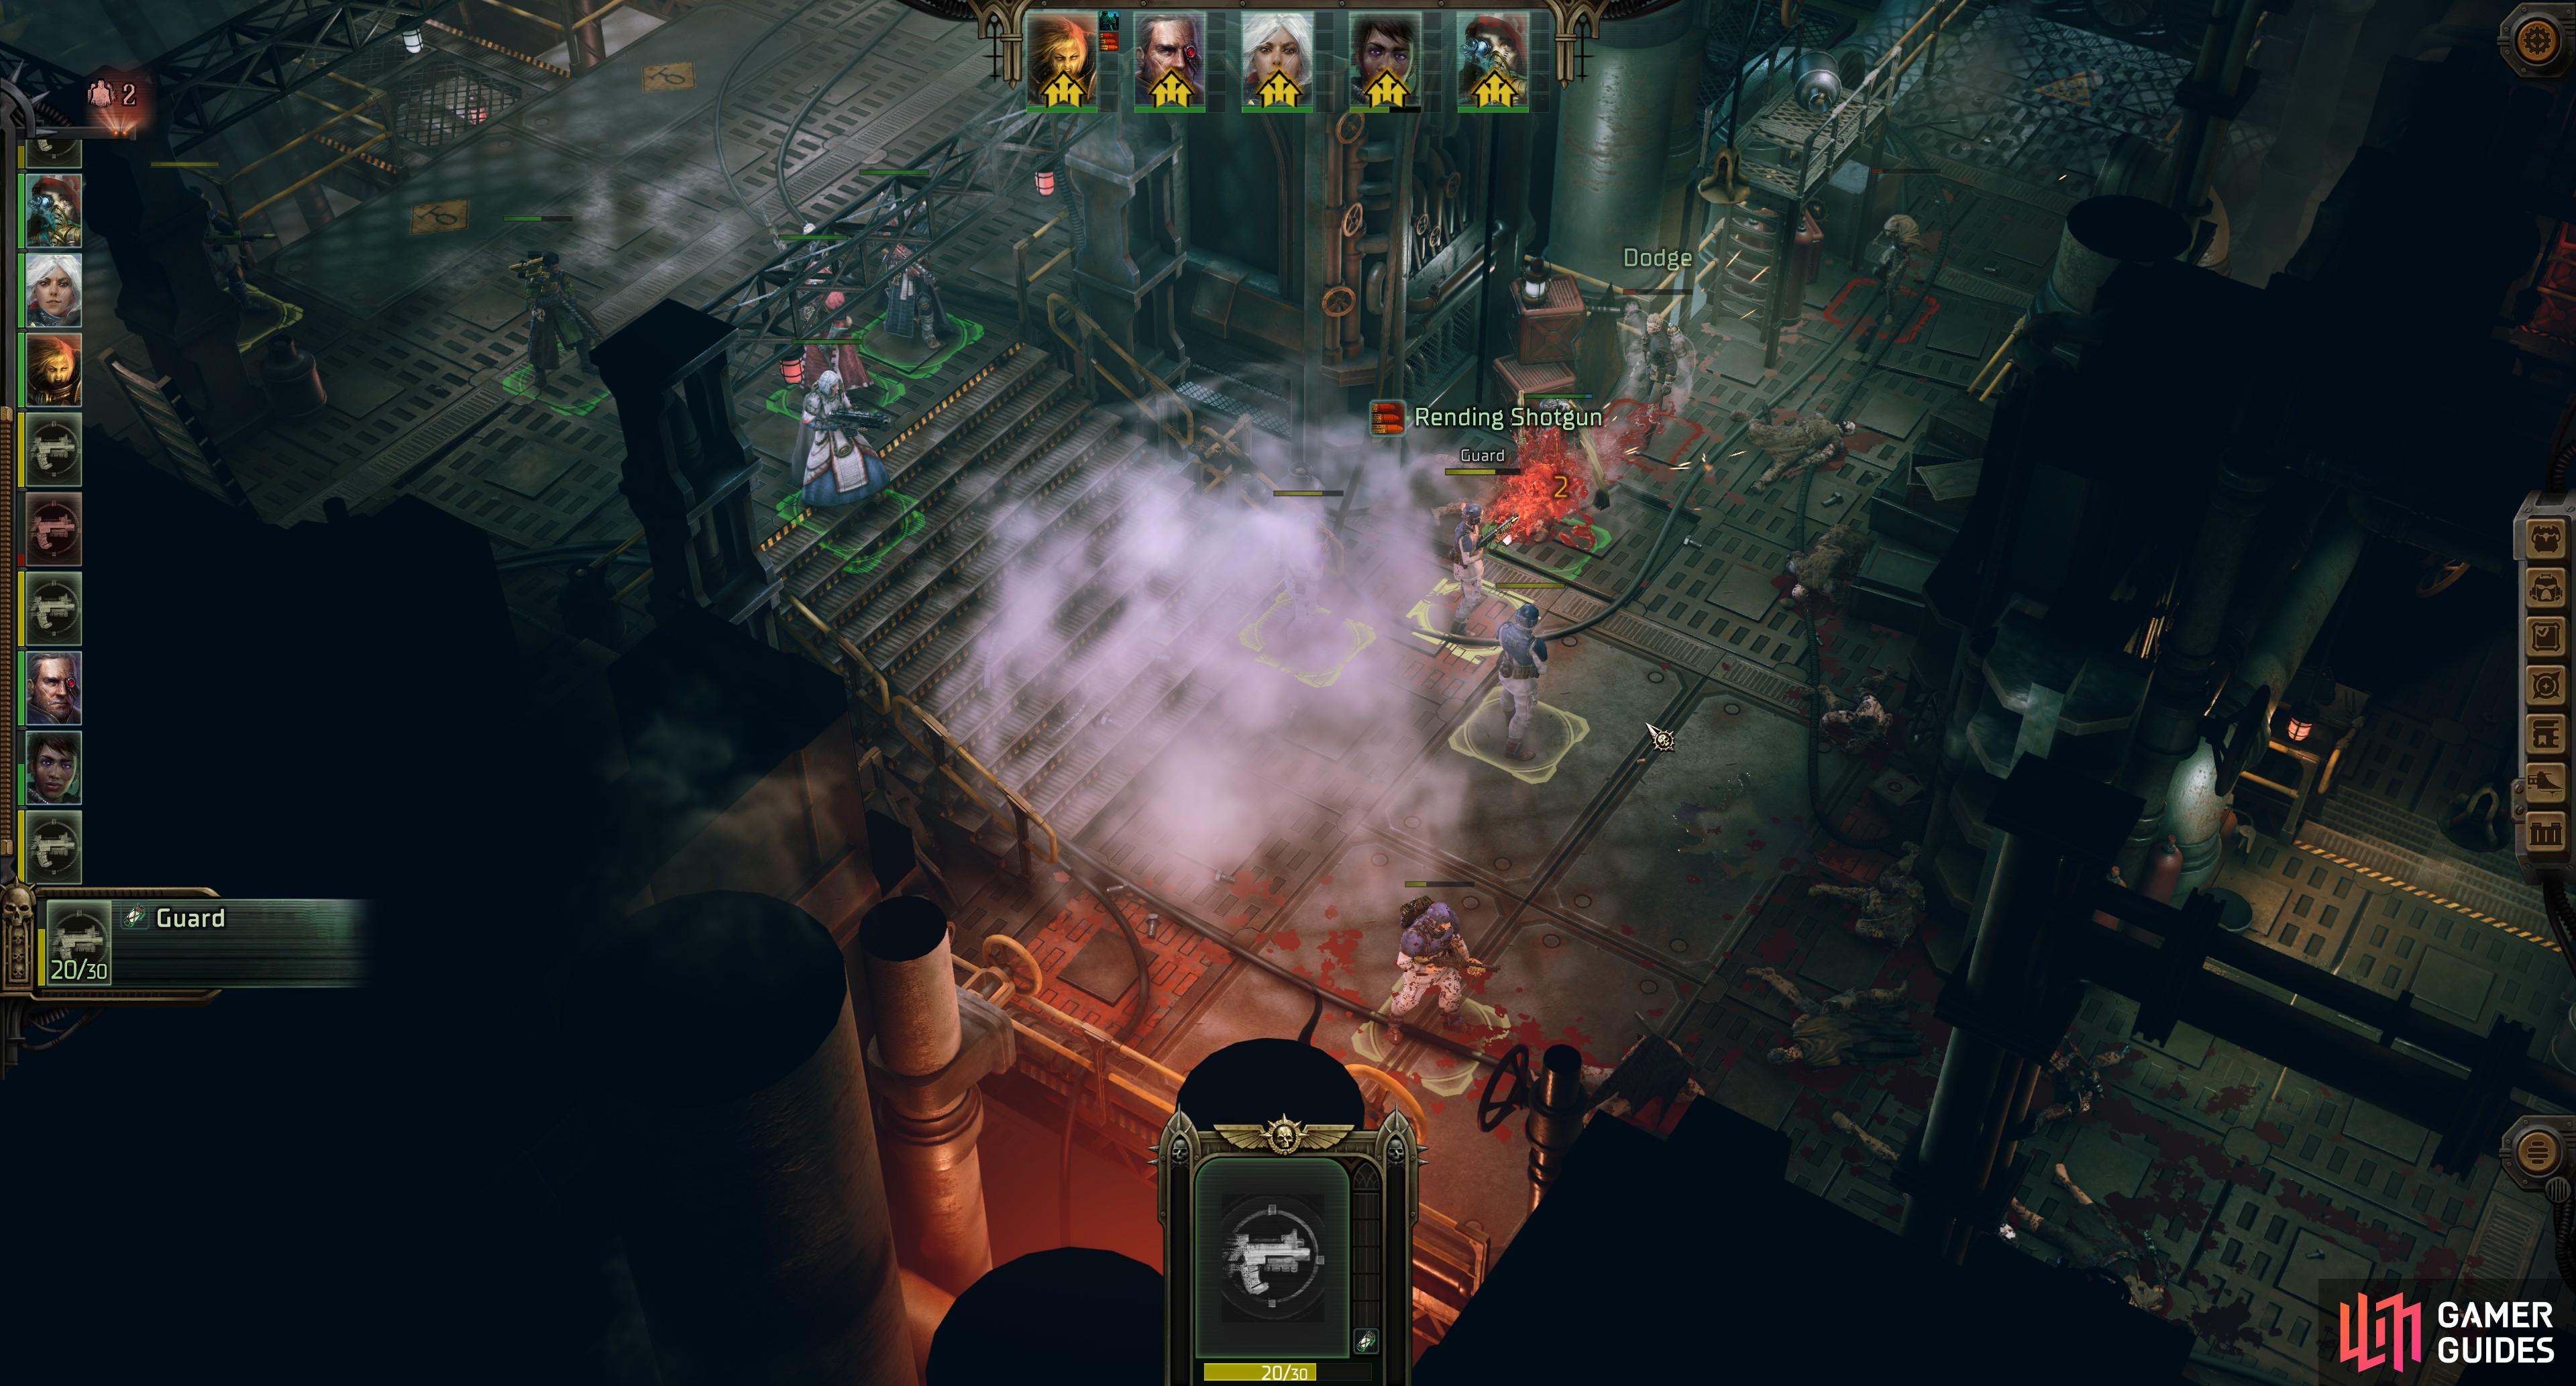
(1 of 2) If you choose to put down the rebels, you’ll have to fight it out. They shouldn’t prove to be much of a threat.
If you choose to put down the rebels, you’ll have to fight it out. They shouldn’t prove to be much of a threat. (left), While you have plenty of guards helping you out, their concerning lack of trigger discipline can make them more of a threat than the rebels! (right)
Assuming you don’t just mow down the disgruntled crew, pick the option “I want to speak to the strikers.” and head east to end up in a conversation with the representatives of the rabble - Rivet, an “Old Woman” and Stager. Exhaust the other dialog options before continuing with “What changes do you want?”, after which you’ll get several options (ignoring the following appeal to Abelard, which changes nothing):
-
Fine. I’ll give the order for the enforcers to be withdrawn from this sector.“ You’ll forfeit some Ranged Weaponry and
 Melee Weaponry cargo to appease the crew.
 -
[Coercion] “Spreading anarchy on the ship is the first step toward embracing Chaos.” Effectively allows you to make the crew happy without forfeiting any cargo.
-
“You have failed to convince me of your trustworthiness. This unrest ends now. Everyone who was involved will be eliminated.” Effectively picks a fight with the rebels just like giving the assault unit permission to purge earlier did, except you start out closer to the rebels… and with a bunch of incompetent, itchy-fingered guards behind you.
Aside from forfeiting cargo, none of these actions have any long-term consequences. This quest is functionally complete at this point in time, but you can engage in another activity in this area before you leave - the [Lower Decks Valve Puzzle]. Check the provided link for more details.

Whatever choice you made regarding the rebels earlier, Abelard will angrily confront you afterward - avoid being too harsh, lest you fail the quest.
When you’re ready to move on, head back to where you entered this area and Abelard will send the rest of your companions ahead so he can air his grievances at you. He’ll word his complaints somewhat differently depending on the choice you made, but the root of the problem is your break with tradition and refusal to delegate responsibility to him, so pretty much all the dialog options are going to be the same. Eventually you’ll come to five different ways to close out the conversation, only one of which has any meaningful impact on matters: responding with “I have seen plenty of sentiment and handwringing in recent days, but very little competence. I have no plans to rely on your judgement or your ‘tried and tested procedures’ in the future.” will fail the quest.
Make whatever decision you deem fit, then exit the area to return to the bridge and finish the quest. Now that you’ve dealt with Abelard’s companion quest, check out the following pages to help advance through Chapter 1:

 Sign up
No Comments