
The weapons you ended up with at the end of Chapter 1 were, frankly, mostly due to a lack of options. In many cases, the best-in-class weapon was the ONLY weapon of its type you found, and picking clear-cut winners was much easier. Chapter 1 was also more linear, whereas Chapter 2 gives you free roam of most of the Koronus Expanse, including optional side content that can yield potent weapons. All these factors combine to make the subject of nominating the best weapons in Chapter 2 considerably more contentious and interesting than they were in Chapter 1, and this page will help you find the cream of the crop as far as weapons go in Chapter 2 of Rogue Trader.

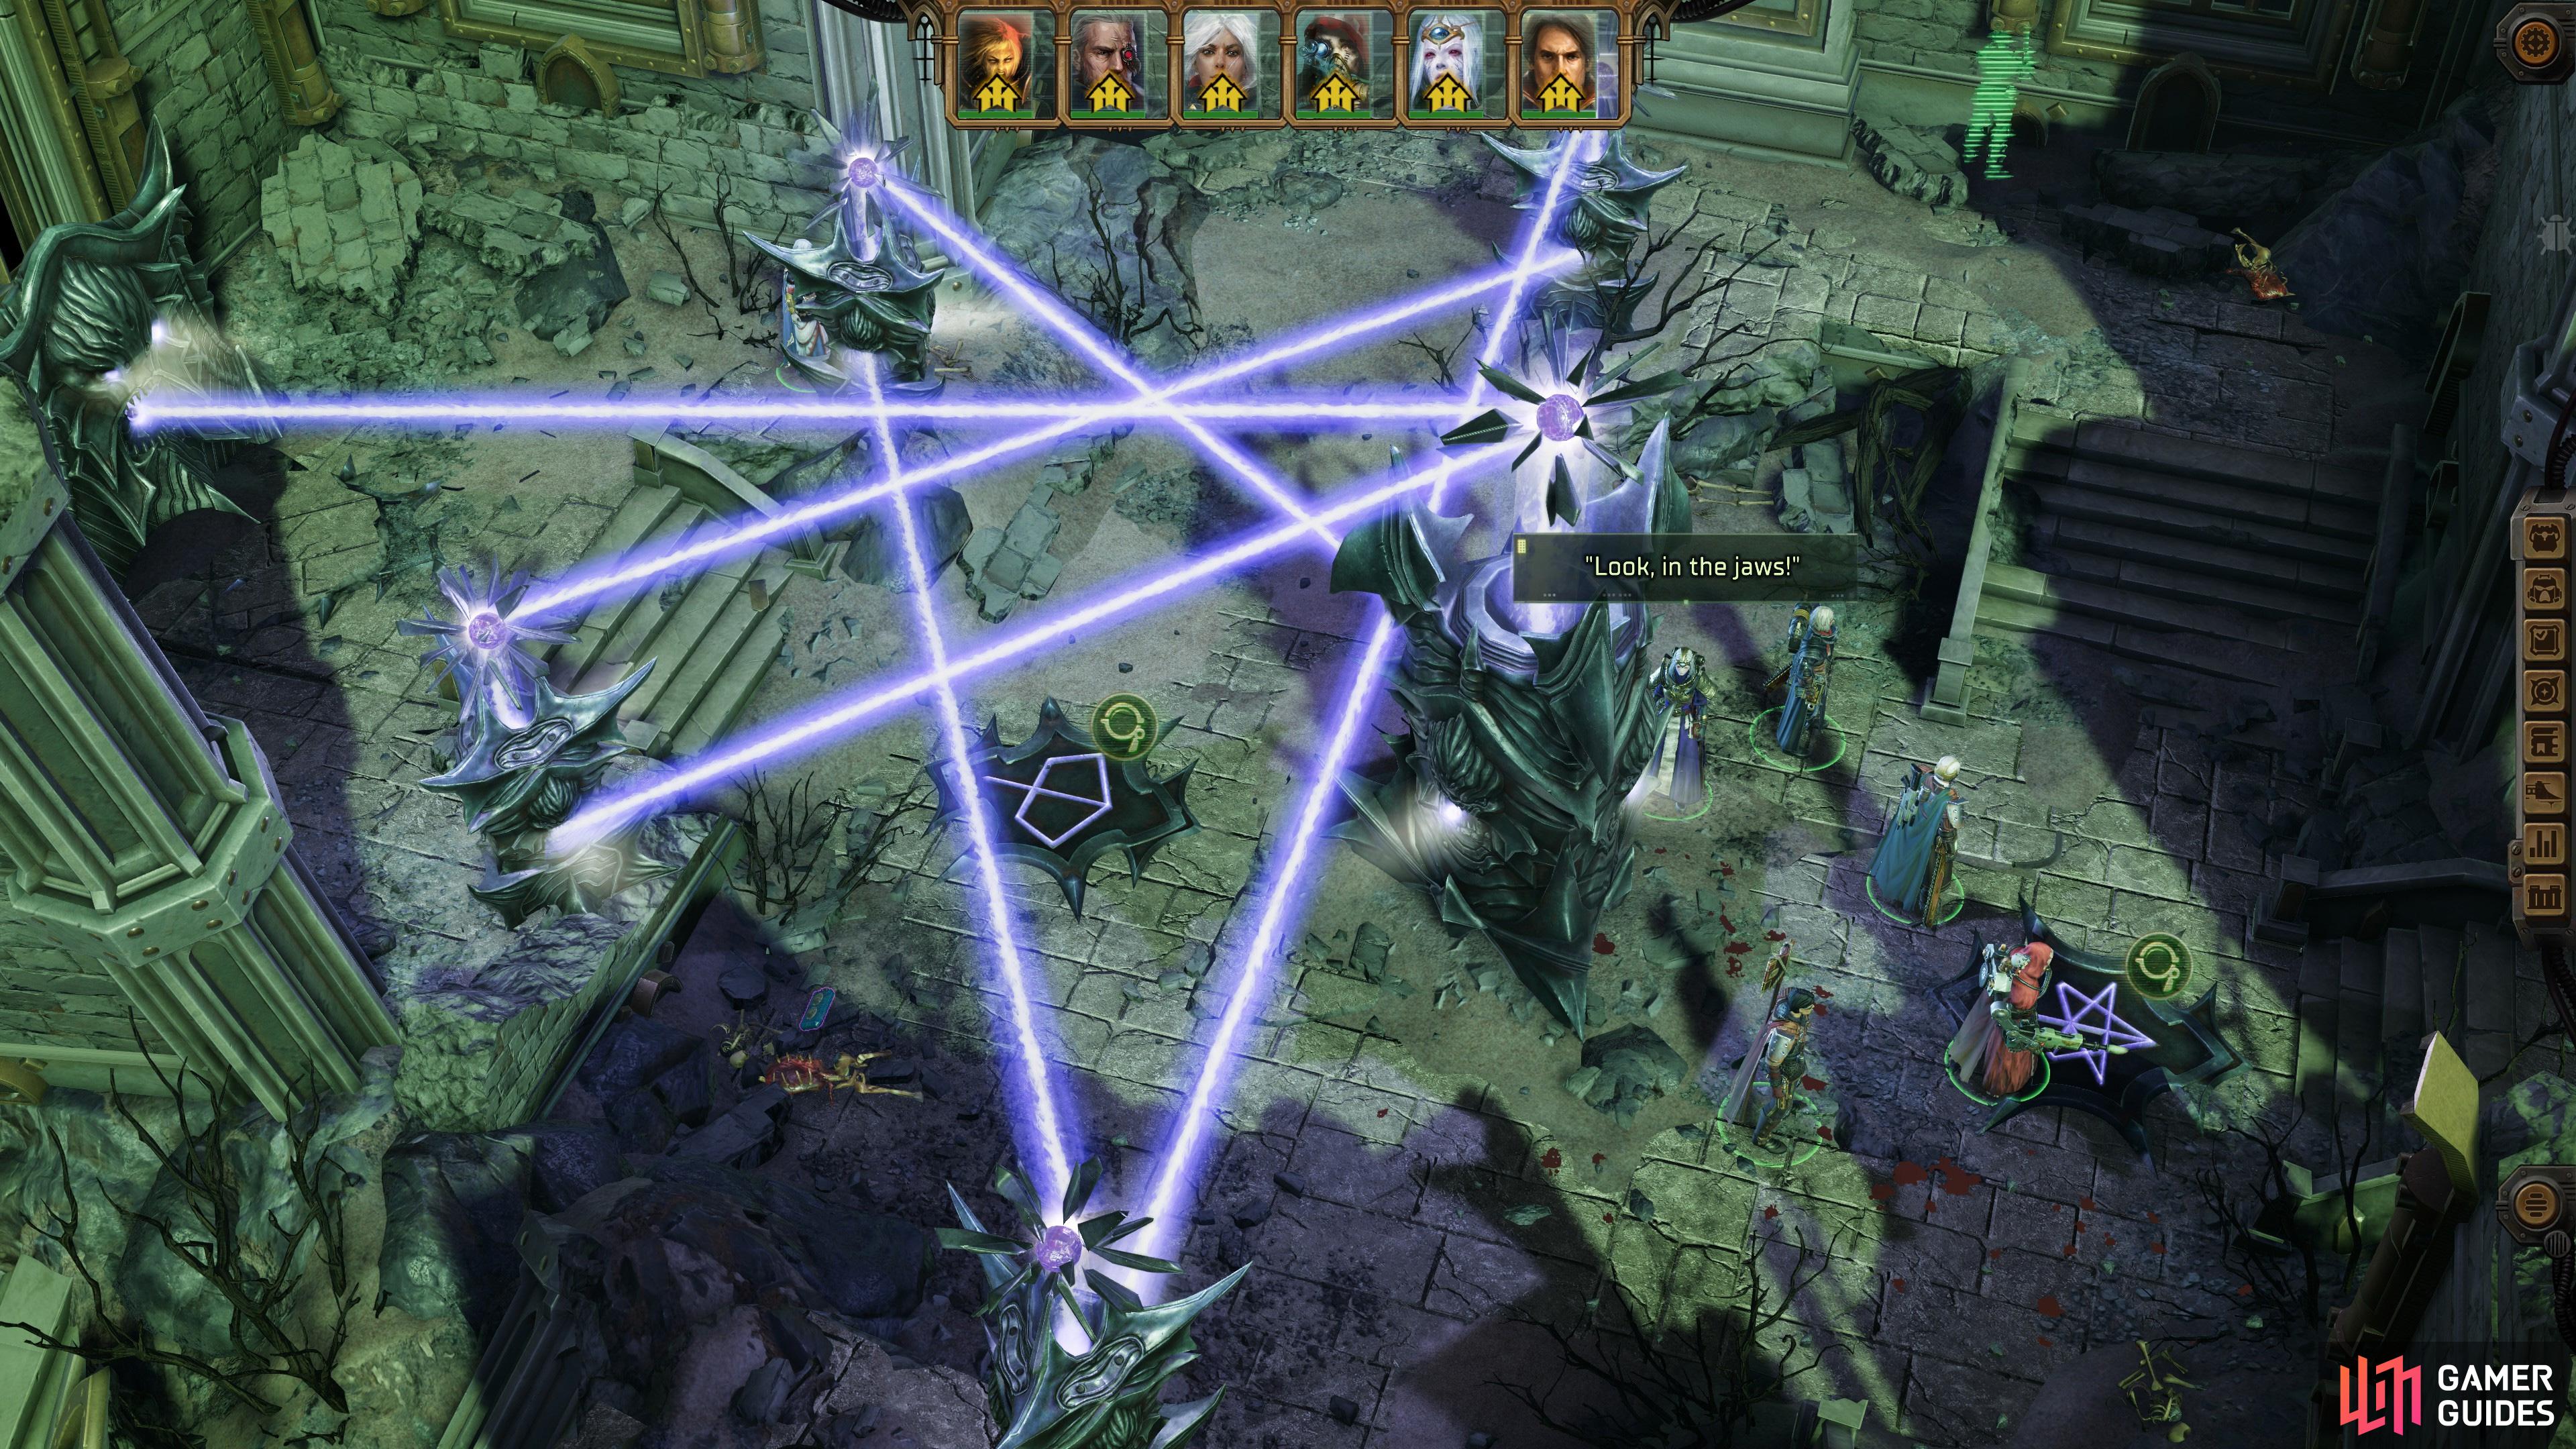

(1 of 3) Scan a dead world in the Lotatian’s Passage system to find some ruins you can explore.
Ancient Force Sword
It might not be the weapon you end the chapter with (the Drukhari weapons you find later deal much more damage), but the ![]() Ancient Force Sword deals twice as much damage as Heinrix’s standard
Ancient Force Sword deals twice as much damage as Heinrix’s standard ![]() Force Sword and has higher Armor Penetration to boot, making it a clear upgrade. Better yet, it’s not that hard to get. Travel to the Latotian’s Passage system and scan a Dead World to find some Unidentified Ruins. Here you’ll need to solve an Energy Beam Puzzle to find the Ancient Force
Force Sword and has higher Armor Penetration to boot, making it a clear upgrade. Better yet, it’s not that hard to get. Travel to the Latotian’s Passage system and scan a Dead World to find some Unidentified Ruins. Here you’ll need to solve an Energy Beam Puzzle to find the Ancient Force ![]() Sword - use the link to find a walkthrough.
Sword - use the link to find a walkthrough.

You can requisition the Bloodhound Staff from Hieronymus Doloroso in Footfall near the start of Chapter 2, making it a cheap and early weapon upgrade.
Bloodhound Staff
One of the earliest new weapons you can get your hands on in Chapter 2, the Bloodhound Staff is a tier 0 requisition from the Drusians, whose trade representative is Hieronymus Doloroso. The first time you speak to him on Footfall you should already have sufficient Profit Factor to requisition this item, free of charge. While its core stats aren’t anything to write home about, it does have the Devastating 6 property, which allows a Navigator wielding this staff to use their Navigator abilities more than once per round, although the second cast will deal 6 Wounds damage to the Navigator as well as 6 extra damage to afflicted enemies. Since ![]() Cassia can learn the
Cassia can learn the ![]() Strange Vitality talent which passively heals her every turn, this is more than a fair tradeoff.
Strange Vitality talent which passively heals her every turn, this is more than a fair tradeoff.
Bloodseeker Klaive
This weapon is one of the perks of recruiting Jae. Check out the provided link for a full walkthrough, but in short, you’ll need to visit The Martyr’s Endurance in Footfall, which is past the Shadow Quarters. You’ll first encounter Jae when you go to meet the Liege, and afterwards, she’ll be at the bar in The Martyr’s Endurance, sulking. Offer to help her get her cargo to finish the errand Persona Non Grata and begin the next errand, Wanted on Footfall. Accompany Jae to the warehouse, defeat the guards, and when the Liege’s goons show up to arrest Jae, put her under your protection or claim the cargo for your own to ensure both Jae and her cargo are secured. Jae will promise to make you a “lucrative offer”, which starts her companion quest, A Lucrative Opportunity. Just return to your voidship and talk to Jae to get the ![]() Bloodseeker Klaive and the Warder’s Portent.
Bloodseeker Klaive and the Warder’s Portent.
The Bloodseeker Klaive is, for the time you get it, a fairly high-damage weapon, easily beating out the ![]() Elite Chainsword. On the downside you need to burn at least one - quite likely two - talents to use this weapon, as you need Drukhari Weapon Proficiency and that in turn requires either the Lore (Xenos) feature or the Base Skill: Lore (Xenos) talent. That said, most of the weapons that will compete with Drukhari weapons by the end of Chapter 2 are other Drukhari weapons, and you’ll be running out of banger talents to pick by then, so it’s fairly safe to grab the aforementioned talents for most characters. Boasting good damage, high Armor Penetration, and the ability to perform an AoE Cleave attack for 2 AP, the Bloodseeker Klaive is a great one-handed weapon that’ll carry you through most of Chapter 2.
Elite Chainsword. On the downside you need to burn at least one - quite likely two - talents to use this weapon, as you need Drukhari Weapon Proficiency and that in turn requires either the Lore (Xenos) feature or the Base Skill: Lore (Xenos) talent. That said, most of the weapons that will compete with Drukhari weapons by the end of Chapter 2 are other Drukhari weapons, and you’ll be running out of banger talents to pick by then, so it’s fairly safe to grab the aforementioned talents for most characters. Boasting good damage, high Armor Penetration, and the ability to perform an AoE Cleave attack for 2 AP, the Bloodseeker Klaive is a great one-handed weapon that’ll carry you through most of Chapter 2.

Tazarra wields Bloodthirster, a powerful Drukhari one-handed melee weapon that debuffs its target with every strike.
Bloodthirster
Near the end of Chapter 2, you’ll return to Dargonus to repel a Drukhari threat. In the second battle, you’ll face off against a Drukhari named Tazarra, who wields this weapon. Defeat her and it’s yours for the taking. This one-handed melee weapon is roughly comparable to the Bloodseeker Klaive - both are Drukhari weapons, have the same attacks at the same AP costs, but the Bloodseeker Klaive has a slight advantage in damage and Armor Penetration. What sets the two apart are their special abilities, and while the Bloodseeker Klaive has a superior Cleave AoE attack, ![]() Bloodthirster reduces the
Bloodthirster reduces the ![]() Weapon Skill,
Weapon Skill, ![]() Ballistic Skill,
Ballistic Skill, ![]() Strength,
Strength, ![]() Toughness, and
Toughness, and ![]() Perception of struck enemies by -5 for each hit. Put this weapon in the hands of a Warrior and they can carve enemies up - especially with Daring Breach, the cumulative debuffs this weapon afflicts can be crippling. Bloodseeker Klaive may be superior against groups of enemies, but Bloodthirster is arguably the better choice against strong, singular foes.
Perception of struck enemies by -5 for each hit. Put this weapon in the hands of a Warrior and they can carve enemies up - especially with Daring Breach, the cumulative debuffs this weapon afflicts can be crippling. Bloodseeker Klaive may be superior against groups of enemies, but Bloodthirster is arguably the better choice against strong, singular foes.
[C-Delfim Pattern] Omnissian Axe
This weapon is dropped by Fabricator-Censor Cubis Delphim on Kiava Gamma. It’s a mandatory story boss, so you can’t miss this weapon. It’s also exclusive to ![]() Pasqal, and in that regard it’s a direct upgrade to his starter weapon, boasting twice the damage, more Armor Penetration and the same attack options. It also uses Brutal Strike when performing Attacks of Opportunity, giving such reprisals AoE.
Pasqal, and in that regard it’s a direct upgrade to his starter weapon, boasting twice the damage, more Armor Penetration and the same attack options. It also uses Brutal Strike when performing Attacks of Opportunity, giving such reprisals AoE.


(1 of 2) At the end of Chapter 2 you’ll fight a few Sybarite enemies, defeat them,
At the end of Chapter 2 you’ll fight a few Sybarite enemies, defeat them, (left), and you’ll get your hands on their Elite Blast Pistols. (right)
Elite Blast Pistol
These weapons are dropped by Sybarite enemies encountered at the end of Chapter 2 - one can be found on Grantis (Palatium Stellos system) during the second part of the main quest Blades in the Void and another can be obtained during the final fight of the chapter in the Von Valancius Palace. While you get these late, they’re worth including due to the raw damage they can inflict. They are, for all intents and purposes, the Drukhari equivalent of Melta weapons… except they count as Las weapons, enjoying the high damage of Melta weapons, absurd Armor Penetration (a whopping 70% in this case!) and also enjoying 20% Dodge Reduction. It also fires in a line, like a ![]() Flamer, striking everything in its path. If it has any downsides, it’s the low range of 6 cells… which is somewhat mitigated by the long line effect of the actual weapon itself.
Flamer, striking everything in its path. If it has any downsides, it’s the low range of 6 cells… which is somewhat mitigated by the long line effect of the actual weapon itself.

You can requisition the Elite Chainsword from the Drusians.
Elite Chainsword
Another weapon you can requisition from the Drusians via their representative, Hieronymus Doloroso, who can be found in Footfall’s Atrium area. Just like the ![]() Officer’s Chainsword was a solid upgrade to the
Officer’s Chainsword was a solid upgrade to the ![]() Chainsword, the Elite Chainsword is an upgrade to the Officer’s Chainsword. It deals more damage and has higher Armor Penetration with no other alterations or downsides. All you need to do to get your hands on it is reach Reputation Tier 1 with the Drusians and it’s yours.
Chainsword, the Elite Chainsword is an upgrade to the Officer’s Chainsword. It deals more damage and has higher Armor Penetration with no other alterations or downsides. All you need to do to get your hands on it is reach Reputation Tier 1 with the Drusians and it’s yours.
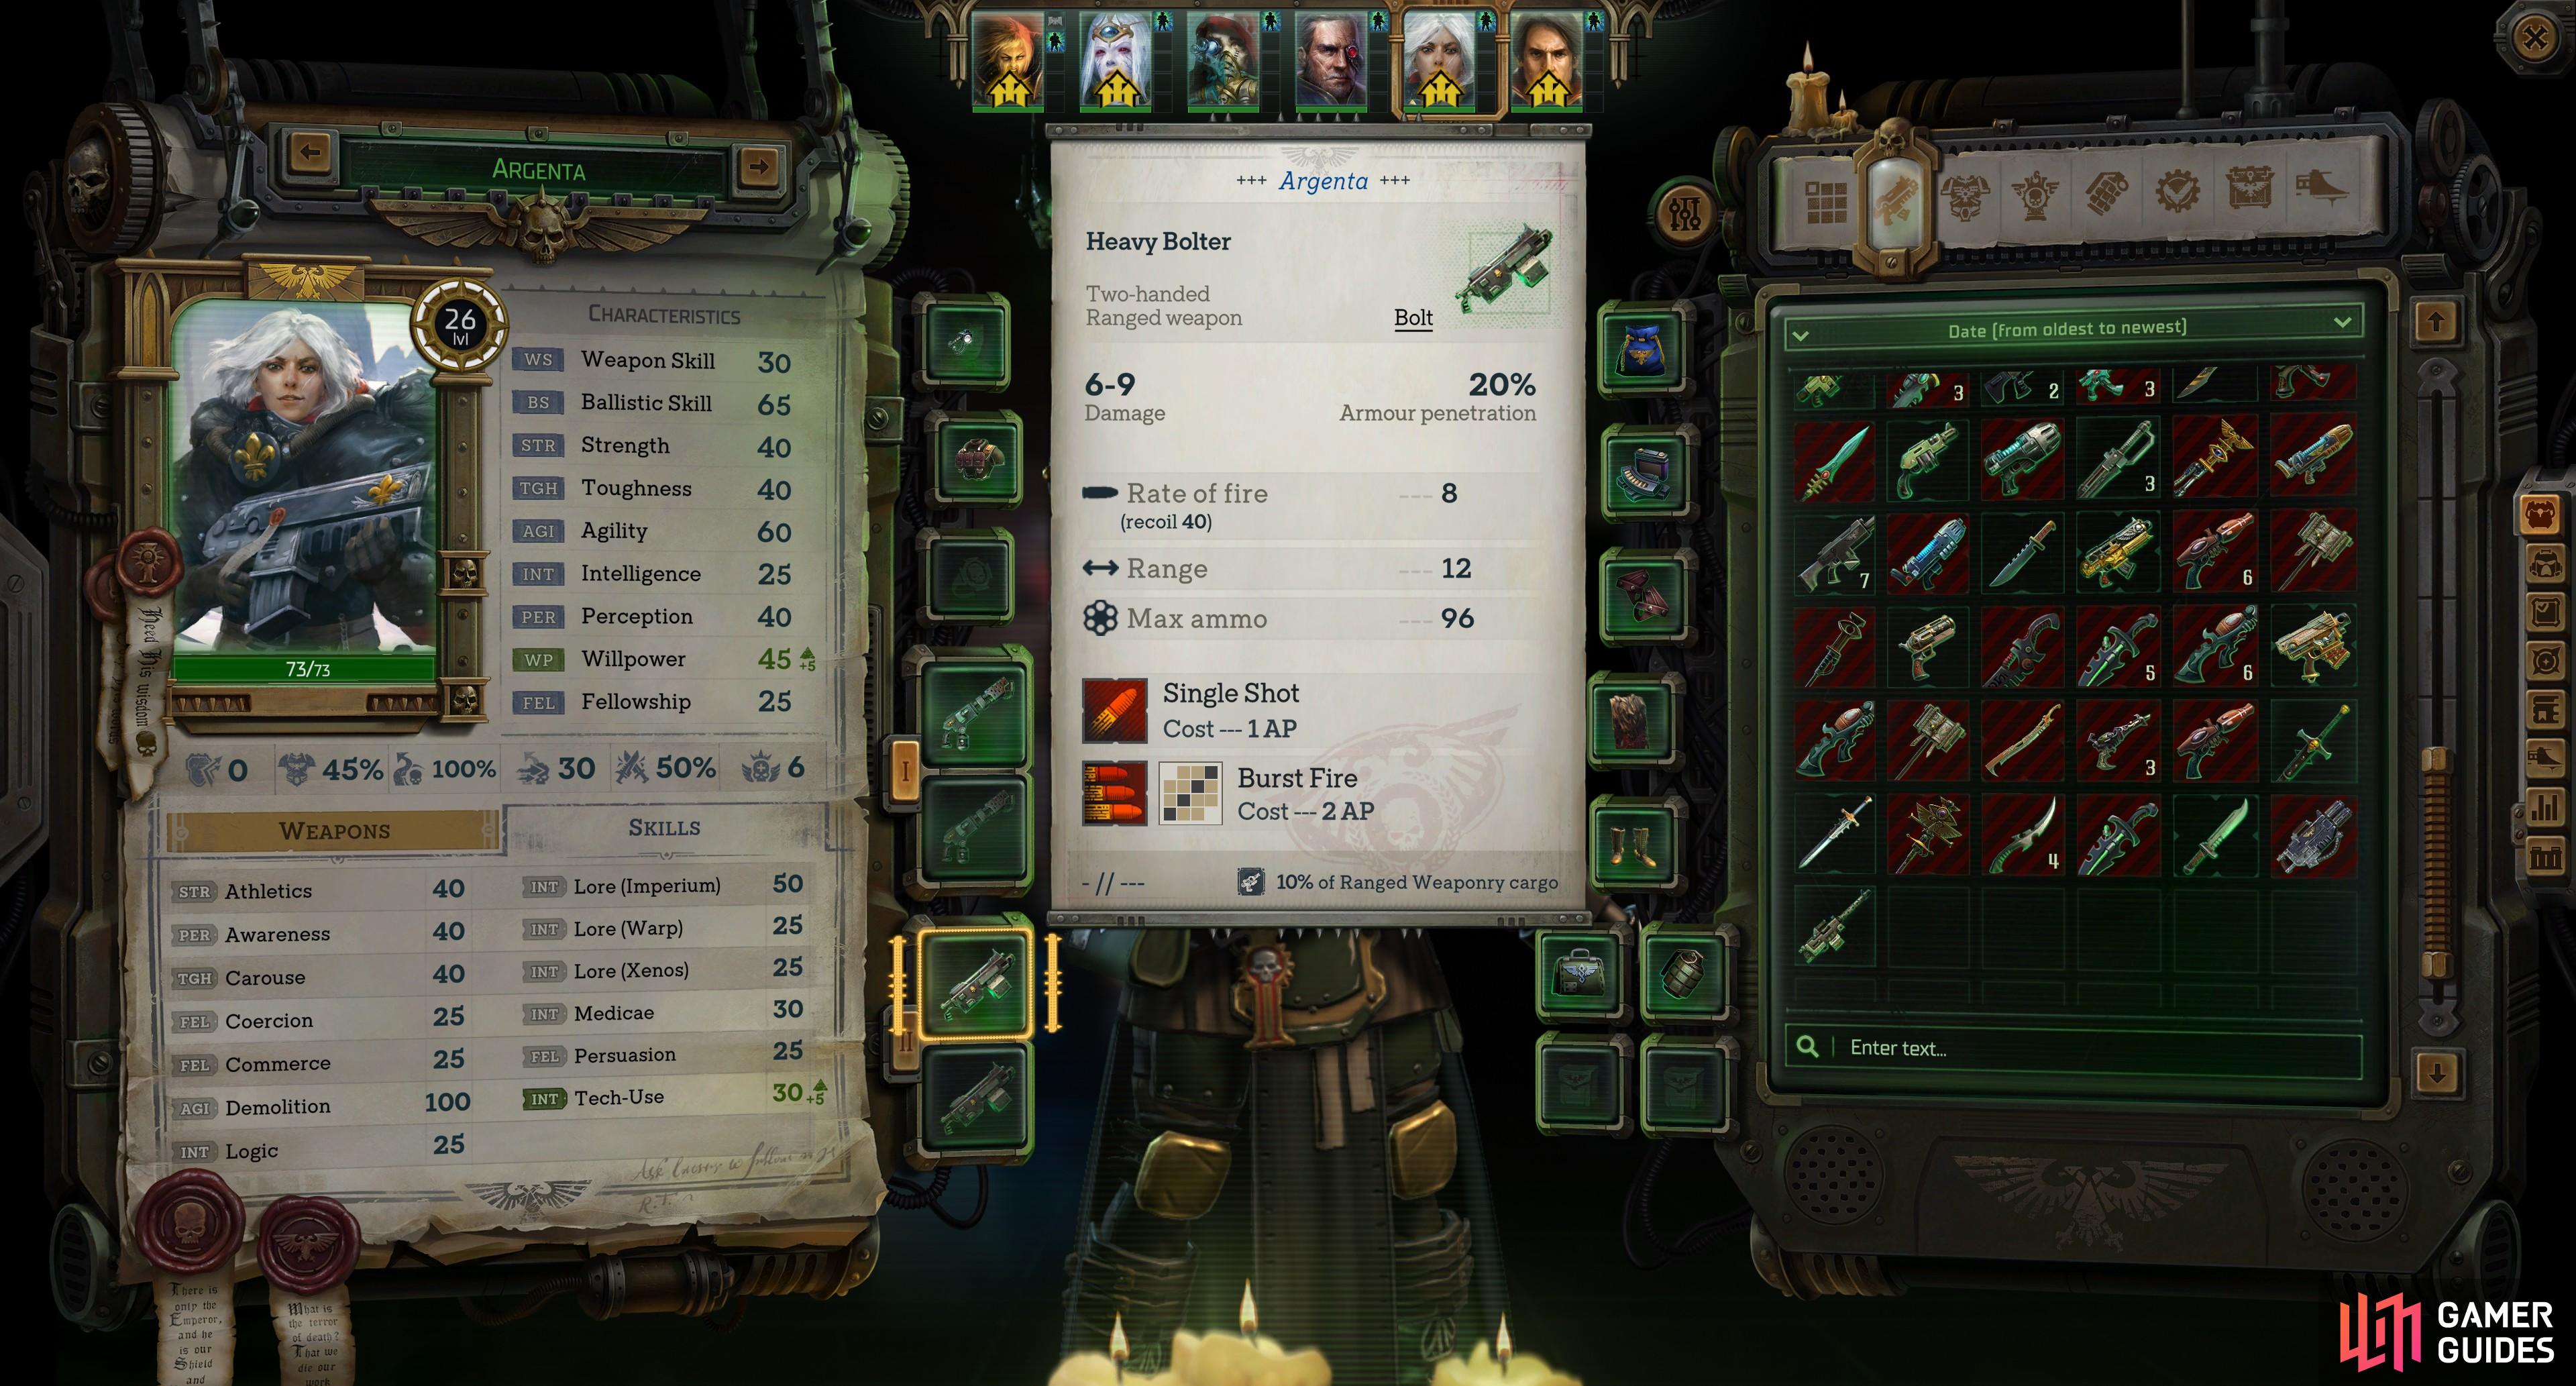
The Heavy Bolter can also be obtained from the Drusians, but you’ll need to boost your reputation and Profit Factor considerably.
Heavy Bolter
Another weapon you can requisition by boosting your reputation with the Drusians, this one requires you to hit Reputation tier 4, which takes quite a bit more doing than either the Bloodhound Staff or the Elite Chainsword. You’ll also need a Profit Factor of 36+ to get this weapon, which is something you’re probably not going to achieve until you’ve completed the main quest Reclaim What Was Lost. Still, it’s very doable in Chapter 2, and while the prize is only a standard ![]() Heavy Bolter, it’s decent damage, passable Armor Penetration and withering Rate of Fire makes it brutal in the hands of a heavy weapon specialist - ideally an Arch-Militant who can best make use of such a weapon.
Heavy Bolter, it’s decent damage, passable Armor Penetration and withering Rate of Fire makes it brutal in the hands of a heavy weapon specialist - ideally an Arch-Militant who can best make use of such a weapon.
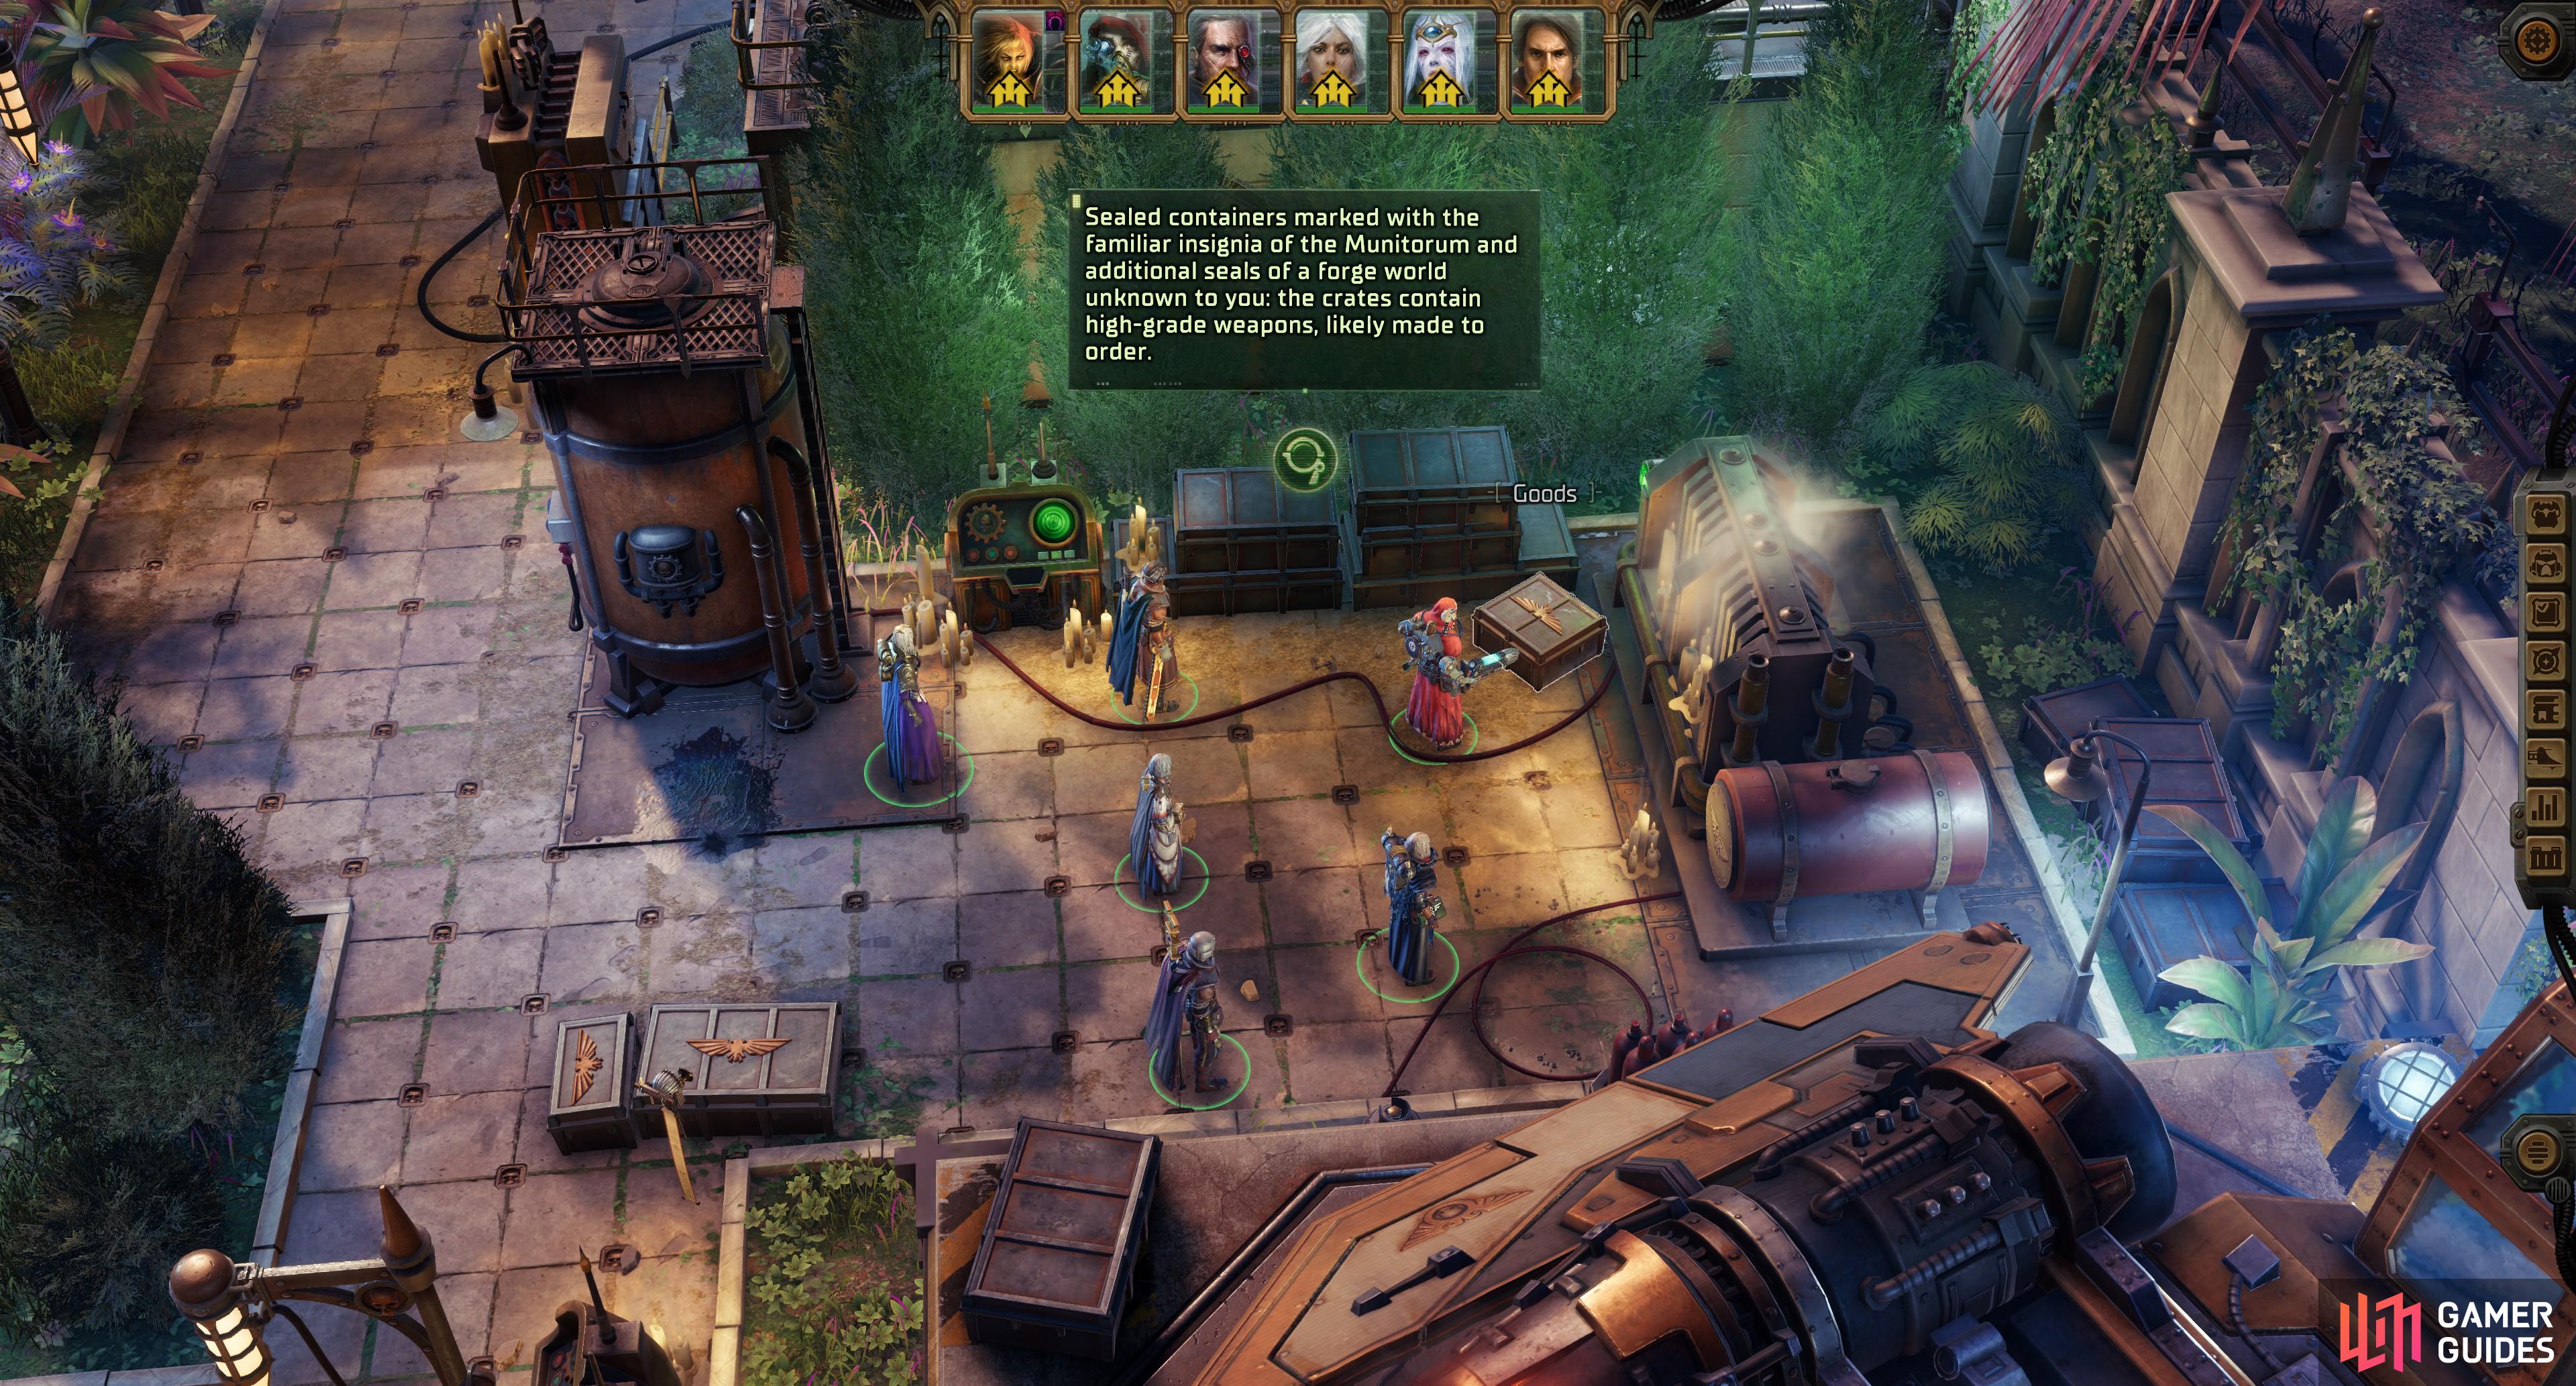

(1 of 2) After defeating the insurgents, refuse to accompany the guards to the governor so you can loot around - grab the Hot Shot Lasgun from a container - it’ll come in handy later.
After defeating the insurgents, refuse to accompany the guards to the governor so you can loot around - grab the Hot Shot Lasgun from a container - it’ll come in handy later. (left), The Hot Shot Lasgun’s damage output isn’t great, but its high Armor Penetration and Dodge Reduction make it reliable. (right)
Hot Shot Lasgun
Travel to Janus and survive the rebel ambush that attends your reception, then either meet with the governor or postpone so you can search around. Either way, you’ll want to make your way near your shuttle on the grounds outside the governor’s mansion. From here, head north and search a crate to find this weapon.
This might be a bit of an odd inclusion, as its damage is borderline low and while it’s a burst fire weapon, its rate of fire is an unimpressive 4. That said, it has a decent Armor Penetration stat of 40% and Dodge Reduction of 30%, meaning if you can get close to an enemy and unleash its burst fire mode, it should do fairly reliable damage. Against the Aeldari you’ll encounter on Janus and the Drukhari later on, this weapon is a pretty solid option. You might not want it equipped all the time, against every enemy, and it’ll fall off pretty hard in Chapter 3, but you can get it fairly early, and it’ll acquit itself well.

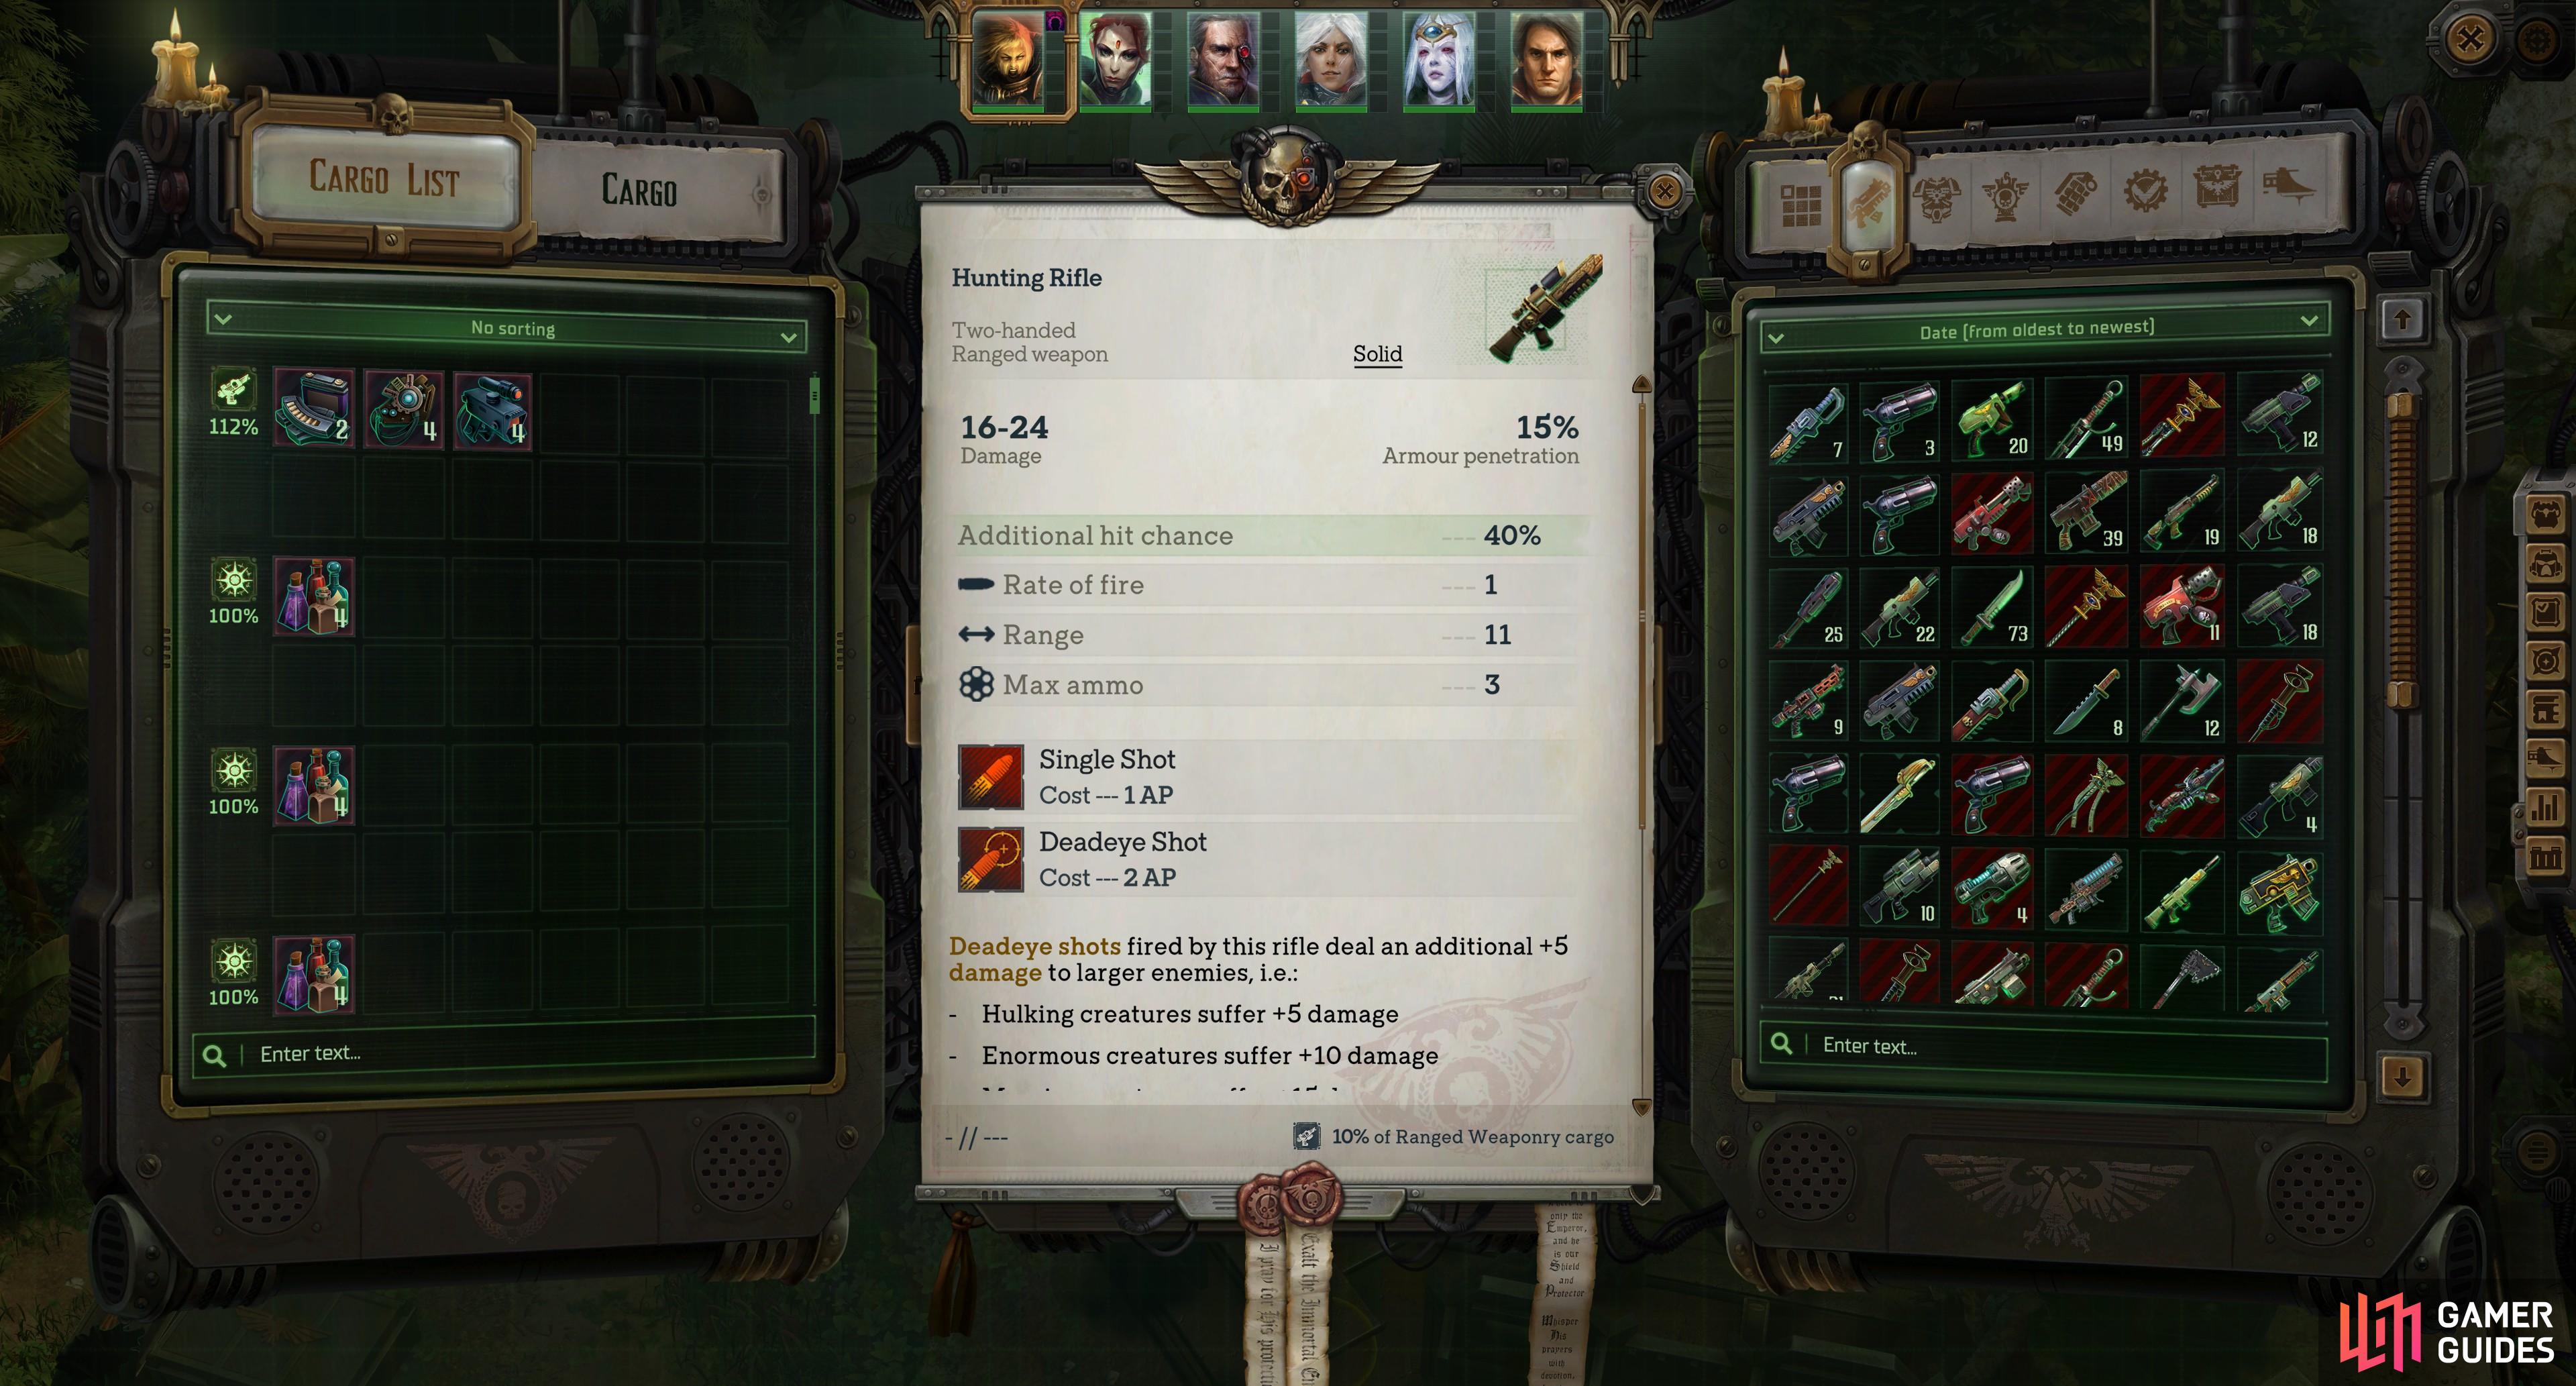
(1 of 2) Defeat a Sharpshooter Rebel in the Forests of Janus,
Defeat a Sharpshooter Rebel in the Forests of Janus, (left), and loot this good, low-requirement all-rounder from his corpse. (right)
Hunting Rifle
During the main quest World Shapers you’ll travel to Janus, and eventually the Forests of Janus area. From where you start along the southeastern corner of the map head north over a fallen tree bridge until you reach a fork, then follow a trail north to reach a small rebel camp. There you’ll find a ![]() Sharpshooter Rebel, who possesses this gun. Teach him the virtues of death and he’ll gratefully yield this weapon to you.
Sharpshooter Rebel, who possesses this gun. Teach him the virtues of death and he’ll gratefully yield this weapon to you.
The ![]() Hunting Rifle isn’t the best weapon in the chapter, but it should still make itself tempting enough to end up equipped on somebody due to its good damage, high Additional Hit Chance, moderate Armor Penetration, and +5, +10, and +15 damage bonus the larger the enemy is. Best of all, you can find this weapon fairly early in Chapter 2 and it doesn’t force you to invest in any talents to get it (unlike many of the weapons that outperform it). As long as you’re not a space marine or a xenos, you should be able to use it.
Hunting Rifle isn’t the best weapon in the chapter, but it should still make itself tempting enough to end up equipped on somebody due to its good damage, high Additional Hit Chance, moderate Armor Penetration, and +5, +10, and +15 damage bonus the larger the enemy is. Best of all, you can find this weapon fairly early in Chapter 2 and it doesn’t force you to invest in any talents to get it (unlike many of the weapons that outperform it). As long as you’re not a space marine or a xenos, you should be able to use it.


(1 of 2) Complete the project “For Saint Drusus!” at Foulstone,
Complete the project “For Saint Drusus!” at Foulstone, (left), and you’ll obtain the Infernical flamer. (right)
Infernical
There’s plenty of incentive to establish colonies and pursue colonial projects, but if you need more incentive, the Flamer ![]() Infernical is offered up as an early project reward. The first colony you’ll likely stumble across is Foulstone, which is located in the Trinnitos system and is en route to the first story planet, Janus (Telikos Epsilon system). All you have to do to claim this colony is settle a religious dispute, after which you’ll get access to three projects. Pick
Infernical is offered up as an early project reward. The first colony you’ll likely stumble across is Foulstone, which is located in the Trinnitos system and is en route to the first story planet, Janus (Telikos Epsilon system). All you have to do to claim this colony is settle a religious dispute, after which you’ll get access to three projects. Pick ![]() For Saint Drusus!, which will reward you with the Infernical weapon. To pass time, just travel between safe systems in the Koronus Expanse and claim your new weapon when it unlocks. Infernical deals around 2.5x more damage than a standard Flamer, has more Armor Penetration but loses the Spray firing mode, only retaining the Stream firing mode (albeit with more affected tiles). It’s a worthy tradeoff and can see
For Saint Drusus!, which will reward you with the Infernical weapon. To pass time, just travel between safe systems in the Koronus Expanse and claim your new weapon when it unlocks. Infernical deals around 2.5x more damage than a standard Flamer, has more Armor Penetration but loses the Spray firing mode, only retaining the Stream firing mode (albeit with more affected tiles). It’s a worthy tradeoff and can see ![]() Argenta through the rest of Chapter 2.
Argenta through the rest of Chapter 2.
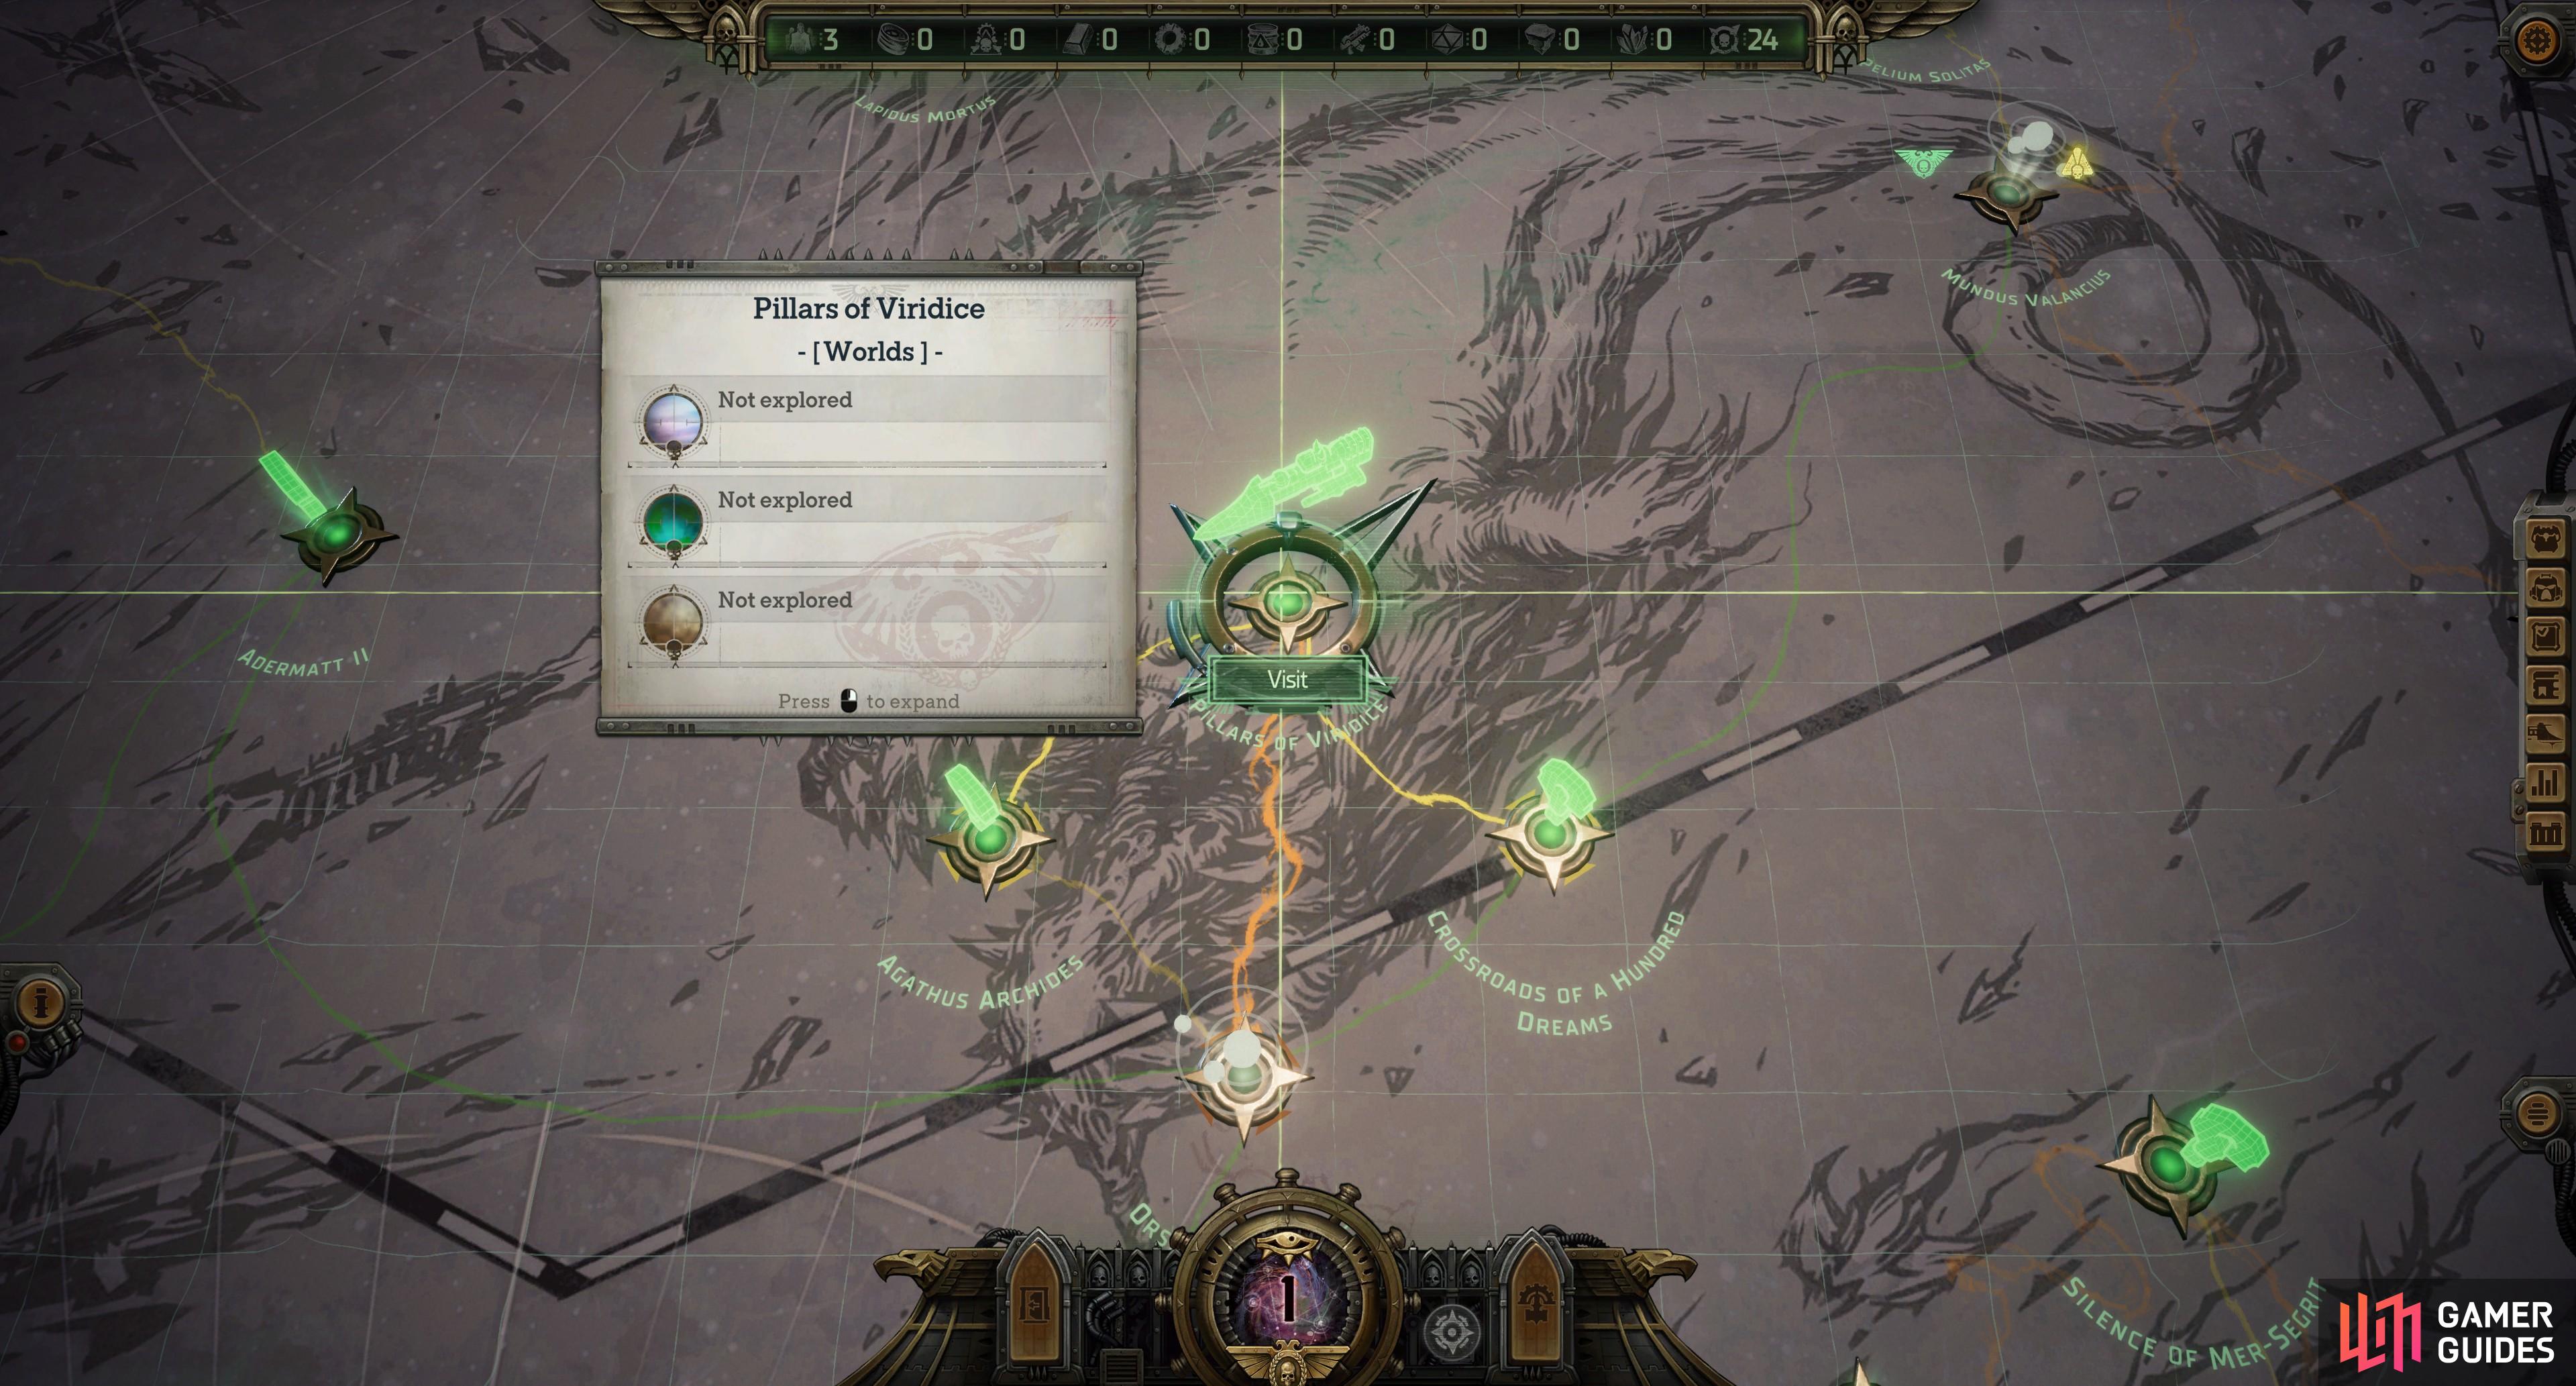

(1 of 5) Travel to the Pillars of Viridice system and land at an Inquisition Shipwreck.
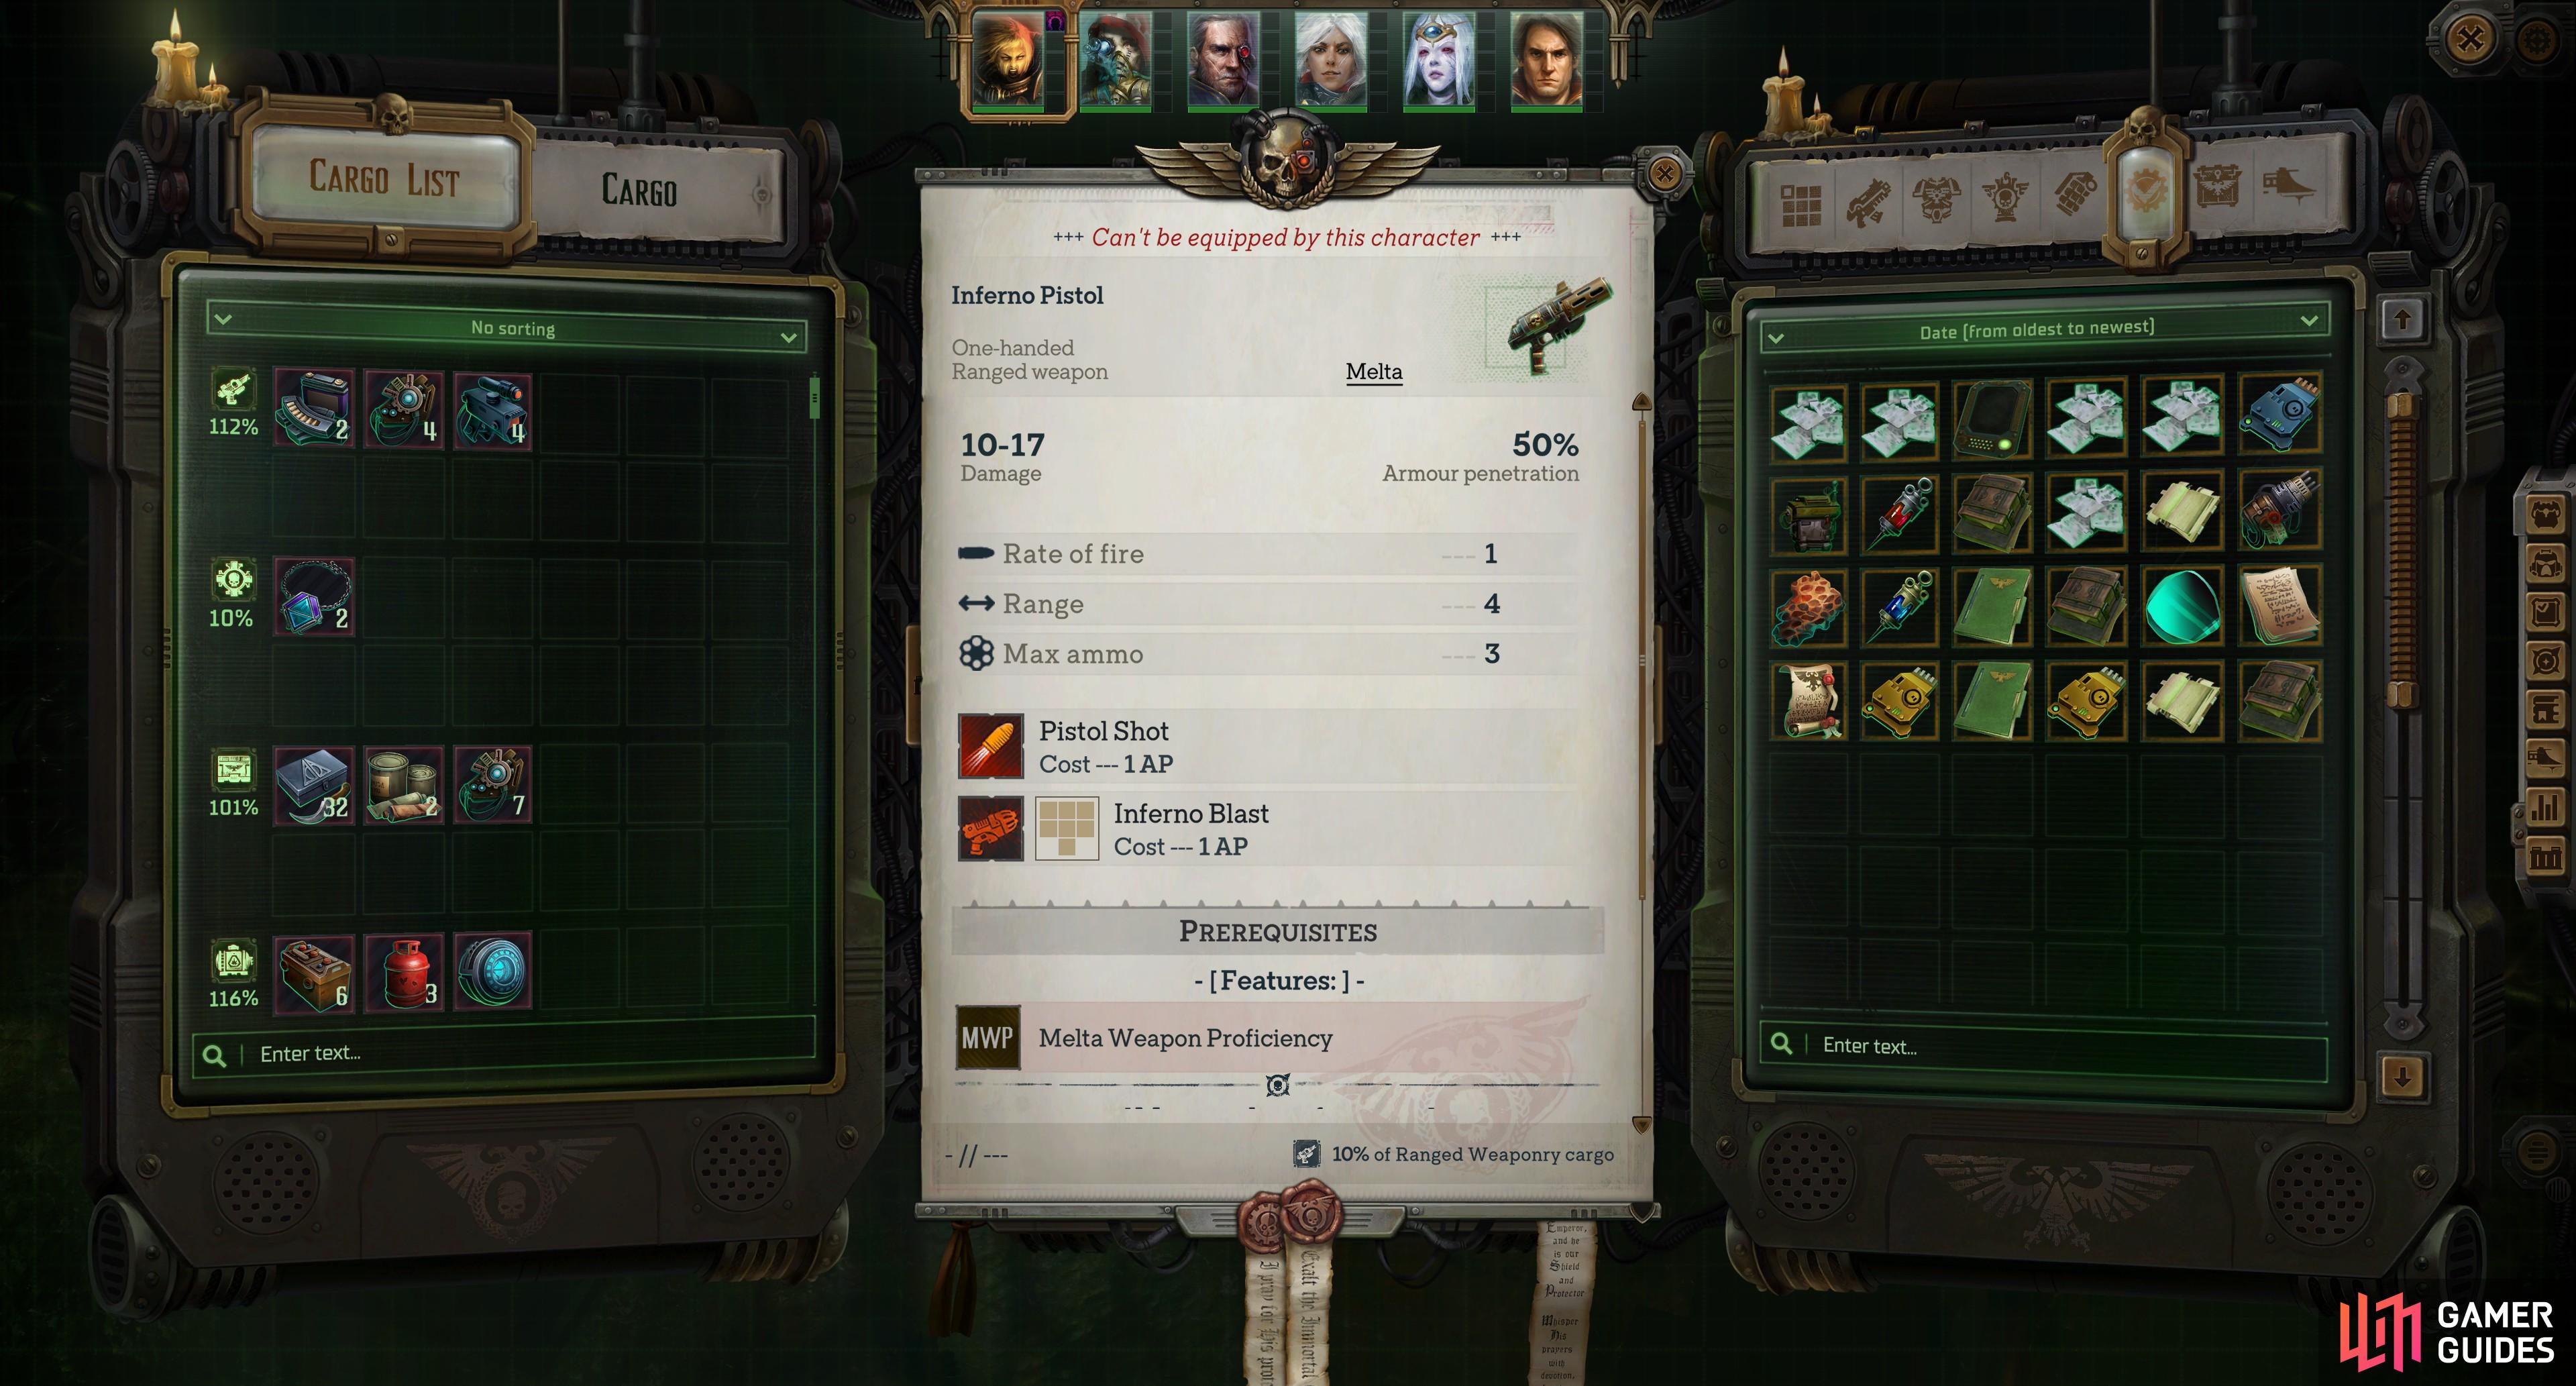
Inferno Pistol
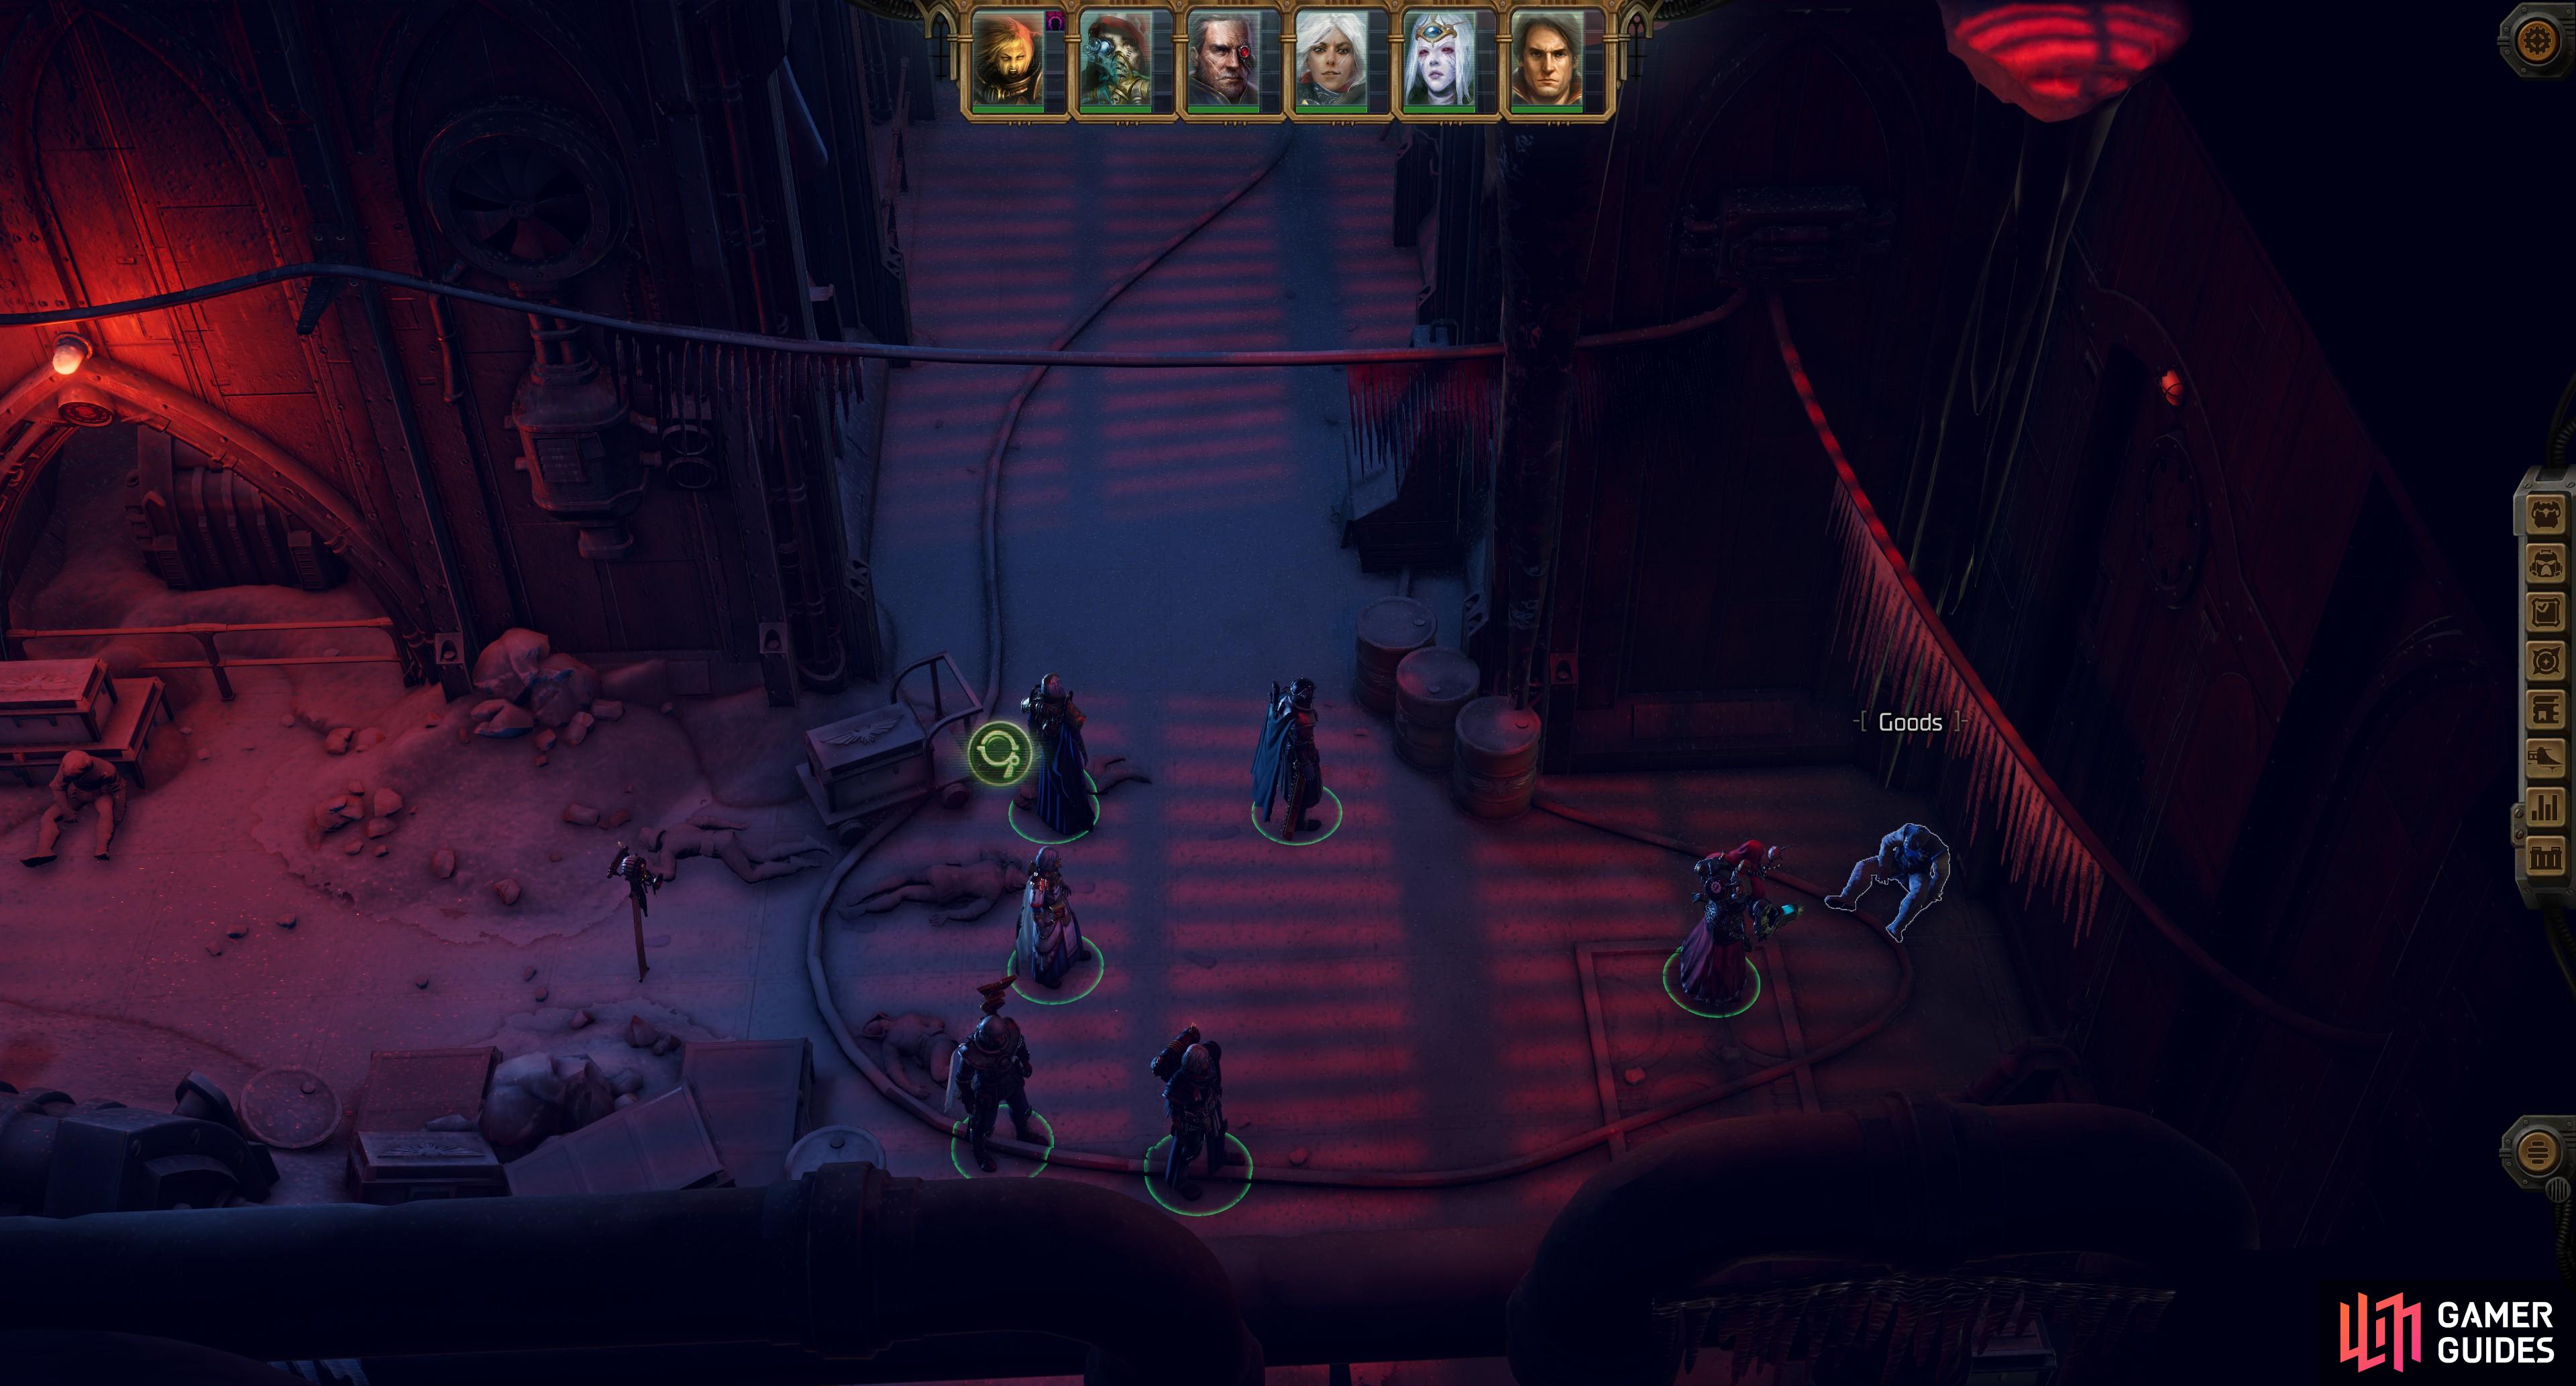
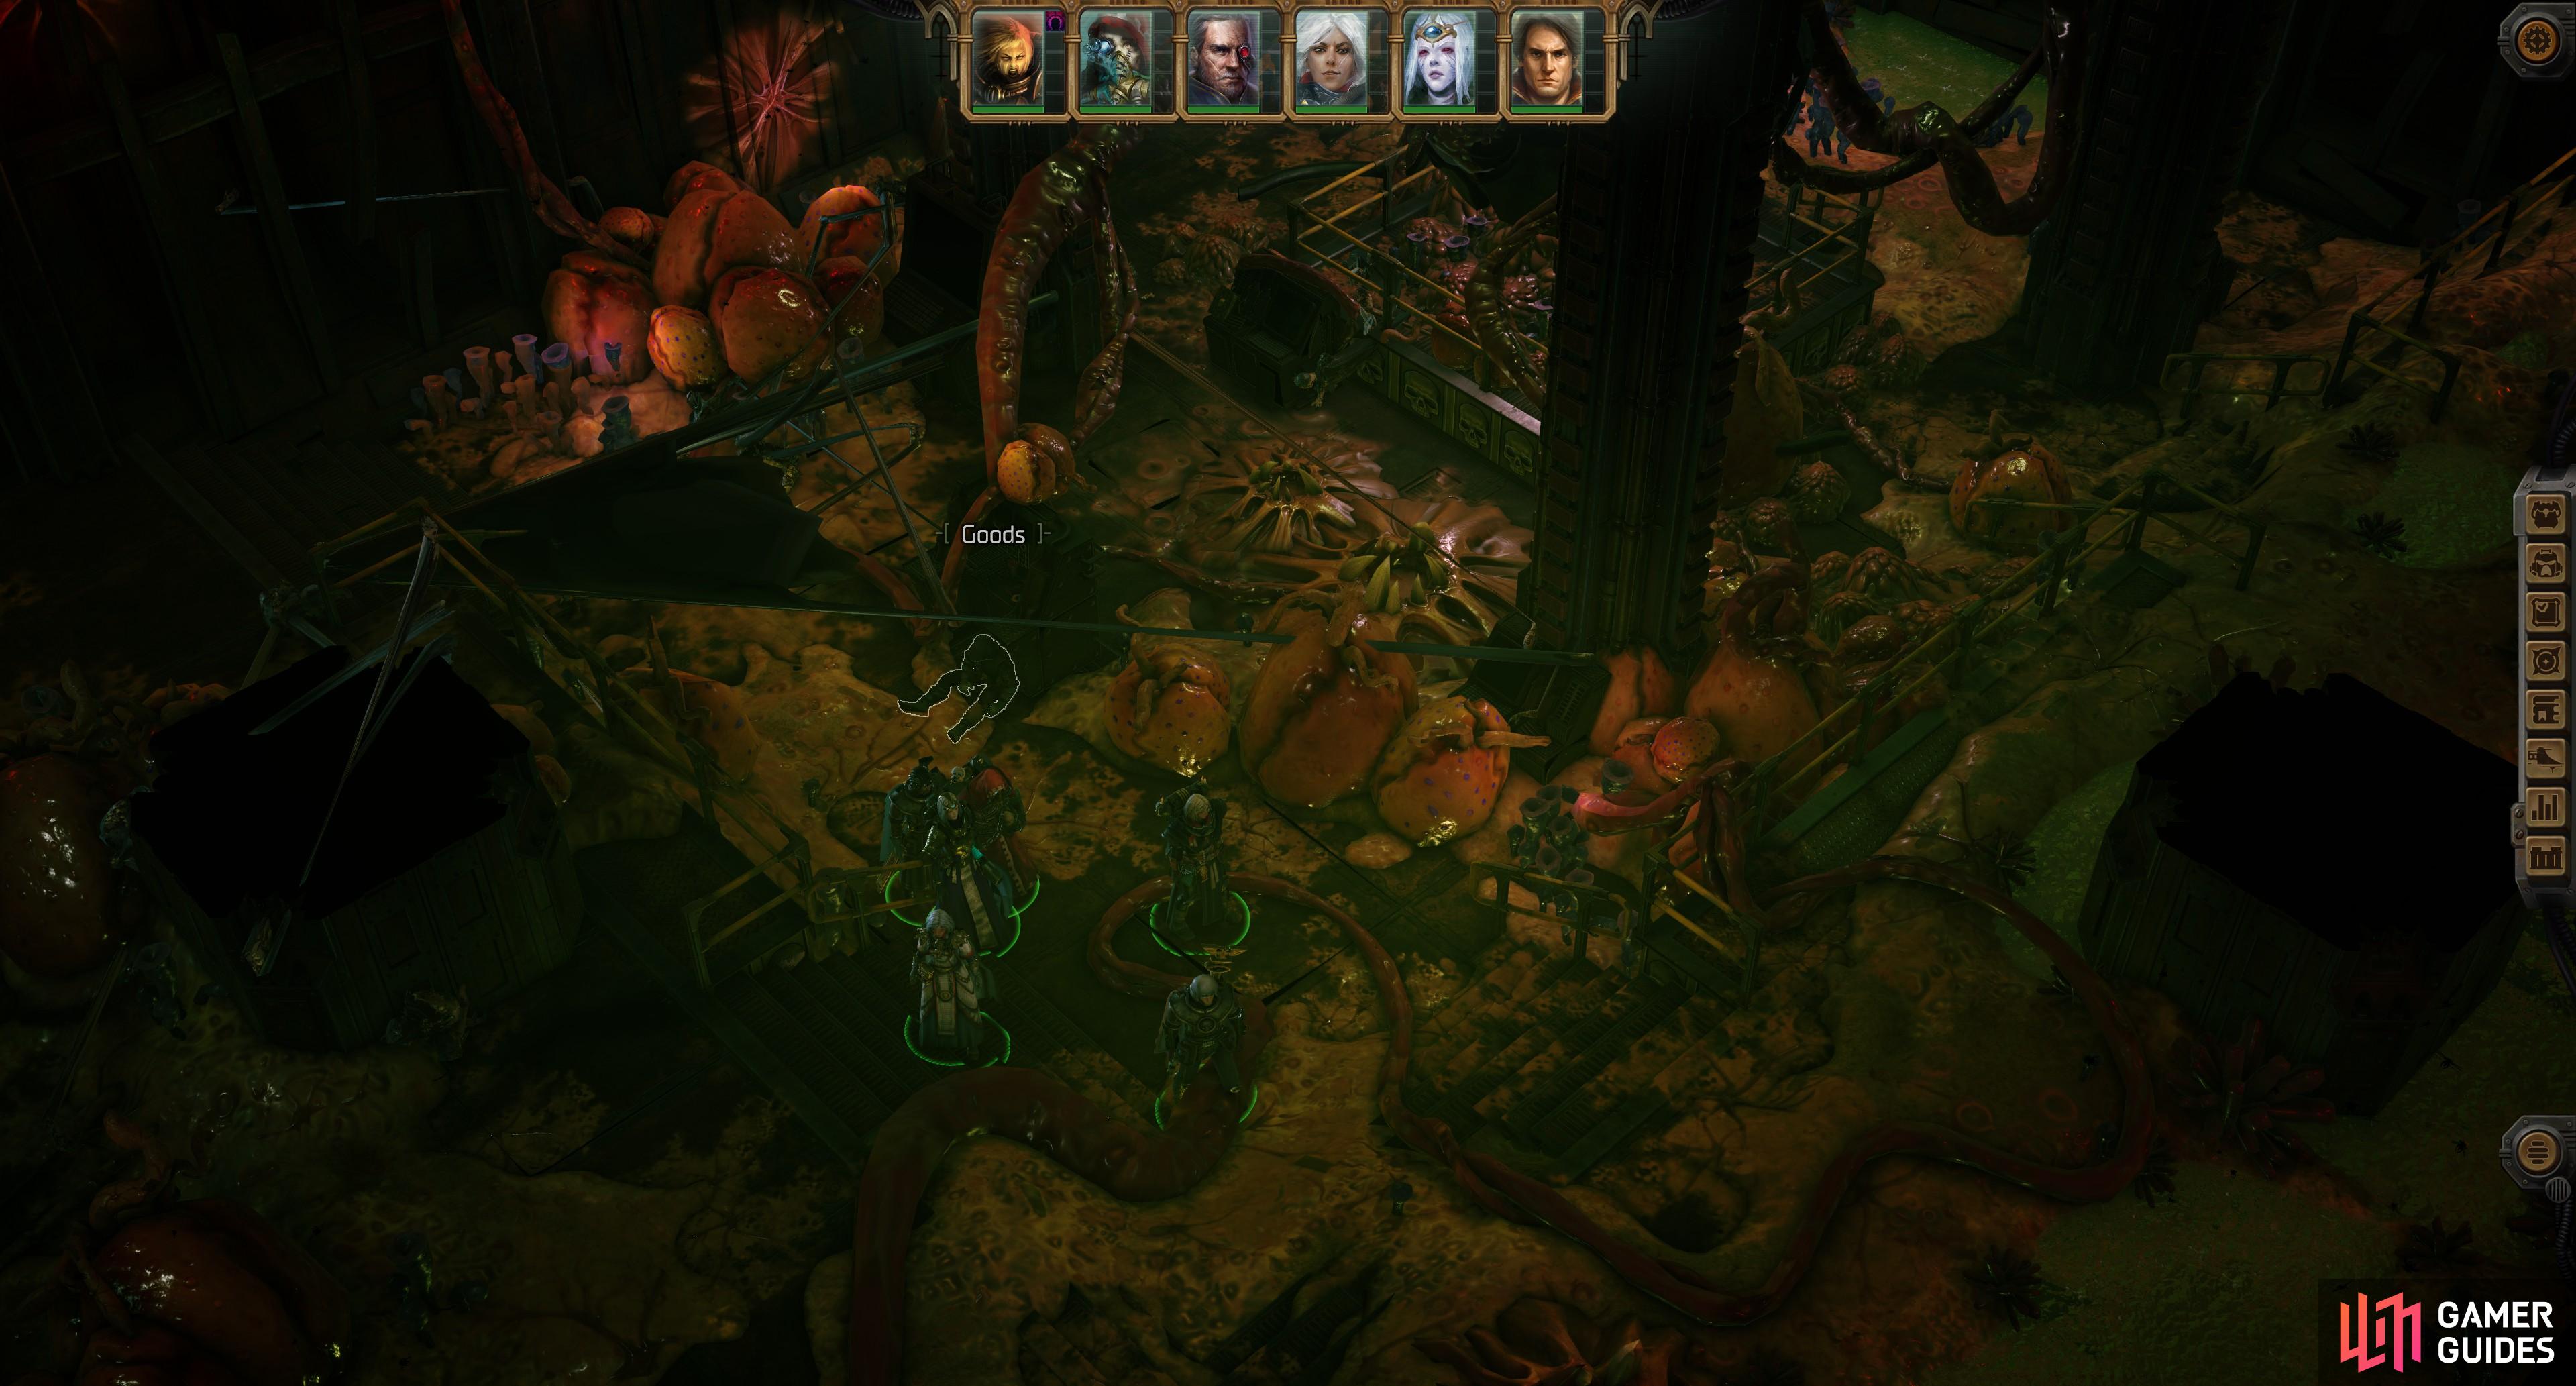
One of the earliest Melta type weapons in the game, you’ll find this specimen aboard a crashed Inquisition Shipwreck on an Ice World in the Pillars of Viridice system. Unfortunately, getting your hands on this weapon isn’t as simple as walking in and picking it up, as you’ll need to find a Sentry’s Key Card - easy enough, it’s near the beginning of the area - and a Master of Arms Seal. This last keycard will require you to reach the end of the area, surviving two encounters, one against Poxwalkers and Corrupted Turrets and the other against an Occluding Sphere and its hordes of pestilential minions. After emerging victorious from these two encounters, you’ll be free to search another corpse for the aforementioned Master of Arms Seal, and collectively these two key cards will let you open a door and a chest containing this weapon. A full walkthrough for the Inquisition Shipwreck can be found by following the link.
While the Inferno Pistol isn’t an exemplar of its type, Melta weapons generally have various favorable attributes that make seeking this weapon out worthwhile, including high base damage (at least, for a pistol), high Armor Penetration, and a cone shaped AoE. While the weapon’s range is paltry, it’s still a great sidearm for melee-focused characters, especially if they possess the Dual-Weapon Combat talent.


(1 of 4) Either pick a locked door,
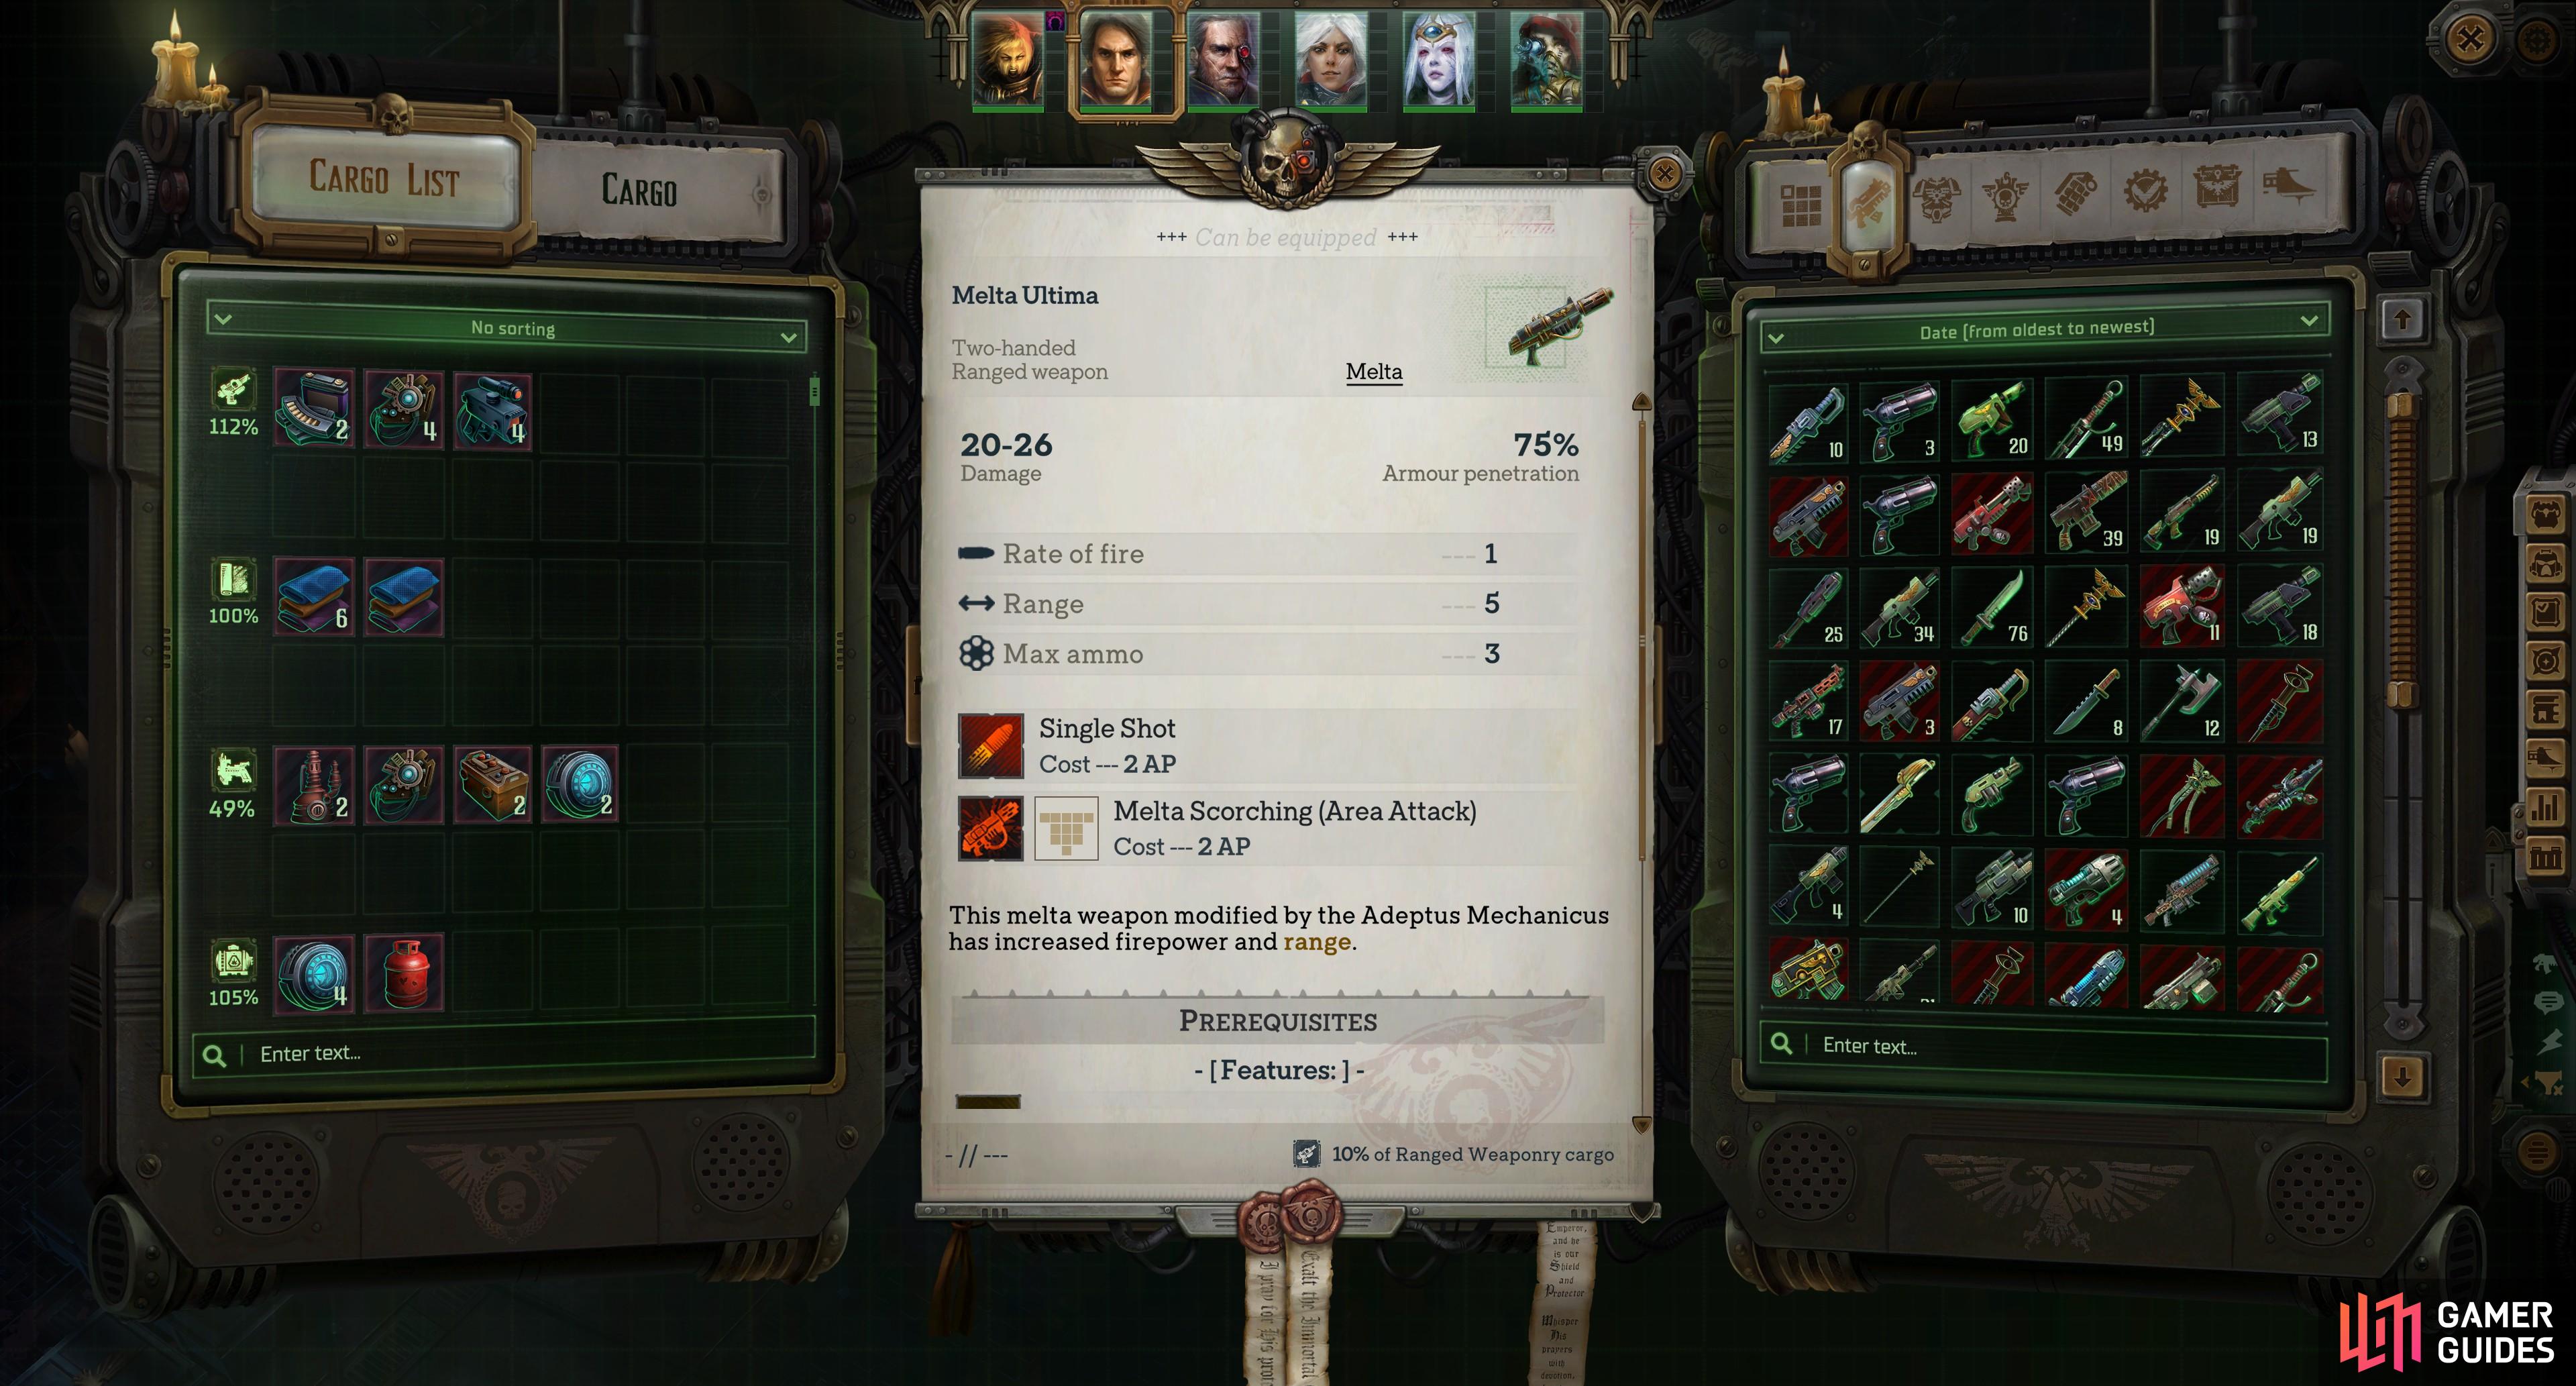
Melta Ultima
On Kiava Gamma, progress through the dungeon until you meet Fabricator-Censor Cubis Delphim, who will sic some Skitarii and Tech-Priests on you. From where you meet this abomination, continue north and defeat the aforementioned enemies, then turn west to find two large, sealed metal doors. The northern one is locked [Tech-Use], but the southern one is not. If you go through the southern door, however, you’ll need to blow a hole in the northern wall [Demolition] to get behind the northern door. However you manage it, once you’re beyond this northern door loot a container to find the Melta Ultima (the ![]() Staff of Blood can be found in the same chest).
Staff of Blood can be found in the same chest).
You can find a Meltagun on Janus, and if it weren’t for this weapon, the aforementioned Meltagun would have made this list. The Melta Ultima is a better weapon all-around, dealing high damage (around 140% of the damage the standard Meltagun deals), imposing a whopping 75% Armor Penalty, and possessing improved range. It’s a great weapon to have when fighting enemies with high Armor, and in that category, you won’t find much that can compete with it until late in Chapter 2.


![to find the [Mezoa-Pattern] Hand Flamer.](/assets/media/17/328/rogue_trader_best_weapons_chapter2_mezoa_pattern_hand_flamer_stats-cc0ac4af.jpg)
(1 of 4) Defeat the Anver thugs in the Dark Hideout,
[Mezoa-Pattern] Hand Flamer
Near the start of Chapter 2, you’ll visit Footfall, where you’ll be ambushed by some Anver thugs. Loot them and you’ll get a note pointing you towards the Shadow Quarters, starting the side quest Rot. Make your way to the Shadow Quarters, search the southwestern edge of the area to find another group of Anver thugs led by one “Cinder”. Defeat them and you’ll get another note pointing you towards the “Dark Hideout”, which can be found northeast of where Cinder and his goons were. Head inside and defeat the Anvers within, then search a bag near the ventilation controls (where the Anver Kingpin was) to find this weapon.
Infernicus is definitely the heavy-hitter you’ll want to use for most of your mutant/heretic/xenos torching needs, out-damaging the ![]() [Mezoa-Pattern] Hand Flamer nearly twice over, this weapon has some things going for it. Namely, it’s a pistol that out-damages the standard Flamer, enjoying the benefits of being used in close-quarters combat, as a sidearm, and its lower AP costs. Compared to a standard
[Mezoa-Pattern] Hand Flamer nearly twice over, this weapon has some things going for it. Namely, it’s a pistol that out-damages the standard Flamer, enjoying the benefits of being used in close-quarters combat, as a sidearm, and its lower AP costs. Compared to a standard ![]() Hand Flamer the [Mezoa-Pattern] Hand Flamer deals nearly twice as much damage at the cost of one less cell of range. If you need to incinerate something but can’t spare two hands to do it, this is your best option in Chapter 2.
Hand Flamer the [Mezoa-Pattern] Hand Flamer deals nearly twice as much damage at the cost of one less cell of range. If you need to incinerate something but can’t spare two hands to do it, this is your best option in Chapter 2.
![Defeat Dementz to obtain his [Mezoa-Pattern] Plasma Gun on Kiava Gamma.](/assets/media/17/328/rogue_trader_best_weapons_chapter2_mezoa_pattern_plasma_gun_stats-fc5b7b34.jpg)
Defeat Dementz to obtain his [Mezoa-Pattern] Plasma Gun on Kiava Gamma.
[Mezoa-Pattern] Plasma Gun
You can pry this weapon out of the cold dead manipulators of a Tech-Priest named Dementz on Kiava Gamma. This particular enemy can be found in the southeastern part of the Kiava Gamma Manufactorum, but he’s a bit convoluted to reach. After encountering Fabricator-Censor Cubis Delphim for the first time you’ll need to get on the circular platform he was on, then use it to cross to the eastern half of the manufactorum. Venture south from here and you’ll encounter Dementz, who is accompanied by a Combat Servitor, some Vox Skulls, and a Corrupted Ruststalker. Defeat them and this weapon is yours.
This is a massive upgrade over the standard Plasma Gun - the ![]() [Mezoa-Pattern] Plasma Gun deals twice as much damage and has a Melta-tier Armor Penetration stat of 55%, otherwise possessing the same range, ammo capacity and firing modes. Compared to
[Mezoa-Pattern] Plasma Gun deals twice as much damage and has a Melta-tier Armor Penetration stat of 55%, otherwise possessing the same range, ammo capacity and firing modes. Compared to ![]() The Dark Marchesa, the [Mezoa-Pattern] Plasma Gun has a comfortable 50% damage superiority, but unlike The Dark Marchesa, this weapon can overheat, potentially limiting how often you can make use of its overcharge firing modes.
The Dark Marchesa, the [Mezoa-Pattern] Plasma Gun has a comfortable 50% damage superiority, but unlike The Dark Marchesa, this weapon can overheat, potentially limiting how often you can make use of its overcharge firing modes.

The Staff of Blood is a straight upgrade to the Biomancer’s Staff, found alongside the Melta Ultima in Kiava Gamma.
Staff of Blood
You’ll find this in a container in a side room on [Kiava Gamma] - see the entry for the Melta Ultima weapon, above - they’re in the same container. While it may not be the sexiest weapon out there, it’s an upgrade to Heinrix’s starting weapon, the Biomancer’s Staff, dealing more physical damage, granting the same psychic abilities (Syphon Life) while also possessing a higher power level (9). In addition, this staff gives +15 ![]() Willpower and +10 Toughness while equipped. If you want to keep Heinrix on the
Willpower and +10 Toughness while equipped. If you want to keep Heinrix on the ![]() Biomancy route, this is just a no-frills upgrade that won’t change his playstyle.
Biomancy route, this is just a no-frills upgrade that won’t change his playstyle.

Complete the Ultrequisitors project on Janus to get Star Blight.
Star Blight
Complete the main quest at Janus and you’ll unlock that planet as a colony, where you’ll get three initial projects. ![]() Star Blight is one of the rewards for the
Star Blight is one of the rewards for the ![]() Ultrequisitors project. This is the most powerful sniper rifle in Chapter 2 - it doesn’t really need many more accolades than that. Warder’s Portent may have better abilities - 1 AP Deadeye Shot and the ability to score a free shot every time the shooter lands a critical hit - but Star Blight is no slouch, either, inflicting fatigue and slow on targets. It might not be quite as good as Warder’s Portent, all things considered, but if you have two characters in need of a long-range option, Star Blight is the clear #2 option.
Ultrequisitors project. This is the most powerful sniper rifle in Chapter 2 - it doesn’t really need many more accolades than that. Warder’s Portent may have better abilities - 1 AP Deadeye Shot and the ability to score a free shot every time the shooter lands a critical hit - but Star Blight is no slouch, either, inflicting fatigue and slow on targets. It might not be quite as good as Warder’s Portent, all things considered, but if you have two characters in need of a long-range option, Star Blight is the clear #2 option.

Complete the Blessed Are the Weaponsmiths project on Kiava Gamma to obtain The Dark Marchesa.
The Dark Marchesa
After completing the main quest at Kiava Gamma you’ll regain the planet as a colony. You can get this weapon if you complete the colony project ![]() Blessed Are the Weaponsmiths. Plasma Guns are solid all-rounders, with good damage, range, and Armor Penetration - decent weapons to use to chastise enemies at range without the Armor Penetration of Melta weapons, Dodge Reduction of Las weapons, or situational damage potential of burst fire weapons. The Dark Marchesa is a flat upgrade over the Plasma Rifle, dealing more damage, boasting higher Armor Penetration and promising to never overheat… which is somewhat dubious considering plasma weaponry doesn’t seem to properly overheat anyways.
Blessed Are the Weaponsmiths. Plasma Guns are solid all-rounders, with good damage, range, and Armor Penetration - decent weapons to use to chastise enemies at range without the Armor Penetration of Melta weapons, Dodge Reduction of Las weapons, or situational damage potential of burst fire weapons. The Dark Marchesa is a flat upgrade over the Plasma Rifle, dealing more damage, boasting higher Armor Penetration and promising to never overheat… which is somewhat dubious considering plasma weaponry doesn’t seem to properly overheat anyways.

Jae will give you Warder’s Portent when you talk to her on your voidship after recruiting her.
Warder’s Portent
This weapon is obtained in the same way and at the same time as the Bloodseeker Klaive, (see above). Essentially you have to complete the errands Persona Non Grata and Wanted on Footfall to meet Jae, recover her impounded cargo, stand up for her, and ultimately recruit her into your party. Once done, talk to her on your voidship (part of the companion quest A Lucrative Opportunity) and she should give you these weapons.
Warder’s Portent is a weapon that can only be used by characters who possess Aeldari Equipment or Aeldari Weapon Proficiency talents, and for all intents and purposes it’s designed to be an upgrade to Yrliet’s starting equipment… which is odd since you can easily get this weapon before recruiting Yrliet. It’s a significant upgrade for Yrliet, dealing more damage than her starting rifle, only being capable of Deadeye Shots (which it can perform for 1 AP!), and giving Yrliet a free shot every time she lands a critical hit… which should be just about every time she pulls the trigger, if you follow our Yrliet build.
 Sign up
No Comments