Combined Forces is a main mission that takes place in the second region, Upper Plains. Here you’ll work alongside the citizens of Zakru’s Promise and attempt to bring down the Extractor Plant to avenge a fallen Zakru. On this page, we’ll navigate you through the necessary steps to finding the Loading Bay, Sabotaging the Injectors, and how to destroy the Chemical Mixer Pipes.
Zakru’s Promise is gearing up to infiltrate the Extractor Plant.
Go to Zakru’s Promise Camp in The Stone Hold
After discovering that one of the Zakru has fallen you’ll need to visit Zakru’s Promise which is located in The Stone Hold sub-region of the Upper Plains. More specifically, it can be found east of the Extractor Plant RDA Base. When you arrive, make your way into the tent to initiate a cutscene where you’ll learn that you need to infiltrate the base. Before you set off, you’ll want to make sure your Combat Strength is at least 11 and you’ll want to equip the new Shortbow that was kindly given to you as this will be extremely useful when fighting enemies up close.
Additionally, make sure you have a lot of the stealth-related skills unlocked, such as Silent Destroyer, Shadow Hunter, and Light-Footed Hunter I, as this will allow you to move around quickly without making a sound and deal extra damage toward enemies that are unaware of your presence. Finally, we recommend that you take some time to cook some food that increases your stealth damage, such as Egg-Stuffed Mushroom which requires using any Mushroom and Egg.
Go to the Extractor Plant in The Stone Hold
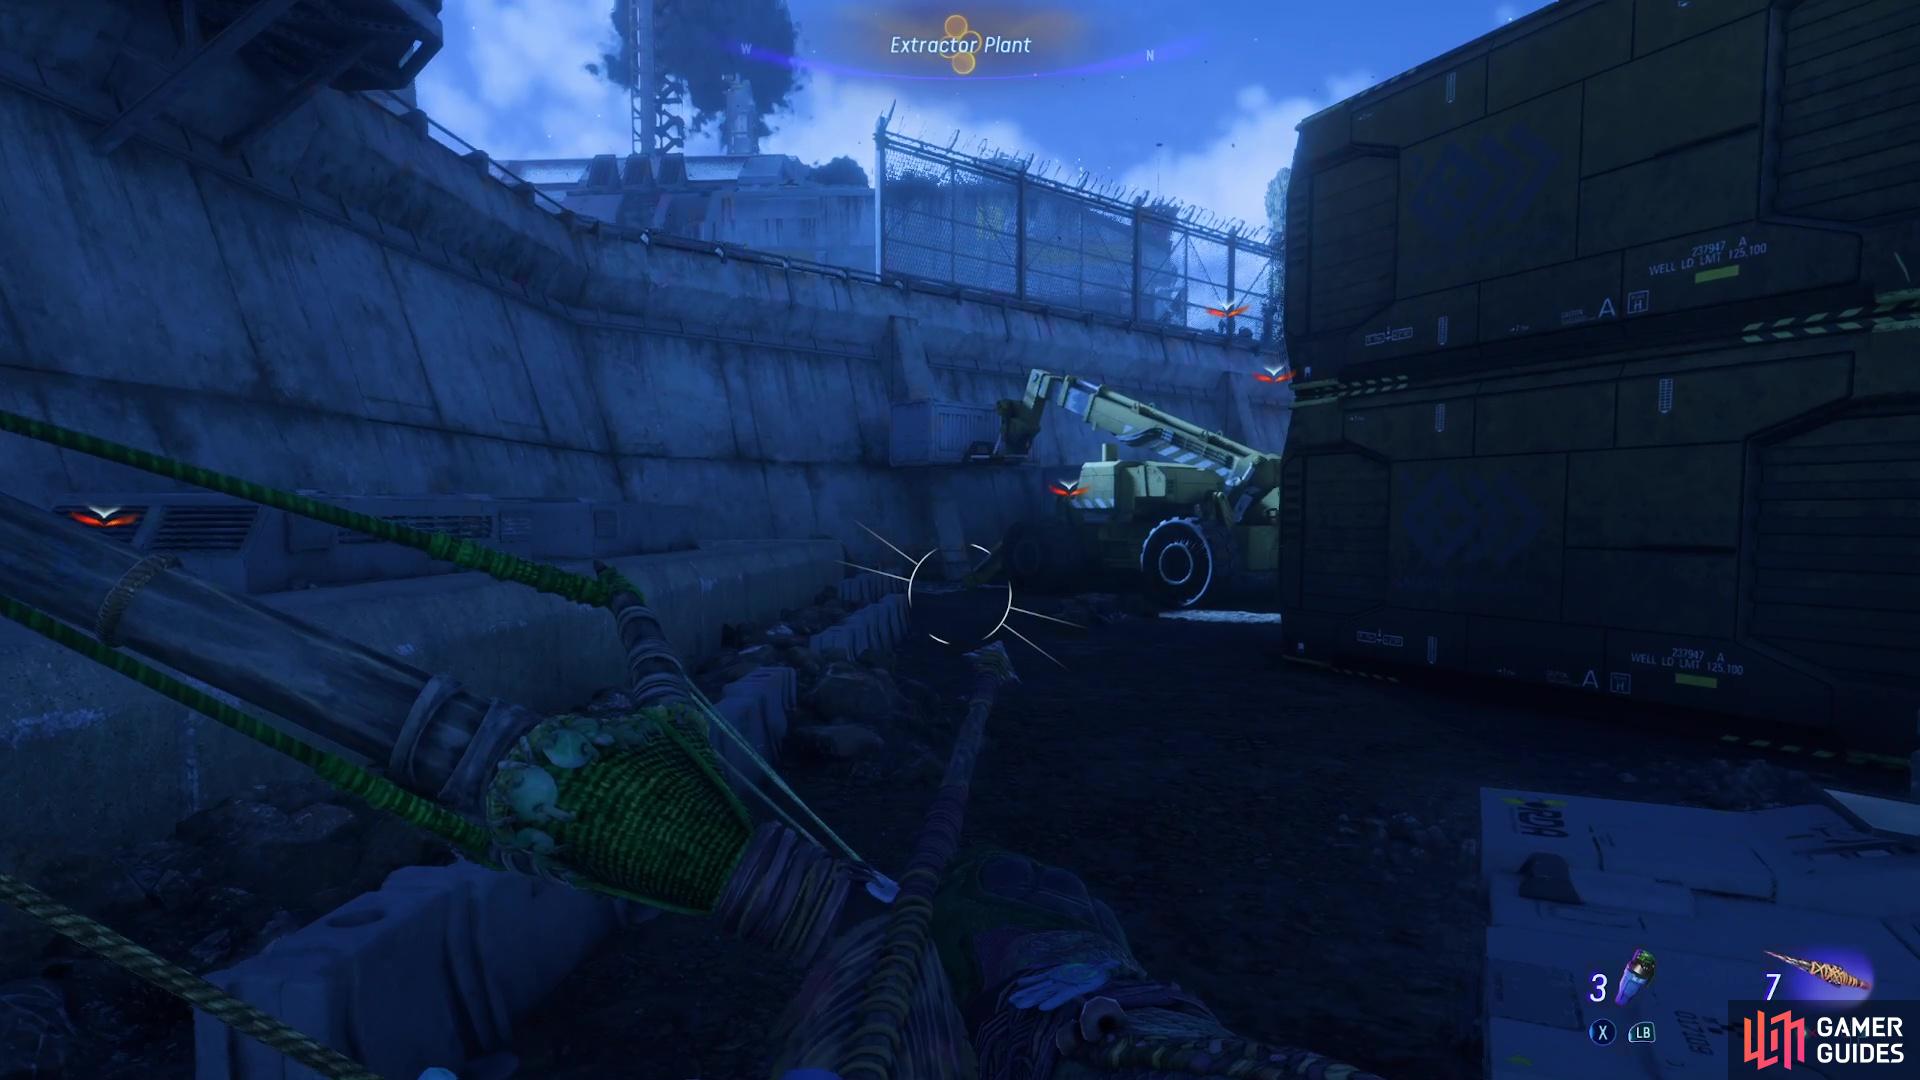
The Extractor Plant is one of the larger RDA Bases in Pandora so you can expect a lot of aerial turrets and helicopters scattered around the outside, but you don’t need to worry about these as you won’t be needing your Ikran for this quest. However, you’ll want to watch out for many Soldiers and Mechs patrolling the base, so regularly make use of your Na’vi Sense to tag all nearby enemies before you enter.
Where to Find the Loading Bay
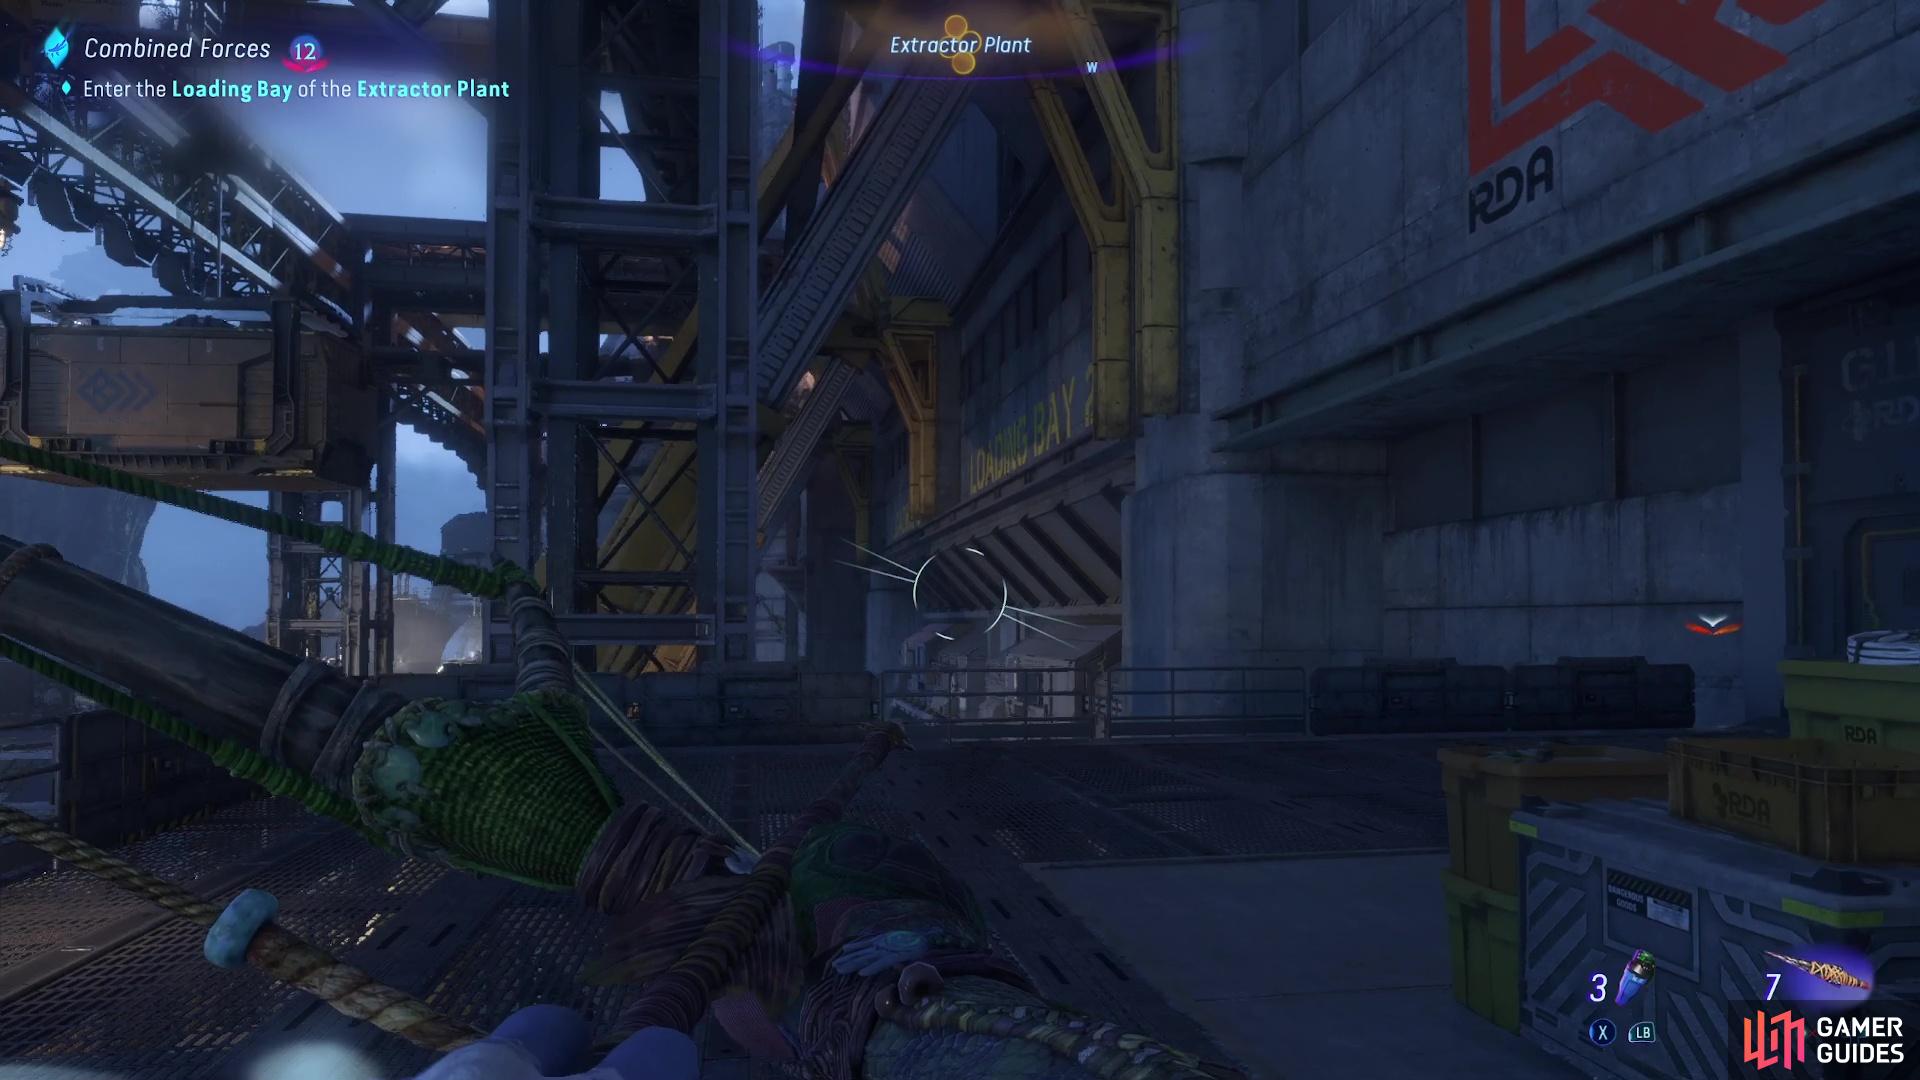
Your first objective towards destroying the RDA Base is to enter via the Loading Bay, so you’ll want to work your way around the eastern side of the base and wait for the Mech to walk in the opposite direction before climbing up onto the catwalk via the crane. From here, walk around to the left side of the base and you’ll come across two large shutters. Wait for the Mechs standing outside to move away before sprinting into the loading bay, then head over to the right side of the building and slide into the elevator in the corner. Use a melee attack to smash the vent open and drop down into the Gas Mine, then interact with the lever to open the door.
(1 of 4) Climb up onto the catwalk via the crane
Sabotage Area A, B, and C Injectors
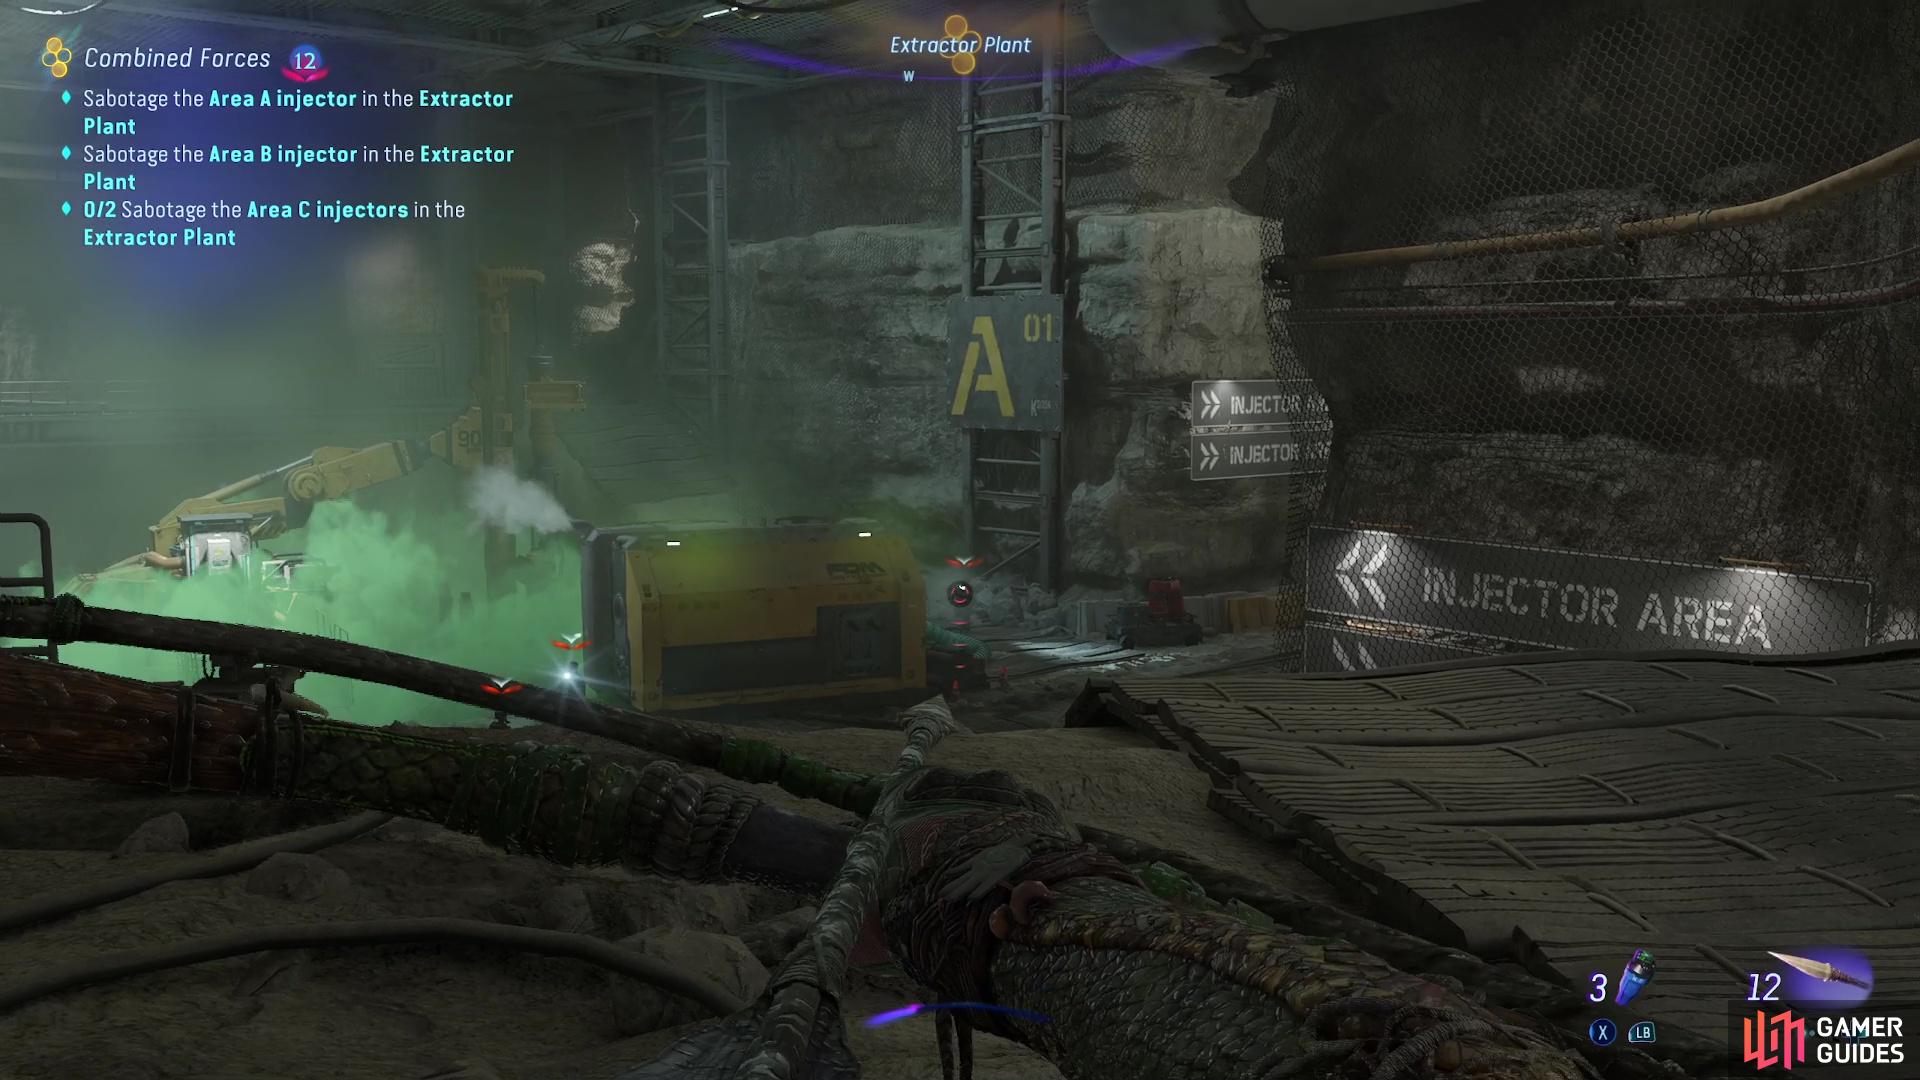
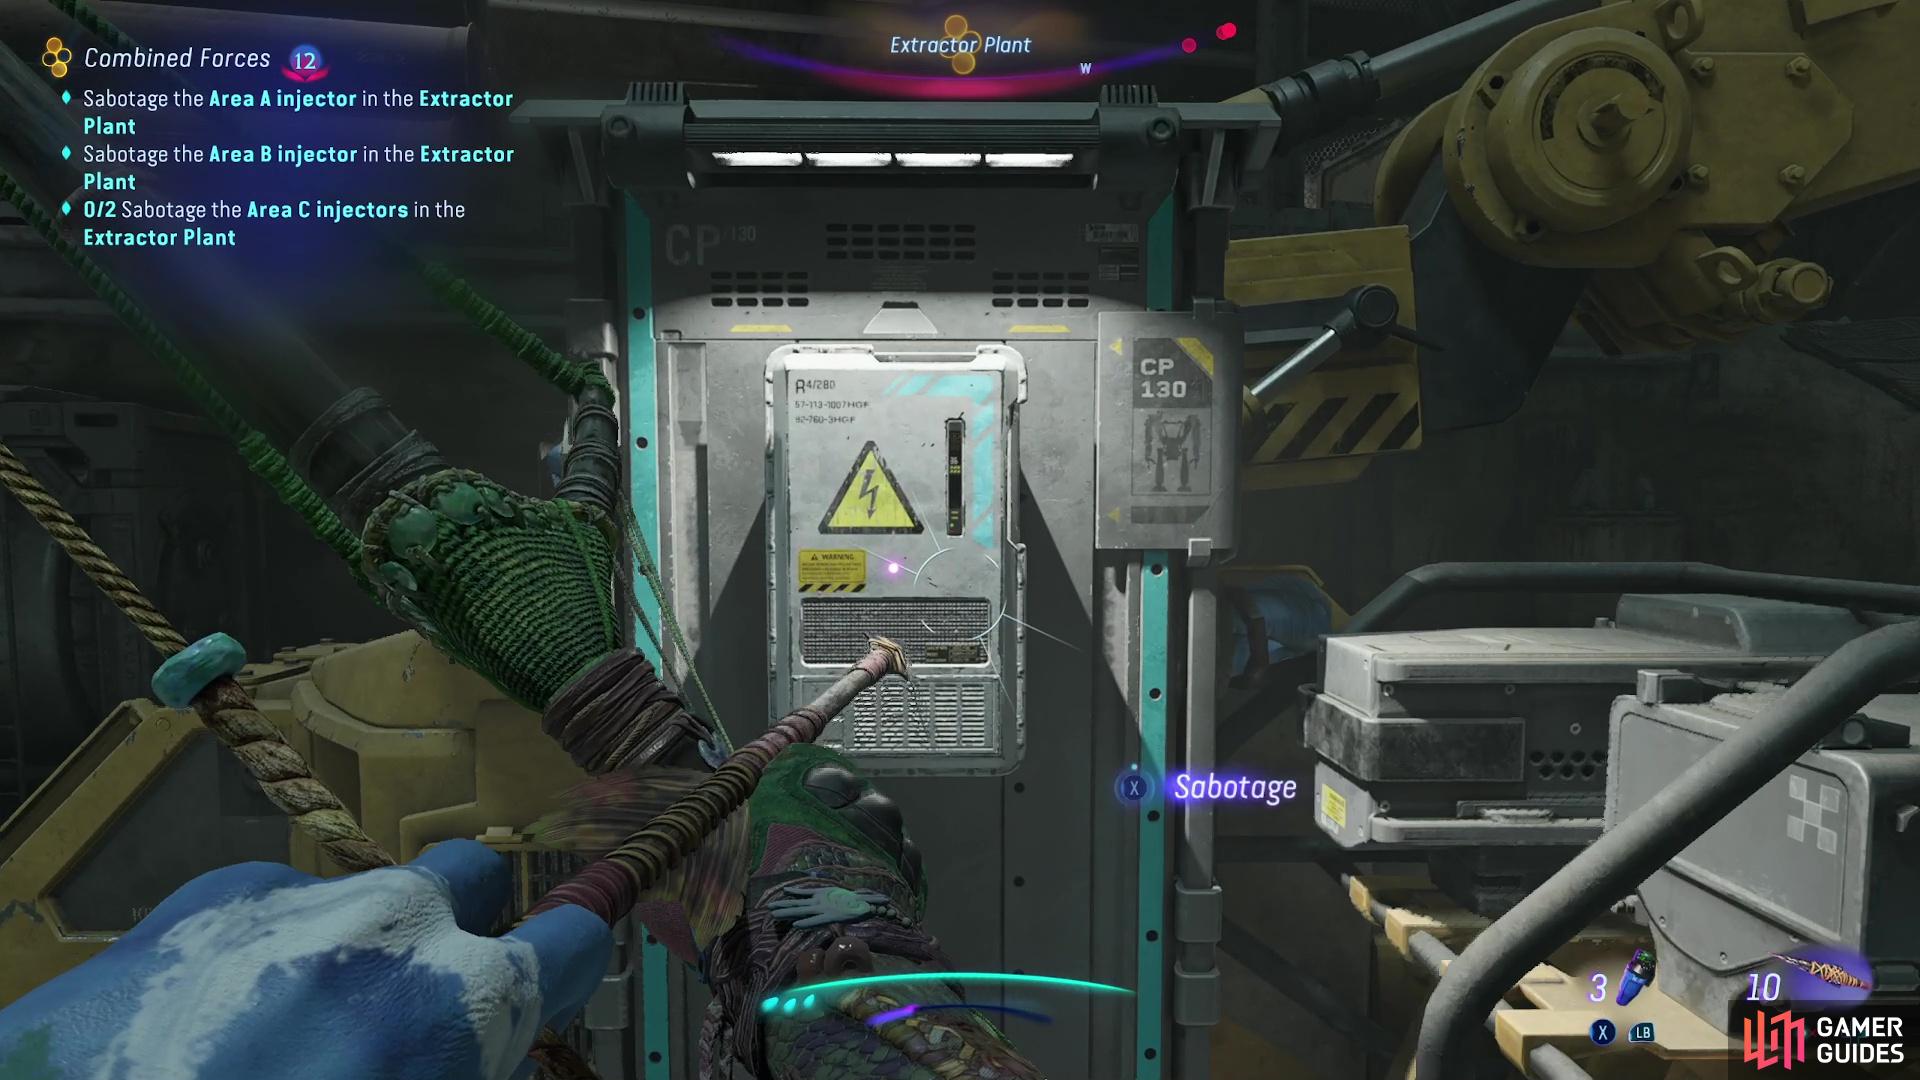
You’ll now come across multiple enemies guarding Injector A so tag the enemies with your Na’vi Sense, then you’ll want to take out the soldiers first with your Longbow or Shortbow before switching over to your Heavy Bow and taking out the Mech. These enemies, however, have a lot of health so you’ll want to fully draw the bow and focus on the weak spots, this is the cockpit. Alternatively, you can try doing these areas stealthily by distracting the enemies with the Sling, but we wouldn’t recommend it. Once you’ve cleared the enemies in the first room, you’ll want to interact with the lever on the injector to turn it off, then interact with the electrical box behind it to destroy the first Injector.
Head into the adjoining room and use the hill to take the high ground, then you’ll want to repeat the same process as the previous room and take down the two soldiers before focusing on the Mech at the back of the room. Sabotage the second Injector, then enter the third and final room and do the same as before but this time you’ll have to deal with two Mechs and three soldiers. With all the enemies and injectors dealt with, you’ll want to enter the room on the second floor and work your way up to the Processing Area.
Reach the Processing Area of the Extractor Plant
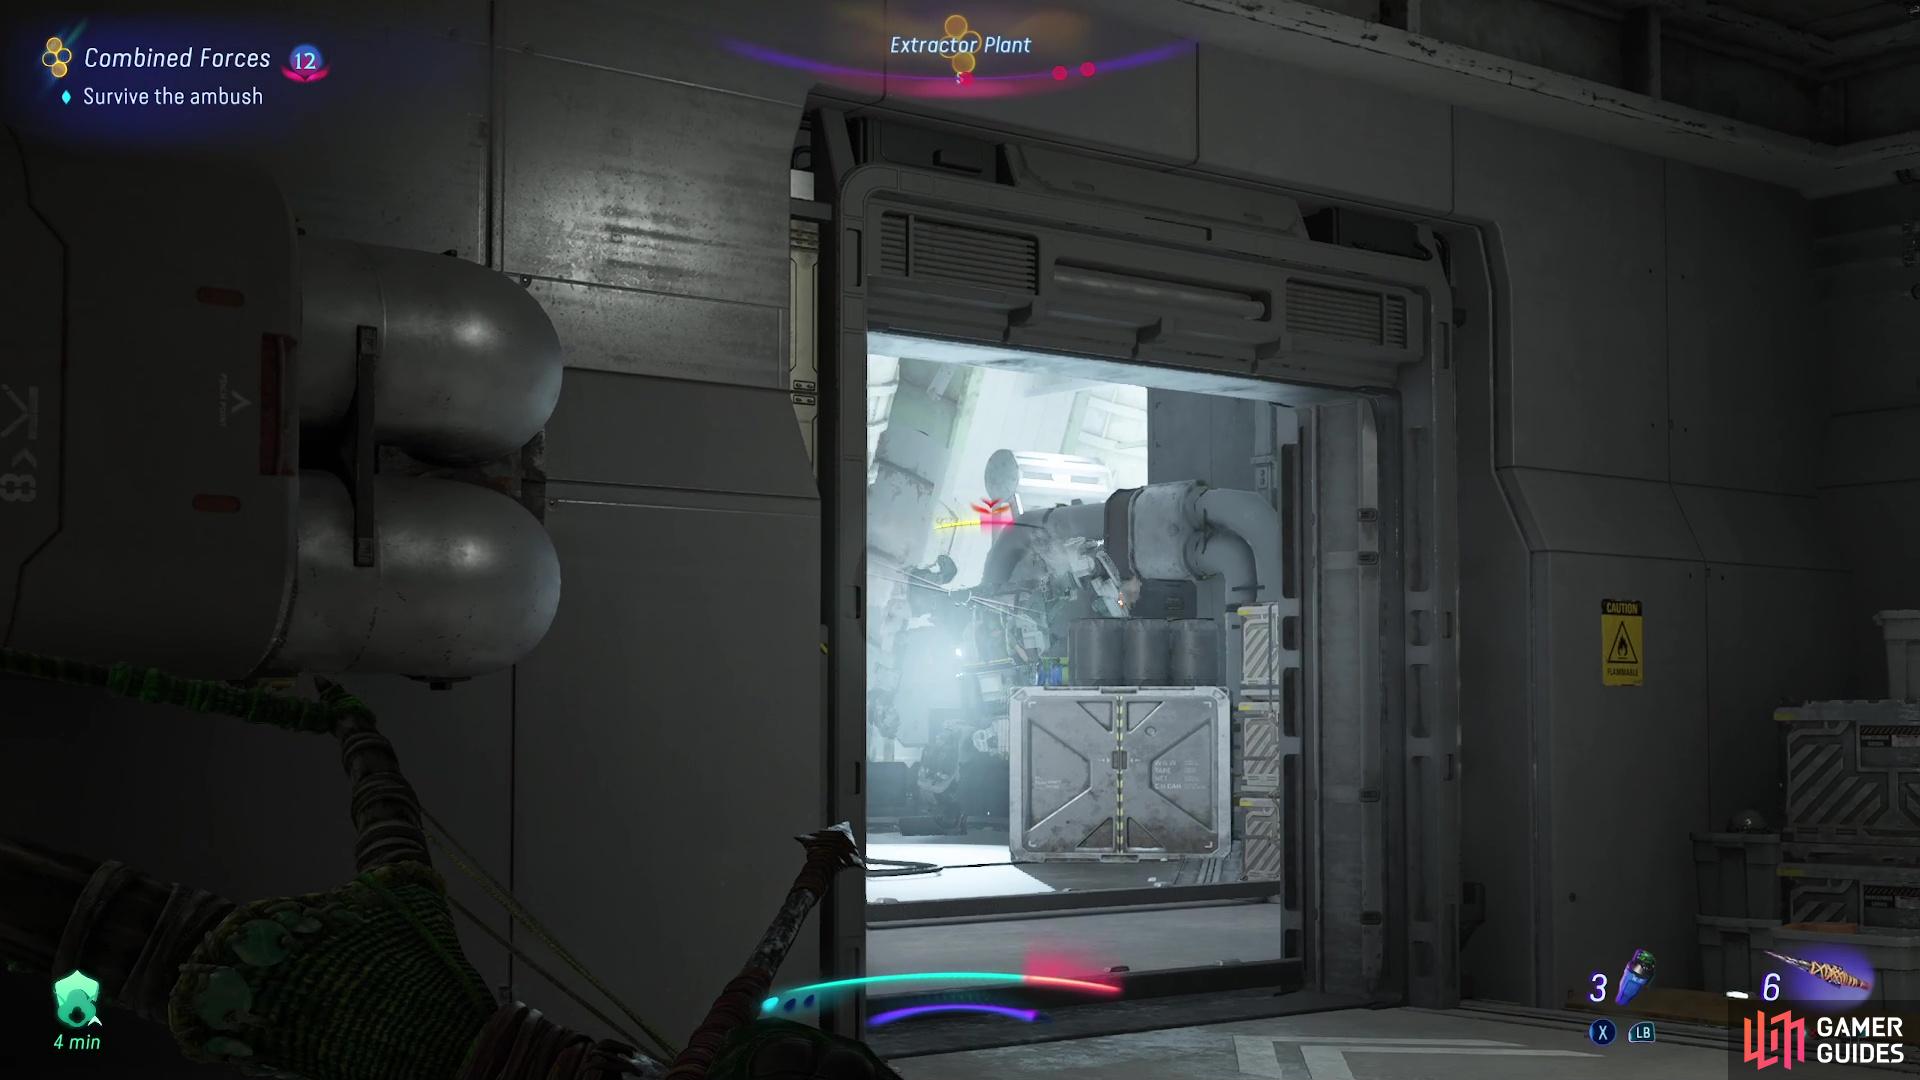
Enter the room containing the elevator and head through the vent on the right, then you’ll want to use the pipes to climb up to the floor above and make your way through another vent. Continue working your way up the elevator via the platforms then when you reach the top, follow the area around and you’ll face an ambush when you enter the large open room. The easiest way to survive this encounter is to use your Heavy Bow for maximum damage and sit outside the room and take out any enemies that come up the stairs.
(1 of 2) Take out the enemies from outside of the room
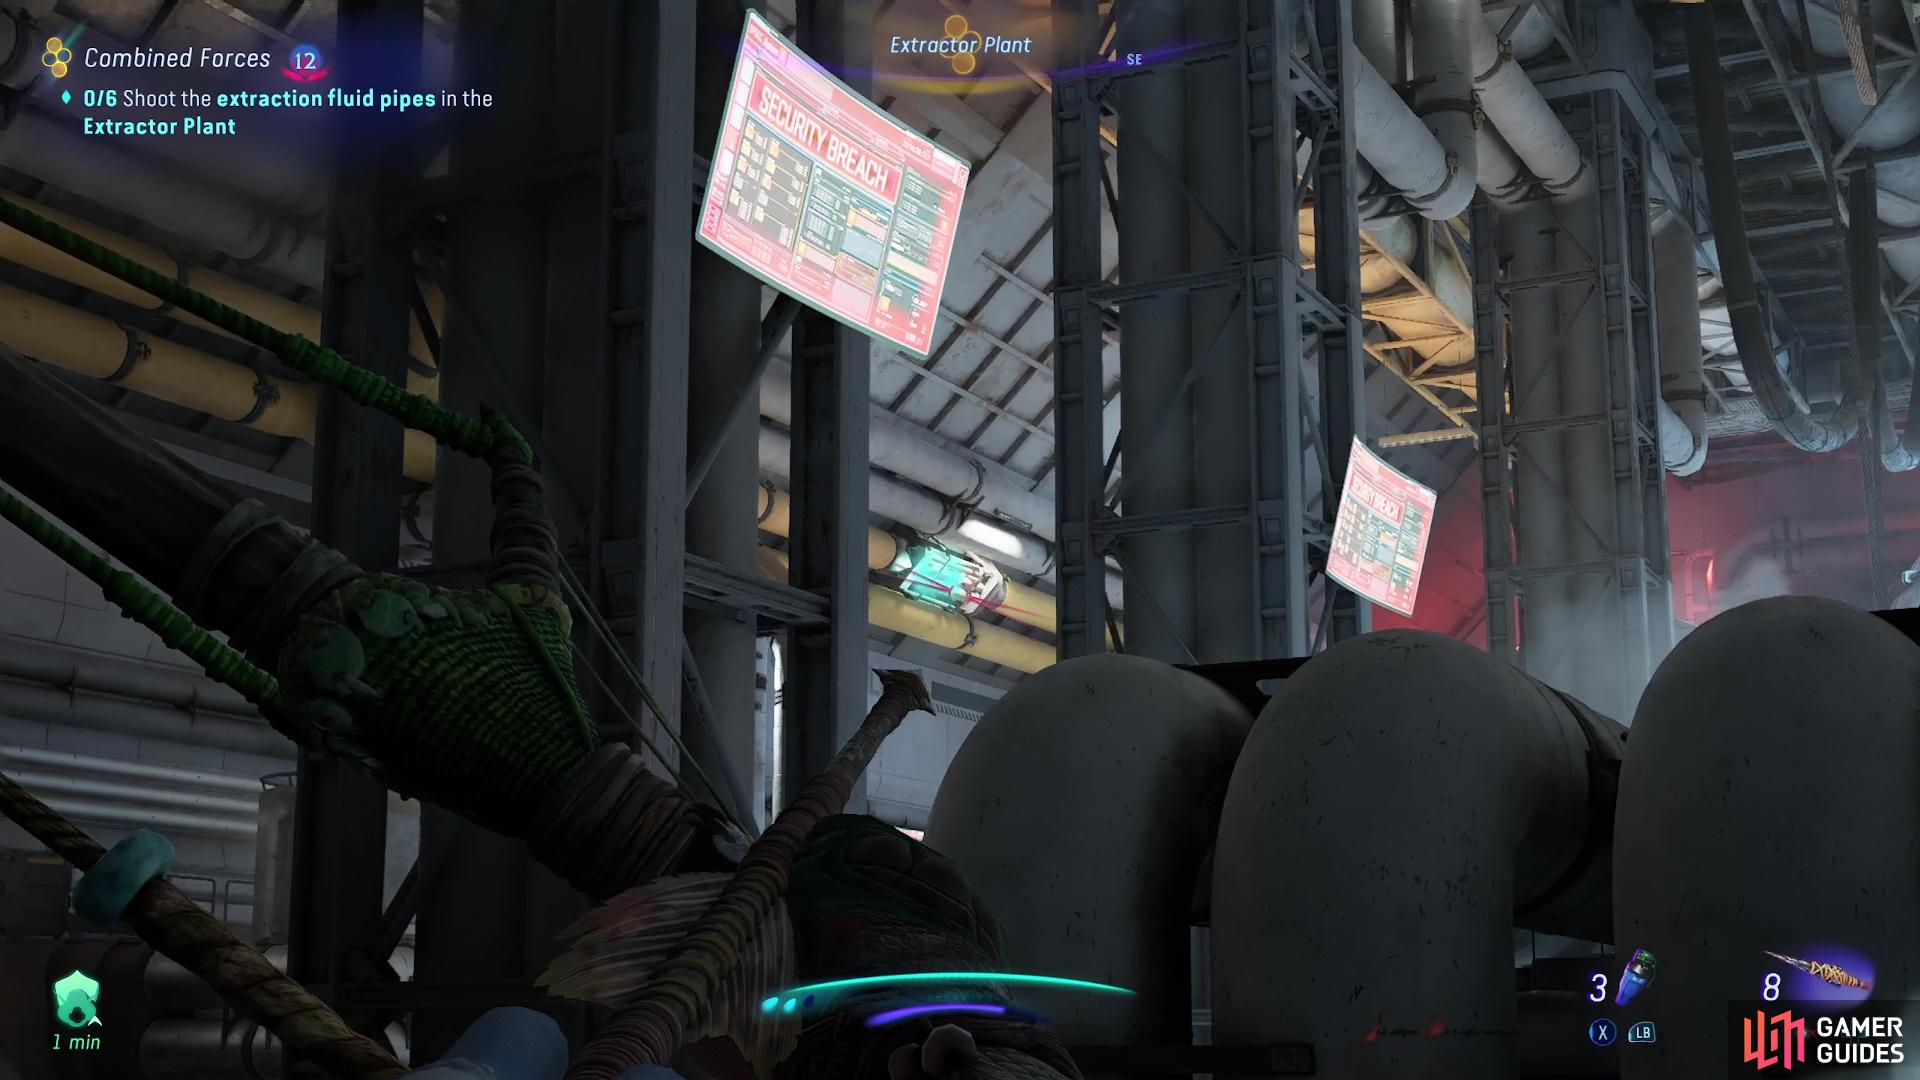
Take out the enemies from outside of the room (left), and then shoot the six pipes which are highlighted by your Na’vi Sense. (right)
Shoot the Extraction Fluid Pipes in the Extractor Plant
With the ambush dealt with you’ll want to head up the stairs and enter the Processing B Room, then you’ll need to shoot six Extraction Fluid Pipes. You can do this easily by highlighting their locations with your Na’vi Sense and shooting them with your Heavy Bow from the entrance, but if you get caught by the enemies you’ll want to retreat into the previous room and take them out as they get close. Once you’ve successfully destroyed all of the pipes, head over to the right side of the room and interact with the lever to open the shutter, then follow the room around until your path is blocked by a closing shutter due to the lockdown.
How to Open the Control Center Door
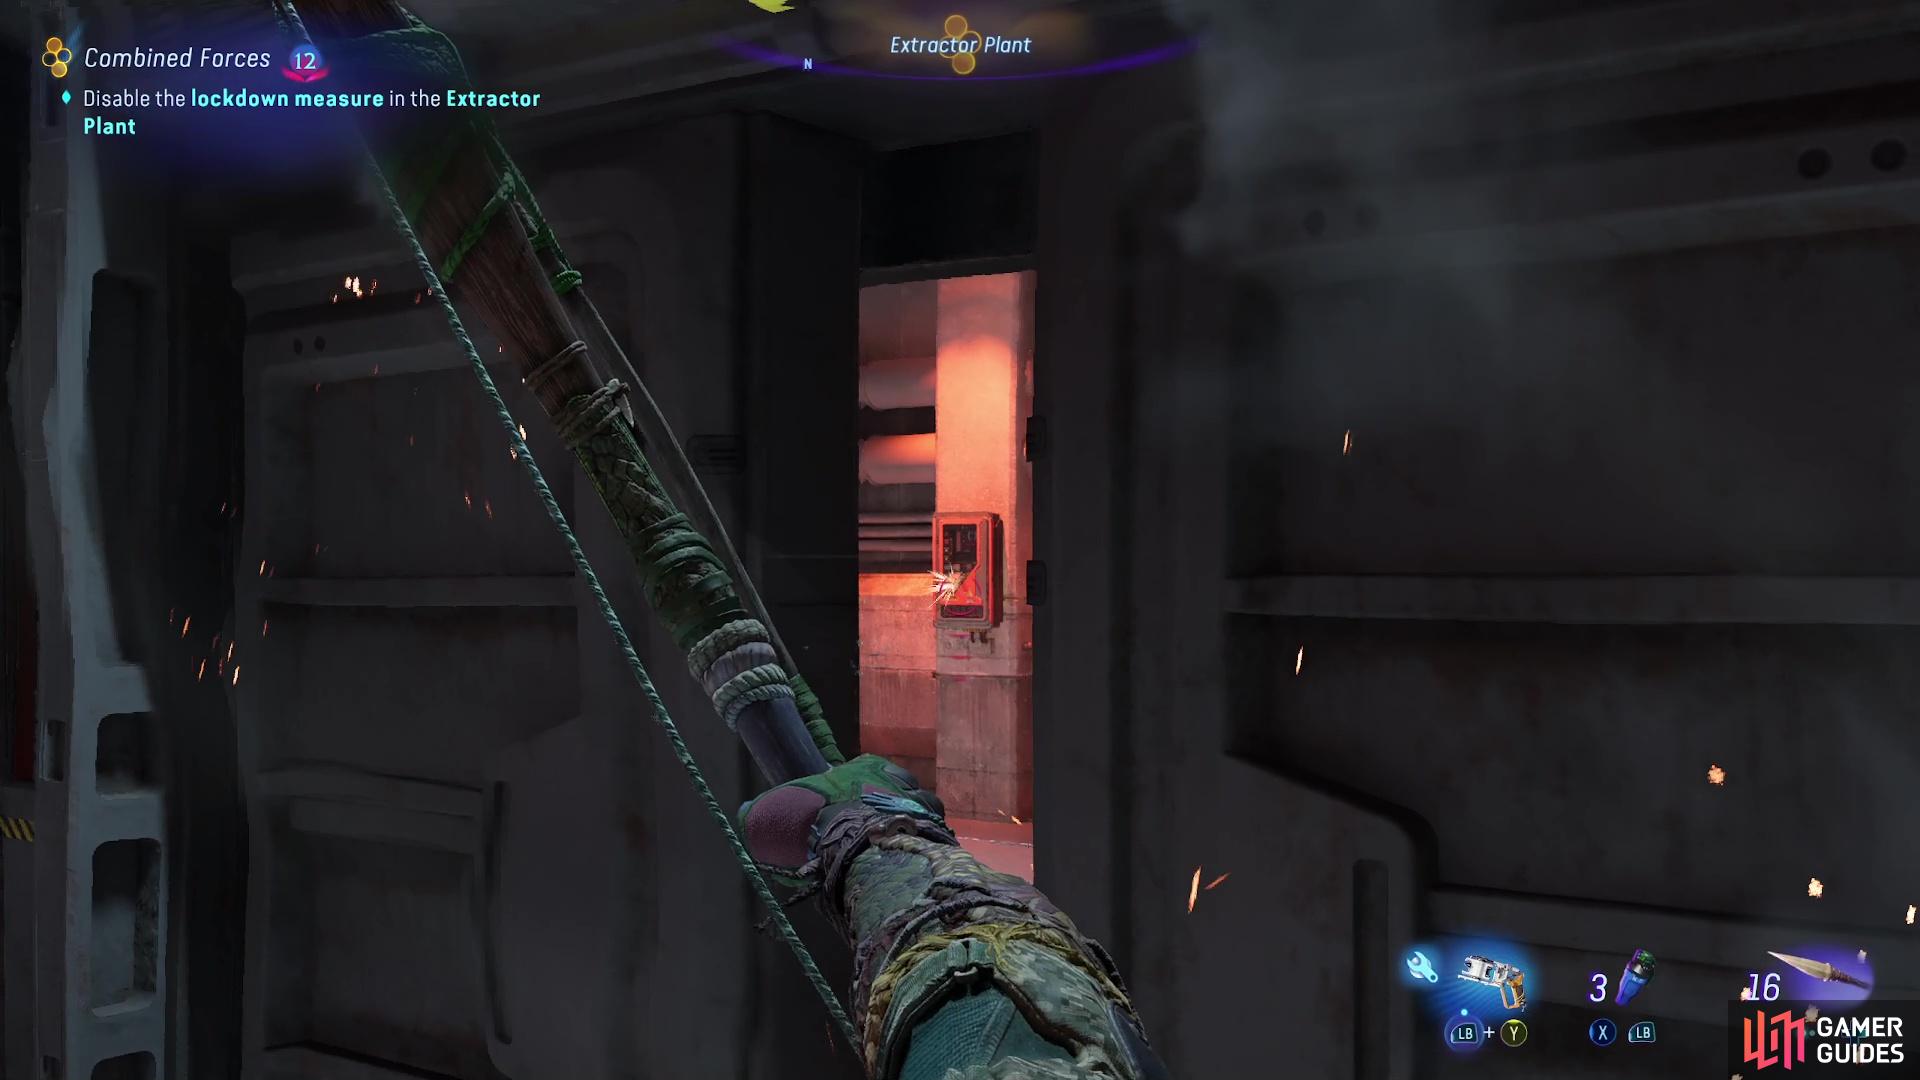
You’ll now want to jump up to the Fusebox on the right and destroy it via a melee attack, then you’ll want to equip the SID and interact with the wiring near the door to open it. From here, follow the path around and enter the Control Center, then go through the vent in the back right corner to reach the second floor. Hack the computer via the SID then you’ll notice the door below keeps opening and closing, so you’ll want to equip your bow and look through the gap in the door to shoot the fusebox on the back wall. You’ll now want to exit the room and use the SID to change the wiring next to the shutter to open it, then follow the path around until you find yourself in the Extractor Plant.
(1 of 2) Use the SID to hack the computer
Use the SID to hack the computer (left), then look through this small gap and shoot the fusebox to open the door. (right)
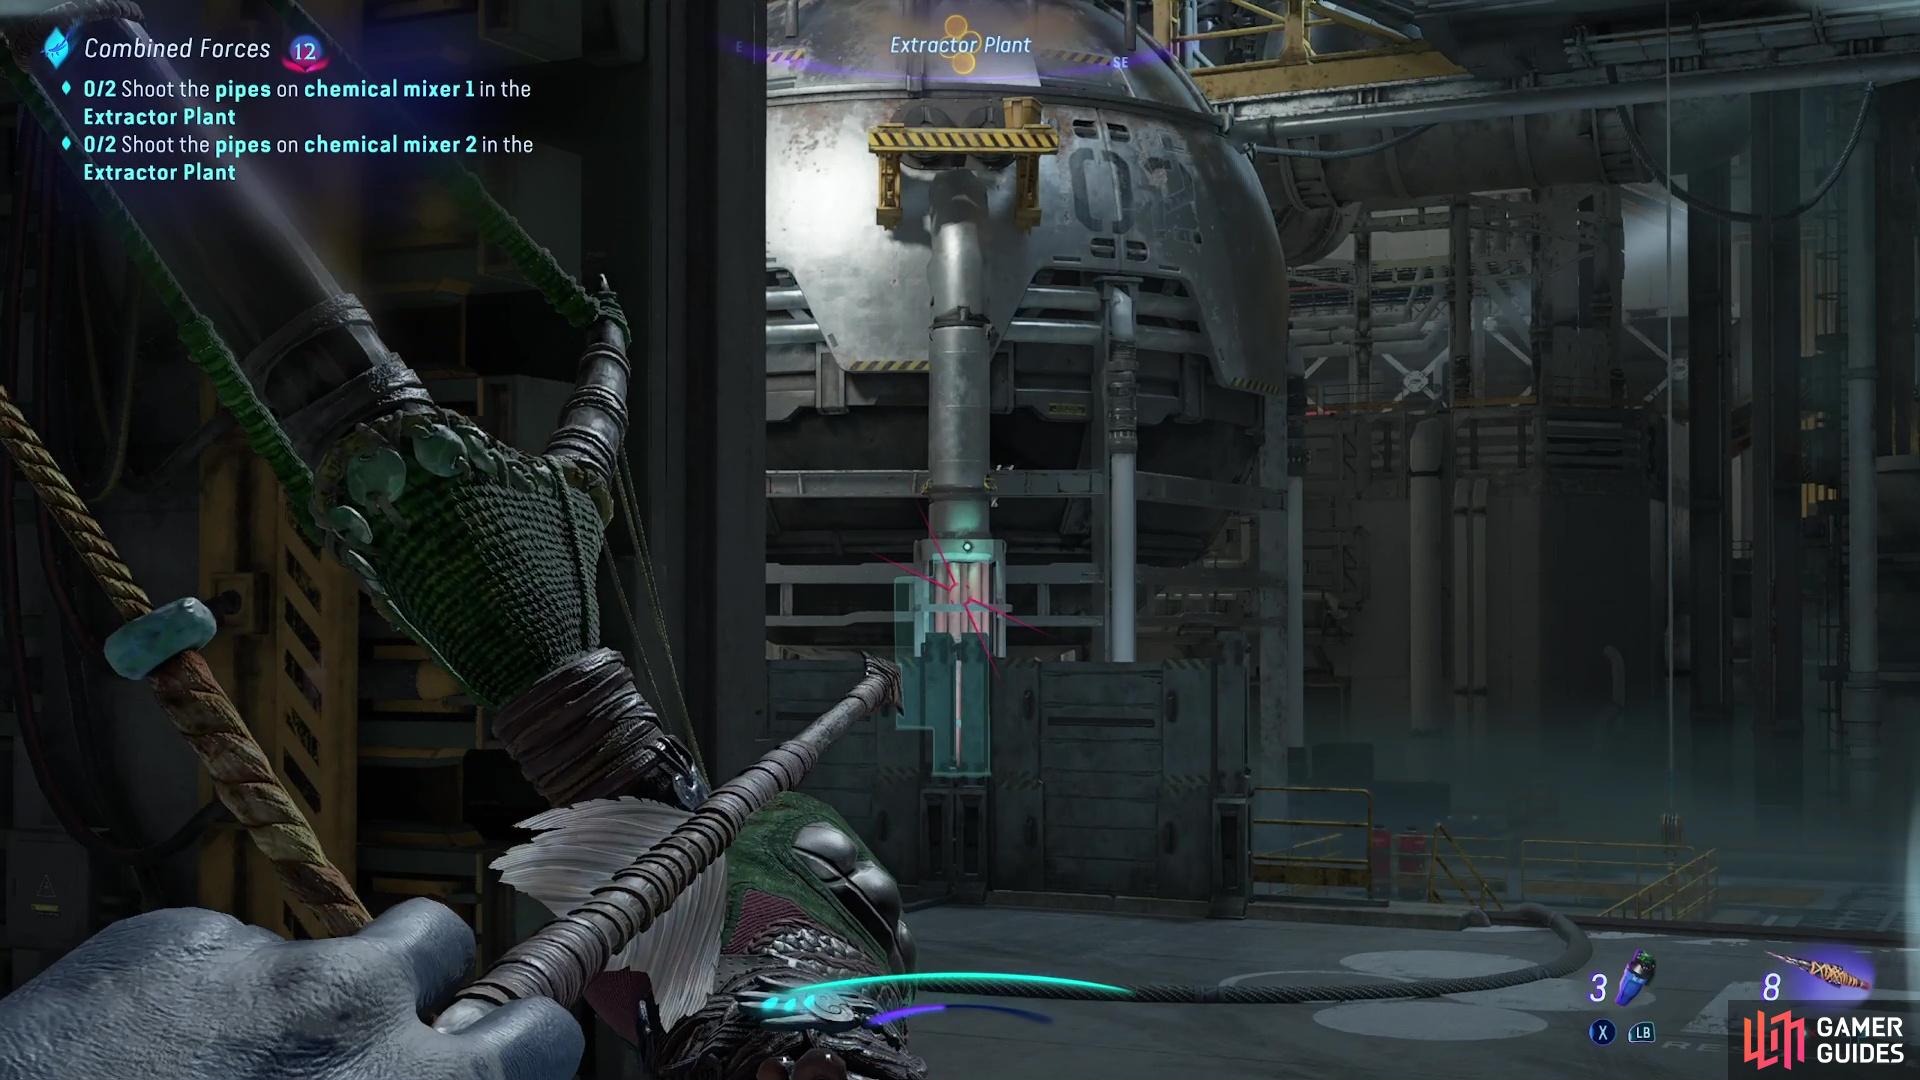
Shoot Chemical Mixer Pipes
You’ll want to take out all of the Mechs from the entrance of the room as the door will close when the enemies get near, then use your Na’vi Sense again to highlight the pipes and take them out with your Bow. From here, climb up to the floor above and interact with the valve, you’ll then be tasked with destroying the remaining two pipes. You’ll now need to deal with the next wave of Mechs before you do, and we recommend that you stick to the outside area of the room and pick them off with your Heavy Bow while staying behind cover.
(1 of 3) Shoot the Chemical Mixer Pipes
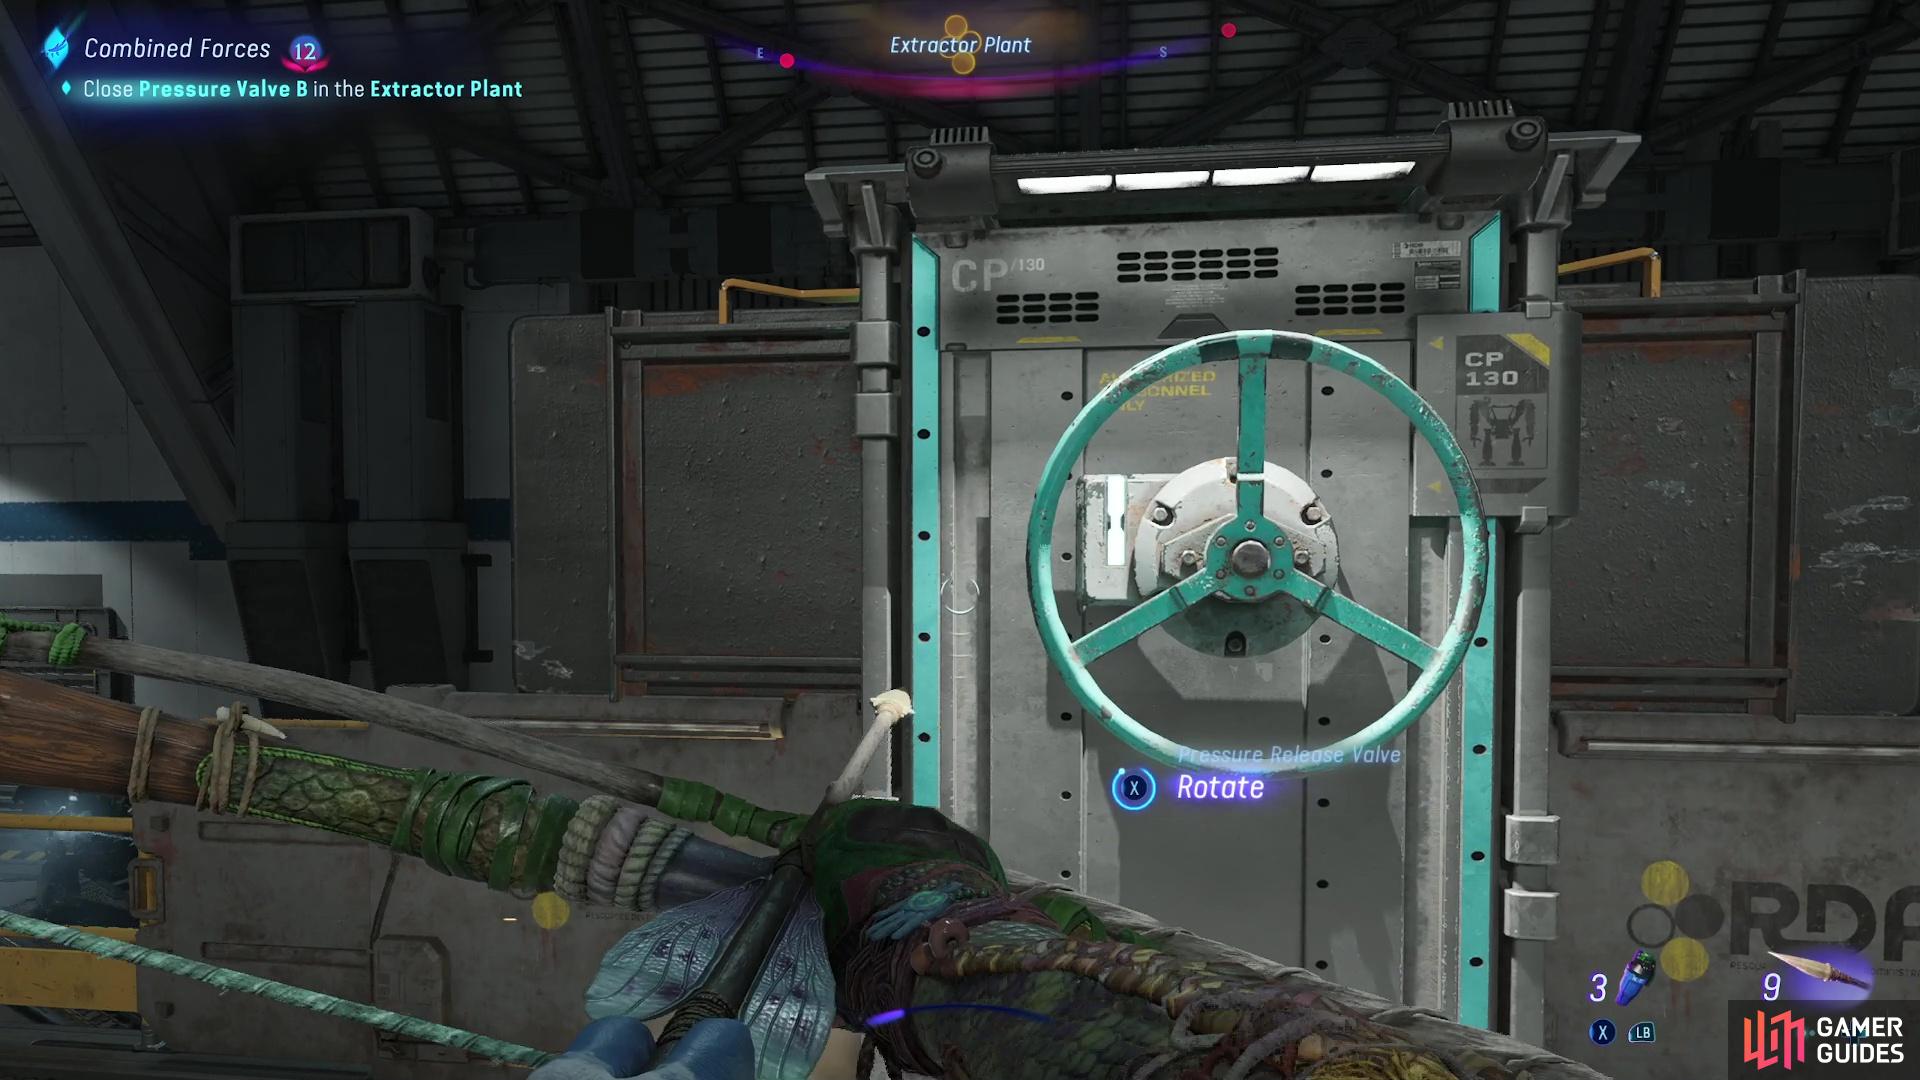
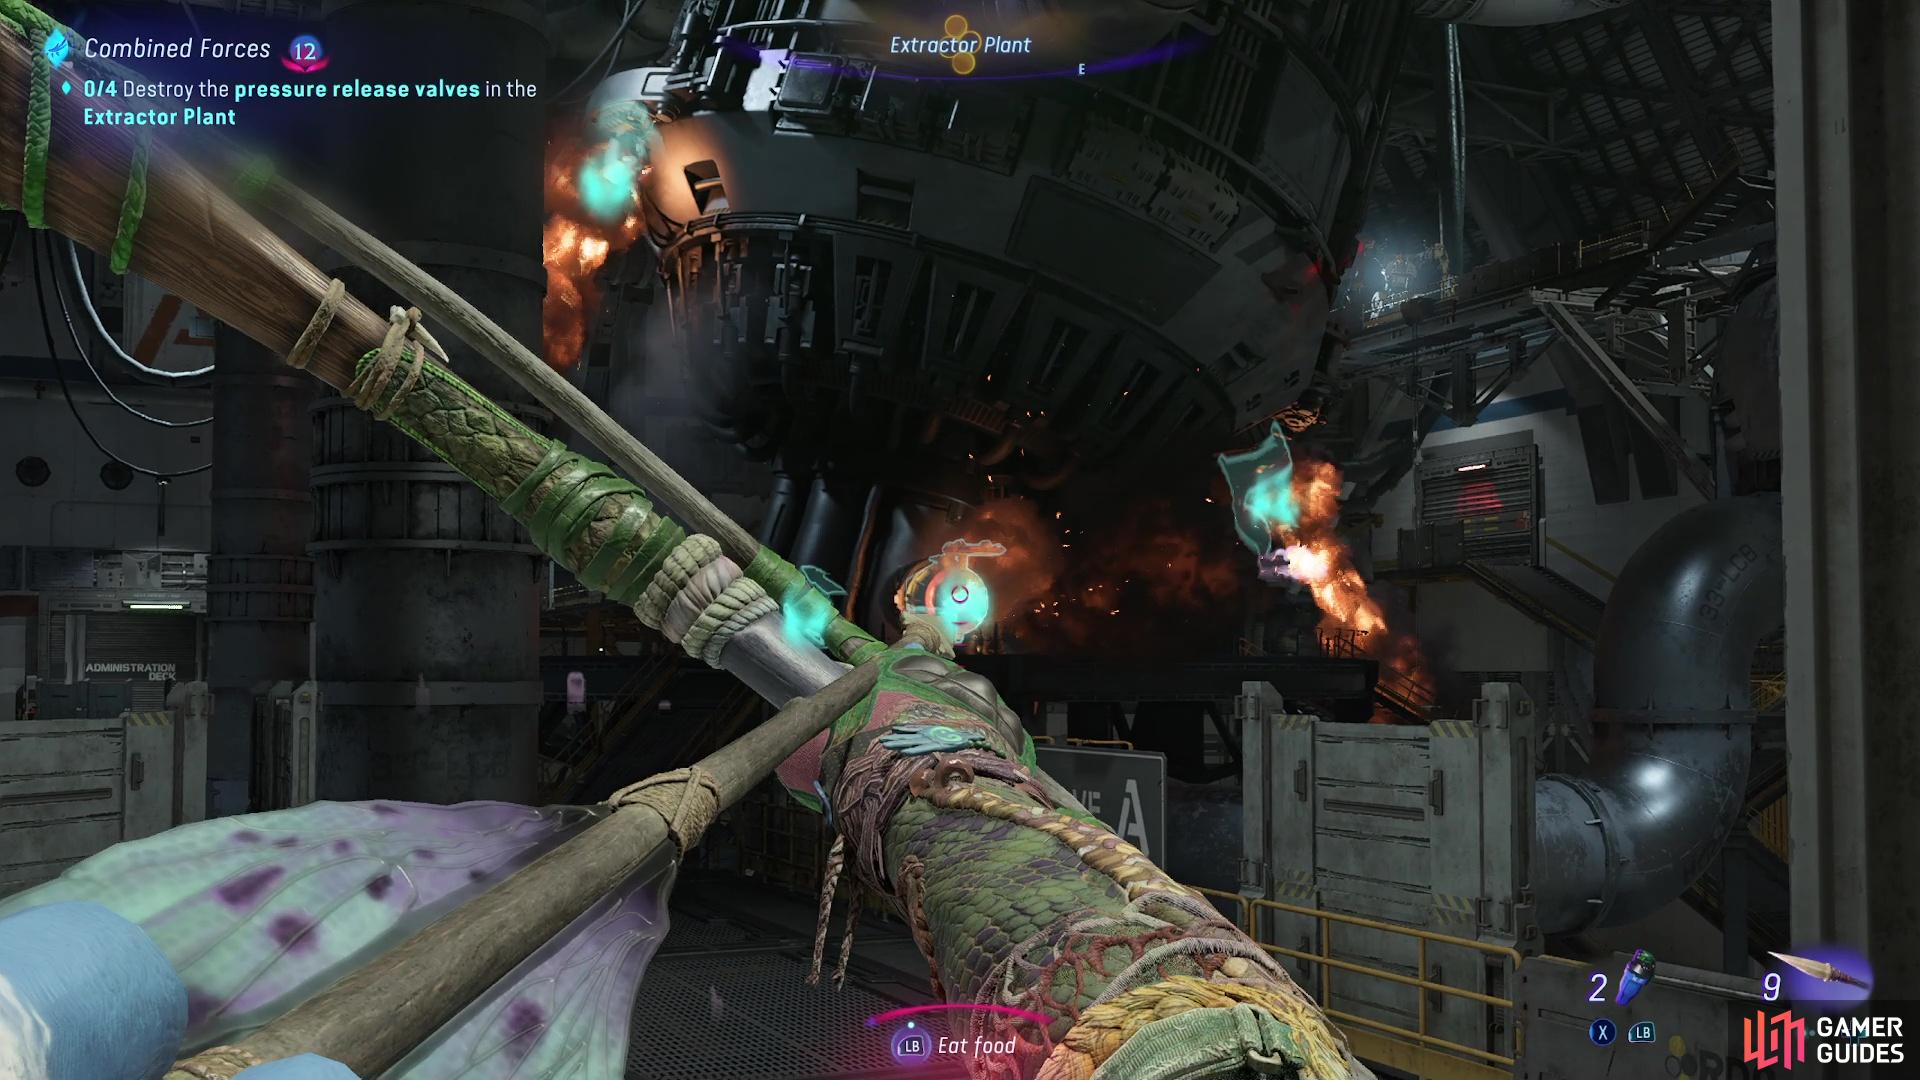
Once you’ve destroyed all of the pipes, you’ll want to run into the side room and head down the stairs, and then hack the computer via the SID before going back out into the main room and destroying the four pressure release valves. Finally, escape the facility and return to Zakru’s Promise to bring the quest to a close. Here you’ll be rewarded with the Exquisite Waste Builder Waistguard.
More Avatar: Frontiers of Pandora Guides
Avatar: Frontiers of Pandora has a lot to offer with useful skills, interesting main quests, and much more, so consider checking out some of the pages below to learn what else is on offer.


 Sign up

No Comments