There are some side quests that will last the majority of the game in Avatar: Frontiers of Pandora. One such side quest is Feral Hunter, which doesn’t begin until you find one of the Hunter-named Thanators. The first one you can find is Hunter Bravo, as part of the Deadly Hunt quest, which is found in Kinglor Forest. There is one each in the three main regions, so you won’t be able to complete this quest until you progress the main story enough. This page will tell you where to find each of the Access Codes for Feral Hunter, as well as where to take them.
Feral Hunter will have you tracking down some more Feral Thanators.
Where to Find Access Code A for Feral Hunter
Access Code A is the one that is found in the Clouded Forest region and should be saved for last. The reason for this is because it’s found inside the facility you need to visit once you have all of the Access Codes. So, read on below to find out how to get to this facility, since you will run into the Thanator in the process.
Where to Find Access Code B for Feral Hunter
Access Code B is the first one that you have access to, as it’s part of the Deadly Hunt quest. You can begin this once you have logged The Missing Hunter main quest. Head on over to either of the two Na’vi Camps near the Hometree, where you should see a hunter NPC with a quest for you. You basically need to hunt down a spot where a Stormglider landed, which leads to you tracking down a Thanator. This eventually takes you to a fight with Hunter Bravo, one of the three Feral Thanators you need to kill. Make sure you scan the belly after the kill to get Access Code B.
Where to Find Access Code C for Feral Hunter
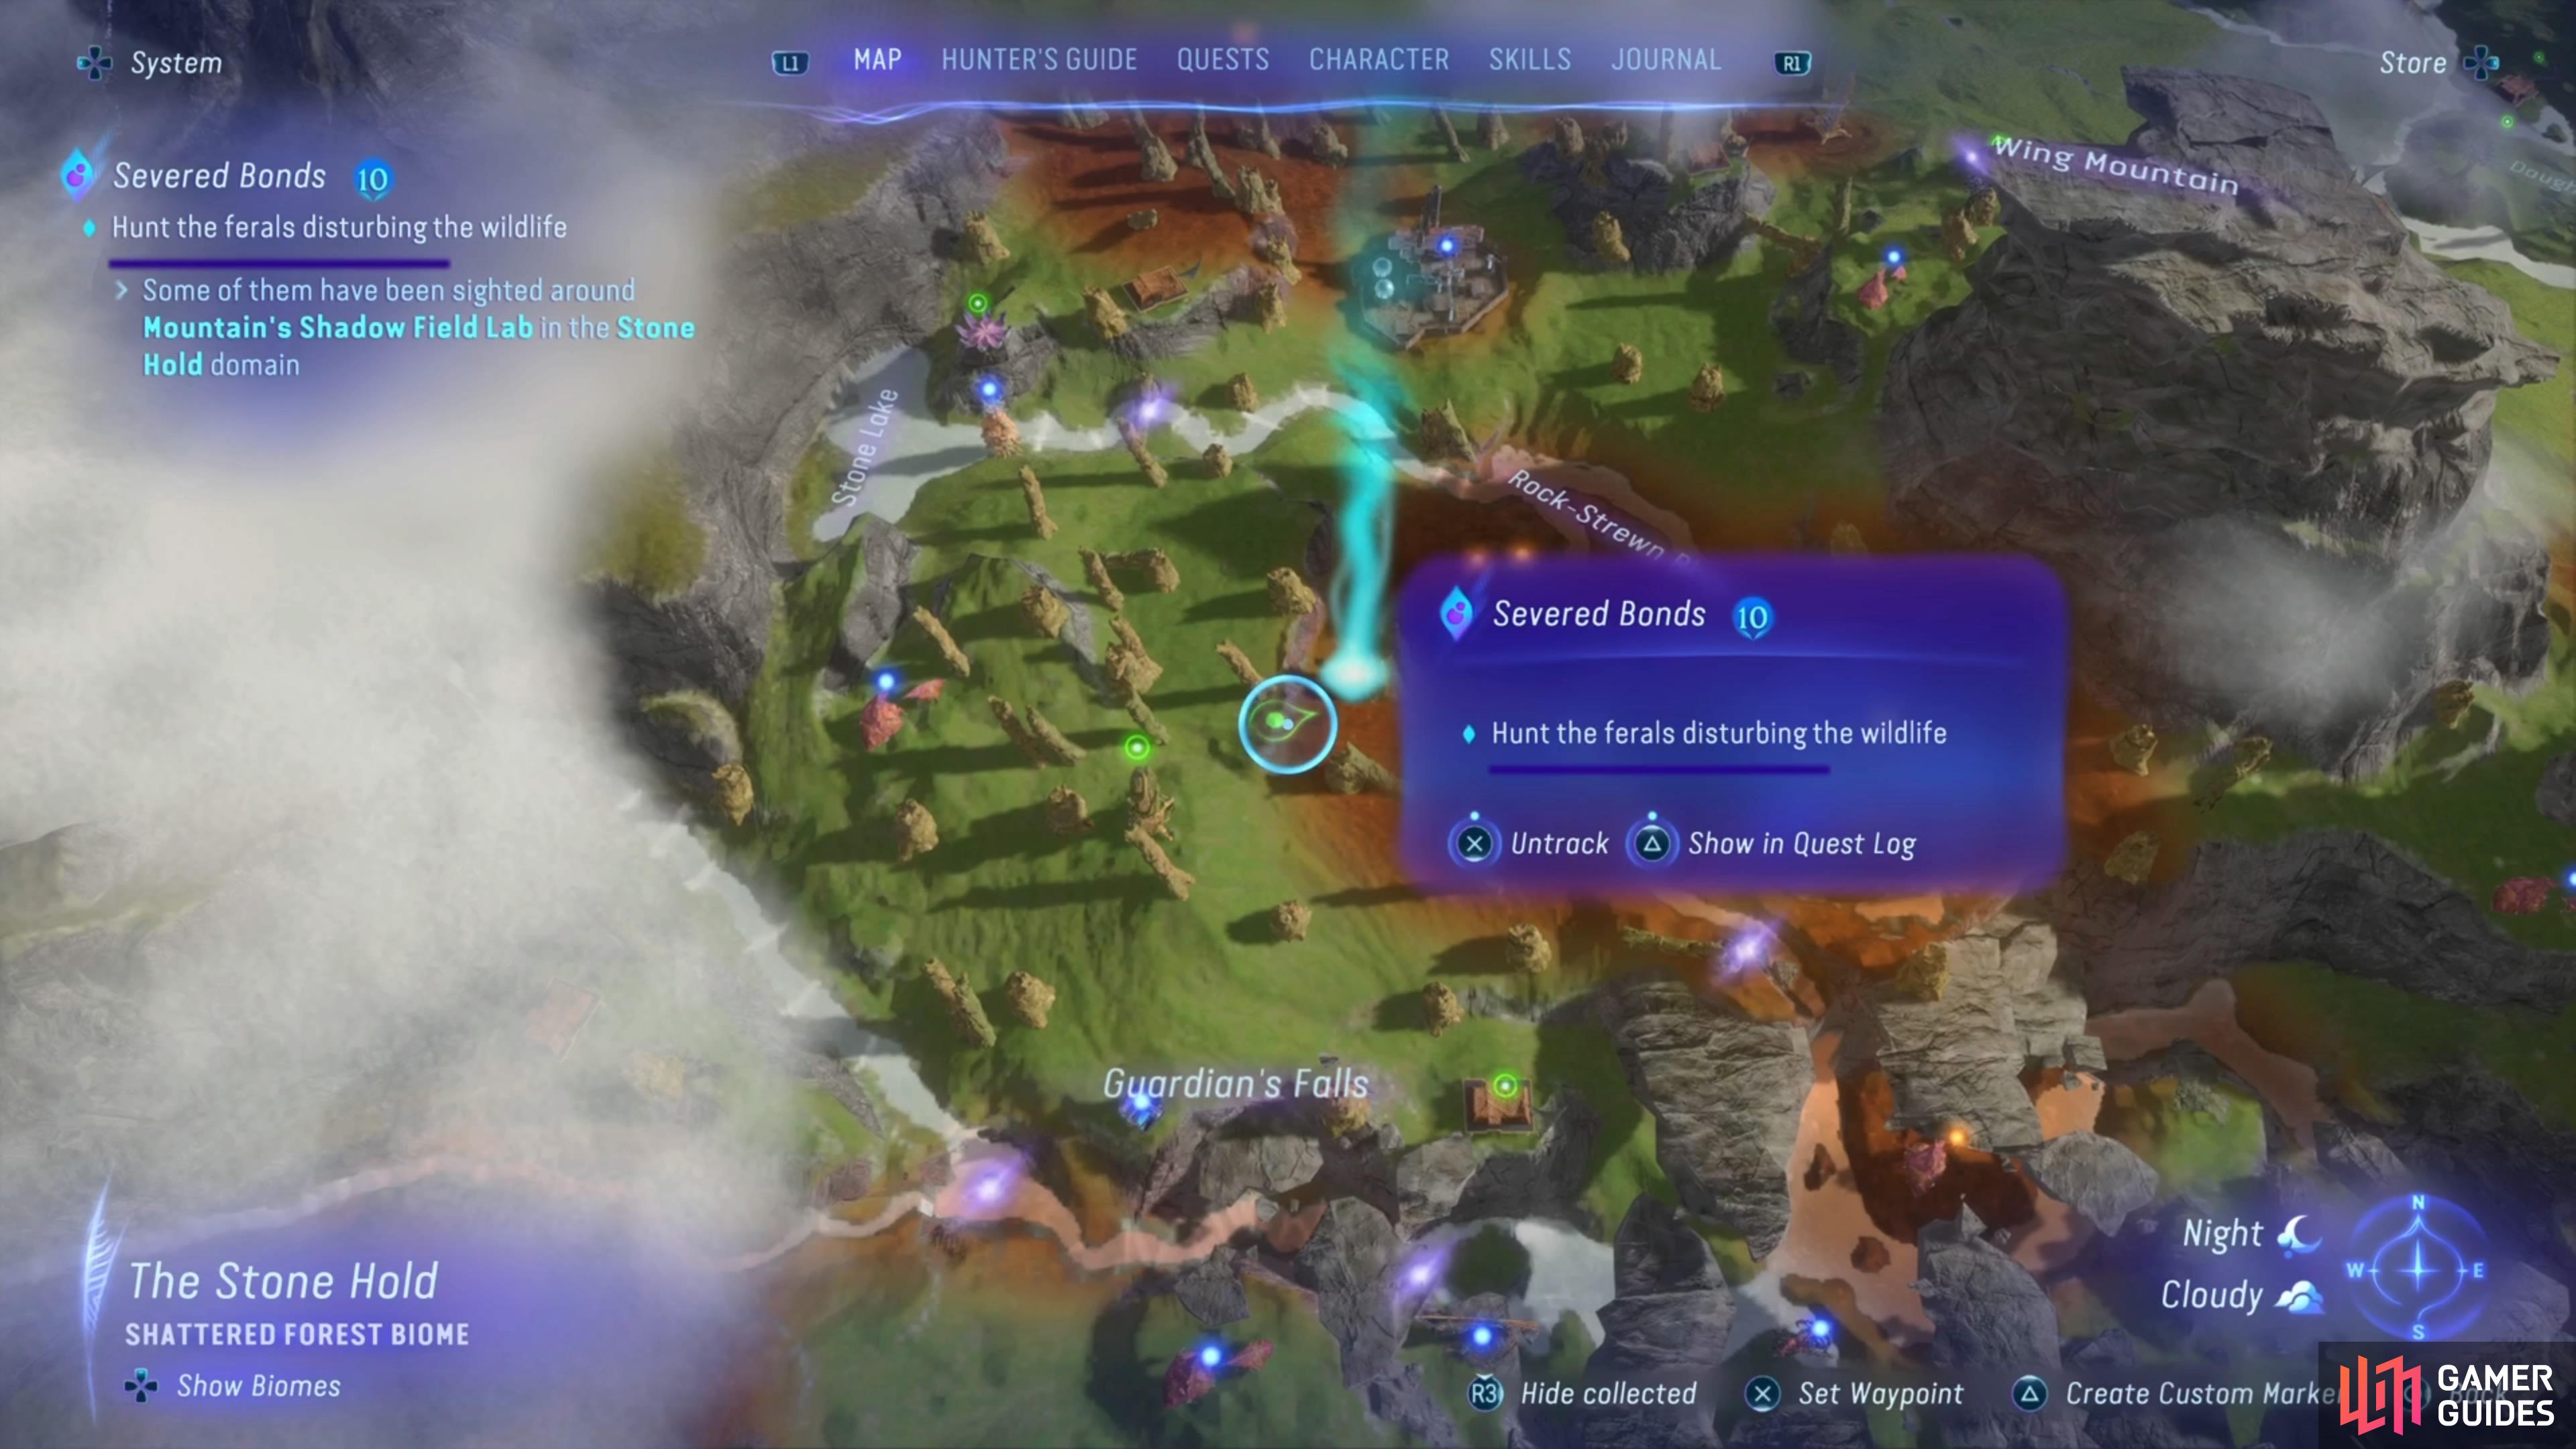
Access Code C is a little confusing, but you will find it in the Upper Plains. Before doing this, though, just to be on the safe side, go to Kinglor Forest and track down a Feral enemy (doesn’t seem to matter if it’s a Viperwolf or Thanator, but stick to the Thanator). If done right, this will trigger your character to say something about a “kuru.” Check out that enemy you killed (might need to use your Na’vi sense to look at it), which will trigger a conversation with someone back at the Resistance HQ.
(1 of 4) The location where you’ll find the Thanator for Access Code C.
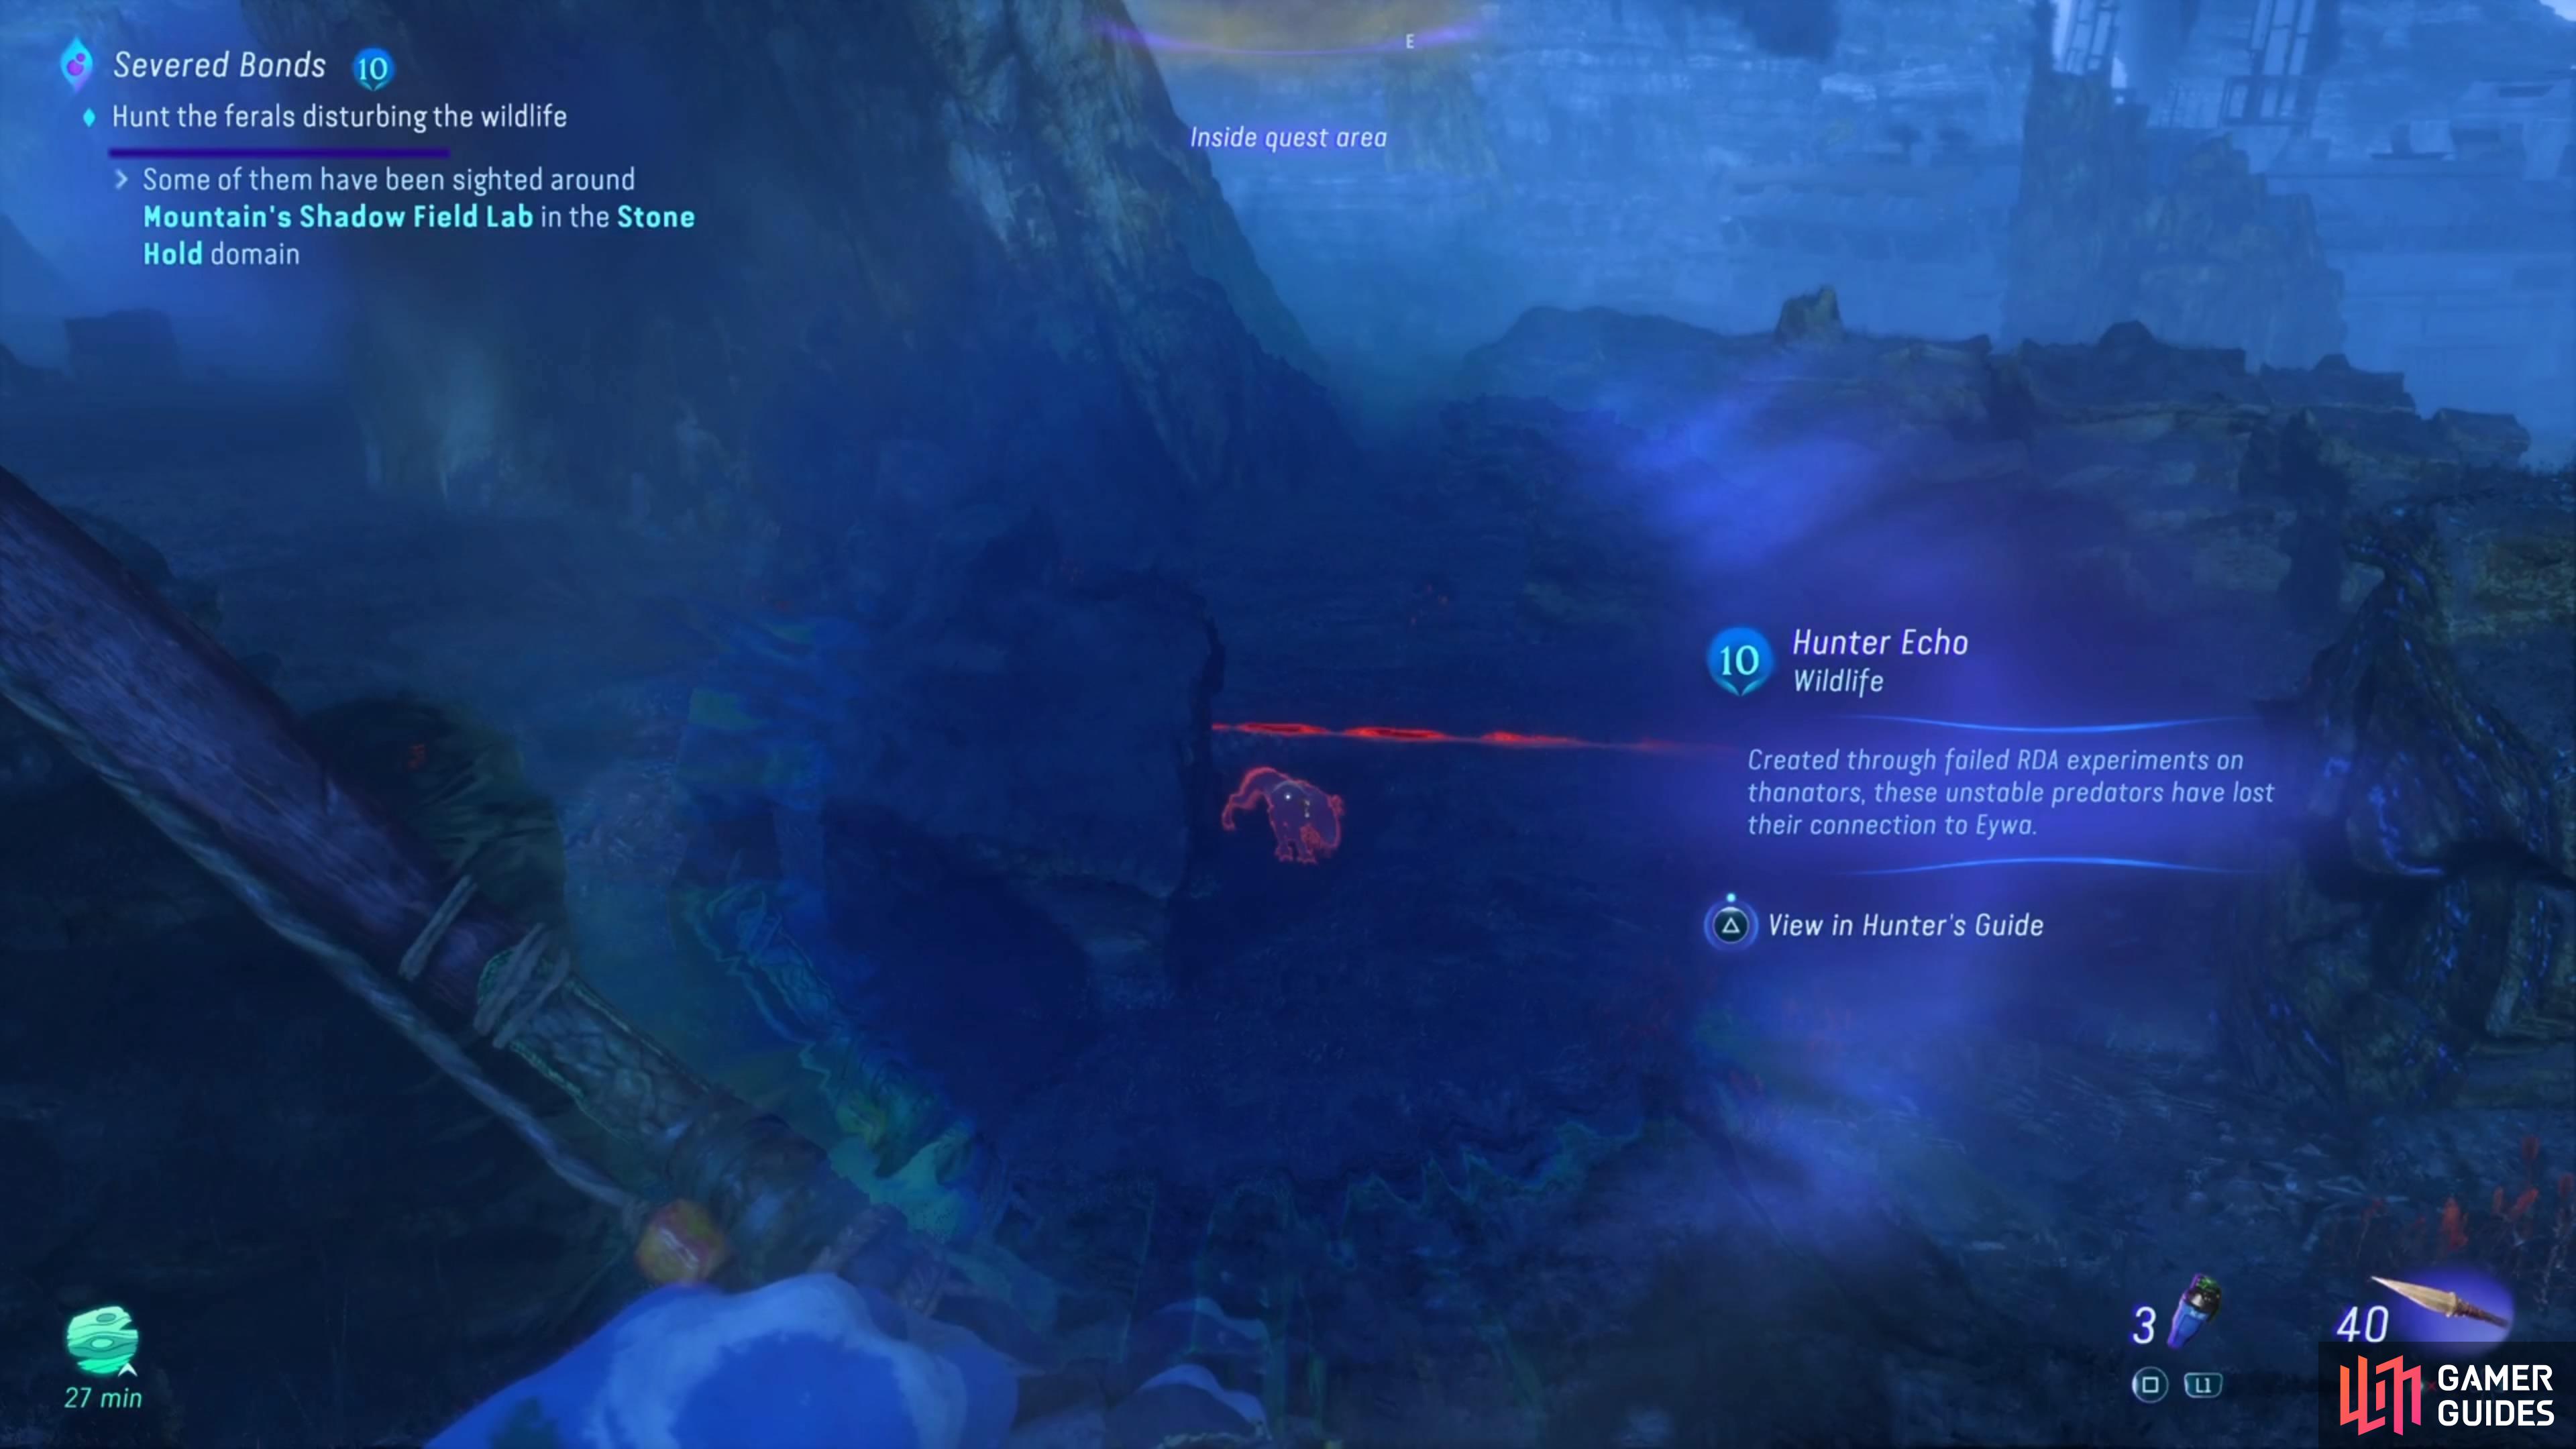
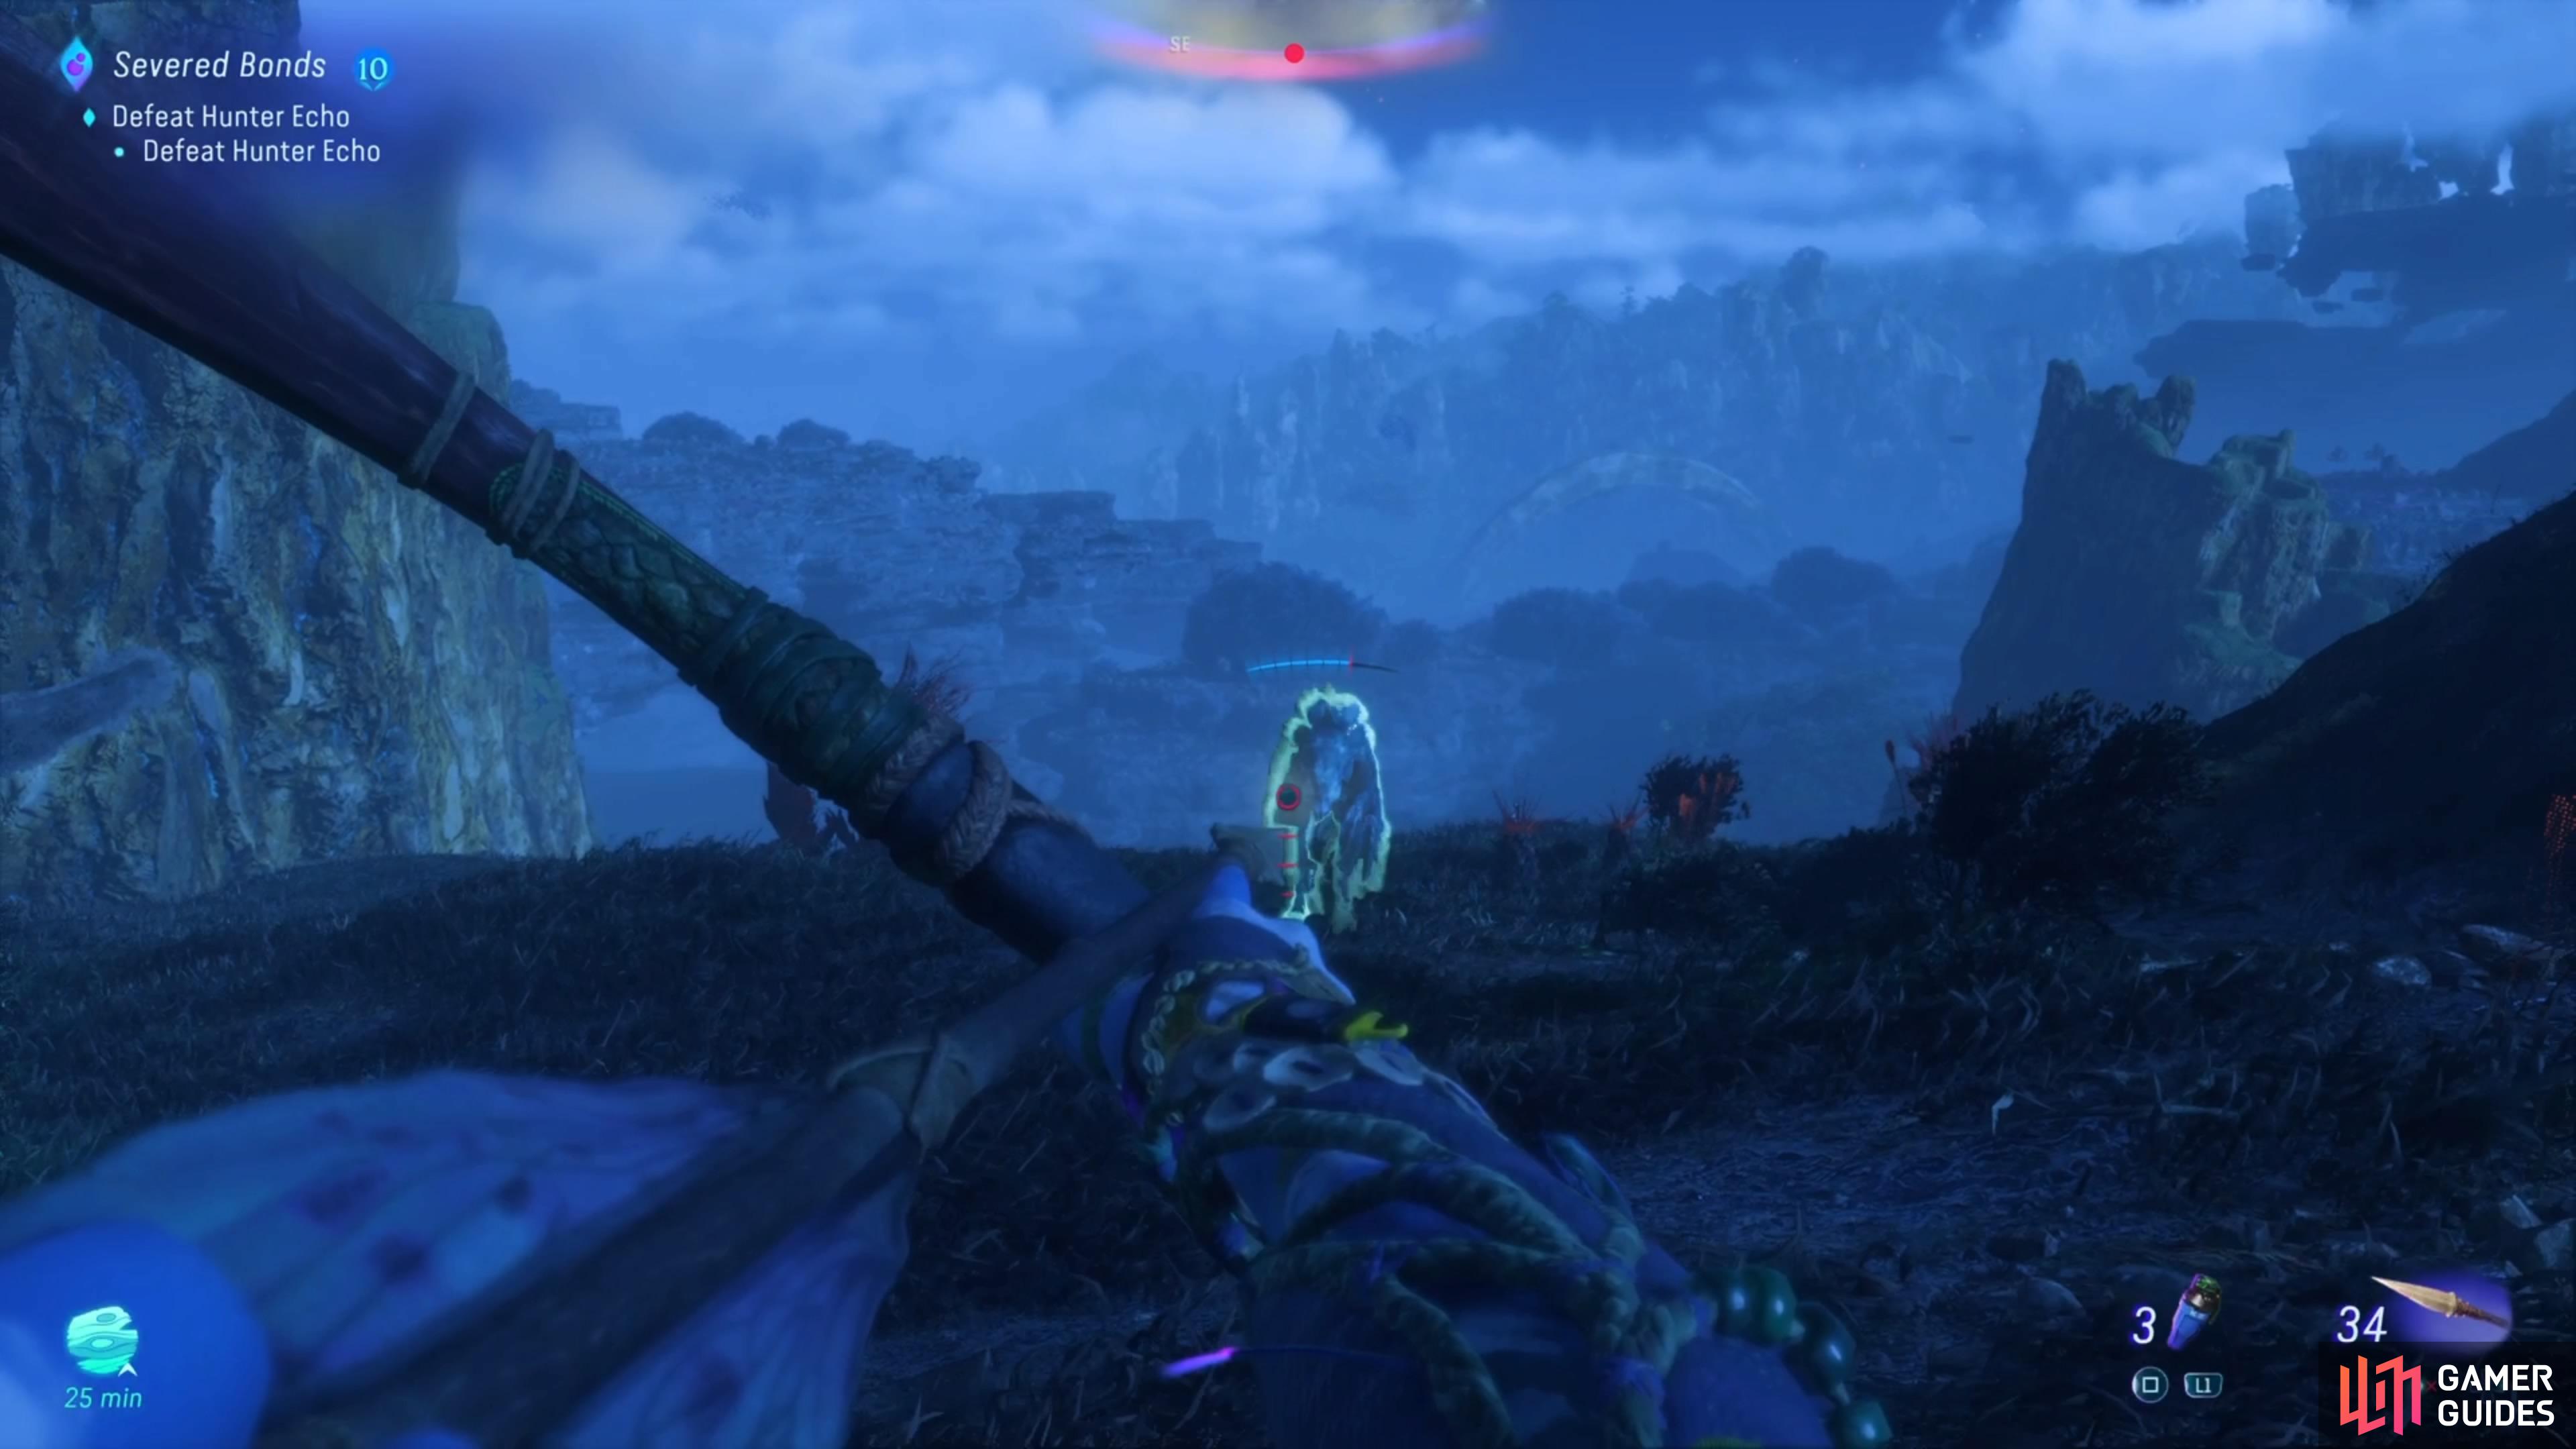
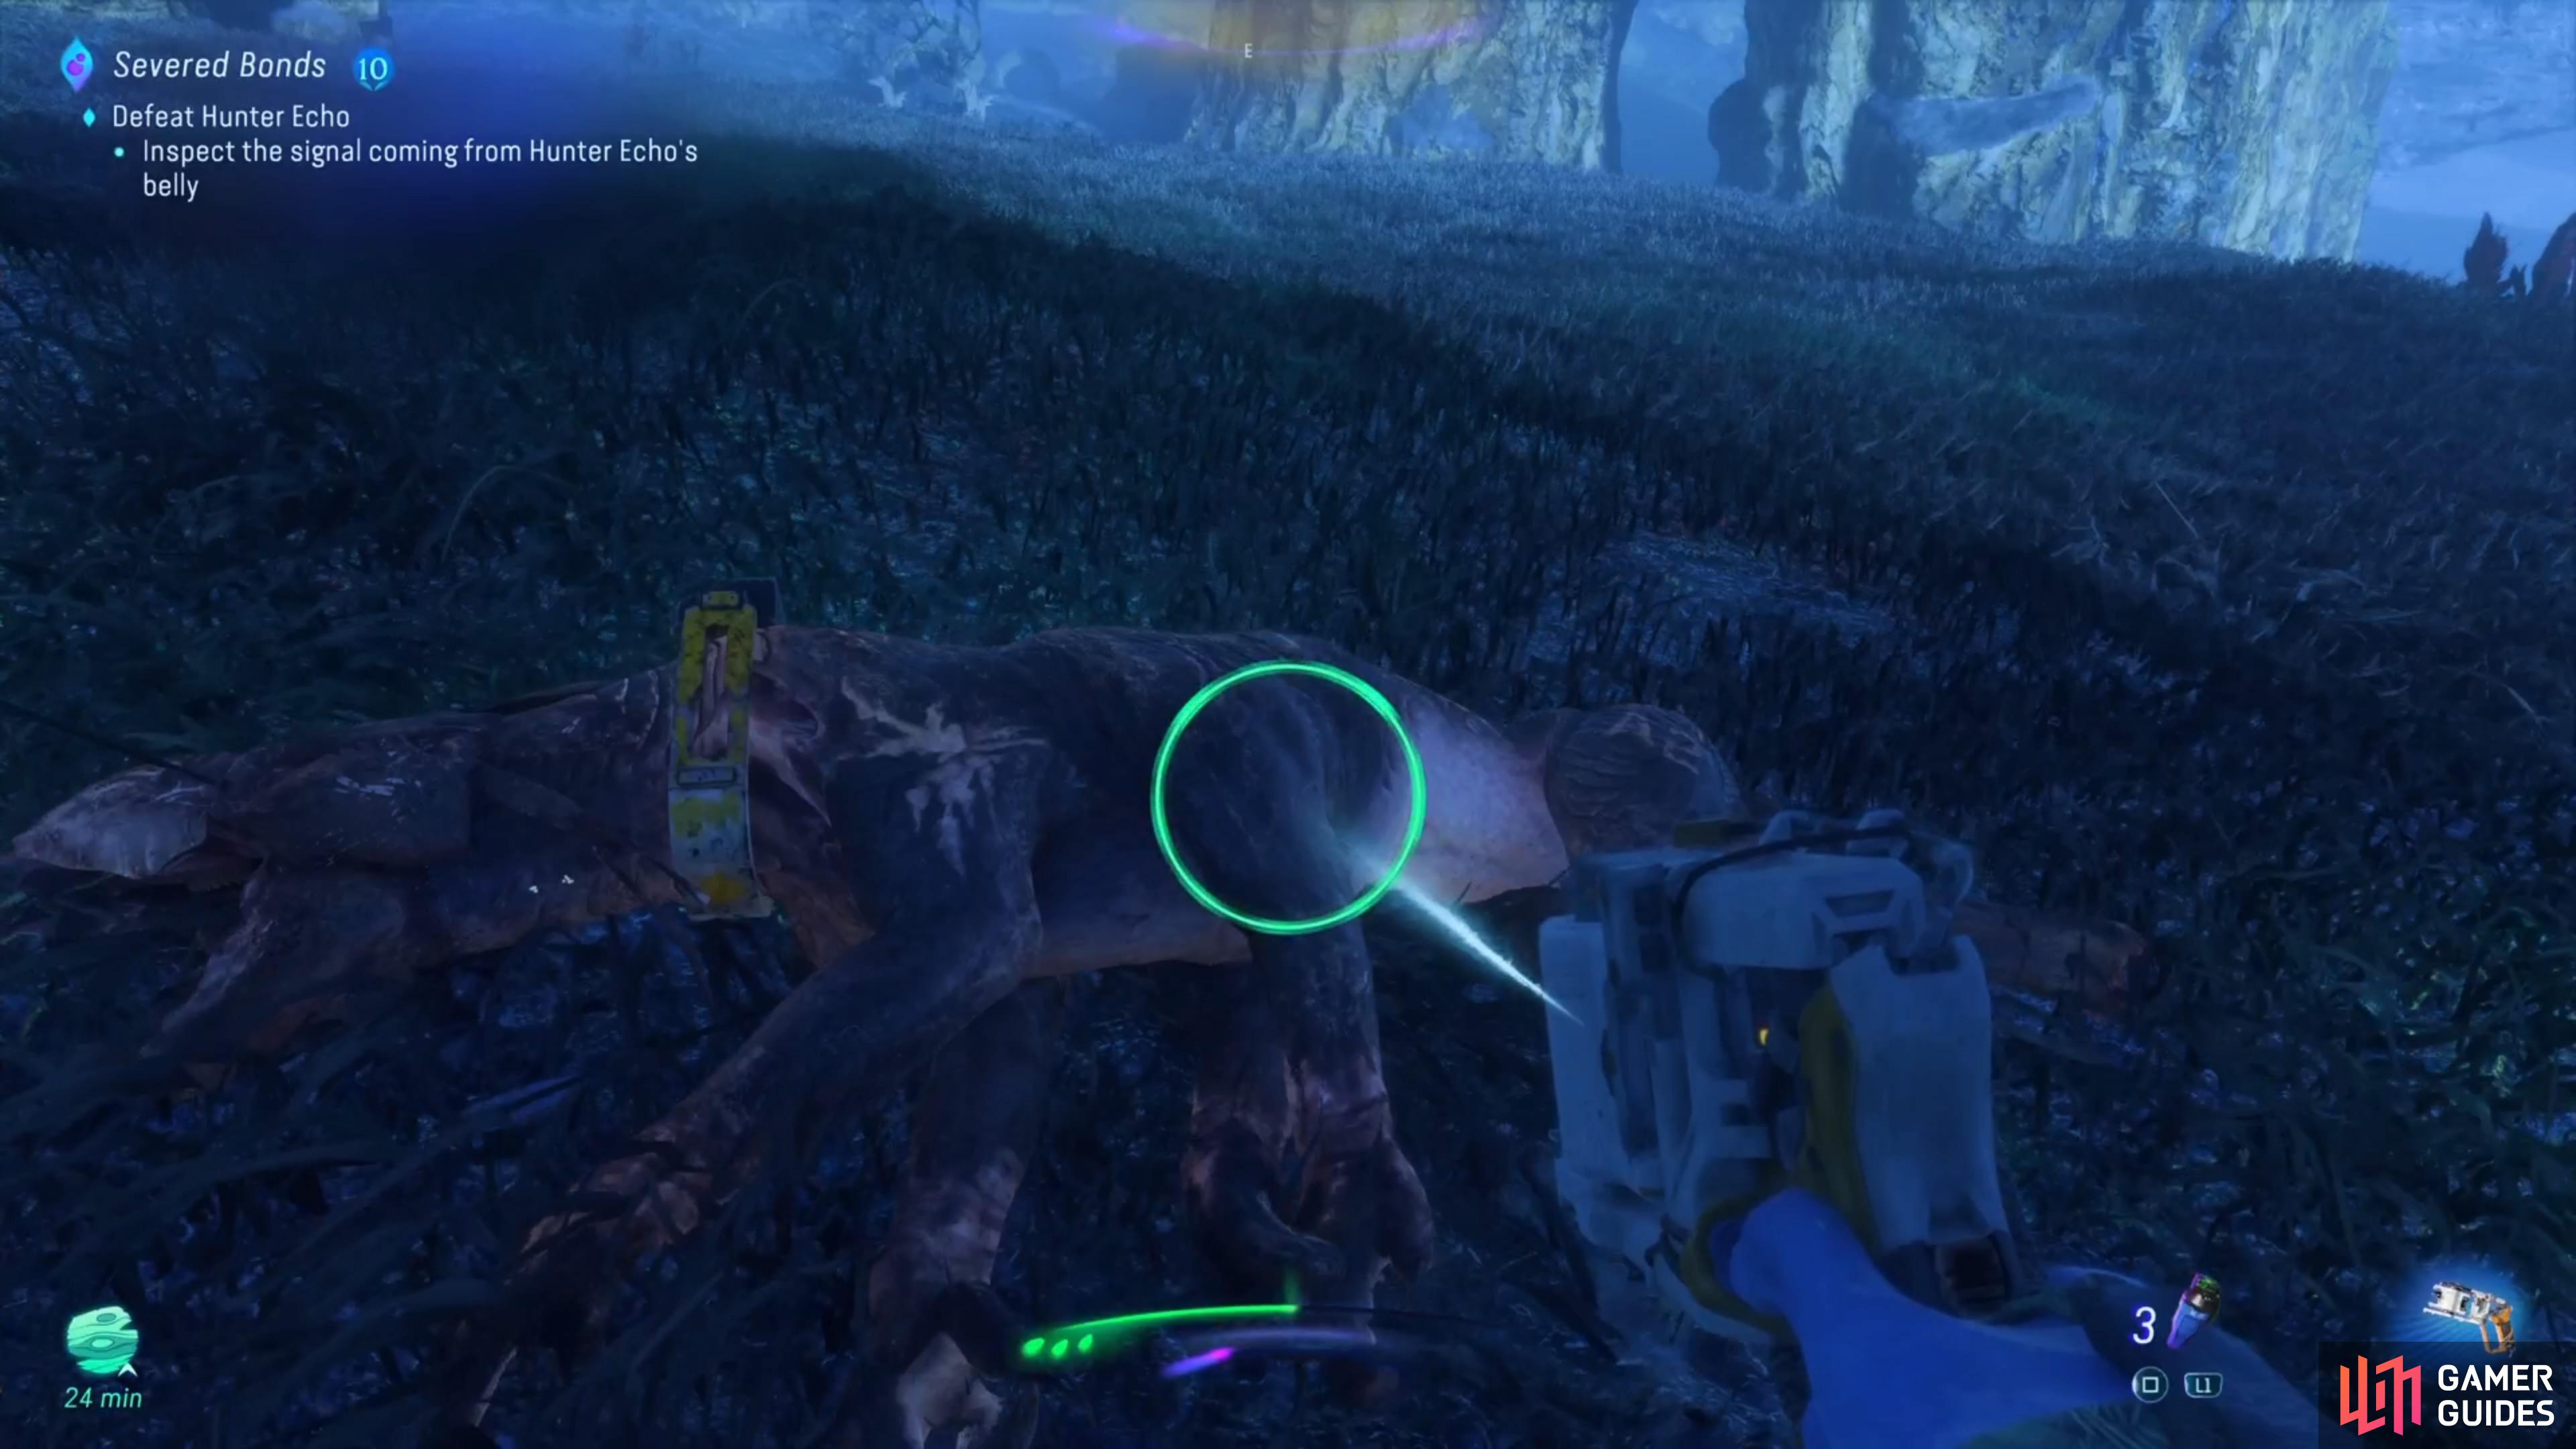
Go and talk to them to get started on the Severed Bonds side quest, where you need to defeat some Feral enemies in a certain part of the map. This quest is repeatable, but you only have to complete it once. For the next quest, you will need to locate a NPC at one of the Resistance Labs in the Upper Plains area. This NPC will give you another quest, also named Severed Bonds, with pretty much the same objective. However, this time, you will be facing a Feral Thanator named Hunter Echo. Defeat the first one, then go after the next one that the game asks you to kill.
Similar to the one at the end of Deadly Hunt, Hunter Echo hurts quite a bit, so be ready to heal if you get hit. Upon defeating that second Hunter Echo, you will get the cue to use your SID on its body, revealing Access Code C.
Where to Use the Access Codes for Feral Hunter
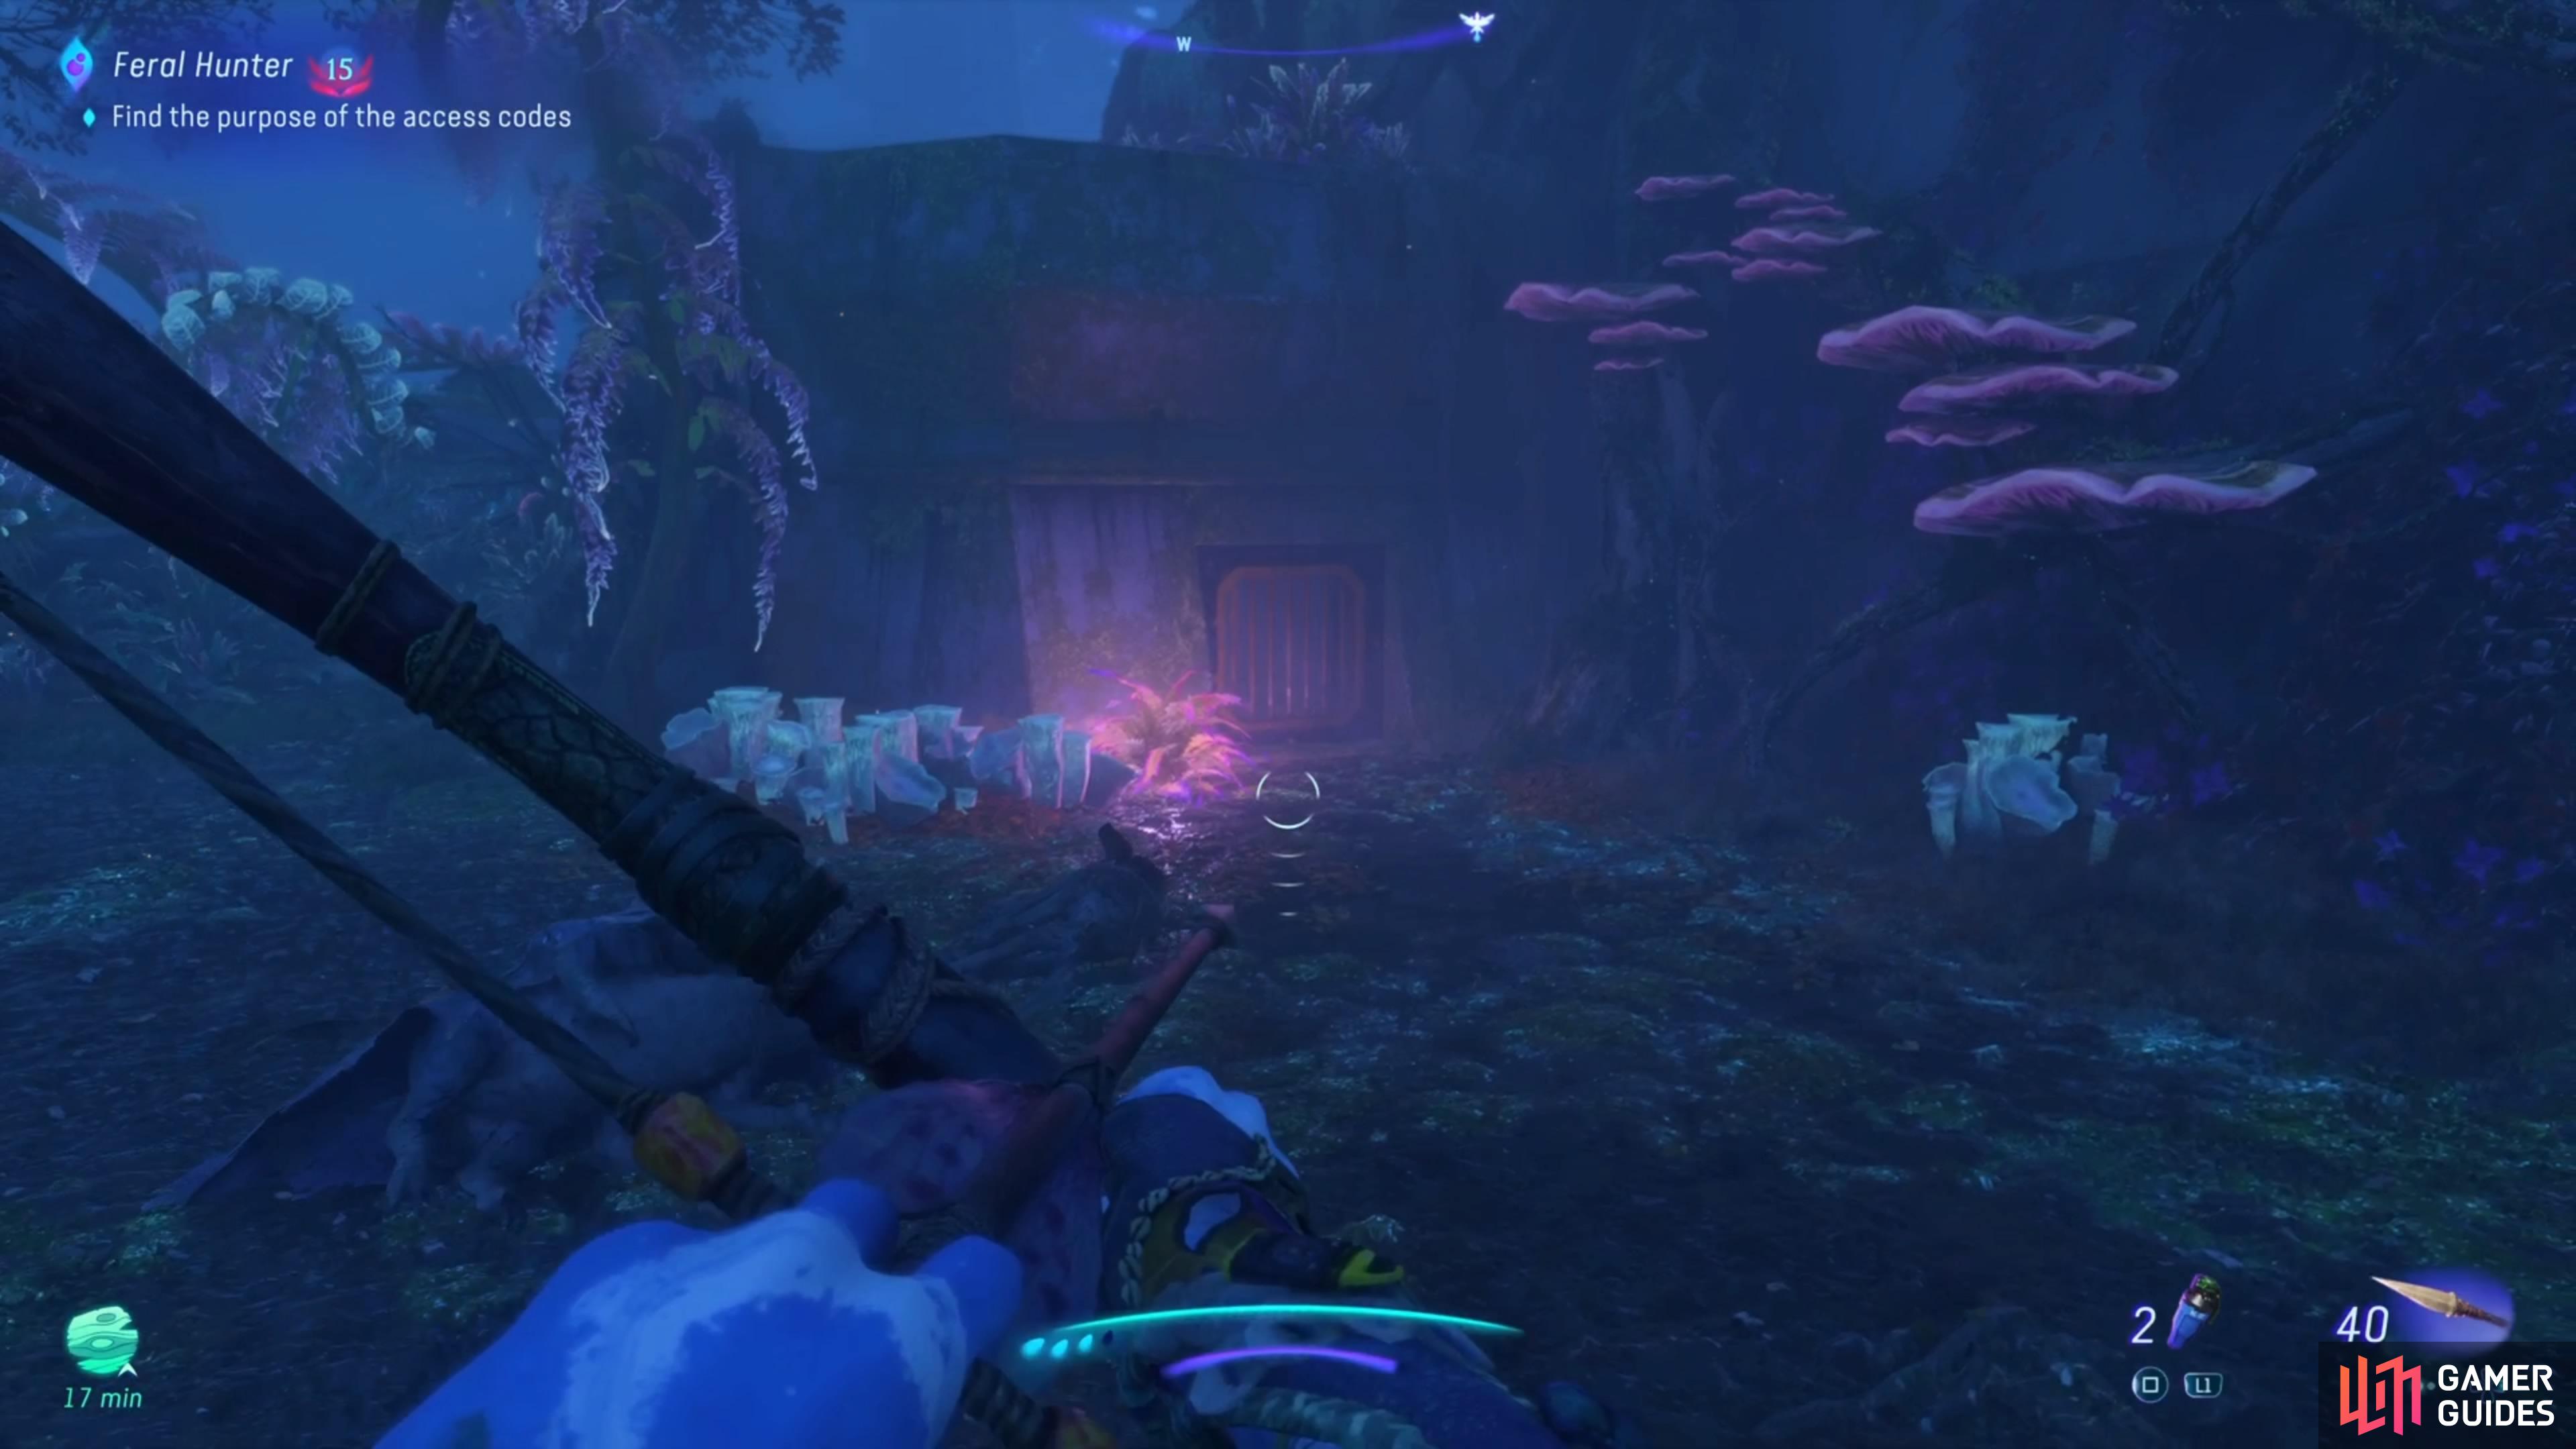
Once you’ve made it to the Clouded Forest and have Access Codes B and C, you can make an attempt at the research facility. Note that you should gain access to your Ikran before going here, simply because it’s faster and more efficient than walking. The Research Station Alpha is located in The Cut area of Clouded Forest, which is towards the southwestern corner. There is a large swath of forest found there, with the facility being on the eastern side. Look for the side with “A02” on the side, then check the corner of that side to see a vent you can break.
(1 of 5) The facility you go to is located in The Cut area of the Clouded Forest.
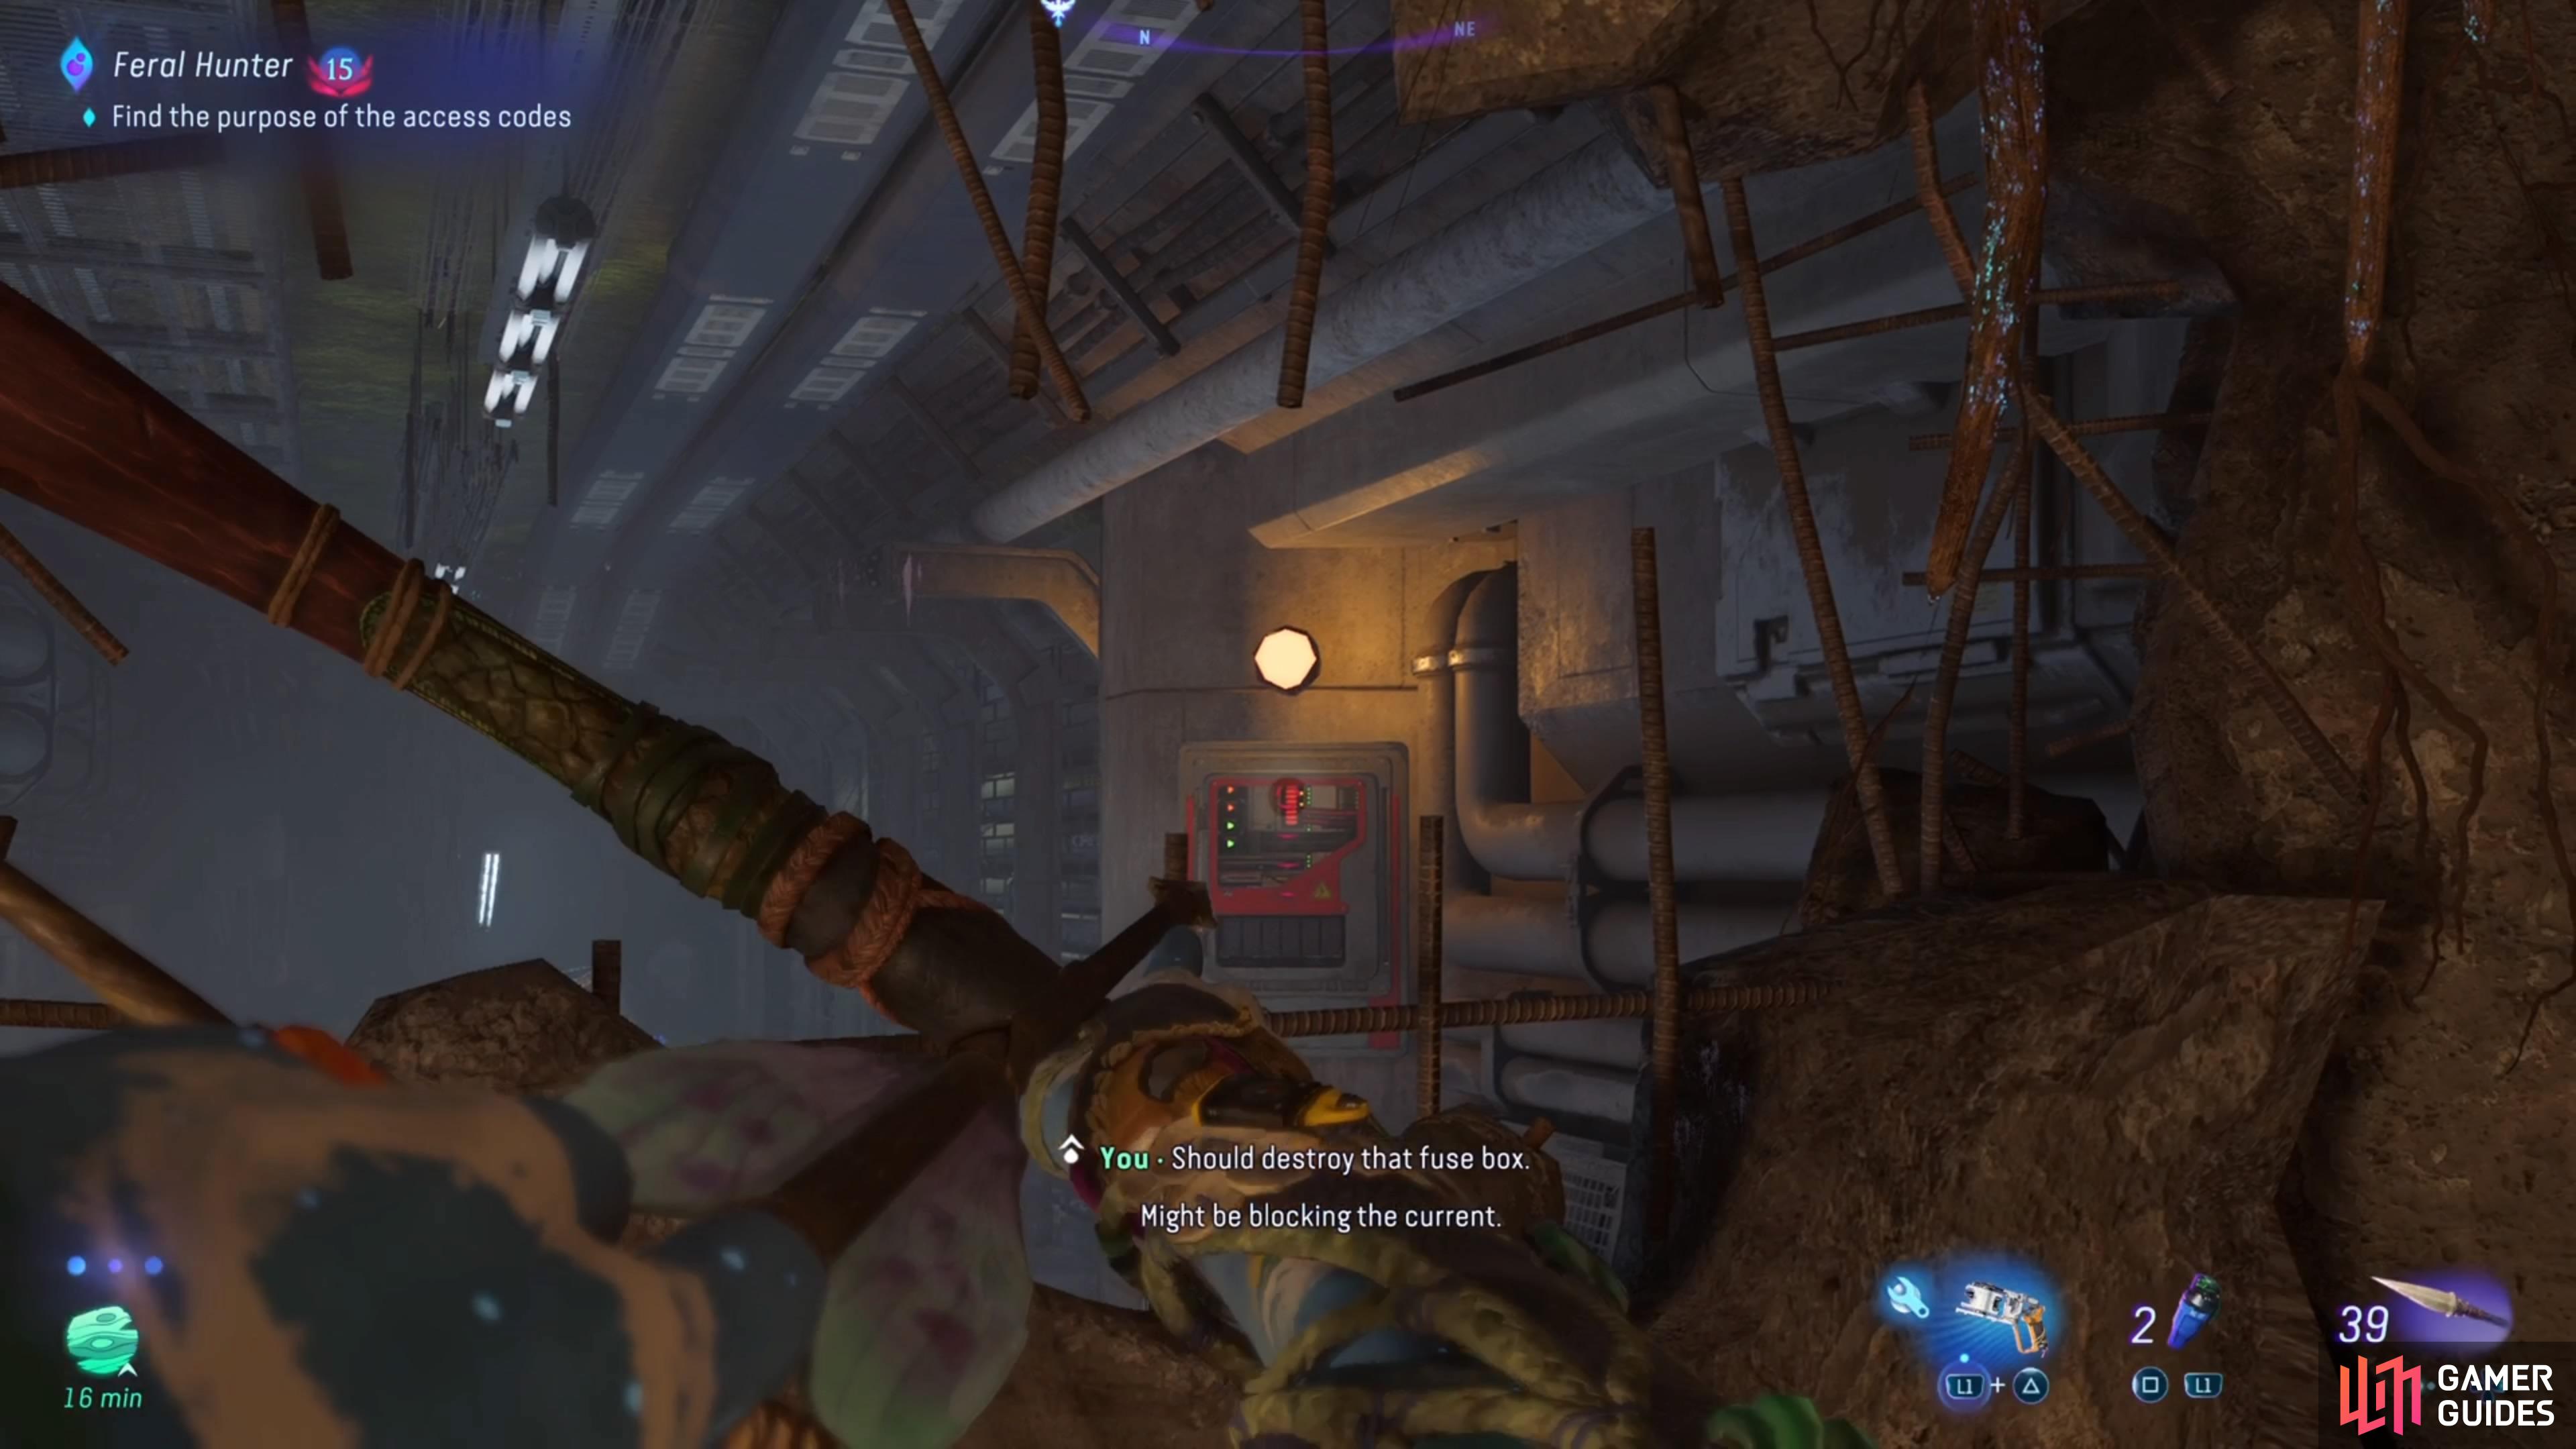
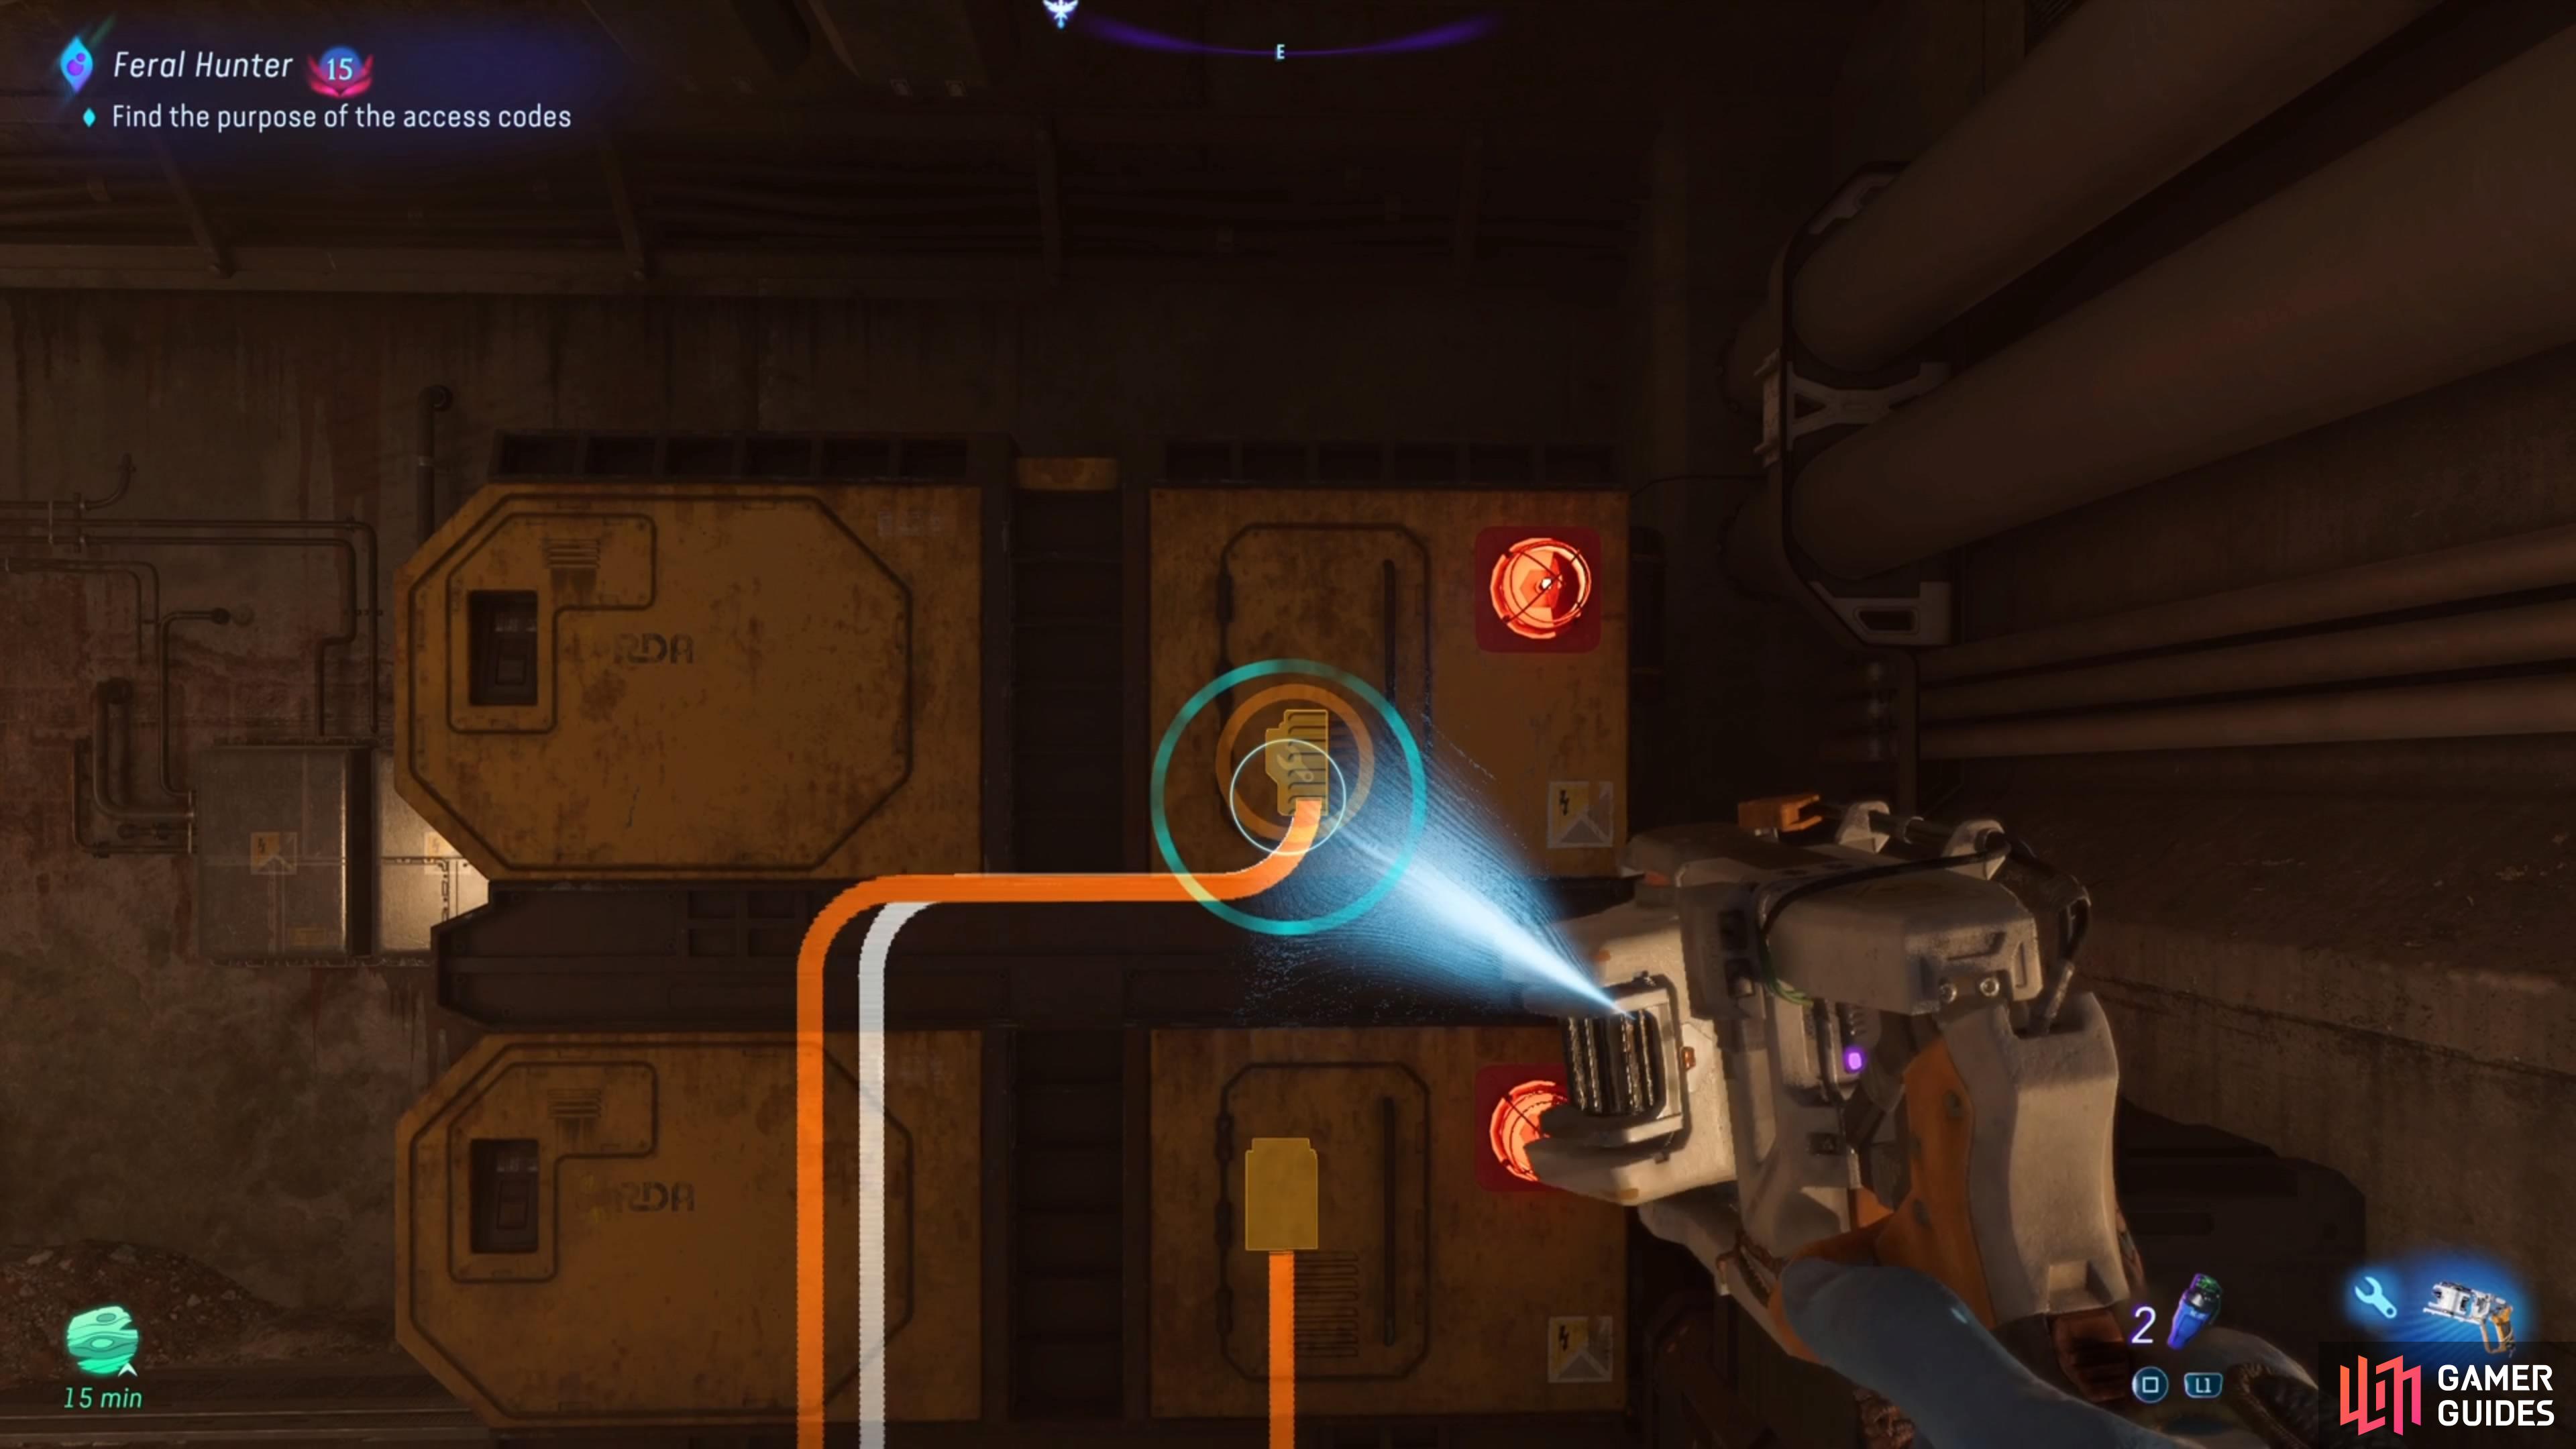
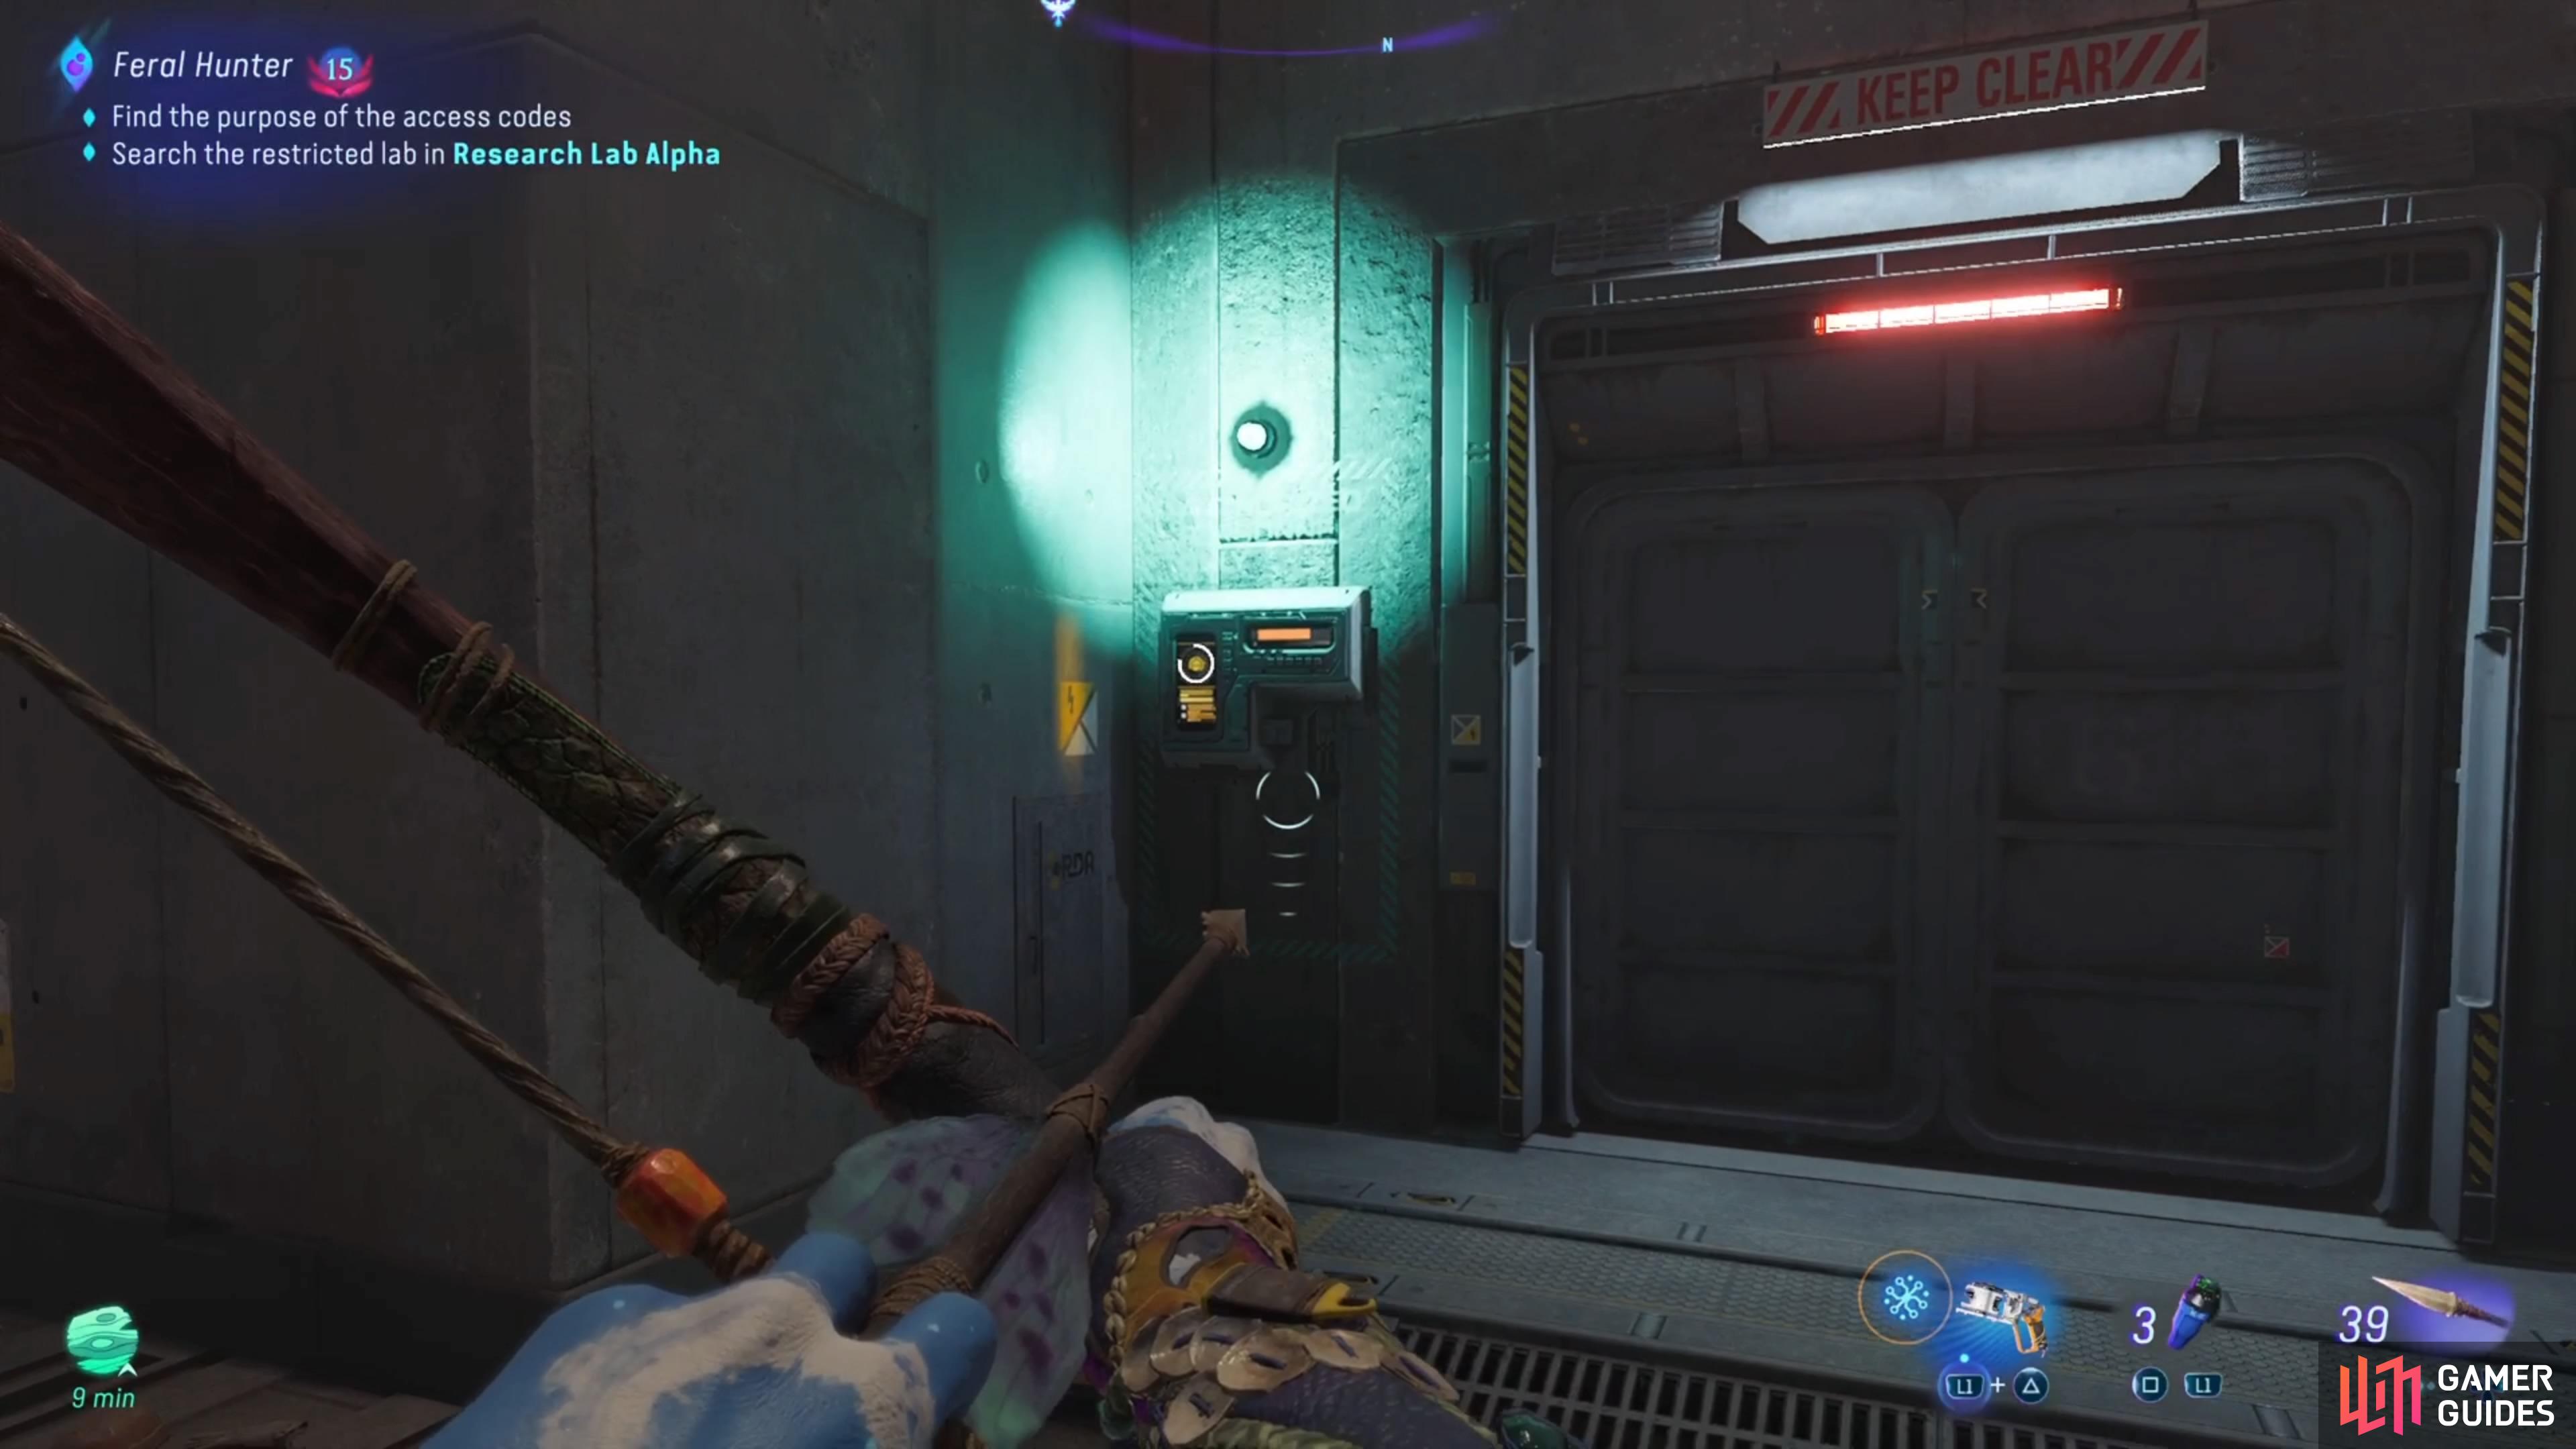
Destroy the vent to get inside the facility (the vent might glitch and not break fully, but you should still be able to “grab” onto the lift tool inside if it doesn’t disappear). There will be another vent to destroy, as well as a lock on the door, before you actually get into the proper facility. Follow the path until the end, where you see a wall with a hole in it. You can see a panel on the other side, so shoot it to get started on a mini-SID puzzle. Similar to the Resistance Labs you can find throughout Pandora, you have to use your SID on the circuits here to connect a path to the one door.
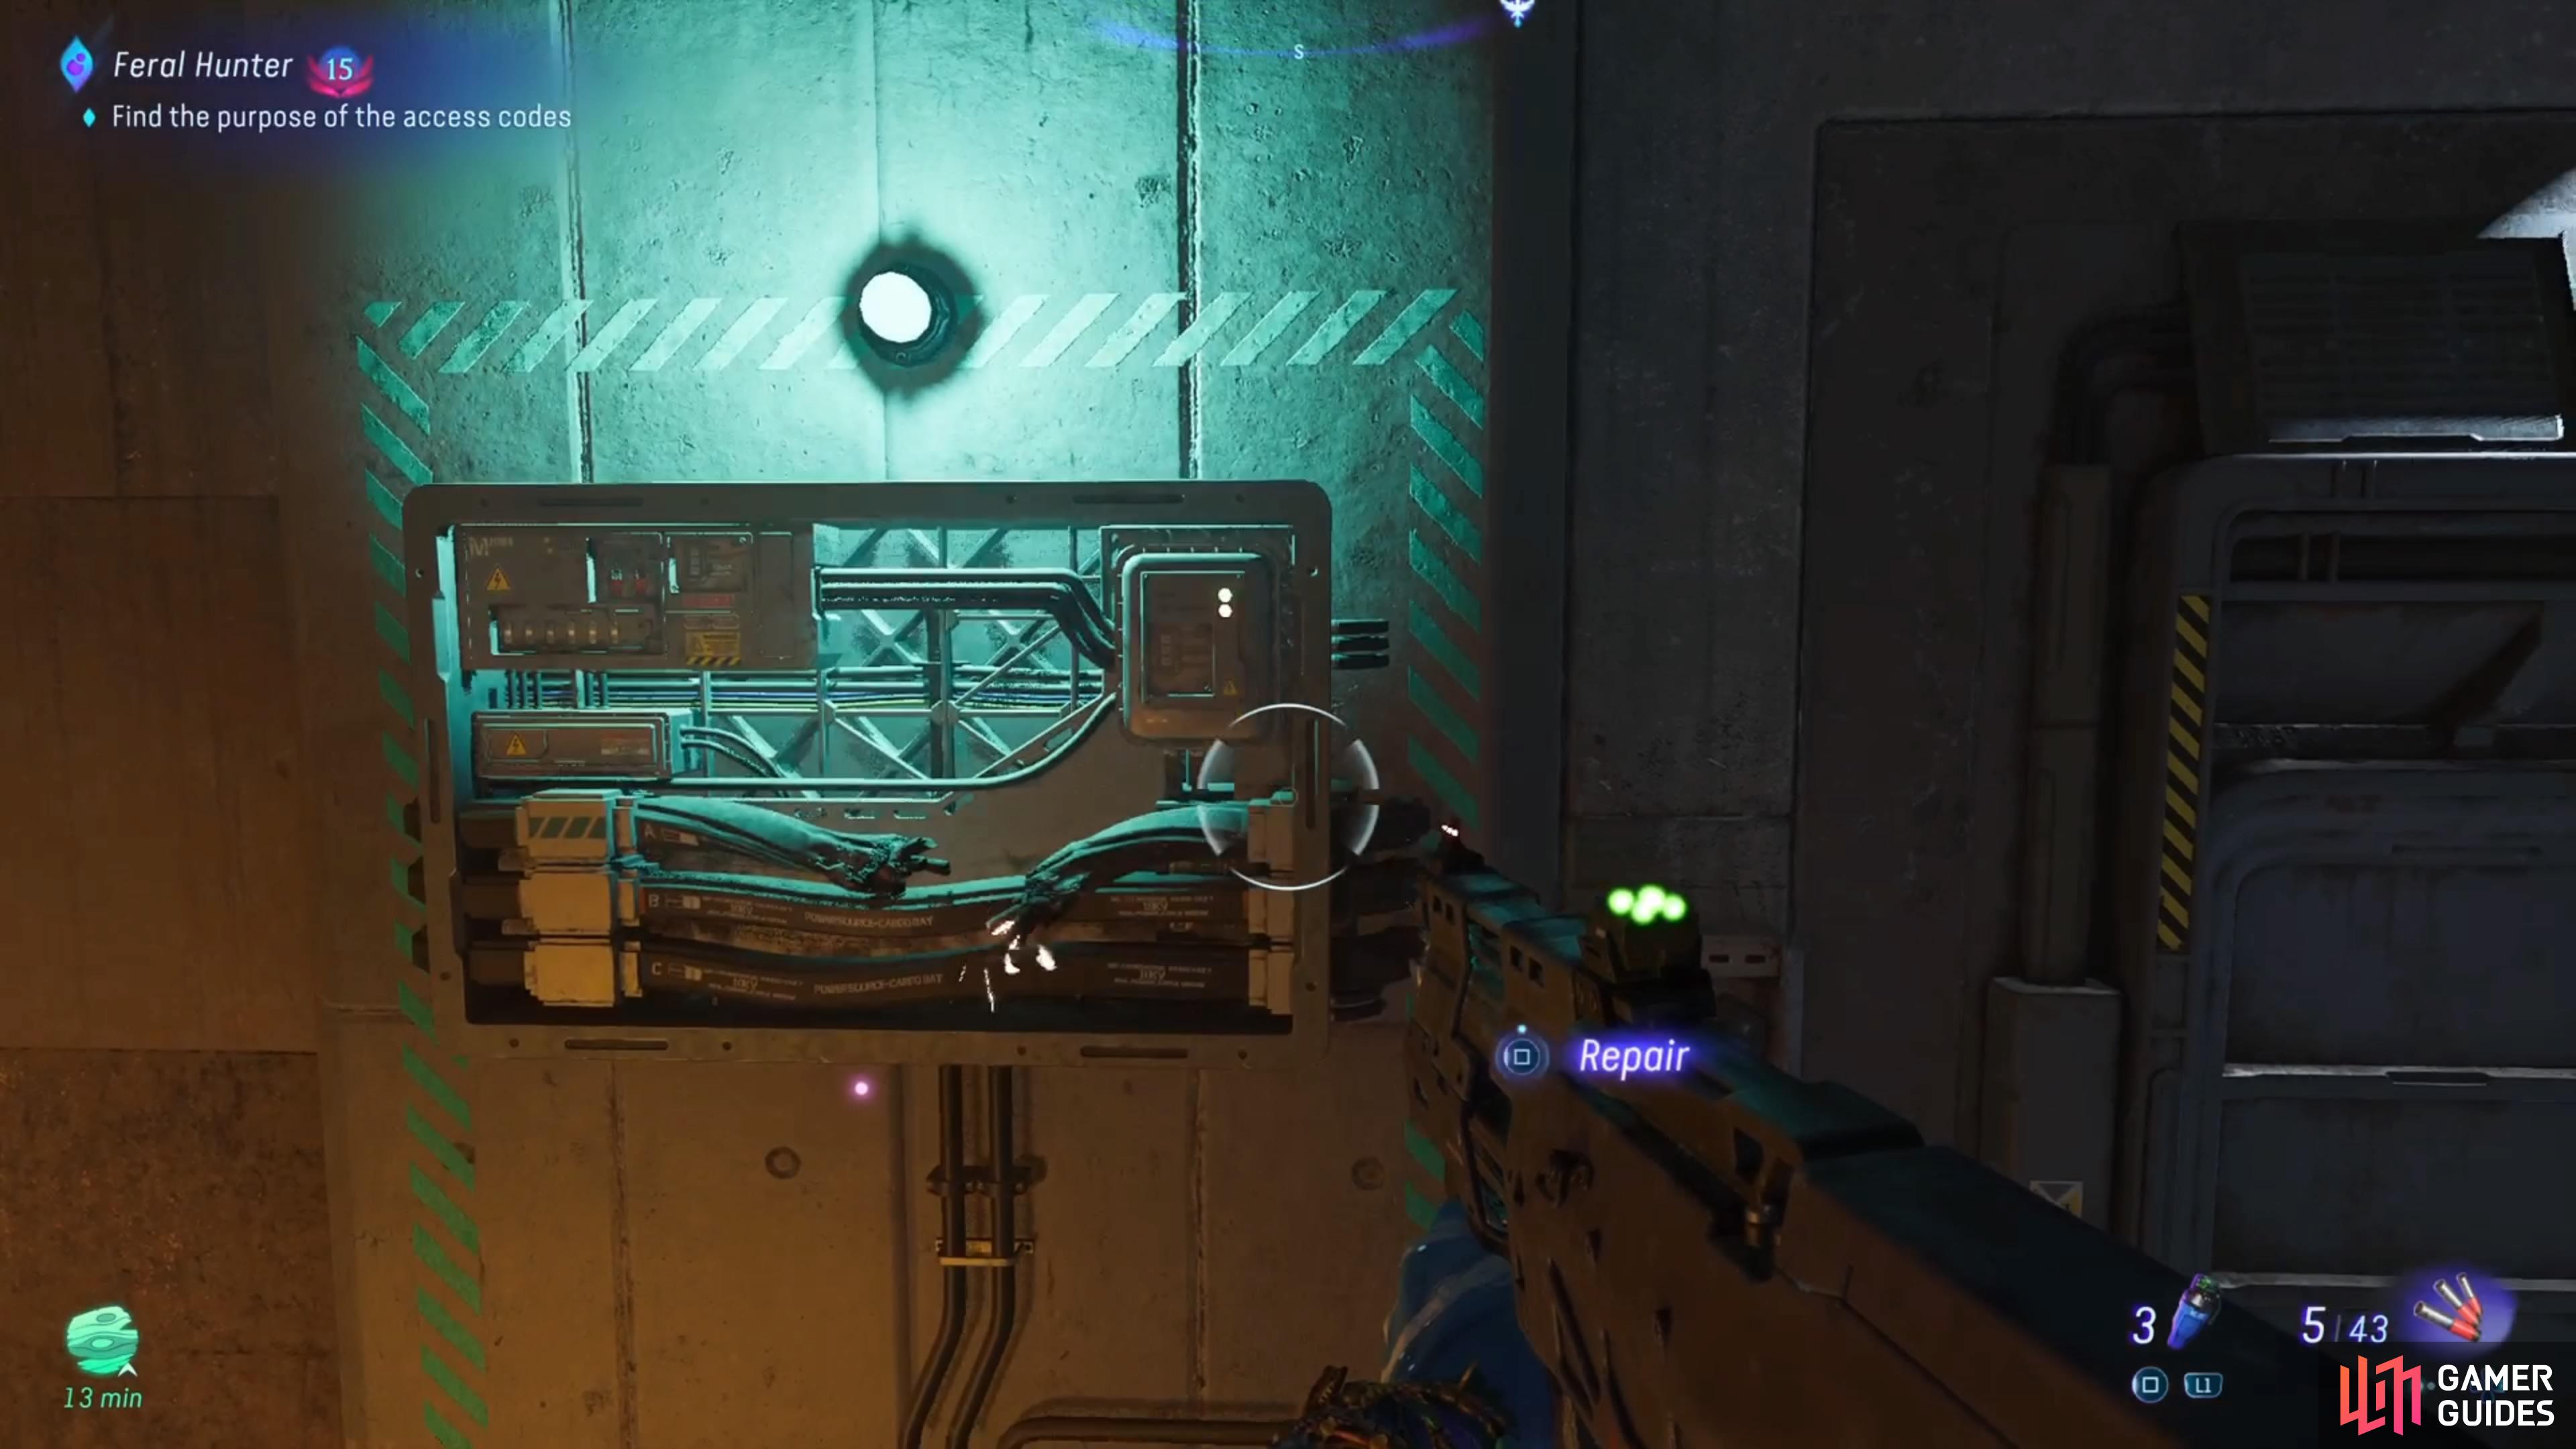
Don’t forget that you can see the power lines, so just follow them to their respective spots. Once the door is open, go inside and then use the SID on the connection right above that same door to open the next one. This is all you need to do with the SID right now, so don a weapon and continue further into the facility. When you emerge in a large room, head to the opposite corner and look for a panel on the wall you can repair. The door next to it will open, so pass through it and up the lift.
(1 of 3) The Feral Thanator will show up after hacking the computer.
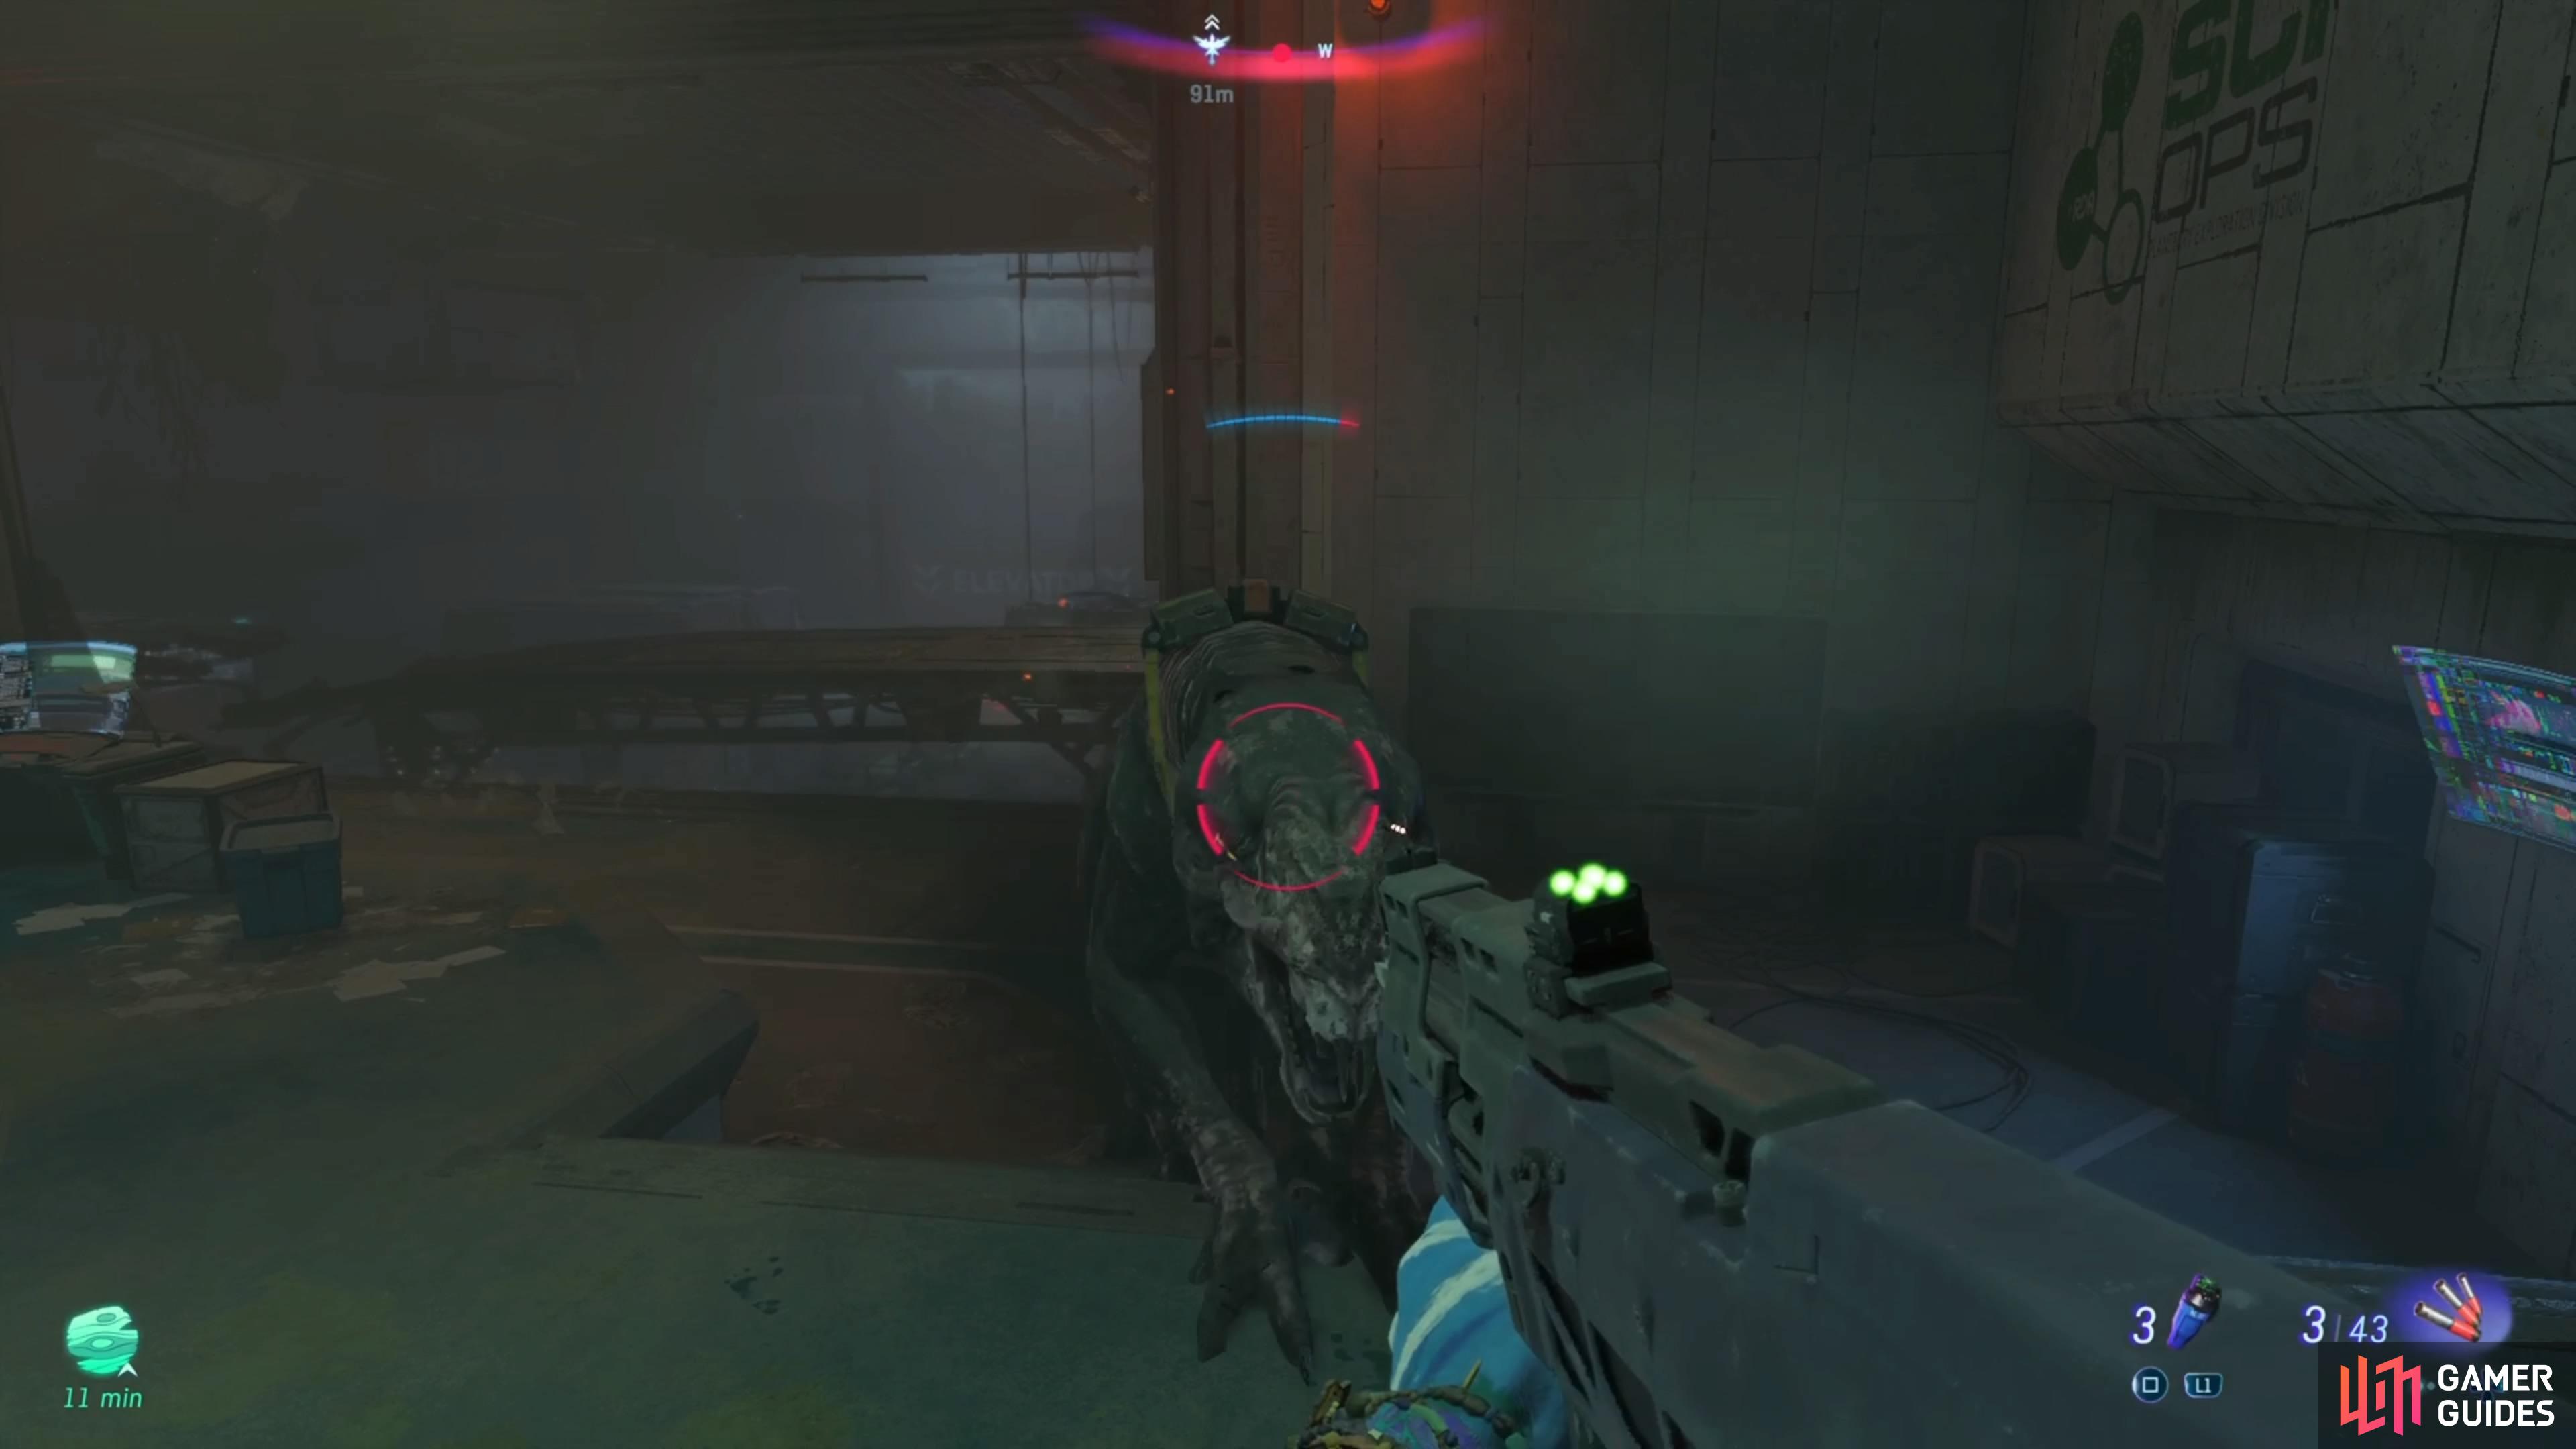
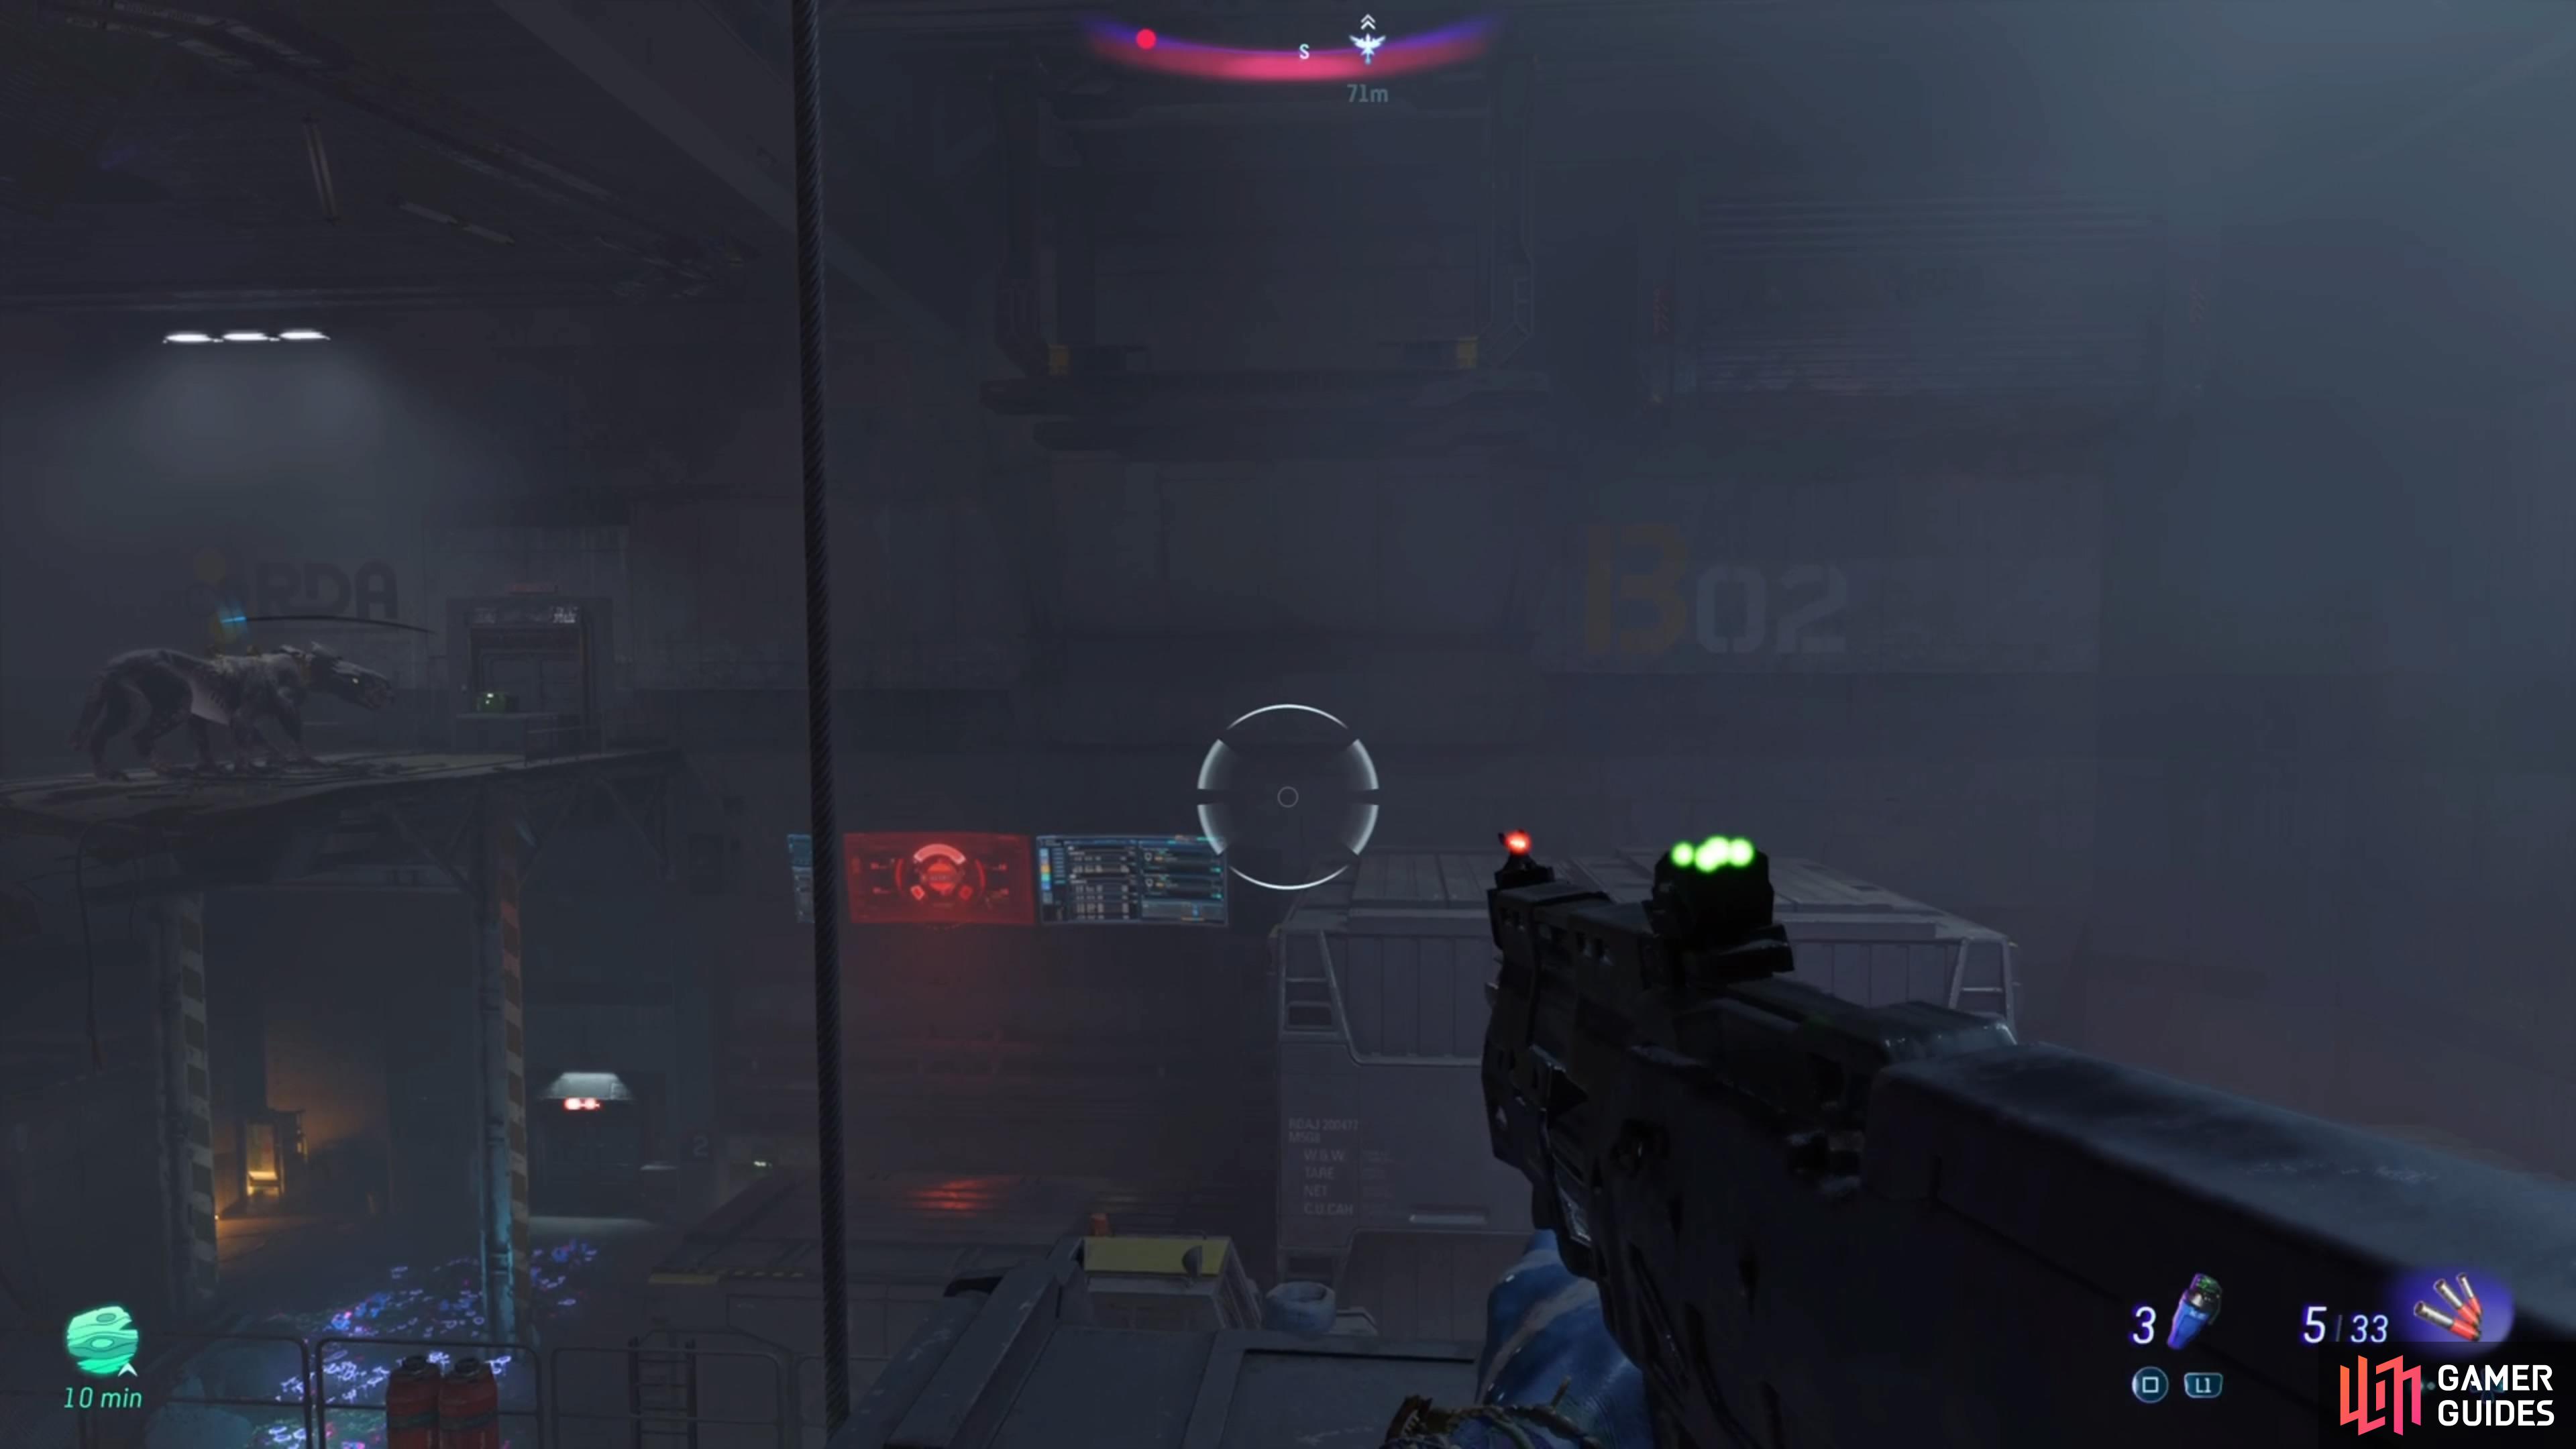
As you enter the next large room, there will be a computer that you can hack, but make sure you’re ready for the little bit after that. A Feral Thanator will appear, so you will need to kill it. If you retreat a little bit, the previous large room can be used to your advantage, as there are plenty of platforms to jump on to get away from the Thanator. Of course, it will give chase, so you can’t just sit up on a platform to take pot shots at the creature. Note that this Feral Thanator will likely be a level or two above the quest’s level, so make sure you are prepared in terms of having your health potions and strong equipment.
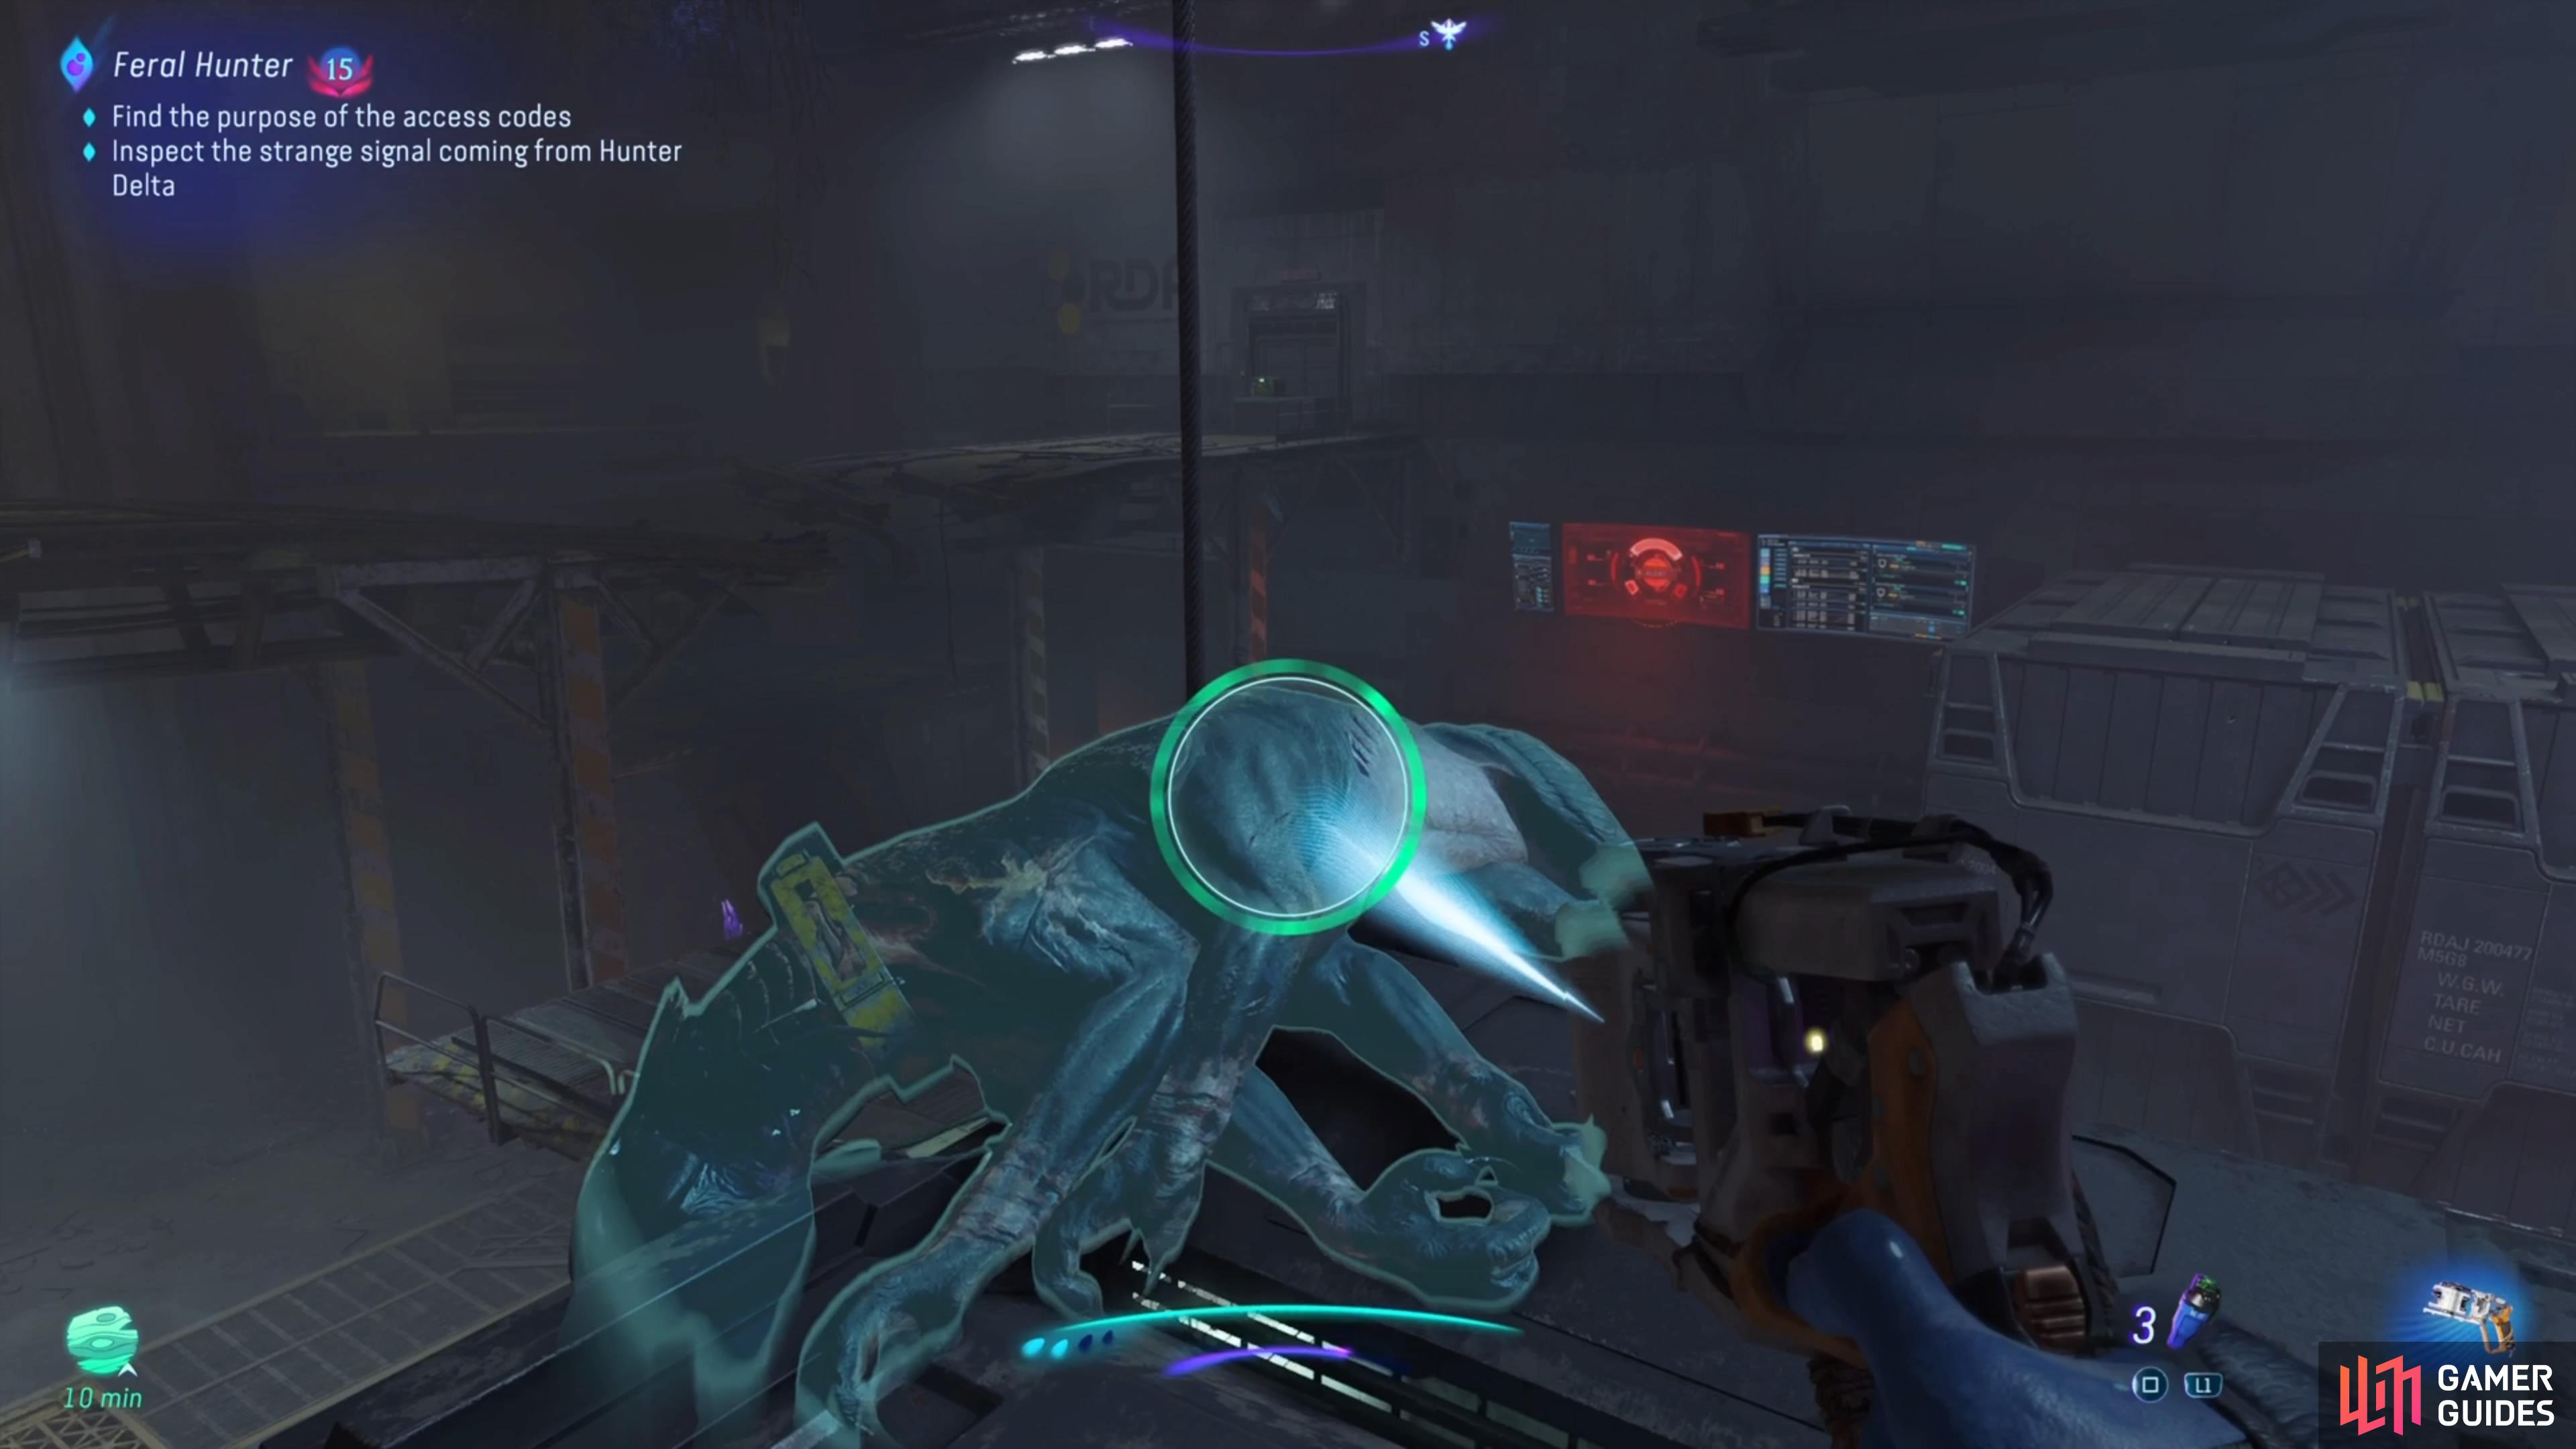
Upon defeating the Thanator, use your SID to scan the beast and do the hack, netting you Access Code A.
How to Complete the Feral Hunter Quest in Avatar
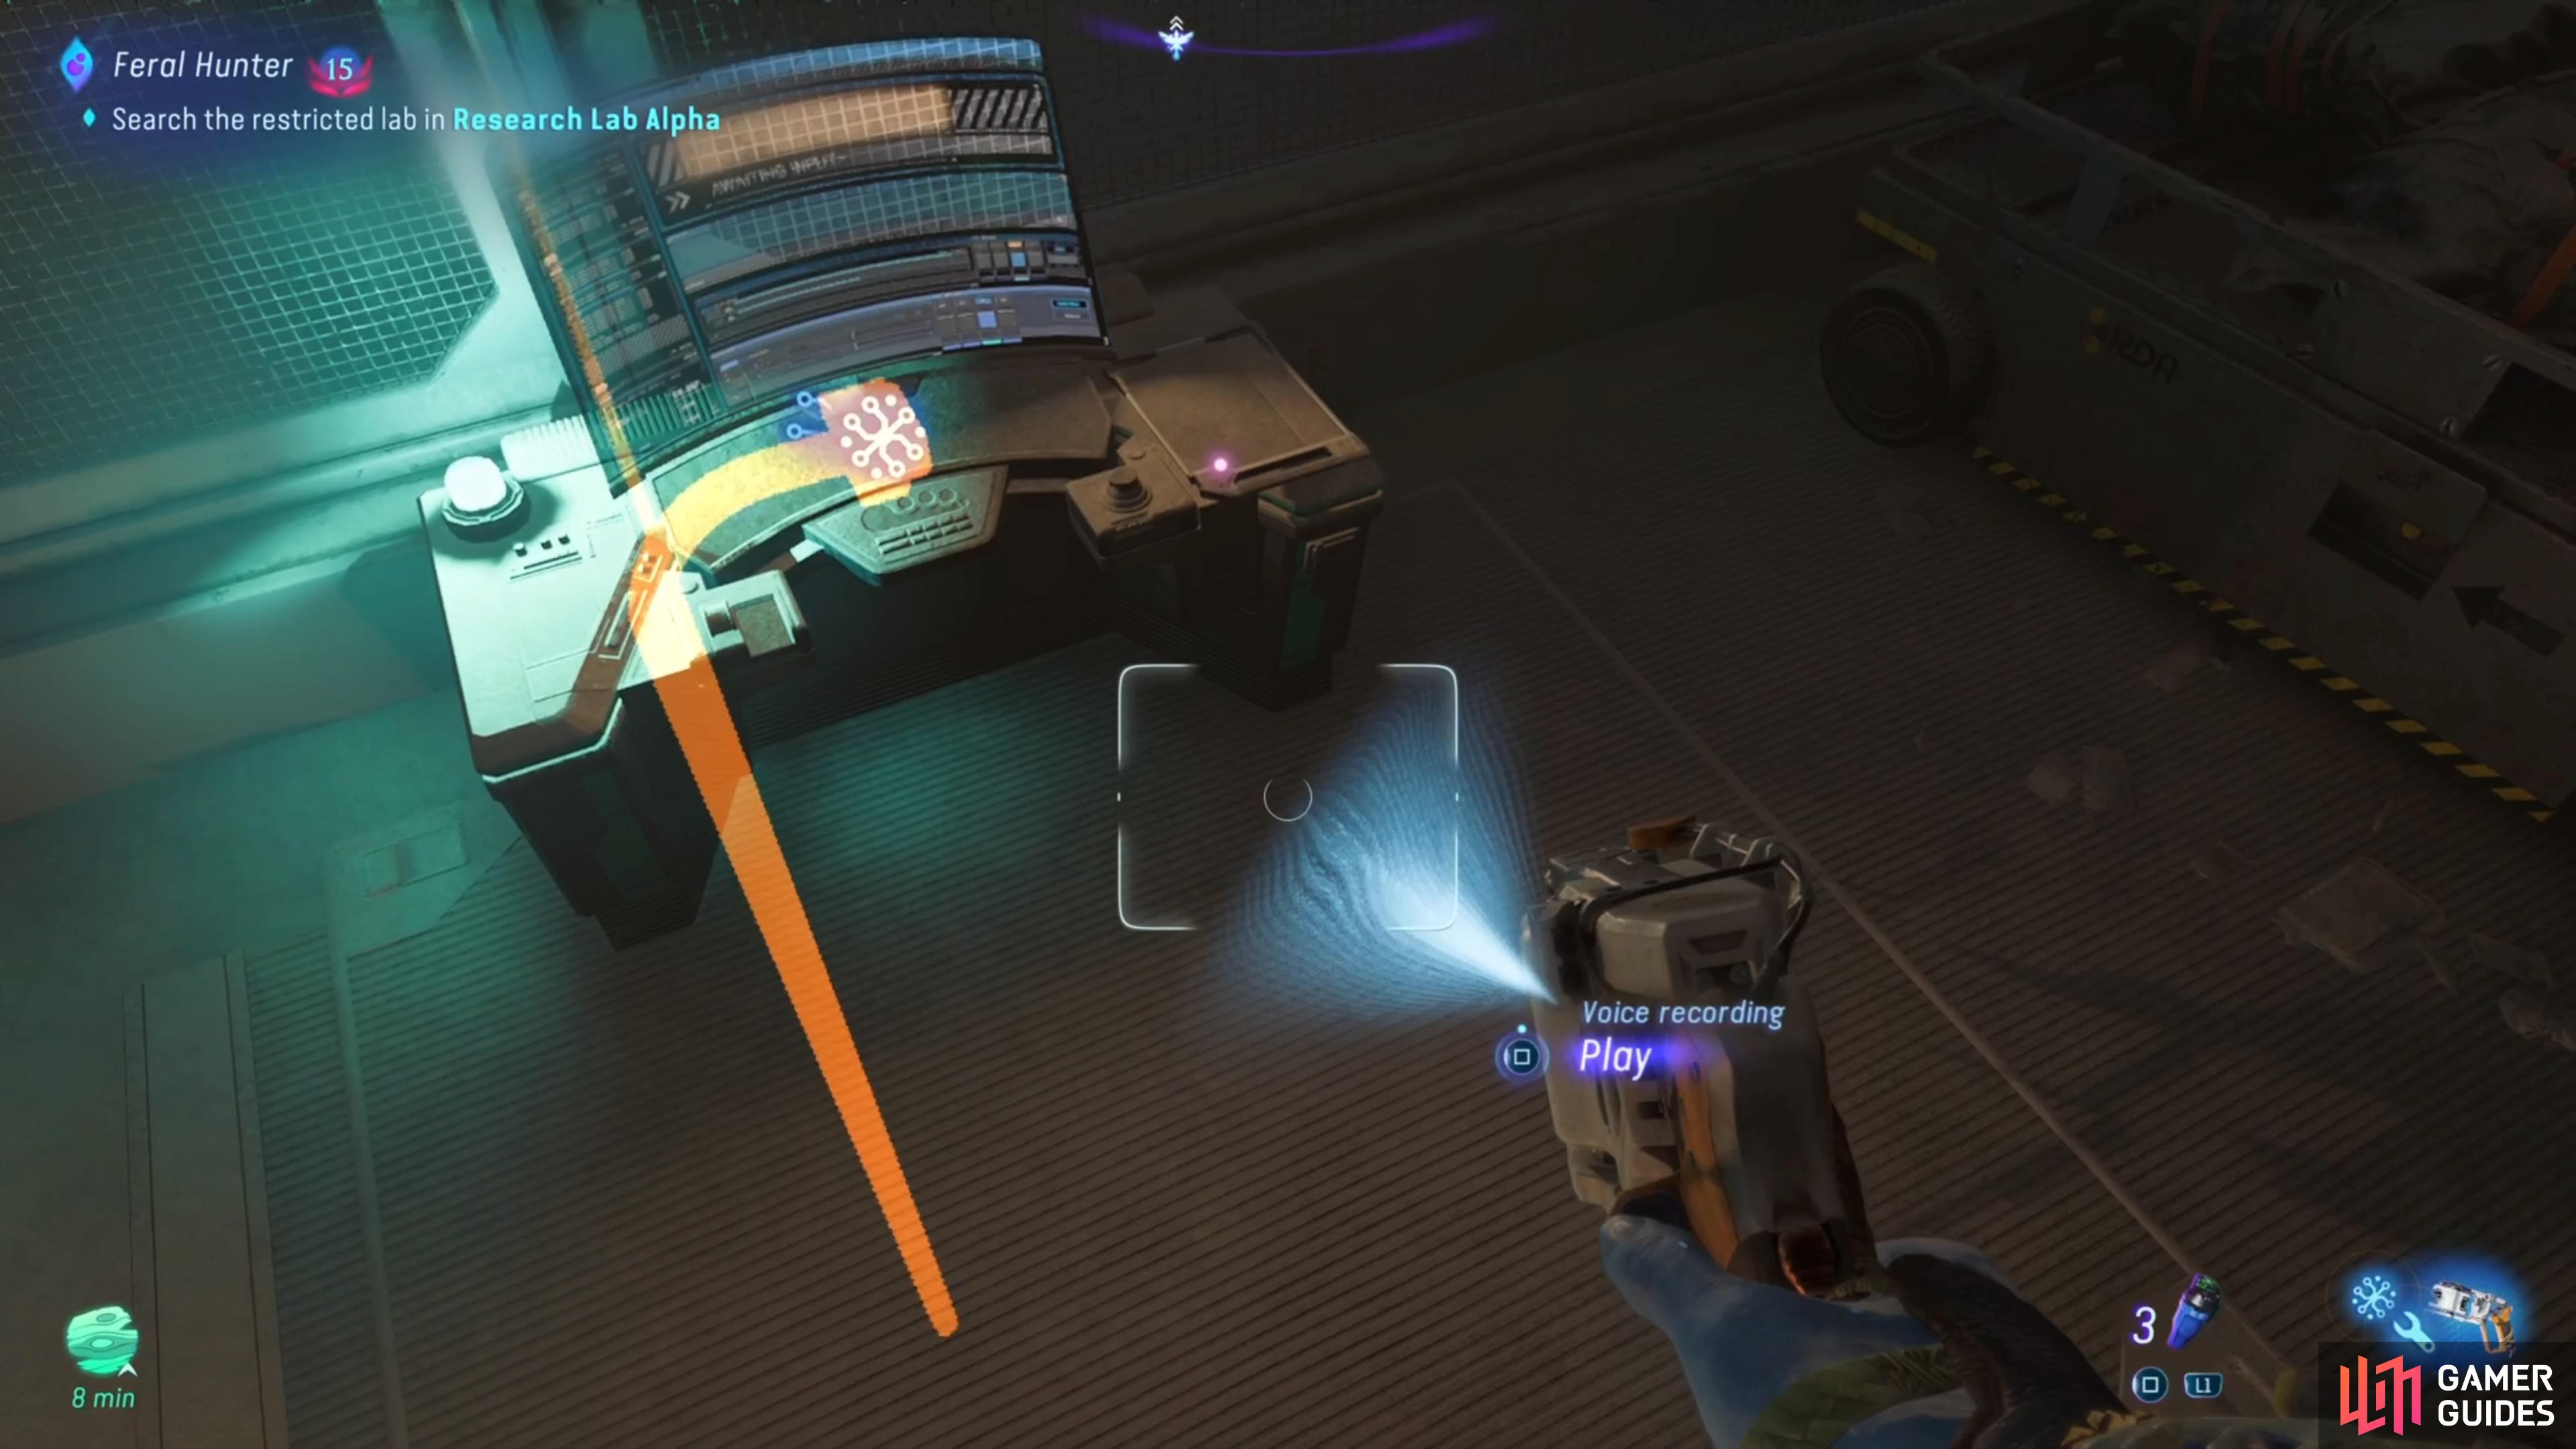
You should now have all three Access Codes, which can be acquired in any order, by the way. If you got either B or C last, return to Research Station Alpha, where you found the one Feral Thanator. There are three locked rooms in the one large room, with each of the Access Codes opening those doors. You’ll have to use your SID on the panel next to the doors to hack and open them. Once inside those rooms, look for a large crate that contains your rewards for this quest, as well as an audio log (not the collectible version) on a desk.
(1 of 3) The Access Codes allow you to get into some locked rooms in the lab.
- Feral Hunter Shotgun (Exquisite Shotgun)
- Feral Hunter Magazine (Exquisite Shotgun Magazine Mod)
- Feral Hunter Muzzle Brake (Exquisite Shotgun Barrel Mod)
Two of the audio logs will be from a familiar person, while the third is from some random NPC. Make sure you listen to all of these, as well as loot all three crates to finish the quest. You will also receive x6 Spare Parts and a single Skill Point. To exit the facility, there is a computer that has a node underneath it, so use your SID on it to open the large doors. Just past those large doors will be a lift that brings you back outside.
More Avatar: Frontiers of Pandora Guides
There are plenty of side quests in Avatar, so check out the following pages:



 Sign up

No Comments