The Clearing the Air exploration side quest in Avatar: Frontiers of Pandora tasks you with finding RDA outposts and installations throughout the Western Frontier. The overall aim is to reduce air pollution and improve air quality, but you’ll also be defeating a lot of the RDA forces in the process. Although not essential for completing the main story, clearing the outposts and installations is particularly useful because it grants access to secret storage rooms where you’ll find several containers that provide valuable loot such as new weapons, crafting resources, and the ever-useful Spare Parts. What’s more, if you complete all the objectives at an outpost or installation without being detected by remaining in stealth, you’ll find more loot containers in the storage room at the end. On this page, we’ll guide you through how to effectively clear these areas without being seen by using specific stealth-based skills, food buffs, and items.
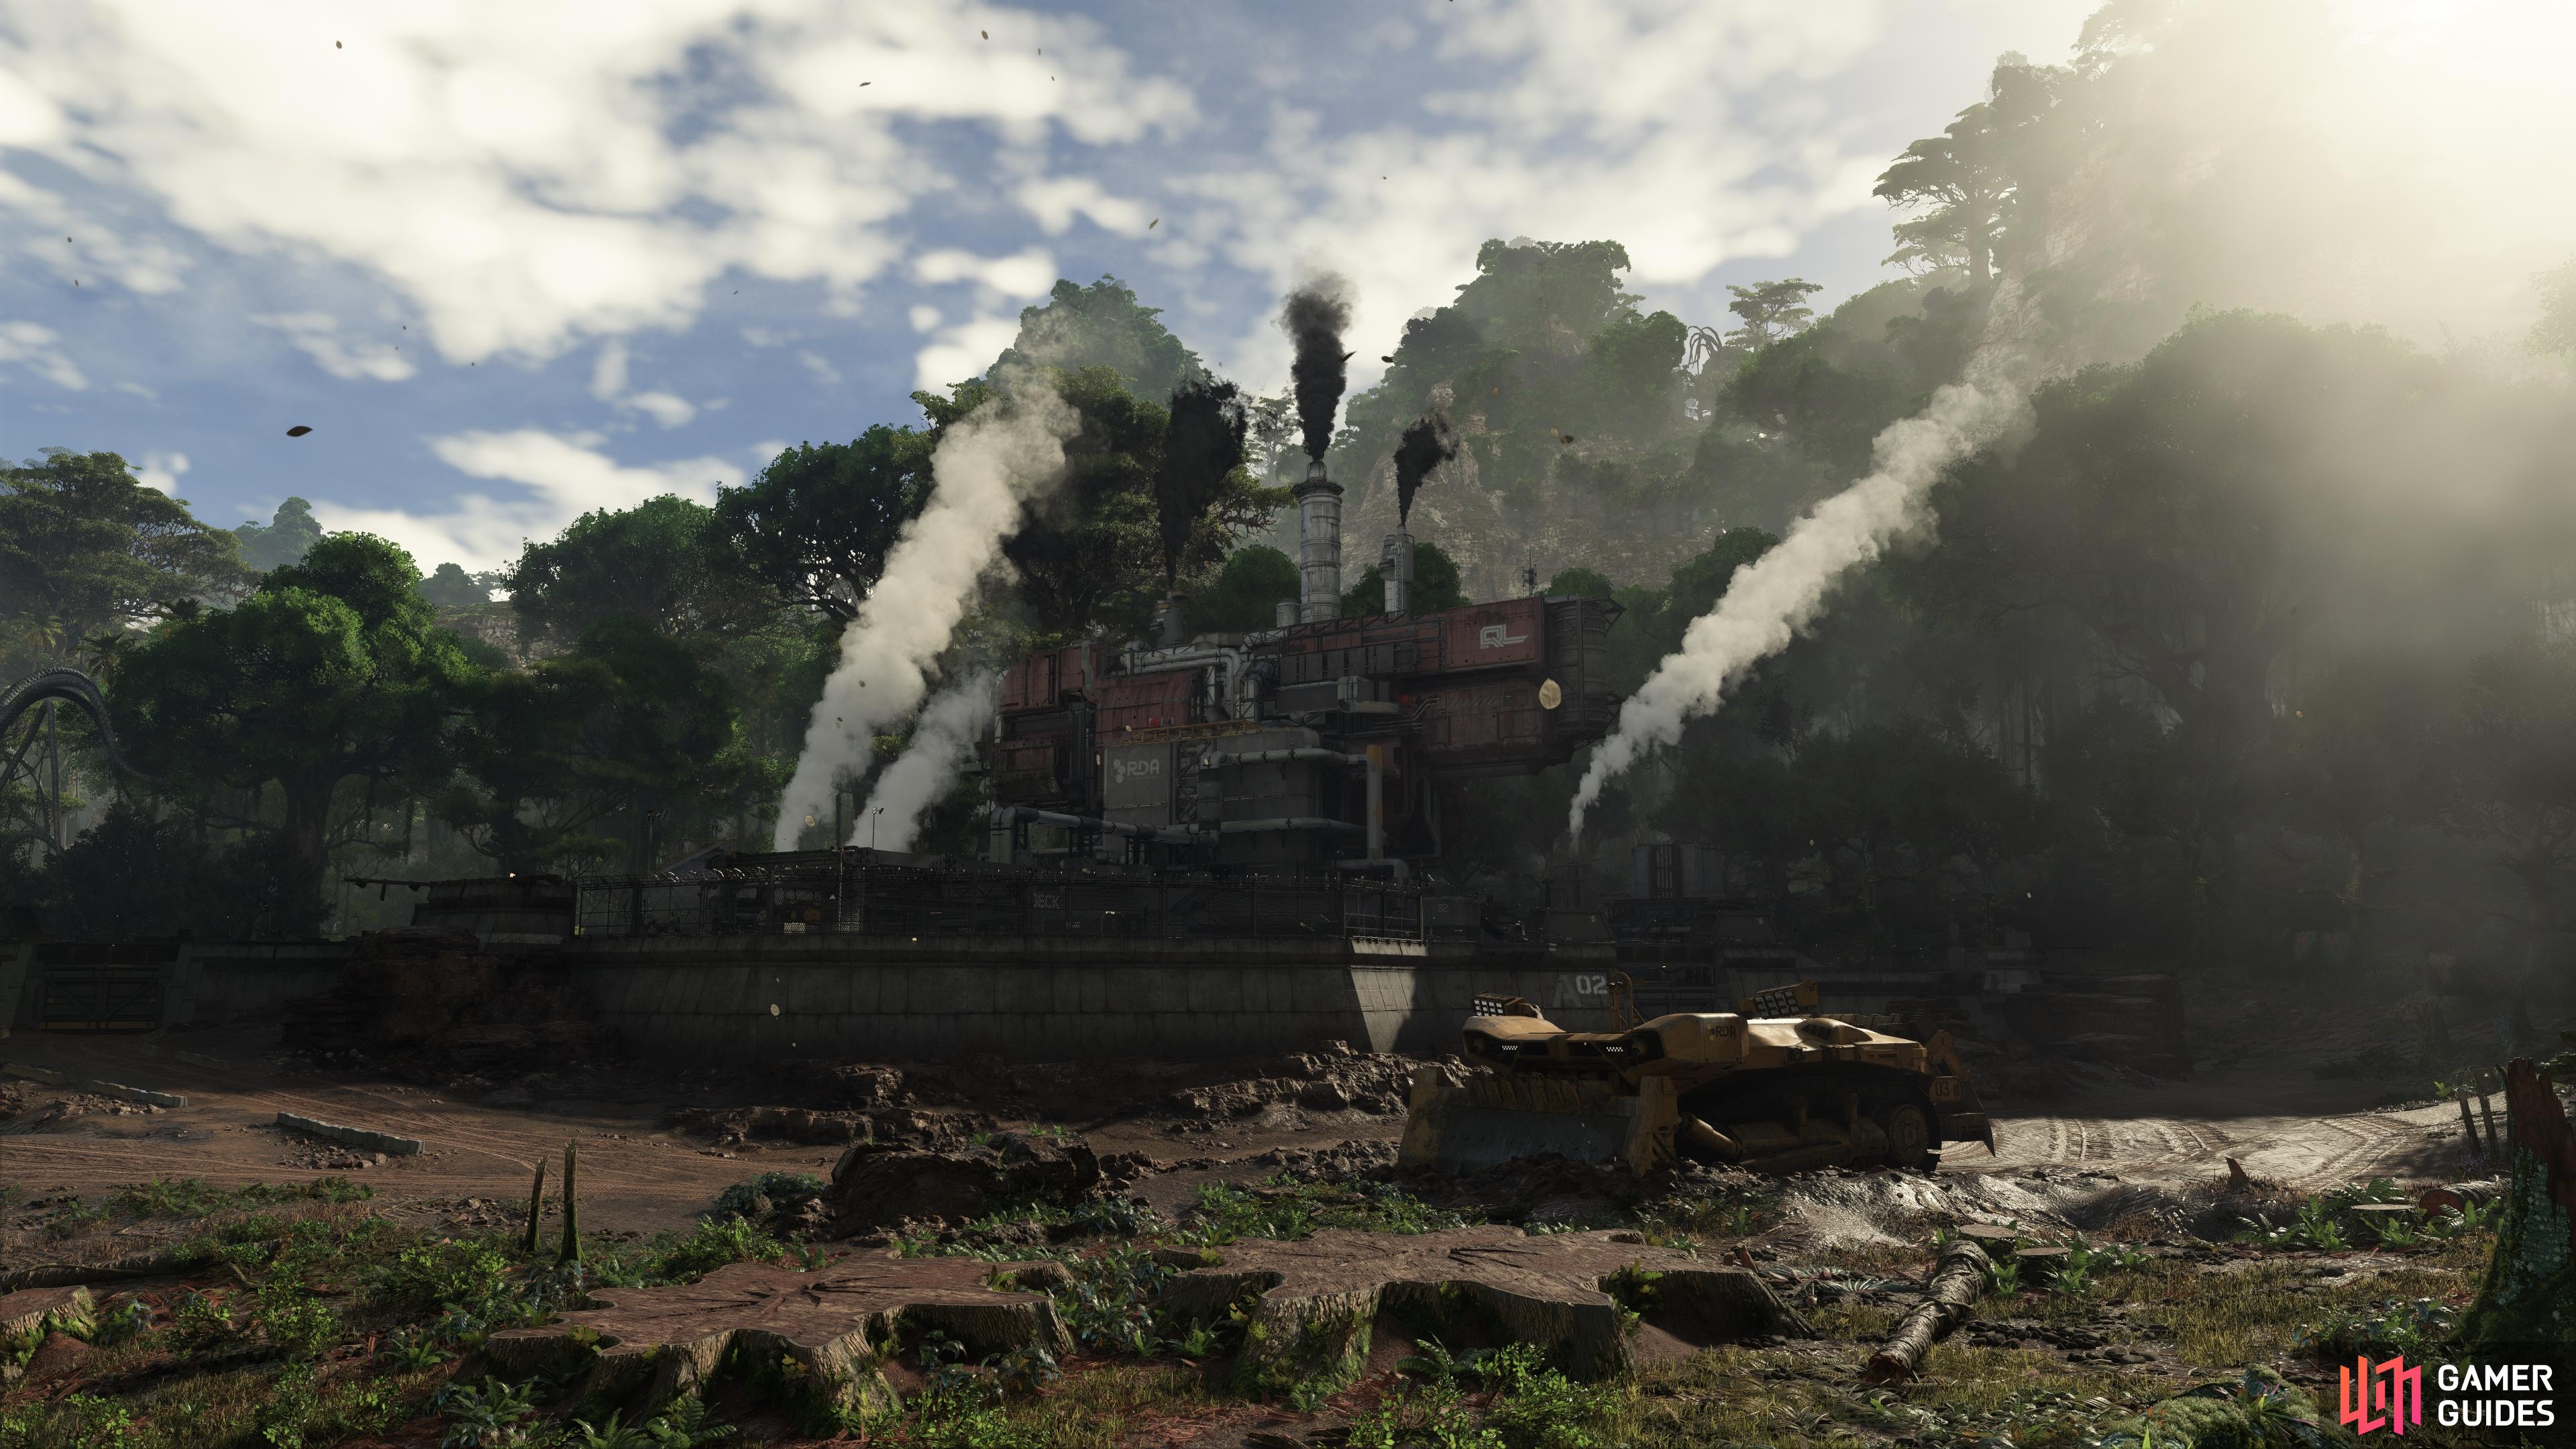
There are numerous RDA outposts and installations that you can clear in Avatar: Frontiers of Pandora. Look for the smoke rising to the sky!
How to Find RDA Outposts and Installations
As you begin exploring the Western Frontier in Avatar: Frontiers of Pandora, it’s almost impossible to miss the locations for at least a couple of RDA outposts or installations, especially if you play through the main story. However, outside of those related to main quests, you’ll need to find others by exploring the open world. There are some visual indications to look out for, such as billowing smoke rising in the distance, which often signifies the presence of an oil refinery or extraction site. However, by far the best and easiest way to find outposts and installations is by using your flying Ikran mount and checking your map as you uncover more fog of war from it. For this reason, we strongly recommend that you complete the Take Flight main quest before you focus on clearing the facilities.
Recommended Skills, Food Buffs, and Items for Stealth
One of the most important things you should focus on doing before infiltrating RDA outposts and installations is acquiring the best skills, food buffs, and items for the job. You’ll find it much more difficult without these, so it’s worth putting in the initial time investment to get all that you need to make your life easier.
Best Stealth Skills
There are five main stealth-based skills that you’ll find useful when clearing RDA facilities in stealth, all of which are part of the Hunter skill tree. You’ll need at least 10 Skill Points to acquire all of these skills, so be sure to search for Ancestor Skills and Tarsyu Saplings for them. The former provides two Skill Points each, while the latter provides one each. You can also get Skill Points from some main quests and side quests, but not all of them, so it’s a less reliable method. Either way, you can see the relevant skills and their effects in the table below.
| Skill | Effect |
|---|---|
| Shadow Hunter | When crouching, you are harder to detect and your speed is increased. |
| Light-Footed Hunter I | When crouching, you make no noise. |
| Light-Footed Hunter II | You no longer make any noise from moving, even while running. |
| Lethal Stalker | Deal +25% damage on your next attack within 10 seconds after killing an unaware target. |
| Silent Destroyer | Allows you to stealth kill enemies with armored weakpoints. |
For anyone interested in a stealth build, the above skills should be fairly self-explanatory. Shadow Hunter and the two versions of Light-Footed Hunter will directly impact your ability to remain unseen and unheard. You’ll be able to move faster between checkpoints while crouched, and you won’t make any noise that might trigger the attention of nearby RDA enemies.
The Lethal Stalker skill has a more specific use. It will allow you to finish off enemies that might have spotted you immediately after dispatching an unaware target, such as a patrolling ground soldier seeing you just as you kill a mech with its back turned. In this scenario, the chances of you killing the soldier quickly in melee before it can raise the alarm are improved, thanks to your increased overall damage.
(1 of 2) Look for the weakspots highlighted in yellow on mech suits. You can kill them in one hit if you have Silent Destroyer.
Look for the weakspots highlighted in yellow on mech suits. You can kill them in one hit if you have Silent Destroyer. (left), The Silent Destroyer skill, from The Hunter skill tree, is by far the most useful for stealth-based combat. (right)
The Silent Destroyer skill is arguably the most useful one that you can acquire for stealth-based combat. As the description suggests, it allows you to instantly kill most enemies with one shot to their weakspot. The most common enemy that you’ll encounter with weakspots at RDA facilities is the AMP mech soldier, which comes in various forms such as the AMP Assault Veteran, AMP Grenadier Veteran, or the Combat Exo. You can learn more about each of these in your Hunter’s Guide, but in every case, you’ll be able to one-shot them if you hit their weakspots with your Long Bow or Heavy Bow.
Stealth Food Buffs
In terms of food buffs that can aid with stealth, these aren’t so much of a necessity to have as the stealth-based skills are, but they could be useful if you find yourself struggling to avoid the attention of patrolling guards. All the stealth buffs from food give you a base increase to stealth, but it can be difficult to tell how much of an impact they have. In any case, it should go without saying that if you’re struggling to remain undetected, you should try cooking the food that provides the most amount of stealth.
You can see an overview of the foods with stealth buffs that we’ve found below, including how to make them. Most of these require any variant of a specific food type, aside from the dish that provides the most powerful stealth buff, Fresh Fish Soup, which requires Buoyfish and Radar Mushroom. The two recipes that increase Stealth Damage may only be useful if you find that you’re unable to one-shot a particularly powerful RDA enemy in a high-level area, but this should rarely be the case if you progress through the game naturally.
| Food | Buff | Recipe |
|---|---|---|
| Crunchy Seafood | +35% Stealth | Any Fish, Any Seed |
| Egg-Stuffed Mushroom | +35% Stealth Damage | Any Mushroom, Any Egg |
| Fish-Stuffed Mushroom | +35% Stealth Damage | Any Mushroom, Any Fish |
| Fruity Seafood | +35% Stealth | Any Fish, Any Fruit |
| Marbled Meat Seafood | +35% Stealth | Any Fish, Any Fatty Meat |
| Meat Slice Seafood | +35% Stealth | Any Fish, Any Lean Meat |
| Sweet Seafood | +35% Stealth | Any Fish, Any Nectar |
| Fresh Fish Soup | +40% Stealth | Buoyfish, Radar Mushroom |
Useful Stealth Items - SID (Systems Interrogation Device)
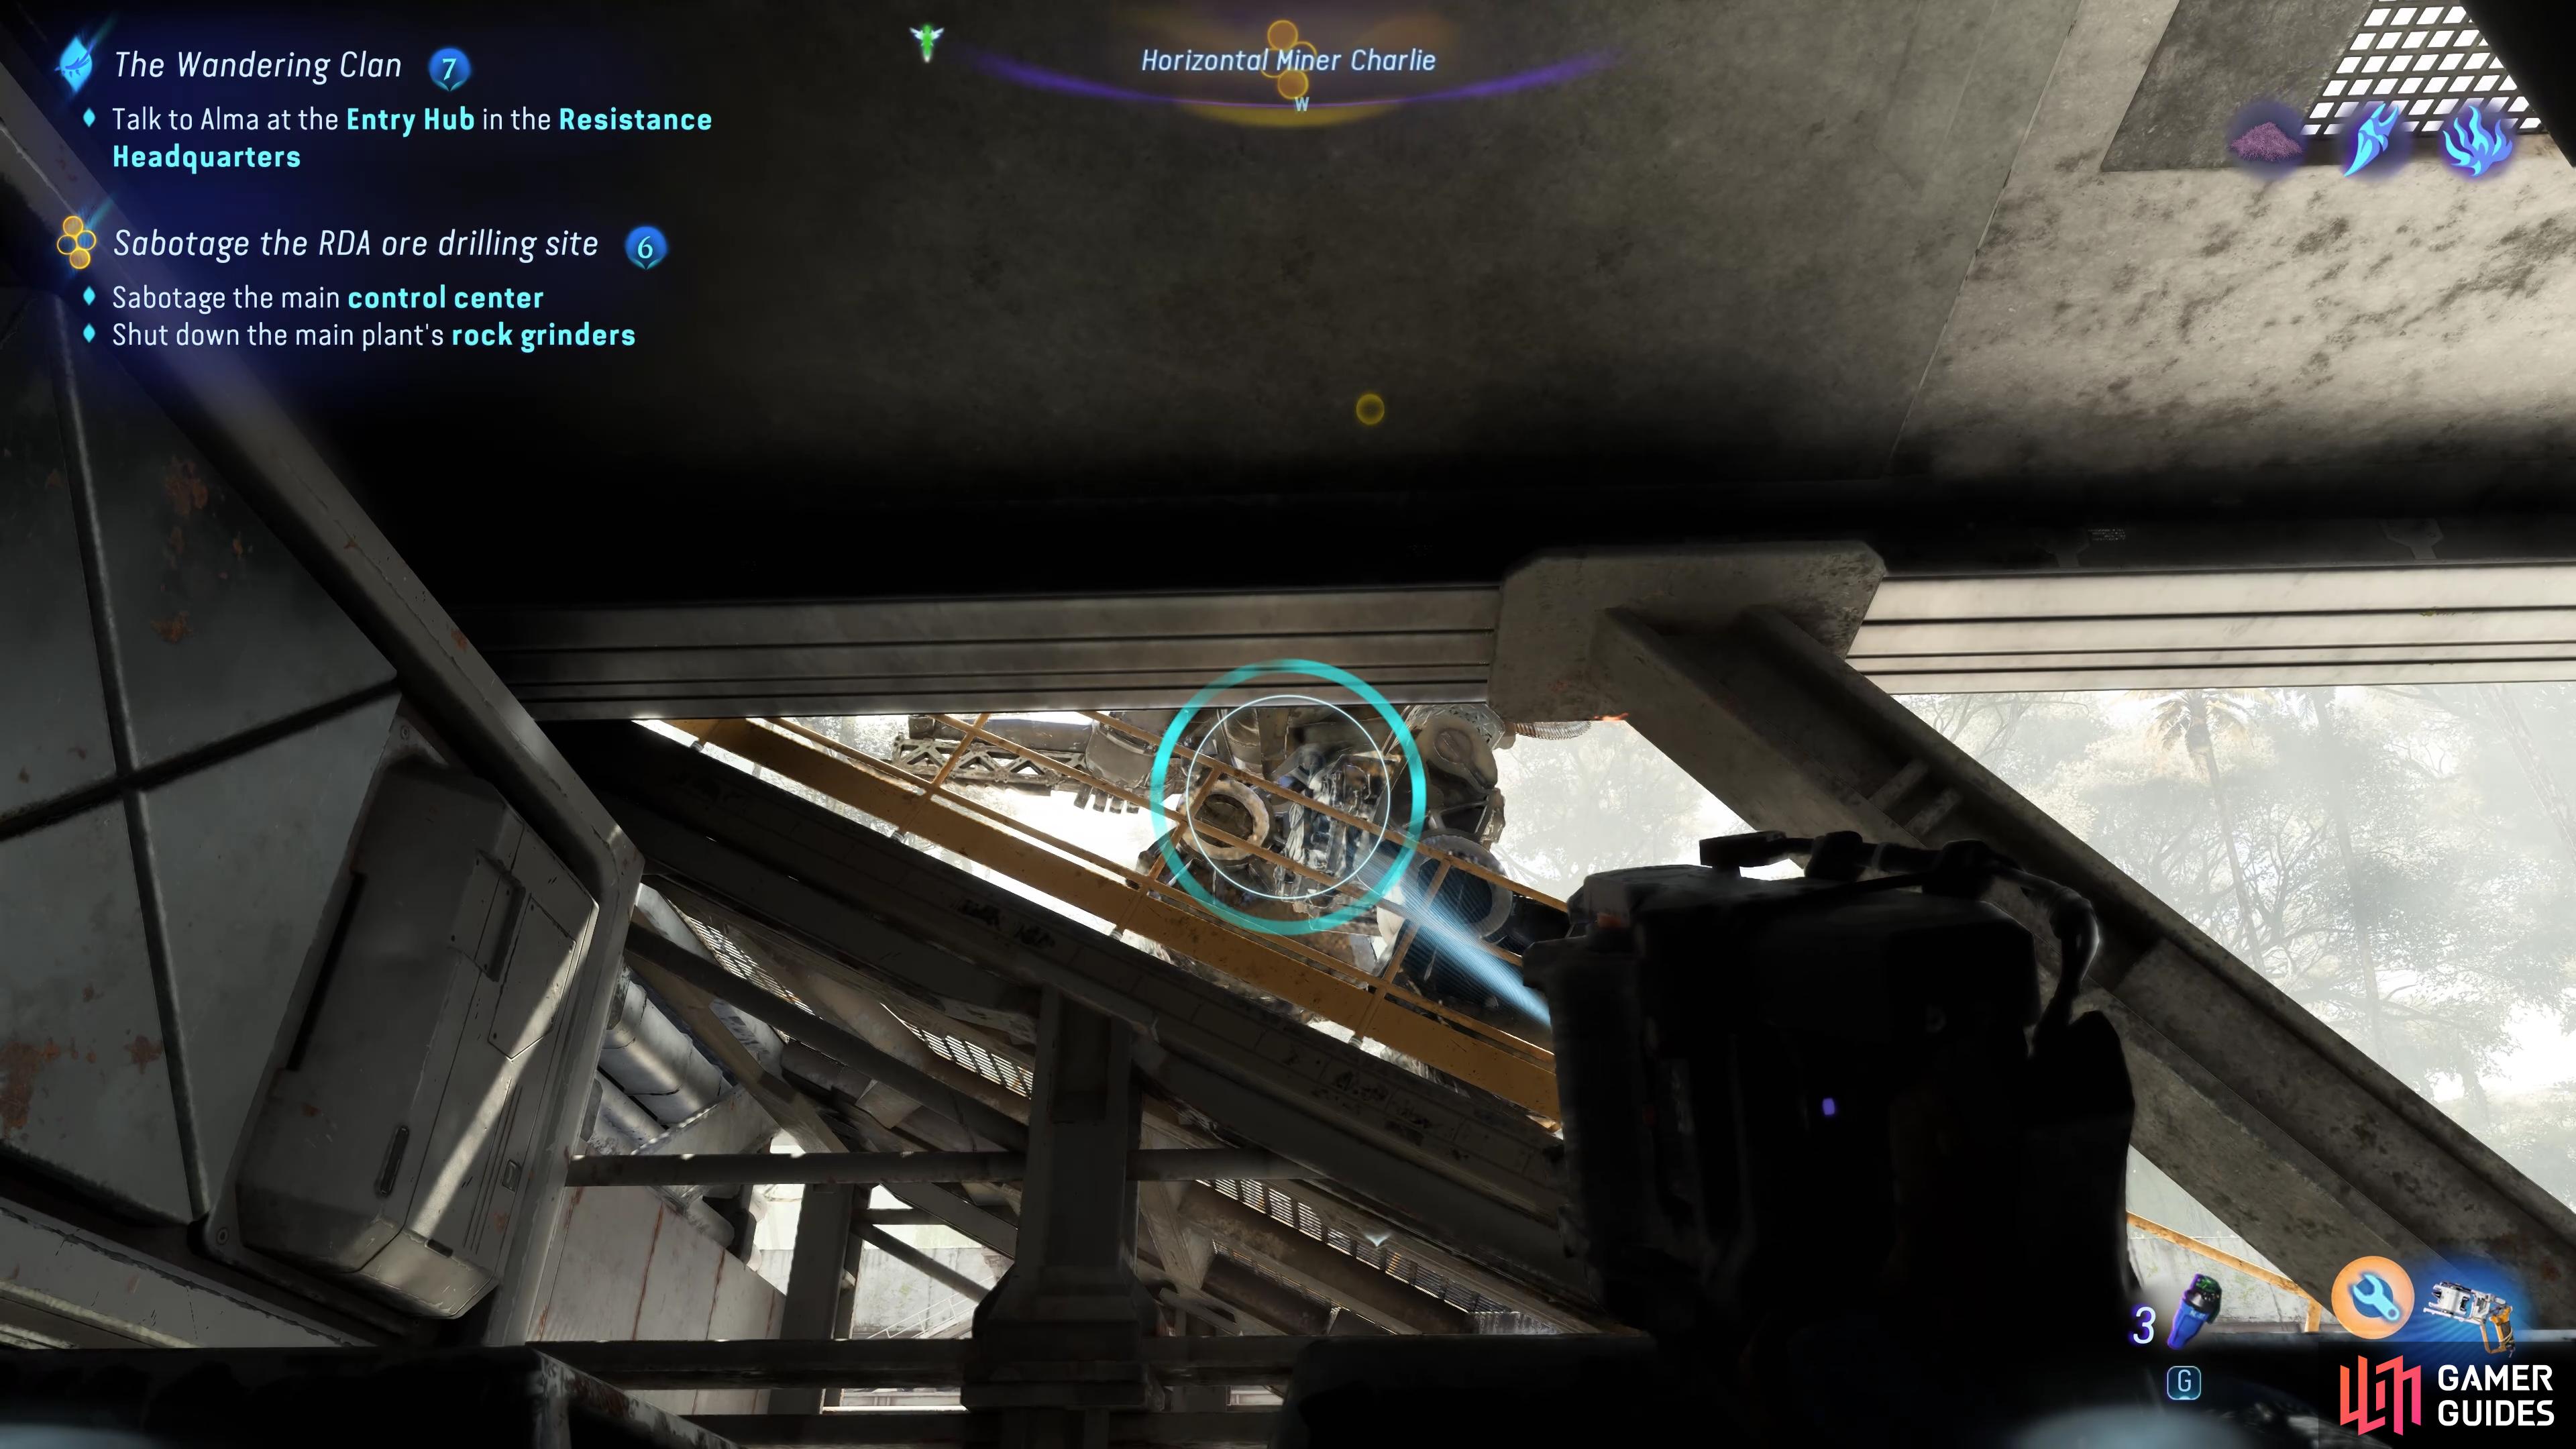
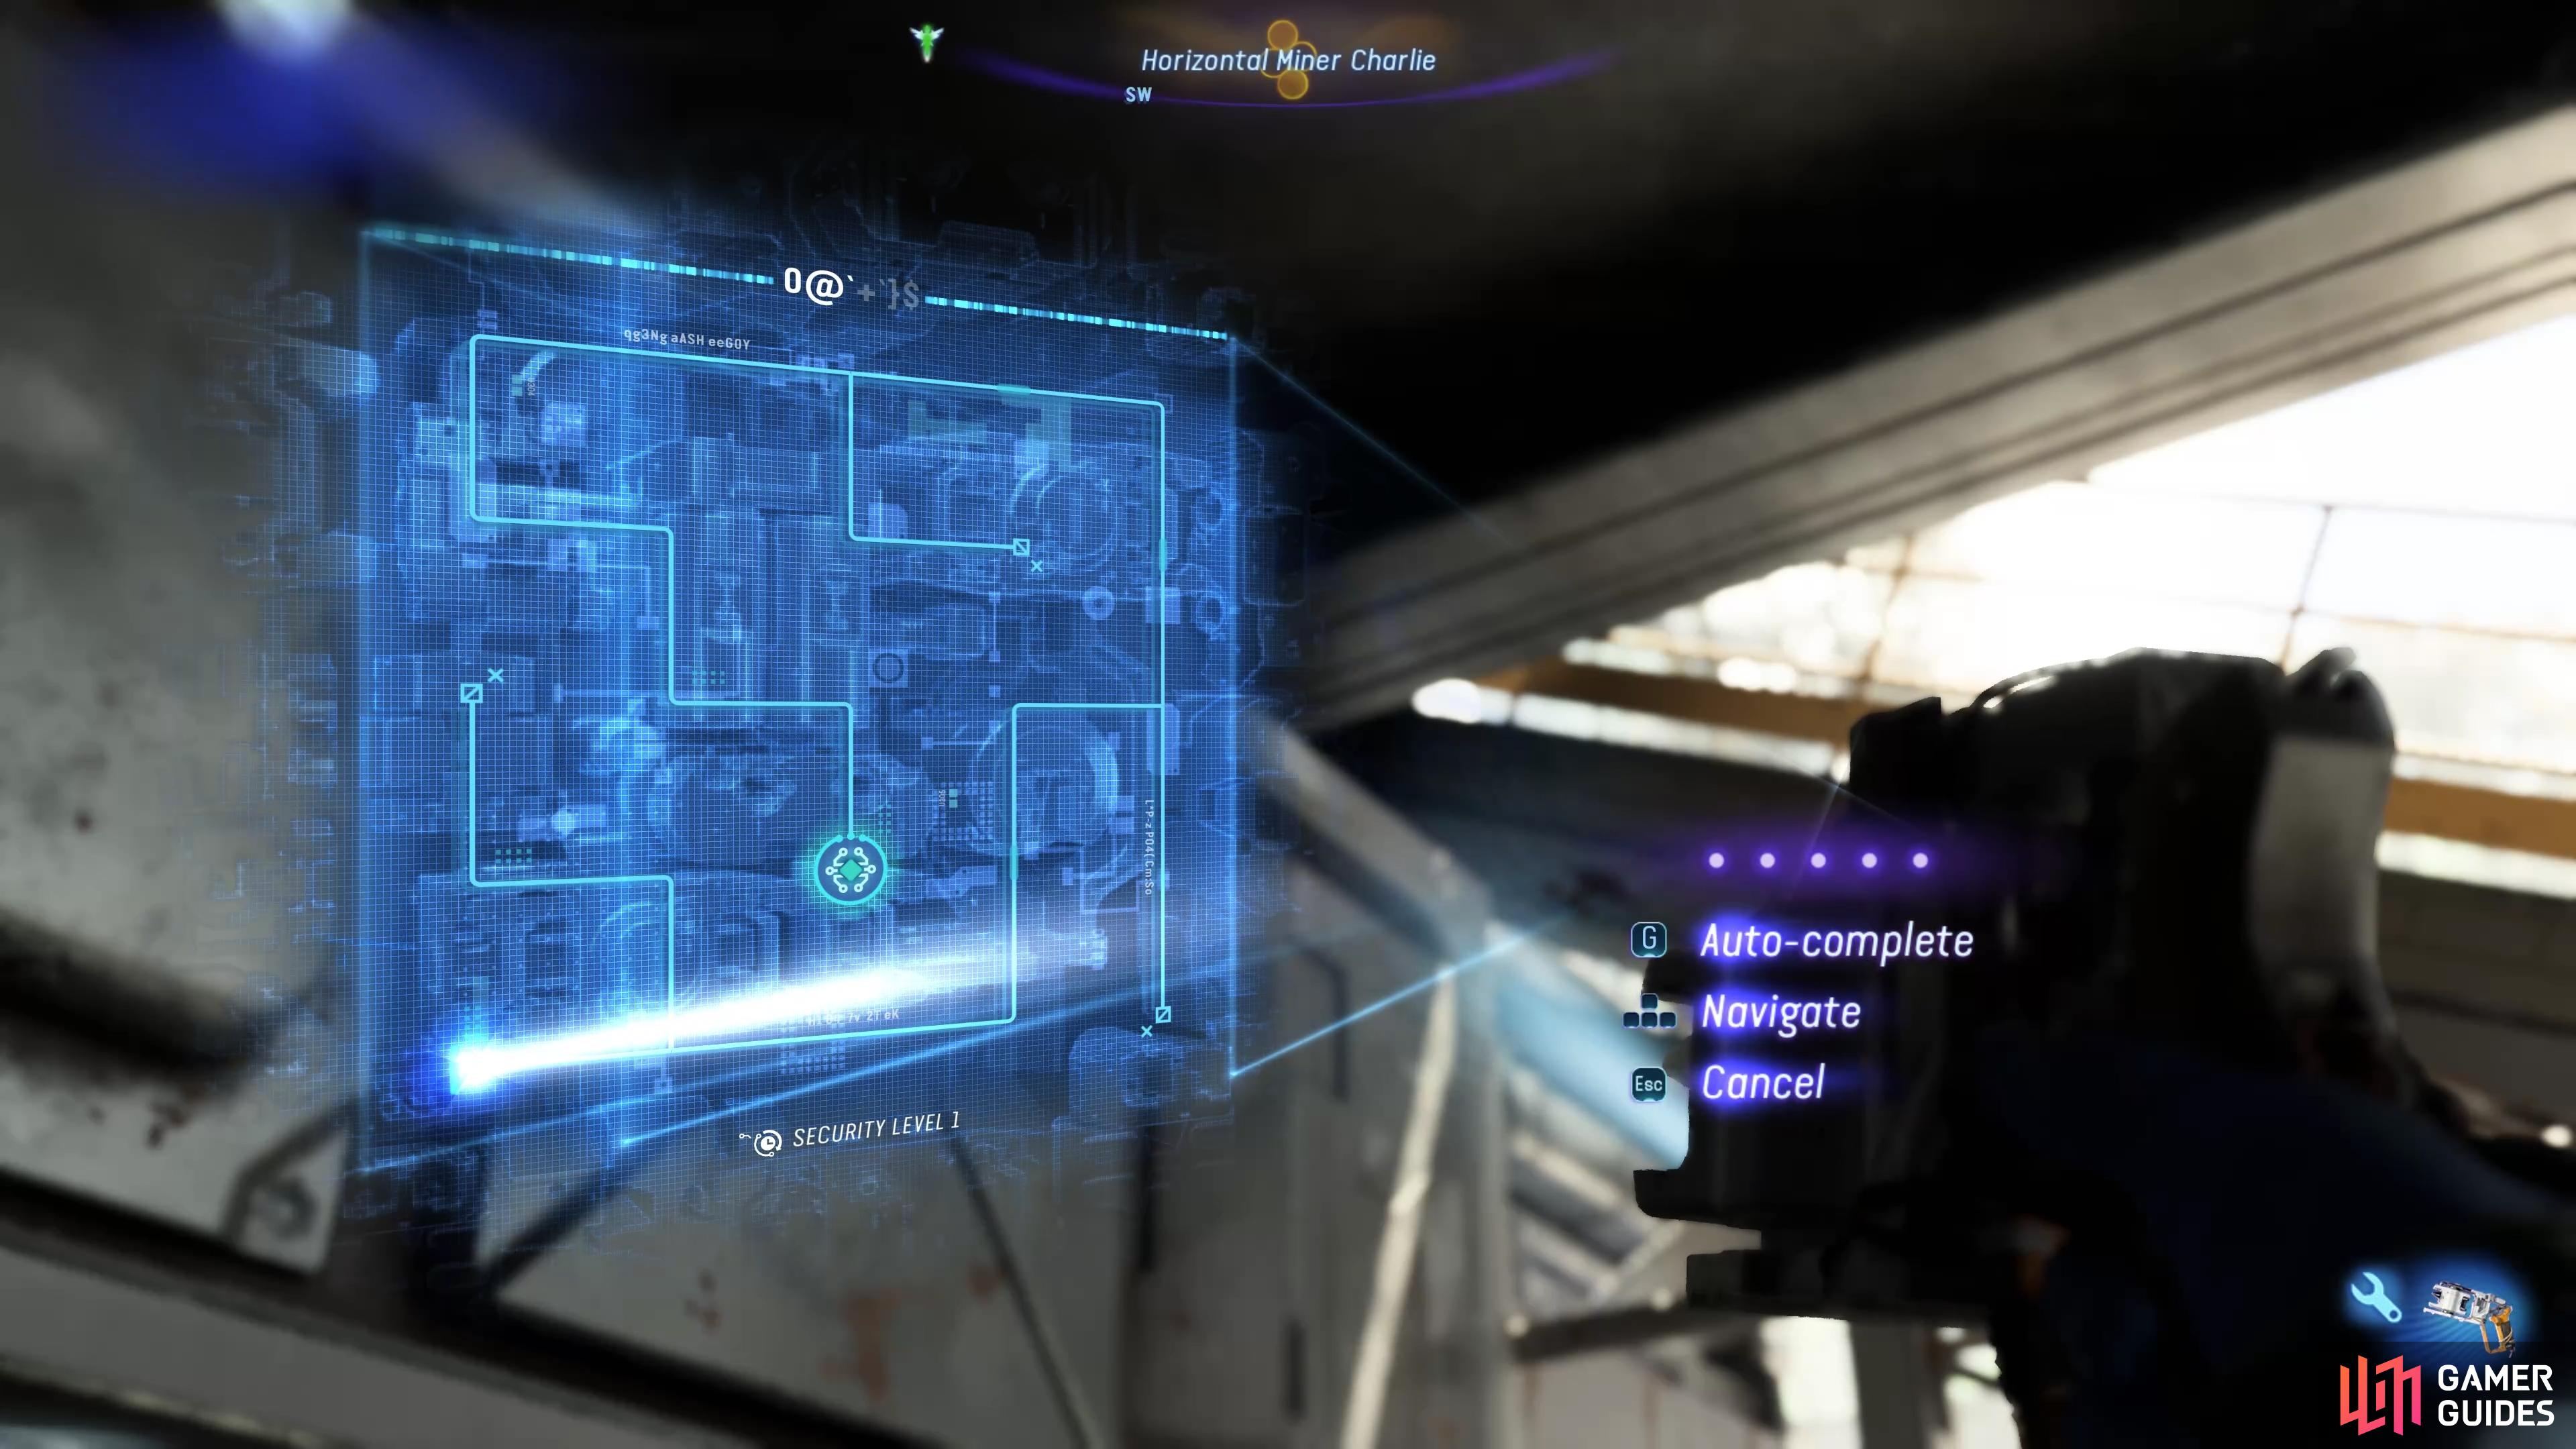
Three main items come in handy when infiltrating RDA outposts and installations. Two of these are weapons in the form of the Longbow and Heavy Bow, but the other is your trusty SID (Systems Interrogation Device), which can be used to hack into the systems of both stationary turrets, and patrolling RDA soldiers in mech suits. If you hack the turrets they’ll be disabled permanently, whereas the RDA mech suits will only be disabled for roughly ten seconds. This can give you enough time to either quickly destroy them using the Eject Ancestor Skill, or just run by them to access one of the objective points.
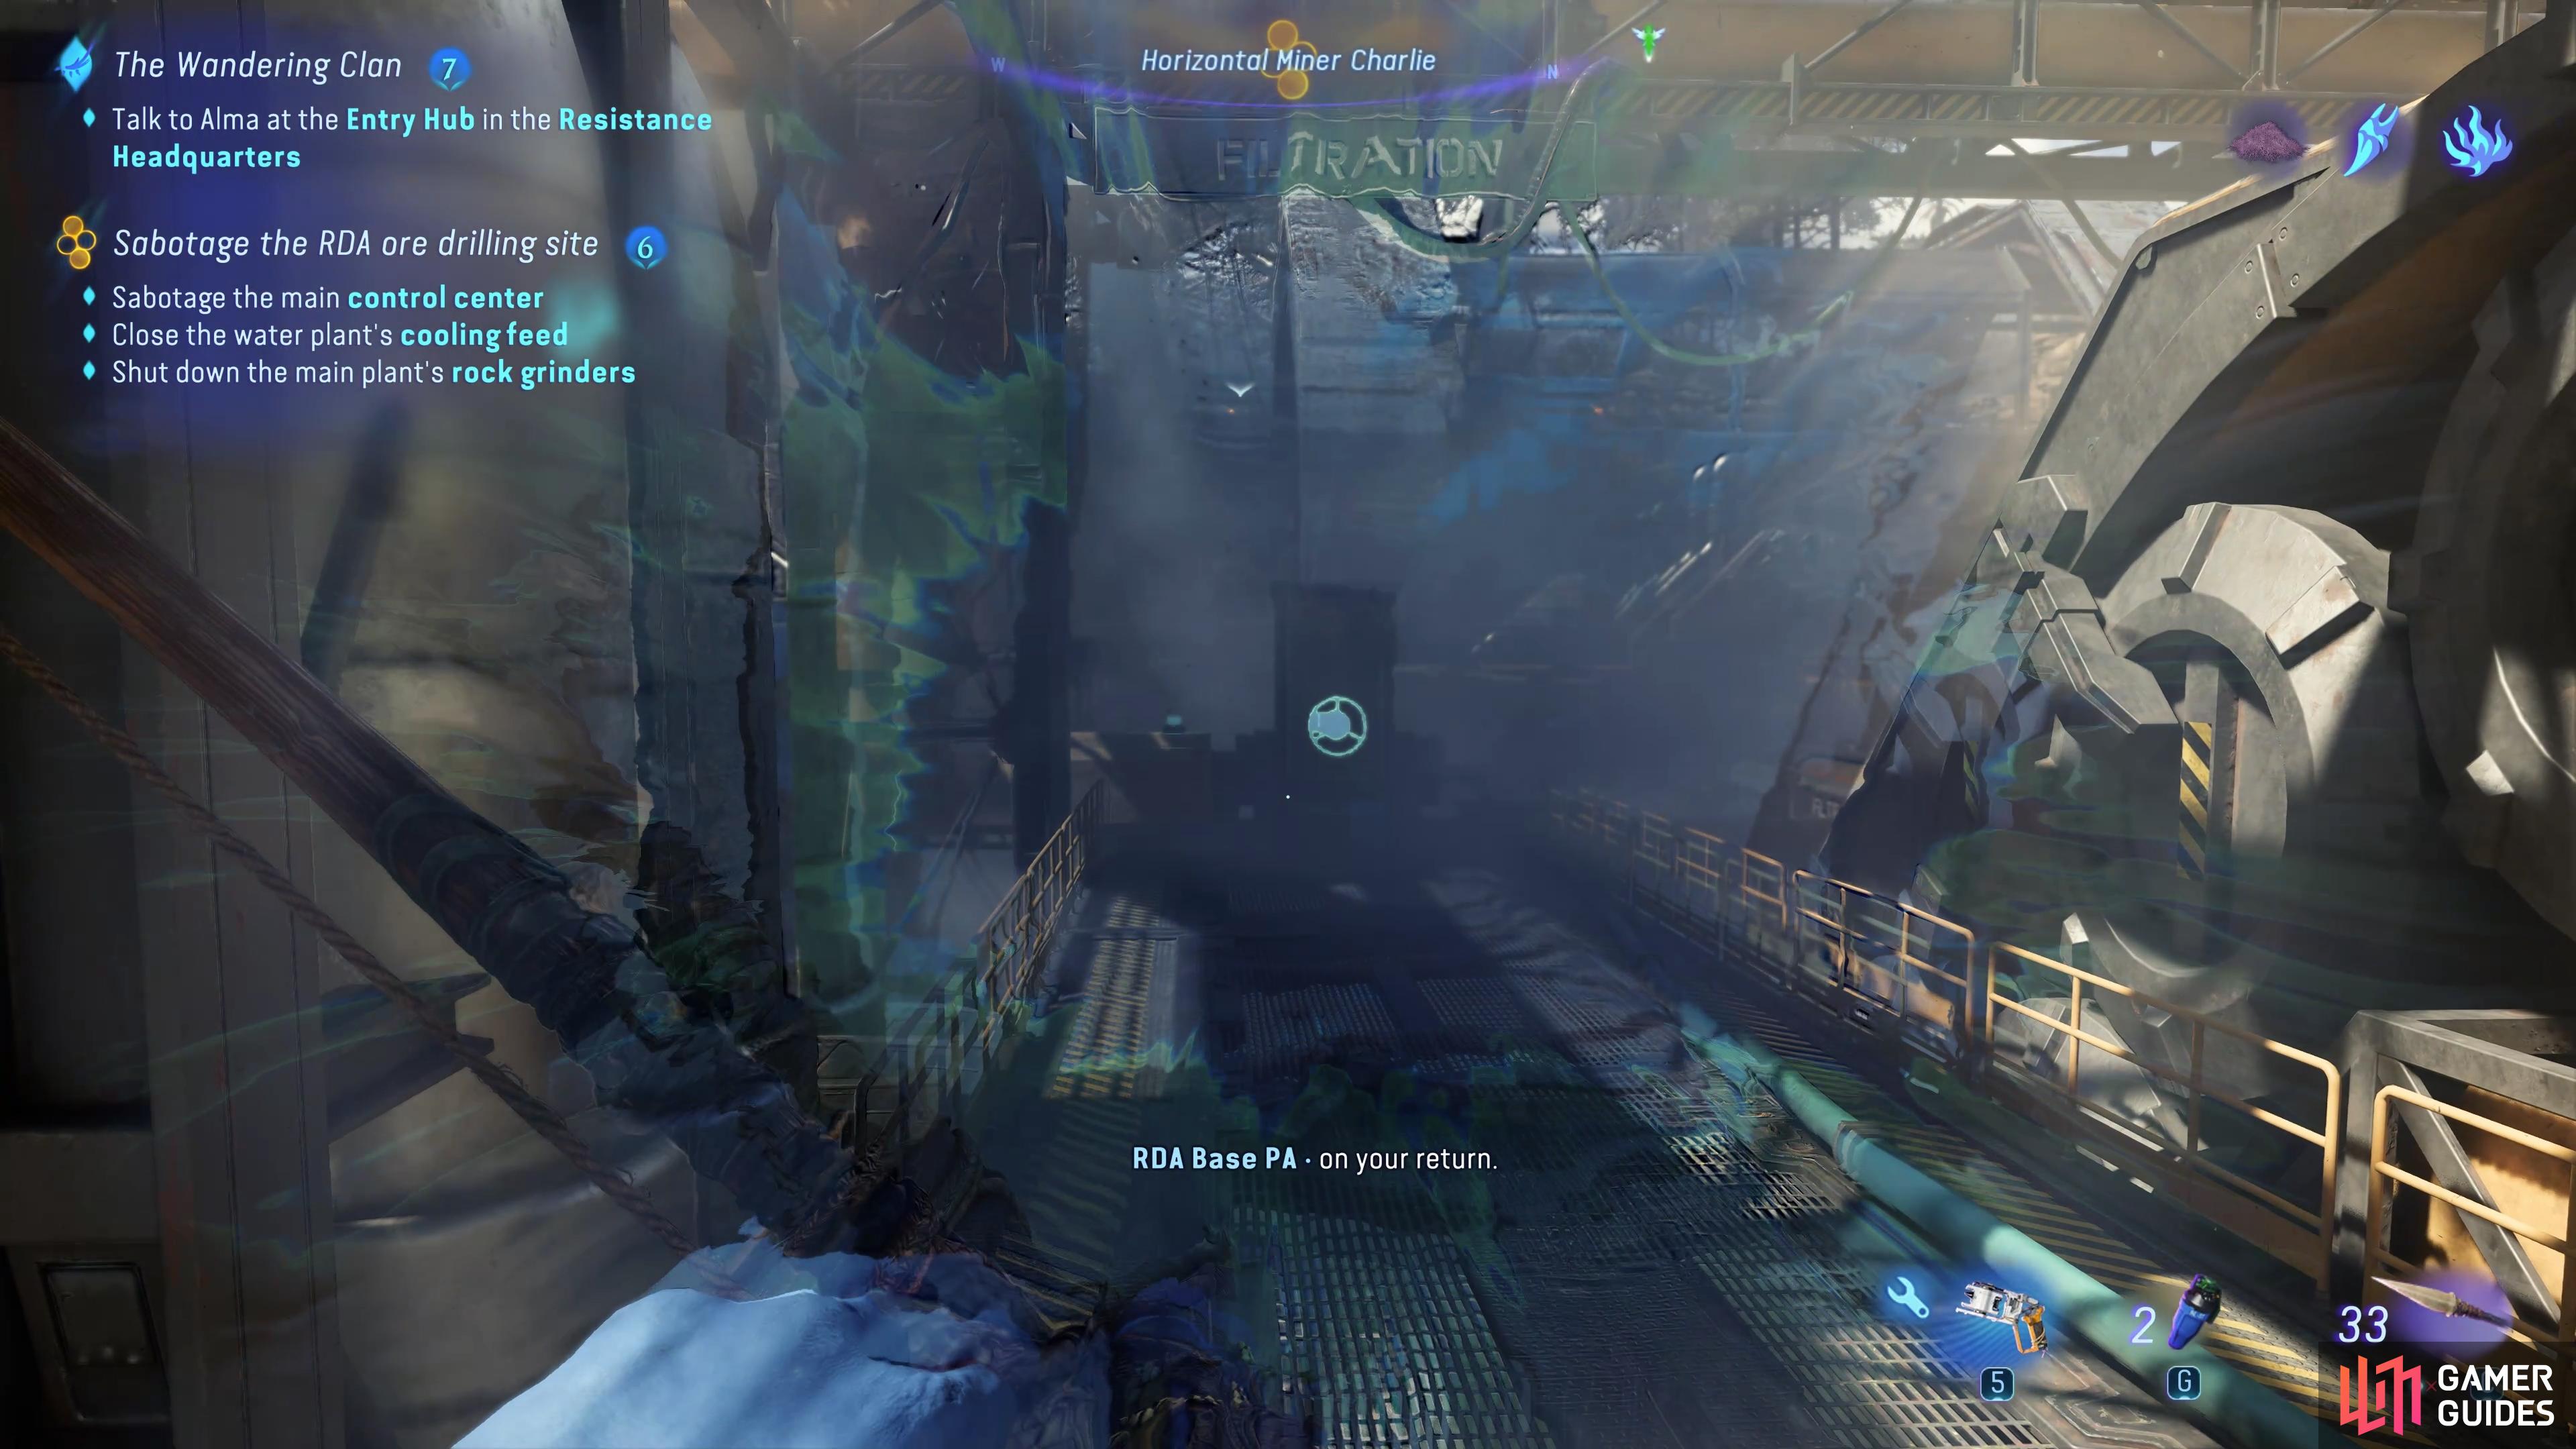
(1 of 3) You need to first lock on to a moving mech suit and complete the mini-game.
Disable Turrets and Mech Suits with the SID
In general, it’s a good idea to focus on disabling the turrets as you encounter them, but you don’t need to disable all of them to avoid being detected. Any turrets that are positioned around an RDA facility will be pointing toward the sky, so the chances of them seeing you, even when you’re relatively close, are small. The mech suits, on the other hand, should be your primary concern. Most of these will be patrolling specific points around a facility, so it can be useful to observe them for a few minutes before you make any moves. This will allow you to track their patrol paths, giving you a better idea of how and when to make your first moves.
Once you’ve established the basic patrol path for the first few mech suits that you need to evade, you can try to get close enough, usually by hiding behind stationary objectives such as storage boxes or pipework, so that you can point your SID at them and execute the hack. You’ll need to complete the two mini-games involved in this process to successfully hack them, but if you don’t want to be bothered with this and you’d rather automate it, you can turn the option for this on via the Settings > Gameplay menu, where you’ll find the “Autocomplete SID Lock-On” and “Autocomplete SID Hacking” options.
Store or Execute SID Hacks?
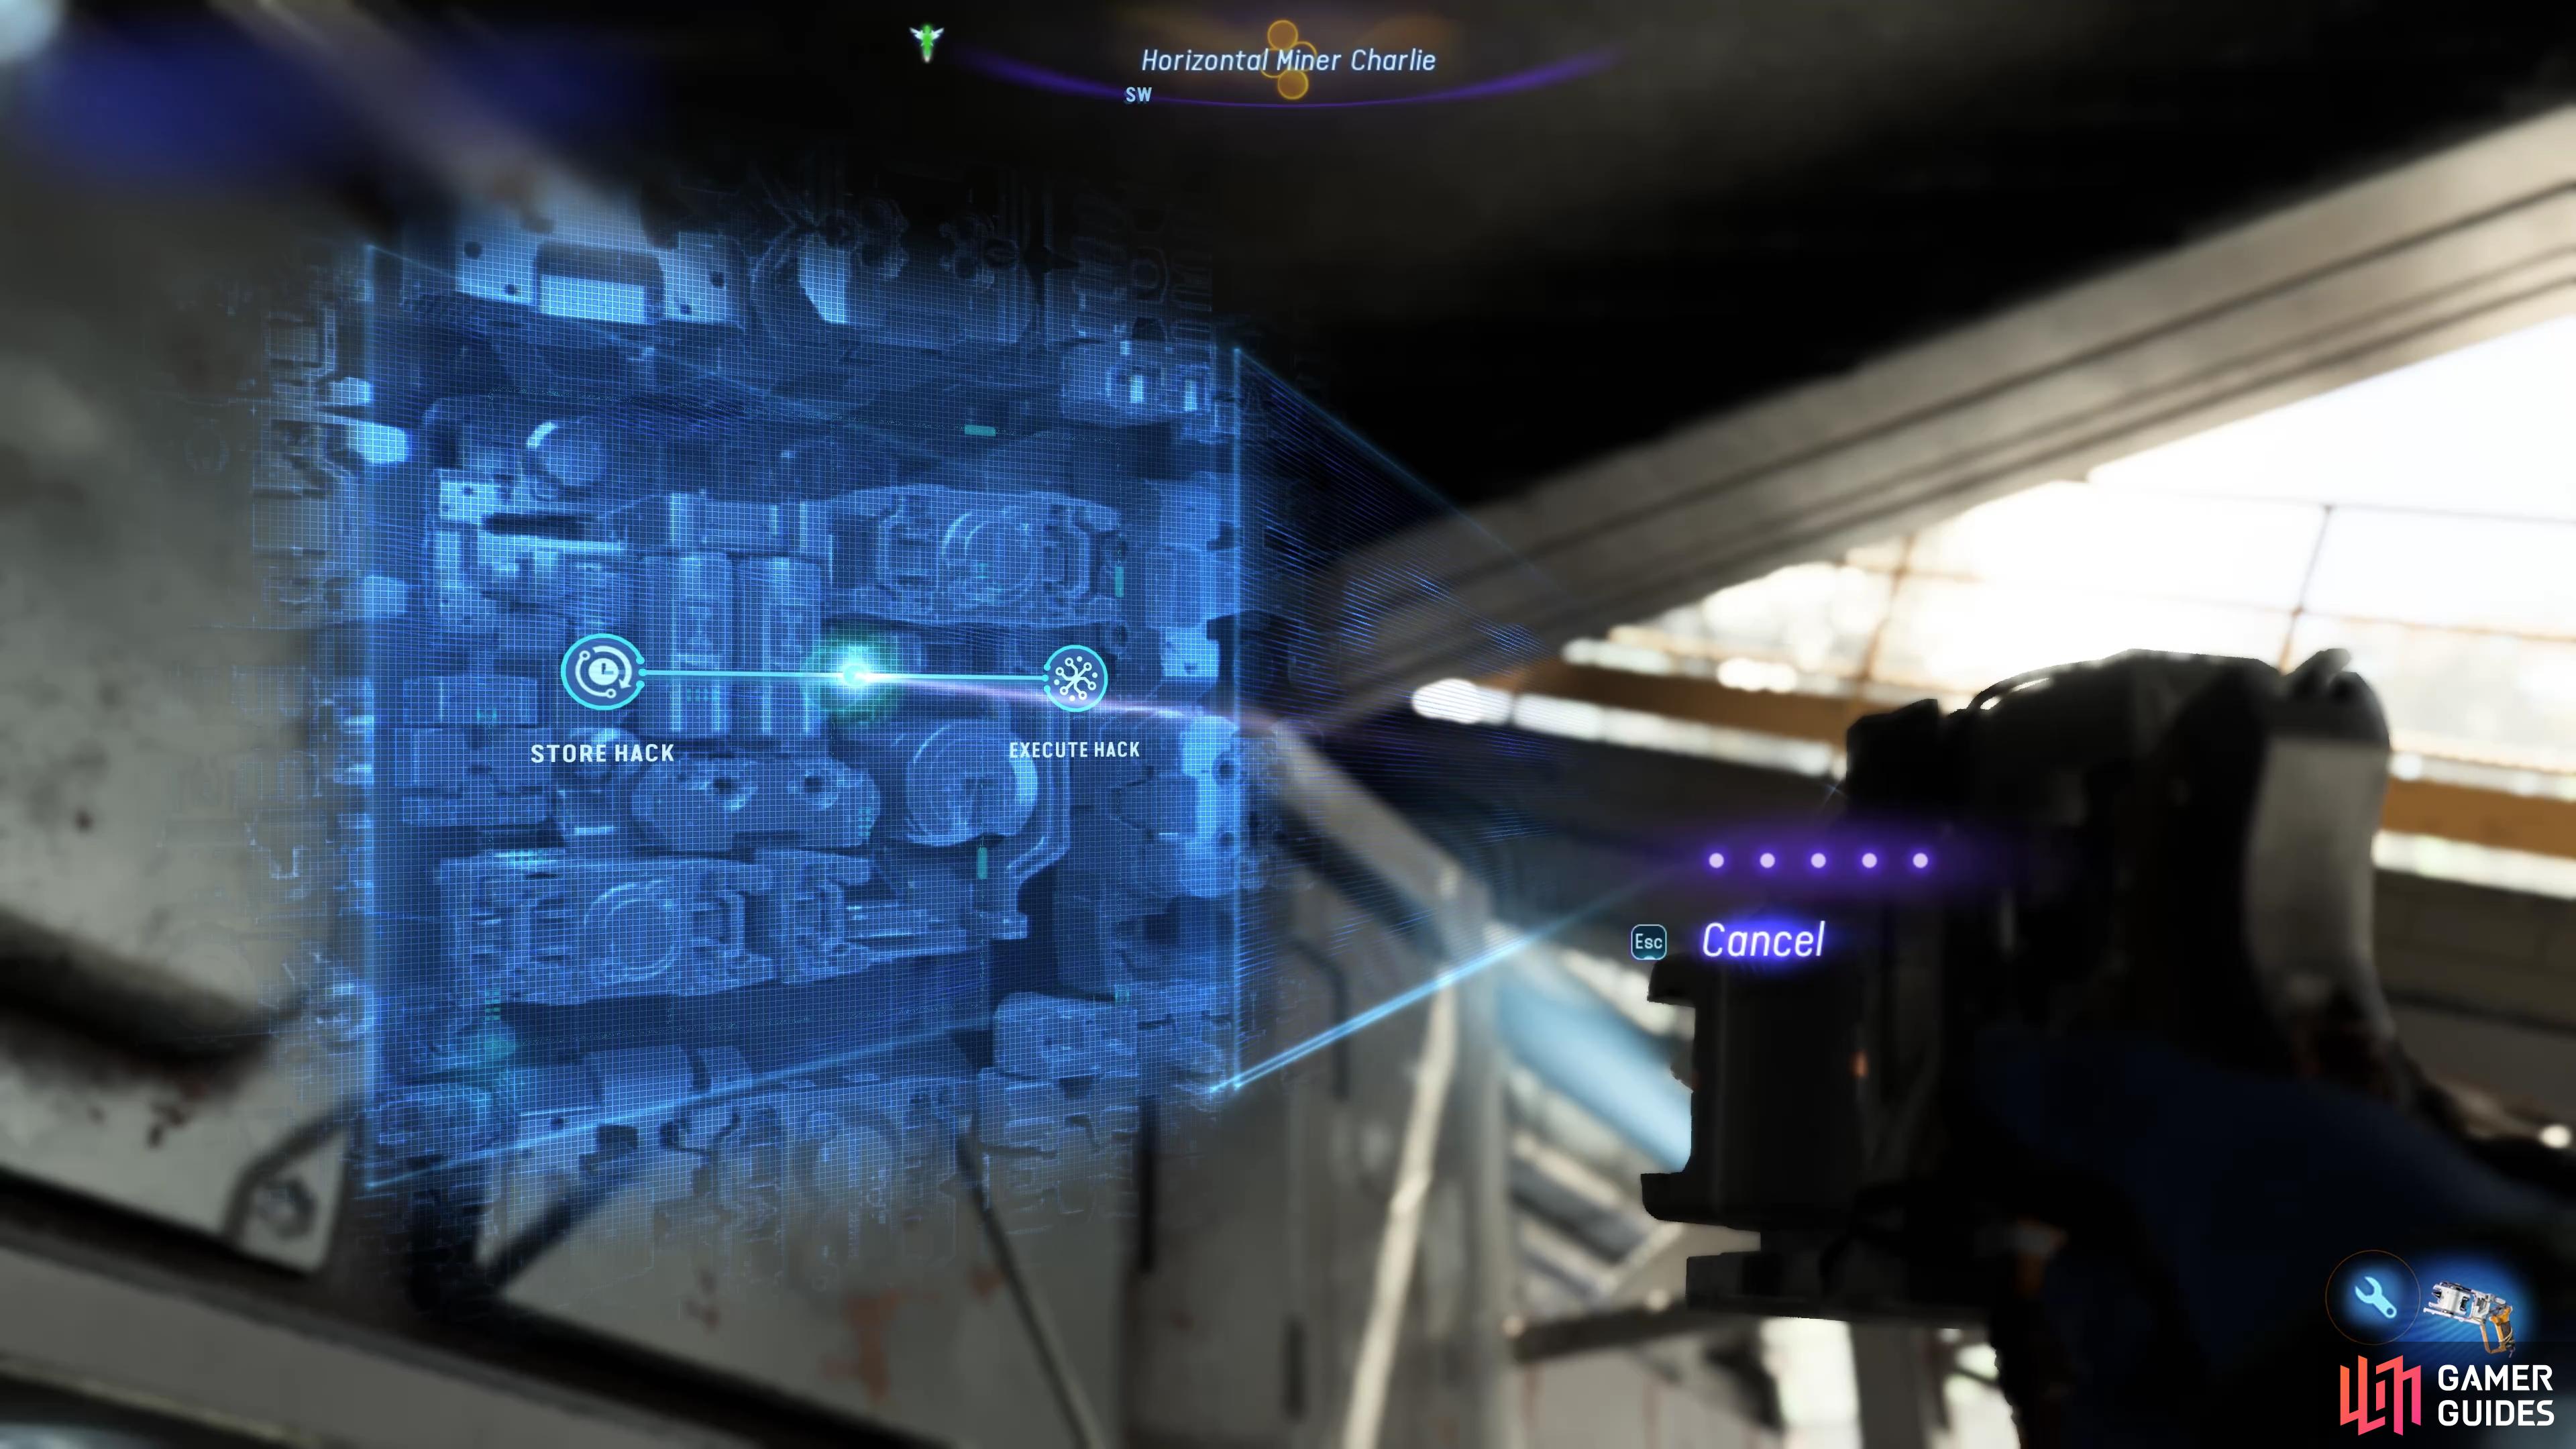
After hacking a turret or mech suit, you’ll get the option to execute the hack immediately or store it for later. You can store up to five hacks simultaneously and after storing your first hack, you’ll have the option to execute it at any time. This is ideal if you want to hack up to five different mechs at once, but only execute the hack to disable them at the exact same time later, giving you time to reach an objective while the mech suits are in an unresponsive state. Be warned, however, that if you don’t complete your objective or return to hiding before the mech suits are back online, you’ll be vulnerable to being discovered while they’re on high alert.
Use the Longbow and Heavy Bow!
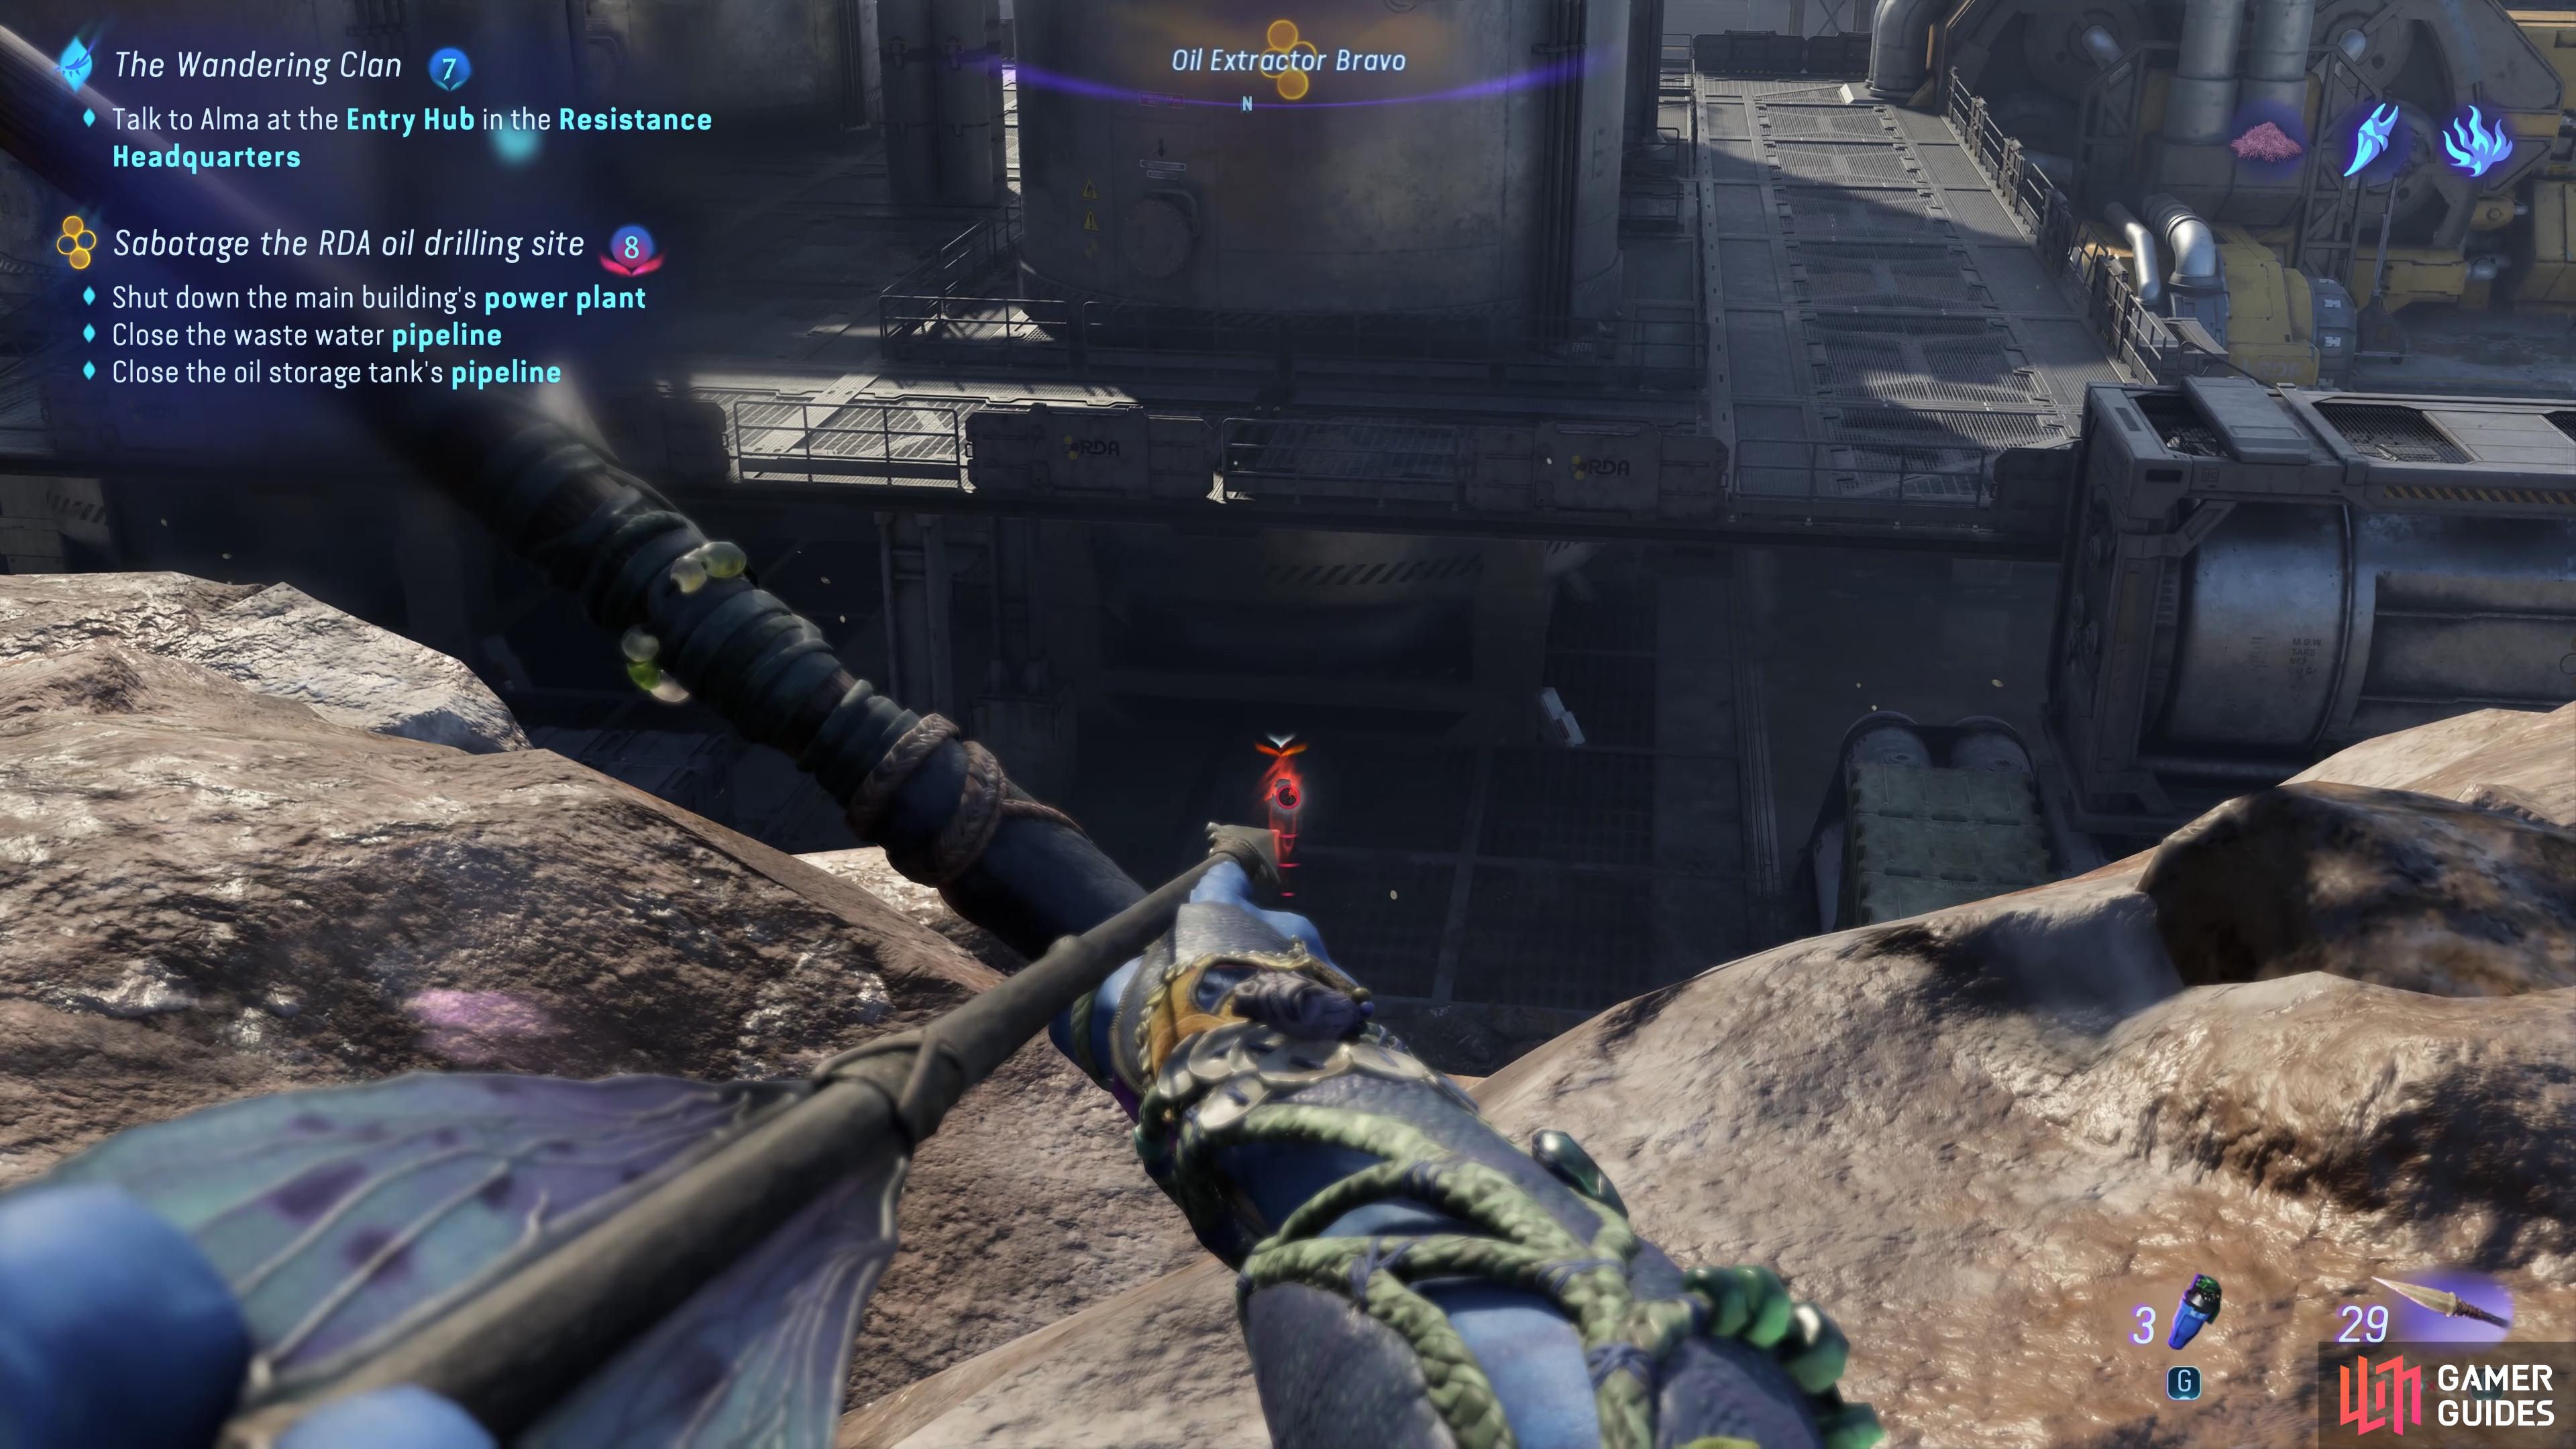
The SID hacking is a neat little feature, but it can be an unnecessarily time-consuming way to clear an RDA outpost or installation. A far quicker method involves the use of your Longbow and/or Heavy Bow, both of which can take out almost any enemy with one hit to their weakspots, at least once you have the Silent Destroyer skill mentioned above. The only thing you might need to worry about in this case is the potential for ground soldiers and mechs to enter a state of high alertness, at which point you’ll need to be far more careful as you destroy them one by one from stealth.
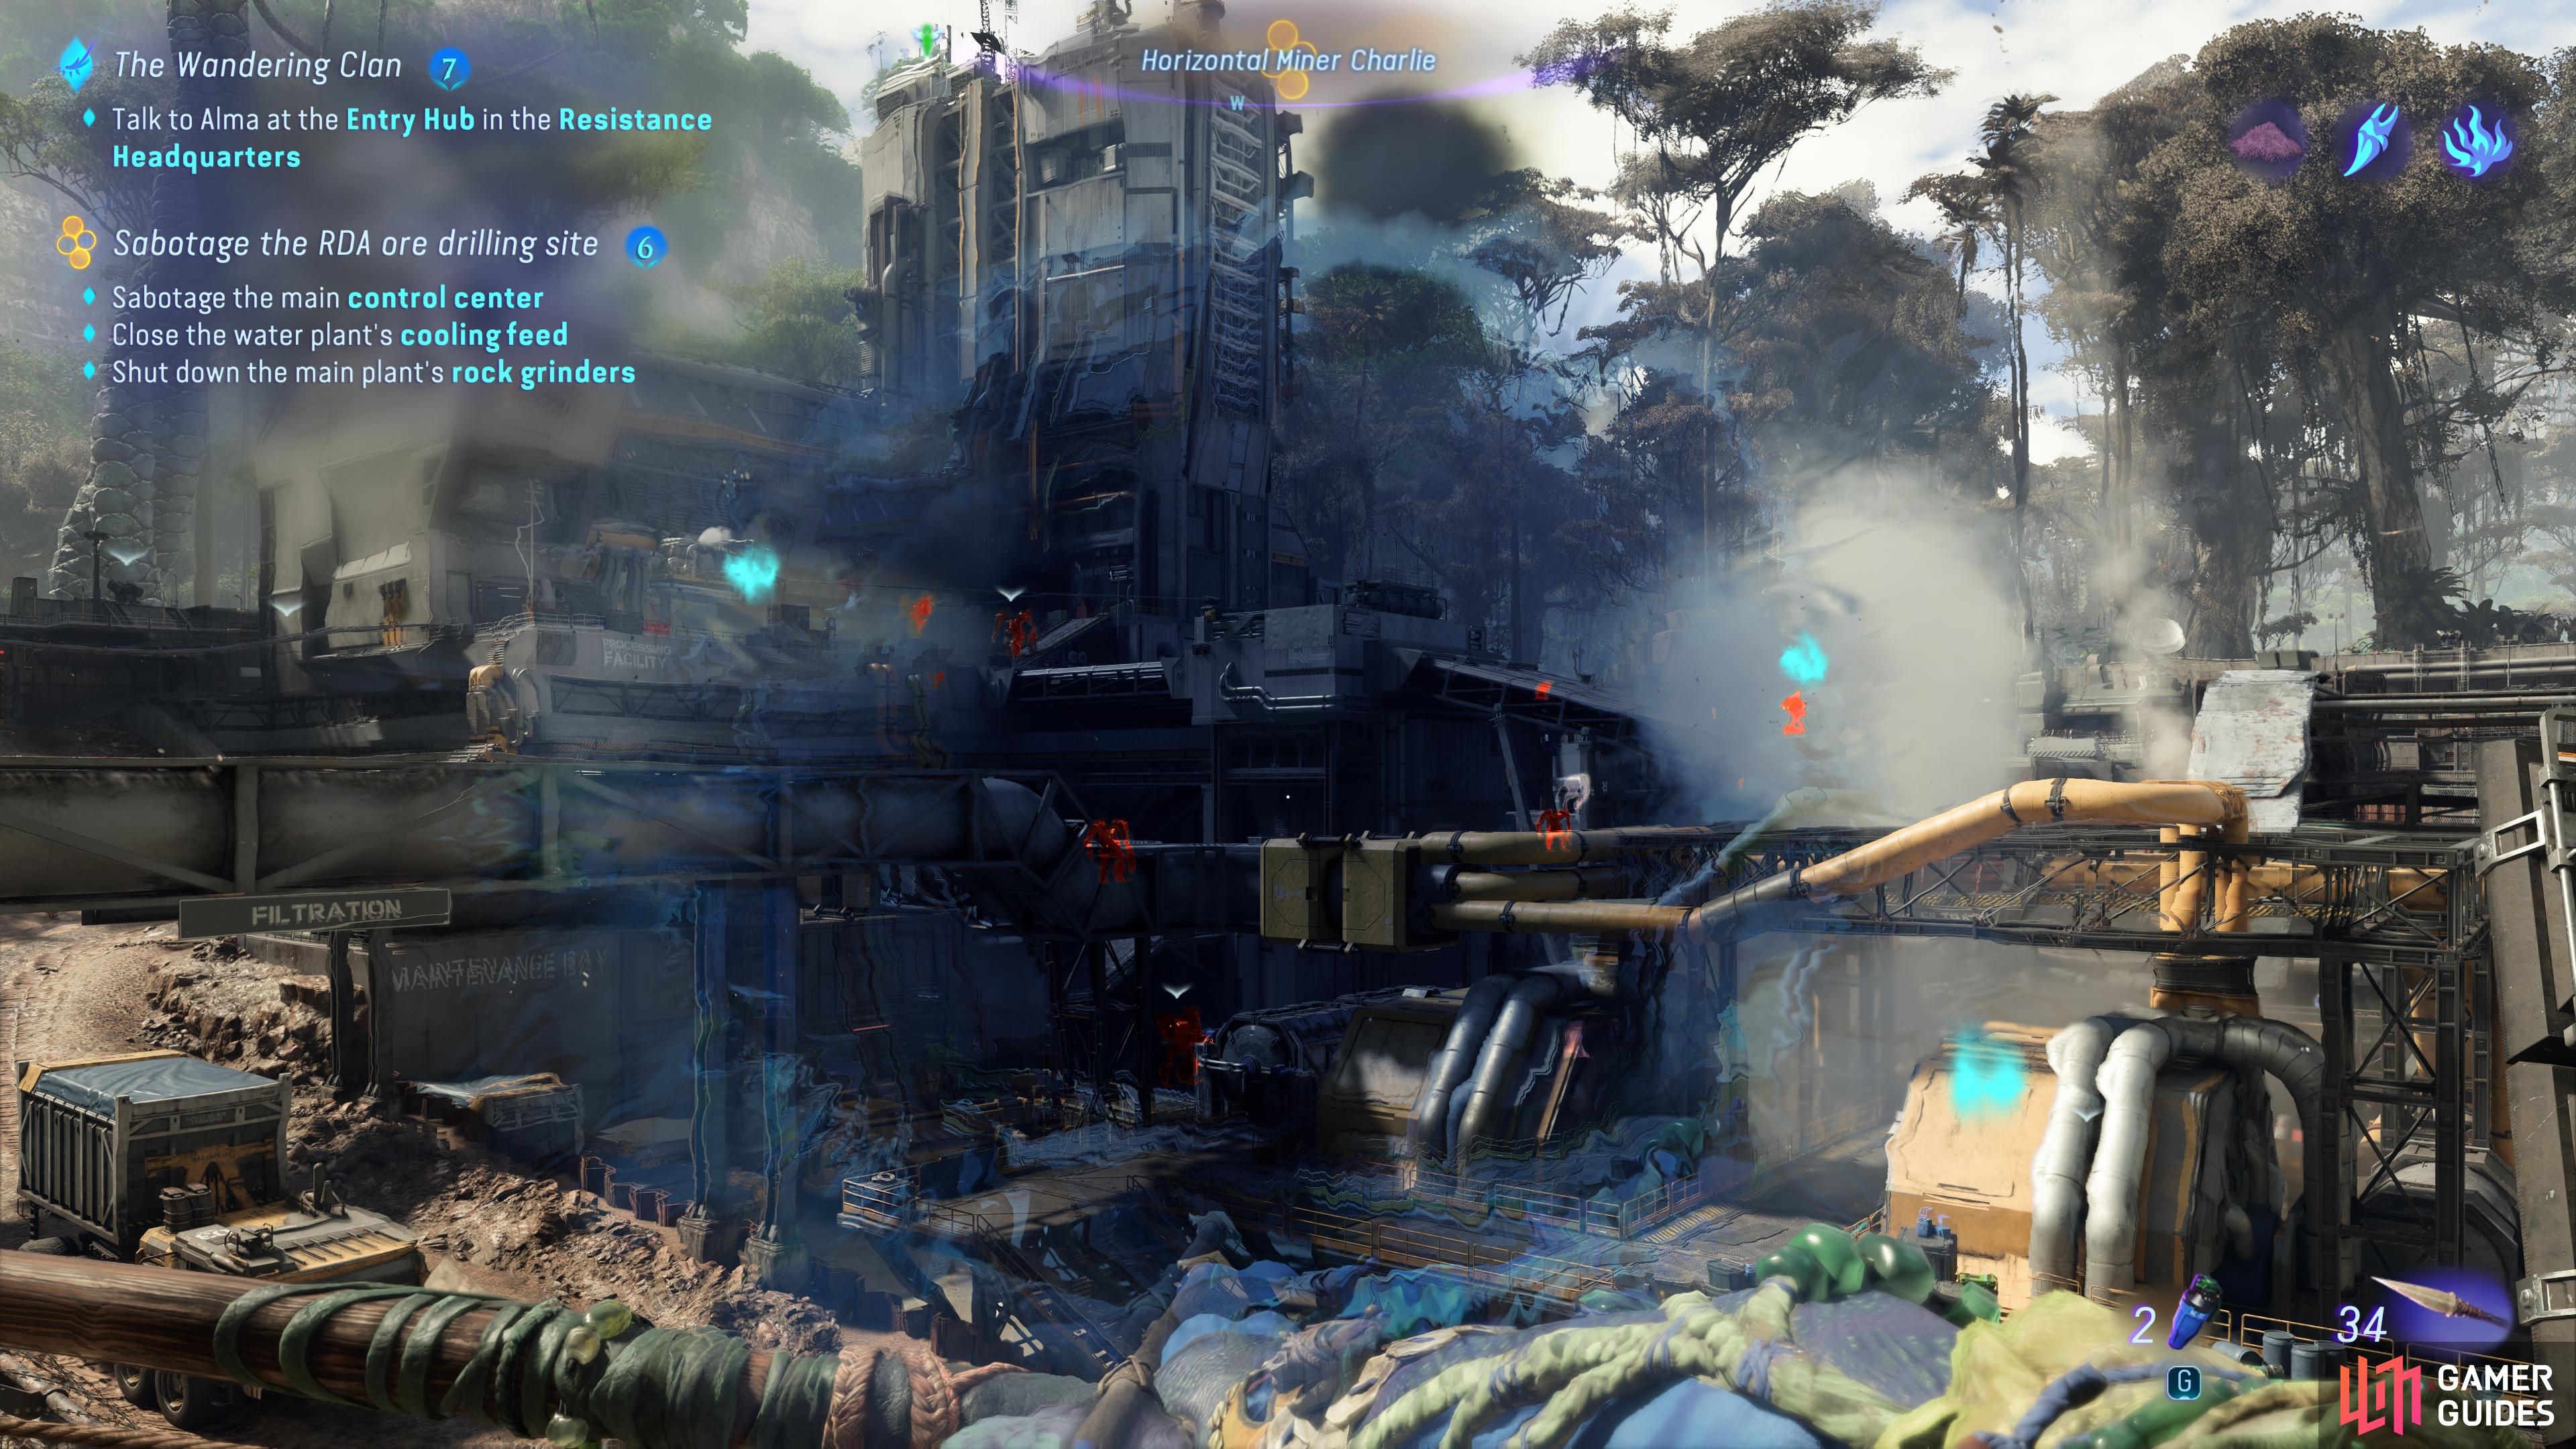
(1 of 3) Use your Na’vi sense to highlight all objectives and enemies in the outpost or installation.
Whatever way you choose to do it, whether by primarily using your SID or your bows, the idea is to clear the area around an objective so that you can interact with it without being seen. If you do this for all objectives at an outpost or installation without being seen, you will have successfully completed it in stealth, and you’ll gain access to more of the loot boxes in the storage room at the end. It’s important to note that the storage room can’t be accessed until you’ve cleared the facility, and you’re placed directly in front of it after the cutscene that shows wildlife returning to the site ends. Don’t make the mistake of running away from the facility before you’ve thoroughly looted everything!
More Avatar: Frontiers of Pandora Guides
If you’re looking for more Avatar: Frontiers of Pandora guides, including where to find more Spare Parts which are essential for purchasing and crafting some of the best items, be sure to check the links below.


 Sign up

No Comments