Head left across the bridge and make your way up the mountain, using the monk’s ability to remove the Support Beam and continue. When you reach the peak, head left and use the monk’s power on the Wind Chimes to receive your quest and a Feather . Now, return to the bridge and place all three characters on it to collapse it and continue.
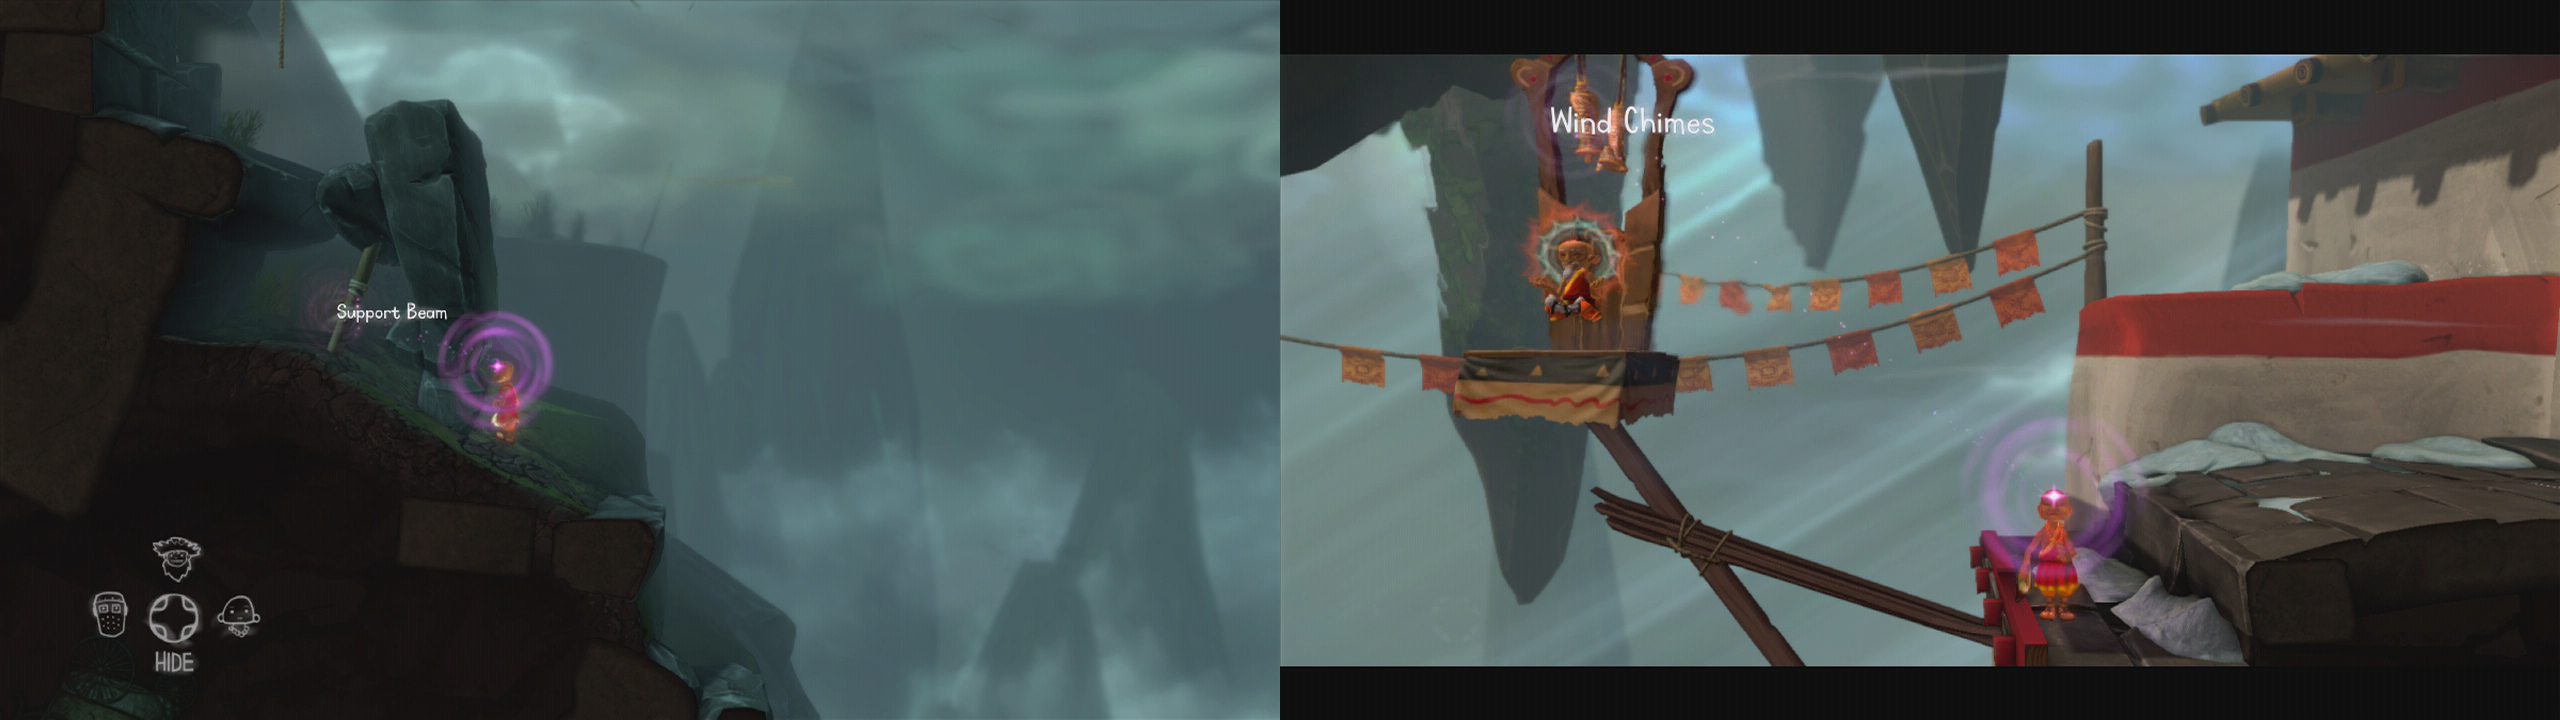
As you climb the mountain, use the monk’s special ability to remove the support (left) and to interact with the wind chimes at the top (right).
Head through the tunnel until you reach a new sign and use the monk’s power to retrieve the Lotus Blossoms on the right. You will now need to slowly make your way through the tunnel without losing the blossoms. This is done by watching the chimes and turning your back when they begin to move. Make your way slowly toward the left until you can close the Window with your powers and then place the blossoms on the Blossom Pedestal .
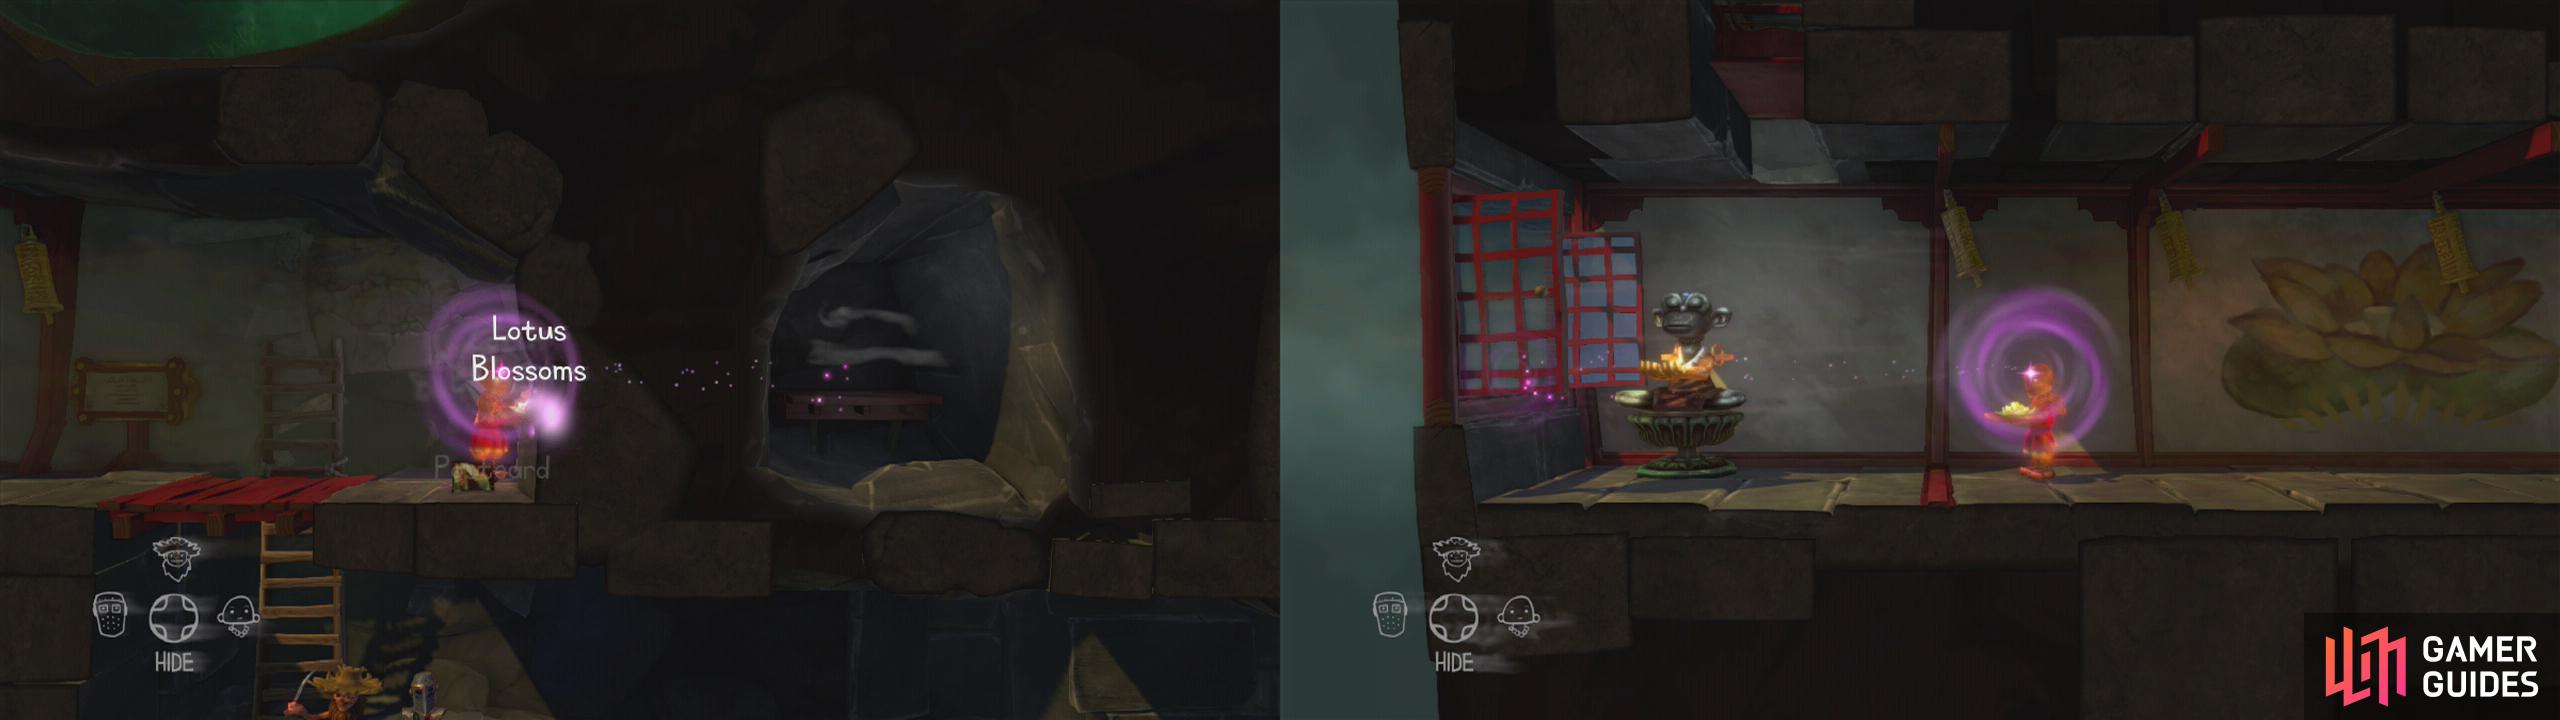
Have the monk use his ability to grab the petals from through the wall (left). Carefully make your way to the end of the hallway and close the window (right).
The next puzzle requires you to make six gallons of water from an Empty 4 Gallon Jug and an Empty 7 Gallon Jug . If you wish to figure it out yourself you wouldn’t be here, so here is the answer:
- Fill the 7 gallon jug.
- Pour the 7 gallon jug into the 4 gallon jug.
- Empty the 4 gallon jug via the Drainage Grate.
- Pour the rest of the water in the 7 gallon jug into the 4 gallon jug.
- Fill the 7 gallon jug.
- Pour the 7 gallon jug into the 4 gallon jug (which currently contains 3 gallons) and you will now have 6 gallons to place on the Scale Pedestal.
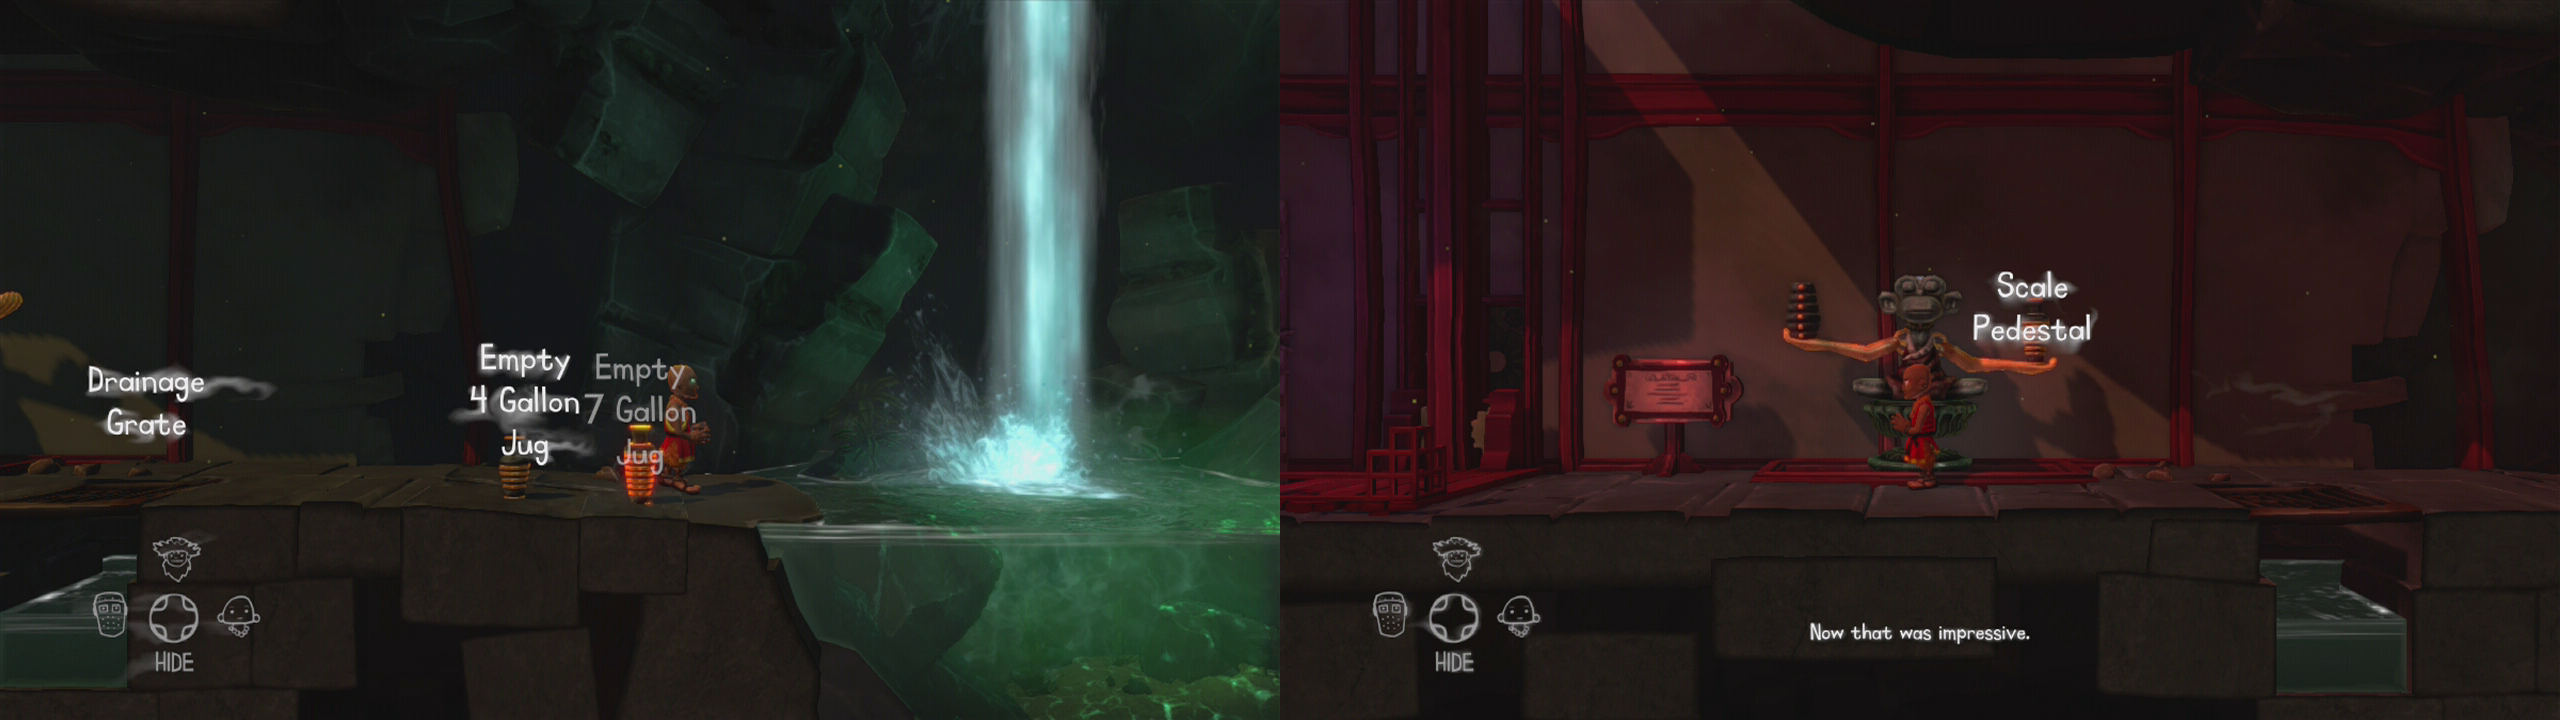
Use the jugs (left) to solve the puzzle. When you have 6 gallons in the lerge jug, place it on the statue (right).
Now head up the elevator and view the Cave Painting . Head right and place one of each character on a floor mat to ride up, ignoring the Object of Desire . On the right is a Cave Painting that can be reached via the rope, but be warned that without the feather in hand you will have to fall to your death to respawn.
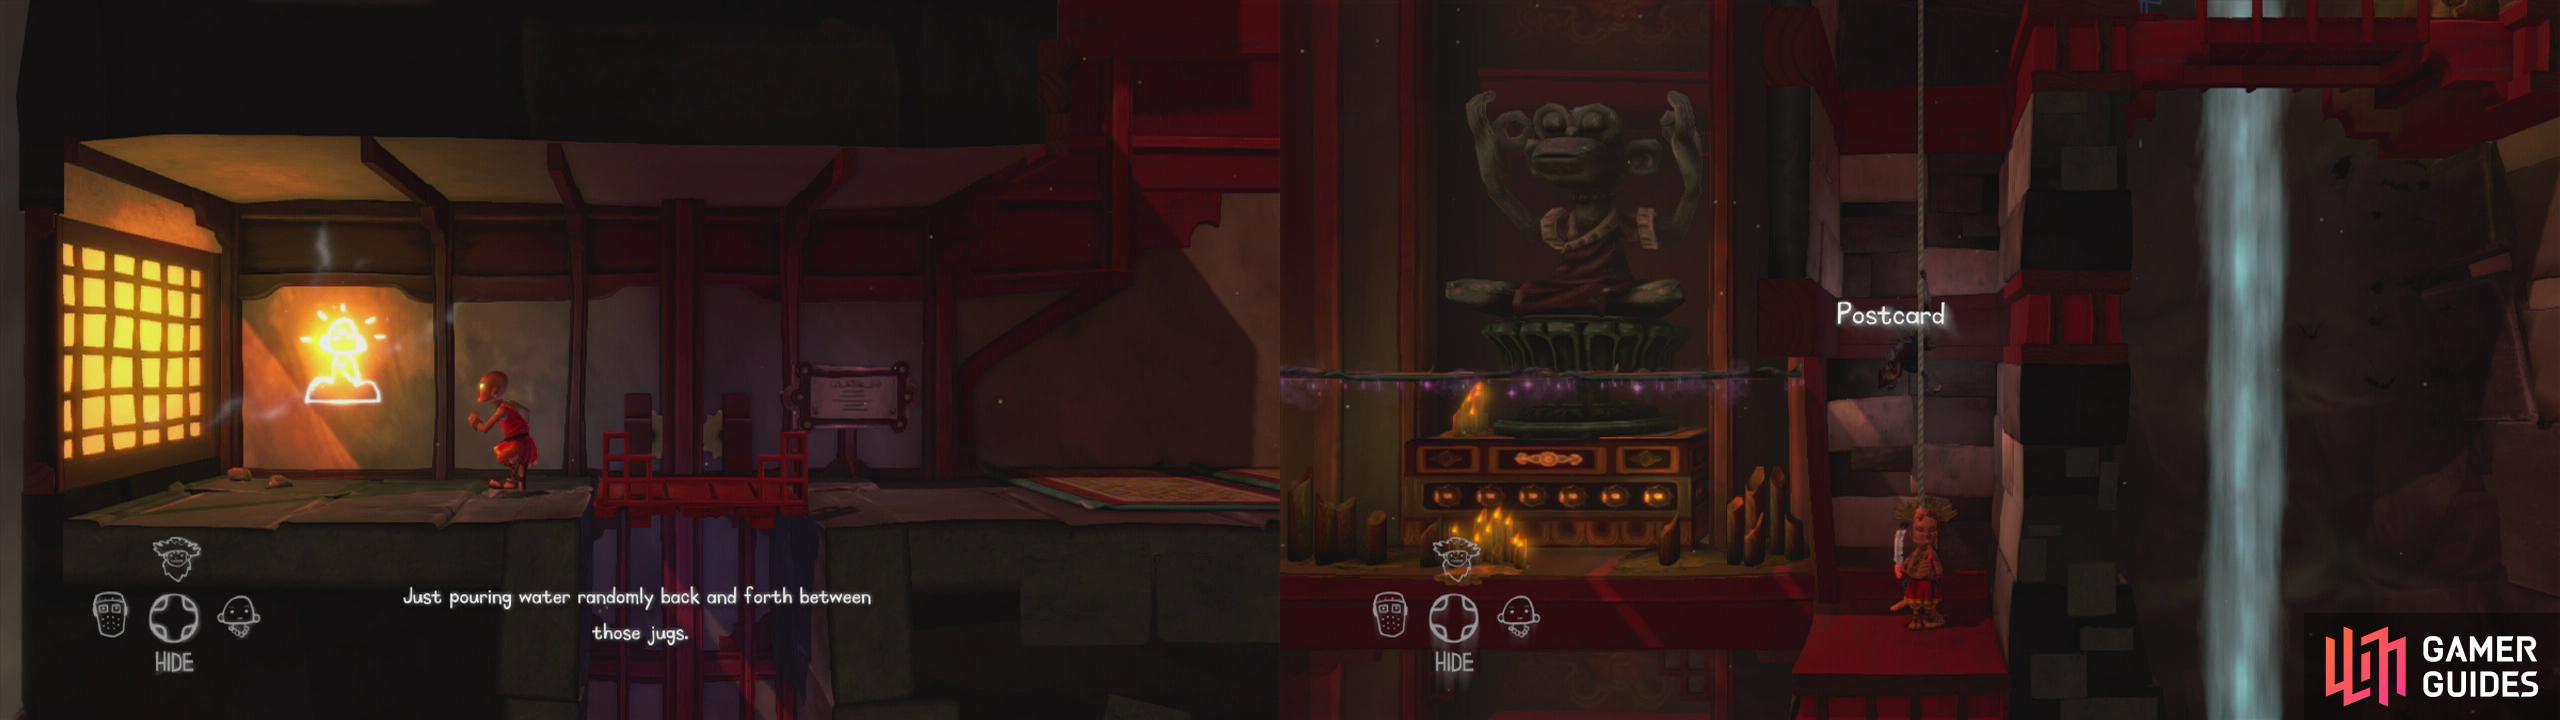
Grab the Cave Painting on the left (left). Use the flying carpets and hop across to the platform with the rope on the right. Pick up the Cave painting here and jump on the bridge for an achievement/trophy.


When you are ready to proceed, ride the carpets all the way to the top to spawn a rope and continue.
Climb the left ladder and use the Meditation Statue to zoom the camera out and spot the Support Bolt on the left. Use the monk’s ability multiple times to unscrew the bolt and then head right and use his ability on the Support Beam . Descend and head right now to push the block and climb the rope to a Cave Painting .
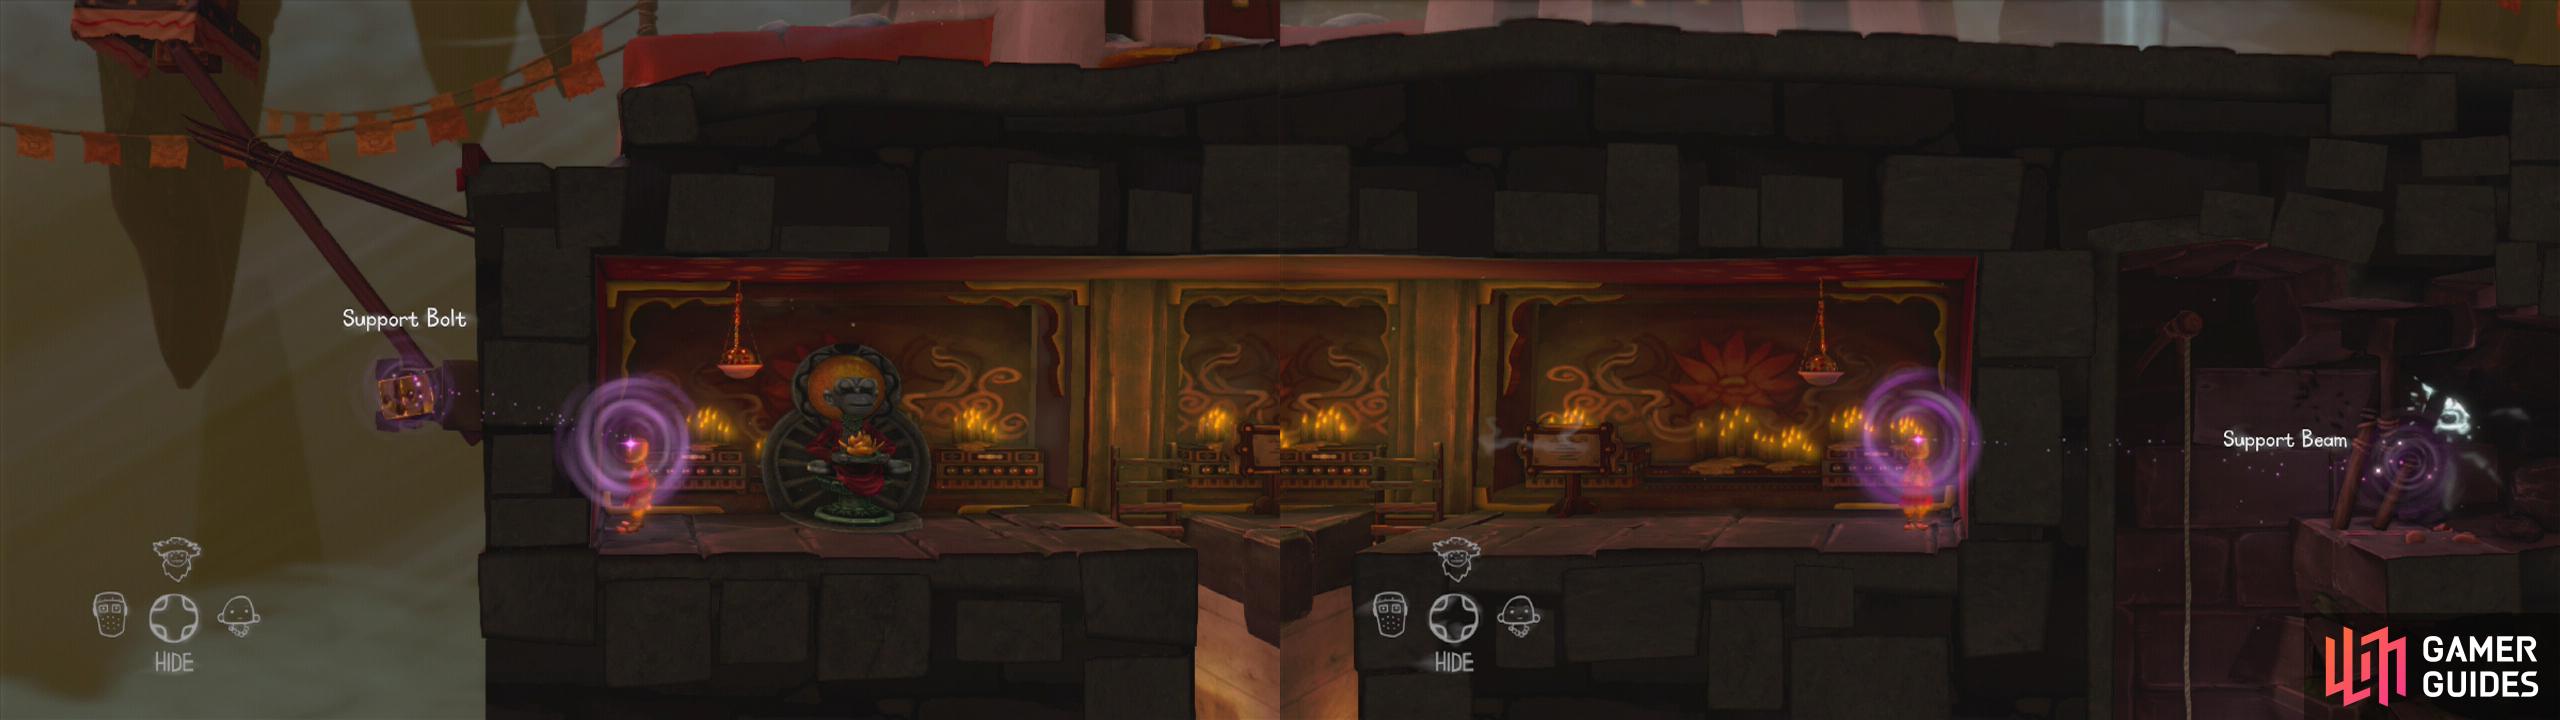
Use the monk’s ability to unscrew the bolt (left) and the support (right).
Now return to the master and get his attention with the chimes again to gain the master’s ability. You can now open the Master’s Gate at the bottom of the hill.


No Comments