Talys Highroad
| Item Checklist |
|---|
| Life Bottle |
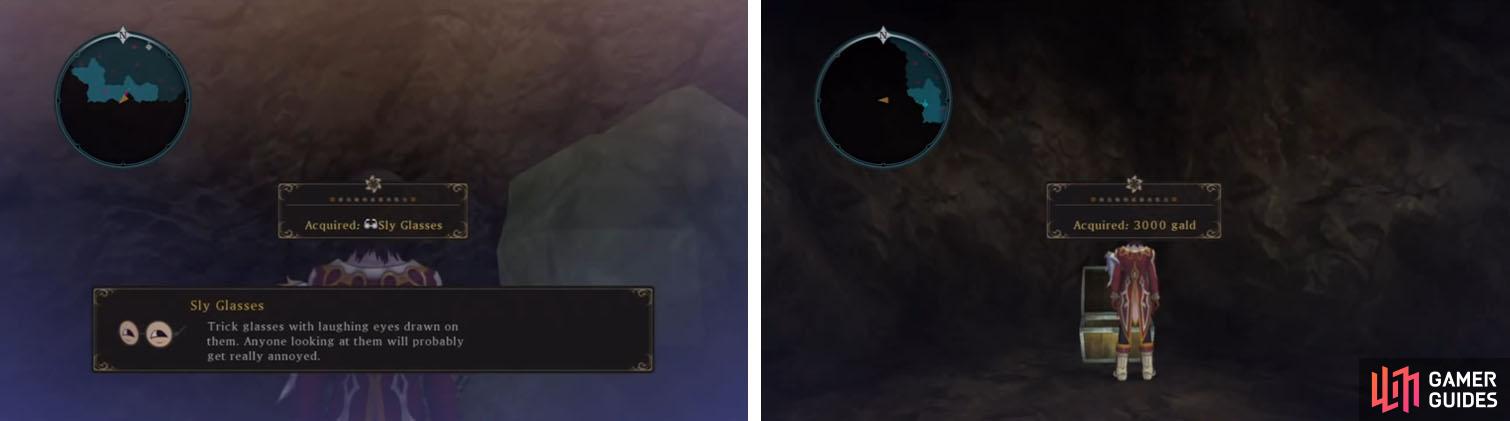
Start by entering and heading north to grab the chest with a Life Bottle and then follow the north wall to a small tunnel that hides a Hourglass . On the south side of the map, climb the vines and check the south wall by a boulder to find the Aifread’s Treasure with Sly Glasses and enter a tunnel on the west side that leads to 3000 Gald . Now jump down and zone to the west.
On the south side of the highroad is an Aifreads Treasure and some gald.
Follow the north wall, ignoring the vines, until you get the chest with Tofu Cracker (Small) inside and then head south and climb up to the middle plateau to find Fine Down x8 on top. Return north and take the western most vines leading directly to a tunnel with an All-Divide inside and then jump back down and head all the way to the south side to the plateau wall and find a tunnel in the middle that leads to Pure White Puffball x5 . Now climb up and zone to the southwest.
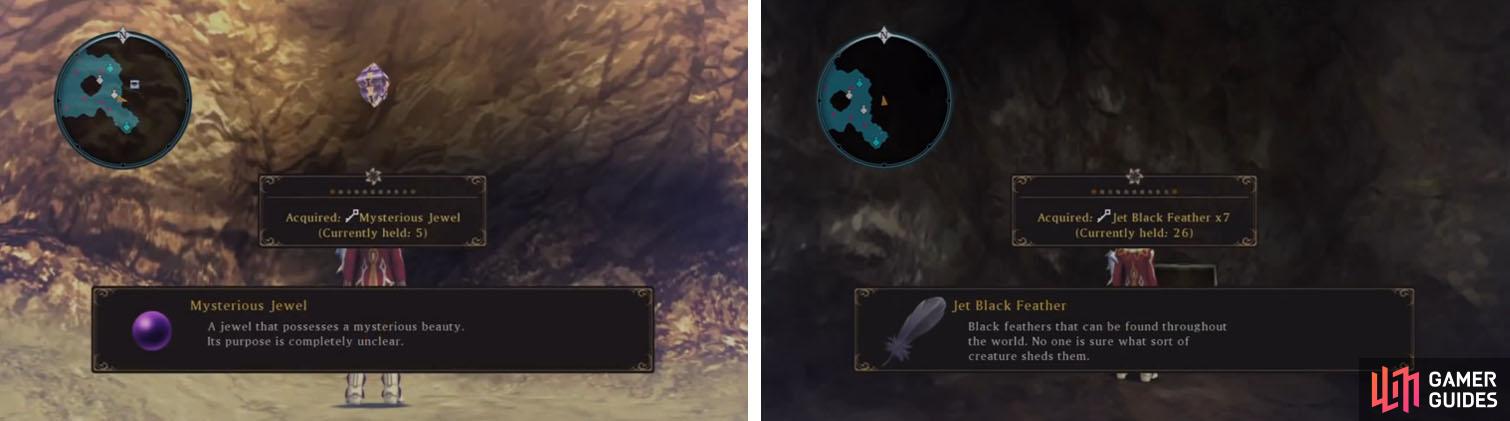
There is a chest with Rosemary on the east side of the pillar near the entrance and if you follow the east wall all the way southeast you will eventually see the Aifread’s Treasure with a Mysterious Jewel on the wall. Continue south to a tunnel, which leads to Jet Black Feather x7 , and then return and head back up along the west side of the lake, grabbing a chest with Broken Fang x10 inside.
Make sure to take the exit to the southwest area for a Mysterious Jewel and some valuable Jet Black Feathers.
You can now head back north and then west to Fort Gandala.
Fort Gandala
| Item Checklist |
|---|
| **Elevator Key** |
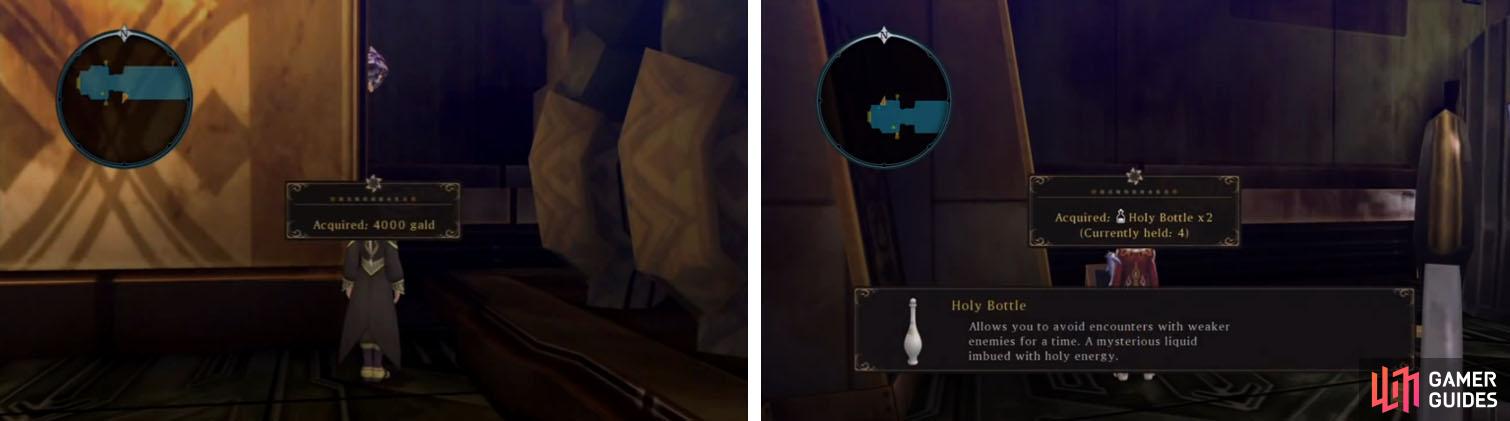
After the scene you will obtain the Elevator Key and be left at the eastern gate. Turn north and open the chest with Melange Gel x2 and then head toward the west gate. When you reach the arch to the western gate you’ll notice there are two golem statues, one on each side. Stop by the left golem and look up in the corner to spot an Aifread’s Treasure with 4000 Gald and then check by the carriages for a chest with Holy Bottle x2 .
On the main floor make sure to get the Aifreads Treasure and Holy Bottles.
Take the north elevator up and then head to the center elevator and activate it, but make sure to cross to the outer walkway and head left to reach a chest with French Toast (Small) inside before you you ride down to B1. To the east is a chest with Jet Black Feather x5 , while to the west is a warehouse room with an All-Divide and 2500 Gald in a chest above that you can access via the elevator in this room.
The 2F doesn’t have much at the moment, only a Blue Chamomile , so head to the 3F.
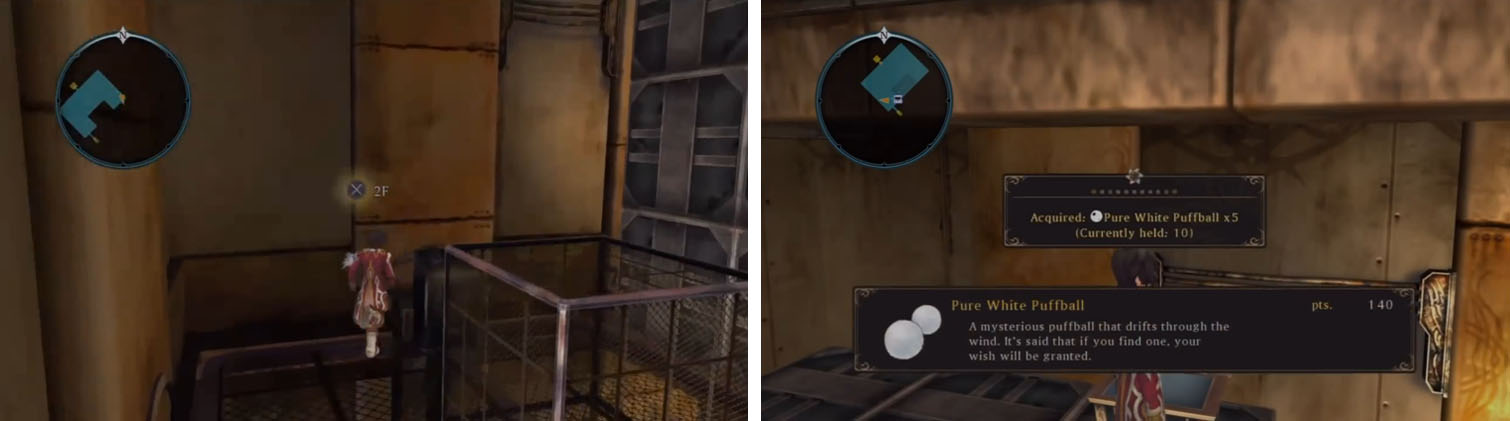
Head left and cross to the outer walkway to open the chest with a Silver Helm and then head to the east side of the inner platform to get the Life Bottle x2 . Head to the west side and use the blue door, where you can push a box to climb the crates and drop into the room below. Unlock the door by going through it and then use the elevator in this room to get a movable box that you can use to get the two chests in the room below, which contain 1500 Gald and Pure White Puffball x5 .
Use the movable boxes to get the treasures and access the vents.
The vent here leads to a new area with a lot of boxes and an elevator, which you should take now. Get the movable box here and take it downstairs and use it to push the other movable box off the ledge and then use that box to reach the chest with the Fine Boots . Use the same box now to reach the north corner of the room, where another vent will take you to another room with movable boxes and a door.
Head to the box nearest the door and push it off the ledge, using it to then push the other box down, which will allow you to reach the Splint Mail in the chest above. Use the outer box now to jump over the crates in the southeast corner and then move the box here to reach 5000 Gald . The door here leads to the 2F, which you can ignore.
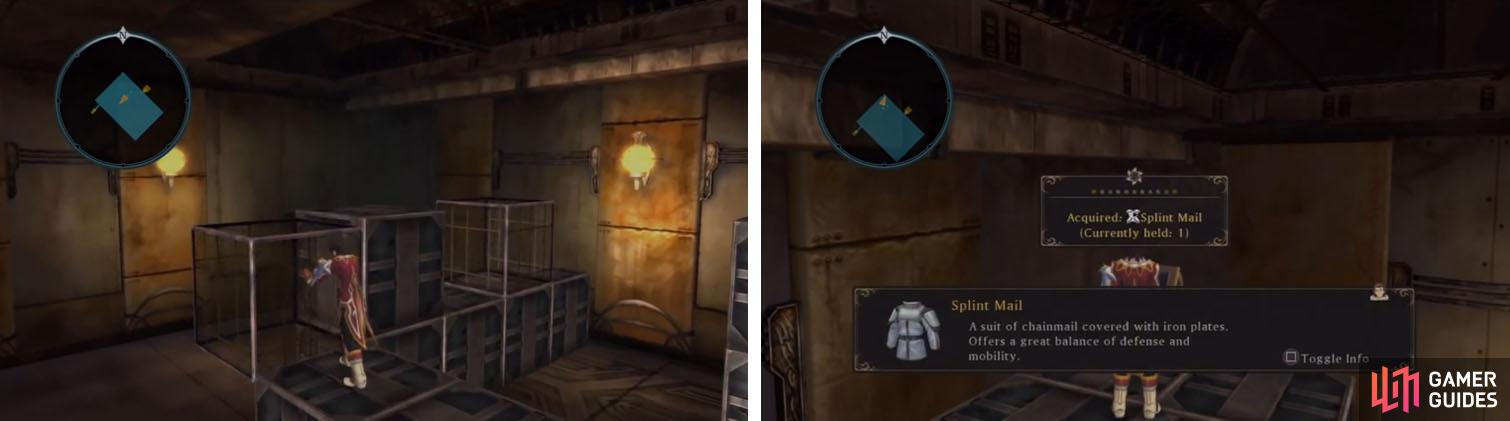
Push off the one crate to allow you to move the other and reach the Splint Mail.
Head back through the vent, use the elevator, and then use a new vent in this room to reach a fight, which will get you the Control Room Key . Now head through the door, return to the 1F and use the far west door to return to the beginning area.
Take the south door to reach a save and then head through the door for a scene and a simple fight. After another scene, head through the door and continue for a final scene.

 Sign up
No Comments