Local Demon Bestiary
| **Demon** | **Level** | **Scout?** | **Race** | **Weaknesses** |
|---|---|---|---|---|
| Dwarf | 4 | Yes | Jirae | Force |
| Hua Po | 14 | Yes | Jirae | Electric |
| Itsumade | 21 | Yes | Raptor | Ice |
| Jirae Horde | 25 | No | Horde | Fire |
| Kikimora | 20 | Yes | Night | Force |
| Knocker | 8 | Yes | Jirae | Electric |
| Koppa Tengu | 18 | Yes | Yoma | Electric |
| Kwancha | 24 | Yes | Jirae | Force |
| Sudama | 19 | Yes | Jirae | Fire |
| Tsuchigumo | 30 | Yes | Jirae | Ice |
| Ubu | 22 | Yes | Vermin | Light |
| Wendigo | 25 | Yes | Jaki | Fire |
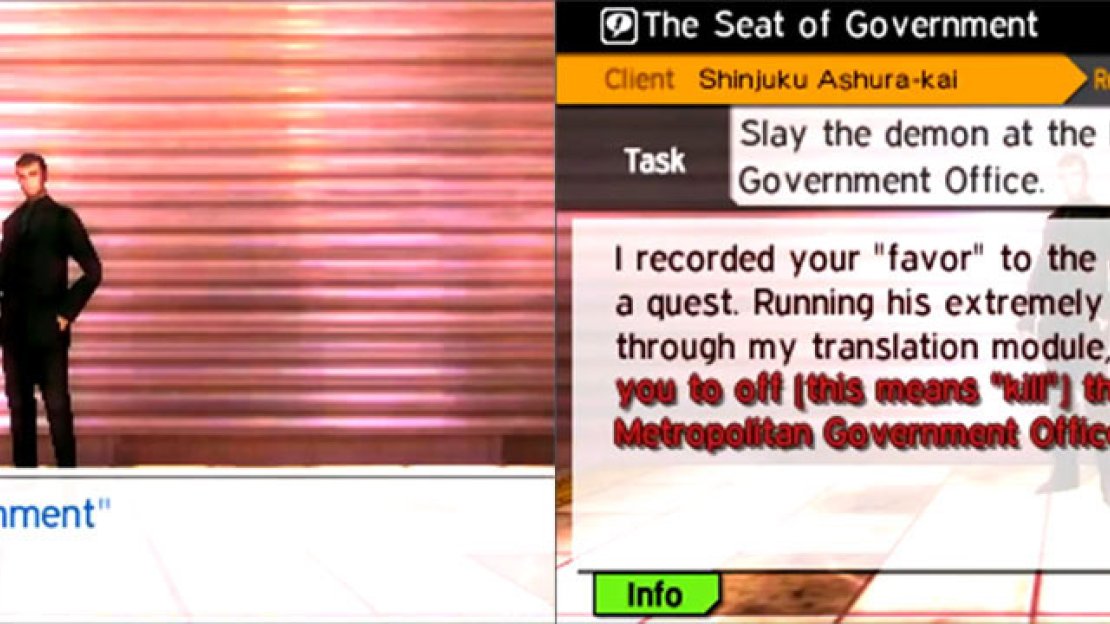
Burroughs: translates heavy dialects so you don’t have to!
Shinjuku Station: Underground
After having dealt with the Corpses and Dullahan, return into the underground area and heal up. (Note that you can take on the mission “Phantom of Madness” now; see Shinjuku Quest Cleanup 1 for further details.) Stock up as needed, then head to the far west in the district.
Speak with the man there, who wants you to “off” (that means “kill”) a demon in the main government office in return for access to that area and a Jirae Talisman. Opt to off the demon and you get the quest and can move on.
Go due west if you want to deal with the Challenge Quest mentioned in the previous box. Go north to find some relics on the west wall - 1-Star Document , 1-Star Commodity - before exiting off to the south. Continue along the path there into the next area.
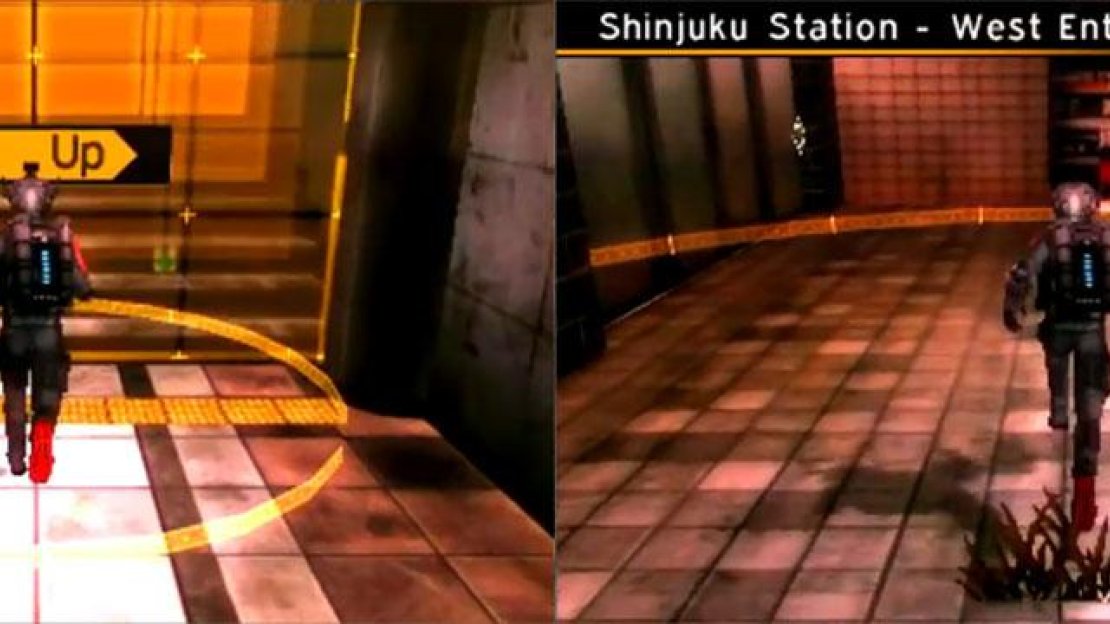
Shinjuku: West Entrance Passage
Immediately in front of you, you can get a 1-Star Food from the vending machine. Go south and west to find some more 1-Star Food on the north wall. If you return to where you entered the area, and go south and look up, you’ll find a vent.
Use it and go along the path given to find a Light Grimoire ! Use it, then backtrack to where you met that heavily-accented man, then go north and outside.
Shinjuku Station: West Entrance
“Up“ means more demons.
Go to the west of the entrance of this area. As you do, take note of the room to the south if you want a Challenge Quest (see blue box above for more details). You can also find a 2-Star Gadget in the building nearby.
North of the entrance is a rectangular building. Use the ladder on its north side to reach a chest containing a Balm of Rising .
Hit the ground and go east to the building wall and north to find a 1-Star Clothing . Then ascend the nearby stairs and go along to the end of that path; expect to find a 1-Star Gadget , two 2-Star Gadgets , and another 1-Star Gadget on the way.
Descend this staircase and around to its back to find a chest containing a Dx Incense . Then go south and you’ll see the group of four structures in the center (as on the map) again.
Between the northernmost two is a manhole you can access to reach a chest with a Balm of Rising . Go back up, then head southwest and west to the next area.
Shinjuku: West Entrance Buildings
Begin by heading west for a bit to find a Chakra Drop held by a dead Hunter. Go south from there to find a 2-Star Leisure in the building, with some Knockout Gas further south.
Even further south is a manhole, which makes a quick shortcut from here to the underground. Anyways, go back north, collect a Power Cable from the building at the corner, then west into the next area.
Shinjuku: Government Office Plaza
Begin by going to the north. Nearby, you can see two holes in the guardrailing. Get near one and jump down; the main path is blocked by wormwood.
Climbing up stairs and falling down holes. Being a Samurai can be physically taxing…
Here on B2F, go northwest and snatch the Nerve Gas from the dead Hunter - maybe the fall killed him? Then just head up the nearby stairs to B1F. Break down the wormwood to the west to find an Ag Incense . Head east and upstairs.
There on 1F, you can find way, in the southeast corner, back down. If you need to go for some reason, do; otherwise, go up the western stairs.
Once you’ve returned to 2F, go east and destroy the wormwood. Backtrack to the hole you used to jump down, then jump down the southern one. If you head south, you can get a 1-Star Commodity and, on the opposite side of the stairs nearby, you can get a Chainsaw weapon.
It is slightly better, offensively, than the Tokkosho you probably should still have on, so use it - it may even do an instant kill due to an extra effect.
Head up the stairs and examine the dead body to find a Revival Bead . Go up the stairs to the east, then continue along to find two chests: a Chakra Pot and a Gold Jet are inside.
Further up, on 2F, destroy the wormwood to the east. Then back to the entrance of the area and north and far to the west and down the northwestern staircase.
Down here, go southeast to find a 1-Star Commodity relic. Head east and into the narrow north/south pathway. Head south and examine the dead Hunter to find a Dis-Poison . Head to the southwest corner and upstairs to destroy the wormwood up here, if you need to backtrack for some healin’, which isn’t a bad idea.
Otherwise, go back down to 1F and enter the room at the far west side of the area. (Save before entering, of course.) After the negotiations fail, you can opt to side with the demon (“Don’t kill it”) or with the humans (“Kill it”).
Do as you will. I will note that not killing the demon leads to an easier fight, but it all depends on which ending you may be going for.
- Alignment +1 = “Kill it”, which makes you also fight Kuebiko
- Alignment -5 = “Don’t kill it”, which makes you fight the Harpy Horde instead
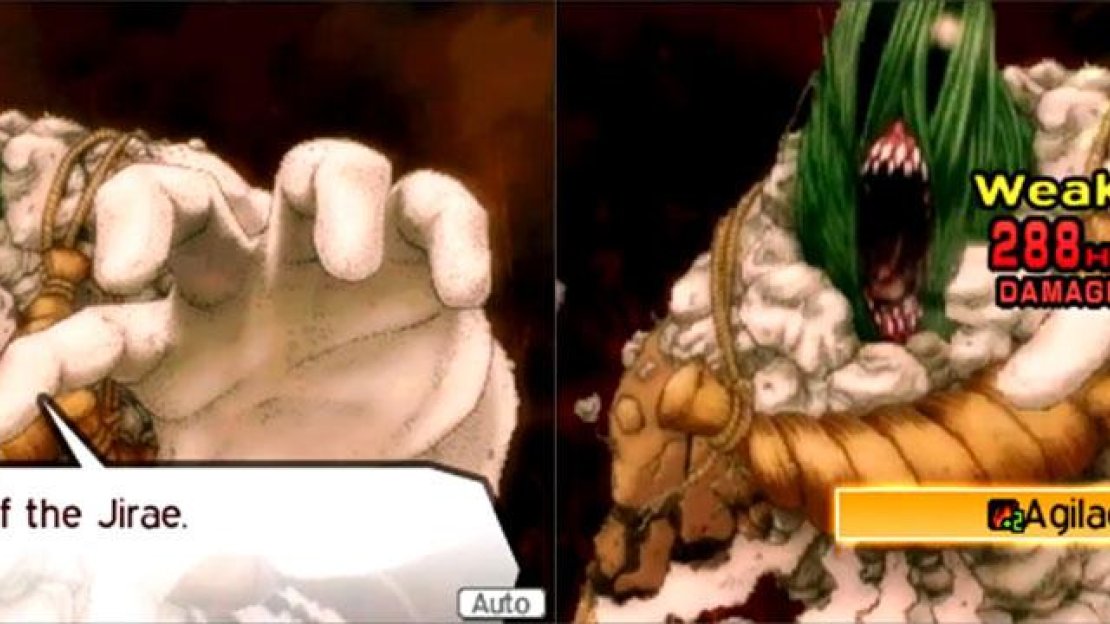
Boss: Kuebiko
| **Level** | **Race** | **Weakness** | **Resistance** | **Nullifies** |
|---|---|---|---|---|
| 26 | Jirae | Fire | N/A | Light, Dark, Force (Drain) |
Boss: Harpy Horde
| **Level** | **Race** | **Weakness** | **Resistance** | **Nullifies** |
|---|---|---|---|---|
| 26 | Horde | Gun, Electric | Physical, Fire, Ice, Force | Dark, Light |
If you win, you’ll take 4,000 Macca , assuming you killed Kuebiko. You’ll also get the Jirae Talisman soon thereafter. Return to Shinjuku.
If you want to continue on, see Ikebukuro for more. Otherwise, continue along to the quest cleanup below.


No Comments