Local Demon Bestiary
| **Demon** | **Level** | **Scout?** | **Race** | **Weaknesses** |
|---|---|---|---|---|
| Arachne | 40 | Yes | Vermin | Ice |
| Gurr | 43 | Yes | Raptor | Light |
| Titan | 37 | Yes | Jirae | N/A |
| Tlaltecuhtli | 46 | Yes | Jirae | Ice |
| Tsuchigumo | 30 | Yes | Jirae | Ice |
| Valkyrie | 45 | Yes | Yoma | Electric |
| Zaacoum | 42 | Yes | Wood | Force |
Reverse Hills: B7F
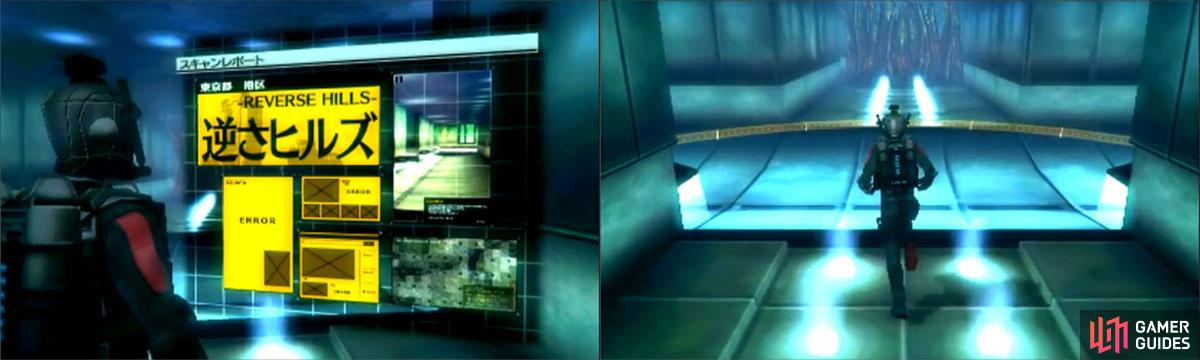
Well… that was extremely unexpected. But it looks like our investigation isn’t quite over yet.
Go west, then north and south and into the rooms you see there, if you want. Further south, examine the eastern wall and hit the switch to open a room where you’ll find a chest with a Chakra Pot . Head west and north along that hall.
Break the wormwood at the first intersection. At the second, head east. Break the wormwood there and go back west. The second room you see on the northern wall is one you should enter for Card Key 2 .
Go to the southernmost portion of the area, the south-central alcove. Examine the structure there and Burroughs will let you use the Card Key 2 there. Use the elevator to go down a floor.
Reverse Hills: B8F
There are a few rooms on this floor, too, that reveal some rather disturbing things, if but on a subtextual level. Anyways, head west at the first fork and go due north to the corner.
Open and go through the door, then look up - you can enter B7F briefly for a Gold Bulldozer before leaving. Go into the north-central alcove’s room for Card Key 3 .
Head to the southeast corner and open the room there, then go in. Open the chest for a Bead , then backtrack to the elevator and head to B9F via Card Key 2.
Reverse Hills: B9F
Head north and west to the southwest cor– You do get that these floors are all similarly designed by now, right? Anyways, in the southwest corner, open the room and use the hole in the roof to get to B8F, then the one there to reach B7F for a Great Chakra .
Backtrack and go north, east, and north to the northeast corner. Enter the room there and go through the ceiling twice to find a set of Gouma Rounds . The corpse in the southeast corner’s room will yield up a Dis-Poison .
Head to the northwest corner, then into the room just to the south. After a conversation, you’ll find a battle to fight. This is against a Deceased Horde, who are weak to Fire and have about 1,750 HP. In other words, not a real threat. The end reward is a Brown Bottle and a Card Key 4 .
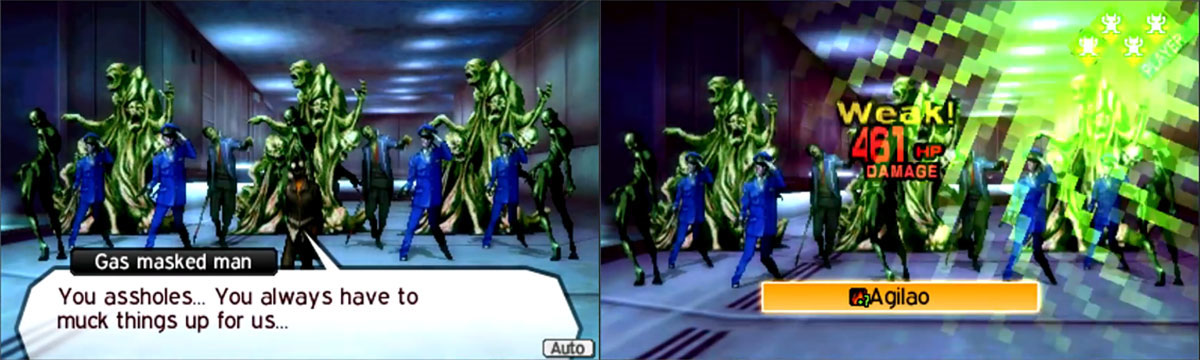
Okay, that was uncalled for. Both the name-calling and trying to kill us with zombies.
The room in the northwest corner yields up a Summon Stone . Head now to the north-central alcove and use Card Key 4 to reach B51F.
Reverse Hills: B51F
Upon your arrival, head south and downstairs, where you’ll find a 2-Star Medicine at the bottom. Use the metal door in front of you there. After that disturbing and revealing conversation, the mission is complete, you earn 9,000 Macca , you get about 56,500 EXP., and stuff.
Afterwards, go north and upstairs as the area gets really, really pink. Something in that gas makes you go beddy-bye.
No Comments