
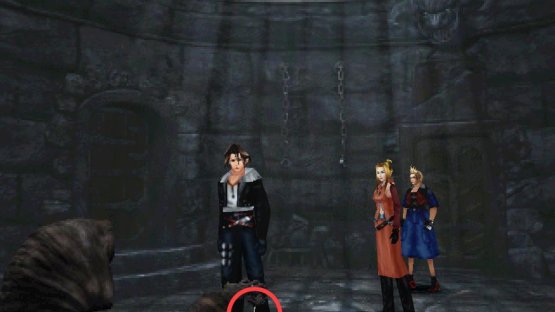
(1 of 2) Grab the Prison Key from the prison cell

Grab the Prison Key from the prison cell (left), and Red Giant will show up to challenge your egress. (right)
Now that Trauma is vanquished, go up through some doors on the bottom floor of the art gallery (between the IGNUS and INANDANTIA paintings). In the next screen, head up through another green party switch circle and descend some stairs between a pair of axe-bearing statues. In the dungeon you find yourself in you’ll find a channel of water over which span two short bridges. Cross the one to the upper left to reach a prison cell, where a corpse holds out a key enticingly. Don’t shirk away from obvious traps and grab the Prison Key, provoking Red Giant in the process.
| Red Giant | |
|---|---|
| Lv: | 1-52 |
| HP: | 30,000 |
| Weaknesses: | – |
| Resistances: | – |
| Status Resistances: | Immune to most status effects; Blind 20% – Slow 70% – The End 0% |
| EXP: | – |
| AP: | 30 |
| Draw: | Demi, Pandemona* |
| Mug: | – |
| Drop: | Diamond Armor |
- You can only draw Pandemona if you didn’t draw this GF from Fujin back during the Occupied Balamb section of the guide.
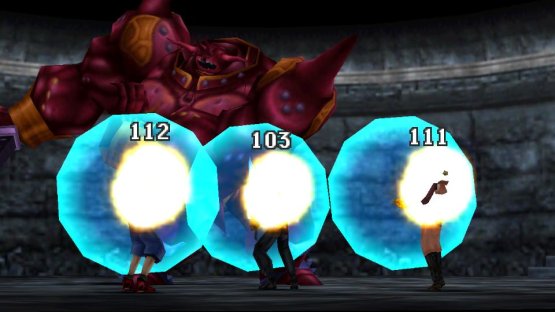
(1 of 2) Red Giant will launch single attacks


Red Giant will launch single attacks (left), but can also use its Gigantic Sword attack to hit the entire party. (right)
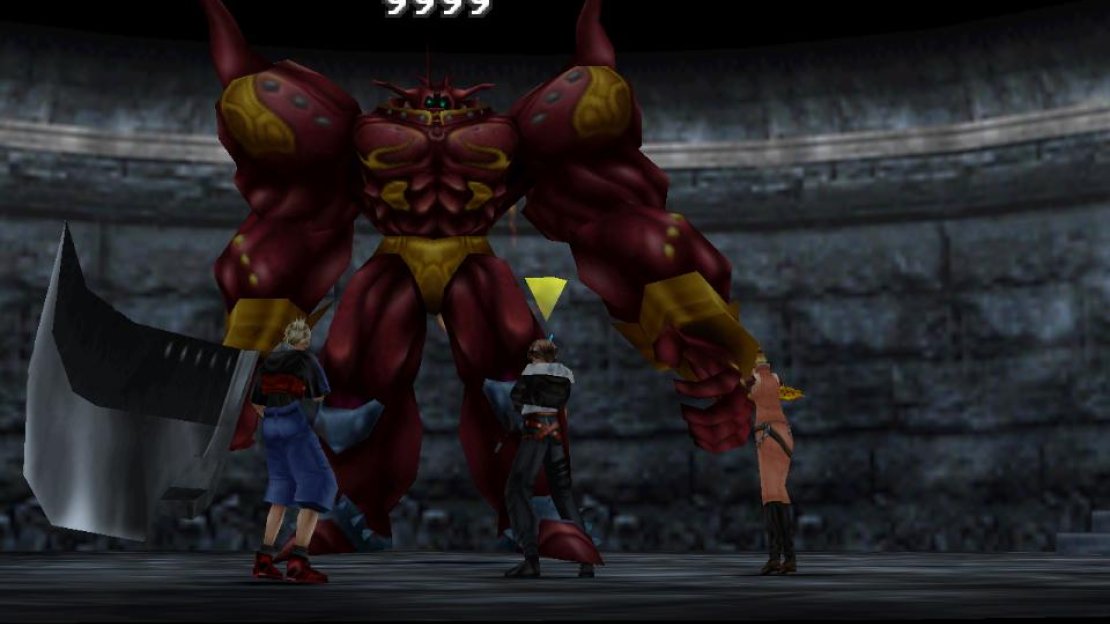
This is the first boss you won’t be able to choose to engage, aside from grabbing the Prison Key. That said, Red Giant is a simple enough foe to fight, being more secure in its defense than offense. And for good reason, too, as Red Giant has maximum scores in both Vitality and Spirit (255 each), which will drastically reduce your offensive output. To round out Red Giant’s defenses, it’s not weak to any elements and has 30,000 HP no matter what level you are. This makes Red Giant one of the rare bosses that’s not actually any easier at low level… aside from a lower Strength score, anyways.
Of course, your last fight should have given you the solution to this - simply use Meltdown to blast away Red Giant’s defenses, after which you’ll have no trouble hurting him. You can also draw and cast Demi from Red Giant, which will deal appreciable damage to the crimson brute. Finally, if that’s not enough, you can inflict Blind on him to hinder his offensive capabilities, which is largely limited to performing two sword slashes in succession and using a Giant Sword attack to slash the entire party. Protect will help mitigate damage, but he doesn’t hit hard enough to make it something you should really worry about.
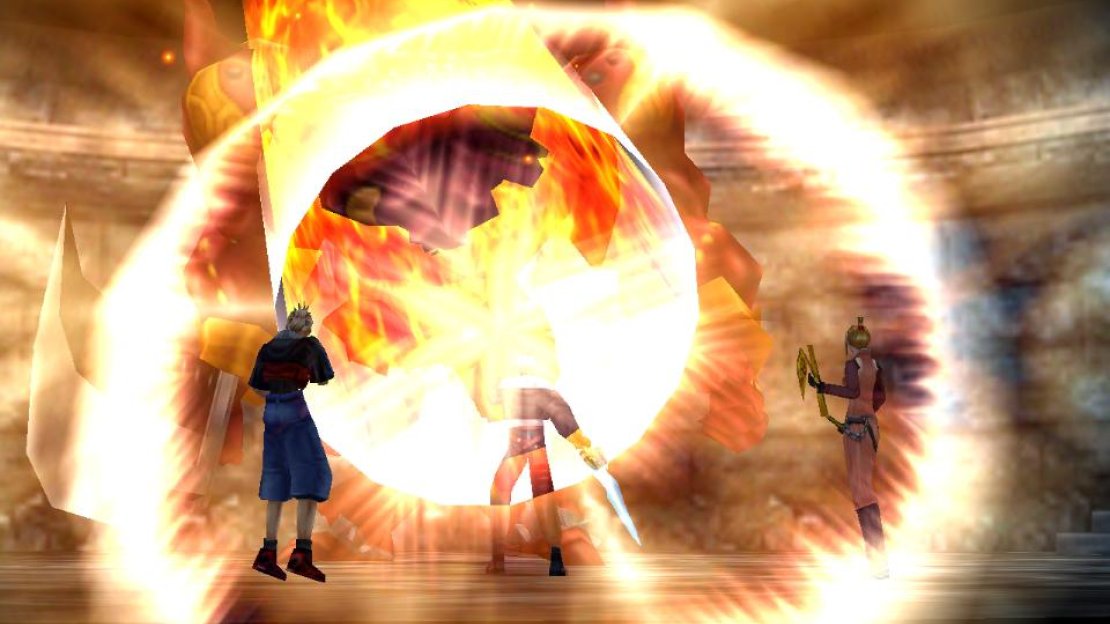
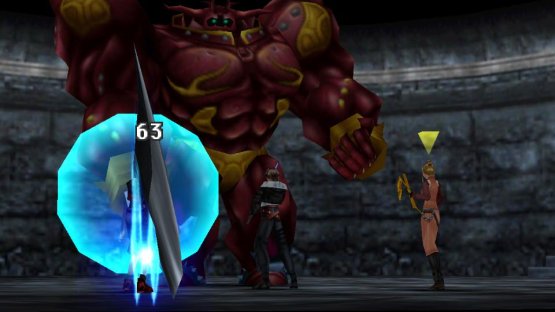
(1 of 3) Demi can deal significant damage to Red Giant
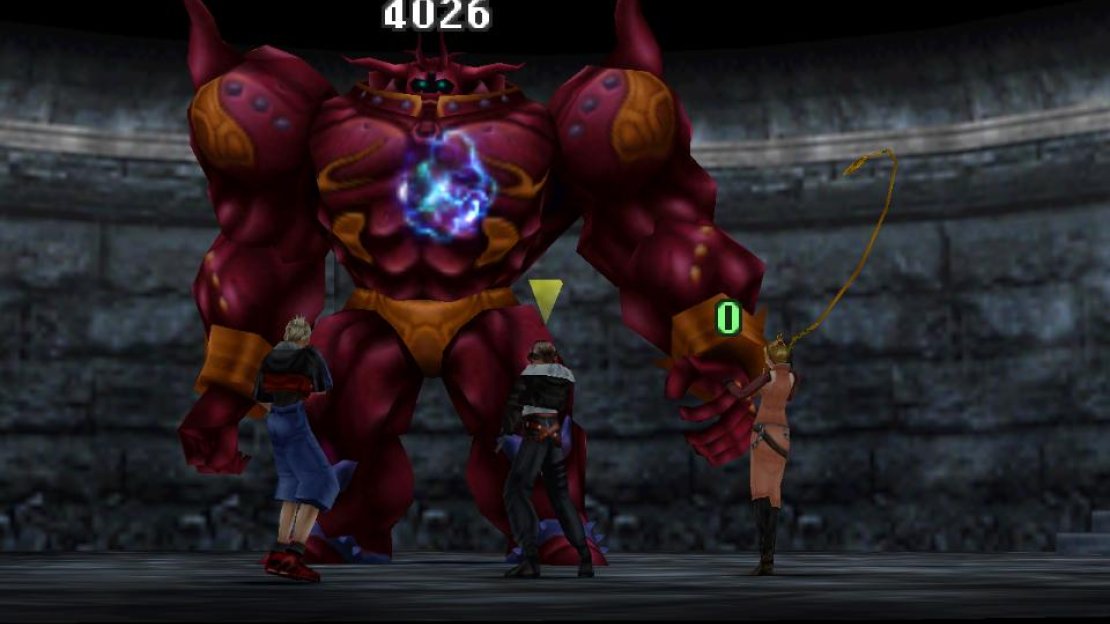
Draw Pandemona from Red Giant if you didn’t acquire this GF from Fujin back in Balamb City, then waste this boss with contemptuous ease using any combination of the aforementioned strategies above. Personally, we’re keen to blast Red Giant with Meltdown and lay into brute with melee attacks. We would use limit breaks, but… let’s be honest, Red Giant isn’t getting our HP down that low. Once Red Giant’s HP are depleted enough, he’ll drop his sword and continue on fighting with his fists. Keep at it and the giant should fall shortly thereafter.
After he’s defeated you’ll score some Diamond Armor which teaches a GF the GFHP+40% ability. Last and not least, you’ll be able to unseal another power. We opt for the “Command Ability”, as it’ll put things like Recover and Treatment back on the table, but the “Item” command is also useful, especially if you acquired plenty of healing items via Card Mod back on the Ragnarok.
Half of Ultimecia’s guardians have been defeated, and half your powers restored. Off to a good start, but now you’ll need to leverage your other party to help solve a puzzle and reach the next boss - Krysta.
No Comments