Exit the castle, save your game, then head back inside. This will get your secondary party back to the beginning of the castle and allow you to take a quick trip back down to the room they were in, courtesy of the fickle chandelier. That being the case, go back through the doors beyond where you fought Sphinxaur/Sphinxara, drop down to the lower level via the aforementioned chandelier, and go through some doors at the top of the screen.
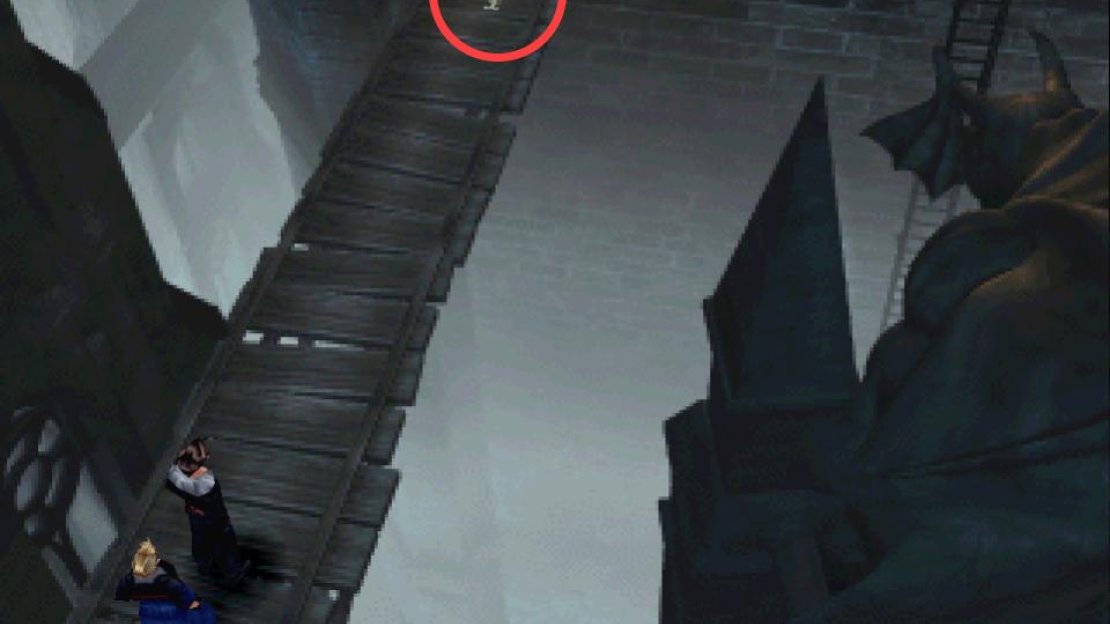
(1 of 4) WALK don’t RUN across a bridge, lest you knock a key off the bridge.
Behold! You’re in the courtyard. Another green party switch circle swirls in front of you - ignore it, head around the fountain and note a Slow draw point beyond and to the left of said fountain. Draw spells if you wish or have a need, then go through the door at the top of the screen to reach the chapel. Ignore the ominous swirling mist in front of you - that’s a battle for another time - and check out the Dispel draw point to the left if you wish. When done, head up the stairs to the right and you’ll find yourself on a wooden bridge outside the clock tower.
Walk - do not run - across the bridge (achieve this by holding down the [WALK/CANCEL] button, as running will shake the bridge and dislodge an item. Walk up to said item and interact with it to nab an Armory Key, which is a device that’ll allow you to confront the sixth boss.
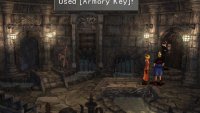
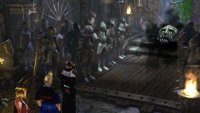
Backtrack to the entrance of the castle, then return to the art gallery where you fought Trauma. Go through a door at the top of the screen to return to the dungeon, and this time cross a bridge to the right and approach a door to use the armory key to open said door. Through the door you’ll find a Vysage, who is actually quite a bit more than it originally seems…
This upcoming foe can afflict a few status effects, including Berserk, Curse, Silence and Slow, to make sure you’re immune to them. You can also junction Zombie to Status Attack, which might make this fight go considerably faster. Being immune to earth elemental damage can also help a bit. When you’re ready, approach this so-called Vysage to provoke a fight.
| Gargantua | |
|---|---|
| Lv: | 1-54 |
| HP: (Lv10) | 11,000 |
| HP: (Lv20) | 12,000 |
| HP: (Lv30) | 13,000 |
| HP: (Lv56) | 15,400 |
| Weaknesses: | – |
| Resistances: | Gravity (immune) |
| Status Resistances: | Immune to most status effects; Death 80% – Zombie 50% – The End 0% |
| EXP: | – |
| AP: | 30 |
| Draw: | Bio, Quake, Reflect, Cerberus* |
| Mug: | – |
| Drop: | Magic Armlet |
*You can only draw Cerberus if you didn’t defeat Cerberus during the War of the Gardens section of the guide.
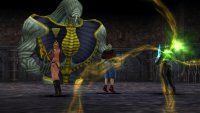
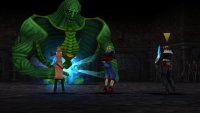
(1 of 2) Gargantua’s Evil Eyes attack deals damage and can inflict Curse and Slow.
Gargantua’s Evil Eyes attack deals damage and can inflict Curse and Slow. (left), It can also use Berserk. (right)
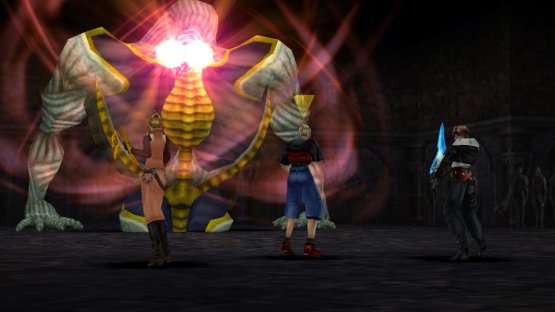
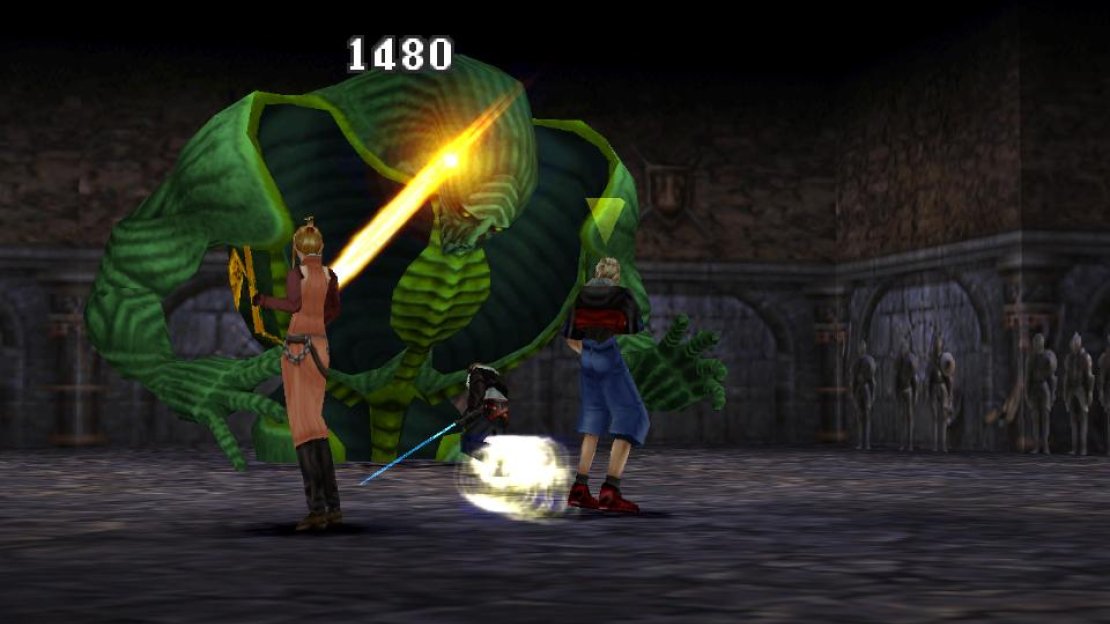
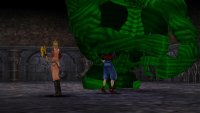
When the fight starts, immediately dispatch the Vysage (head) and accompanying Lefty and Righty. Once they’re dispatched, the massive monster to which these appendages belong will claw its way from underground and you’ll find yourself facing Gargantua. Makes you wonder if there’s a buff undead under every Vysage you’ve faced?
(1 of 3) In addition to status effects, Gargantua can strike with its fists
Gargantua has a variety of attacks, including a melee strike and the Berserk, Demi and Quake spells. It’s most dangerous attack is Evil Eye, however, which deal damage to the whole party and can inflict Curse and Slow. It’ll also always counterattack every time you attack with Counter Twist, which deals moderate damage to the attacker. If you’re immune to the status effects it can inflict, this fight shouldn’t be too hard, but Protect can further reduce the damage you receive from Gargantua’s attacks.
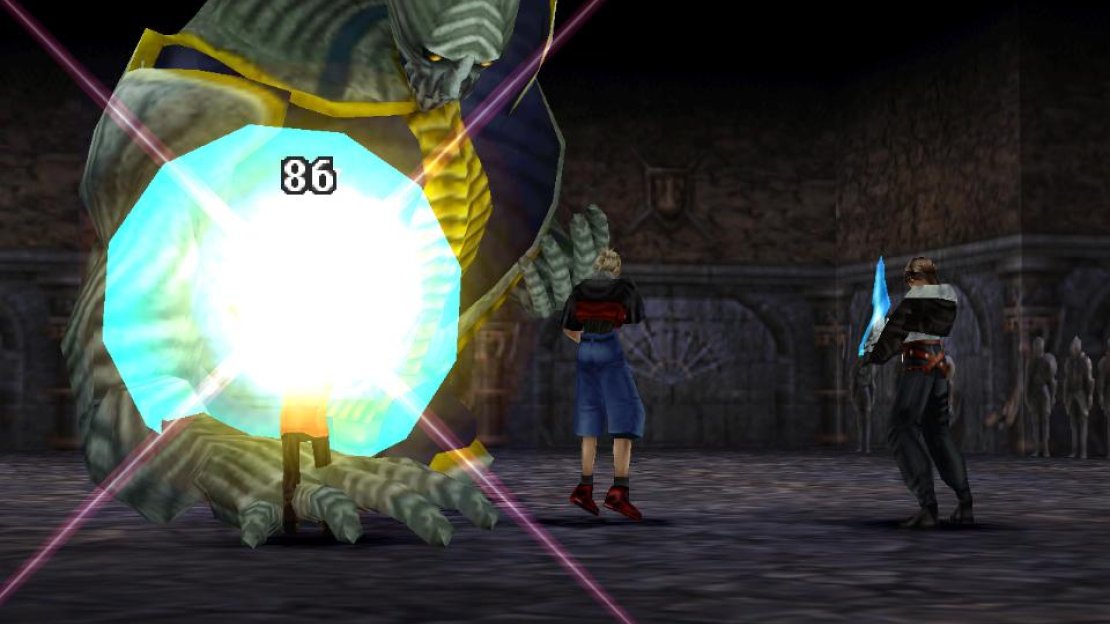
(1 of 3) Either junction Zombie to your Status Attack to inflict Zombie
Gargantua has relatively low HP - not quite as low as Krysta… at least as long as you’re not level 100. That said, Gargantua follows a common trend with these bosses in that it has a high Vitality score (180), and while you can reduce its defenses with Meltdown and defeat it with a few good melee hits, there’s another way to dispatch Gargantua. It’s only 50% resistant to Zombie, so you can either cast it on Gargantua or inflict Zombie with Status Attack. If afflicted with Zombie, healing effects will harm it - an X-Potion or Recover should deal a solid 9,999 damage to a zombified Gargantua, which should end the fight in short order.
Be sure to draw Cerberus from Gargantua before defeating it, if you didn’t tame the GF back in Galbadia Garden. This is your last chance to acquire this GF. After vanquishing Gargantua you’ll obtain a Magic Armlet, which will teach your GFs the Spr+60% ability. Unseal the “Resurrection” ability so you can revive fallen characters in Ultimecia’s castle, thereby bringing yourself to peak battle prowess. Sure, you still can’t use the “Save” option or “GF” command in the castle - and we’ll get to those shortly - but you’re close enough to being whole again that most parties are functioning at more or less peak performance.
No need to settle for most of your powers, however. Next we’ll hunt down Catoblepas.



No Comments