
You can start this quest after acquiring the Ragnarok in disc 3, after the events at the Lunar Base.
The location of the Deep Sea Research Center.
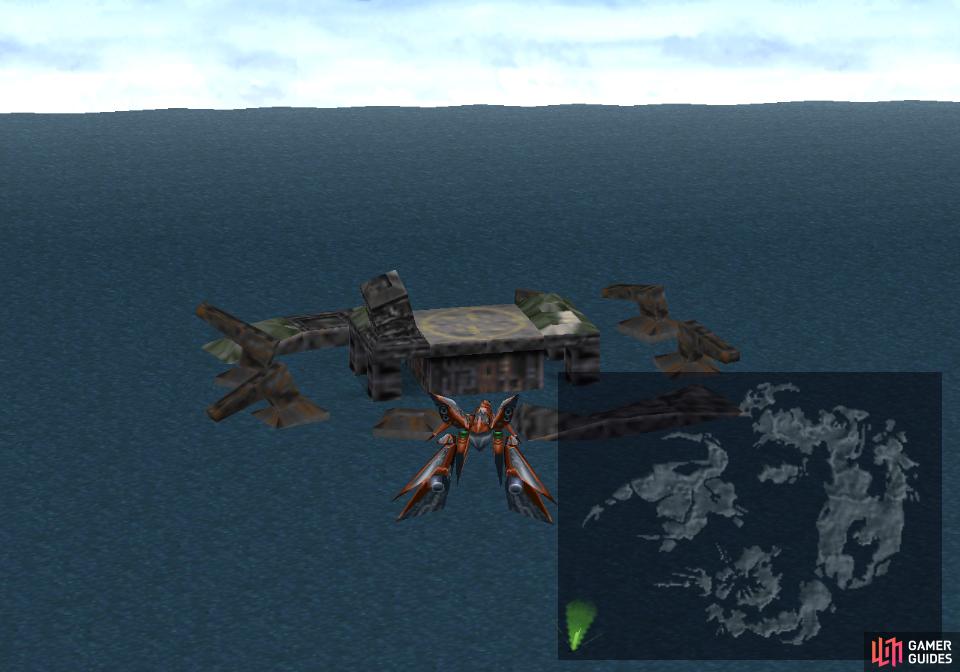
Board the Ragnarok and pilot it to the southwestern corner of the map, which is at a glance nothing but ocean. Fly over there, however, and you’ll find some ocean base that’s quickly crumbling into rubble. It does have a landing pad, though, and that should be enticing enough for you to land there. If you’re having trouble finding it, use the guide’s main map or check out the provided screenshot.

(1 of 2) Don’t move when the tube is pulsing lest you provoke monsters.
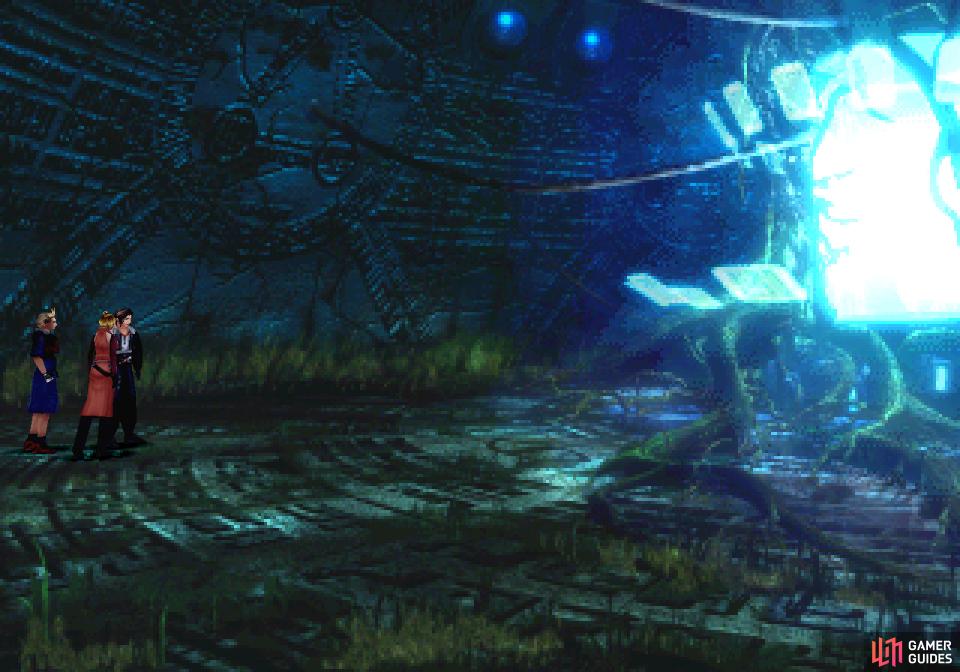

Don’t move when the tube is pulsing lest you provoke monsters. (left), When the tube dims, approach it. (right)
Head Towards the Light
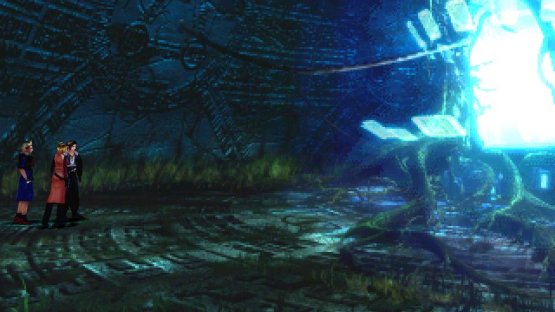
Land and you might get a descriptory chat about the location from one of your companions, which hints at the power hidden away in the place. Continue across the walkway and you’ll find yourself in the interior of this Deep Sea Research Center. To the right, a bluish cylinder rests, occasionally pulsing with light; your goal here is to advance towards this glowing device, but it’s only safe to move when it’s not lit up, as if you move when it’s glowing you’ll have to fight some random enemies. You can flee from these random encounters, if you’d rather avoid the fight. This isn’t all that complicated once you get the timing down, and the only tricky part is the obvious fake-out where the lights will dim before flashing back on again.


(1 of 3) When you reach the tube you’ll be forced to fight a pair of Ruby Dragons - use LV Down to mitigate XP gains and weaken the dragons
Stumble your way right when the object of your attention isn’t pulsing with light and you’ll be asked some questions by a (presumably) disembodied voice. Respond with It’s not our will to fight, then Never. After both of these options you’ll have to fight a Ruby Dragon, the likes of which you’ve encounter before - either on the Islands Closest to Heaven/Hell, or as Laguna. They’re powerful foes and you can’t flee from these fights, but if you’ve been following this guide, you’re more than a match for them, and with a low-level party with good spells junctioned, they’re trivial to defeat. Use LV Up if you wish to draw Flare and Meteor from them, or/then LV Down to avoid gaining XP, if desired, then answer the third question by scrolling down to a hidden third answer, It’s our nature….
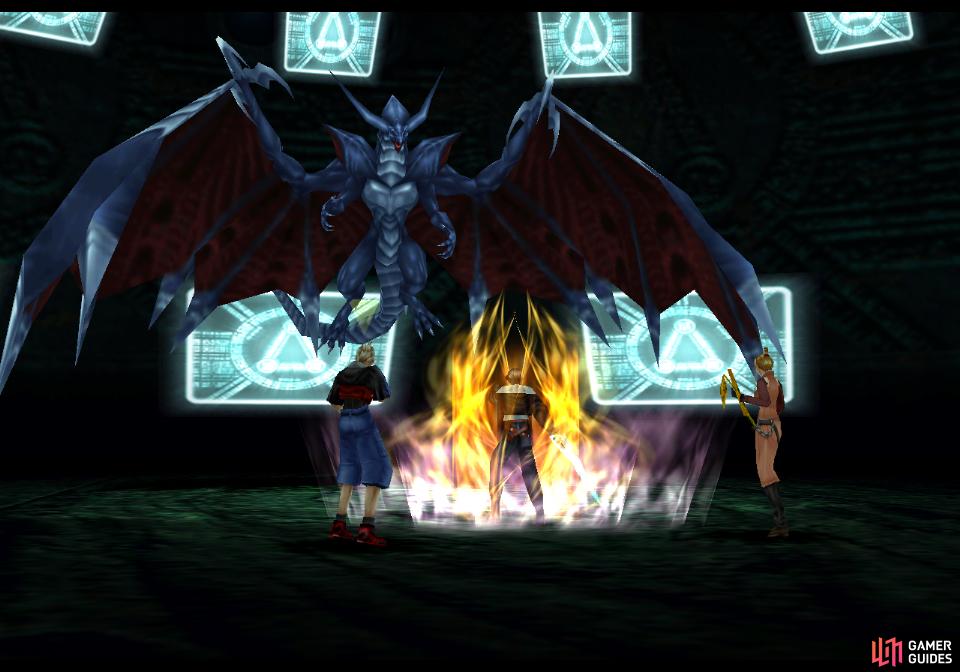
This will provoke a fight with Bahamut - a dragon in a league above even the Ruby Dragons you just fought.
Boss - Bahamut
| Bahamut | |
|---|---|
| Lv: | 1-100 |
| HP: (Lv10) | 18,000 |
| HP: (Lv20) | 26,000 |
| HP: (Lv30) | 34,000 |
| HP: (Lv100) | 90,000 |
| Weaknesses: | – |
| Resistances: | Gravity (immune), Poison (half damage), Thunder (immune), Water (immune), Wind (immune) |
| Status Resistances: | Immune to most status effects; Darkness 50% – Haste 0% – Reflect 0% – Regen 0% – Slow 10% – The End 0% |
| EXP: | – |
| AP: | 40 |
| Draw: | Curaga, Dispel, Flare, Full-Life |
| Mug: | Hyper Wrist |
| Drop: | Hyper Wrist |
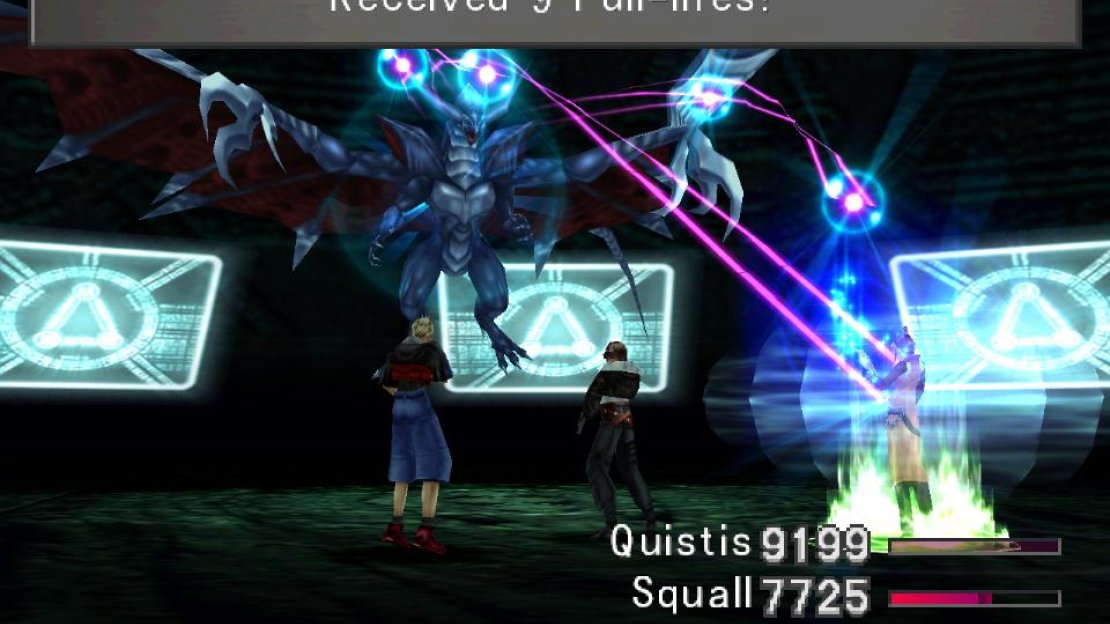


(1 of 3) You can draw stocks of Full-Life from Bahamut.
Bahamut can be a rough opponent for nearly any party - a breath of fresh air if you’re used to hearing “but a low-level party won’t have much trouble” or some such. Bahamut’s stats aren’t inherently high, in fact, at low levels (here it comes…) his HP are dangerously low, and well within the range of a limit break. His Mega Flare attack, however, can deal 3,000~ damage at the lowest of levels, making Bahamut one of the most dangerous things you’ve fought not named Malboro.
Aside from that, Bahamut is also fond of spamming Thundaga and Tornado, both of which you could have immunized yourself to earlier. His melee attacks aren’t anything special, and for debuffs all he has is the odd Stop, which again, you could be immune to.
Bahamut isn’t weak to anything, really, and is resistant to Poison and immune to Gravity, Thunder, Water and Wind. As for status effects, you have a 50% chance of inflicting Darkness, but being blinded isn’t a huge hindrance to Bahamut considering his offense is mostly spell-based. He is rather vulnerable to Slow, however, and it might be wise to junction that to your Status Attack.


(1 of 2) Use Aura to unlock limits regardless of your health
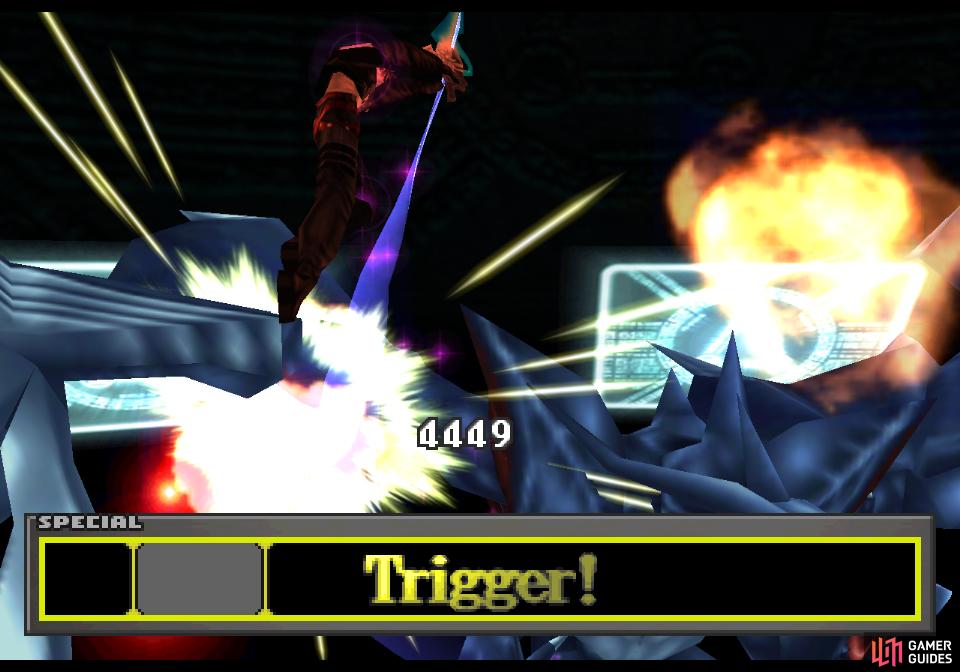
Use Aura to unlock limits regardless of your health (left), then punish Bahamut with said limits. (right)
Your offensive strategy is simple - and you’ll be spamming this quite a bit in upcoming boss fights - just cast Aura on a character with a potent, multi-hit limit (Irvine, Squall or Zell - funny how the boys got all the good ones, eh?) and use your limit to good effect. Unless you’re a high-level party with an inexcusably low Strength score, Bahamut should fall after one or two limits.
Emerge victorious and you’ll gain a whopping 40 AP, a Hyper Wrist, the Bahamut Card and Bahamut himself as a new GF. Defeating Bahamut will also open a hole in the floor - presumably where the glowing tube was earlier? Either way, you can descend deeper into the facility, where an even more powerful foe - and more powerful GF - await.
No Comments