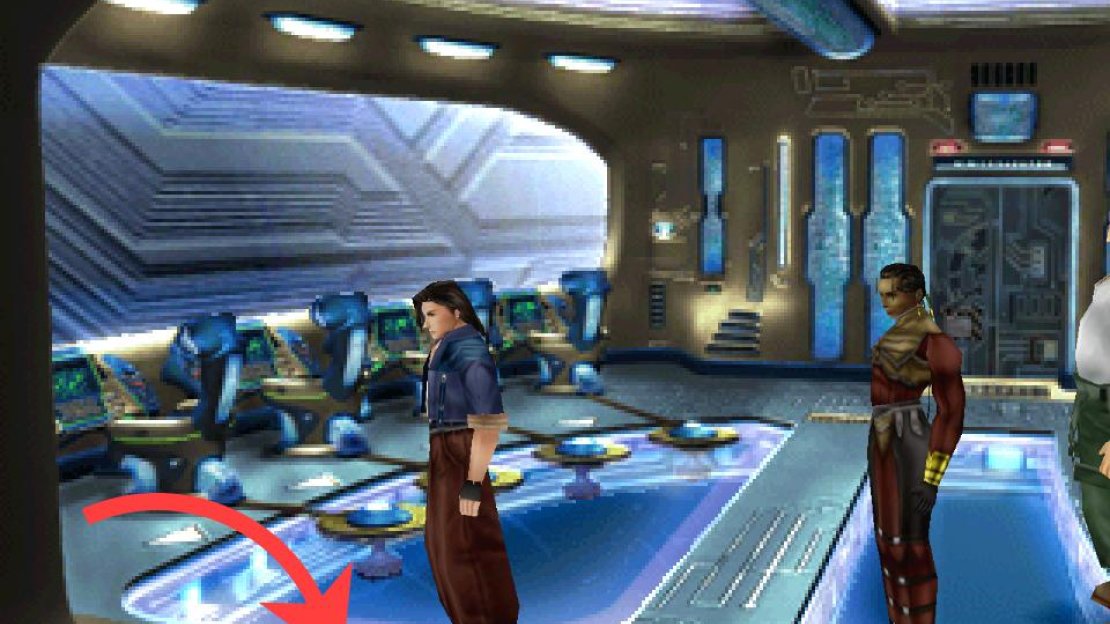
Set your junctions, after which you’ll find yourself in the role of Laguna. Kiros and Ward will be sent to Lunatic Pandora - sounds like a fun place - leaving Laguna in a room with a Moomba, another worker and two Esthar Soldiers. To advance, there’s a specific series of interactions you need to have:
- Approach the Esthar Soldier to the right and he’ll babble at Laguna for an undue length of time.
- Approach the Esthar Soldier to the left for more chatter.
- Talk to the Moomba twice.
- Talk to the other worker.
- Talk to the Moomba a third time.
(1 of 4) As Laguna, defeat an Esthar Soldier
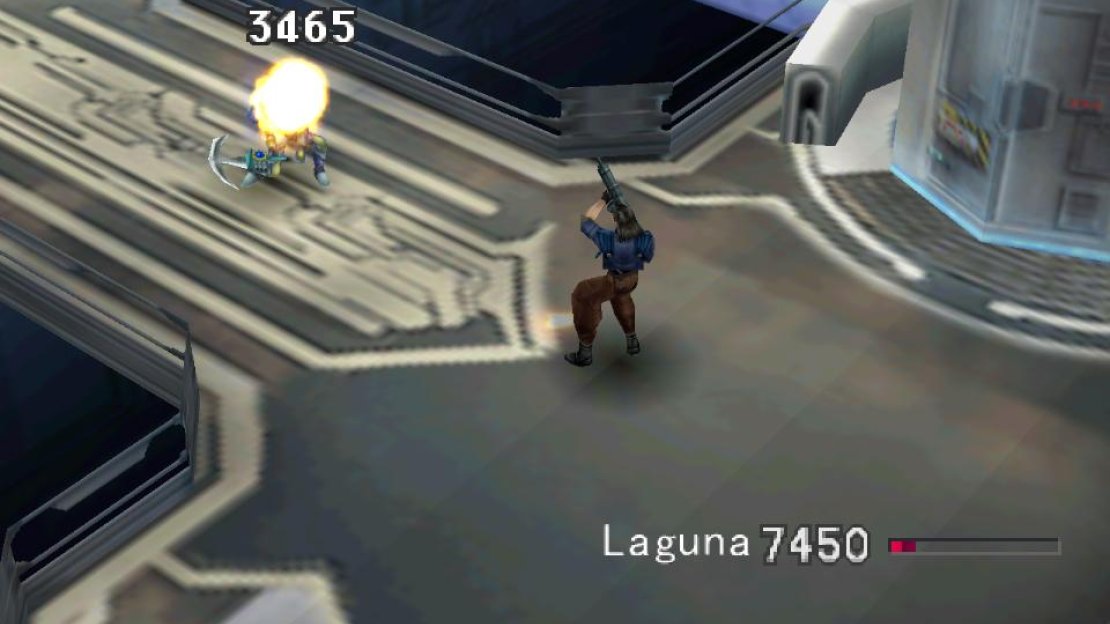
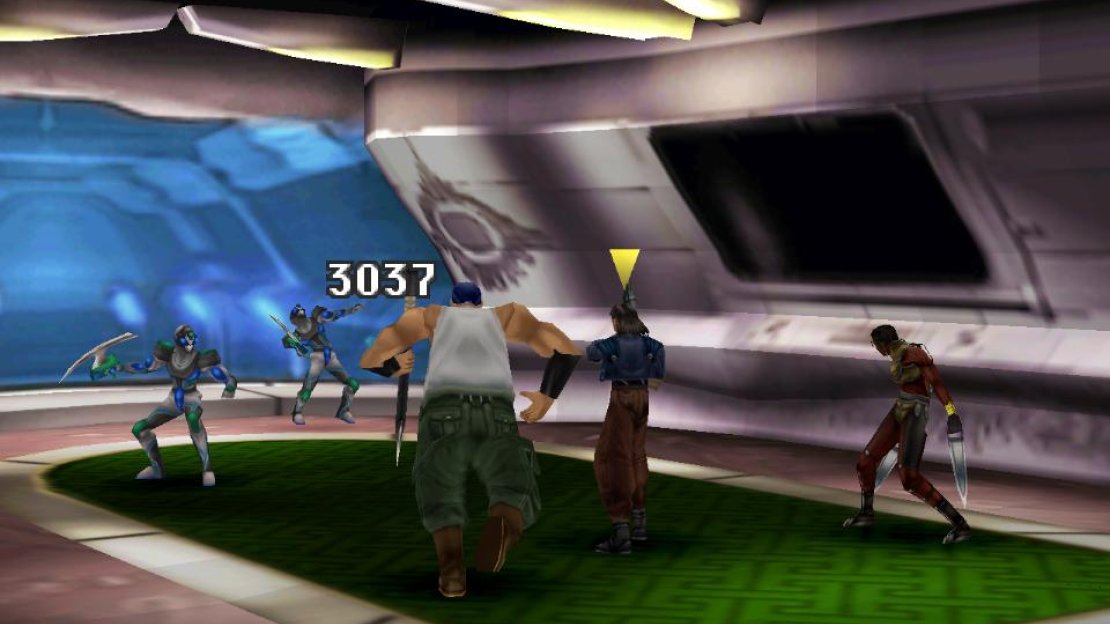
After this there will be a bit of chatter, culminating in Laguna engaging in a scuffle with an Esthar Soldier. Why did they leave him with his gun? Oh well, so much the worse for them. Defeat the overmatched soldier and more trouble will follow, but this time you’ll be joined by Kiros and Ward - haven’t played as Ward since disc 1! When you get an option, pick Better check… to adjust your junctions, as there’s no guarantee Kiros and Ward are equipped, despite setting your junctions at the beginning of this dream. If you want to minimize XP gains make sure you have the LV Down ability equipped and tank the levels of your foes so they don’t give you much XP when you defeat them.
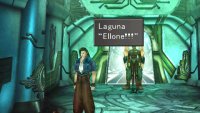
Speaking of which, when you’re done preparing pick the option Perfect…!, after which you’ll have to fight a Gesper and two Esthar Soldiers, none of which should be much of a threat. After the fight, ride the elevator up to find Doctor Odine, who looks more like a clown than a scientist. Walk near Odine and you’ll overhear some chatter. Repeat this several times to learn a bit about some Lunar Base, Lunatic Pandora, abducted girls and an issue of [Weapons Monthly]. Snoop on them enough times and Laguna and company will flee the lab of their own volition. Once outside, more chatter ensues where you’ll learn about Ellone and find that you need to talk to Doctor Odine after all.
(1 of 3) Pick up an issue of Weapons Mon 1st
Save your game if you need to at the nearby Save Point, draw Death from the draw point, then enter the lab again only to find that Odine has moved on. Search the floor to the left to find Weapons Mon 1st, which details the Lionheart, Shooting Star, Exeter and Strange Vision weapons, most of which you should have made a long time ago.
Head up and enter the elevator and when you reach the lower level approach Odine only to be interrupted by some soldiers, who are incredulous that you returned. A fight ensues where you’ll need to put down two Esthar Soldiers and an Elastoid; use LV Down to weaken them and diminish the XP you’ll earn, then dispatch them, after which Odine will admit to knowing Ellone before running back up the elevator. Why didn’t anybody stop him?! Oh well…
(1 of 3) Defeat a final group of Esthar Soldiers
Follow Odine back up the elevator and outside and you’ll manage to squeeze some information out of him, after which you’ll ride off in search of Ellone. When you reach O Lab you’ll have to fight two more Esthar Soldiers. Again, use LV Down to mitigate XP gain, if that’s an issue for you, then dispatch the weaklings. After the fight search the back right of the room to find a Double draw point, then investigate the odd, circular device in the middle to discover… a lift?
Ride the lift and when it stops, go through a doorway and trounce two more Esthar Soldiers. Once they’re thrashed, continue up to find Ellone. So close, yet so far… Examine a console to the right to unlock… something, then head back down, ride the lift to the entrance of the lab, then go through a door at the top of the screen to reunite with Ellone and end this dream.




No Comments