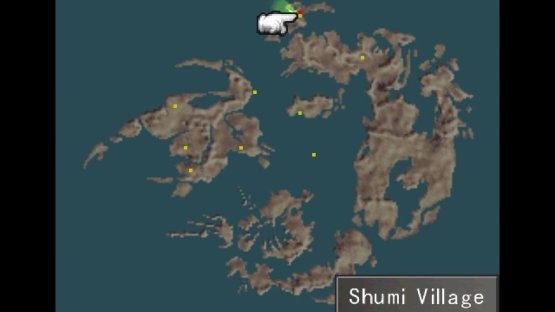
(1 of 2) The location of the Shumi Village on the world map
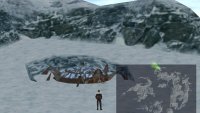
The location of the Shumi Village on the world map (left), A more local view of the Shumi Village (right)
You can start the Shumi Village Sculptor quest anytime after the events at Fisherman’s Horizon, after you have control of a mobile Balamb Garden. Your destination - Shumi Village can be found on the northern-most landmass, just head north of Balamb, steer around the edge of Esthar, and make your way to an island to the far north. Sail northeast along the southern coast until you find a beach you can make landfall at along the thinner, eastern tail, then pilot Balamb Garden west a short distance on land to find a domed structure - the Shumi Village. Exit Balamb Garden and hoof it over to this town.
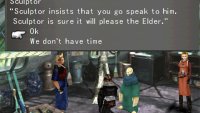
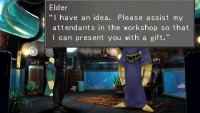
(1 of 2) Find a statue and you’ll be referred to the village Elder
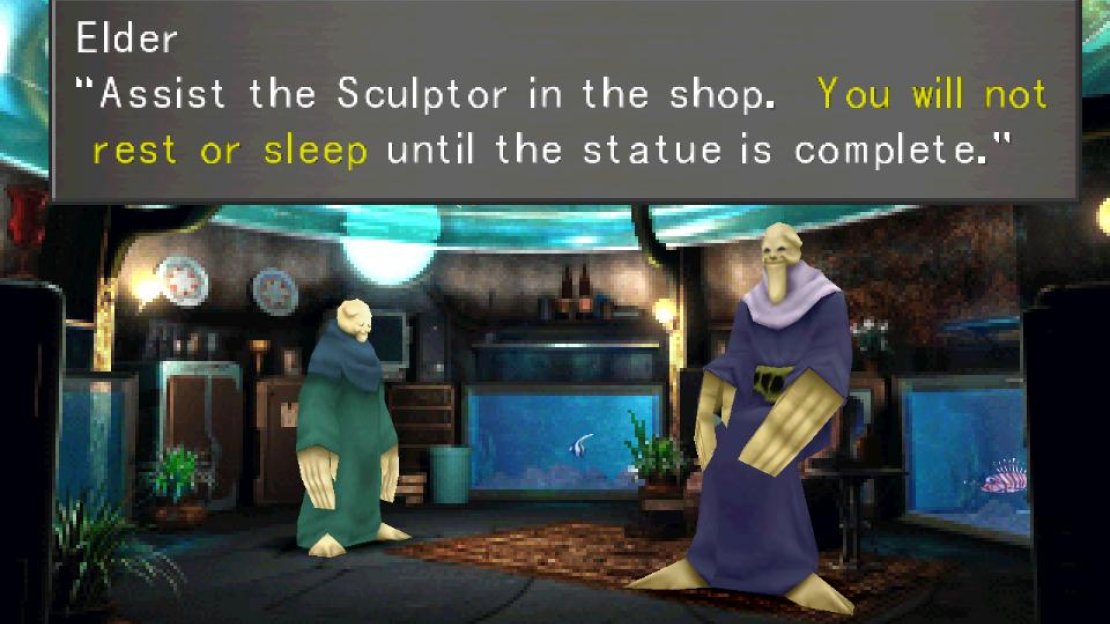
Find a statue and you’ll be referred to the village Elder (left), talk to the Elder and he’ll give you a quest (right)
The Sculptor’s Quest - Phoenix Pinion
Continue up to an elevator, passing by a guarded Ultima draw point and ride down to the Shumi village proper. When you get off the elevator, run left through the Shumi Village, exiting to the left twice until you reach a screen with a pond at the bottom. There are two houses here, one to the left and one to the right. Enter the house to the left and head up until you find a statue of Laguna, which naturally gets Squall’s attention, who will in turn get the Sculptor’s attention. After the Sculptor tells you about Laguna you’ll be referred to the Elder, whose house you’ll now have access to.
Exit the Sculptor’s house and head right one screen. In this screen you’ll find that the Moomba standing in front of the house is gone, allowing you access. Enter the Elder’s house and endure some chatter, then go to leave and the Elder will offer to help you… but since the Shumi don’t do charity, you’ll have to earn it.
(1 of 7) Talk to the Sculptor and he’ll send you off on a hunt for a variety of stones.
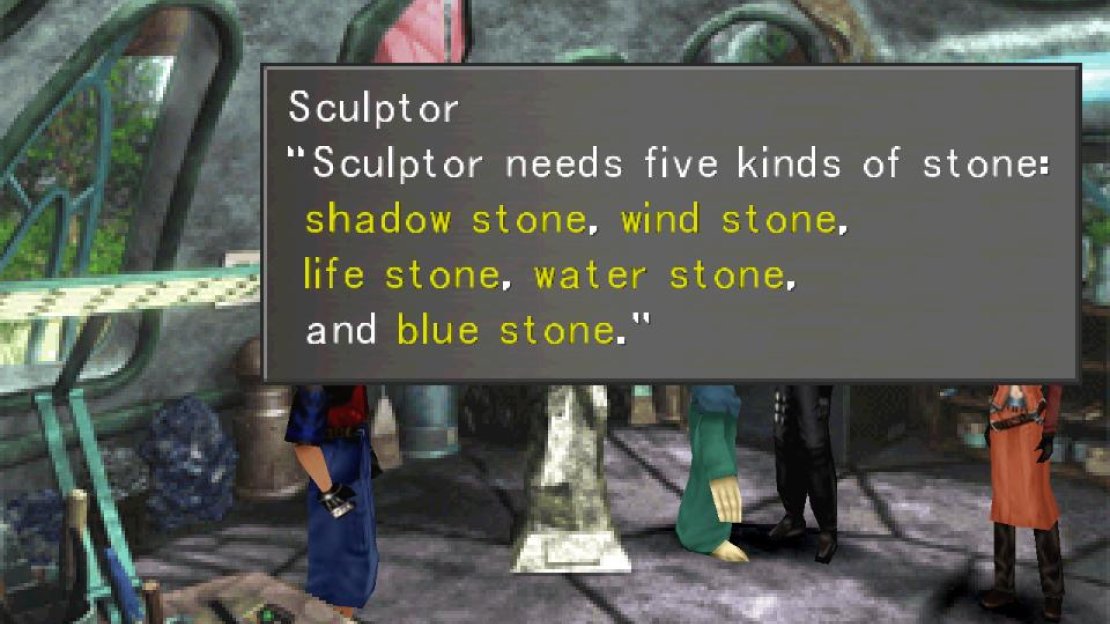
Leave the Elder’s house (for real this time) then return back left to the screen with the pond and enter the house on the left and talk to the Sculptor again, who will ask you to find several stones for him. Scavenger hunt time! You’ll need to hunt down a series of stones in order of assignment, and after you find one (they’re all located in the Shumi Village) return to the Sculptor to get another assignment. Their locations, in order, are as follows:
-
Blue Stone: Search the wall to the left of the Laguna statue. Seriously, not very observant, this guy.
-
Wind Stone: Head to the right end of the village (the screen with the elevator) and note the two houses here. Search some rocks between the two to find the stone you need.
-
Life Stone: Make your way to the screen with the Elder’s house and head to the right side of the screen to find a tree growing on the edge of a cliff. Search the roots flowing down the cliff to fins this stone.
-
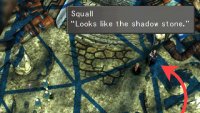
Shadow Stone: Ride the elevator back up to the screen where the Ultima draw point is and search the shadows to the upper right, near the steps leading to the elevator.
-
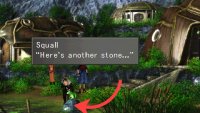
Water Stone: Search the pond near the frog to find this stone. Sadly, this isn’t the correct stone - ’tis a stone found in the water, but not a Water Stone. Oh dear…
-
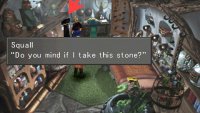
Water Stone: In the screen with the pond, enter the house to the right and search the sink.
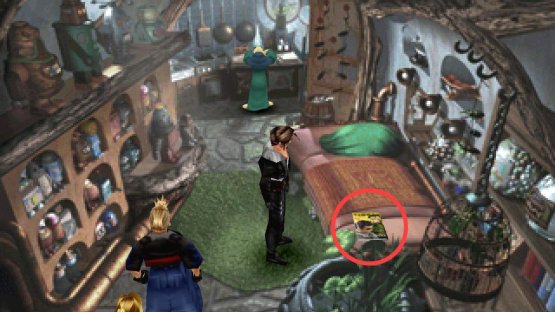
(1 of 2) Pick up a copy of Timber Maniacs 9
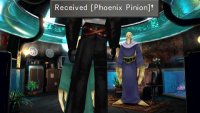
Pick up a copy of Timber Maniacs 9 (left), Find all the stones and talk to the Elder to receive a Phoenix Pinion (right)
When you have the final stone, return to the Sculptor and talk to him twice to learn the true purpose of these errands. Head back to the Elder’s house and you’ll be given a dubious “gift”, after which the Shumi will reward you with a souvenir that’s of much greater material value - a Phoenix Pinion.
(1 of 3) After finding the stones, the Attendant will find himself in some trouble.
The Sculptor’s Quest - Status Guard
Leave the Elder’s house and when your companions complain, pick the option “Explain what it all meant” to muse about the intentions of the Shumi. After a scene between the Elder and his Attendant, exit out to the world map, then return to the Sculptor’s house to find the Attendant reassigned there. Poor guy. There’s more goodies to gain and questing to do, but it mostly involves running about and talking to people, so another summary is in order:
-
Talk to the Attendant and the Sculptor to find out that more hands aren’t necessarily making this project go faster.
-
Return to the Elder and talk him.
-
Exit the Elder’s house and talk to the Moomba outside.
-
Follow the Moomba back to the Attendant and the Sculptor and watch the Moomba and the Attendant talk to each other.
-
Return to the Elder and talk to him again.
-
Return to the Attendant and talk to him until he mentions the Artisan.
-
Enter the Artisan’s house (same screen as the Sculptor’s house, the right-most house) and talk to the Artisan.
-
Return to the Elder yet again and he’ll muse about the Artisan.
-
Leave the Shumi Village and sail back to Fisherman’s Horizon - you can sail the Garden right into Fisherman’s Horizon to land there. Head to the Grease Monkey’s house (the house where you found a Moomba statue and an issue of Timber Maniacs earlier - where the Galbadian Officer tried to pick a fight with Squall and Irvine) and talk to the Grease Monkey. You should get a Moomba figure, which will somehow prove helpful in this endeavor.
-
Return to the Artisan in the Shumi Village and the Moomba Figure will take care of things.
-
Leave the Artisan’s house and you’ll find the Master Fisherman outside (if you did his quest). Make your way back to the Elder’s house and talk to him one final time to get a Status Guard item and complete this quest.








No Comments