Before we start this quest, let’s continue a trend and discuss whether you should even bother. There’s a bit of running around involved, and your great prize for doing this legwork is a Three Stars item, which can teach a GF the Expendx3-1 ability. You can always Card Mod the Squall Card to get three such items (you’ll be able to win back rare cards soon) and even then, you really only might want Expendx3-1 on your GFs if you plan to engage in some magic assaults. A dubious proposition, since limits are generally much better ways to dish out damage.
With that out of the way… let’s get to questing! Or not. Ahem.
(1 of 4) Search around Obel Lake until you’re prompted to interact with it.
Lake Creature’s Clues
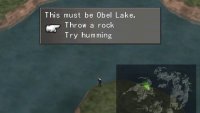
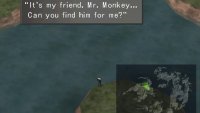
Fly to Timber and land north of the city, where you’ll find a body of water called Obel Lake. You’ll know you’re nearby if you check the menu and it lists your location as “Obel Lake”. Head out onto a rounded peninsula and mash the [TALK/CONFIRM] button as you wander the perimeter and you should get an option to Throw a rock or Try humming. Hum as many times as you can and a “black shadow” should surface from the water and eventually comment. After it leaves, run around the edge of the water again mashing [TALK/CONFIRM] until you get the chance to hum again. Do so and this time the creature in the lack will ask you for a favor. Pick What is it and you’ll be asked to find the lake creature’s friend, Mr. Monkey.
Yes, this is happening.
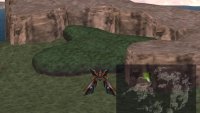
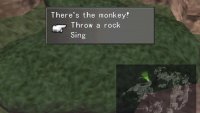
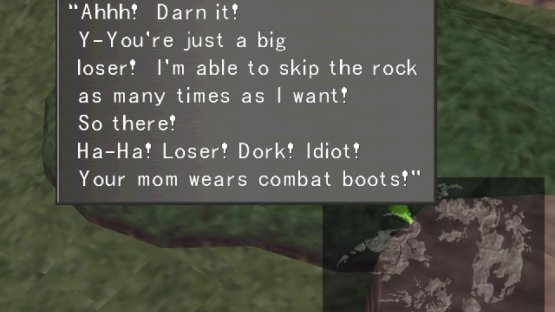
Fly north to Dollet, then venture west a bit to find a forest. Head into the forest to find a monkey, and when you do pick the option Throw a rock. Seems kind of rude, and naturally the monkey will respond by chastising you. Fair enough. Head deeper into the forest to encounter the monkey again, and this time pick the option Sing to get the same response. Well I never!
(1 of 2) Return to Obel Lake and hum repeatedly to hear the creature’s clues.
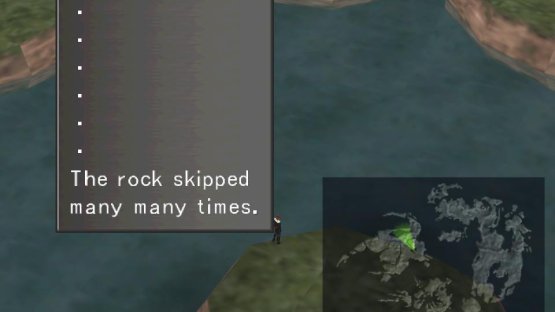
Return to Obel Lake and hum repeatedly to hear the creature’s clues. (left), After you’ve seen them all, skip rocks repeatedly until it skips “many, many times”. (right)
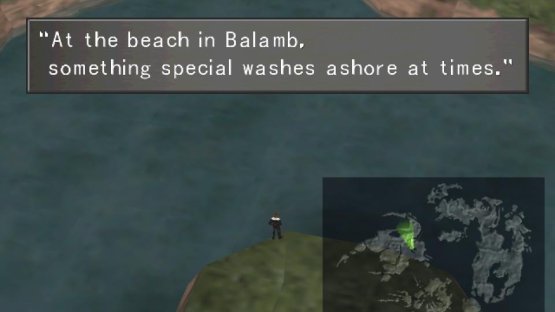
Fly back to Obel Lake and mash [TALK/CONFIRM] as you run along the peninsula to find the lake creature again and hum once more to “relay the whereabouts of Mr. Monkey”. Run around the edge of the lake and keep talking to/humming at the lake creature to get the creature to give you some clues, as follows:
-
“You’ll find something on an island east of Timber, too.”
-
“At the beach in Balamb, something special washes ashore at times.”
-
“There’s also something on top of a mountain with a lake and cavern.”
-
“Take some time off at Eldbeak Peninsula. I bet it’s a wonderful place.”
Damn thing sounds like a cheap travel agent. Anyways, sometimes it’ll repeat itself, or give you irrelevant information, but keep at it and you’ll get all the clues. Clues to what? Who knows! In any event, once that’s done, interact with the edge of the lake once more and this time pick the option to Throw a rock. Repeat this until you get a message that the rock skipped many many times.“
(1 of 2) Throw rocks at Mr. Monkey until he’s provoked into responding in kind
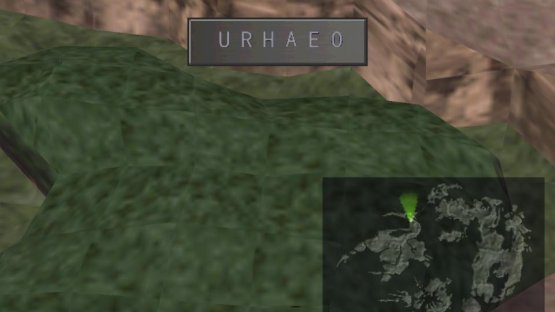
Throw rocks at Mr. Monkey until he’s provoked into responding in kind (left), On the rock thrown at you you’ll find one of the Obel Lake clues. (right)
Return to the forest west of Dollet and throw some more rocks at the monkey until he returns fire with a rock that has a clue on it: U R H A E O. Okay. Now it’s time to go look for these locations the lake creature mentioned to acquire similar clues:
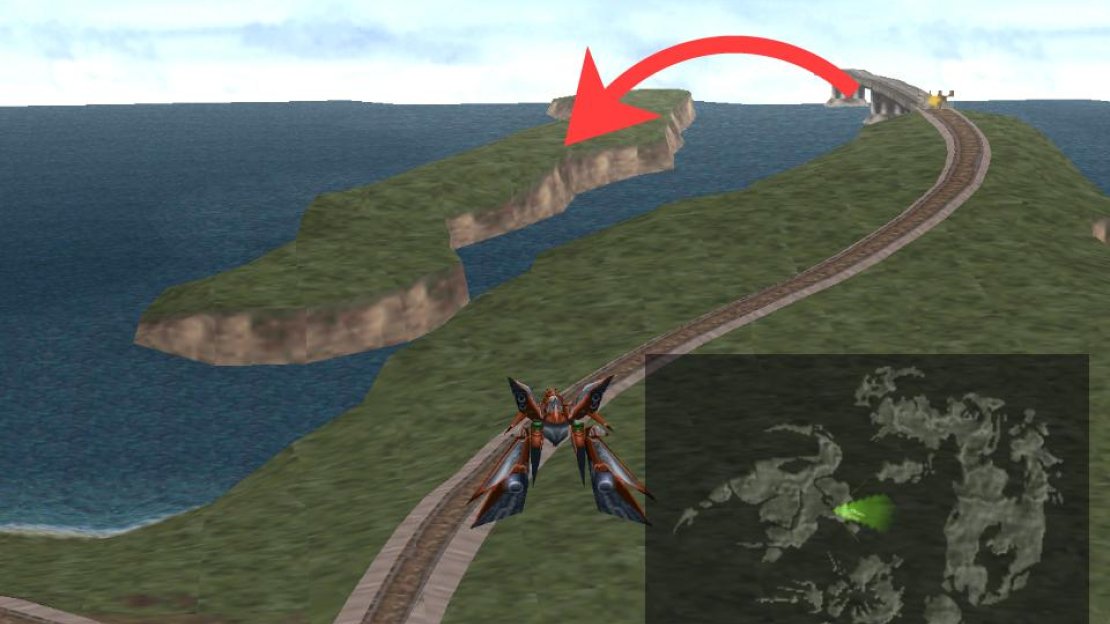
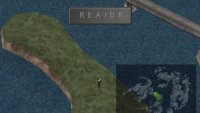
- Fly back to Timber and from there turn east and follow the track to find a long island running along the mainland. Land on this island and check your map to make sure it says you’re on “Mandy Beach”. Run along the center of the island while heading southeast, mashing the [TALK/CONFIRM] button as you go until you find another clue: R E A I D R
(1 of 3) Find an island off the coast of Timber
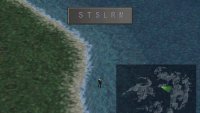
- Head northeast to Balamb Island, land near the city of Balamb, head to the beach, and run along the edge of the water mashing [TALK/CONFIRM] until you find yet another clue-stone (you will likely be faked-out a few times - persevere and keep searching): S T S L R M
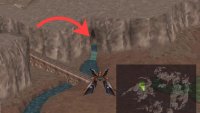
(1 of 4) Find a waterfall running from a rock formation near Deling City
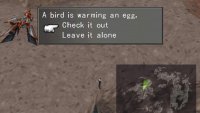
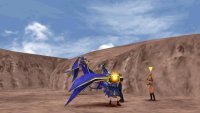
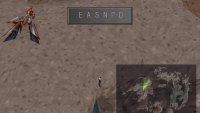
- Fly to Deling City in Galbadia and from there turn southeast until you find a river. Follow the river north until it terminates in a waterfall, then land on the rock formation the river originates from and search the edge of rock formation above the waterfall to find a “bird warming an egg.” Pick the option Check it out, then defeat two Thrustaevis enemies who object to your nest-molesting ways. Your prize, of course, is another code-rock: E A S N P D
(1 of 4) Return to the Obel Lake creature to compile your clues, revealing a hidden message.
Whew.
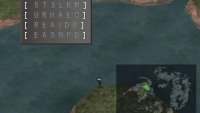
Return to Obel Lake and search for the mysterious creature again, hum to draw it out, and talk to it until Squall shows off all the rocks (this could take a few tries). It should list the codes in the following order:
S T S L R M
U R H A E O
R E A I D R
E A S N P D
When read from right to left, top to bottom, you get the following:
M O R D R E D P L A I N S H A S T R E A S U R E
“Mordred Plains has treasure”, eh? We’ll see about that.
Mordred Plains Has Treasure
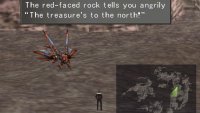
Fly to Esthar city, turn north, then fly over the mountains to land. Behold, the Mordred Plains! This part can be annoying, as you’ll have to run around and mash [TALK/CONFIRM] until you find some rocks - you won’t see them on the map, so it’s just blind searching. When you do find them, however, note what the different colors say: Blue rocks establish the ground rules and generally tells the truth: it does, in fact, not know where the treasure is, some rocks are liars and all actually repeat the same things. The black rock says nothing but “…The treasure is probably in the direction of the North Star.“, which is useless. The white rock just gives you random directions, while the red rock actively lies - the opposite is true.
How rocks can be angry is anyone’s guess, but when you find a red rock, keep searching it to find all the directions it gives (usually two) and search in the opposite direction. For example, if you find a red rock, talk to it repeatedly and say it tells you (angrily of course) that the treasure is north and west - you want to search southeast. You’ll need to adjust your directions repeatedly, and the search area for the actual treasure is rather small, so don’t lose hope - you’ll know you’re getting close when the red rocks start telling you the opposite directions at fairly close intervals.
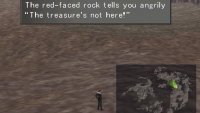
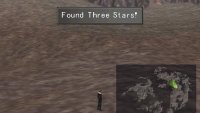
Finally you should discover a red rock that tells you (again, angrily) that “The treasure’s not here!” Search the same area again to score a Three Stars. Stupid rocks.
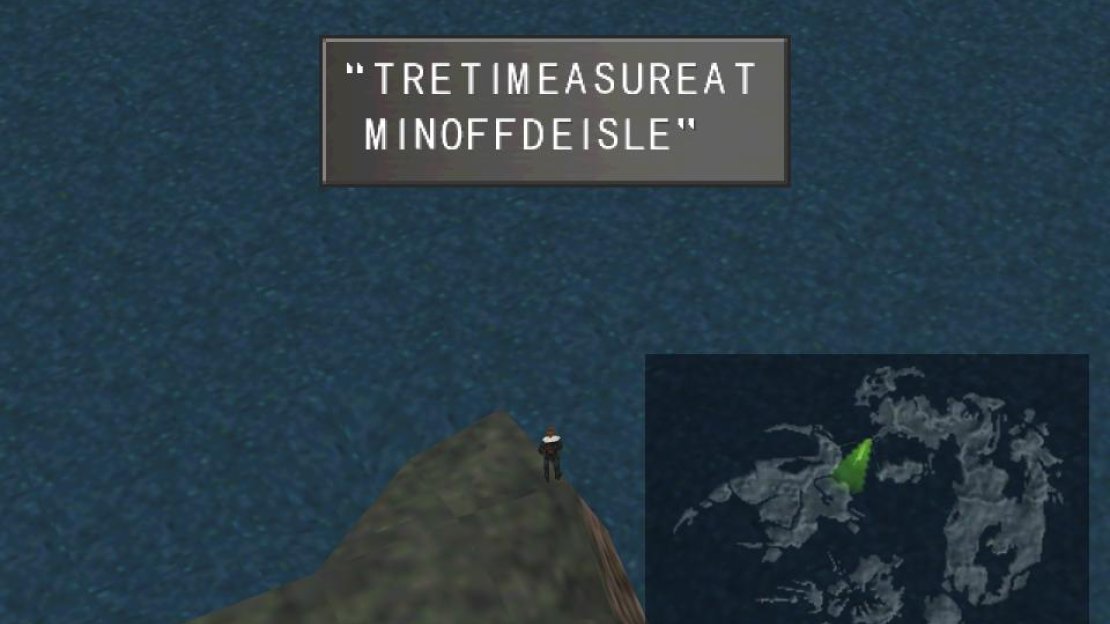
You’re not quite done yet, as one more treasure awaits you. Fly to Trabia Garden, and from there turn west to reach the western-most edge of the landmass Trabia is on. On the southwestern coast is a peninsula - Eldbeak Peninsula, according to your map. Search the southwestern tip of this peninsula for yet another clue: TRETIMEASUREATMINOFFDEISLE
This is somewhat obscure, but if you remember the lake creature’s words “Take some time off at Eldbeak Peninsula. I bet it’s a wonderful place.”, it outright gave you the solution. Remove the words “TIME” and “OFF” and you’ll be left with: TREASUREATMINDEISLE
“Treasure at Minde Isle”? Let’s go see.
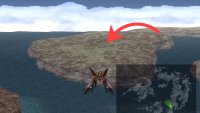
(1 of 4) Find clues that point you to Minde Isle
Treasure At Minde Isle
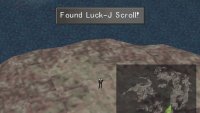
Fly down to Esthar and from there head southwest to find a small, nondescript island off the coast. Land on it and make sure it says you’re on “Minde Island”, then search around the southeastern edge of the island to find a Luck-J Scroll.
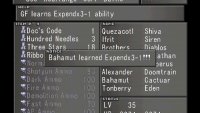
Well, that was an ordeal, and you got a few treasures out of it, at least. Use the Luck-J Scroll to teach a GF the Luck-J ability and you’ll be one step closer to achieving total stat junction coverage. Only Cactuar can learn Luck-J natively, and if you’re following this guide’s advice that GF should be junctioned to the Quezacotl-user. That being the case, just teach Luck-J to any GF that’s likely to stick with the Ifrit-user or Shiva-user. You can also use that Three Stars to teach a GF Expendx3-1, if you wish. Just use Amnesia Greens to get either Bahamut or Cerberus to forget Expendx2-1 and replace it with Expendx3-1 so you’re not clogging up GFs with unnecessary abilities.
In any event, that’s one side quest down, time to move on to either the UFO Quest or back to the Queen of Cards Quest.



No Comments