
Return to General Caraway’s mansion in Deling City and give the guard outside the ID code you found in the Tomb of the Forgotten King (search the sword on the ground in the first four-way intersection room). How you enter the code is a bit odd, forcing you to enter the ones digit first, then tens, then hundreds. So if your code was, say, #89, you’d enter 9-8-0. Once you give the correct code the guard will run off, allowing you to approach the manor, a rather angular, industrial and sterile-looking structure. Approach the manor and Squall will ponder his mission before being a good robot. Save your game here if you feel the need to do so, then enter the manor.
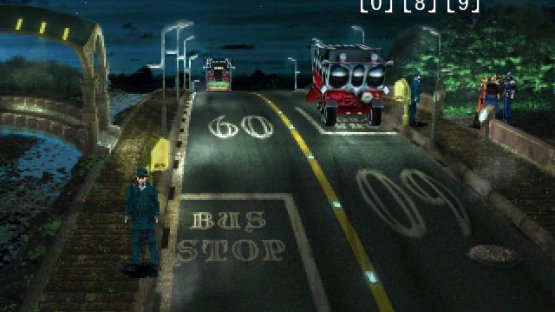
(1 of 2) Give the guard the code you found in the tomb

Give the guard the code you found in the tomb (left), then walk though Caraway’s debriefing (right)
Caraway’s Debriefing
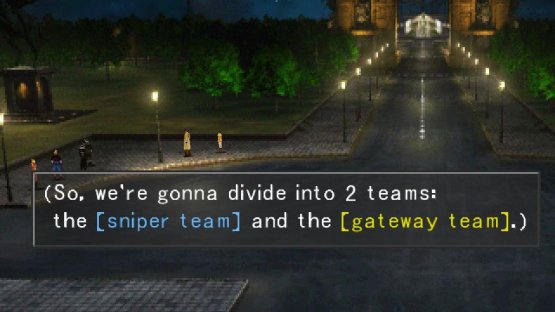
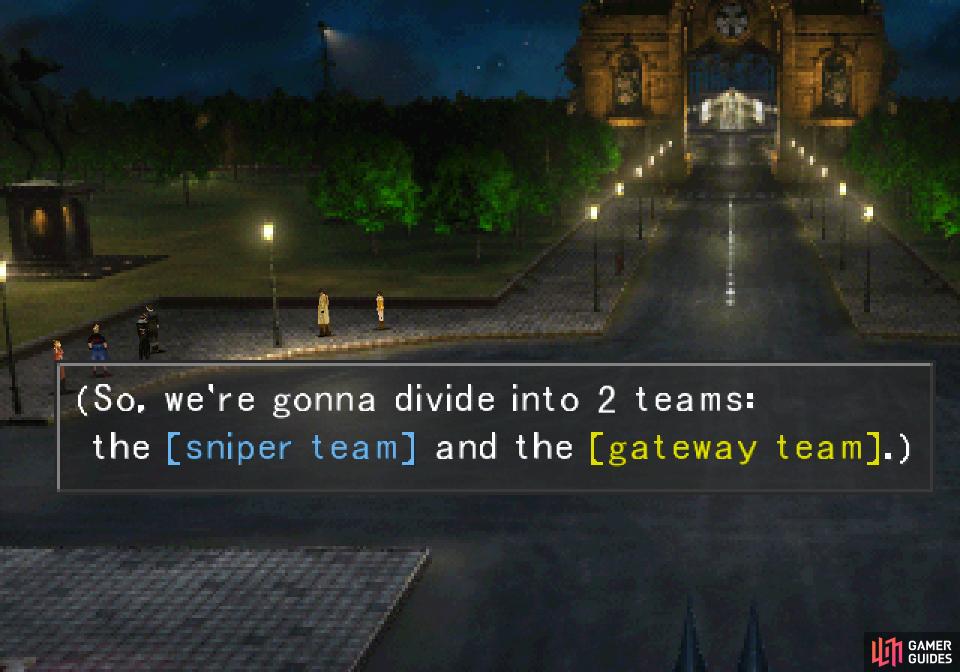
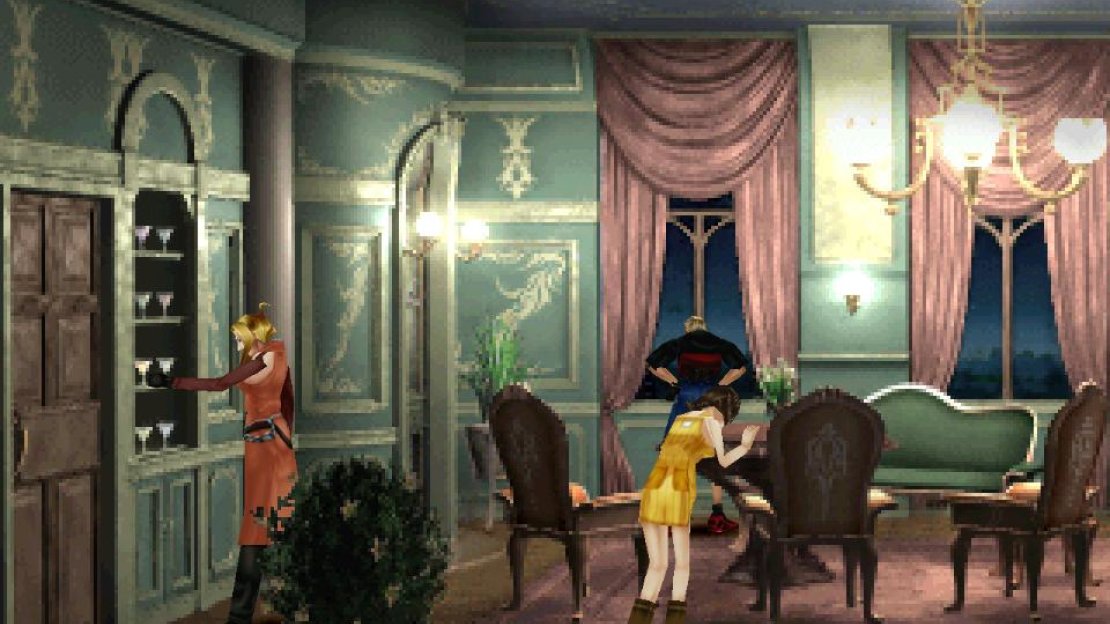
Once inside, talk to Rinoa to move things along and learn a little about Rinoa, then respond as you wish to her demand. Shortly after General Caraway will come in, and after a bit of contentious banter will escort you through the city while he explains the plan. Just… all out in the open like that. A Galbadian general, with a bunch of foreign teenagers. Starting to think he’s not the brightest bulb. But he does have a flair for convoluted stratagems, just like his daughter, so listen to him debrief you on how you’re to split up into a [gate team] and a [sniper team], infiltrate the gate and presidential palace (respectively) to cage and kill the sorceress. After this, Caraway will leave you to your own devices, instructing you to return to his residence when you’re ready to start the mission. Ideally you’ve done everything you care to do in Deling City right now, so aside from resting up at the hotel you should be good to go.
When you’re ready, return to Caraway’s mansion and the matter of assigning teams will be dealt with. Fortunately it’s something you don’t have to deal with, as Squall will be assigned the role of leader and paired with Irvine on the [sniper team], leaving Quistis, Zell and Selphie for the [gate team]. Poor Zell.
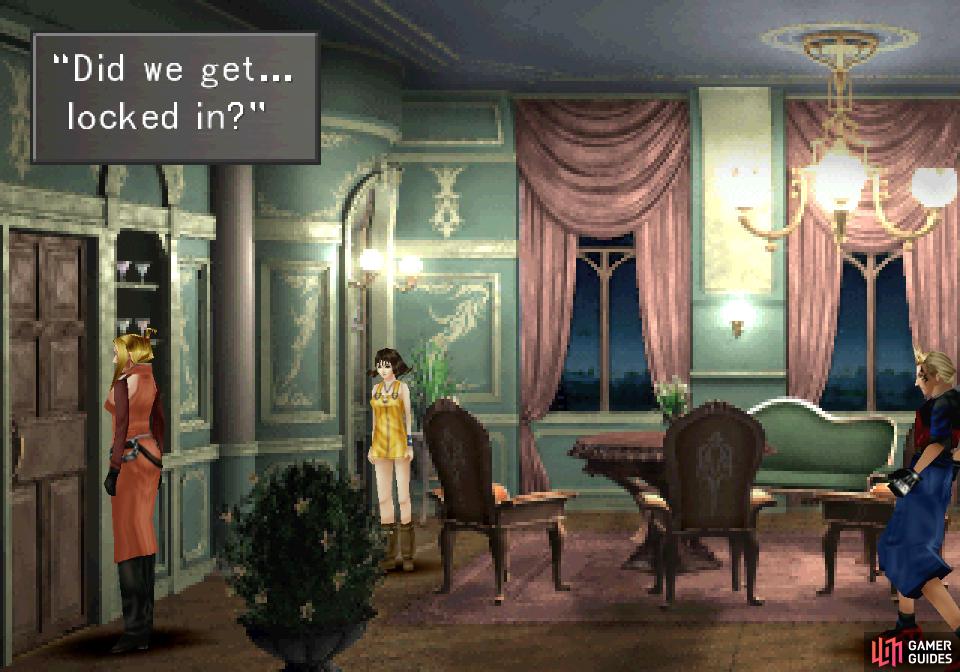
(1 of 2) After the debriefing, Rinoa will try to interfere with her father’s plans
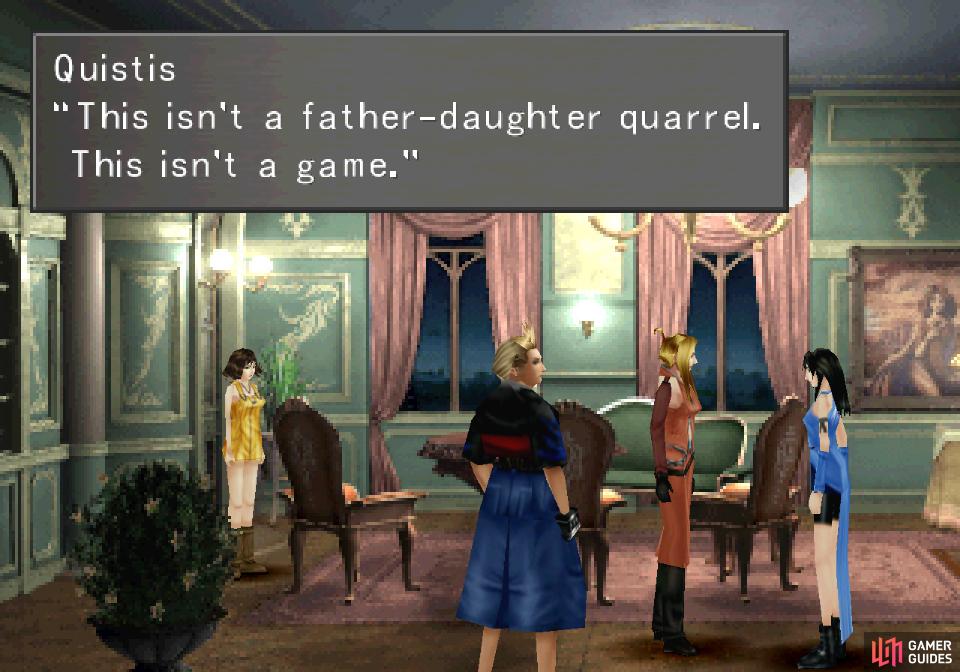
After the debriefing, Rinoa will try to interfere with her father’s plans (left), and Quistis will rightfully shut her down (right)
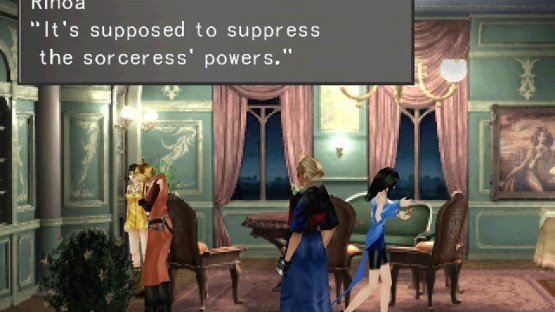
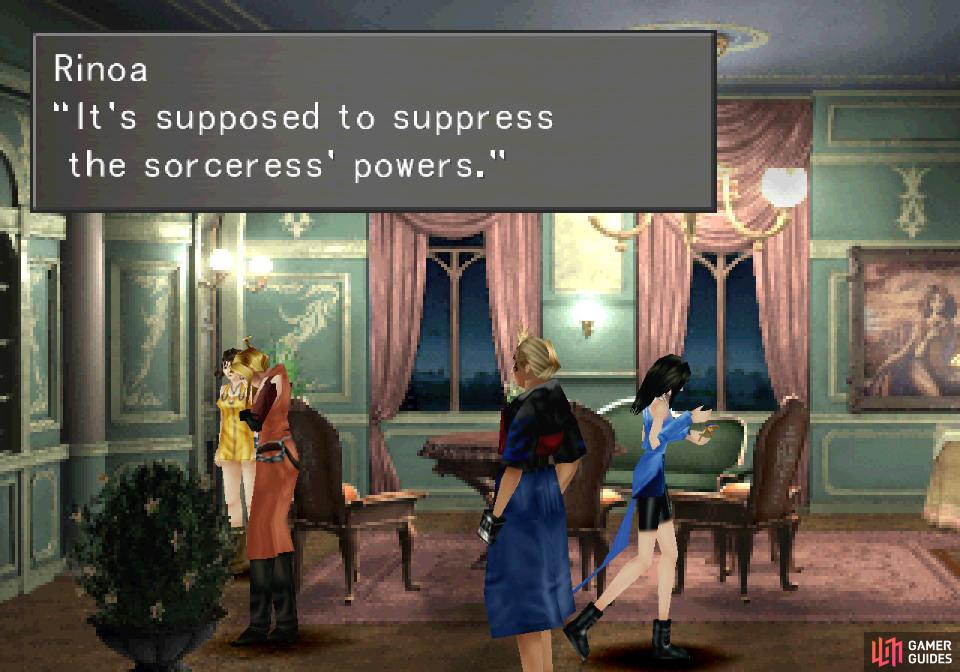
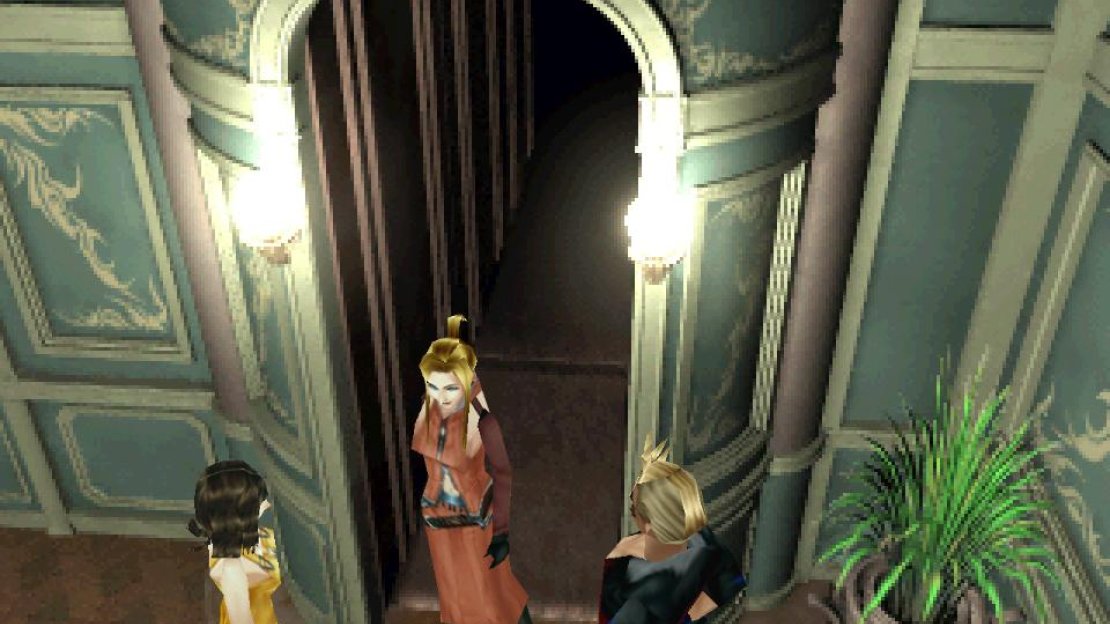
You’ll now be in control of Quistis, so head left and exit the room… or go to, anyways, as Rinoa will interrupt you and begin to sell her own plan for dealing with the sorceress. Quistis responds sharply, but not unreasonably, all things considered. Afterwards you’ll be back in control of Squall - save if you wish and follow your companions through the city to the gate, talk to Caraway, then follow Caraway with Squall and Irvine until you’re outside the presidential palace.
(1 of 2) Unfortunately Quistis’s display of intelligence is fleeting
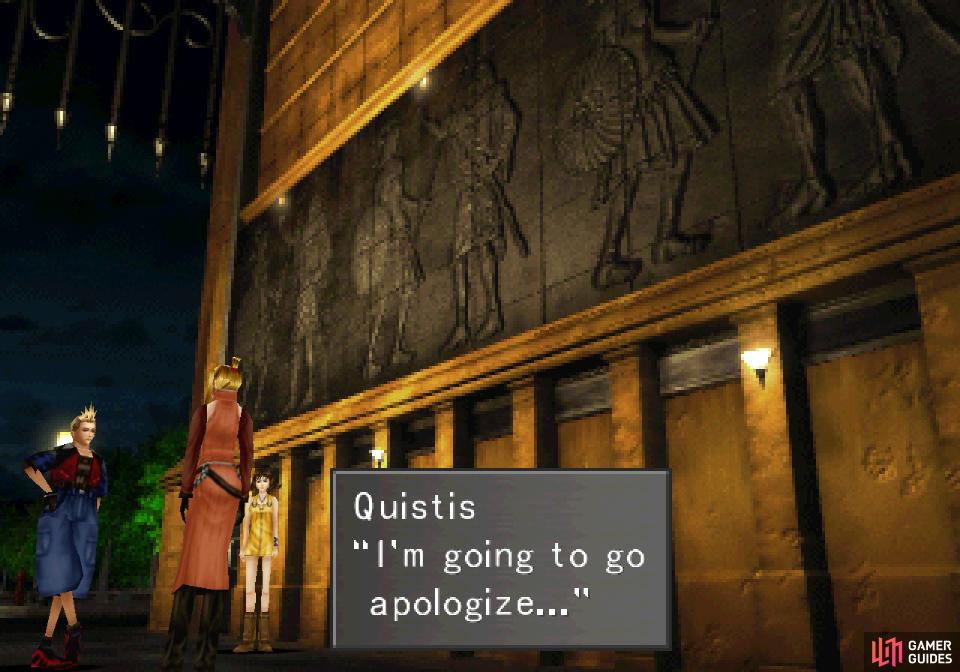
Unfortunately Quistis’s display of intelligence is fleeting (left), and her attempts to pander to Rinoa’s juvenile ambitions threatens the mission (right)
Quistis and Complications
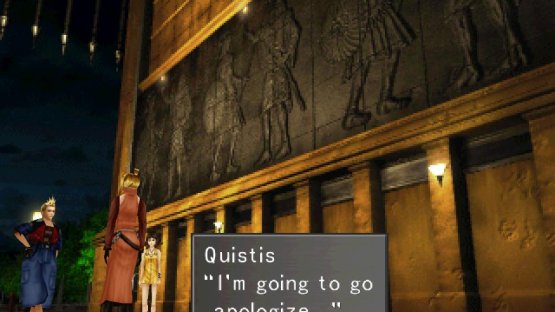
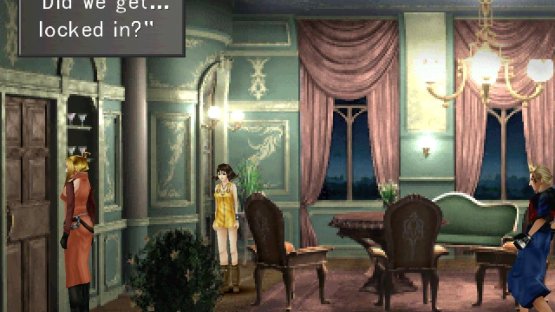
After a bit more chatter Caraway will leave you to your own devices, and Quistis will start to have second thoughts about how she responded to Rinoa. This sort of indecisiveness is why you lost your job as an instructor! This is also probably a good reason why you shouldn’t try to have teenagers act like elite, autonomous agents…
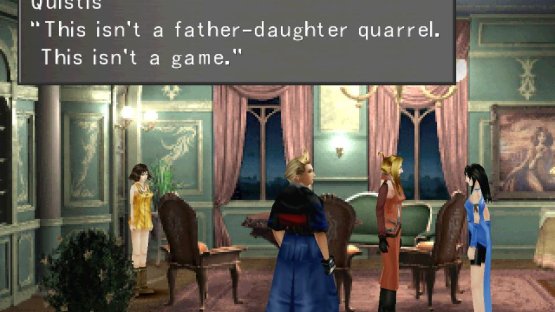
Back in control of Quistis, return to Caraway’s mansion (from the gate head right, down and right then right again) and when you enter the mansion you’ll witness an exchange between Caraway and Rinoa that suggests that Quistis was in fact correct - this is a father-daughter spat you’re caught in the middle of. It’s a spat whose consequences will go from a nuisance to mission-threatening when the [gate team] ends up stuck by a delay meant for Rinoa.
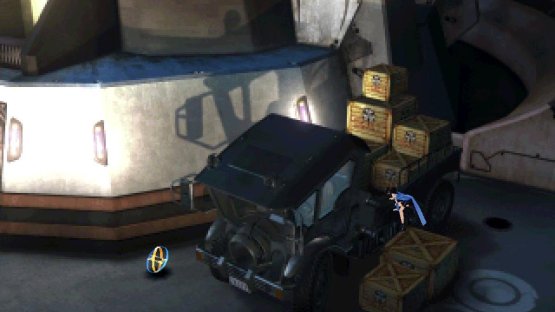
(1 of 2) Climb a series of crates to reach the roof of the presidential palace
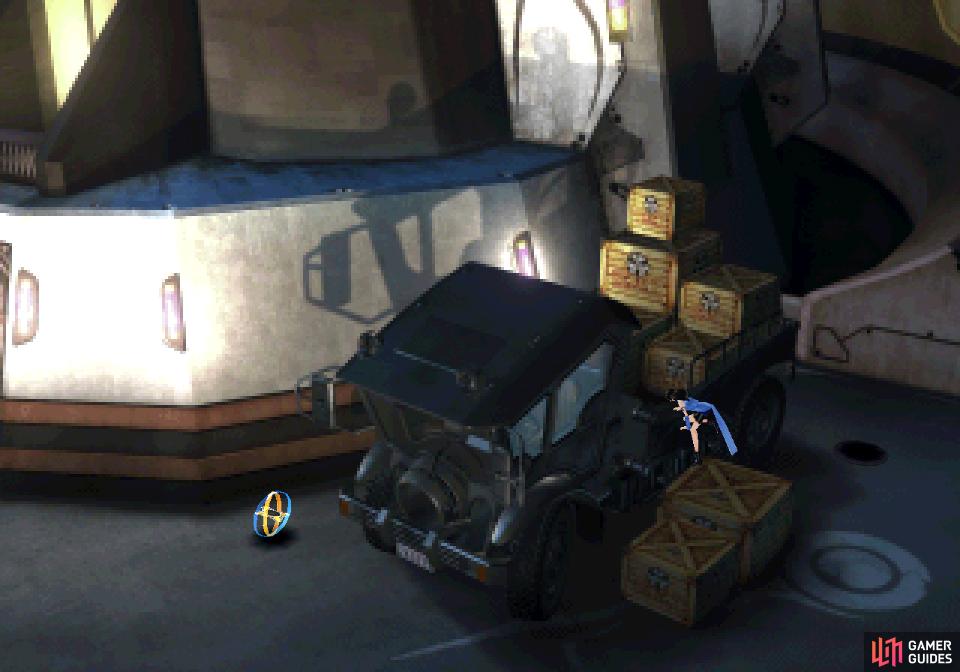
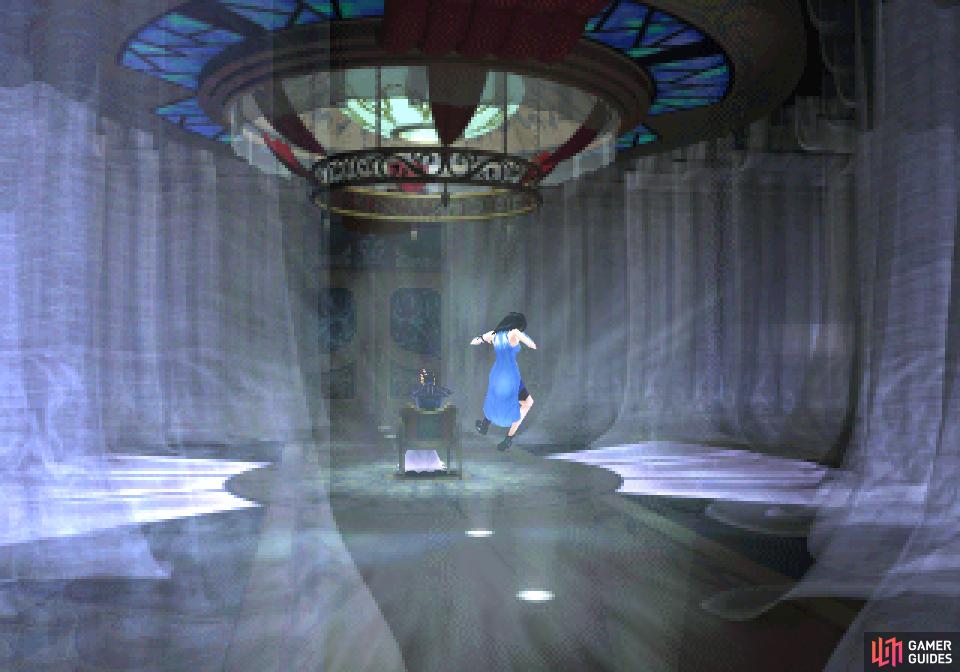
Climb a series of crates to reach the roof of the presidential palace (left), and predictably Rinoa’s half-baked plan goes awry (right)
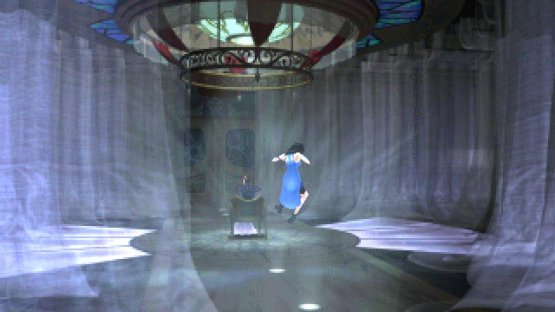
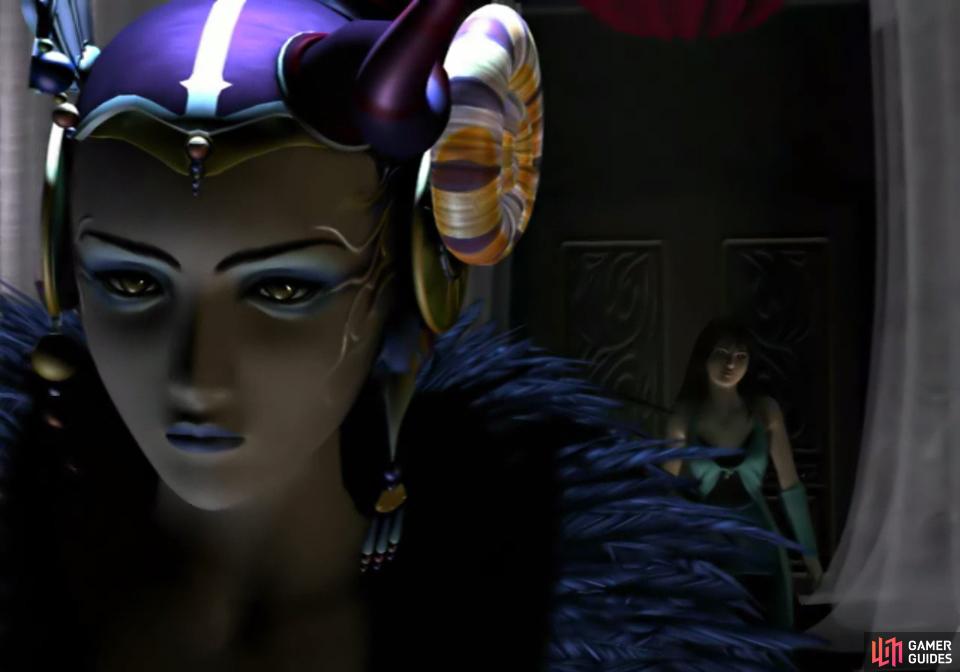
As Rinoa, use the nearby Save Point, then climb atop some boxes and a massive vehicle to reach the roof of the nearby building. Exit to the left, then continue left and climb a ladder to facilitate a confrontation between Rinoa and the sorceress, Edea. Just speak to Edea when you get the opportunity to and, suffice to say, Rinoa’s plan once again goes awry.
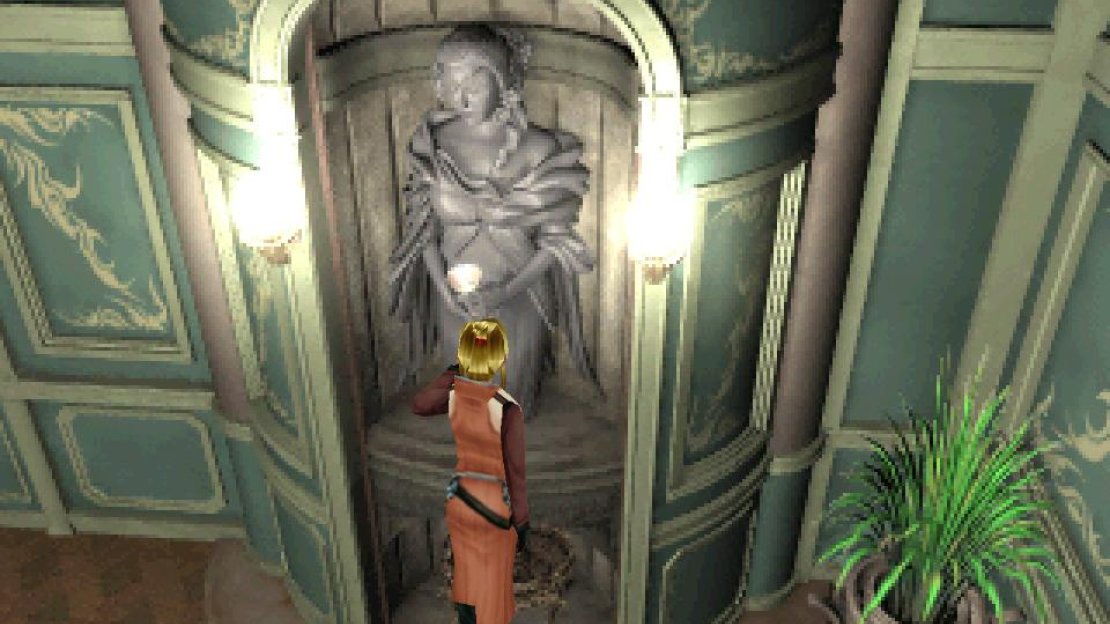
Watch the scenes that follow and when you’re back in control of Quistis head left and examine some glasses near the door, then head into the upper left corner of the room and interact with a statue to reveal a secret door. Finally it’s time to get to some action!
(1 of 3) Pick up a glass near the door
…Well, sort of. Beyond the secret door lies the sewers, and down here you may encounter Red Bats and Creeps, neither of which are dangerous foes - even sans GFs! Should you not wish to be bothered you can always equip Diablos’s Enc-None ability, if you have it, or simply flee from these monsters when they pop up. Anyways, in the sewers use the Save Point if you wish and continue downstairs, descend a ladder to reach… well, the business end of the sewers. Make your way left and onto a narrow bridge next to a wheel, then interact with the wheel to ride it up and to the right. Go through the nearby gate and continue up through the next screen until Quistis gets distracted by the sounds of the parade above, which serves as a transition to the next rounds of movies.
This isn’t a passive experience, however, as you’ll occasionally have to deal with chatter from Irvine while moving towards the presidential palace. Generally you can just follow Irvine between - and during - movie scenes (one of which reveals an old adversary) en route to the presidential palace. When you arrive, save your game at the Save Point and switch (as in use the “Switch” command in the menu) to transfer all junctions from two characters to Squall and Irvine, as necessary. Then, if you want all your GFs to gain AP from an upcoming fight manually unequip (using the “Junction” command in the menu) the GFs from the third, unused character and assign them to either Squall or Irvine.
Here’s what our setup ended up looking like:
- Squall: Diablos, Shiva
- Irvine: Brothers, Ifrit, Quezacotl, Siren
You’ll get things sorted back out for a three person party soon enough, but for now this will suffice. Plus, a bit of a GF shakeup is in order soon anyways… but for now, just ensure all GFs have a home somewhere. If you want to be prepared for the aforementioned upcoming battle, junction Break to a character’s Status Defense and Quake or Holy to Elemental Attack… assuming you have them, of course. To get Break you can use Card Mod to turn a Cockatrice card to a Cockatrice Pinion, and then use St Mag-RF to turn a Cockatrice Pinion into Break x20. Holy is pretty hard to get and Quake might be better off junctioned to your HP, and you really don’t need the damage boost, anyways.

(1 of 2) Descend into a manhole
Descend into a manhole (left), and pick up a copy of Weapons Mon May (right)
Weapons Mon May
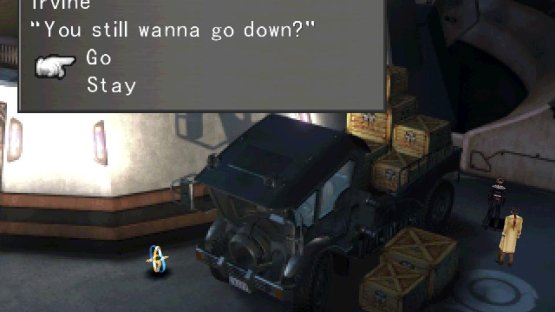
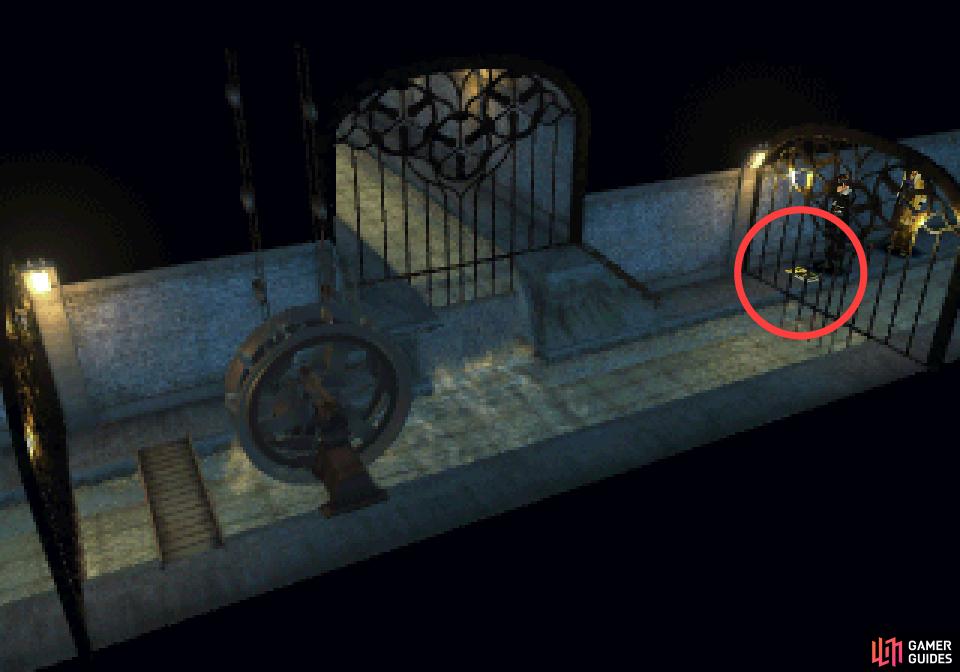
When that’s done, note the boxes Rinoa climbed up earlier - the way forward is clear, but first there’s a little detour you might want to take. Head right along the bottom of the screen around the boxes, then up to find a manhole. Run into it and when Irvine asks, confirm you wish to descend to reach the sewers. Once down in the dank, make your way left three screens (well, technically four, including the odd transition at the end) to find an issue of Weapons Mon May lying on the ground. Who would leave this here? Oh well, it includes plans for the Cutting Trigger, Valkyrie, Ulysses and Slaying Tail, most of which you’ve hopefully bypassed by now.
Boss - Iguion
Return back right and surface, then climb the boxes Rinoa climbed earlier and work your way to the same roof she climbed to on her moronic quest to silver bullet Edea… figuratively speaking. You’ll have to climb a bit further this time - after climbing the ladder to the roof, keep climbing up and to the left to reach where Deling learned that it’s foolish to make political alliances with sorceresses. Continue up some stairs past Deling’s corpse, then head down across a red carpet to reach where Rinoa is being threatened by the two Iguions Edea animated.
| Iguion | . |
|---|---|
| Lv: | 1-19 |
| HP: (lv10) | 755 |
| HP: (lv19) | 1,747 |
| Weaknesses: | Earth (200% damage), Holy (250% damage) |
| Resistances: | Fire (immune), Poison (immune) |
| Status Resistances: | Immune to most status effects – Drain 0% – The End 0% |
| EXP: | -- |
| AP: | 10 (each) |
| Draw: | Break, Cure, Esuna, Carbuncle |
| Mug: | G-Returner x6 (each) |
| Drop: | G-Returner x4 (each) |
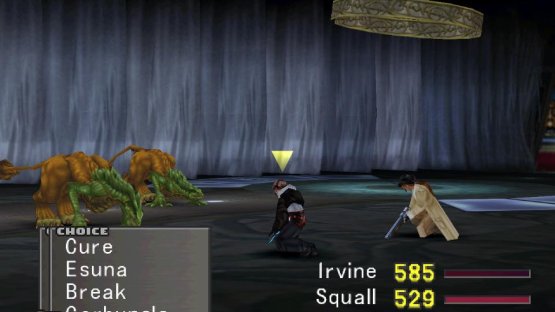
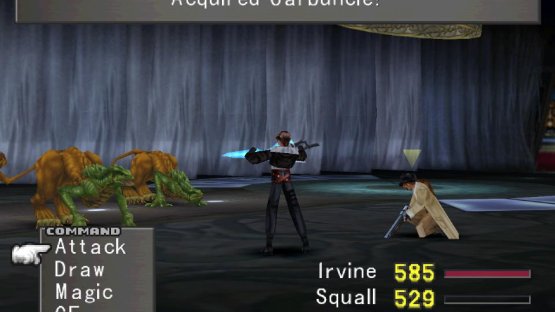
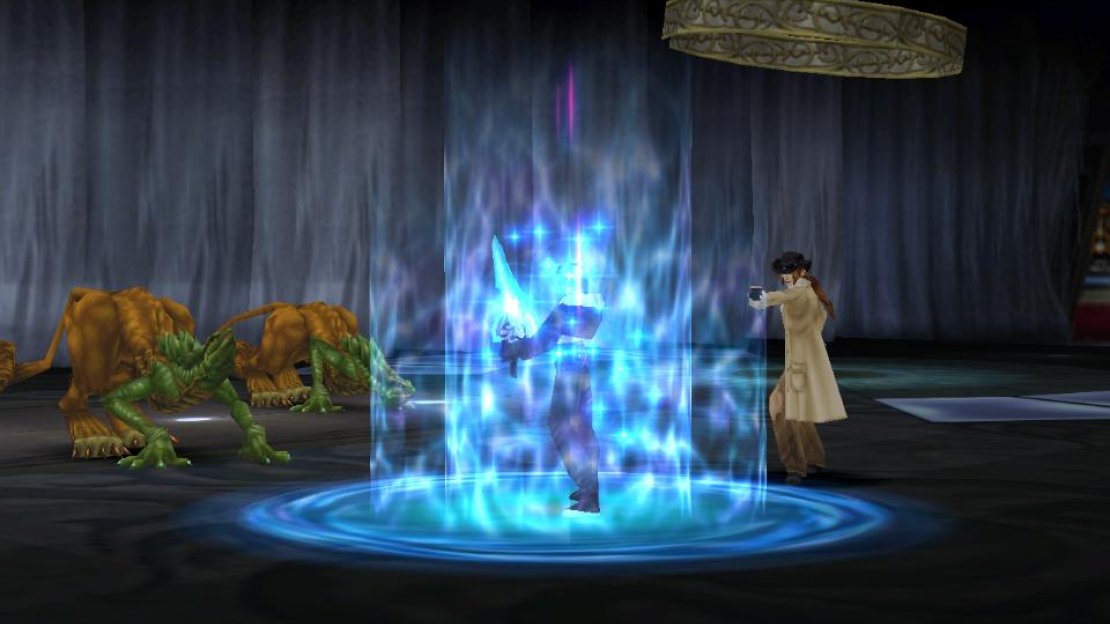
(1 of 2) Be sure to check Iguion’s draw list
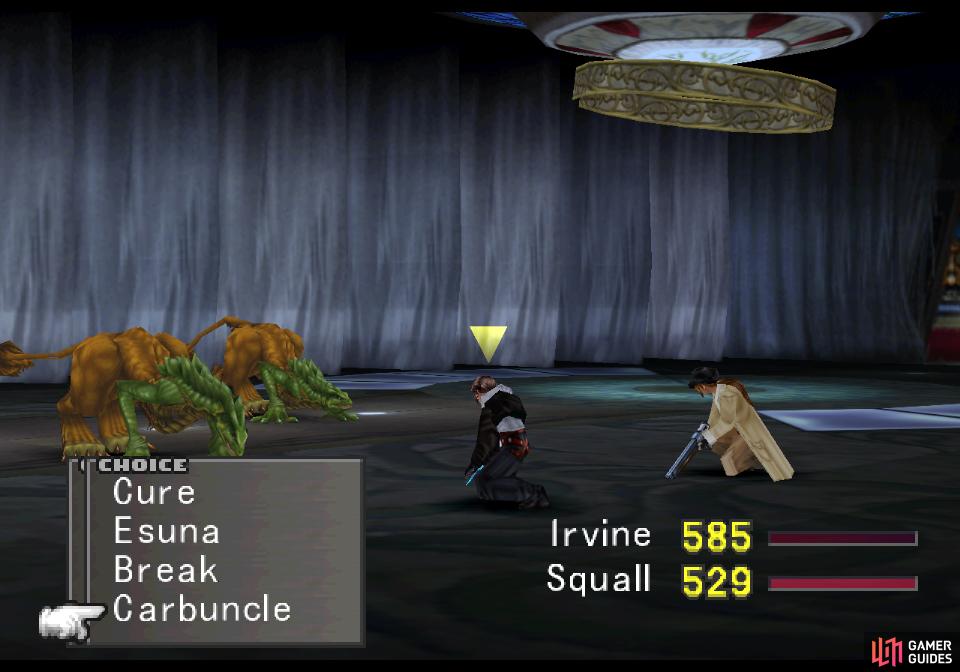
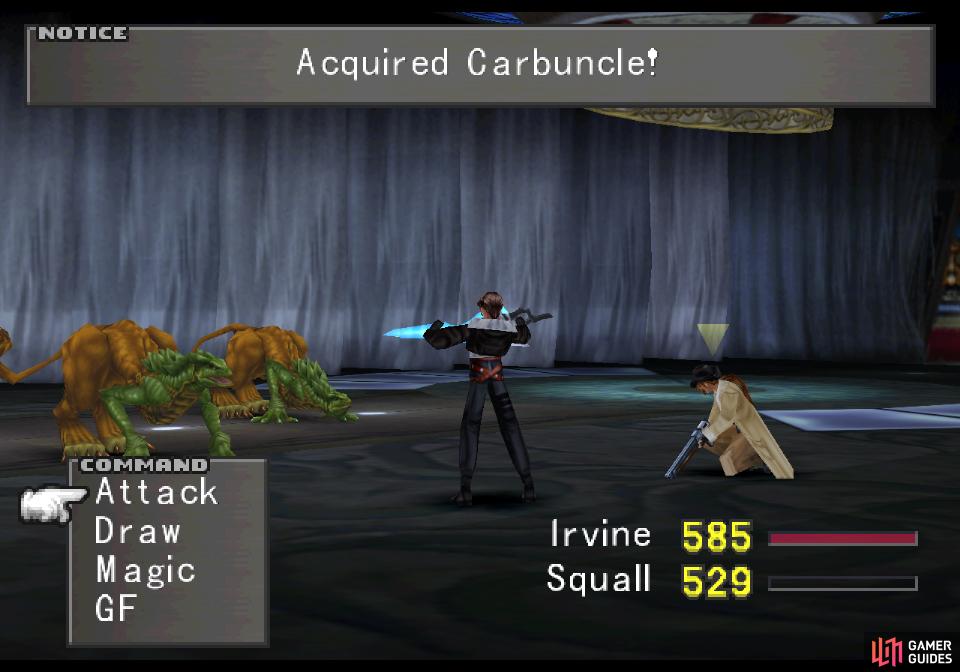
Be sure to check Iguion’s draw list (left), and siphon Carbuncle from them! (right)
First thing you should do in this fight is draw Carbuncle. This should make the second GF you could acquire by drawing from another enemy, and while Carbuncle isn’t loaded with great abilities or a tremendously powerful attack, it does provide some useful junctions that you’ll want at your disposal. Plus, if you miss it here it’ll be a long, long time before you have another chance to obtain Carbuncle. So again, draw Carbuncle!
With that out of the way, this battle is a significant drop in difficulty compared to the Brothers, as the Iguions have a level cap of 19 and downright pathetic HP. Even at max level they won’t crack 2,000 HP, and if you’ve been keeping your levels low, they might struggle to hit 1,000! Suffice to say a party with Tornado junctioned to their Strength will make quick work of these foes, and something like limit breaks or Holy or Earth junctioned to Elemental Attack is overkill.

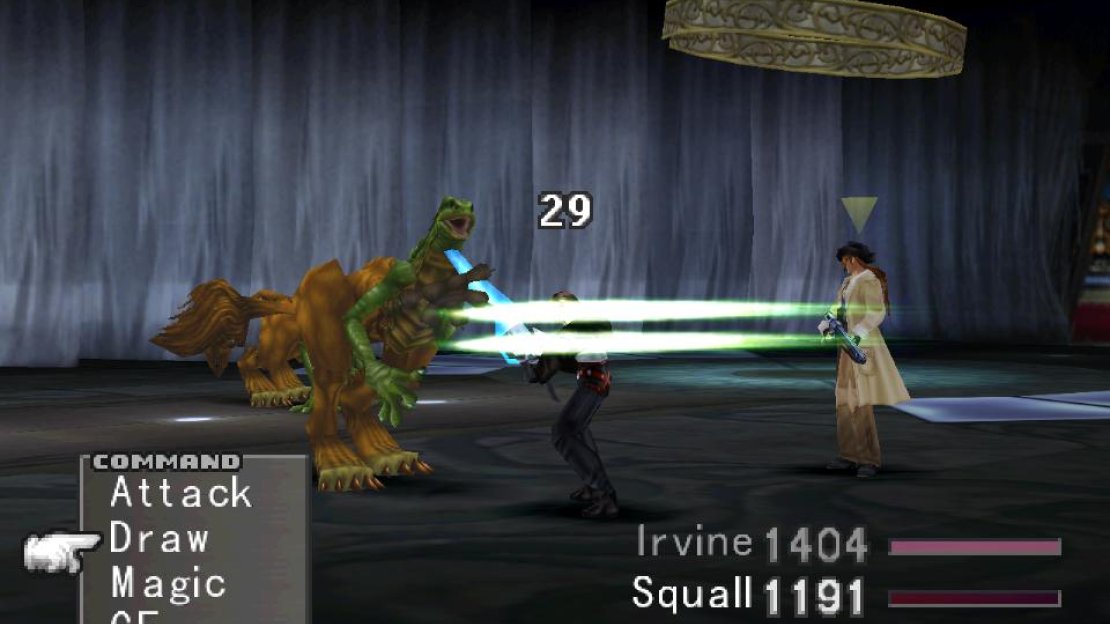
(1 of 3) Their Magma Breath attack deals moderate damage
They only have three attacks, and their melee attack is virtually a non-factor. You can also draw Cure from them to heal up any wounds you may have. At this point you may be wondering what the point of this battle is, considering what push-overs the Iguions are. Well, their other two attacks almost make up for their other weakness, as their Magma Breath attack hits harder and has a chance to inflict Slow Petrify.
It’s really all in the game - an afflicted character will have a timer appear over them, and when it hits zero they’ll be petrified. Petrified characters are immune to damage but can’t take any actions, and are considered KO’d for purposes of determining defeat. If both of your characters end up petrified, it’s game over. Fortunately you can Slow Petrify and Petrification with Esuna, so use it if necessary. To make this fight even more trivial, yes, you can draw Esuna from the Iguions.

(1 of 3) While their melee attack is laughable
Their other attack, Resonance, is a tandem attack that can inflict 100~ damage to the entire party, making it their only attack that’s significant in terms of sheer damage output, and even then, you’ve faced worse.
The Iguions are weak to earth (2x damage) and holy (2.5x damage) but immune to fire and poison. They’re also immune to almost every status effect save Drain and The End, the latter of which you shouldn’t have access to yet. You can draw Cure, Esuna and Break from them, and while the first two are welcome for dealing with the Iguions themselves, Break is easily obtained via Card Mod and shouldn’t be too high of a priority to obtain that you’d need to draw them here.

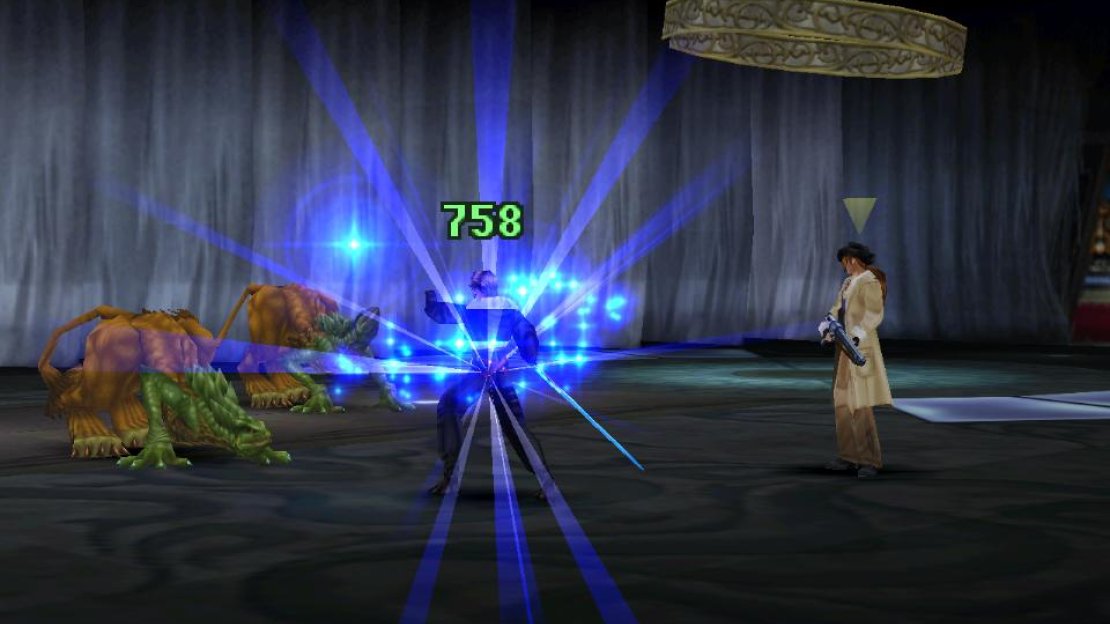
(1 of 2) Iguions have low HP, and if you enter the battle with low HP due to junctioning you can take advantage of Irvine’s limit
Iguions have low HP, and if you enter the battle with low HP due to junctioning you can take advantage of Irvine’s limit (left), or Squall’s limit, both of which are overkill (right)
As for your own offense… Their HP are just so low that you can really just let loose with physical attacks. A well-junctioned, low-level party can probably one-shot them, and if switching junctions left your HP low going into the fight, use limit breaks for the overkill giggles. Seriously, though, even a less well-optimized party shouldn’t require any grand strategy for dispatching these foes. Concentrate your attacks to eliminate one quickly to half their offense, draw and cast Esuna and Cure when necessary, and they’ll fall before long.
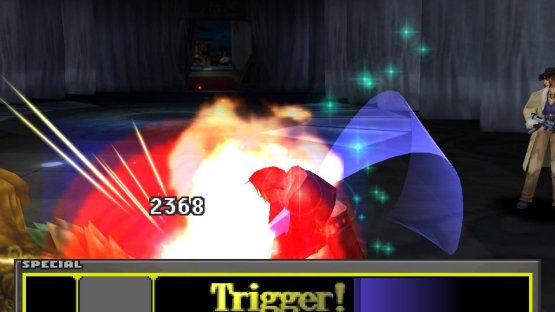
(1 of 2) You’re not guaranteed to succeed when you Mug, so doing too much damage can be counter-productive
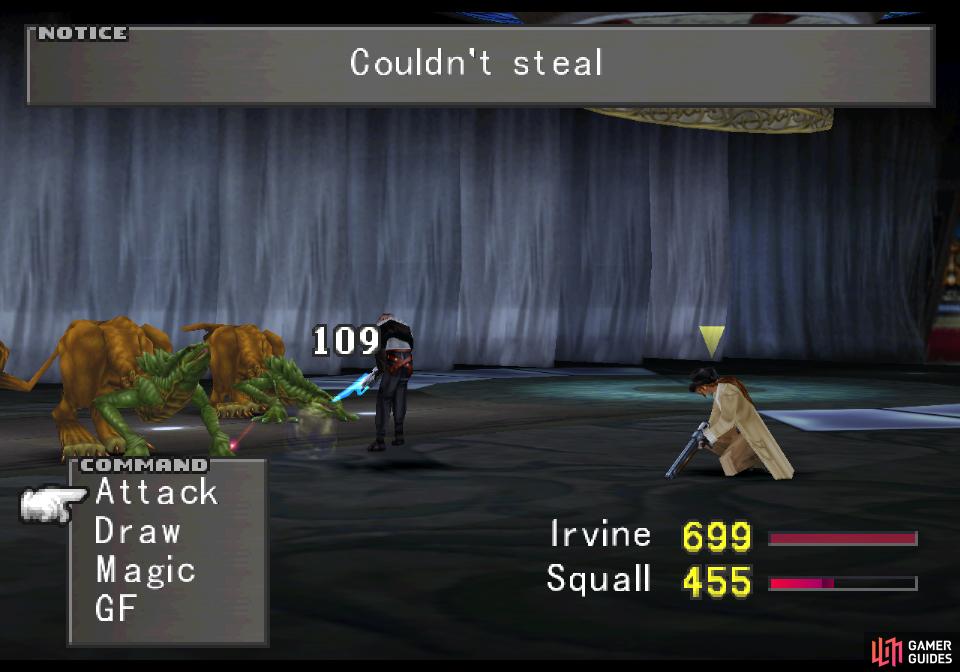
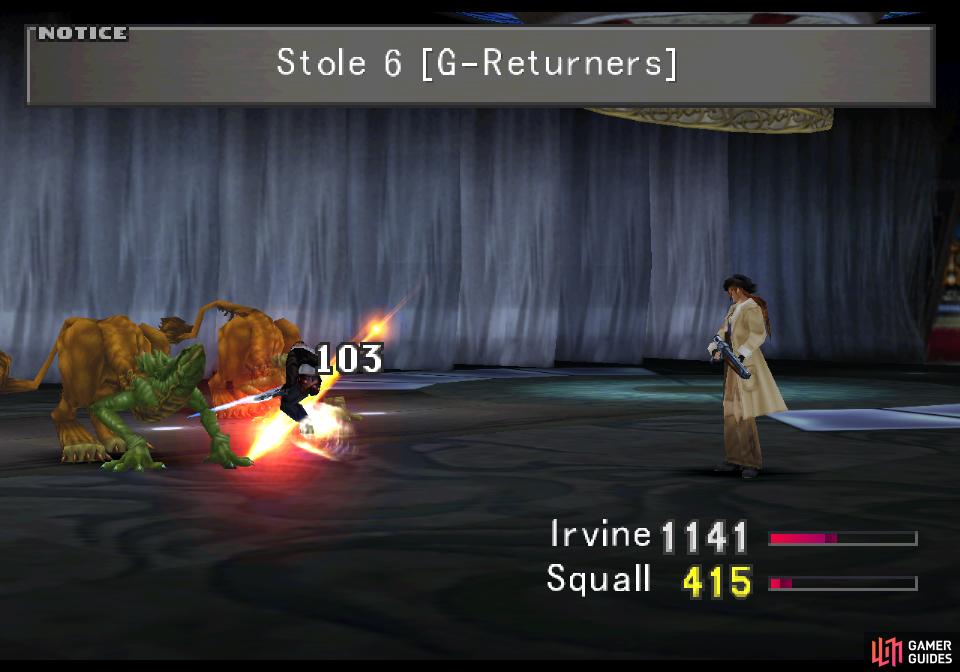
You’re not guaranteed to succeed when you Mug, so doing too much damage can be counter-productive (left), keep trying and you should score some G-Returners (right)
Both Iguions drop four G-Returners (Phoenix Downs for GFs, essentially), but you can Mug slightly more from them (six each), if you care to. It’s not the promised grand endorsement of Mug, it’s merely an appetizer of things to come.
Junctioning Carbuncle
Speaking of things to come, Rinoa will show that she’s not quite cut out for the whole paramilitary operative gig. Squall, true to his orders, will comfort her, speaking some fateful words in the process.
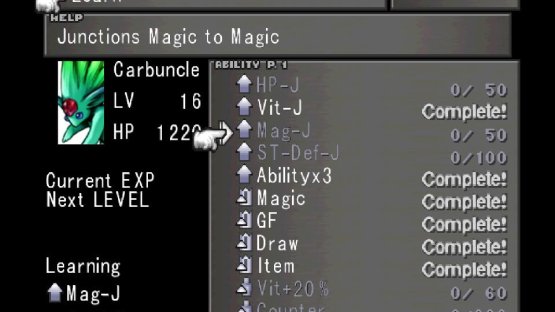
On the plus side, you should have gained Carbuncle during the fight, and now that you have a full party again it’s time to reorganize your GFs. First, let’s talk about Carbuncle to get a grasp of where this critter might fit in. Carbuncle starts out with Vit-J and can learn HP-J and Mag-J, making it reasonably useful as a stat-booster. After learning Mag-J Carbuncle will unlock ST-Atk-J, and it starts with ST-Def-J and can subsequently learn ST-Def-Jx2, finally giving you access to a second GF (besides Siren) that can boost your Status Defense and Status Attack. In addition, Carbuncle starts out with the very welcome Ability x3, which allows you to equip three abilities at once. Other standouts include Carbuncle’s Recov Med-RF ability and its stat boosters - HP+20%, HP+40%, Vit+20% Vit+40% and Vit Bonus.
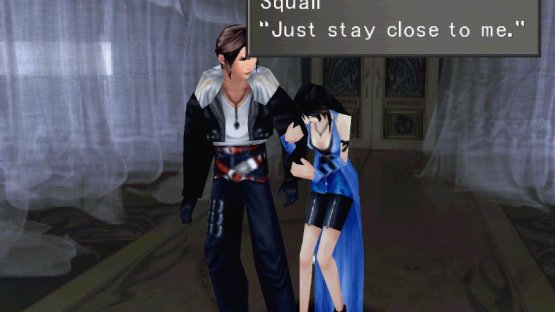
(1 of 2) Squall will speak some fateful words to Rinoa
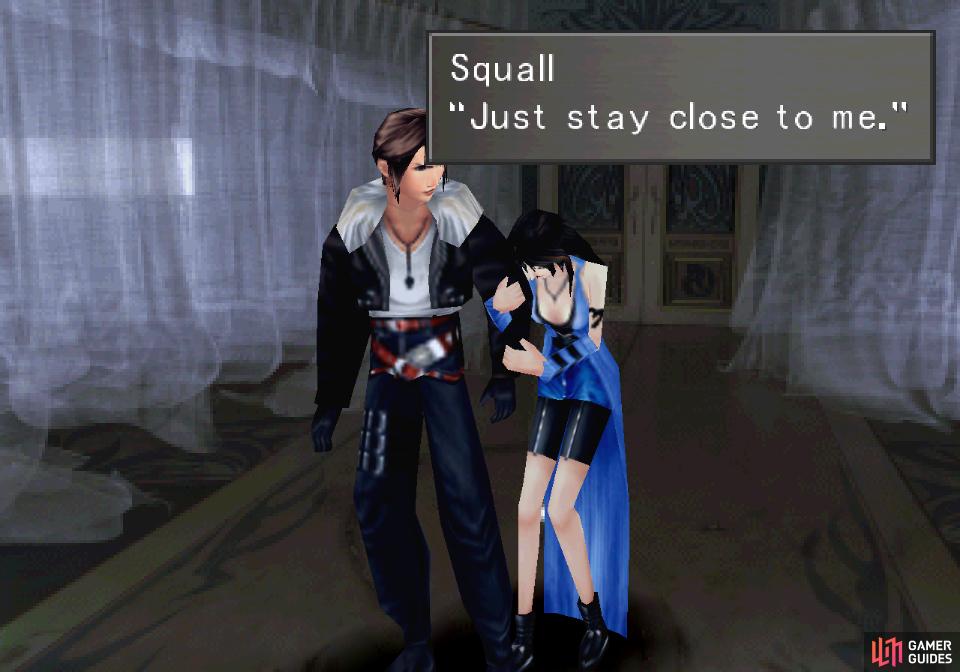
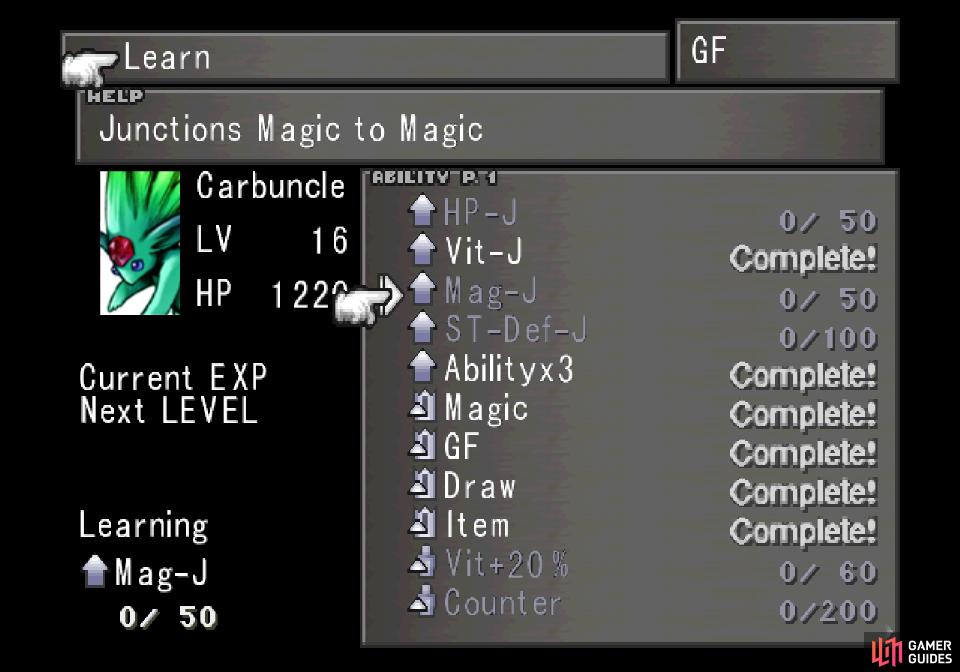
Squall will speak some fateful words to Rinoa (left), after which you should start learning skills with Carbuncle (right)
In combat, Carbuncle will not inflict any damage when summoned, instead bolstering the party by casting Reflect on all allies. While it might be useful on odd occasions, Carbuncle isn’t a GF that’ll regularly see use in battle. It’s also worth noting that because its summon ability does no damage, it doesn’t have (nor can it benefit from) the SumMag+X% abilities. This ensures it’ll have plenty of space in its ability tree, should you wish to teach it new things.
So, where does Carbuncle go? Considering that Carbuncle and Diablos have a lot of overlap (HP-J, Mag-J, HP+X%, Ability x3) those two should be kept apart, and since Siren and Carbuncle both have ST-Def-Jx2 and ST-Atk-J, they should be kept separate, too… at least in the long term. For now, the Ifrit user needs Siren’s Mag-J, so start Carbuncle learning Mag-J and junction the little green rodent to your Ifrit user. After Carbuncle learns Mag-J you can move Siren to the Shiva/Diablos user. Win-Win. Ultimately you’ll want your junctions to look like this:
Character 1: Ifrit + Carbuncle
Character 2: Shiva + Siren + Diablos
Character 3: Quezacotl + Brothers
Everybody should have HP-J, Str-J, Mag-J and Spr-J available at some point, as well as Elem-Atk-J and Elem-Defx2. This is already pretty solid enough, but with this setup every character should also be able to have a GF who learns HP+40% or better (Brothers, Carbuncle and Diablos), meaning a well-junctioned party could theoretically have around 5,000 HP per party member in a reasonable time frame. Not that you need it, even the 3,000+ HP you’ll get from merely having Quake junctioned is overkill, but… well, why accept half-measures when it comes to overkill? Of course if you taught your GFs Str+60% and Auto-Haste you really don’t need the HP+X% abilities just yet.
There are some holes in your GF coverage, however, as the Quezacotl + Brothers user still doesn’t have ST-Atk-J, ST-Def-J or Ability x3. Sadly, it’s an omission you’ll have to acquire more GFs to fix, but for this point in the game the aforementioned GF configuration should be pretty darn solid, especially if you bothered to Card Mod to get better spells to junction.
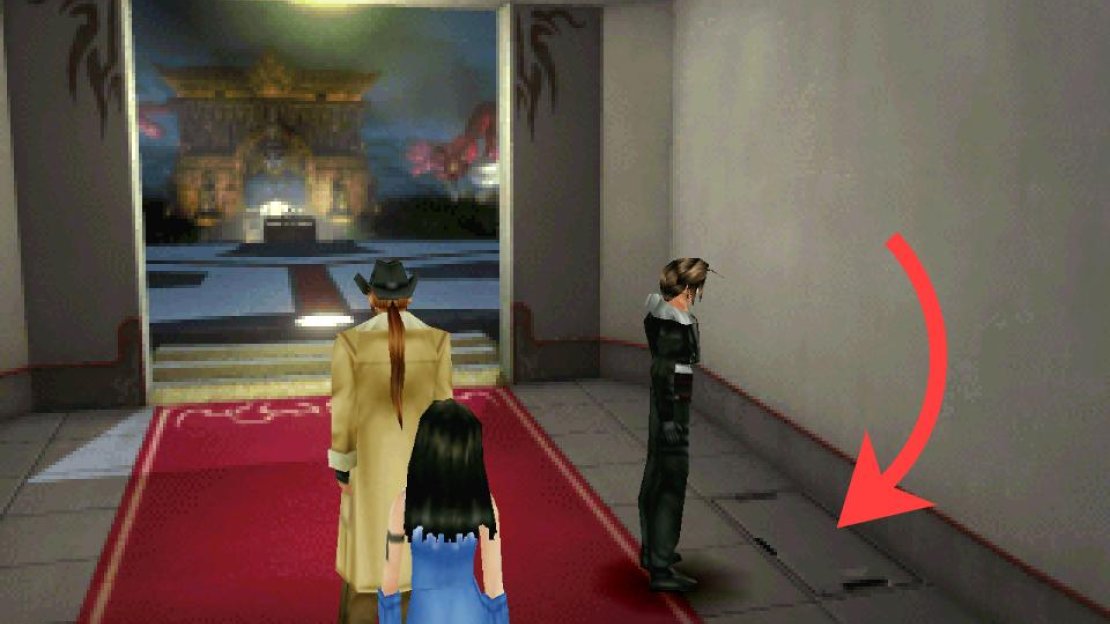
(1 of 3) Open a hatch in the presidential palace
Caging Edea
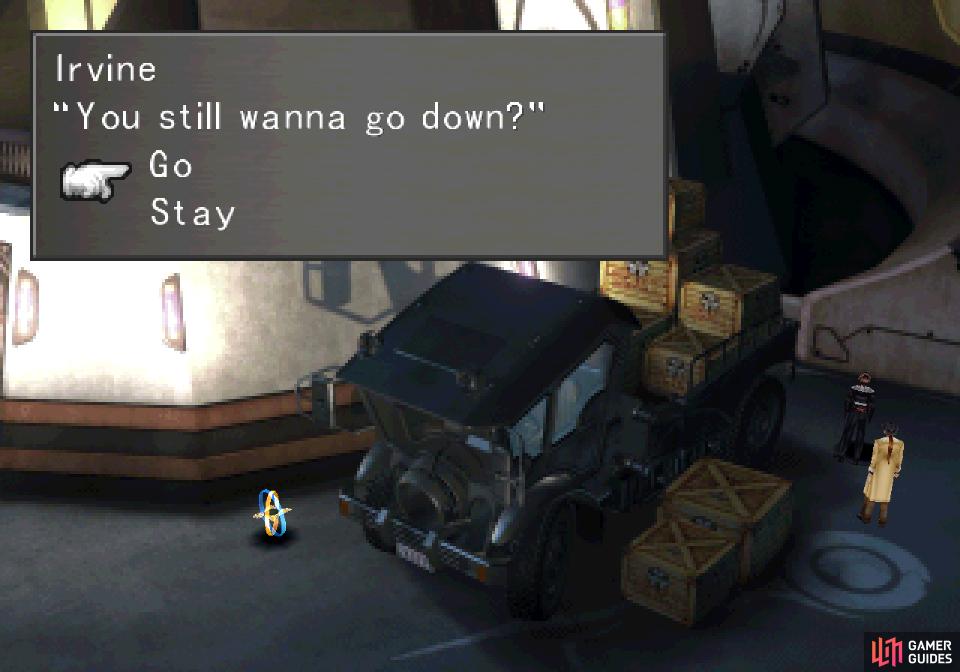
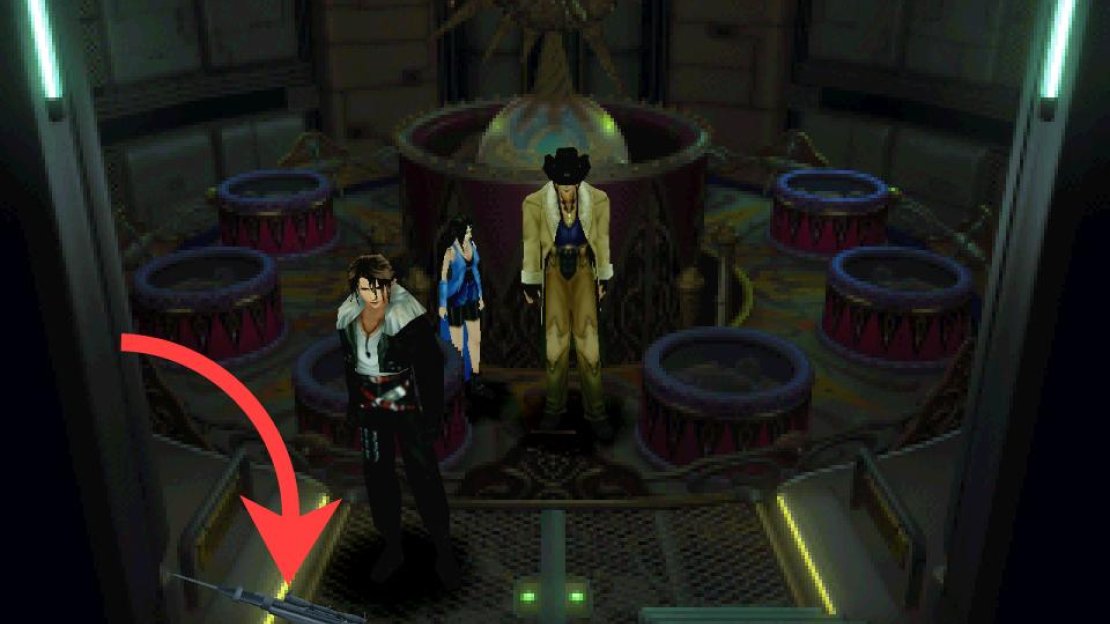
Okay, enough musing about future goals, time to deal with the present. Leave the room where you fought the Iguions to return to the hallway with the red carpet and search the floor to the right to find a floor panel that’ll allow you to access the carousel. Once you’re down in the carousel, grab a gun to the left of the stairs and Squall will give it to Irvine, who finally acts composed and slinks off to concentrate. After some chatter with Rinoa, Squall will go check on Irvine and… well, more drama.

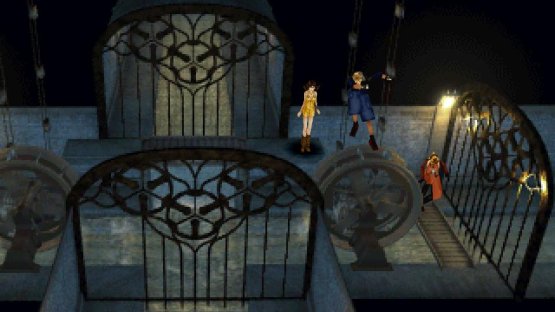
(1 of 2) As the gate team you’ll need to push down ladders
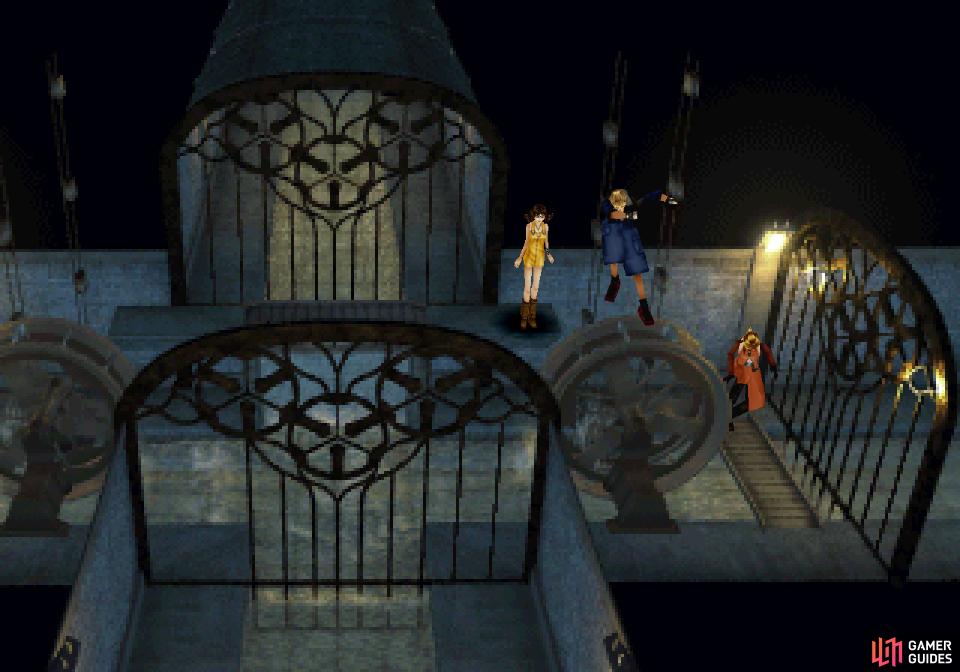
As the gate team you’ll need to push down ladders (left), and ride water wheels to navigate the sewers (right)
Before the situation with Irvine is resolved you’ll be back in control of Quistis and her team. This is a rather lengthy stretch of… mostly walking, so you might want to switch your junctions back to this party, especially Diablos, as if you can make use of Enc-None you’ll save yourself a good bit of bother. Otherwise expect to be stumbling over Red Bats and Creepers regularly.
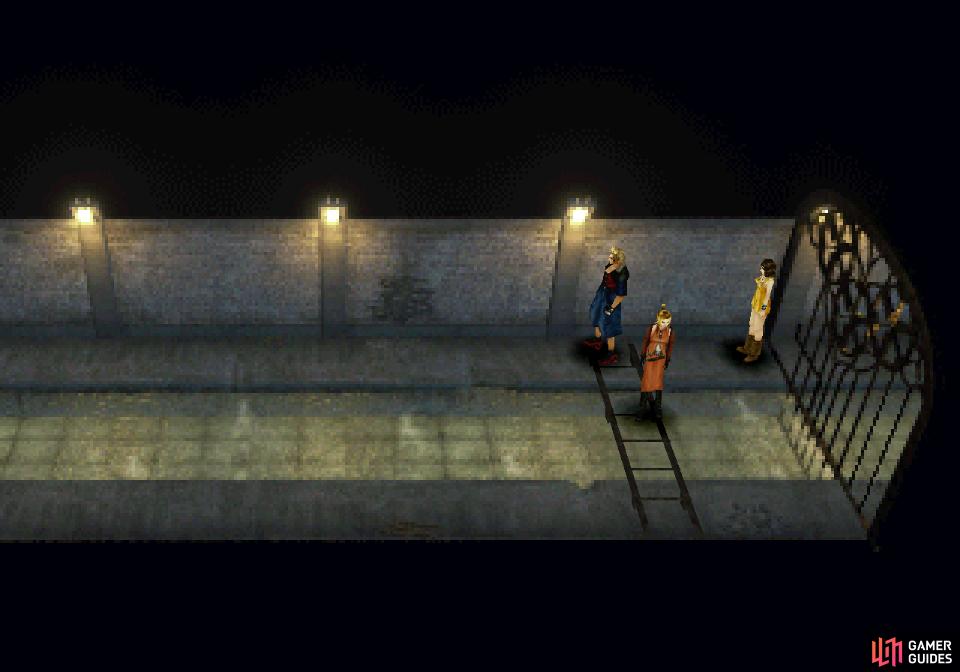
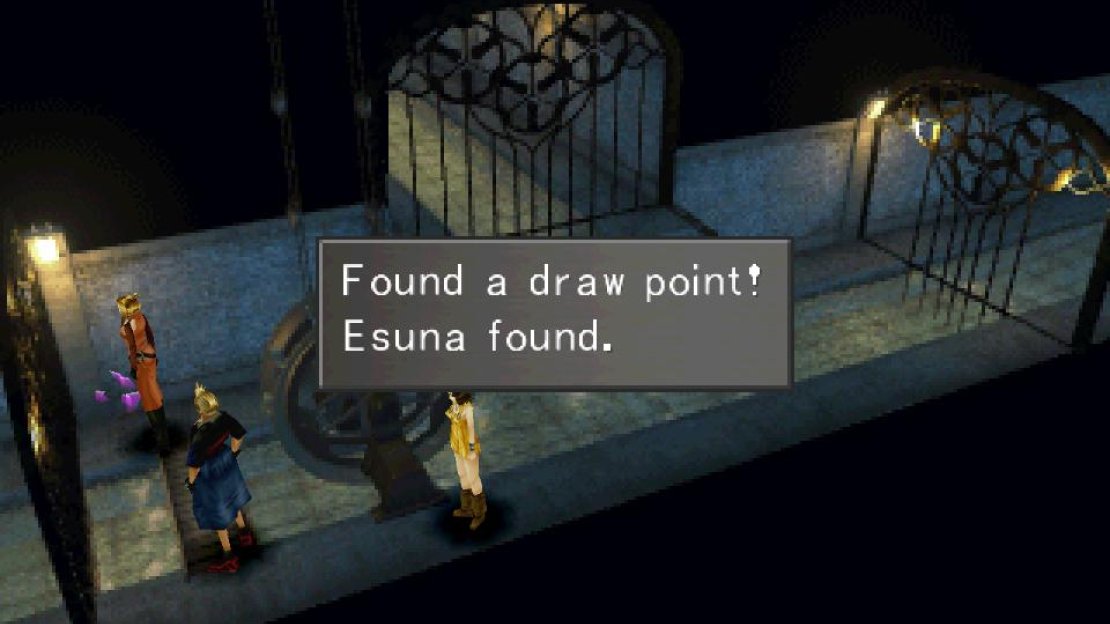
In any event, let’s get through these sewers. Head up to reach another screen, pass through a gate, cross a bridge next to a while, then turn left and open another gate and head to the screen beyond. You should now find yourself in a tunnel with a ladder just ahead of you. Knock the ladder down by pressing [Talk/Confirm] (X by default) and if you cross the ladder and head left through a gate you’ll find an Esuna draw point. Draw from it if you need it, if not, ignore the ladder and continue left along the upper path. In the screen with the Esuna draw point ascend a ramp and open a gate then head through to reach another screen.
(1 of 3) In the sewers you’ll find draw points for Esuna
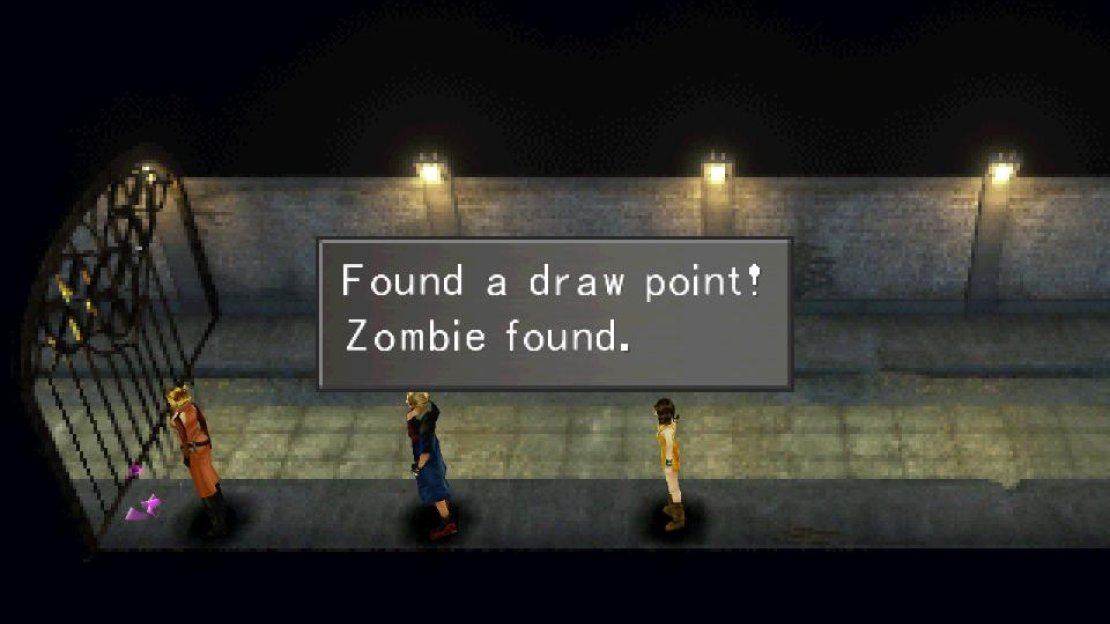
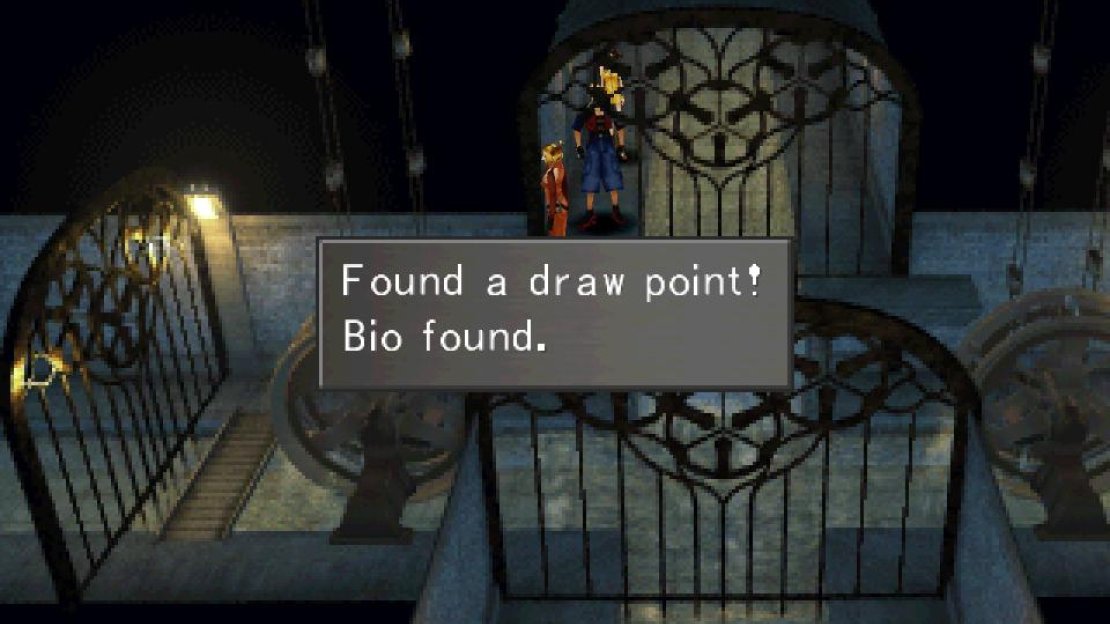
Continue up through this next screen, then when you reach a chamber with two water wheels pass through a gate, turn right, cross a bridge then open a gate to the right and exit the screen. Ignore the draw point across the channel and continue right to another screen with two water wheels. Cross a bridge, then exit to the left to reach the aforementioned draw point from which you can leech the Zombie spell. Do so if you wish, then return right to the room with two water wheels.. Continue right and head down through a gate to reach yet another chamber with two water wheels. Grab the Bio spell from the draw point if you need it, then return up to the previous room with two water wheels.
Interact with the left water wheel to ride it up, head right, then ride the right water wheel down. Wee! Cross a bridge and exit by heading down through the gate to return to where Bio can be drawn and ride the right water wheel down, then continue down to another room with two water wheels. Ride down yet another water wheel to the right and exit down through yet another gate.
Getting repetitive yet? Nothing but filler full of Red Bats and Creepers. Head down through a hallway to reach a large room with only one water wheel (hooray, variety!) and descend a ramp to the right and knock down and cross a ladder. If you cross the ladder and climb another ladder you’ll find yourself in the stairs connecting Caraway’s mansion to the sewers. Yep, all this running about was due simply to the fact that your party was too lazy to cross the channel immediately after entering the sewers. Doesn’t look all that deep, and even if it were, certainly they could jump over it? Has to be safer than riding water wheels.
In any event, continue right from the ladder you knocked down. Head down a hallway to the right and enter another chamber with a water wheel. Ride the water wheel to the right, go up through a gate, then continue up through a hallway to reach a chamber with a ladder and a Save Point. Save your game, then climb the ladder to reach the interior of the gatehouse. Almost there! Climb up the same ladder again and you’ll reach the room where the gatehouse controls are kept.
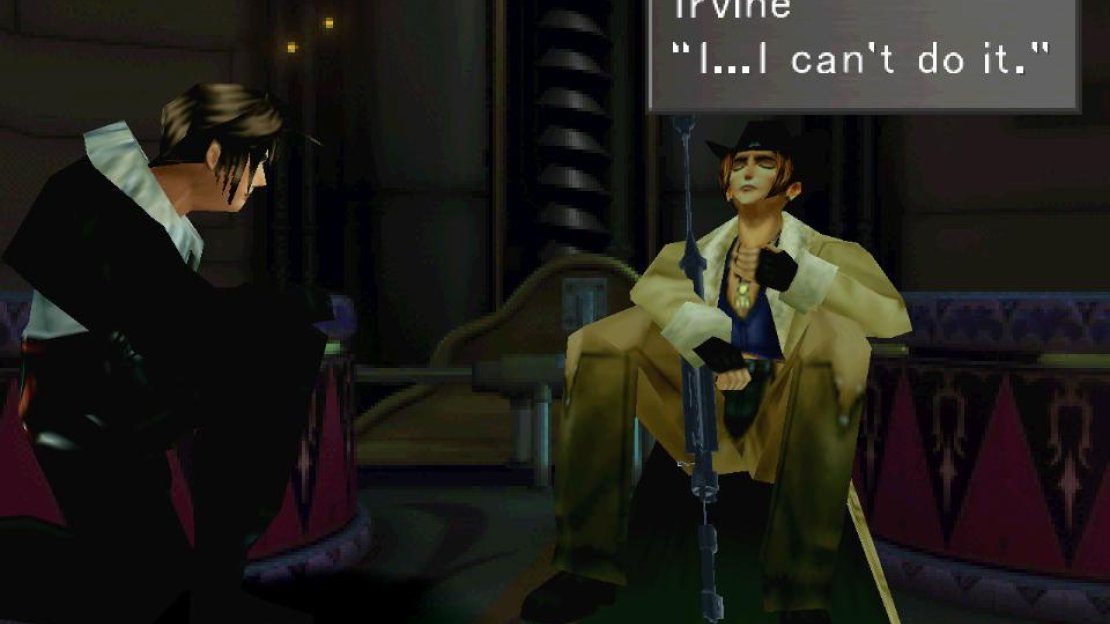
When you arrive, Zell will express relief, after which the clock will hit 20:00 and the carousel will rise - whether you’re ready for it or not. After Zell shouts at you, pull the switch in the lower left corner of the screen, after which your attention will revert back to Squall and Irvine. After futilely attempting the tried-and-not-so-true “just do it!” line on reasoning, Squall will actually be somewhat sly and convince Irvine to do his job.
Alas, the plan was flawed from the start, so watch the scenes that follow, then when you get put in the menu, switch your junctions from the [gate team] to the [sniper team]. You can dispense with Enc-None and Move-Find in favor of stat boosts if you wish. If you’ve got a high-powered party with magics like Tornado you shouldn’t need to worry, but otherwise take advantage of the opportunity to boost your stats.
If you have the ability, junction fire magic to Squall’s Elemental Defense to make him resistant - or even immune - to fire. Fire is a good primary focus, but if you can boost his resistances and the resistances of your other party members, do so. The enemies you’ll be fighting up ahead use blizzard, fire and thunder magics a lot. The combination of Shell + Life will increase your resistances by 50%, while a full stack of Flare will get the three aforementioned elements up to 80% each. Only Squall needs to really focus on fire, for reasons that’ll soon become obvious.
Once you’re all junctioned up (you don’t need to heal) exit the menu and watch some more scenes and you’ll find yourself in the company of an old rival.
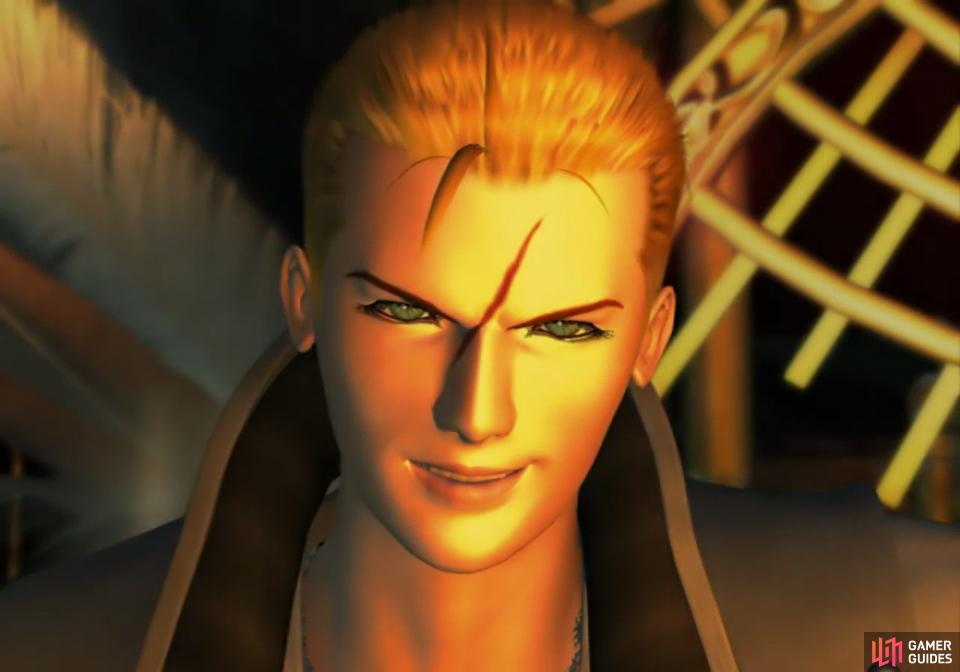
Boss - Seifer
Looks like Seifer finally realized his “romantic dream”, although Squall’s characterization of Seifer’s role is probably more accurate. Still, he’s determined to preserve his delusion, and probably would be spoiling for a fight in any case. Looks like you’re going to see how much you both have improved since your clash… erm… a day and a half ago? No, seriously, the Fire Cavern, Field Exam, graduation, party and Quistis’s weird invitation were all one day, and everything from Timber until now has been another. Oh well, never mind. Time to fight Seifer!
| Seifer | |
|---|---|
| Lv: | 1-20 |
| HP: (lv10) | 525 |
| HP: (lv20) | 1,150 |
| Weaknesses: | Poison (150% damage) |
| Resistances: | – |
| Status Resistances: | Immune to most status effects – Drain 0% – Haste 0% – Reflect 0% – Regen 0% – Sleep 99% – Slow 10% – The End 0% |
| EXP: | – |
| AP: | – |
| Draw: (lv1-19) | Cure, Fire, Life |
| Draw: (lv20) | Cura, Fira, Life |
| Mug: | Hero x1 |
| Drop: | – |

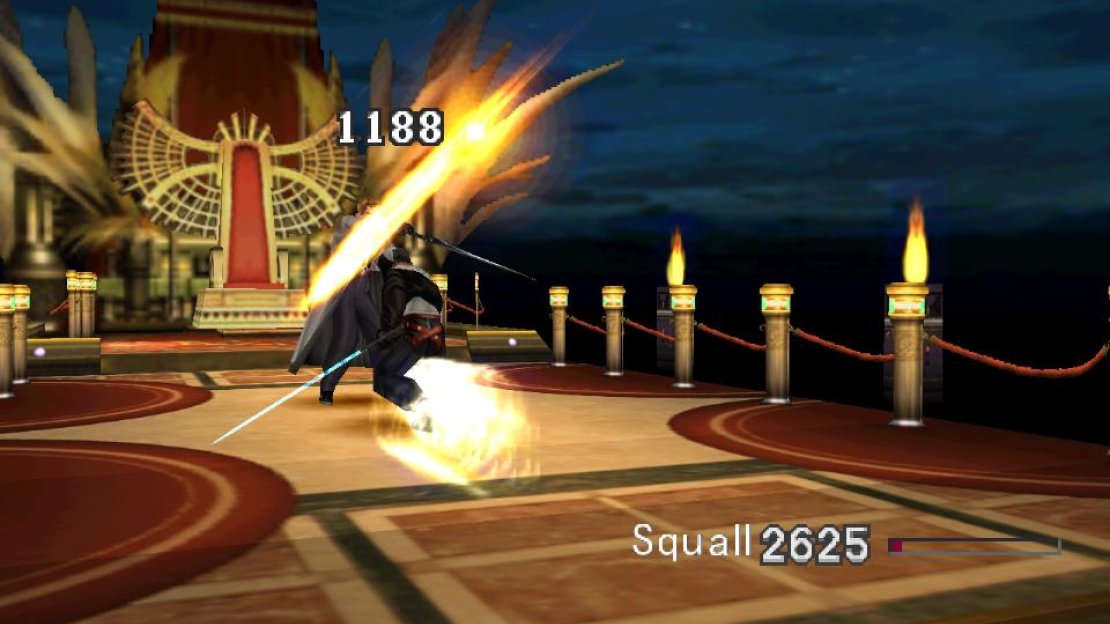
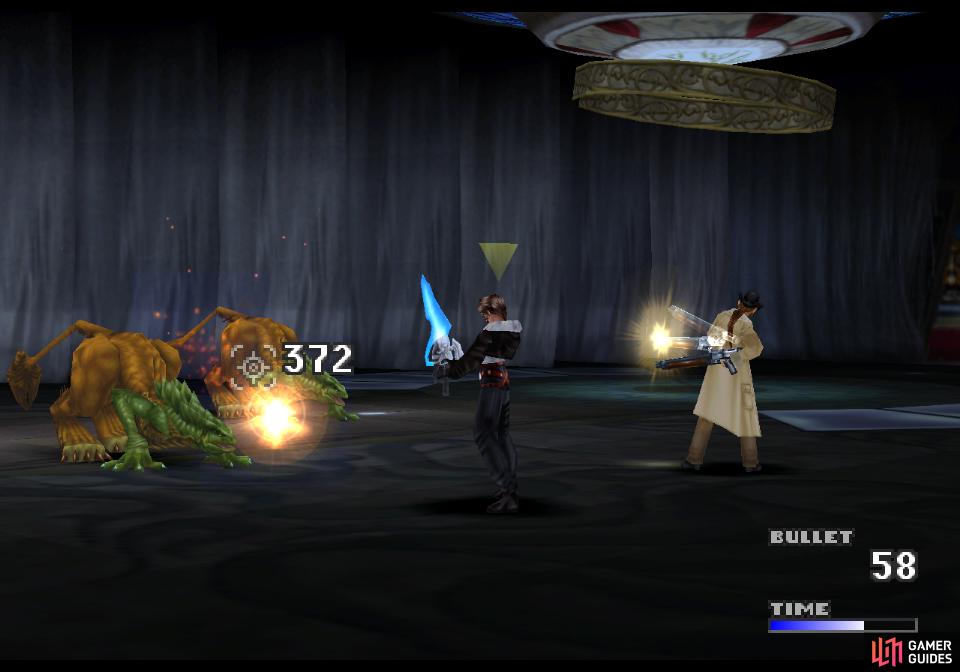
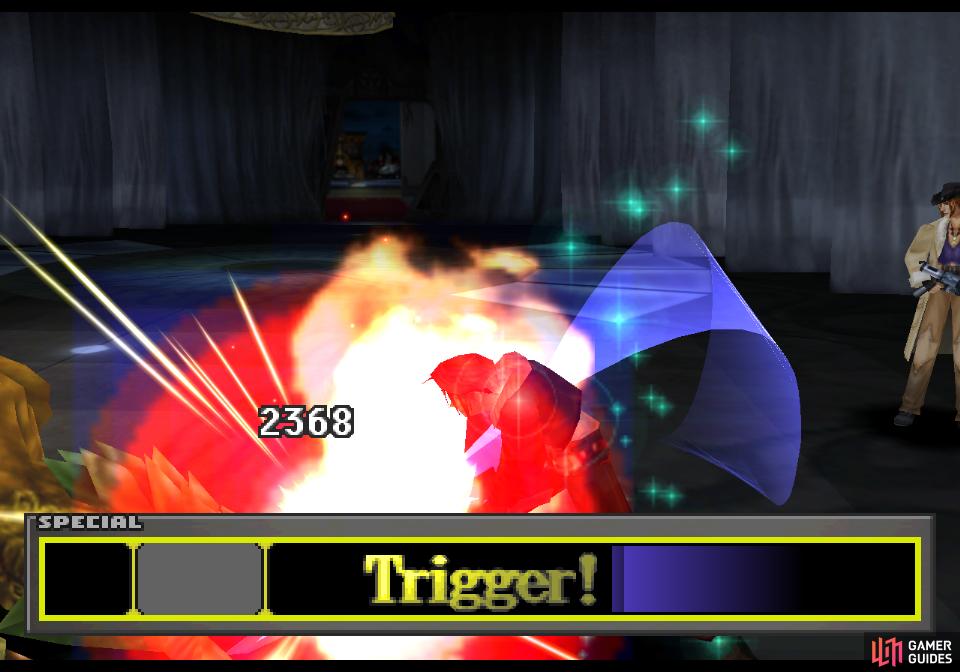
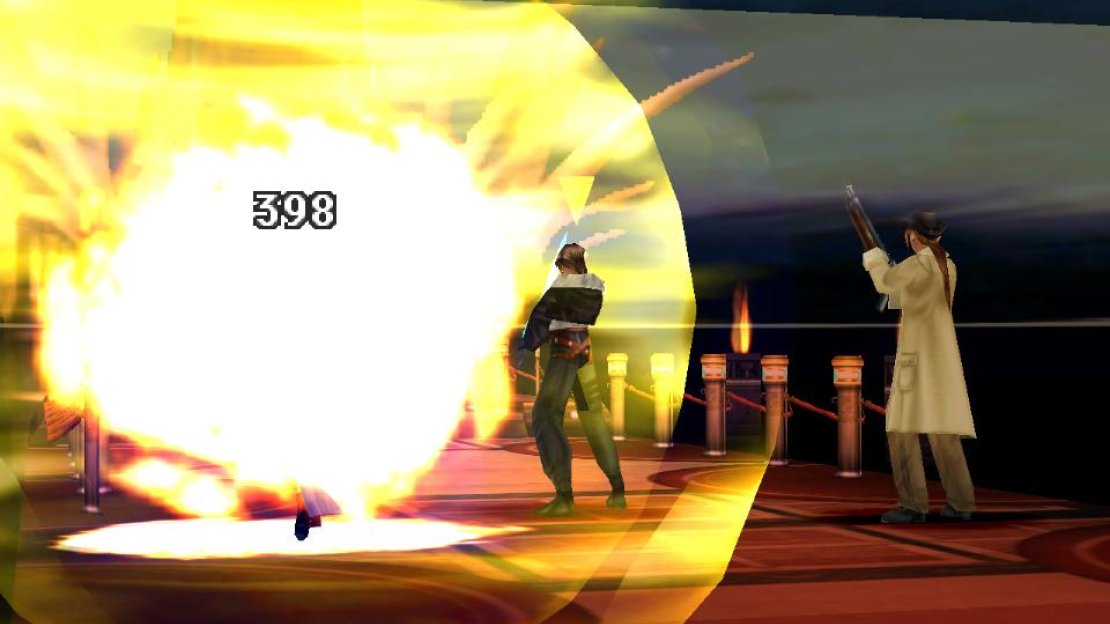
(1 of 3) Seifer will cast Fira
The last time these two fought it was merely sparring, but… well, they weren’t exactly playing nice back then, either. This fight can be either incredibly easy or just easy, depending on what you’ve done until now. Seifer’s max level is 20 and he tops out at 1,150 HP, meaning even the weakest Squall shouldn’t have much trouble unless you never leveled up and somehow don’t have any magic junctioned. In fact, overkill is a serious concern here, and it might be worth purposefully keeping Squall’s Strength low so you can Mug a Hero from Seifer.
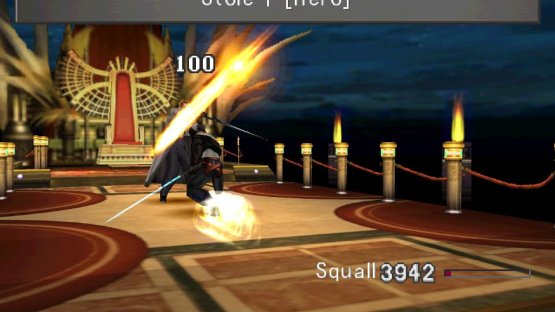
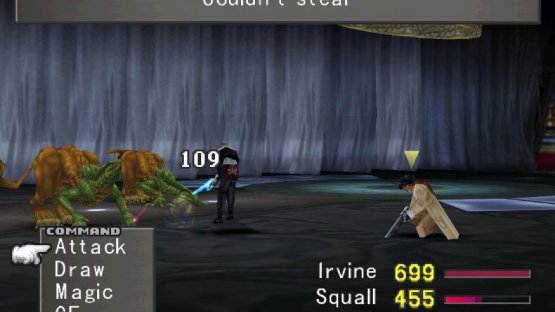
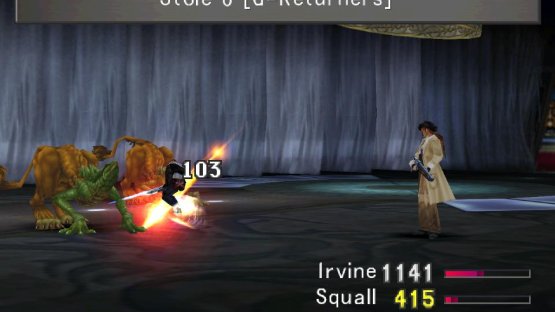
(1 of 2) Try to steal a Hero from Seifer
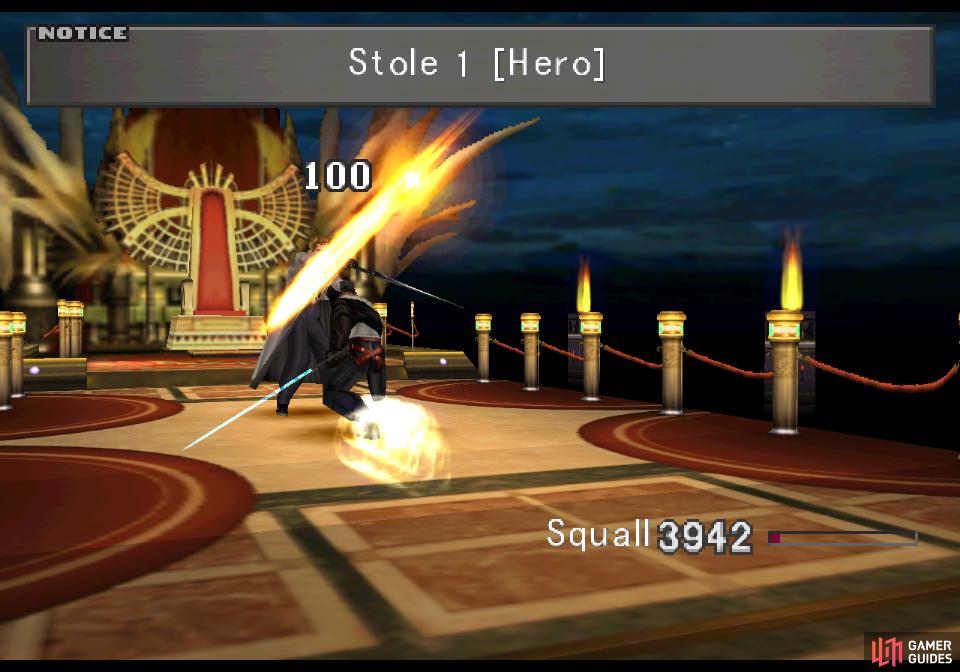

Try to steal a Hero from Seifer (left), and if he’s taking too much damage, heal him to avoid killing him before you get your Hero (right)
If you’re not having much luck and Seifer’s taking too much damage and jeopardizing your Mug attempts, just draw Cure or Cura from Seifer and cast it on your foe. That Hero is worth some effort to get, as it temporarily makes the user invincible. Nice!
In addition to Cure/Cura, Seifer also has Life and Fire/Fira you can draw, the former of which would be useful if you had any allies to cast it on. What the hell is the [gate team] doing, anyways?! Oh well. Seifer is more than happy to share his fire magics with you, even if you don’t draw it, as he’ll constantly cast Fira on you during the fight. This is his most dangerous attack, dealing around 100~ damage per cast… assuming you’re not resistant to it. If your resistance is high enough to absorb the magic damage, this will make the fight virtually impossible to lose.
Other than that, Seifer only has a basic melee attack, dealing 30~ damage per hit, or 70~ if he pulls the trigger. Since Seifer’s HP and damage are so low, and there’s easy healing at your disposal, Seifer shouldn’t be anything more than a speed bump.
Boss - Edea
After Seifer falls you’ll have to face Edea, who is a more dire threat than her lap dog.
| Edea | |
|---|---|
| Lv: | 1-20 |
| HP: (lv10) | 4,000 |
| HP: (lv20) | 7,000 |
| Weaknesses: | – |
| Resistances: | Gravity (immune) |
| Status Resistances: | Immune to most status effects – Haste 0% – Regen 0% – The End 0% |
| EXP: | – |
| AP: | 20 |
| Draw: (lv1-20) | Cura, Dispel, Double, Life |
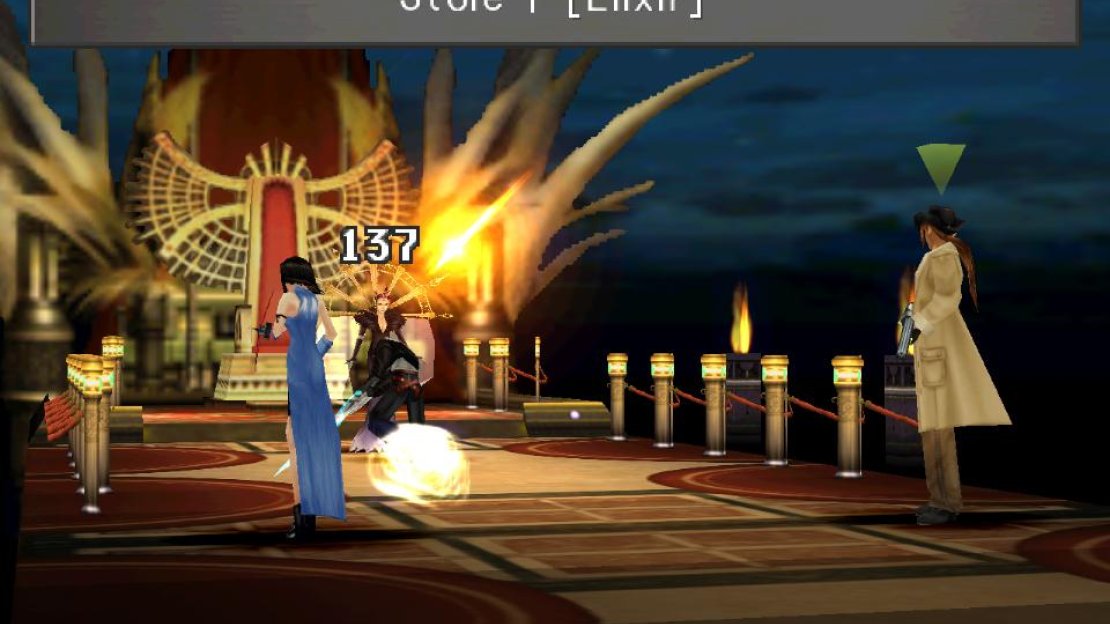
| Mug: | Elixir x1 |
| Drop: | – |
While Seifer’s Hero was worth stealing, Edea’s Elixir is a less promising prize. Really hard to justify spending the time nabbing it when you can score one hundred of them by using Card Mod on Minimog. Attempt to steal it if you want, you can use the same trick on Edea as you did on Seifer, as you can draw Cura from her as well. That said, Edea has far more HP than Seifer did, so unless you’re absurdly overpowered you shouldn’t need to worry about accidentally killing her.
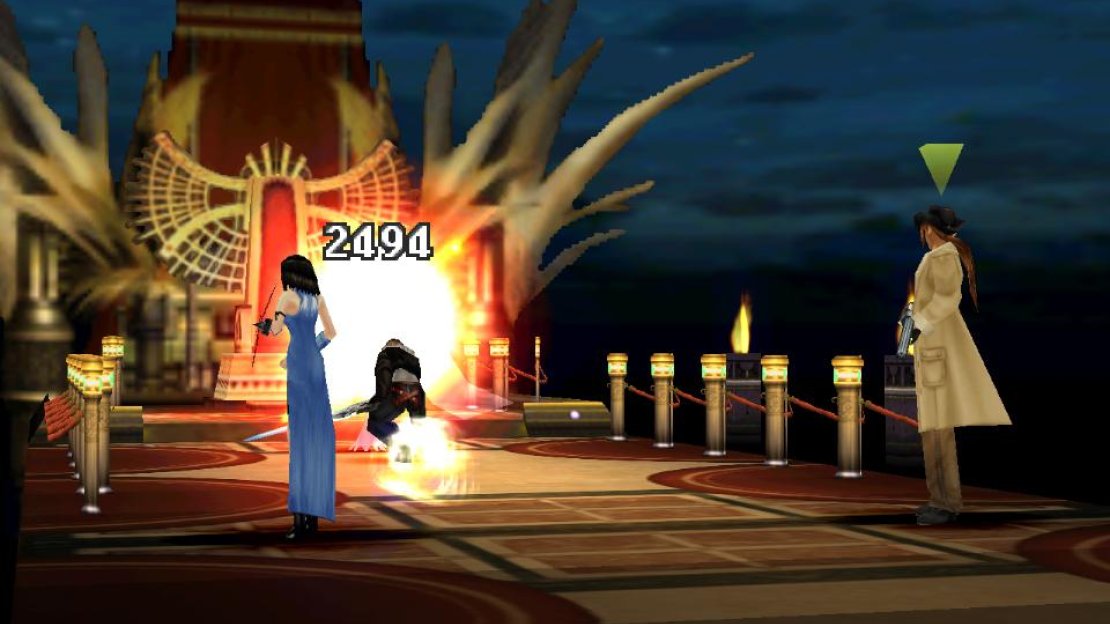
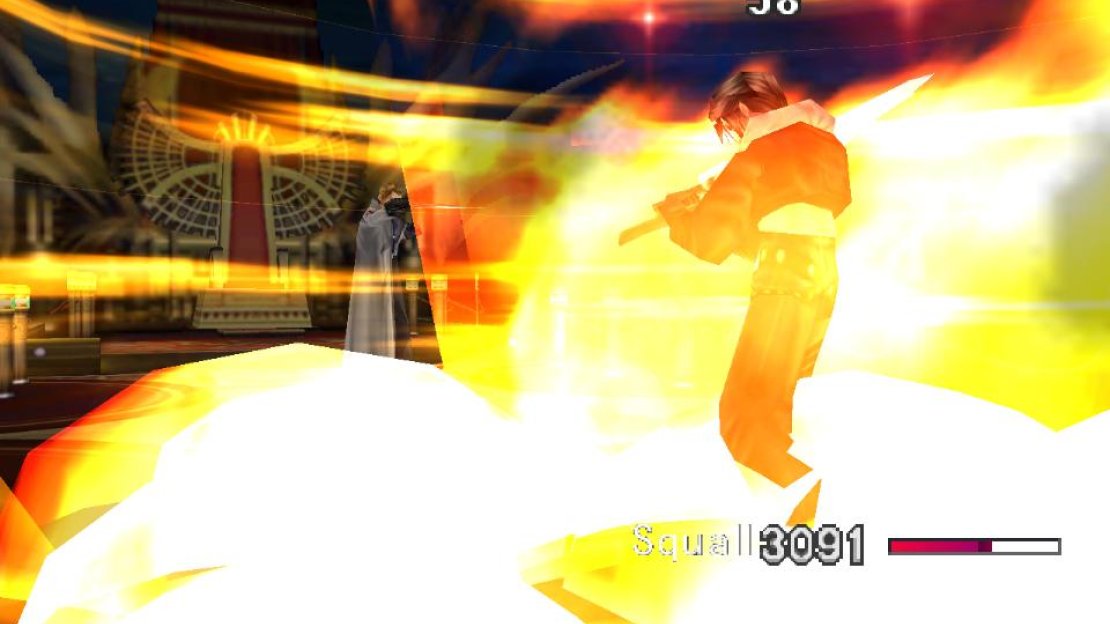
(1 of 3) Edea will cast various elemental -aga spells on you
Edea, as a sorceress, naturally casts a variety of spells, although considering everything she has cast up until now you may be somewhat disappointed (or relieved?) that in this fight she restricts herself to a limited range of elemental spells. Unfortunately those spells are the -aga tier versions of the three basic elements: Blizzaga, Firaga and Thundaga, so you can expect them to do significant damage (200~) when they hit. If your resistances are high this fight will be significantly easier, and remember to draw Cura from Edea to keep your characters healed!
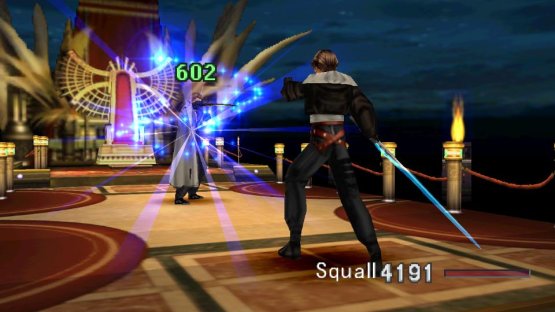
You can also draw Dispel, Double and Life, the latter two of which are useful if you need to increase your spell power (double the healing, double the fun!) or revive a fallen character.
Other than that, this is a pretty straight-forward slug-fest. Edea’s not resistant to any common elements, nor is she susceptible to most ailments, so you’ll just be trading blows and healing. After you deal enough damage to her, she’ll decide she’s humored you enough and give you a demonstration of what a sorceress can really do. After the scenes that follow you’ll get an opportunity to save your game - disc one ends in a cliff-hanger.
No Comments