(1 of 3) Kill enough Red Bats and Buels to learn Card before leaving the Fire Cavern
Learning Card Mod
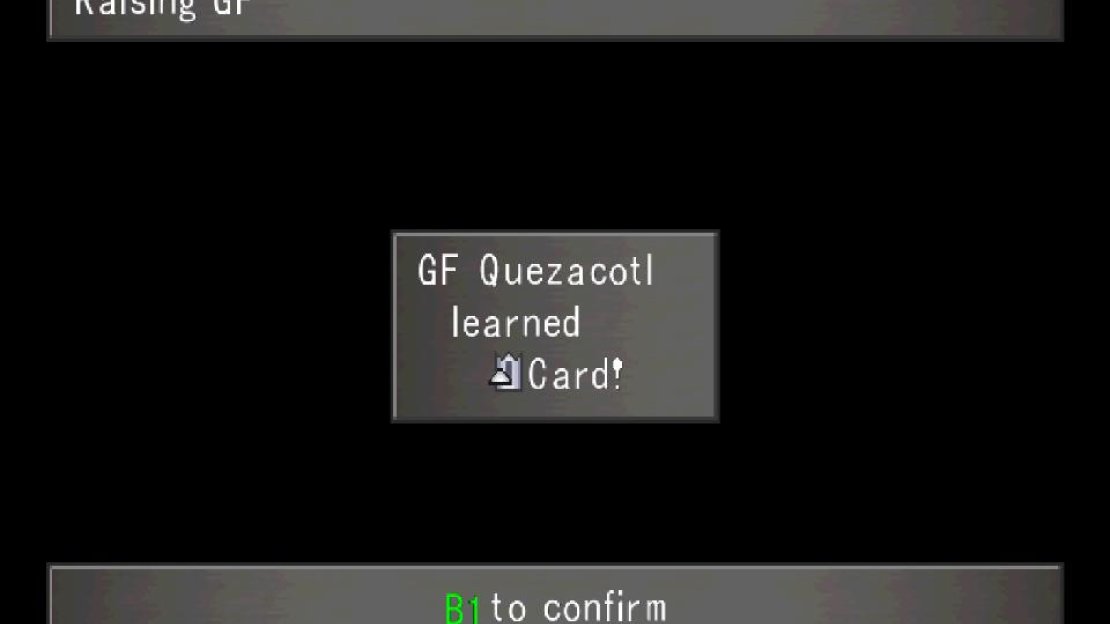
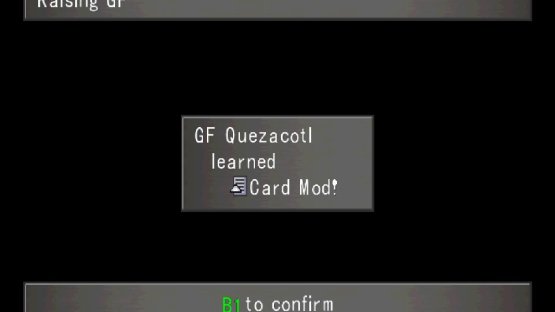
As you roam the Fire Cavern, pick fights with Buels and Red Bats and avoid Bombs and you should learn the Card ability without even the indignity of leveling up… not that you need to be overly concerned if you do - a level here or there won’t hurt you much. Once you learn the Card ability, make sure to set it as one of your battle commands (you can probably do without GF at this juncture) then start Quezacotl learning Card Mod, which should now appear that Card has been learned.
With that done, leave the Fire Cavern and head to the beach southwest of Balamb Garden and save your game… you know, just in case something goes awry. On beaches you should only encounter Fastitocalon-F enemies, which are attractive targets for your new Card ability for a variety of reasons. First, having a guaranteed enemy spawn means less time wasted on enemies you don’t care to fight. Second, they’re strong enough to withstand a few hits, having around 300 HP at low levels. This is a good thing, as the Card ability has a chance to work depending on how injured the target is. If the enemy is too weak, they might just die from a single hit, if the enemy is too strong… well, that’s not really a concern right now. Third, Fastitocalon-Fs give 3 AP each, and tend to appear in pairs. 6 AP a battle isn’t a bad bit of business. Finally, they also drop Fish Fins, which will come in handy shortly.
Run around the beaches until you encounter some Fastitocalon-Fs, then attack them and keep track of the damage you deal. Aim to do around 200 HP of damage to them, at which time have the character Quezacotl is junctioned to attempt to use Card on them. It may take a few tries, especially if the monster isn’t quite as injured as you like, but the Fastitocalon-F should eventually turn into a card. Not only will this earn you a Fastitocalon-F card, but if you defeat all enemies this way you’ll earn AP and acquire items without earning EXP. Very, very good if you want to boost your power while keeping your level low… further boosting your power by keeping your enemies low level, too. When you win a battle, save your game and if you get injured just cast Cure spells from your stock - you can always restock later. Also be wary of the fact that Fastitocalon-Fs take less damage while they’re burrowed than they do when they’re exposed.
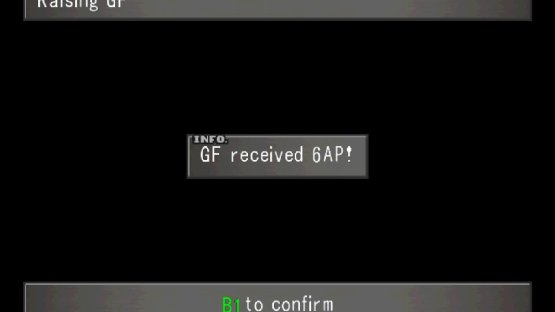
(1 of 2) For defeating a pair of Fastitocalon-Fs with Card you’ll receive 6 AP and no experience
For defeating a pair of Fastitocalon-Fs with Card you’ll receive 6 AP and no experience (left), Your ultimate goal should be to learn Card Mod and item-to-magic refining abilities. (right)
As you defeat Fastitocalon-Fs and accumulate AP, your GFs will learn new abilities. You’re not here to learn everything, just a few choice abilities. For Quezacotl you’ll obviously want to learn Card Mod, which is your top priority here, after which you can pick up T Mag-RF. Similarly Shiva should finish learning Str-J, then switch to I Mag-RF and finally Vit-J, while Ifrit should learn F Mag-RF before moving on to Elem-Def-J.
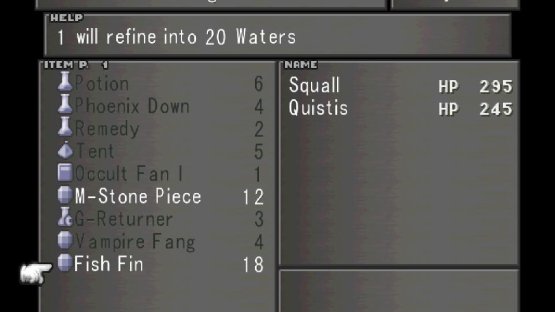
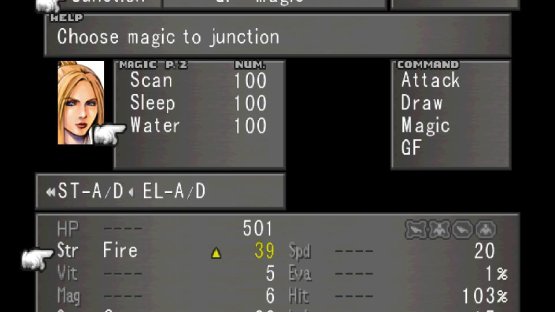
The Mag-RF abilities allow you to turn items into spells, and the Card Mod ability allows you to turn cards into items. See where this is going? You’ll be able to win cards shortly (courtesy of your Ifrit Card) and turn them into items, then turn those items into spells, which will greatly increase your stats when junctioned. To get an early taste of this, when Shiva learns I Mag-RF go into the menu and select the “Ability” option, then “I Mag-RF”. All those Fish Fins you’ve been finding can be turned into Water spells, a mid-level offensive spell. One Fish Fin will net you twenty Water spells, and Water, when junctioned to your Strength stat out-competes anything else you have right now. Just be wary when you go back into battle against Fastitocalon-Fs, as the damage boost is readily apparent and it can be easy to accidentally kill your enemies.
Once you’ve learned Card Mod and T Mag-RF with Quezacotl, save your game then return to Balamb Garden.
(1 of 2) With the aforementioned abilities learned, you can take items gained from enemies or cards and turn them into powerful magic
With the aforementioned abilities learned, you can take items gained from enemies or cards and turn them into powerful magic (left), which will boost your stats above what you could otherwise reach at this point in the game. (right)
The Case for the Low-Level Run
One of the big departures in Final Fantasy VIII from previous (and later) Final Fantasy games is that enemies level up with you. As their levels increase, their stats grow, and they may drop more valuable items and possess more potent magics for you to draw. So, all things considered as you grow stronger, enemies grow stronger, but the gains are greater so it’s all good, right? Well… this mostly holds true until levels thirty to forty (it varies by monster), at which point enemies stop gaining better magics and drops and just keep getting stronger. In fact, when it comes to enemy drops and draws there are often three distinct categories: levels 1-19, levels 20-29 and levels 30+. That said, there is very little incentive for you to increase your level above the mid-forties, and since higher-end enemies tend to have potent magics and rare items even at lower levels, a case can be made that there’s no reason to level up any time it’s not strictly necessary.
In fact, let’s compare a powerful monster that can rarely be found in the forests of Balamb - the T-Rexaur - at various levels so you can get a grasp on how drastic this scaling can be.
| T-Rexaur | |
|---|---|
| Lv: | 1-100 |
| HP: (Lv10) | 13,900 |
| HP: (Lv20) | 18,400 |
| HP: (Lv30) | 23,500 |
| HP: (Lv100) | 76,000 |
| Weaknesses: | Ice (250% damage) |
| Resistances: | Poison (half damage) |
| Status Resistances: | Berserk 40% – Card 0% – Confuse 60% – Darkness 20% – Death 70% – Doom 90% – Drain 0% – Eject 20% – Float 30% – Haste 0% – Lv Down 0% – Lv Up 0% – Petrify 60% – Poison 20% – Reflect 0% – Regen 0% – Silence 20% – Sleep 50% – Slow 10% – Slow-Petrify 50% – Stop 80% – The End 0% – Zombie 30% |
| EXP: | 160 - 1,150 |
| AP: | 10 |
| Draw: (lv1-19) | Fire, Thunder |
| Draw: (lv20-29) | Fira, Thundara |
| Draw: (lv30+) | Firaga, Thundaga, Quake |
| Mug: (lv1-19) | Dino Bone x1-2 |
| Mug: (lv20-29) | Dino Bone x3-4 |
| Mug: (lv30+) | Dino Bone x8-10 |
| Drop: (lv1-19) | Dino Bone x1-2, M-Stone Piece x8, Magic Stone x4 |
| Drop: (lv20-29) | Dino Bone x2-4, Dragon Fang x6 |
| Drop: (lv30+) | Dino Bone x6-8, Star Fragment x2-6 |
Keep in mind that the max damage you can do with most attacks is 9,999, and you can boost yourself to that point whether your level is low or high and that should help put these stats into better context. Against a low-level, high-powered party, the T-Rexaur will die in two or three hits, ideally, and will boast a relatively low Strength score (38 at Lv10, 61 at Lv20, 83 at Lv30 and a whopping 239 at Lv100). The difference in power between a low-level party with the same magics, abilities and weapons as a high-level party is fairly marginal even under the best possible circumstances for the high-level party, while the difference in enemy strength is huge. Relatively speaking, then, the low-level party can be safely said to be more powerful… at least compared to what they’re fighting.
Now, you might be wondering if or how the low-level party gets access to the same magics, weapons and abilities as the high-level party, considering they’ll be avoiding most regular battles to keep their levels low… and how exactly do they manage to keep their levels low without fleeing like a coward the whole time?! The answer is simple - there are plenty of ways to get high-level magics without needing to directly draw them from normal enemies. You can obtain them via Card Mod and item refining (as you’ll soon see), by drawing from bosses (you still have to fight those!) or by simply engaging in fights with lesser monsters voluntarily and using another GF’s ability to raise said monster’s level so you can draw what you want from them. See? Best of both worlds. As for avoiding encounters, another GF (presently not acquired) can learn the Enc-None ability which eliminates most non-boss encounters, which you can have on when you don’t want to be bothered, or disable when you want to fight.
As you can see, there’s really little downside to the low-level run. That’s not to say it’s the only viable way to play, and if you just play normally and level up, you won’t permanently cripple your party or ruin your game. Even if you hit, say, level 50-60 by the time you hit the late-game content, you can still permanently boost your stats by using a variety of GF abilities, but it’ll take a good bit of grinding to make serious gains. In fact, it’s an easy assertion to make that a moderate amount of grinding in the early game for the low-level run will spare you potentially a huge amount of grinding late game if you find yourself desiring to boost your stats via a high-level party.
There’s also an argument to be made for a mid-level run where you play the game… more or less normally, but avoid over-grinding for experience where possible and shoot to keep your party’s level in the generous range of 40-60. By this point you could easily have learned abilities like Enc-None and Card, which will allow you to control exactly how much experience you earn as you play and halt further level progression without having to do anything but play the game normally along the way… well, normally with a heavy dose of Triple Triad every now and again. It can’t be overstated how much that boosts your characters, as you’ll see soon enough! In any event, the low-level run might make the most powerful party (relatively) but the mid-level run is probably the most beginner-friendly, allowing you to satisfyingly clear the majority of the game without being overly burdened by technical details while also allowing you to pivot mid-to-late-game and keep your party relatively strong.
There’s a bit more nuance to the low-level run, as there are actually two end-game goals for it. First is simply keeping your party level low throughout the game in order to maintain the strongest (again, relative to the monsters you’ll face) party possible. The second is the ultimate min-max run, where you keep your level low until you get a certain GF that has numerous ability that permanently boost your stats when you level up. Once this is acquired, you can drop the veneer of the low-level run and grind each character up one at a time (boosting their stats significantly as you go) to end up with a character with very, very high stats before junctioning any magic. This ultimately makes for a weaker party than simply keeping your stats low, but if you want to see big numbers on your party and fight the strongest versions of enemies in the game… well, there you go.
Again, it’s worth pointing out that whether you do a low-level run, mid-level run or… even a high-level run, you can boost your stats at the end via a variety of means. It can constitute a huge grind, however, and at the end of the day you’re probably better off mitigating enemy gains than you are facilitating your own. That is, if you’re not inclined to do both. Keep all this in mind as you continue with the next few sections, as the type of run you’re doing will largely be set up by the actions you take (or rather, don’t take) there. Most importantly of all, play the way that suits you the best! We’ll get you through this, regardless!
Return to Balamb Garden and it’ll be time to discuss using those lovely new abilities you learned just now to make yourself ridiculously overpowered. Time for a bit of Triple Triad Before the Field Exam.



No Comments