| Important Items in this Area |
|---|
| Bolt Armlet |
| HypnoCrown |
| Magic Plus Materia |
| Viper Halberd |
Corel Valley Cave
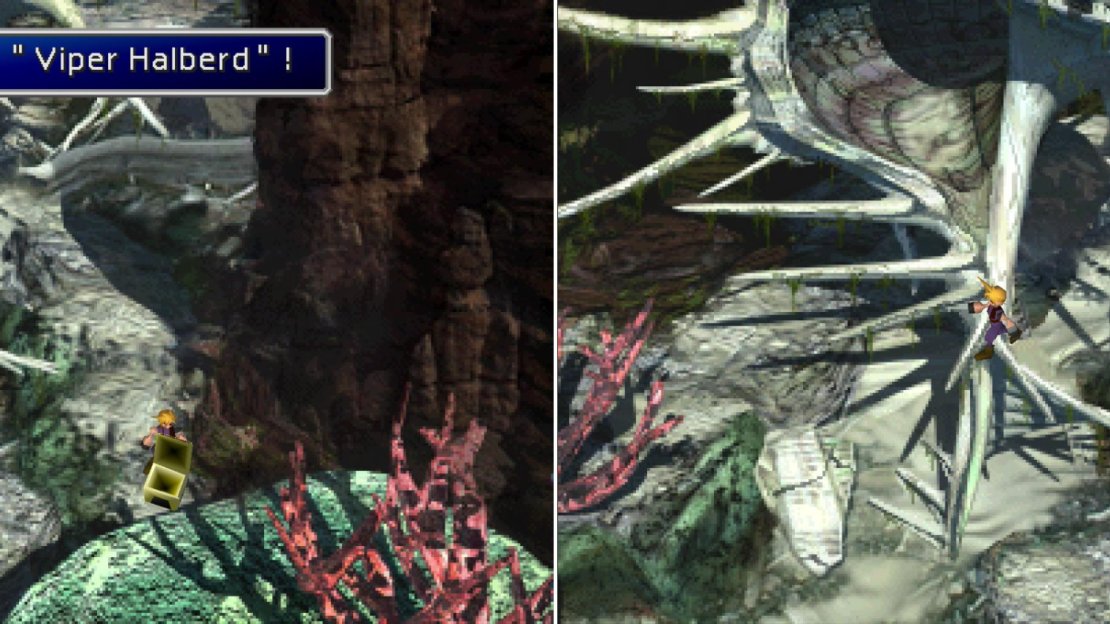
The party will leave the house they’re in and Cloud will be able to sense what direction Sephiroth went. It’s not much to go on, but it’ll have to do. Head north past the house you rested in earlier and follow a path to the north-east to reach an area dominated by a large, spiky shell. Near the spikes at ground level you’ll find a piece of debris you can use as a ramp. Head up this ramp, then go north-east and work your way around the back of the shell spikes and onto a ledge, where you’ll find a chest containing a Viper Halberd . Return to the beginning of the area and head up the shell by performing a feat of absurd agility, jumping from spike to spike. Inside the shell, follow the circular path up to the top of the shell, then, when you find yourself outside the shell, make your way down and around the back of the shell and into another area to the west.
Run around the shell to find a chest containing a Viper Halberd (left) then leap up the shell’s spikes to reach the next area (right).
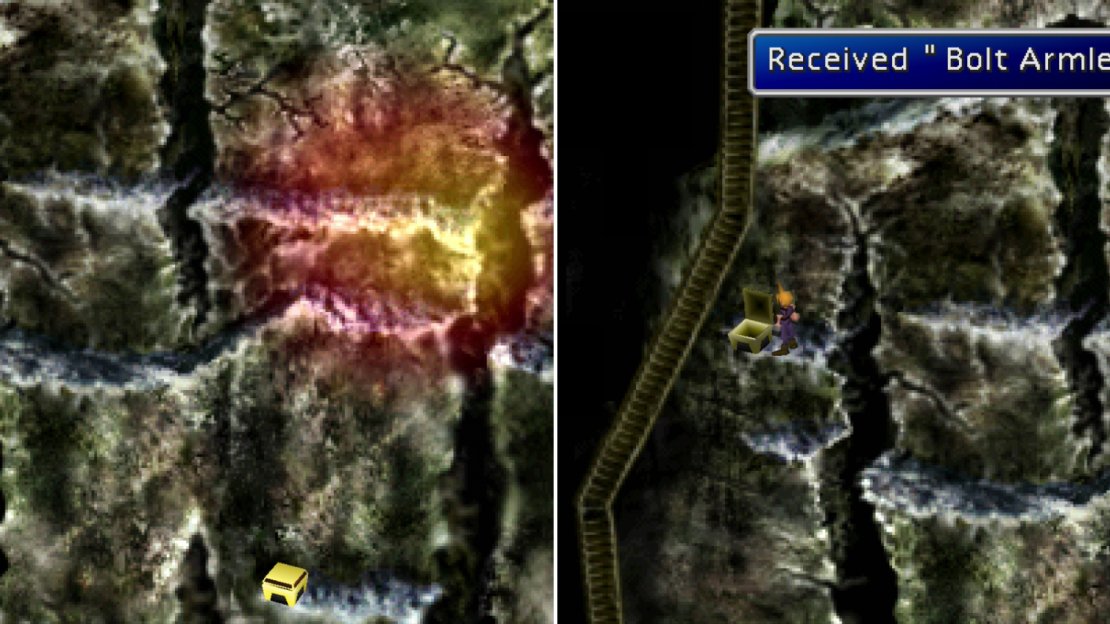
Climb the ravines to get at the various treasure chests on isolated ledges (left), quality loot like the Bolt Armlet can be obtained if you take the time to climb the right paths (right).
Head north-west and you’ll spot two fissures running vertically through the rock. Navigating this level (and looting the many treasures here) revolves around climbing up or down the fissures and leaping onto various ledges when prompted. Make your way into the western-most fissure, climb it until you’re prompted to jump to a ledge (either right or left, it doesn’t matter right now) then immediately return to the fissure and continue climbing up and onto the ledge to the left where you’ll find a chest containing a Bolt Armlet (four Materia sockets, two pairs of joined sockets, and it ignores lightning damage). Return to the fissure, climb down, and jump onto the right ledge, then make your way east to another fissure, which you should climb down to reach a chest containing a HypnoCrown . Climb the fissure back up, jump out of the fissure (either direction) then jump back in and climb further up and make your way onto a ledge to the right to grab a Megalixir out of a chest. Now reach the ledge to the left by jumping in - then immediately out - of the fissure. Run west and jump into another fissure, climb up to another ledge, then continue west to reach a ladder that runs the length of the area. Climb down the ladder to reach a ledge where a chunk of Magic Plus Materia lies, then climb back up the ladder to the ledge, then return to the ladder and keep climbing to reach a ledge upon which a cave entrance lies.
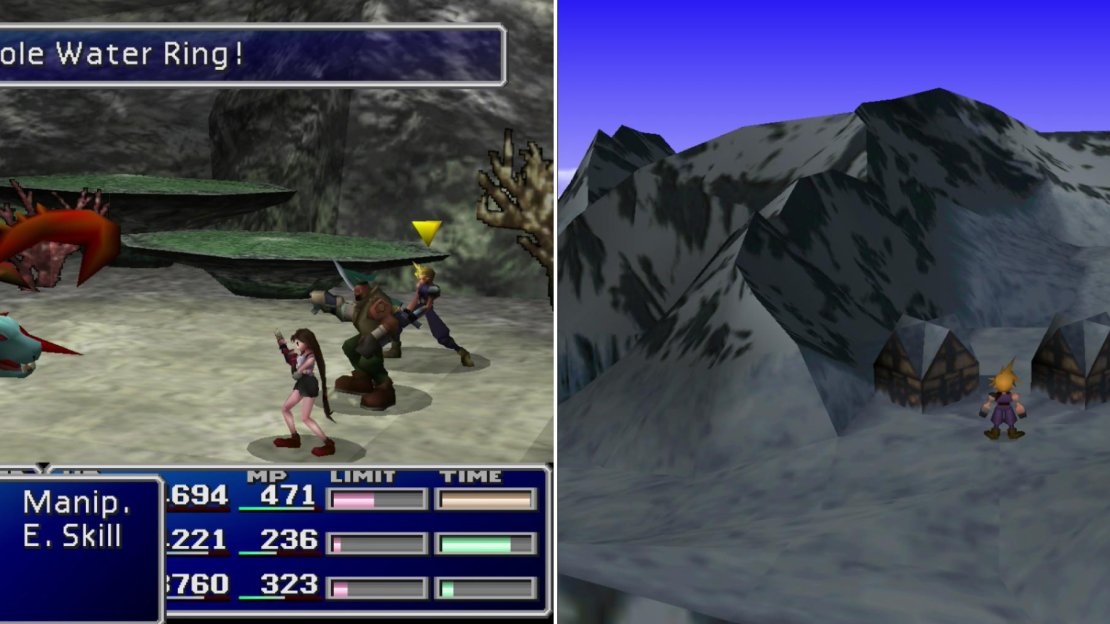
Loot a chest to the east to obtain a Power Source then continue north to exit the cave and return to the world map. From the cave head south-west over the snowy fields until you reach the coastal cliffs, which you should follow west until you can go west no further. At which point turn north and you’ll find the Icicle Inn.
You can steal Water Rings from Acrophies, for what good it’ll do you (left). Make your way across the snowy fields to find the Icicle Inn (right).
Icicle Inn
Immediately ahead will be a weapon shop, where the sleepy old proprietor will sell some of the best weapons available at this point in the game, typically having an Attack in the low 60s and six Materia sockets (two pairs of conjoined sockets, two unjoined sockets). These weapons carry a suitably hefty price tag as well, however.
Weapon Shop
| Item | Gil |
|---|---|
| Organics | 12000 |
| Dragon Claw | 10000 |
| Microlaser | 12000 |
| Adaman Clip | 11000 |
| Hawkeye | 12000 |
| Red M-Phone | 11000 |
| Mast Ax | 13000 |
| Lariat | 12000 |
| Hi-Potion | 300 |
| Tent | 500 |
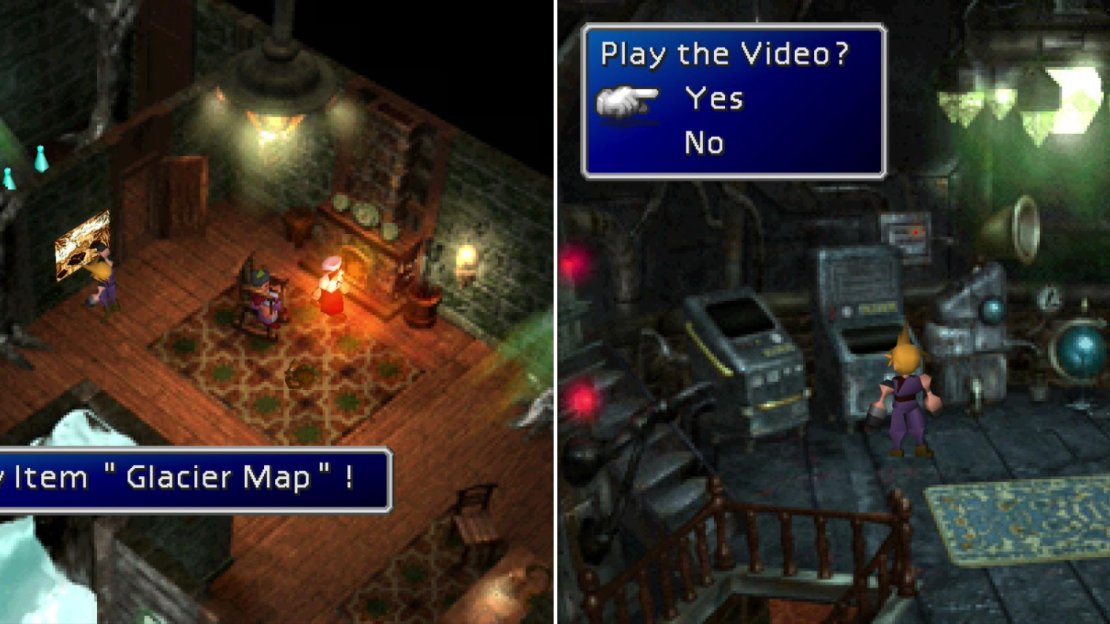
Be sure to grab the Great Glacier map while you’re in town (left) and watch some of Professor Gast’s revealing home videos (right).
Buy whatever you want, then exit the store and head to the eastern edge of town to find two girls making a snowman. Enter the house near them and, if you talk to a man in a snowy, fenced-off area, he’ll give you permission to grab a map to the Great Glacier. Make your way to the northern edge of the house and grab a map on a wall outside of a small room to obtain the “Glacier Map” Key Item. This will come in handy shortly. Next, loot the small room nearby to score a Vaccine and a Hero Drink, then leave the house.
Now head to the Icicle Inn, which is north of the house you were just in. Go upstairs and grab a vial near a window to obtain an X-Potion , then return downstairs and go through a door near the stairs to reach the basement/bar. If you talk to everybody here you’ll learn a bit about the Great Glacier and an Ancient that used to live here named “Ifalna”.
Exit the Icicle Inn and make your way to a house near the weapon shop. Once inside head downstairs and grab a Turbo Ether near a bed… an oddly mechanical bed (wouldn’t that flashing light make it hard to sleep?) then return upstairs and search the electronics along the northern wall to watch some videos. Videos starring the former inhabitants of this house; Professor Gast and Ifalna, Aeris’ parents. On the first video “The Original Crisis” Ifalna will talk about something that injured the planet, a “crisis from the sky”, which could adopt the shapes of others and infected the Cetra with some virus. If you remember, Sephiroth referred to Jenova as a “calamity from the skies”. In the second video, “What is “Weapon?”” Ifalna will confirm that Jenova is indeed this “crisis from the sky” which wounded the planet so long ago. She will also discuss the creation of “Weapons” by the planet that were originally meant to destroy Jenova, but were never used. The third video, consisting of two other videos, wraps up Professor Gast’s story. Why is the video called “Daughter’s Record: 10th Day after Birth” if in the video they talk about what they’re going to name the child “if it’s a girl”? You think they’d know the gender of the child ten days after birth… oh well…
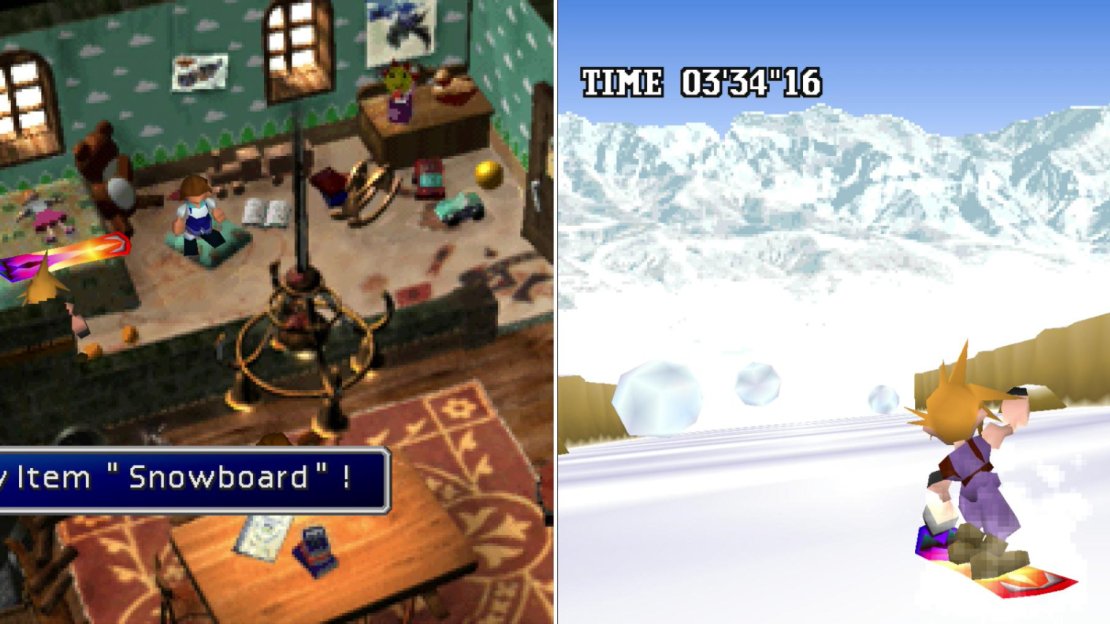
Watch the videos, then leave the house and head north and talk to a man wandering around by himself near the forest. When he warns you of danger say “I’m still going” and you’ll be interrupted by some old friends. Elena will confront you and accuse you of “messing up” Tseng, who apparently escaped the Temple of the Ancients. After ignoring your excuse, she’ll decide to put the hurt on you, which you can either dodge and send Elena tumbling, or if you fail, take the hit and wake up later. Either way, head to the small, free-standing house in the middle of town and talk to the boy in the back. He’ll freely give you his “Snowboard” , since the dink injured himself while riding it. Score. Pick it up and head to the north of town where the lone man is still wandering near the woods.
After encountering Elena, talk to the injured boy to get his “Snowboard” (left), then ride the perilous device down the slope to reach the Great Glacier (right).
Now that you’re properly equipped, you’ll be able to engage in some snowboarding; the only “safe” way to travel to reach the Great Glacier. Talk to the guy wandering around and make use of his willingness to teach you the snowboarding controls. This mini-game is mostly inconsequential at this point, the goal merely being to make it down the mountain, no matter how many bumps you take. The one variable here is, depending on the paths you take the two times the course forks will determine where you end up in the Great Glacier, although even this is rather inconsequential.
For the sake of conformity and simplicity, this guide will assume you went left on the first fork, then right on the second, which will take you to the entrance of the Great Glacier.
No Comments