
| Important Items in this Area |
|---|
| All Materia |
| Elemental Materia |
| Four Slots |
| Star Pendant |
Infiltrating Shinra Headquarters
After the party poses, emulating the box-art for the game, you’ll be outside of Shinra Headquarters, which is surprisingly devoid of life. You’d think people would be coming and going into a building so large all the time. Barret will tell you a bit about the building’s security before deciding on an unsubtle course of action. Tifa will advocate a more stealthy approach, and you’ll be left to decide whether to take the stairs, or kick in the front door. Make whatever decision you wish - you’re not bound by it. Actions speak louder than words though.
Of course, there’s nothing stopping you from doing both to get the best of both worlds. Start out with Barret’s approach by just running in the front door, where you’ll have to beat up some Grenade Combatants. Your destination? The elevators beyond the stairs to the north-west. If you want to do some shopping, though, go upstairs and enter the shop on the second floor, which will sell you some basic, uninteresting items. When you’re done shopping and chasing people around on the first floor, head over to an elevator, near (north-east of) which is a notice board, which you can search to find “Turtle’s Paradise Newsletter No. 2” .
Item Shop
| Item | Gil |
|---|---|
| Potion | 50 |
| Phoenix Down | 300 |
| Antidote | 80 |
| Eye Drop | 50 |
| Tent | 500 |
If you enter the elevator (which isn’t really necessary) you’ll be able to fiddle with the controls (after some banter), which will take you on, well, a bit of a crazy ride. The elevator will stop at random floors, and at each stop you’ll have to fight off some random enemies. After each battle you’ll have time to heal, and you’ll have to hit the button again, so these fights shouldn’t be threatening in the least. When you reach the 59th floor you’ll disembark, but you can take the elevators back down if you wish despite Barret’s whining.
Ride back down to the first floor and exit the building, or if you didn’t care to take the guns blazing approach… well, you’ll still be outside, won’t you? Head west from the Save Point and exit the screen and pass through another transitional screen to reach the stairs. Barret and Tifa will engage in some humorous banter as you climb (if you didn’t bust on in earlier), and at some point later on, Tifa will become aware of the fact that she’s wearing a skirt, and decide she doesn’t want to be in front anymore. Heh, this is such a perverted game. Along the way, on the fifth screen of stairs, you’ll find an Elixir , which is pretty much the entire reason to take the stairs. No enemies this way, not even a taciturn employee taking a smoke break; just lots and lots of stairs…
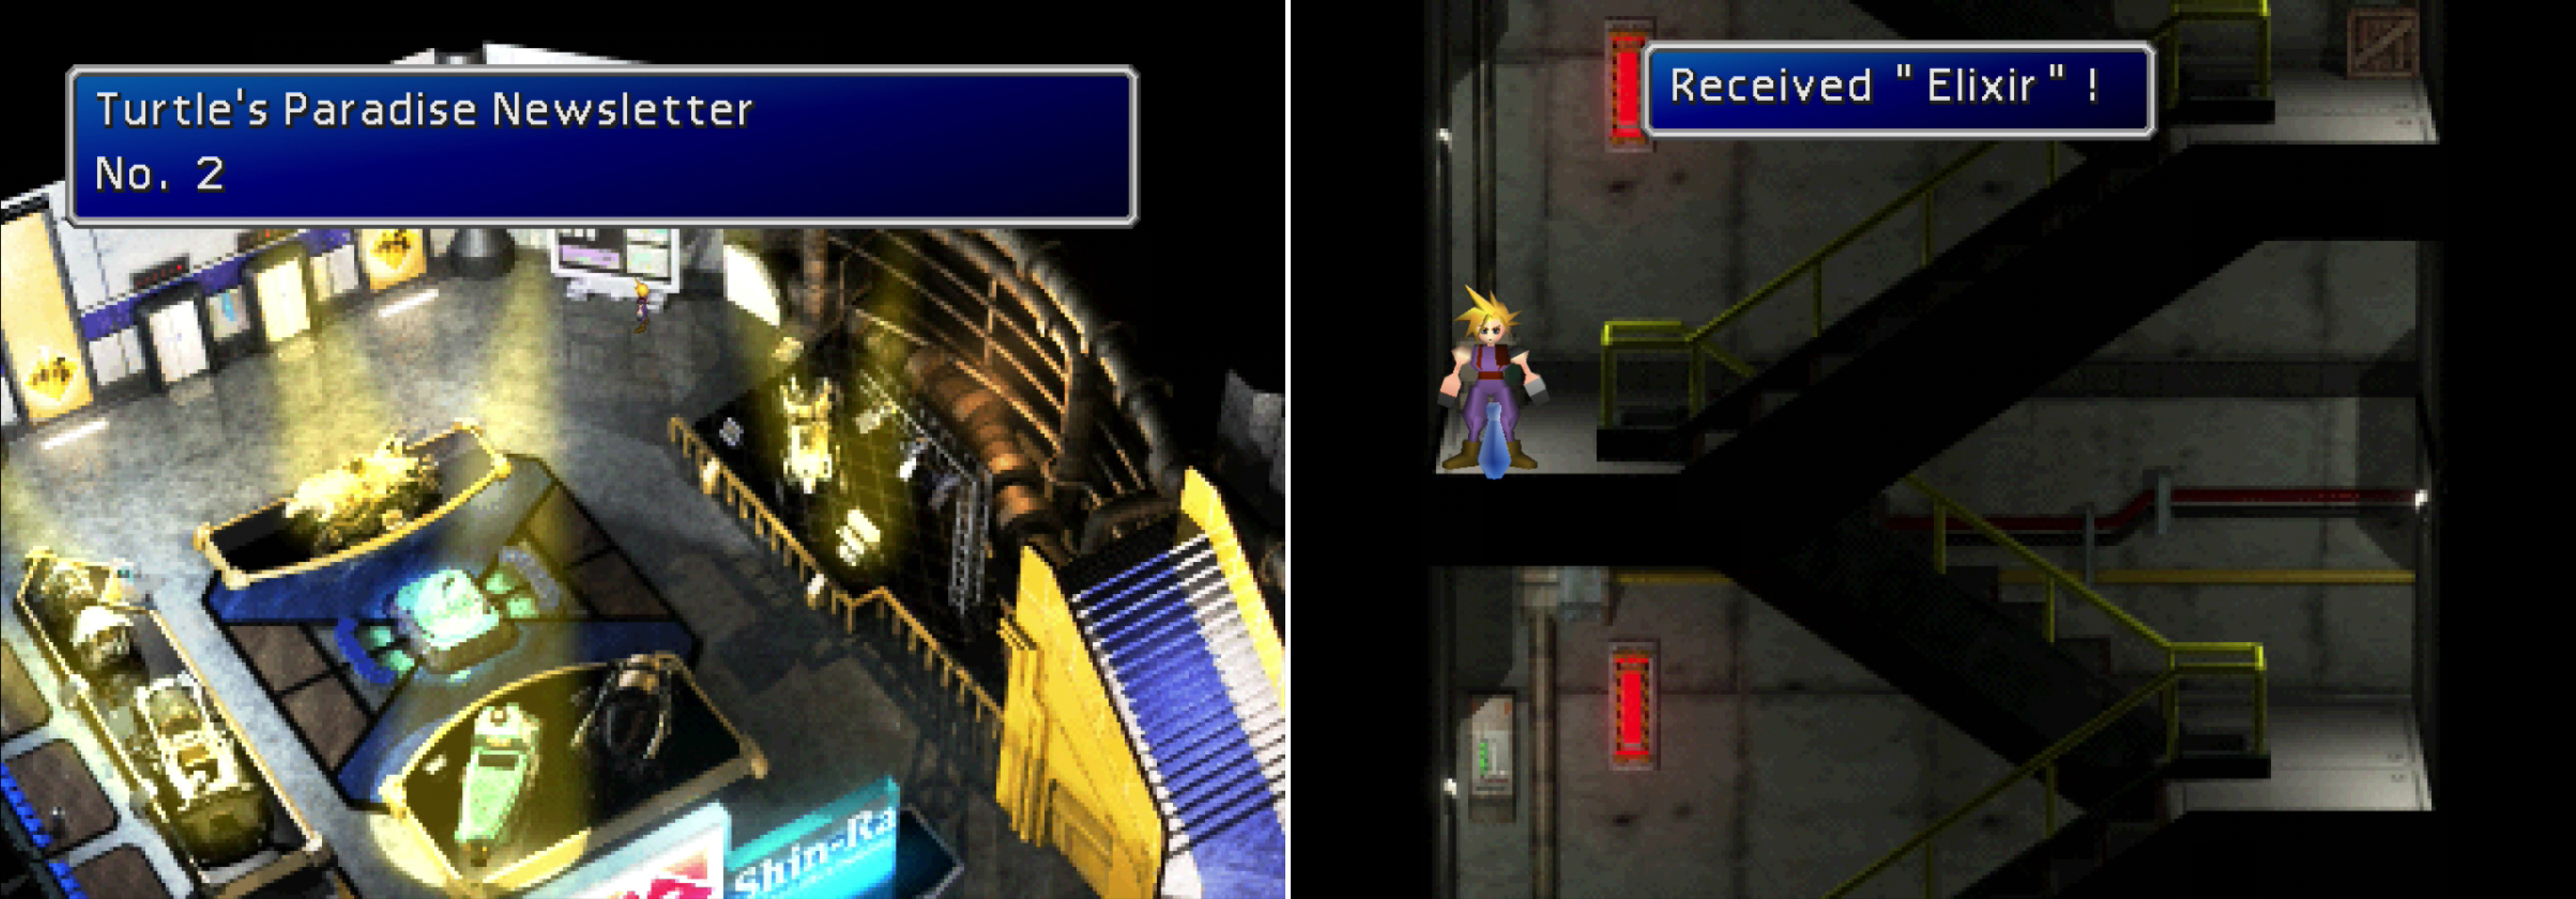
Read the Turtle’s Paradis Newsletter on the 2nd Floor (left). You can also score an Elixir if you take the stairs (right).
59th Floor
However you reached it, you should now be on the 59th floor. If you took the elevator, you’ll be along the northern end of the level, and if you took the stairs, you’ll be along the western end. In the former case head south, and in the latter head east to find some guards standing outside of some more elevators. Dispatch the three Mighty Grunts and Cloud will automatically snatch their “Keycard 60” afterwards. With the keycard in hand, go through the doors they were guarding and take the slowest elevator ever up to the 60th Floor talking to Tifa and Barret to advance.
60th Floor
A guard whose vigilance is somewhat lacking fails to detect your infiltration. Pass through a transitional screen to reach the bulk of this level, which is centered around one little mini-game of sorts. Head to the western side of the level and then go north to reach a room. Your destination is the stairwell to the east, but to get there, you’ll have to hide from some Shinra guards, using statues as cover. For some reason, your allies aren’t autonomous (or aware) enough to manage to stay out of sight themselves, so after you’ve made it to a safe spot, you’ll need to signal them when it’s clear.
It’s not too hard to make it through this without having to fight if you’re patient, but if you can’t be bothered, well, you can always fight your way through this. Each time you get caught you’ll have to fight two Mighty Grunts, who will flank you. Do this several times and the coast will be clear; this makes sense, if you kill all the guards, who can spot you? Then again, how do they possibly not all notice the fighting?
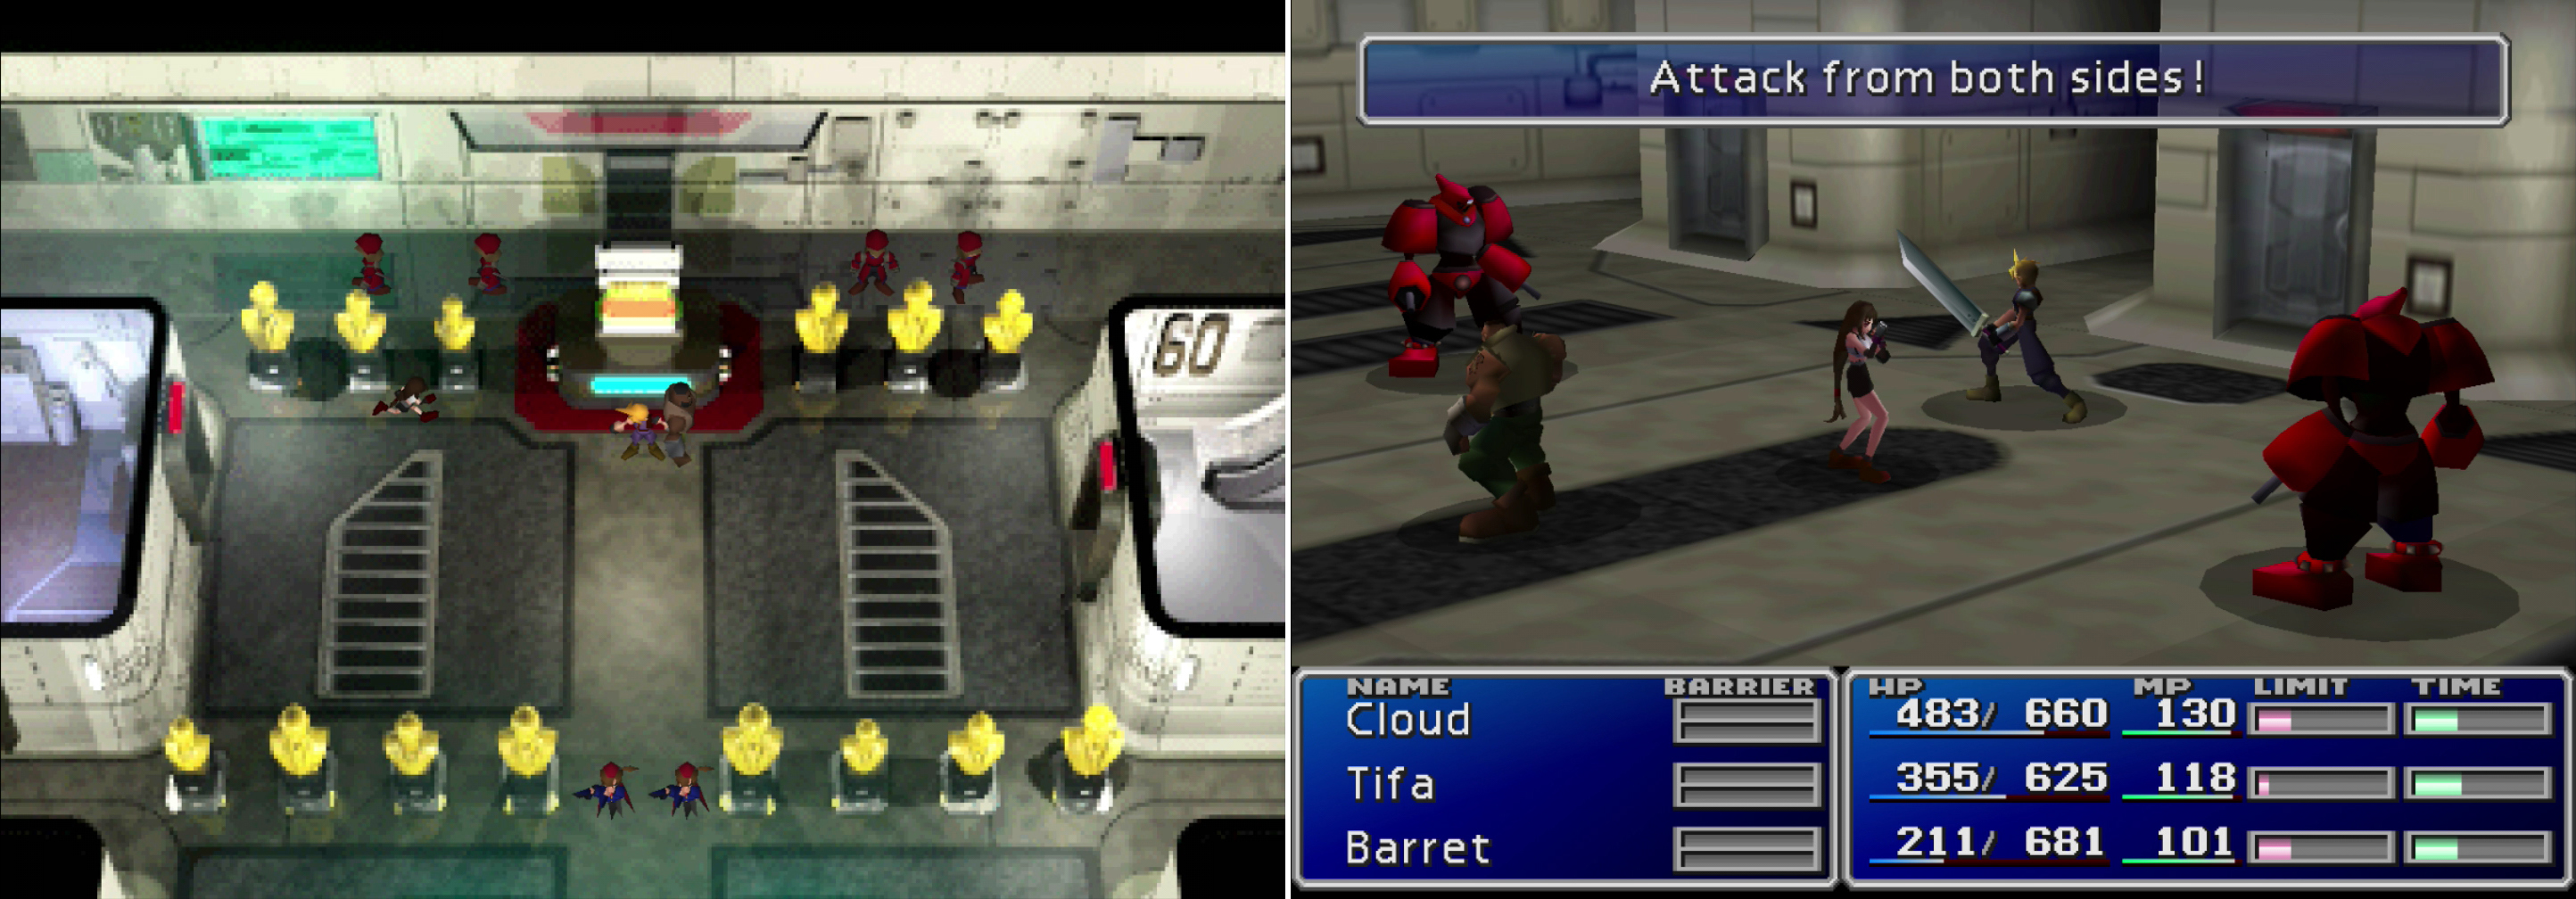
Signal your allies over when the guards aren’t looking to avoid a confrontation (left). If you get caught, you’ll have to fight off a pair of guards (right).
61st Floor
When you sneak past (or deplete the numbers of) the guards, head upstairs to the 61st Floor. This level is barely worth a mention, as there’s not much to do here. Talk to the man in a slate-gray business suit wandering around the southern end of the level and say “…”. Assuming some random strangers are maintenance workers, he’ll just give you “Keycard 62” . Wow. And now you know how Shinra was incompetent enough to let a rag-tag organization like AVALANCHE blow up two Mako reactors.
For giggles, talk to the redhead near the elevator doors to hear her talk about how great Shinra’s security is. Yes, the same security that can have a break-in at the entrance and not inform the upper floors. The same security that sleeps on the job. The same security that holds keys to the elevators they’re guarding. The same security that runs in predictable patterns and can’t spot a fight happening a few feet away.
62nd Floor
Either take the elevator or the stairs up to the 62nd Floor, it doesn’t really matter which. Once you’ve set foot on the 62nd Floor, take the elevator back down to the first floor, exit the building, and save your game. There’s a bit of a guessing game up ahead, and getting the best reward is highly suggested, as it’ll nab you a rare piece of Materia.
Once done, return to the 62nd Floor and head into the western-most room, outside of which is Hart, and inside of which is Mayor Domino, the disgruntled puppet-mayor of Midgar with too much time on his hands. So much time that he’s spent it rearranging the books on this level to make angry terrorists play guessing games. They blew up two reactors, but they won’t beat up this stupid mayor and just take his keycard? Whatever.
The mayor’s game works like this: he’s taken one book out of each of the libraries on this level, and switched them with a book from another library. The books all have a number in front of them, followed by the title of the book. Count the characters (ignoring the spaces) of each title to find the character in that space, which is part of the password.
For example, say you find the book “16 Modern History of Midgar Space Program Vol. 1” out of place. The letter “M” (the 16th letter in the title) will be part of the password. Since there are only six passwords, and two of them - HOJO and ORBS are always bogus, knowing even one or two letters can give you the right answer. But how do you know what books are actually out of place? Well, you can guess, using context clues. Or you can just look at the bulleted lists below. Your call. The lists below name all the books that belong in each laboratory. Find a book in a library that’s not on the appropriate list, and you know it contains part of mayor’s riddle.
Scientific Research Library
- Data on Experimental Animals Living Near Midgar
- Mako Energy and the Rise in Life Forms
- The Ancients in History
- File on Dr. Gast, Biologist
- Final Evolutionary Stages in Land Dwelling Life
- Report on High Mako Levels in Living Beings
Space Dev. Research Library
- Diminishing Mako Energy and Planet Movements
- Modern History of Midgar Space Program Vol. 2
- Results of Failed Space Mission “YA-79”
- Modern History of Midgar Space Program Vol. 1
- Shinra Rocket Space Travel
- Economic Report: Space Dev Program
Urban Dev. Research Library
- Problems with Plate Construction in Midgar
- Midgar City Map: Sectors 5-8
- Reactor Construction Chart
- Midgar City Map: Sectors 0-4
- New Plans for Urban Planning
- An Illustrated Guide to City Planning
Weapon Dev. Research Library
- Plan for New Land Weapons
- Materia Production and its Military Uses
- Breakdown of SOLDIER Members by Class
- Heidegger’s Shinra Peace Keeping Law
- Ranks and Extended Use of Mako Weaponry
- Economic Report: Anti-Shinra Activities
If that’s not enough information, you can always go and ask Hart for information, who will sell you hints at a progressively higher cost but unless you did a lot of grinding, you probably can’t afford all his hints, nor should you need to bother, since many of them are just information that’s already been covered in this guide. Failing that, just guess, especially if you know some of the letters. Guess until you get the answer right and if you didn’t get it on your first try, reload and pick the answer that was right the last time. As long as you set foot on the level, then left and saved your game (like you were told to do earlier), the password should have been set.
Your reward for enduring this puzzle? A piece of Elemental Materia . What does it do? It’s one of those rare Materia whose placement in your weapons or armor actually matters. If you put it in your weapon, it’ll add a paired Materia’s element to your weapon. If you put it in your armor, it’ll grant you resistance to the same element as the paired Materia’s element, which is a bit more complex than adding an element to your weapon, since elemental resistance has several grades of potency.
For example, pair Elemental Materia with some Ice Materia in your armor and you’ll gain a grade of Ice resistance. To check this, go into your inventory, check the status of the selected character, and hit the [Circle] button (Playstation) or whatever button you have the [OK] function set to… by default, the “X” button… but “X” as in the alphabet, not as in… a symbol. Anyways, do this to scroll to your elemental attacks/resistances, the latter of which comes in three grades; Halve (halves elemental damage), Invalid (negates elemental damage) and Absorb (elemental damage heals you instead of harms you). As your Elemental Materia levels up, it’ll increase the grade of resistance you’ll get from paired Materia.
Long story short, pair it with an elemental piece of magic Materia and enjoy your resistance or damage. It’s good stuff. Just be wary that elemental damage on your weapons can be a… double-edged sword (pun intended), as enemies that absorb or resist elemental damage will be affected by an elementally-aligned weapon accordingly.
63rd Floor
Go up the stairs along the eastern side of the 62nd Floor to reach the 63rd Floor, where you’ll find another puzzle! This one is cakewalk, though, and fairly lucrative. Head south to find a small corner room with a terminal in it, which will detail the specifics of the puzzle: you can open three doors on this level, the goal being to nab Coupons lying around, which can be redeemed for goodies. Just stay out of the air ducts!
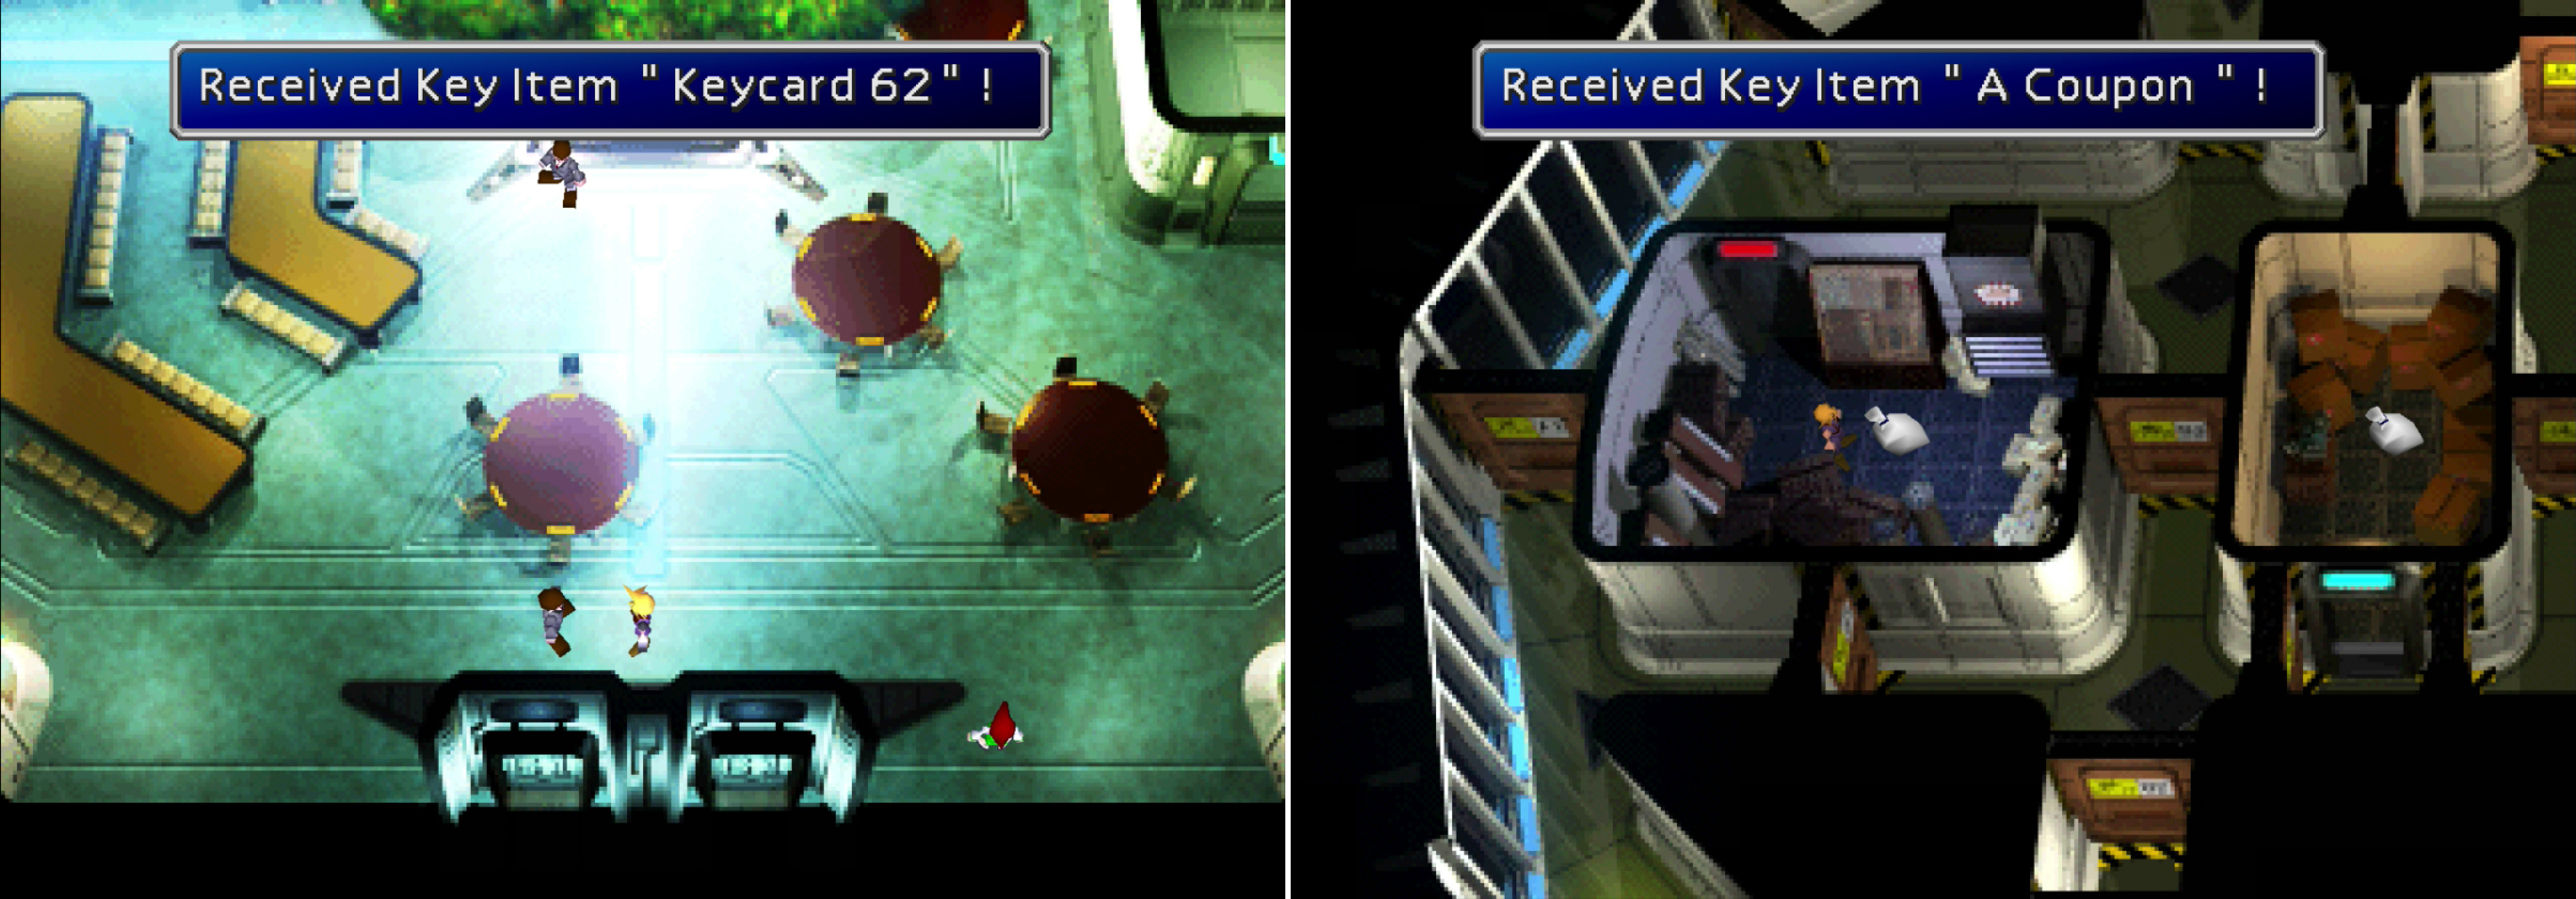
A misinformed Shinra employee will simply hand you his “Keycard 62” if you keep quiet (left). Disregard orders to stay out of the air ducts and claim all three prizes on the 63rd Floor (right).
Leave the room and run north along the eastern side of the level, then wrap around to the west when you run out of north. Open the first door to the west, then continue west until two doors block your path - one to the south, and another one to the west. Open the southern door and go into room beyond, where you can pick up the “A Coupon” . Climb into the air duct, then climb south, then east until you reach an intersection, at which point head north and exit the ventilation system. You’re now in a small room, right next to another goodie. Grab the “B Coupon” , leave the room, and open a door to the west to reach another room, in which you’ll find the “C Coupon” . Return to the eastern room and climb back into the air duct, then climb south, then east to return to the terminal room, where you can redeem your three coupons to obtain a Star Pendant (an accessory that prevent the Poisons status effect), Four Slots , a four-socket piece of armor, and a piece of All Materia .
64th Floor
Head up to the next level to reach a gym. How nice of Shinra to provide a fitness center… but only for their big-wigs. Along the northern end of this level you’ll find a locker room, which you can scour for a Phoenix Down , an Ether and a megaphone… which just so happens to be one of this game’s ultimate weapons. Unfortunately, since Cloud is a putz, he decides that holding onto it won’t do any good, and leaves it behind. So lame, Cloud, so lame.
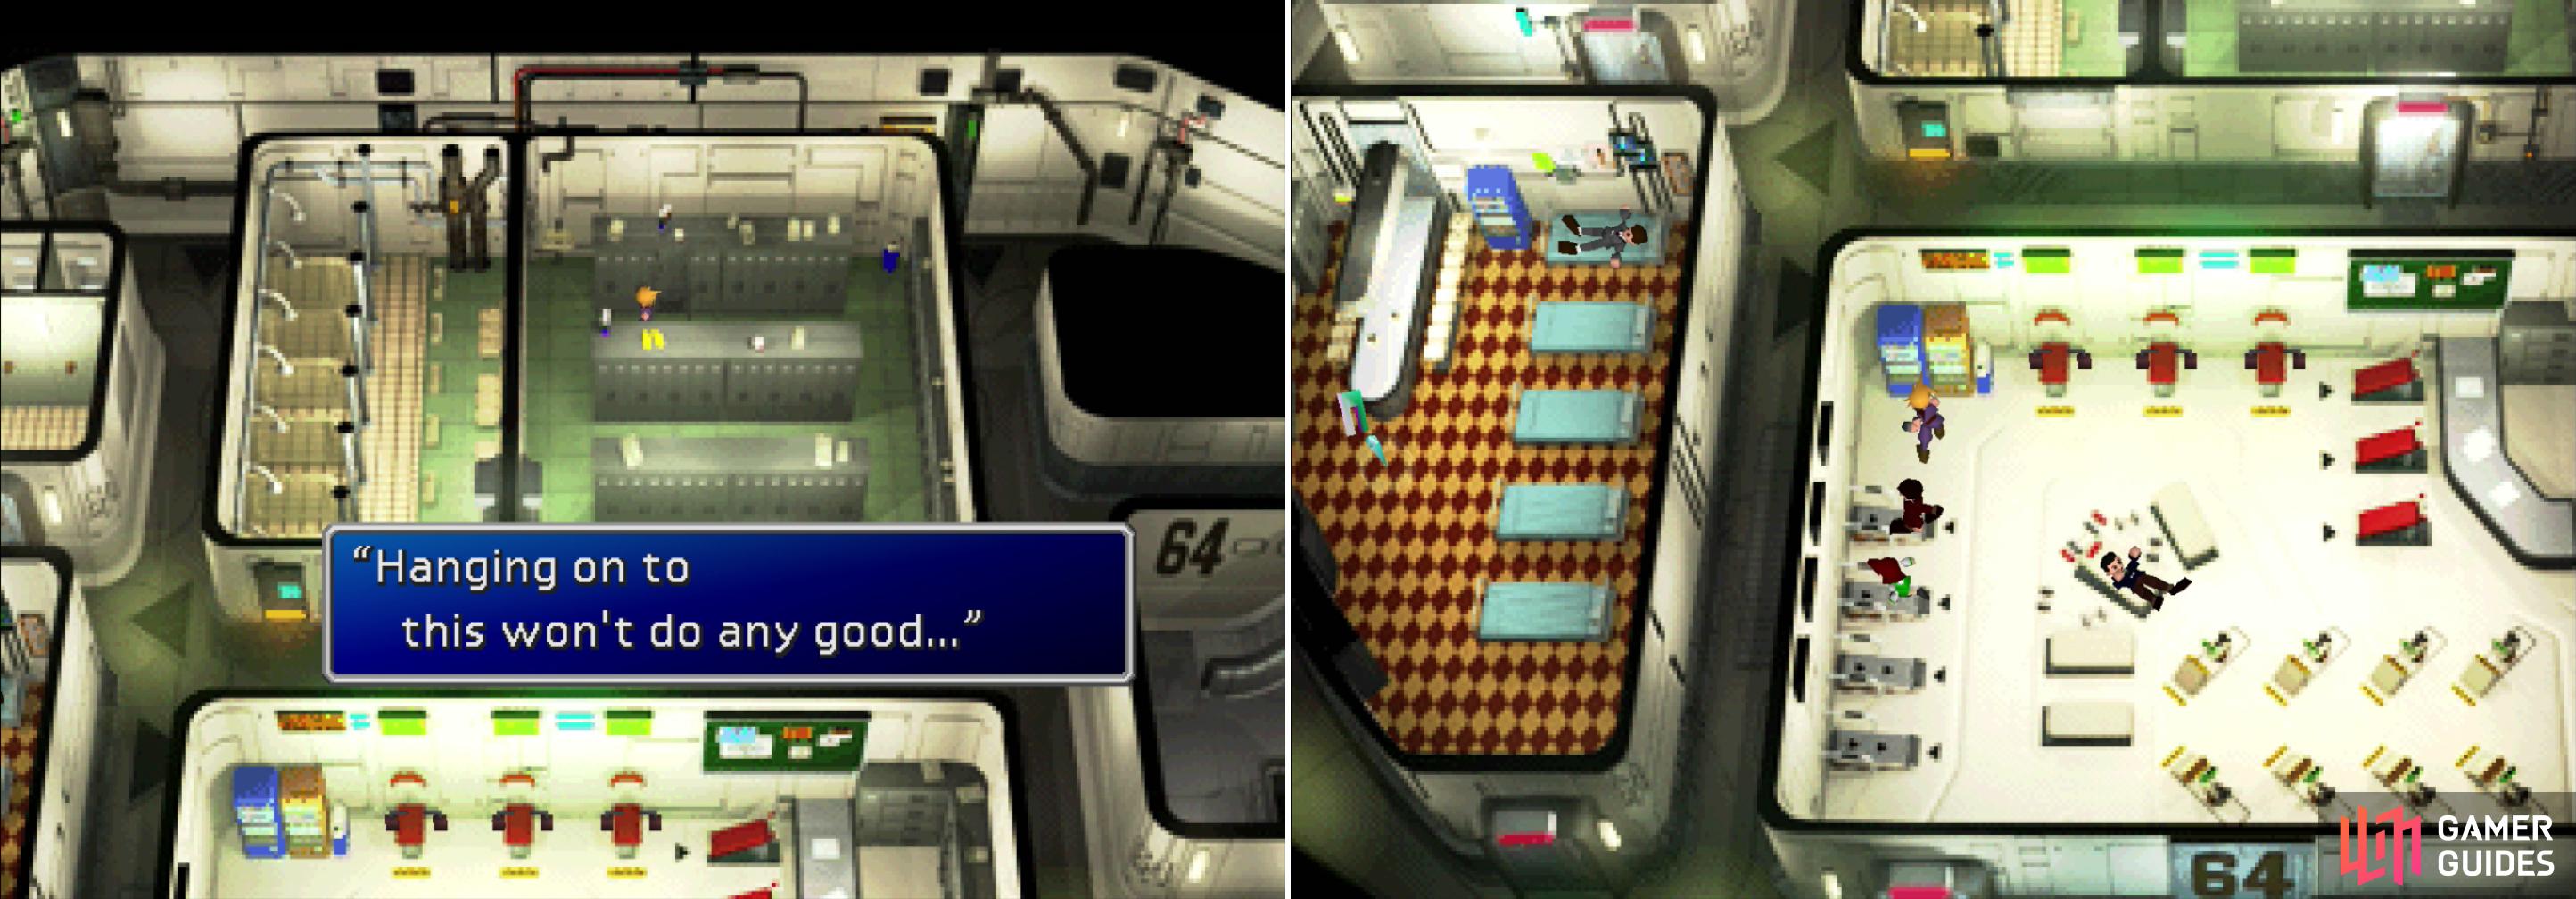
Cloud, in his ignorance, ends up leaving behind one of the most powerful weapons in the game (left). What a dink… If you assault the vending machine now, you can harvest it for some goodies much, much later (right).
Now visit the room to the south - the one with all the fun gym machines - and interact with the vending machines in the corner. Pony up 250 Gil and the machine will rip you off, as vending machines tend to do. Pummel the machine and the gym manager will yell at you. Don’t worry, this investment will pay dividends later. Travel to the room to the west to find a Save Point. You can also rest here. Well… it’s not like Aeris is going anywhere, right?
No Comments