
During your first visit to Ginormosia midway through Act 1, you probably won’t be too impressed by it. At a glance, you’ll get access to some new, desert-themed materials and have to deal with environmental damage, which in itself is little more than incentive to indulge in a mount tutorial, two things which, frankly, aren’t important gameplay elements going forward. While your first impression may not instill in you a burning desire to return to Ginormosia, there are some rewards for doing so - albeit rewards that take a fair bit of time and effort to realize. If you discover the Tower in each region you’ll be able to start improving the Area Rank of each region, which can give you access to some of the rarest materials in the game! This page will discuss the most effective ways to increase each region’s Area Rank and what spawns are unlocked once a region’s Area Rank is high enough in Fantasy Life i: The Girl Who Steals Time!
Page Breakdown
| Quick Search |
|---|
| Area Ranks and Rewards |
| Area Rank Requirements |
| Boss and Legendary Rank-Dependant Spawns |
| Earning Area Points |

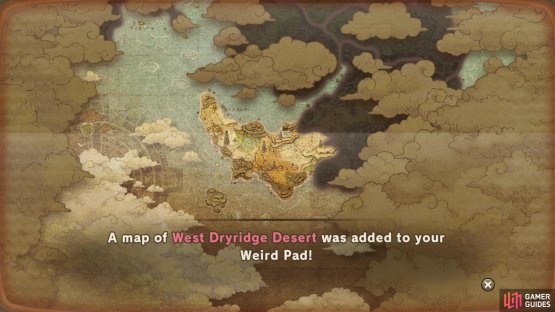

(1 of 2) Finding Towers will dispel the fog of war in the region the Tower is located in,
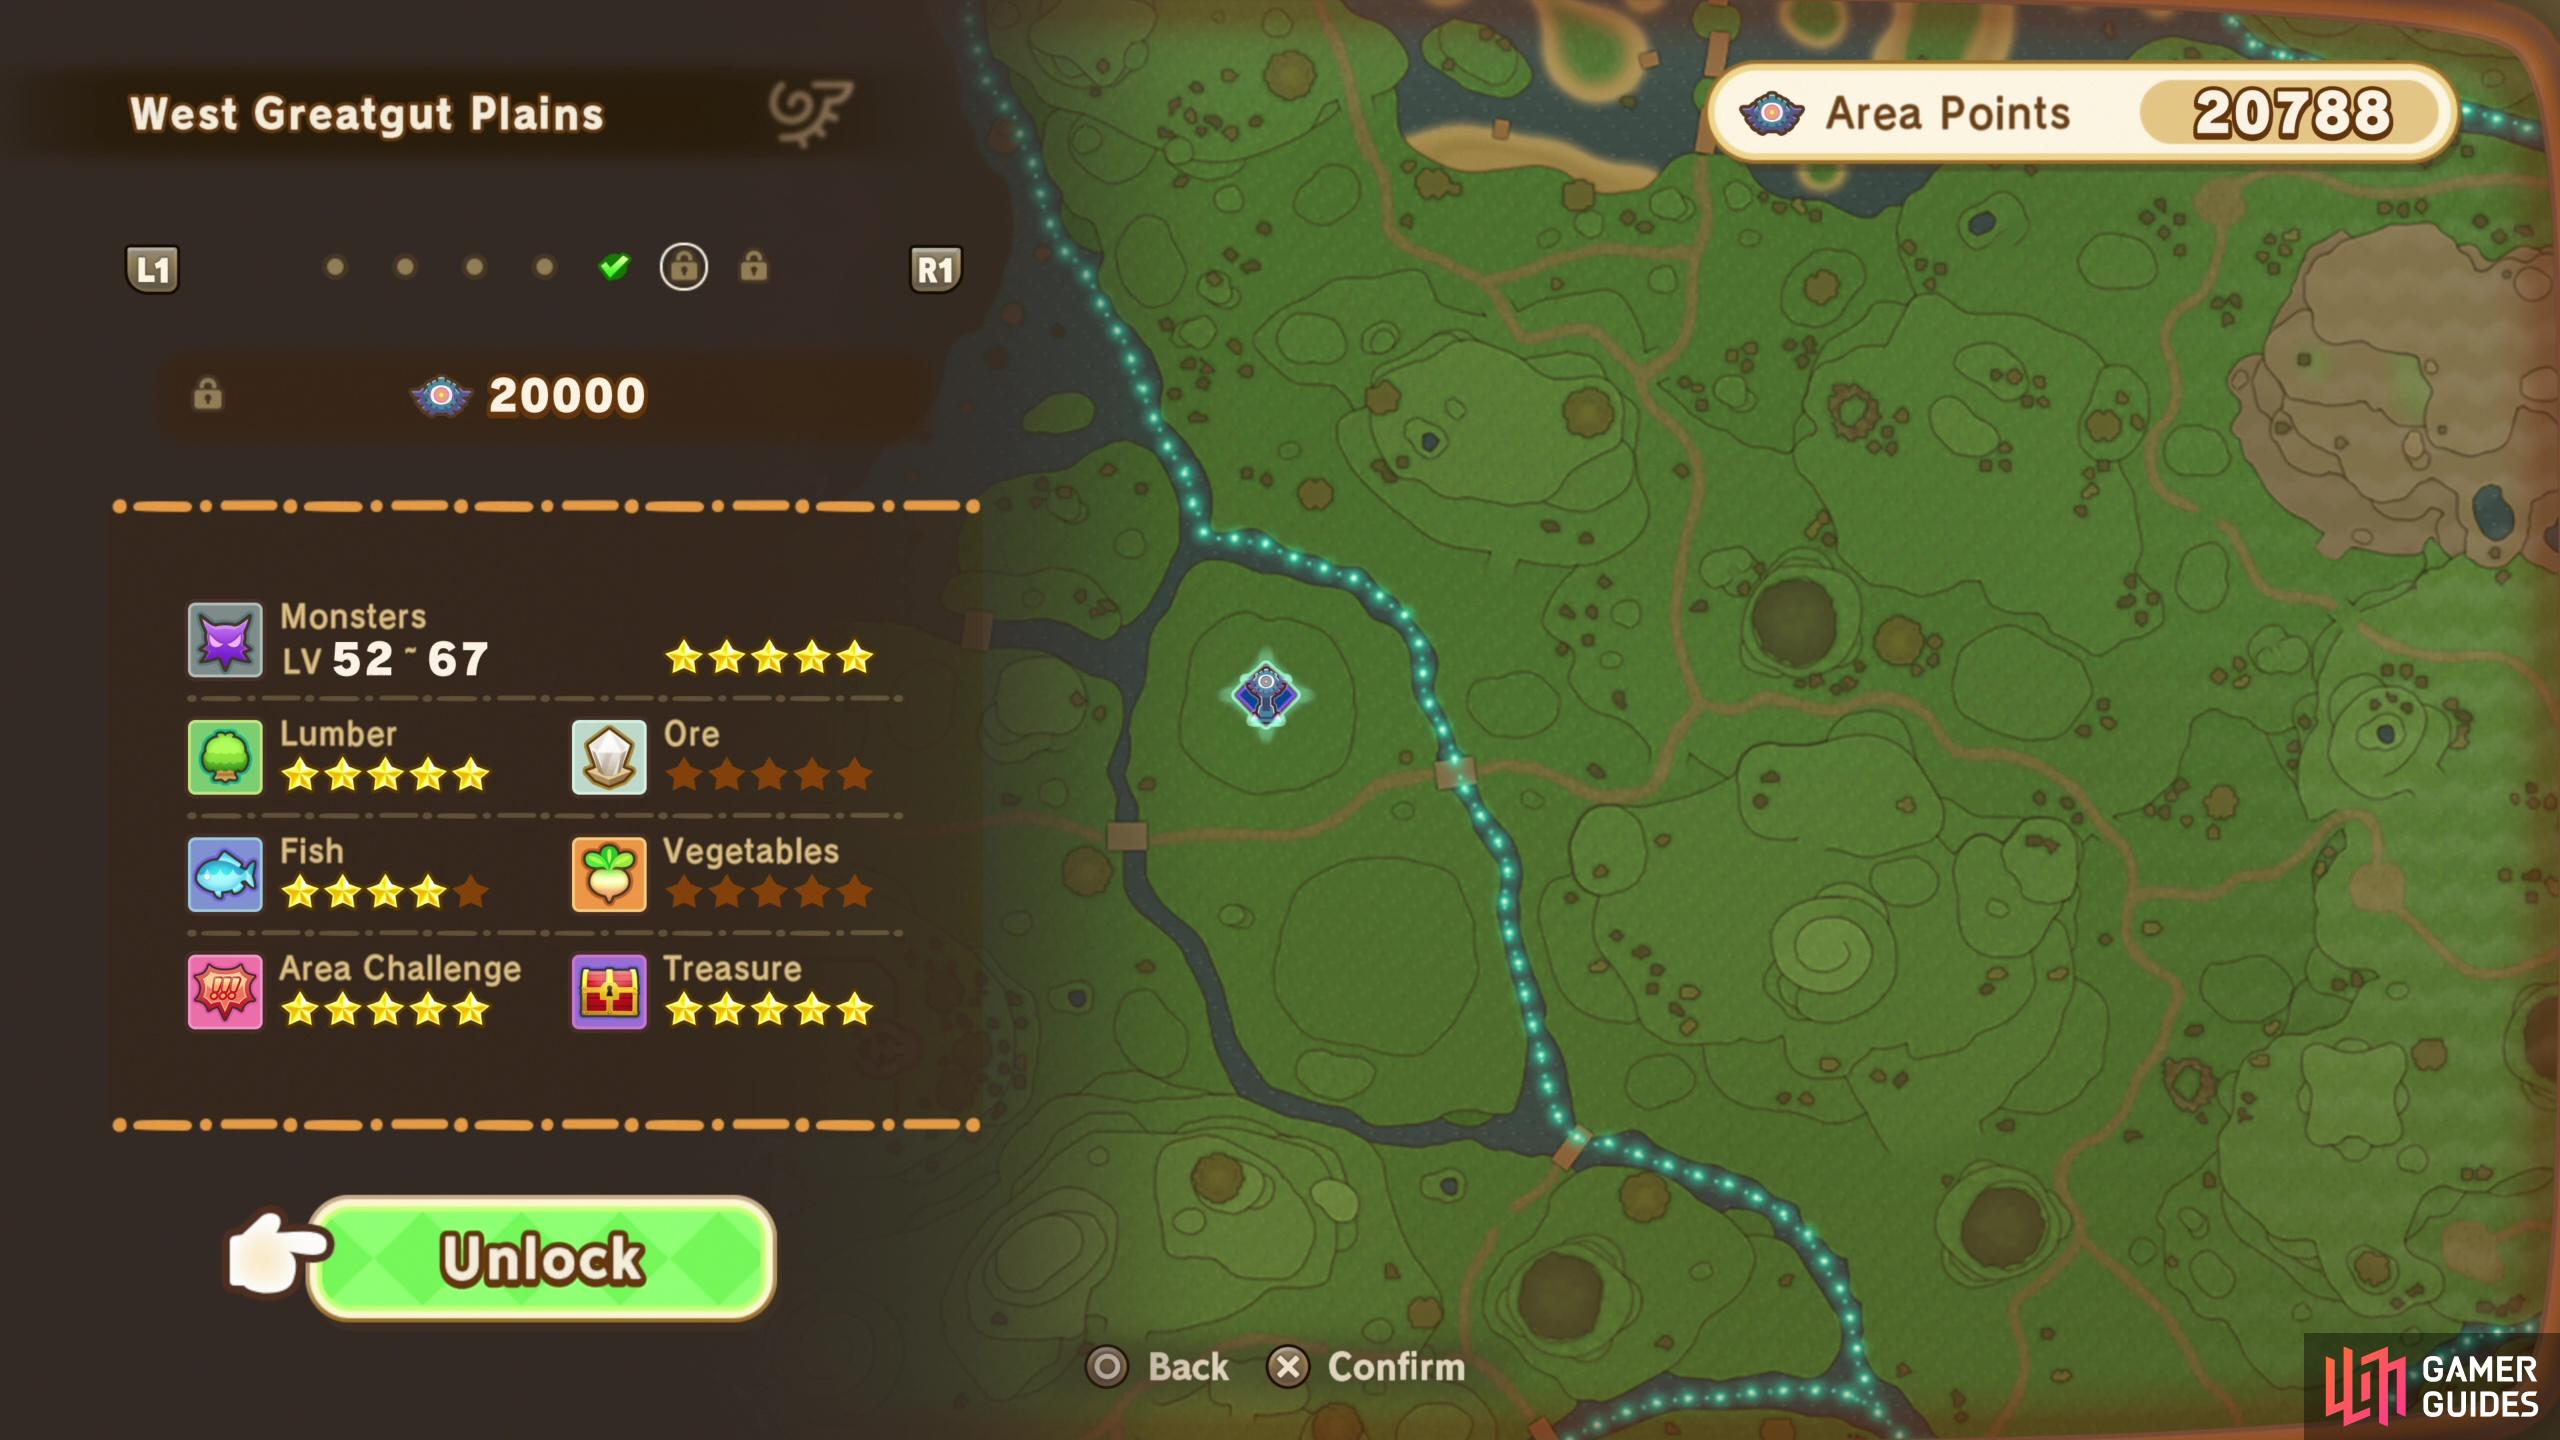
Finding Towers will dispel the fog of war in the region the Tower is located in, (left), and even better, you can rank up each region by earning Area Points. (right)
Area Ranks and Rewards
Once you find reach region’s Tower (see the linked page above), all you have to do is interact with it to unlock the fog of war. This is already a nice reward, as it makes exploration much easier, but in addition you can also start increasing the Area Rank of a region whose Tower you’ve interacted with, just talk to the Tower and pick the option “Area Rank Settings”. Each region starts out Area Rank 1, but this can increase up to Area Rank 7, and each Area Rank costs progressively more Area Points to unlock. We’ll discuss Area Points more below, but for now just know you earn Area Points for engaging in challenges, completing quests, defeating monsters and completing gathering minigames in each area. The Area Points required to increase Area Rank is as follows:
Area Rank Requirements
| Rank | Area Points Required |
|---|---|
| 1 | – |
| 2 | 200 |
| 3 | 1,000 |
| 4 | 3,000 |
| 5 | 8,000 |
| 6 | 20,000 |
| 7 | 150,000 |
Fortunately the cost for these Area Ranks are cumulative, so from Area Rank 3 to 4 you only need 2,000 Area Points, not the full 3,000, but when you’re plinking about in regions these point costs can seem quite brutal, and no, they’re not remotely balanced - some regions are just much easier to rank up than others.
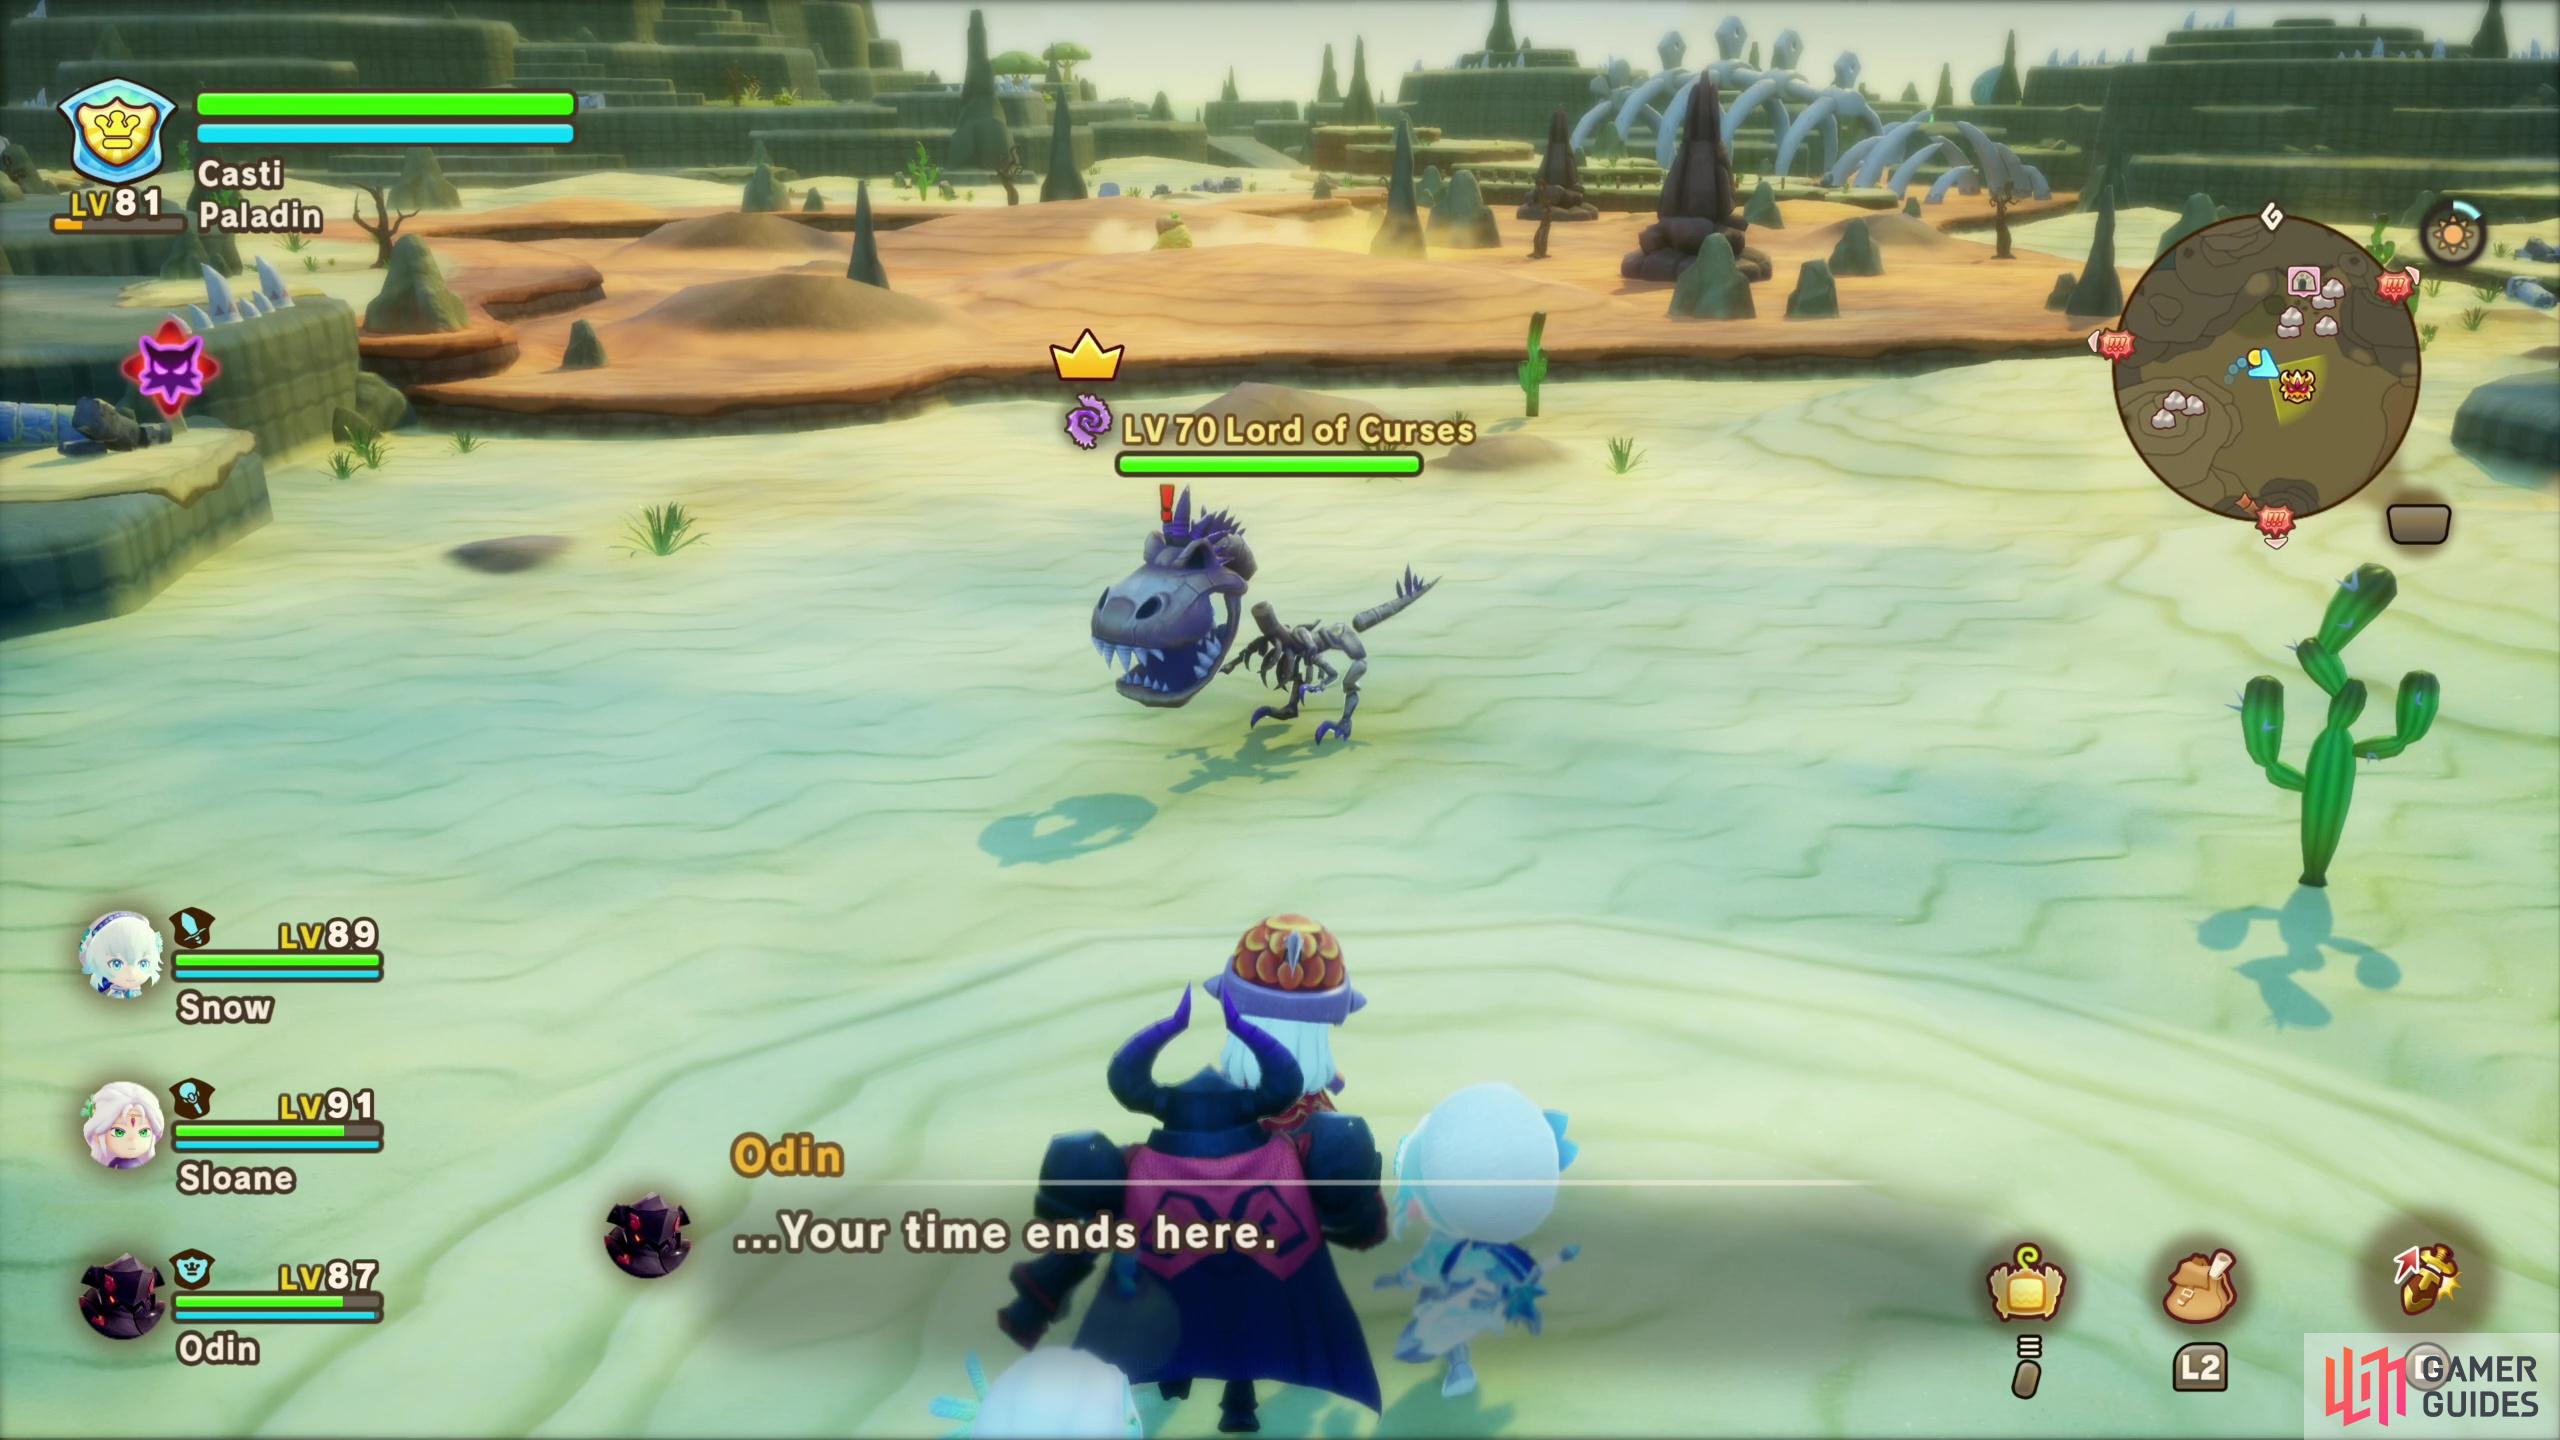


(1 of 2) The big draws of increase Area Rank are the new bosses that will spawn,
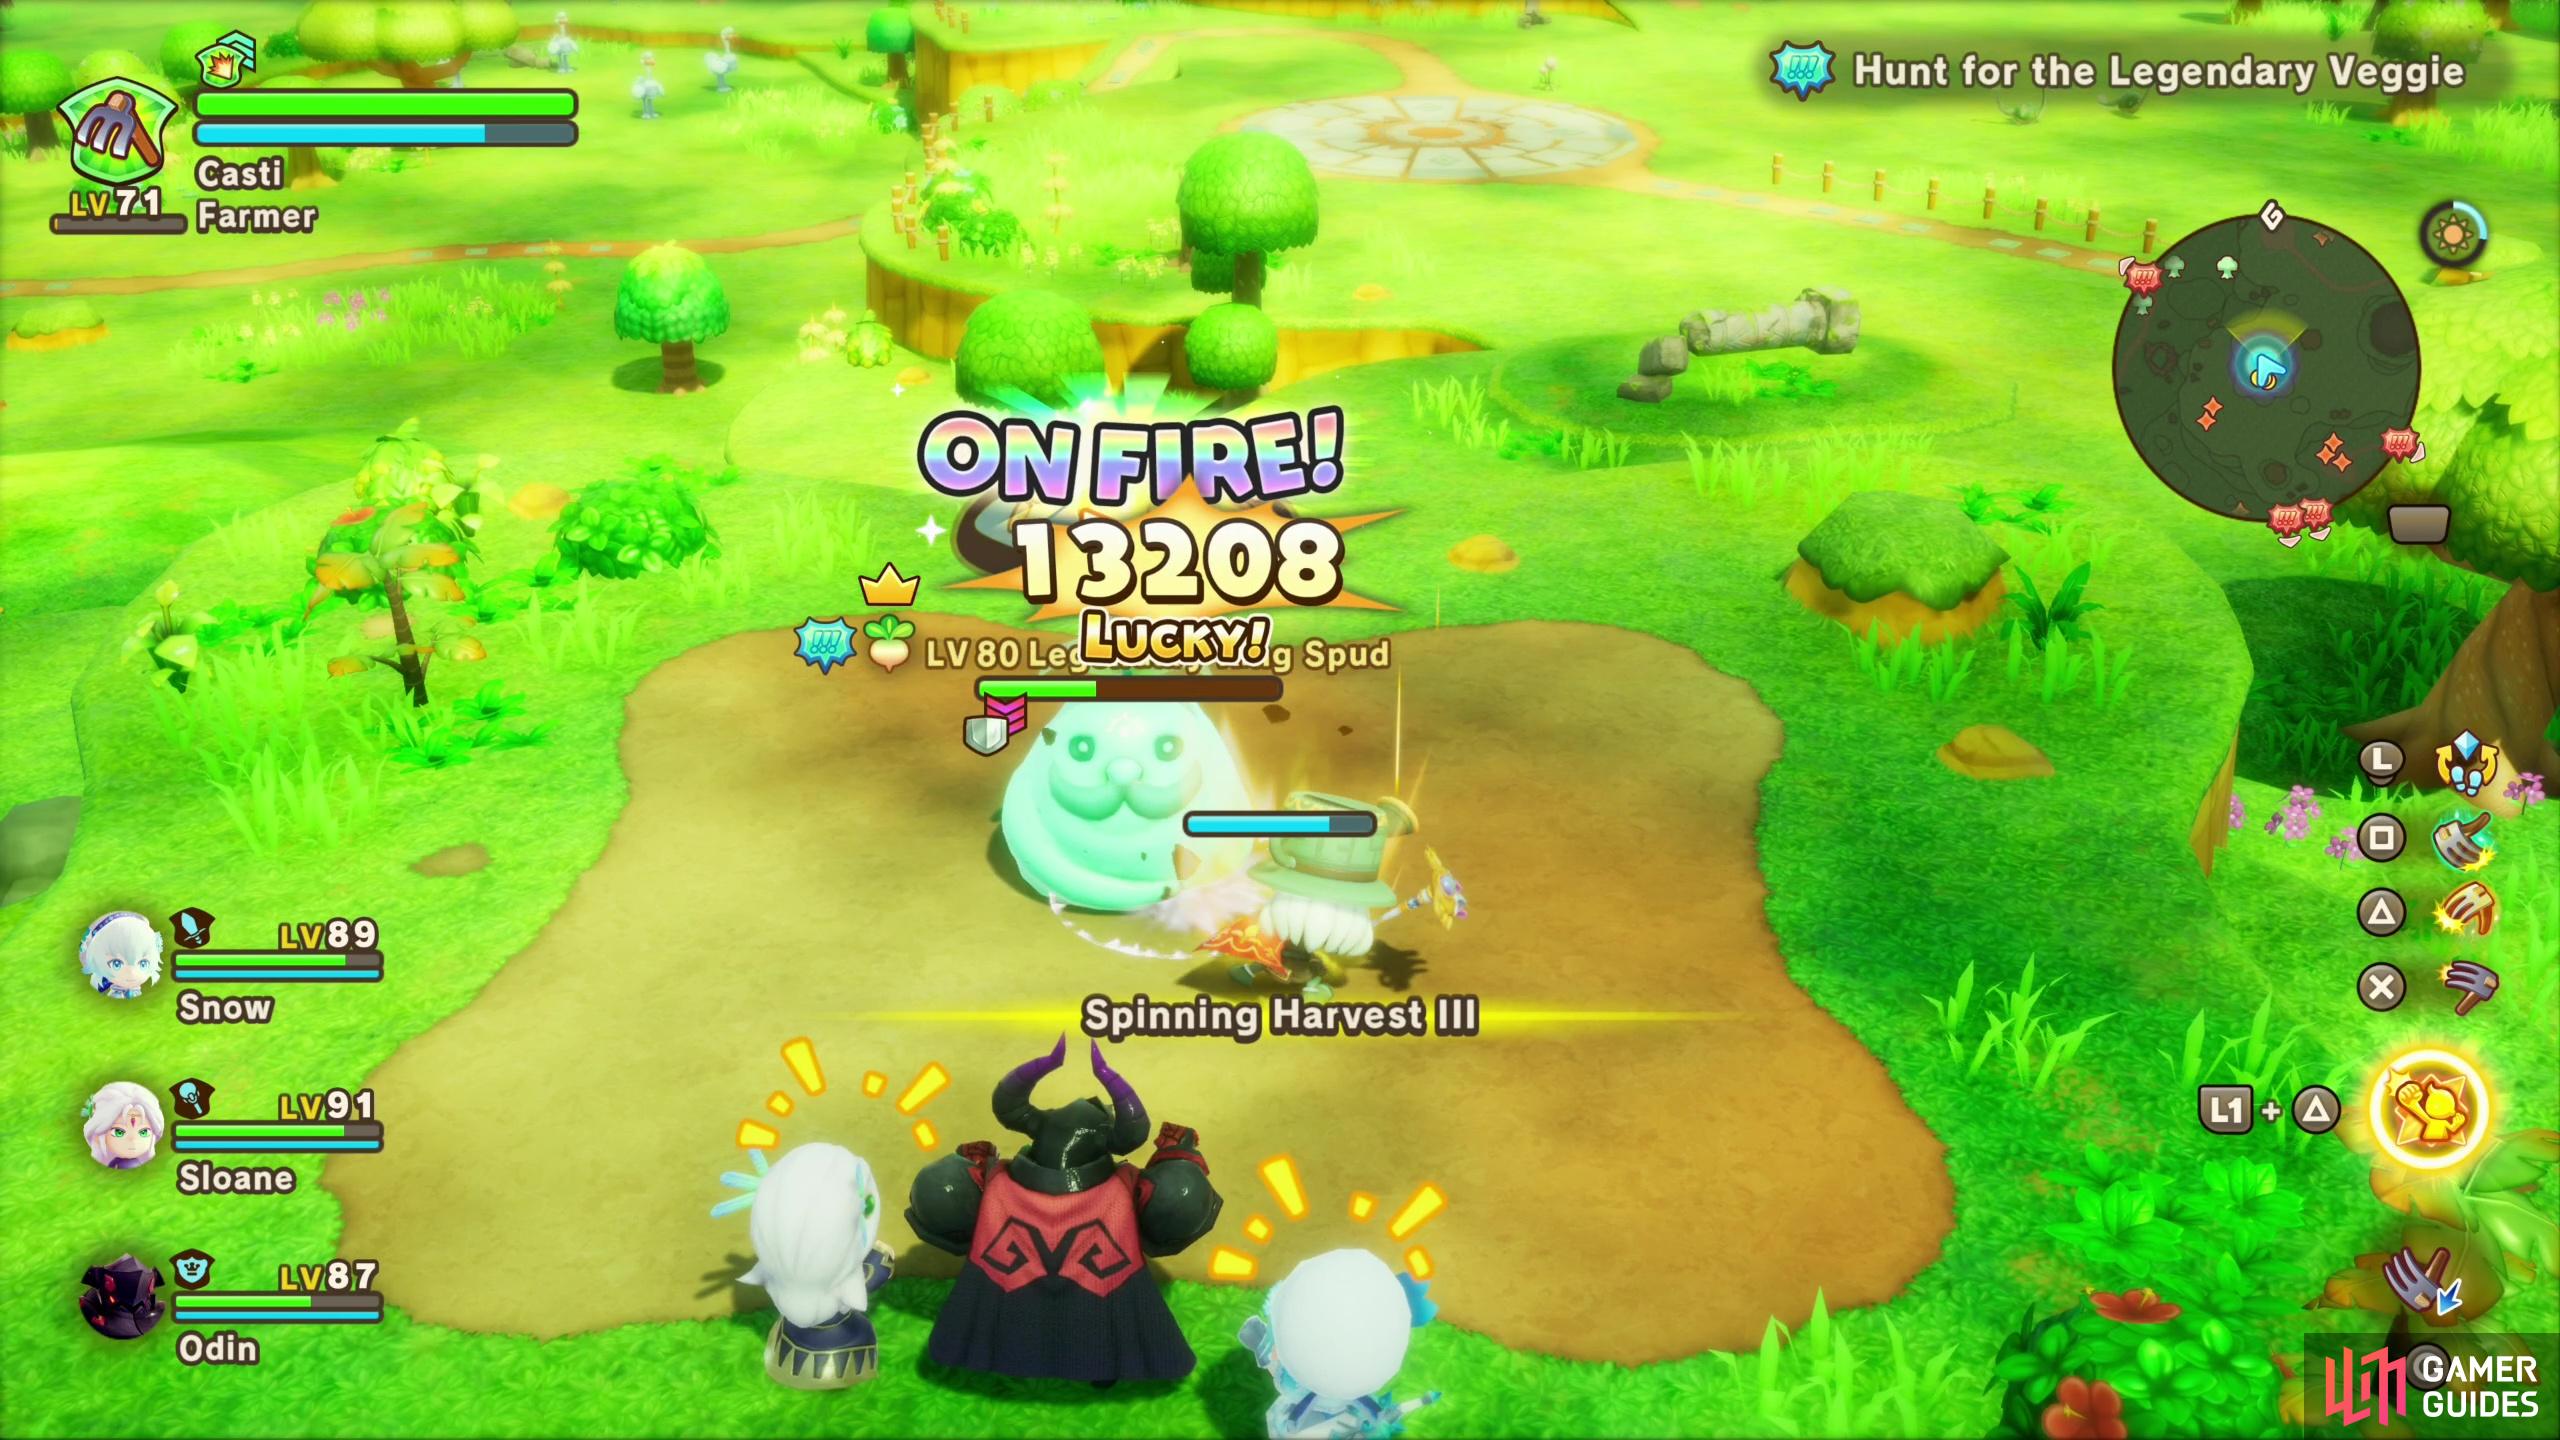
The big draws of increase Area Rank are the new bosses that will spawn, (left), and legendary targets! (right)
When a region’s Area Rank improves a number of parameters may change, including Monster Level, Lumber, Fish, Area Challenge, Ore, Vegetables and Treasure, all of which are ranked between 0 and 5 stars. These ratings are generally vague enough to be ignored inasmuch as you’re aware that at 0 stars none of that particular resource may spawn (the Viridia Plateau is the only region to spawn vegetables for you to harvest, for example) and that the levels of everything increases as Area Rank goes up. Some new enemies may appear as you increase a region’s Area Rank (![]() Fortoise enemies don’t spawn in the Moltana Wastes until Area Rank 3+, for example), but the major goal when it comes to grinding out Area Ranks is Rank 5, at which point “boss” variants of enemies, trees, ore and fish may spawn. These are on a 5:00 counter like every other boss spawn in the game, but it may include new spawns of otherwise rare materials… because at the end of the day who wants to run a dozen Treasure Groves hoping RNG will show mercy when it’s much faster to just farm the same thing more reliably in Ginormosia?
Fortoise enemies don’t spawn in the Moltana Wastes until Area Rank 3+, for example), but the major goal when it comes to grinding out Area Ranks is Rank 5, at which point “boss” variants of enemies, trees, ore and fish may spawn. These are on a 5:00 counter like every other boss spawn in the game, but it may include new spawns of otherwise rare materials… because at the end of the day who wants to run a dozen Treasure Groves hoping RNG will show mercy when it’s much faster to just farm the same thing more reliably in Ginormosia?
Below you’ll find a list of all Area Rank dependant boss and legendary spawns in Ginormosia:
Boss and Legendary Rank-Dependant Spawns
Most of the legendary spawns will start appearing at Area Rank 3+, while the boss spawns typically begin at Area Rank 5+. There are only a few notable exceptions: boss objectives that appear as part of challenges may spawn earlier, like the ![]() King Woolie from the “Head of the Flock” challenge. Otherwise the only major outlier is the
King Woolie from the “Head of the Flock” challenge. Otherwise the only major outlier is the ![]() Napdragon in the Westgreatgut Plains, which starts appearing at Area Rank 6+. Most boss targets are always spawned at Area Rank 5+, although monsters have a nasty habit of not being marked on the map until you’re close to where they spawn, so if you don’t see one of the creatures mentioned above, fast travel to its home region and ride around on your map, checking your map until it appears - you don’t usually have to be all that close. The fastest way to refresh what legendary targets and challenges are active is by just heading to any Tower and changing its Area Rank. This will reroll the entire map, not just the region you’re in.
Napdragon in the Westgreatgut Plains, which starts appearing at Area Rank 6+. Most boss targets are always spawned at Area Rank 5+, although monsters have a nasty habit of not being marked on the map until you’re close to where they spawn, so if you don’t see one of the creatures mentioned above, fast travel to its home region and ride around on your map, checking your map until it appears - you don’t usually have to be all that close. The fastest way to refresh what legendary targets and challenges are active is by just heading to any Tower and changing its Area Rank. This will reroll the entire map, not just the region you’re in.
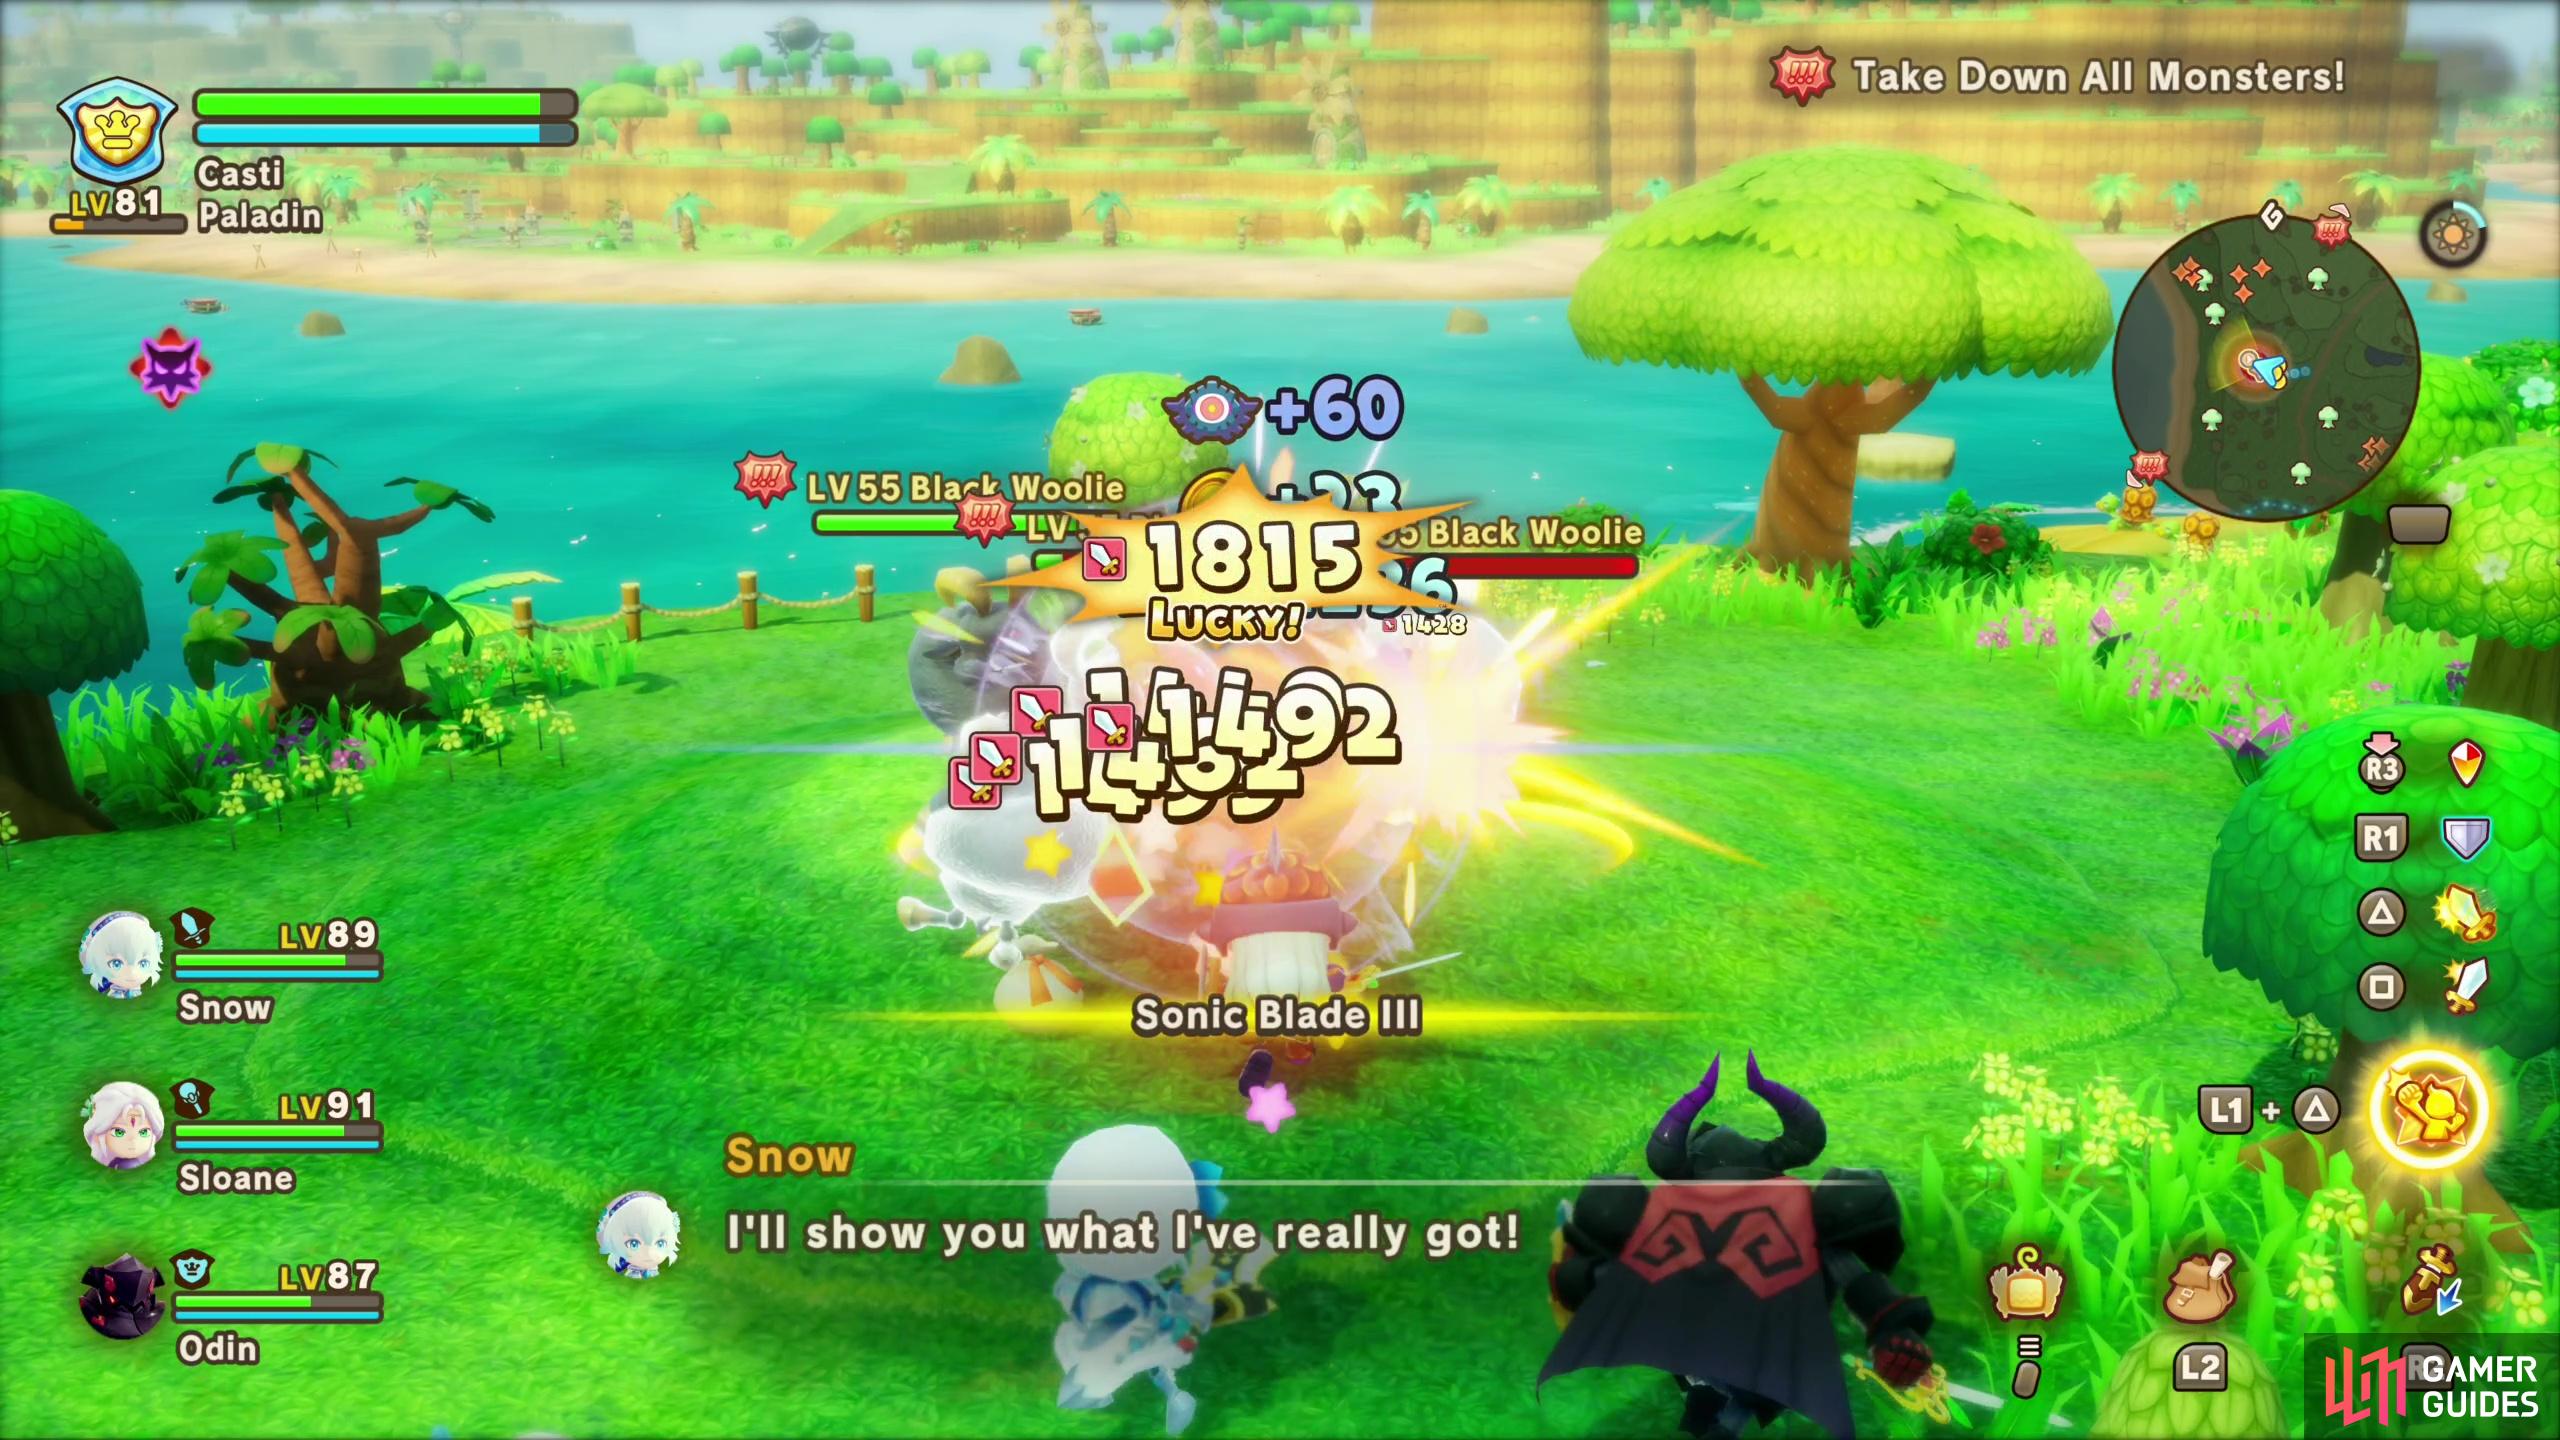

(1 of 3) Challenges usually task you with defeating enemies,
Earning Area Points
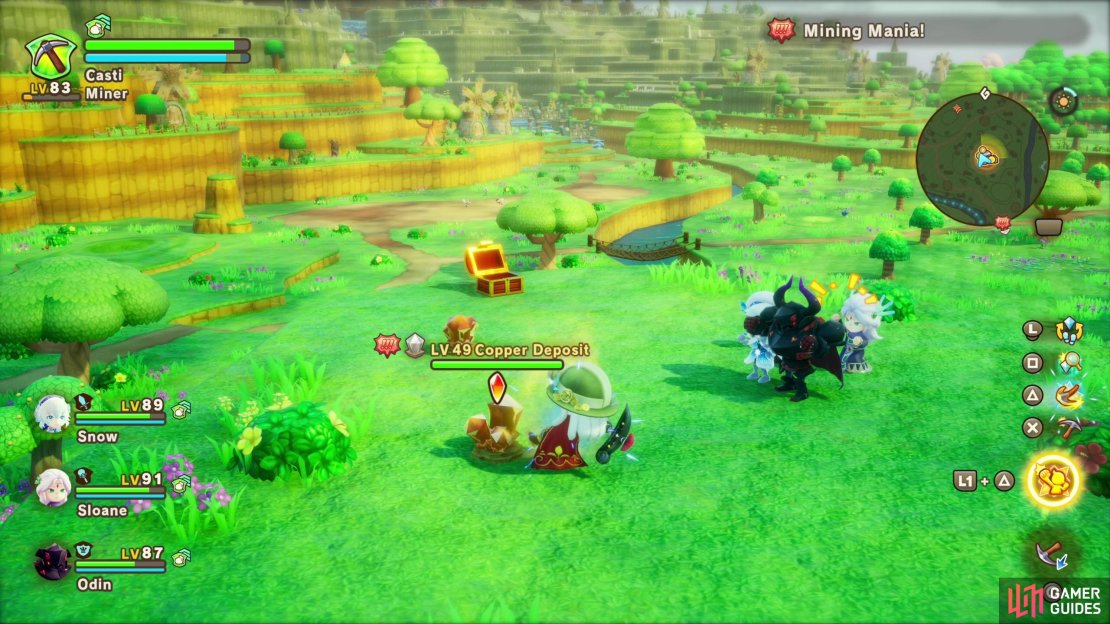
Now that you know how Area Ranks work and what incentive there is to increasing them, it’s time to go a bit in-depth on how to best achieve this. You’ll earn Area Points for engaging in almost every activity in a region, including:
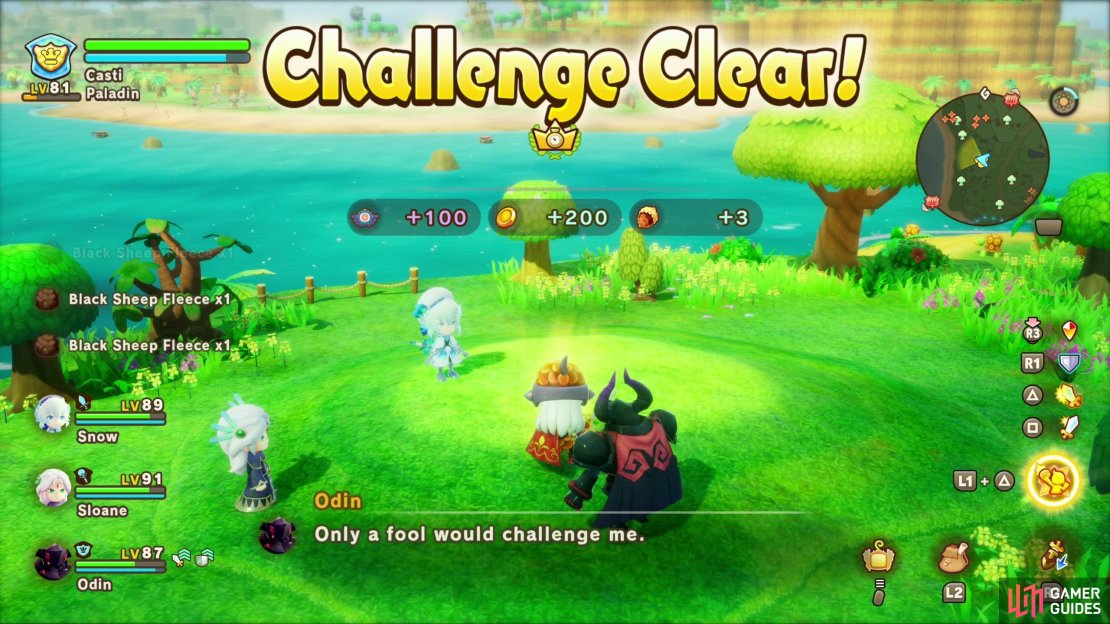
- Completing challenges
- Chopping down trees
- Mining ore
- Fishing
- Harvest vegetables
- Defeating enemies
- Completing quests
- Opening chests
Chests generally give you 20-50 Area Points, and only static chests count - chests dropped by enemies don’t count, and ![]() Mimics count as enemies. Speaking of which, enemies, ore, fish, trees and vegetables all give you varying amounts based on the Area Rank of the region - the stronger the target, the more Area Points you get. Boss enemies give more Area Points than normal enemies, while normal enemies also generally give less than gathering resources, but neither are particularly worth doing on their own at low ranks.
Mimics count as enemies. Speaking of which, enemies, ore, fish, trees and vegetables all give you varying amounts based on the Area Rank of the region - the stronger the target, the more Area Points you get. Boss enemies give more Area Points than normal enemies, while normal enemies also generally give less than gathering resources, but neither are particularly worth doing on their own at low ranks.
At Area Rank 4+ you may start getting 30 Area Points each time you succeed at a gathering minigame, which raises to 60, and 180 at Area Rank 6, which can make this an awfully attractive means of getting Area Points provided you can complete the minigame fast enough. This is especially true of the Viridia Plateau region - the only region in Ginormosia that spawns crops you can harvest. You can usually find 3-5 crops in a field at a time and you can easily gain hundreds of Area Points just by harvesting them. It doesn’t hurt that there’s usually a challenge tasking you with doing exactly this
Speaking of challenges, these will be your main way of earning Area Points, as each one can give you 50-200 Area Points upon completion regardless of what the Area Rank currently is. Some challenges will just task you with cutting down several trees, mining several ore deposits or defeating a handful of enemies, but there’s a bit of variation in these. Others have you watching a race between the proverbial tortortoise and hare (just kill the rabbit to complete the event) or settling a standoff between a frog and a snake (kill the snake). Just switch between Area Ranks in any region and look for purple monster icons on the map - these indicate active challenges. While there is, at a glance, not much incentive to complete challenges on higher Area Rank, more challenges may spawn at higher Area Ranks (both number and variety) and it’s worth noting that you also get Area Points for completing gathering minigames and defeating enemies in addition to whatever Area Points the event itself gives you, so at higher Area Ranks you could easily get getting 240 Area Points from mining in addition to the 50-100 Area Points from the challenge itself.
Finally there are legendary spawns. These aren’t the best way to boost Area Points as they’re infrequent and only one will spawn at a time (in a random region, we might add!), but they can be a treat when they do spawn! Not only do they give you rare endgame materials, but the gathering legendary spawns (trees, fish, ore, vegetables, etc) will reward you with a whopping 1,000 Area Points if completed. Sadly the legendary enemy, Don Woolie, isn’t as generous, but still worth farming for its drops.
Essentially you’ll want to swap Area Ranks at a Tower until a challenge spawns, then complete it for the 50-200 Area Points. Repeat this process in each region until you’re at Area Rank 4+, at which point you may want to consider killing enemies and gathering resources… depending on how fast your clear rate is and how appealing the materials on offer are. Otherwise just keep up the challenge grind, supplemented by the odd legendary spawn if you’re capable. It’s a tedious grind, but if you want to turn Ginormosia into the treasure trove it aspires to be, you’ll get every region up to Rank 5+.
No Comments