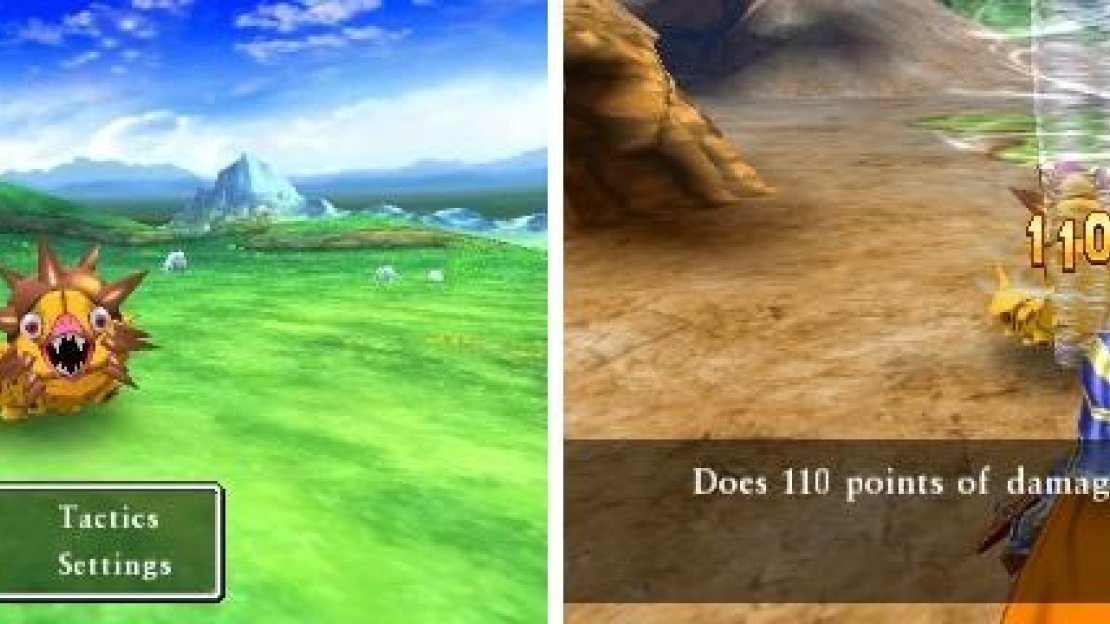
You are now in control of Sir Mervyn, who is solo and doesn’t have any backup. There’s nothing to do in Buccanham, so leave and head north to The Beacon. As already mentioned, you don’t have anyone else in your party right now, so it’s in your best interests to avoid battles along the way, unless you are overleveled or have access to some nice skills (like Thin Air or Scorch). Unfortunately, there is a guard at the entrance to The Beacon, who refuses to let you in without the king’s permission.
All battles when solo with Sir Mervyn will be one-on-one.
Your next destination is now the Den of the Dwarves, so enter the place and fight your way down to Dinky Dell. Speak with the king, tell him no and he’ll grant you access to The Beacon. Exit the Den and make your way back to The Beacon, climbing to the top and inspecting the Guiding Light. This will make its way over to the others in the Shrine of Mysteries, opening up the red portal, bringing you to Burnmont.
Waking the Fire Spirit
Upon arriving in Burnmont, exit the place and make the trek over to Emberdale. Before doing anything else, go to the four braziers in the corners of the village and speak with the people at three of them, which will spawn some monsters. Defeat them all and enter the Gaffer’s house, speaking with the old man blocking the stairs. Go upstairs for a short scene, with Pamela joining you as a guest, then go back to the weapon/armor shop on the west side of the town, speaking with Pamela’s assistant. Head back to Burnmont, speaking to the guy outside to see if Maribel needs any updates to her equipment, then go inside. Talk with the big guy at the bottom to be allowed deeper into the dungeon.
| Enemies |
|---|
| Blazing Wingwyrm, Delusionist, Dragster, Gem Slime, Gripevine, Live Lava, Mild Headache, Purrestidigitator, Skeleton Squire |
Your goal for right now is to get back to the spot where you fought the Glowering Inferno in the past. Make sure you use the healing circle along the way, as you will likely be needing it. Once you get there, there is an opening to the north, so take it and use the stairs to go down to a new area. Keep taking the stairs until you come into a room with some flames erupting from holes. There will be a chest in the central area of the room, which contains a Magma Staff . Grab it and keep diving until you come to a three-way split.
Head north first to find a chest with a Mini Medal (#97) , then west to heal up with the healing circle. South leads to the exit and a very large room. When you get the first opportunity to head south, do so to find a chest with a Seed of Strength , then go north and west to get to the “lower” level of the room. From here, head east and when you can go south, do so to find a chest with an Yggdrasil Dew in it. Continue north until you eventually come to a door. Attempt to open it to only have it remain shut, which prompts Palmela to chime in with a story while you wait. You’ll receive the Conflagration Key and Kindling Oil , so you can open the door now. Walk up to the ledge to trigger a boss fight.
BOSS - Fire Spirit
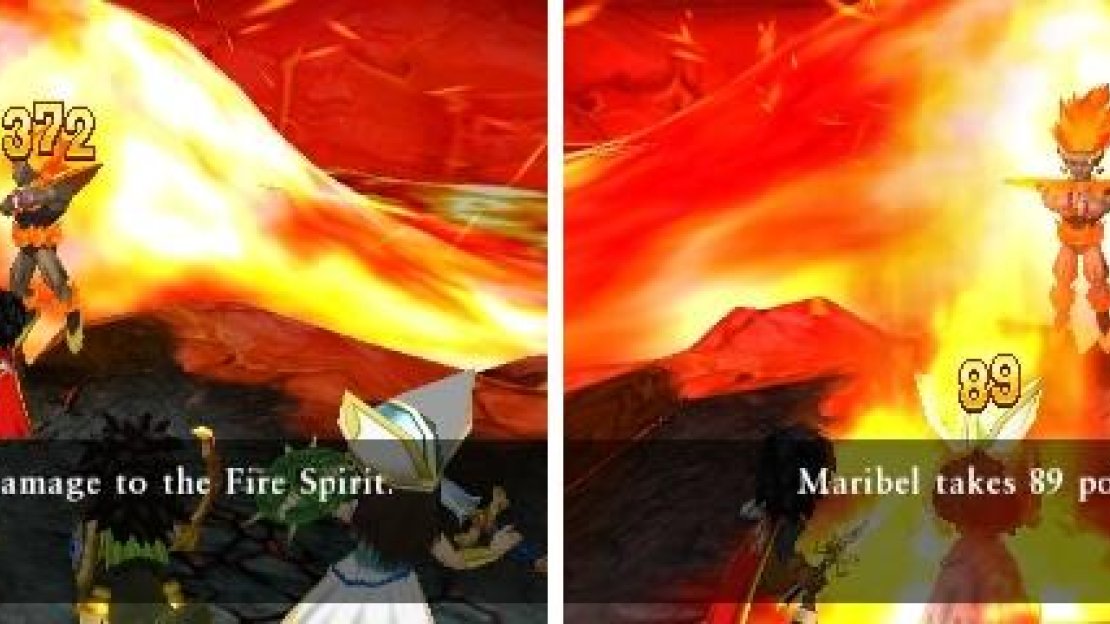
As you can guess, the Fire Spirit has a lot of fire moves in his repertoire, so you will want to get up a Magic Barrier and Insulatle to help mitigate them. He has a fire breath attack that can hit everyone for around 40-50 damage, a flame ball attack that can hit a single person for around 160 damage and access to both Kafrizzle and Frizzle, hitting the party for around 80 and 50, respectively. He also has War Cry, which can make your characters lose a turn if they get hit with it. He has one more attack, where he can summon magma from the ground, dealing around 70-80 damage to the entire party.
Knuckle Sandwich, when Oomphed, can deal a lot of damage (left). His flame ball attack can deal some high damage if not protected against it (right).
Mentioned in the previous paragraph, Insulatle and Magic Barrier will help a lot in making the damage the Fire Spirit does more manageable. As for attacks, remember the strategy outlined in the battle against the Demon King? That still works wonders here, as Oomph and Knuckle Sandwich together will deal a lot of damage. If you have the Sage’s Stone, that should hopefully be enough to heal, but you always have Multiheal in case it isn’t.
After the battle is over, you will receive the Fire Amulet and will be finished here in Burnmont, so return to Emberdale. Once you’re finished there, return to Burmont and take the teleportal back to the Shrine of Mysteries. It seems that Mervyn can’t help with the other portals in the Shrine, so head back to Pilchard Bay for now. Talk to the lady blocking the stairs, then speak with your mother at the docks. Speak with the Mayor, then board the ship and go below deck, talking with the Mayor again.
It turns out the giant ship is actually the Sea Dragon, which you may remember from the Buccanham scenario. Some lengthy cutscenes will follow and once you finally regain control, you’ll have full reign of exploring the Sea Dragon. To start off, check out the room south of the one you begin to find a Pirate’s Hat in one of the drawers. The room with the stairs has a Captain’s Coat in one of the drawers, so grab it and then go up the stairs, going through the door on the left of the staircase to find a bunch of shops.
While a lot of items here are very expensive, they do offer some nice equipment that will likely be better than your current gear. When you’re finished gawking at the marvelous items and their exorbitant prices, break the pots in the kitchen for a Mini Medal (#98) and then check the drawers in the northwestern room for another Captain’s Coat . When you’re done here, go through the southeasternmost door and descend the stairs to your south.
The goods sold on the Sea Dragon are nice, albeit a bit expensive.
Break the barrels right in front of you for a Seed of Strength , then talk to the cat right near them to get a Mini Medal (#99) , answering yes to the undecipherable question. Head into the room above you and smash the pots for 20 gold coins , then pry open the chest for an Enclosure Plan . Enter the jail area and pilfer a Turban from the drawer there, then go up the stairs to get to the ship’s deck. There will be some barrels up the stairs and on the right side of the ship, where you can some Pilchard Crackers from them.
You passed by a man guarding a ladder, so return and speak to him to be given the option to disembark. You’ll be near Alltrades Abbey, in case you want to change up any Vocations, plus there’s a scene downstairs inside the Abbey. Head back to the ship and speak with Tarr, the man at the helm, to sail back to Estard Island. Disembark via the same NPC by the ladder and run back to the Shrine of Mysteries, where you will have the option of either the yellow door or the green one. They can be done in either order, so it doesn’t matter which one you choose first.


No Comments