Although you could’ve done this first portion whenever you finished up the events at Aeolus Vale, it was put here to put everything in one place. Zoom to Faraday Castle and go north to Frobisher. Instead of entering the town, continue east and cross over the bridge. The lone building here is the Pool of Piety and that’s where you’re heading. Go inside and up the stairs, speaking with the soldier there. Return to the first floor and go through the norther door, stepping on the flower at the end of the path to be brought to another place.
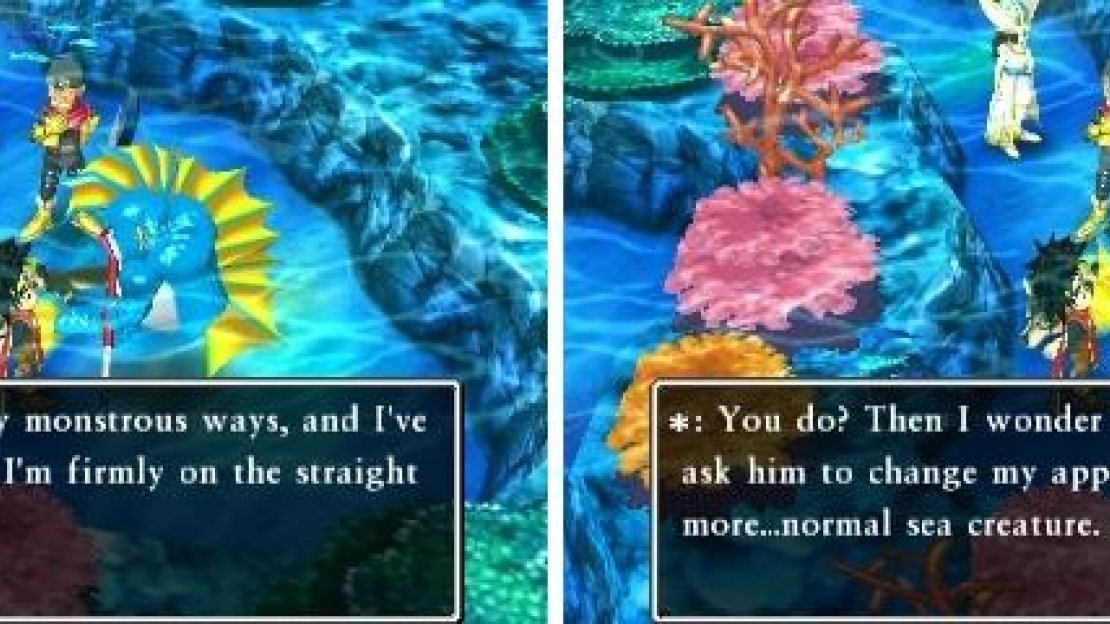
There will be some enemies roaming about here, but they are all enemies you’ve fought in other areas of the game. Head to the southwest corner to find a chest, with an Enclosure Plan in it. That’s all you’ll find here, so head to the northwest corner to find stairs, which will eventually lead you back to the world map, only you’re in an enclosed area near Wetlock. Go north and enter the next area, which will put you back in the Coral Cave. Follow the path until you come to a four-way intersection. Take the short southeastern one to come upon a friendly monster, who asks you for a favor; unfortunately, you can’t help him out yet, so ignore him for now.
You’ll be able to help this friendly monster later with his little sidequest.
The longer southeastern path leads to some stairs, so use them to come to a small area that houses another Mysterious Fragment . Return to the previous floor and go on the path that heads west, taking the stairs at the end. The rest is linear and will lead you to some place called the Altar of Arrival, where you’ll find a familiar symbol on the ground. If you remember back to the warrior at the Pool of Piety, he was standing in front of said symbol while talking about the Sacred Stone. Stand on it and use the Sacred Stone to make a platform appear in the northeast, which will lead you to the Divine Shrine.
Speak to the guard at the door, then head inside once he moves. There are some healing circles in the basement and if you go up to the second floor, the dancer there will hand over the Vestment of Virtue . Exit this building and go into the only other one on the map, where you can see the same symbol from just a few minutes ago. Step on it to be transported to an area with a pedestal that only accepts those Mysterious Fragments you’ve been picking up. To be precise, this pedestal requires the following three fragments:
- On the top floor of the Pillar of Sulkk (present)
- On the dock after moving bookshelf in Buccanham (past)
- In treasury in Dinky Dell, the home of the dwarves, upon freeing Buccanham (past)
Place the fragments on the pedestal and you’ll be teleported to the past, near Faraday, but you’re on the other side of the broken bridge. Go north and enter the Pool of Piety, talking to both NPCs on the first floor, then go and talk to the old man on the second floor. Do as the old man says and step onto the lotus flower that’s through the northern door on the first floor to arrive in the Coral Cave. This place is the exact same as before and you’ve already looted the place, so follow the same path as earlier, stopping whenever you get to some arches after you re-emerge on the world map.
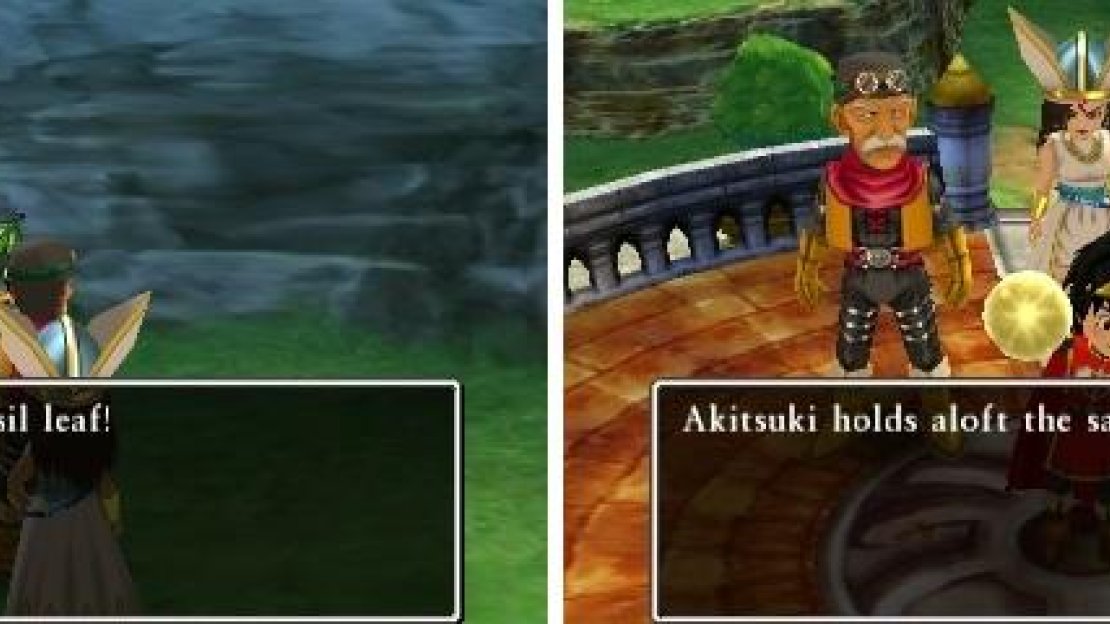
You should spot some ghosts running around, so talk to them and then keep going to the Altar of Arrival. Step out onto the world map here and grab the chest ( Yggdrasil Leaf ), then go onto the emblem on the floor at the Altar, using the Sacred Stone. This will work its magic and you’ll need to head all the way back to the teleportal to return to the present. Upon going back to the Divine Shrine, you will see that the two other platforms are now there, with the western one containing some shops. Browse their wares and upgrade your equipment accordingly, then go into the southern building and speak with the lady in black upstairs.
Grab the Yggdrasil Leaf on the overworld (left) before using the Sacred Stone to fix the Divine Shrine (right).
After everything is said and done, you will gain access to the Skystone, the final mode of transportation in the game. Exit and approach the Skystone to be teleported inside, then you’ll be able to take off in it. The Skystone is basically an airship and can land pretty much anywhere, barring mountains or on top of water, so take it for a test spin by flying on over to your hometown of Pilchard Bay. A soldier from Estard will be inside of your house, so speak with him to hear that King Donald wishes to have some words with you, meaning your next stop is Estard.
King Donald talks about the Dig Site and how some caverns were discovered. The problem is that it was teeming with monsters and they have been attacking humans without any provocation, so he wants you to take care of things. Before you head there, you will want to go and talk to Dermot (the stairs on the western side of Estard), who mentions someone by the name of the Gnostic. This person is waiting somewhere and once the right person comes, he will give that person something. That’s pretty vague, but you should be easily able to find the “someplace” without much trouble.
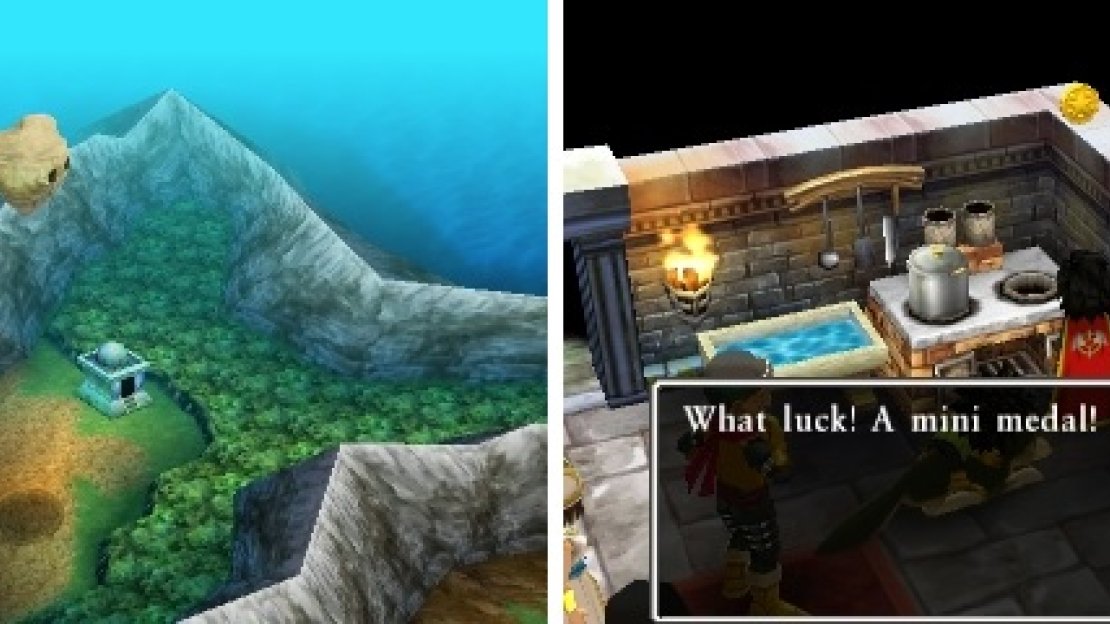
Considering it requires a very special means of transportation, it can be none other than the Skystone and there’s only one place on the world map that has went undiscovered until now. Look at the world map and you should spot a white portion of land on the eastern side, which means you haven’t been there yet. Once you land, go inside and check the oven for a Mini Medal (#92) , then speak to the hooden figure. He turns out to be this Gnostic person and he will hand over a Mysterious Fragment .
The location of the Gnostic’s place on the map (left). Grab the hidden Mini Medal from the oven (right).
Your next destination is the Dig Site and if you can’t remember where it is located, Zoom to El Ciclo and it’s just south of there. The nun right inside of the tent offers the usual church services, so take her up on the offer if you need to save or do anything else. You are looking for a set of stairs that have appeared in the digging area, which will lead underground.
| Enemies |
|---|
| Admirer, Cannibox, Diethon, Dragstar, Enormoose, Liquid Metal Slime, Rockbomb, Wrecktor |
There are a lot of enemies down here, with the Rockbomb being particularly dangerous because of its Kamikazee move. Take the stairs until you come to a large pit to your north, which you need to drop down into to arrive at a spot with four statues right next to each. Keep following the linear path until you come to a split, where you will want to go east first to grab a Mini Medal (#93) from a chest. The teleportal here leads back to one you might have seen near the entrance; it was on the northern side of the first pit you saw.
Return to the split and take the other path, which lead to some stairs, bringing you to a room that will have another pedestal for more Mysterious Fragments. Since you just got one of the ones needed from the Gnostic, the second one is from defeating Togrus Maximus and the last one was found in the Coral Cave. Upon placing all of the pieces, you’ll view a cutscene and then you’ll be in another dungeon, called the Malign Shrine.


No Comments