Without as much as even a blink, Kiefer is there to wake you up at your house. As you leave your village, you will automatically be brought to the Shrine of Mysteries, where you will do what Dermot said and end up opening the door to the inside. You’ll see something flying in the air in front of the next door, so go on over and talk to it. The thing mentions that in order to open the door behind it, you’re going to need the help of the four saints next to it, so go up to each one and talk to learn what you need.
You don’t really need to talk to all four, as returning to the imp will trigger the next step, which is to go to two ancient tomb sites to the east of Estard. There, you will find four gravestones that lead underground, where you will end up discovering the four sacred items the saints require. However, before you leave for there, look at your map on the touchscreen to spot two items that are pulsating. These are tablet fragments , so pick them both up and then go to the tomb sites.
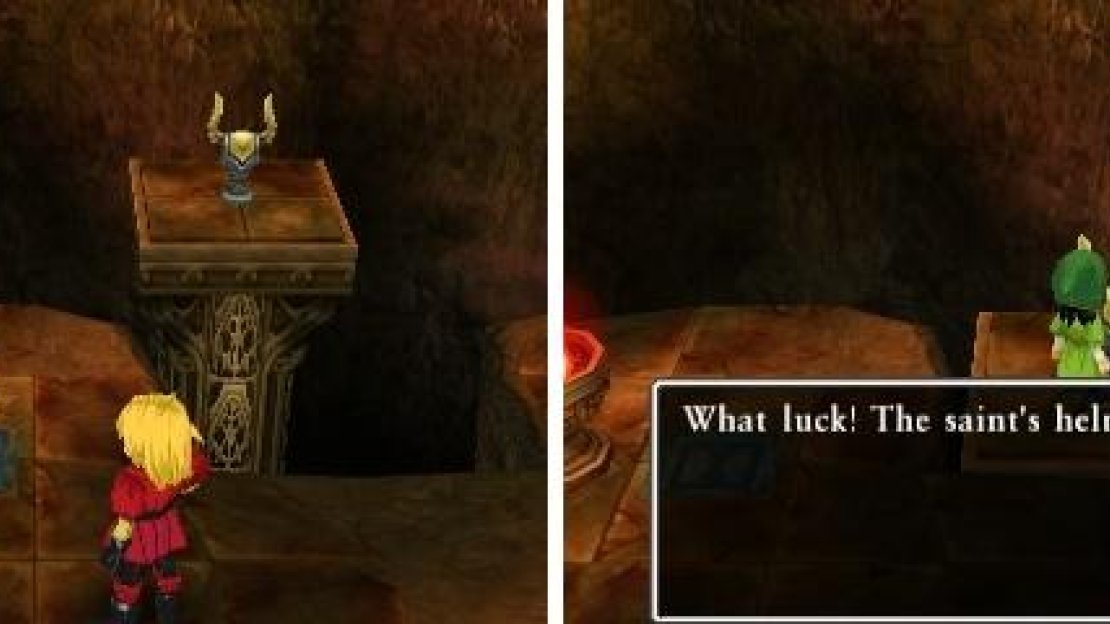
Once you get there, you will find two tombstones you can push (they’re glowing), allowing you to enter their crypts. At the far end of them, stand on both buttons to gain access to the sacred items. Upon grabbing both items at the first time, leave via the northern exit and you’ll eventually come across the second tomb site, where you’ll need to do the same thing to grab the final two sacred items. With all four of the sacred items, return to the shrine (feel free to use a Chimaera Wing if you want) and interact with the statues to place the items on them.
Just press both buttons (left) to be able to grab the sacred items in each tomb (right).
Placing all four items will open the door behind the imp, so follow him through the door. You find yourself in the Assembly Room, a mysterious room that is filled with what looks like pedestals below, as well as the spirit you saw earlier. Remember those tablet fragments you snatched on the ground earlier? Basically, you will be placing those fragments on those pedestals and once you’ve put all of them in specific ones, you will unlock a new area to explore.
Talk to the spirit and choose the first option, “Select Pillars.” Since the only fragments you got are yellow, choose the yellow pillars and then pick the northwestern pedestal. You will select each fragment to slot into the pedestal and might need to rotate it to fit into its slot. For the one you are attempting to fix, you need three fragments and only have two. So, place those two and then talk to the spirit again, asking for guidance this time. He mentions that you will need to look for a big ship that’s just come home to port. Of course, he is talking about your dad’s boat in Pilchard Bay!
As you exit the shrine, Kiefer will end up going back to Estard on his own, so head back to Pilchard Bay. If you talk with the fisherman patrolling the docks, he will mention that your dad is already at home and that the mysterious thing they managed to hook is with him. So, talk to him and he’ll eventually cough up the tablet fragment after getting a little sentimental with you. With it in hand, return to the Shrine of Mysteries and before you can step through the front door, both Kiefer and Maribel will stop you and join you. Go put the last fragment in the pedestal and you’ll be whisked off to some mysterious place…

No Comments