Cross the bridge that is now complete and you’ll arrive in some familiar territory. North of where you appear after exiting the bridge is where Greenthumb Gardens, except this one is different because it’s set in the future from the one you saved. There isn’t really much to grab, as far as items are concerned, but there is quite a bit of story that kind of continues a bit from where you left off from before with the entire area. You’ll find some new stuff is available from the shops, so feel free to upgrade if needed.
To start off with the story portion, head to the main mansion and attempt to enter the the side door on the ground floor for a scene. Now, enter the mansion via the double doors (the others are locked from the outside) and go into the kitchen for another scene. After that’s over, go upstairs and into the first bedroom to find a locked chest (requires the Thief’s Key), which contains 500 gold coins . It’s time to find Miss Cayenne, who will be in the small house on the western side of the village, south of the church.
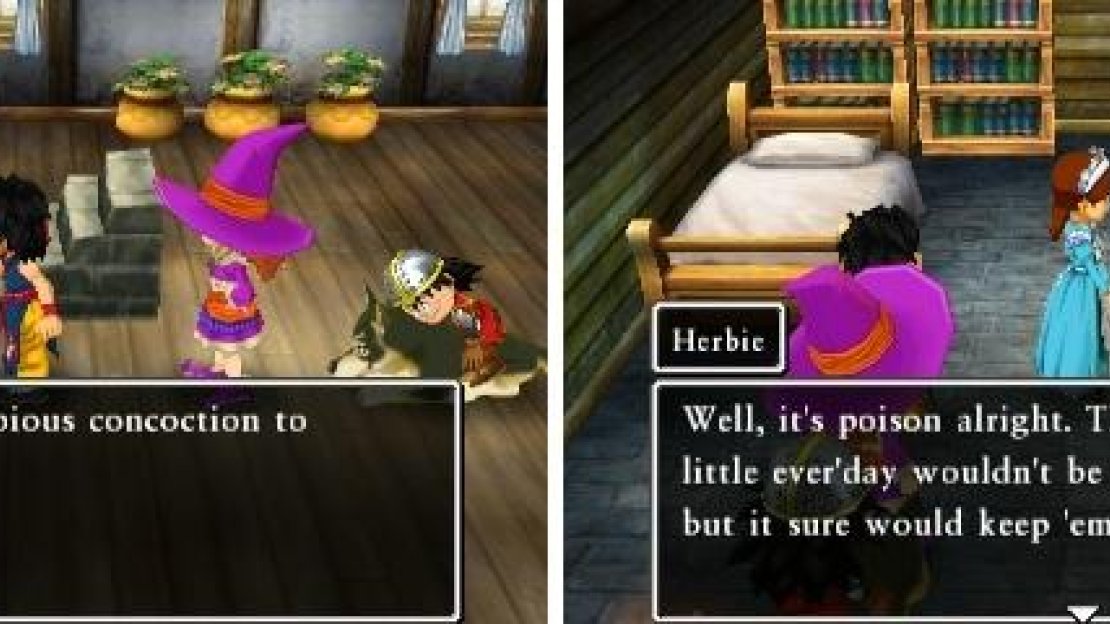
Return to the herb garden, where something goes awry, so agree with Herbie to bring the dog to his place. Talk with Camomile to start another scene, then return to the mansion to see her arguing with Cayenne. Go to the third floor and speak with Camomile, then exit the mansion via the double doors and try to re-enter to bump into Cayenne, who drops something on the ground. Pick up the Dubious Concoction and bring it to Camomile on the third floor, who goes running off again. Go back downstairs for a quick scene, then run over to Herbie’s place in the garden to speak with Camomile and get another scene.
Yep, some devious plots are going down here.
Back to the mansion, where you can speak to Master Lion to be invited to dinner. Agree to his request and watch the scene that unfolds afterwards. Well, things certainly got out of control quick, so once the scene is over, head on over to Dill’s house (the small one on the western side of town) and speak Carrington to view a flashback, then read Dill’s letter on the table. That finishes things here in Greenthumb Gardens, so exit the town and go to the area north of it. The only reason you’re here is to nab the chest on the eastern tip here, which contains a Pirate’s Hat .
Wilted Heart (Past)
From Greenthumb Gardens, you will find Wilted Heart in the area to your east and upon entering the town, there will be a short scene. Since you visited a future version of this place, you will be able to find some goodies here. Enter the first building to your left upon entering the village and break the pot for a Seed of Agility , then go downstairs and check out the bookshelves for a quick note on something related to the little story you will be uncovering. Enter the big house and open the two chests in the side room for a Silver Tiara and Mini Medal (#41) .
On the third floor of the big building will be two more chests, containing a Seed of Resilience and a Seed of Strength . The man with the turban sitting right outside of this room sells items, if you wish to purchase any. Exit the entire area via the northwest gate and go on the path leading to Regrette-Rien Convent. The shack along the way has nothing, so keep going until you come to the bridge. Instead of crossing it, pass underneath to find a chest at the end of the path, with another Mini Medal (#42) in it. Feel free to pass by the little cave to find a related diary in the drawer there, as well as find a chest to the north of the cave ( Strength Ring ; requires Thief’s Key), then make your way to the top with the convent.
From the default camera angle, go to the southwest corner and speak with one of the nuns in front of the big grave there. Enter the convent and go upstairs to find 5 gold coins in one of the pots, as well as a Silk Robe in one of the drawers. You can also speak to the nun up here for a free resting place. Speak with the nun with the black clothes on the ground floor to learn that Sister Petula was really Lavender and reading the grave will have Maribel make the connection. Return to Wilted Heart and speak with Carraway to tell him the bad news, who joins your party so you can bring him to the convent.
Along the way, Carraway wants to stop by the shack to gather his thoughts before seeing Lavender’s grave. Inside of the shack, speak with everyone and Carraway once more to finally get a move on once more. Watch the scene at the entrance to the convent, then speak with Carraway at the grave to view another scene. That’s all you can do here now, so make the trek back to the portal to return to the Shrine of Mysteries.

No Comments