As you enter the tower proper, a Forky Pig will be waiting for you, so defeat it and then climb the stairs ahead of you to the next floor. Something you will notice is that there is a lot of damage tiles in this dungeon, so take heed of where you walk/run. Take the southern door to appear outside, where you have a choice of two different sets of stairs. The western stairs lead to a chest that contains a Mini Medal (#58) , while the eastern set will continue the dungeon. You will find a button, that when pressed, will remove a portion of the wall to the north.
Before going up the next set of stairs, there will be a chest with 120 gold coins to the west of them. Once again, you will have two sets of stairs presented to you, but both lead to the same place, so it doesn’t matter which one you use. On this floor, head straight to the northeast corner and use the stairs there to ascend to the next floor. This floor has no railings, so it’s possible to fall down to the floor below. The stairs to the next floor are in the southeast, but you’ll find some more are located in the northwest, which leads down to a chest ( Dream Blade ).
You will find that the next floor is covered with damage tiles, with little “islands” throughout it. Ignore everything for now and go straight west to some stairs, which will lead to an isolated section of the next floor. Hit the red switch to open a door on this floor, then return to the previous one and brave the damage tiles to a chest in the northwest corner for a Magic Water . The stairs to the main portion of the switch floor is in the northeast. Hit the green and purple switches (and blue if you want), allowing you to reach the stairs in the south to top of the tower with the next boss.
BOSS - Sulkk
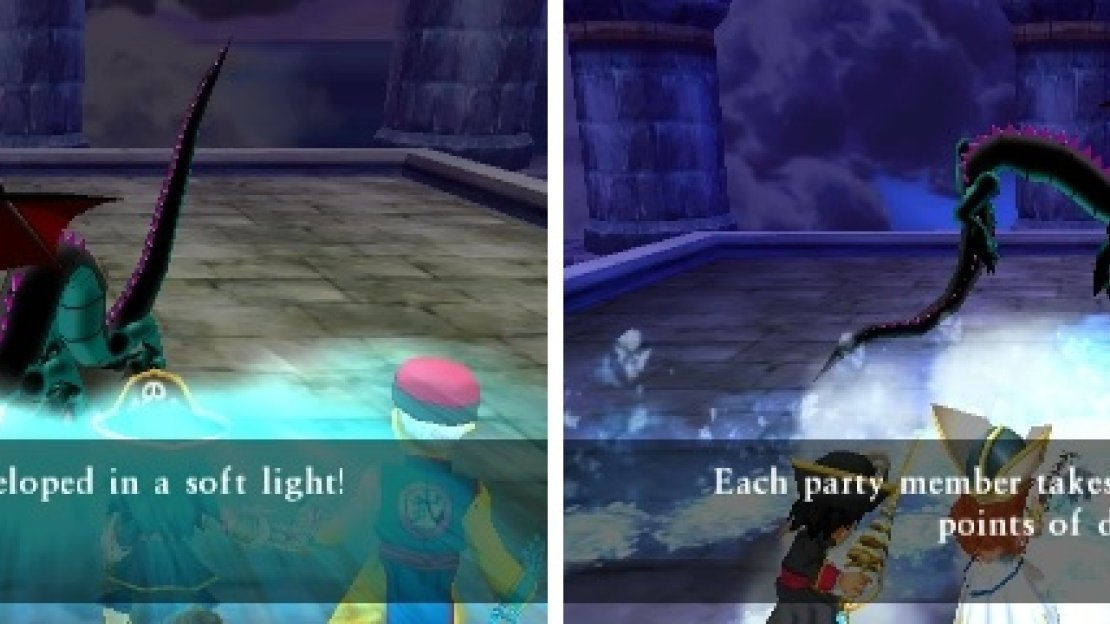
Before you can fight the actual boss, you will have to face off against two Babygoyles, who you have fought before at the entrance to Nottagen when you first came. As for Sulkk, hopefully you have Insulatle on a character by now, as it will benefit you greatly in this battle. Sulkk has access to both a cold and fire breath attack, which can do great damage without the proper protection. Outside of those breath attacks, he also has a normal attack that can deal 60+ damage.
This battle can be very challenging without having something like Insulatle, since his breath attacks are quite damaging. You will also want to protect from his physical attack, so make sure you use Buff to reduce the damage. This entire battle revolves around whether or not you get bad rolls with the boss’ attacks, meaning he will constantly use the breaths, and whether you can outheal the damage he causes.
Insulatle is a great skill for this fight (left), as it can reduce the damage done from Sulkk’s breath attacks (right).
With the boss finally finished, the skies have returned to normal and you can head back to Nottagen. Instead of climbing all the way down the tower, just drop off the edge at the southern end of the top floor. Head back to Nottagen to find that there isn’t really much to do here, but you will find that the armor shop (upstairs in that particular building) is open for business, so browse its wares to see if you can get anything. One last thing you can do is go into the well where the priest was located before, where you’ll find a Wrecktor (the enemy that was in the church); talk to it and you can fight it.
Return to the Shrine of Mysteries and travel to the new land of Nottagen in the present. Near where the portal was located in the past is a chest containing a Drake Slime Heart . There’s nothing of importance in the Hill Near Nottagen, but you will see some house north of the village. This is the Monster Meadows and is something you could get lost in, if you wanted. Basically, you can create your own Traveller’s Tablets here, with monsters that you tame at the end of battles (you should have gotten the Monster Munchies earlier in the walkthrough).
Feel free to mess around with it if you want, but it’s time to move on with the walkthrough. When you enter Nottagen, you will find that the town is in ruins. Wait, didn’t you just save the town from disaster in the past? Before you return to Nottagen in the past, go into the well to get a Holy Water and a Mini Medal (#59) from the cupboards. Entering Nottagen in the past will reveal some vines coming out of the ground and attacking its residents. It appears that the evil creatures inhabiting the past prior to this were keeping the original problem of the malign in check, but it returned after saving the town.
Go around the town and defeat all of the vines, both outside and inside of the buildings. Note that you can’t save the people who are already being held by the vines, as they will retreat into the ground when you get close enough. Clean up the vines outside (should be six in total), then start going into all of the buildings to find more. There should be a single vine in each building, with three being on the ground floor in the big one. Head upstairs there and the Rockbomb from earlier will sacrifice itself to defeat the ones that show up there. Go into the well to find more vines, then enter the cave…

No Comments