
After completing the main story, you may think you are done with Visions of Mana, but there’s still a bit of game left to do. However, at the end of the credits, you can save your game to a Clear Game file (has a crown on it). Load that up and you will be back before the final boss, where you will notice another story objective. There is a little bit of story in the postgame, which will begin with you having to visit ![]() Palamena’s brother in Illystana.
Palamena’s brother in Illystana.
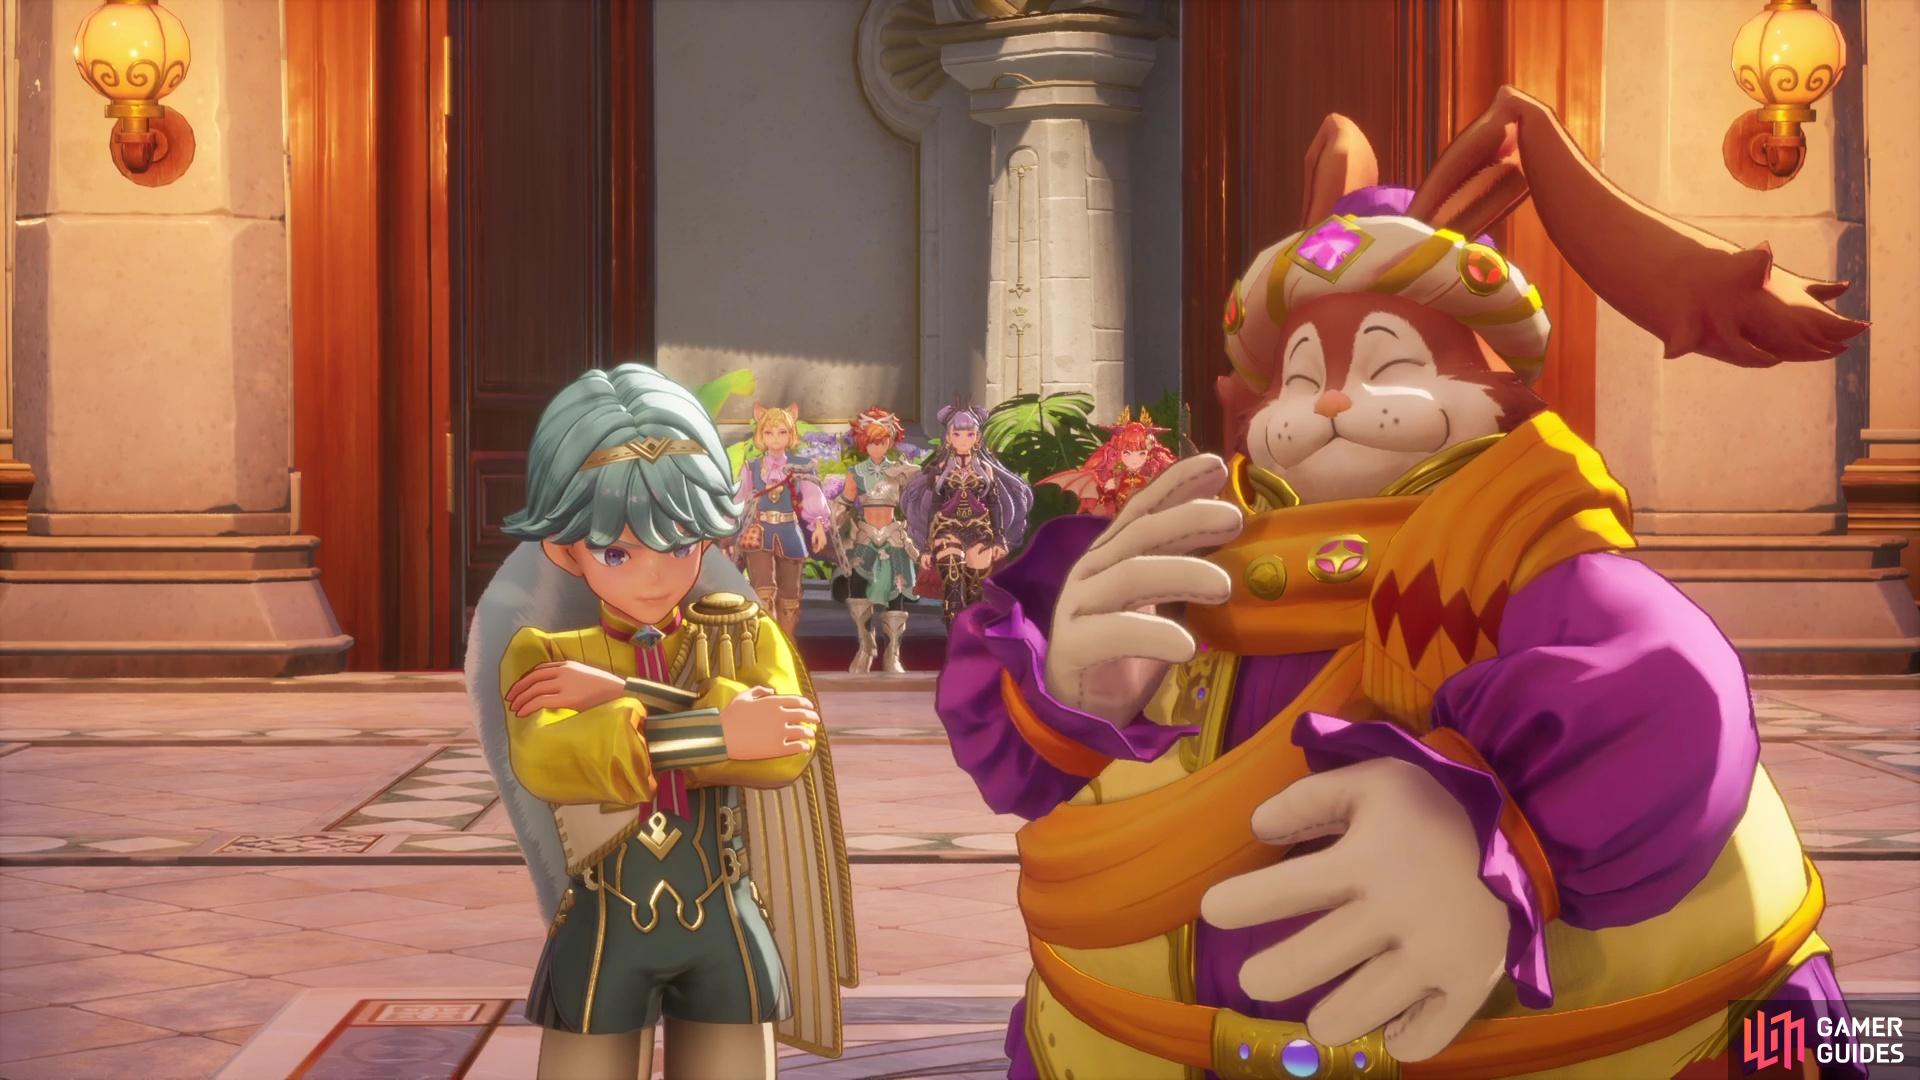
Visiting Iain in the postgame will present a list of problems.
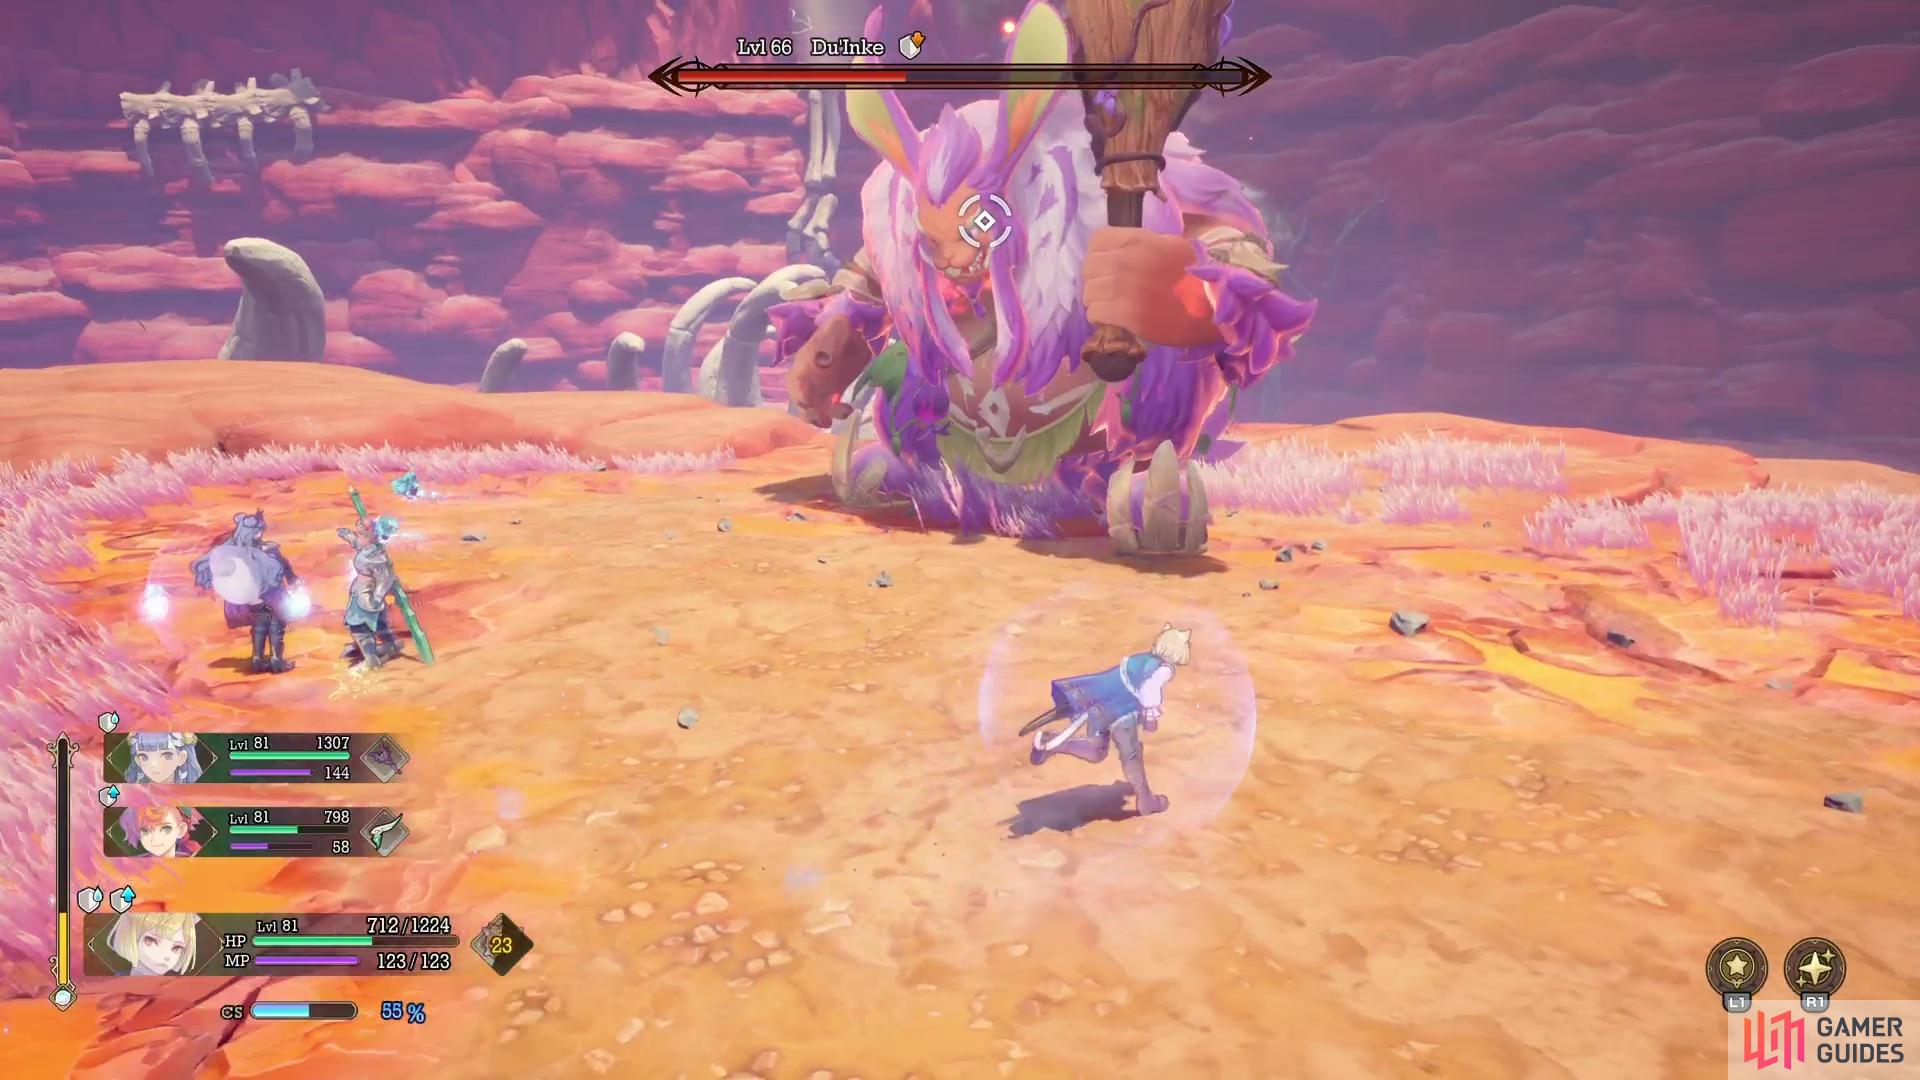
Head to the castle in Illystana and go all the way upstairs to ![]() Iain’s room, where a cutscene will take place. As it turns out, some great evil dragon is in the midst of being resurrected, which has caused some other monsters to start running amok. Your party has graciously volunteered their services in eradicating these monsters, so that will be your first task. These monsters come in the form of bosses you’ve previously faced in the main story, so there’s nothing new there. However, all of these bosses are level 66 and will be more powerful, but they don’t really have anything new added to them.
Iain’s room, where a cutscene will take place. As it turns out, some great evil dragon is in the midst of being resurrected, which has caused some other monsters to start running amok. Your party has graciously volunteered their services in eradicating these monsters, so that will be your first task. These monsters come in the form of bosses you’ve previously faced in the main story, so there’s nothing new there. However, all of these bosses are level 66 and will be more powerful, but they don’t really have anything new added to them.
The bosses are as follows:

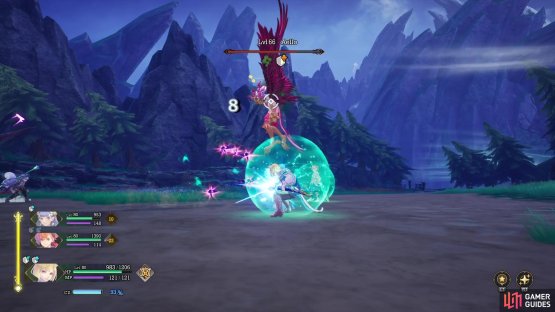

(1 of 2) You’ll find four bosses you’ve previously fought before
You’ll find four bosses you’ve previously fought before (left), all of which will be in the same spots and have the same moves, but are more powerful. (right)
Upon defeating all of those bosses, who will yield powerful weapons for your characters, you will be able to return to the palace in Illystana for another scene. The party will need to next go to ![]() Reignus Shrine, a place that doesn’t hold the best of memories. You won’t be able to fast travel to the actual shrine part once you arrive, so make the trek up the stairs to reach it. After the cutscene there (and a few back-to-back battles), your next stop will be the
Reignus Shrine, a place that doesn’t hold the best of memories. You won’t be able to fast travel to the actual shrine part once you arrive, so make the trek up the stairs to reach it. After the cutscene there (and a few back-to-back battles), your next stop will be the ![]() Floating Isle of Ulul.
Floating Isle of Ulul.
Floating Isle of Ulul
Things are a little different this time around, as all of the enemies have been upgraded to level 70. There might be a few new enemies, too, so make sure to go around and defeat the groups you find. Specifically, if you’re going for the Know Thine Enemy trophy and achievement, there is one tricky foe on the island now, the ![]() Shadow Zero-One. Outside of that, there’s nothing else new in the area you’ve previously explored, but there is a little bit of extra stuff to explore leading up to the end.
Shadow Zero-One. Outside of that, there’s nothing else new in the area you’ve previously explored, but there is a little bit of extra stuff to explore leading up to the end.

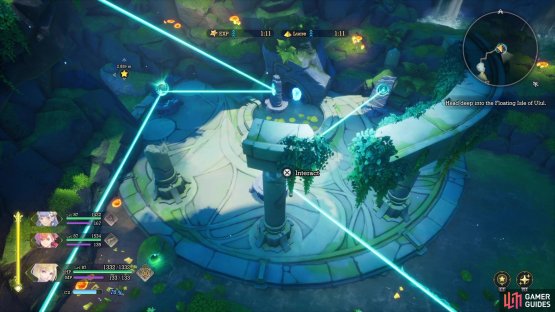
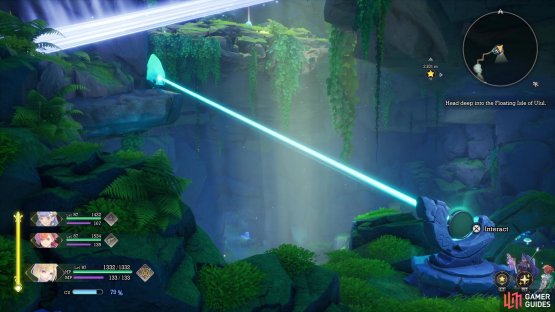
(1 of 2) Position the first set of mirrors so the laser goes as shown.

Position the first set of mirrors so the laser goes as shown. (left), The second mirror you need to use is just up the hill and creates a light bridge to the teleporter. (right)
Past where you fought ![]() Floaret, Benevodon of Wood, there is more to the floating island. If you tried to go here during the main story, the game would stop you and say something dangerous was past that point. Continue in that direction until you get to another small Light Vessel puzzle. There aren’t a lot of directions you can turn the one mirror, so position it until the laser bounces around a lot, then go up the nearby incline to find one more mirror to move. This one can be positioned to create a light bridge, allowing you to reach one more light device to teleport you to the very top.
Floaret, Benevodon of Wood, there is more to the floating island. If you tried to go here during the main story, the game would stop you and say something dangerous was past that point. Continue in that direction until you get to another small Light Vessel puzzle. There aren’t a lot of directions you can turn the one mirror, so position it until the laser bounces around a lot, then go up the nearby incline to find one more mirror to move. This one can be positioned to create a light bridge, allowing you to reach one more light device to teleport you to the very top.
It is up here that you will find the final ![]() Meridian (if you’ve gotten all the others), as well as the arena for your impending showdown with
Meridian (if you’ve gotten all the others), as well as the arena for your impending showdown with ![]() Aeve Zalaha.
Aeve Zalaha.
No Comments