We’ll get control right where we left off after Episode 3 with Claire. This place is very futuristic looking. Head forward and STOP before the door. Look up with Moira’s flashlight to find Kafka Drawing 1/6 on the metal roof above the door.
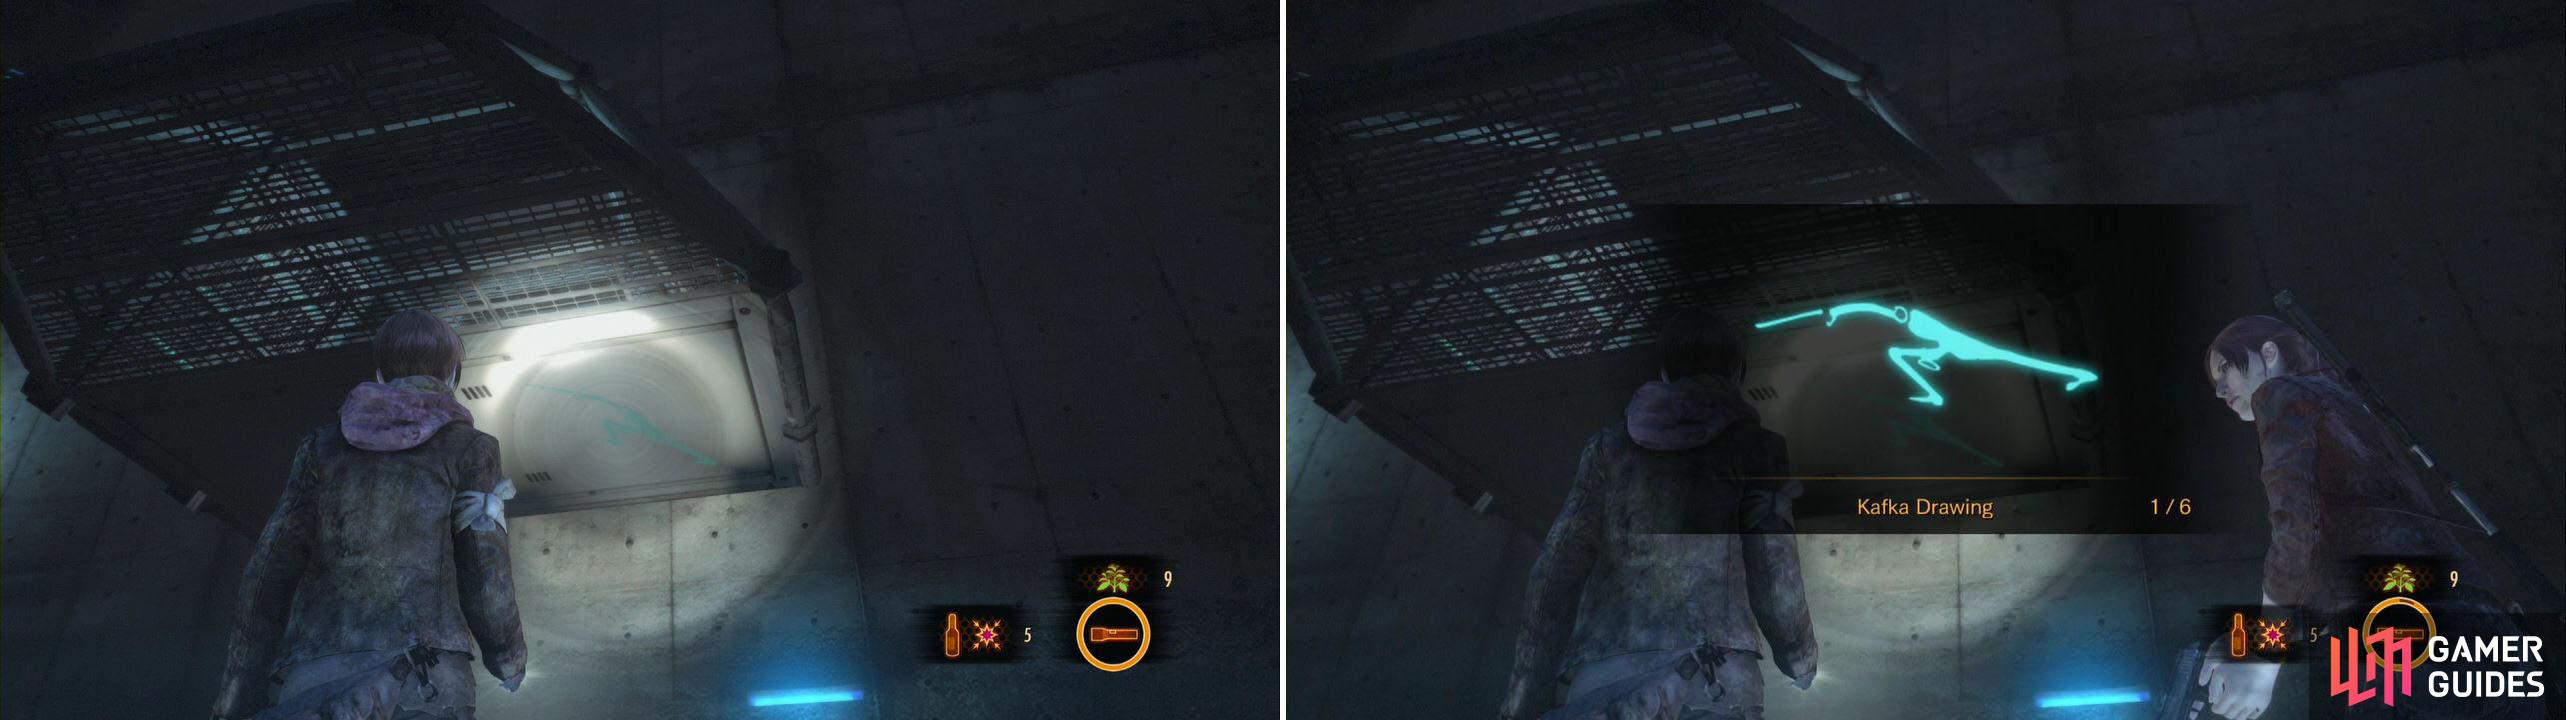
Right at the start of the episode and we get a Drawing.
Through the door is a monitoring room. Looks like there are camera feeds everywhere. On the left side is a console you can use to change a sluice gate. Go ahead and use it, then take the doorway nearby. Go AROUND the stairs to the back to find a Sapphire , then go up the stairs into the next room.
On the table in here is the Notes on the Transfer Procedure document. Very telling info here. To the left is Neil’s Report . Keep going left and on the stand by the bed is the Thoughts on Kafka document. There’s just a ton of documents here!
Look to the left of that book now, on the painting. Use Moira’s light here to find Kafka Drawing 2/6 .
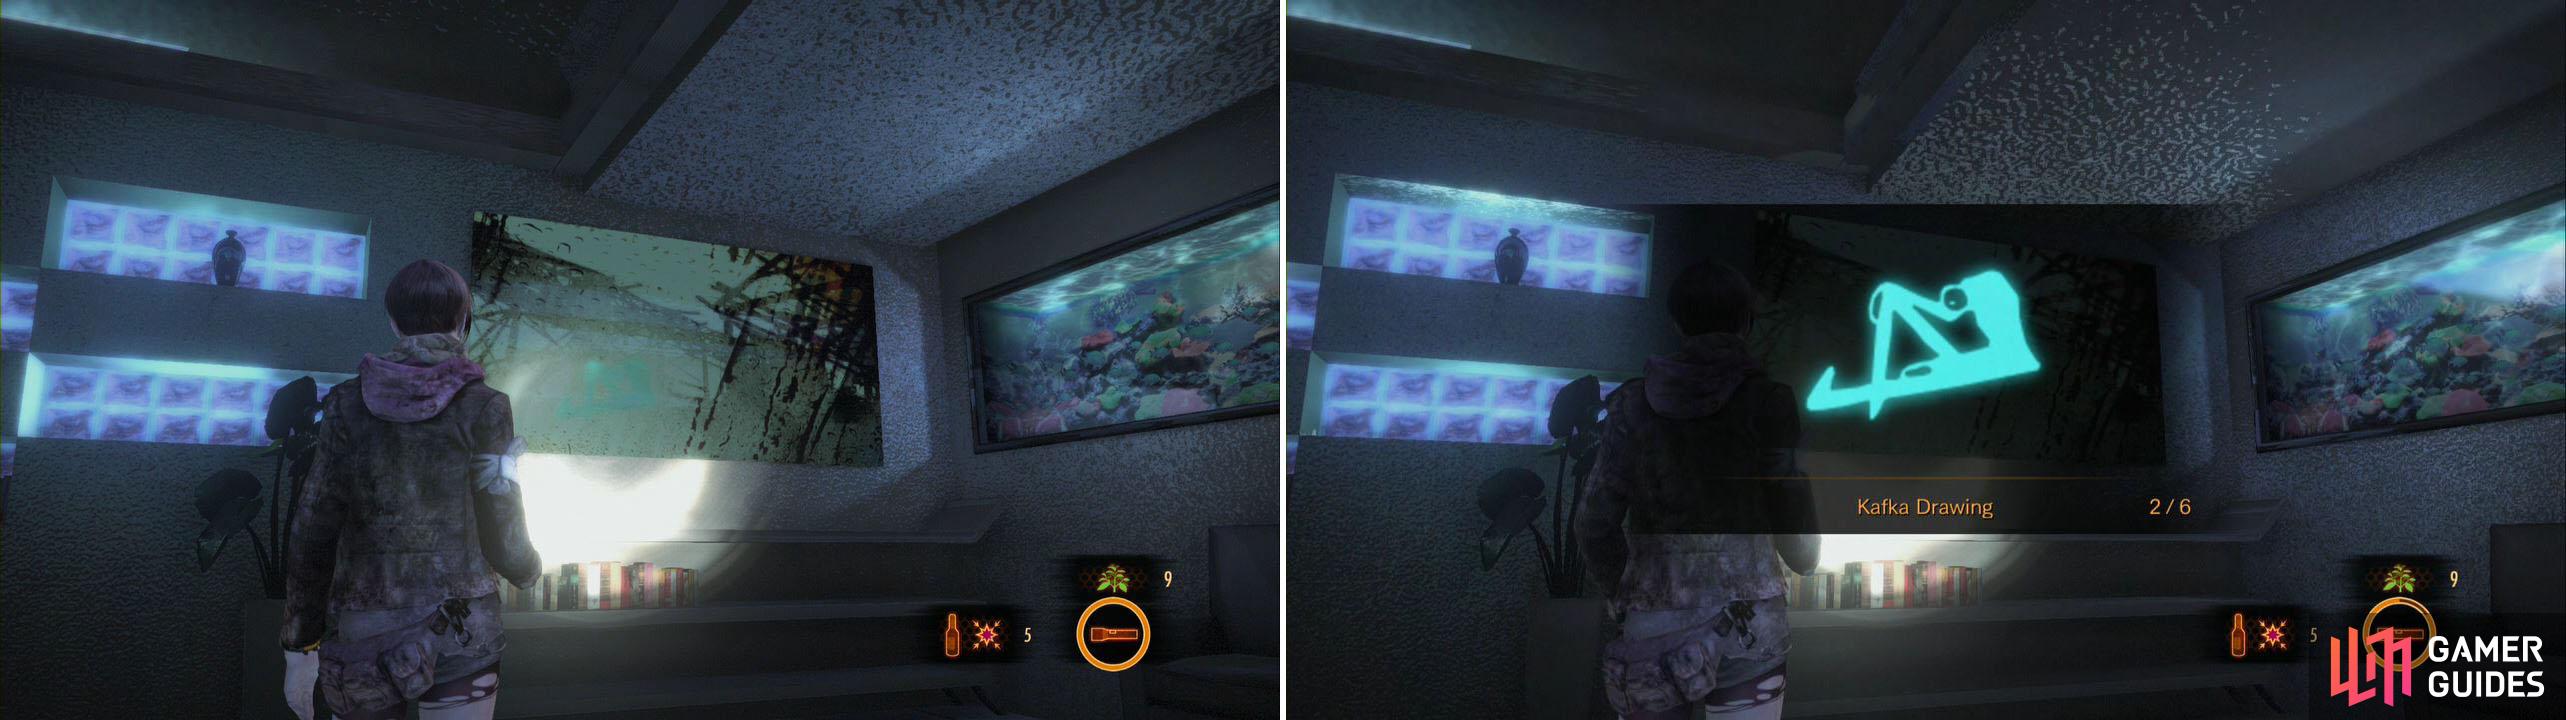
A Drawing over a painting? That’s clever!
After that break the Jar x3 in this room for some random items and then check out the fish tank by the door. You can break it if you wish, but you can also push it to the left. Doing so reveals a lever, but also shine your light on the ground it was covering to find the hidden Kafka Drawing 3/6 . Tricky! Hit the lever now.
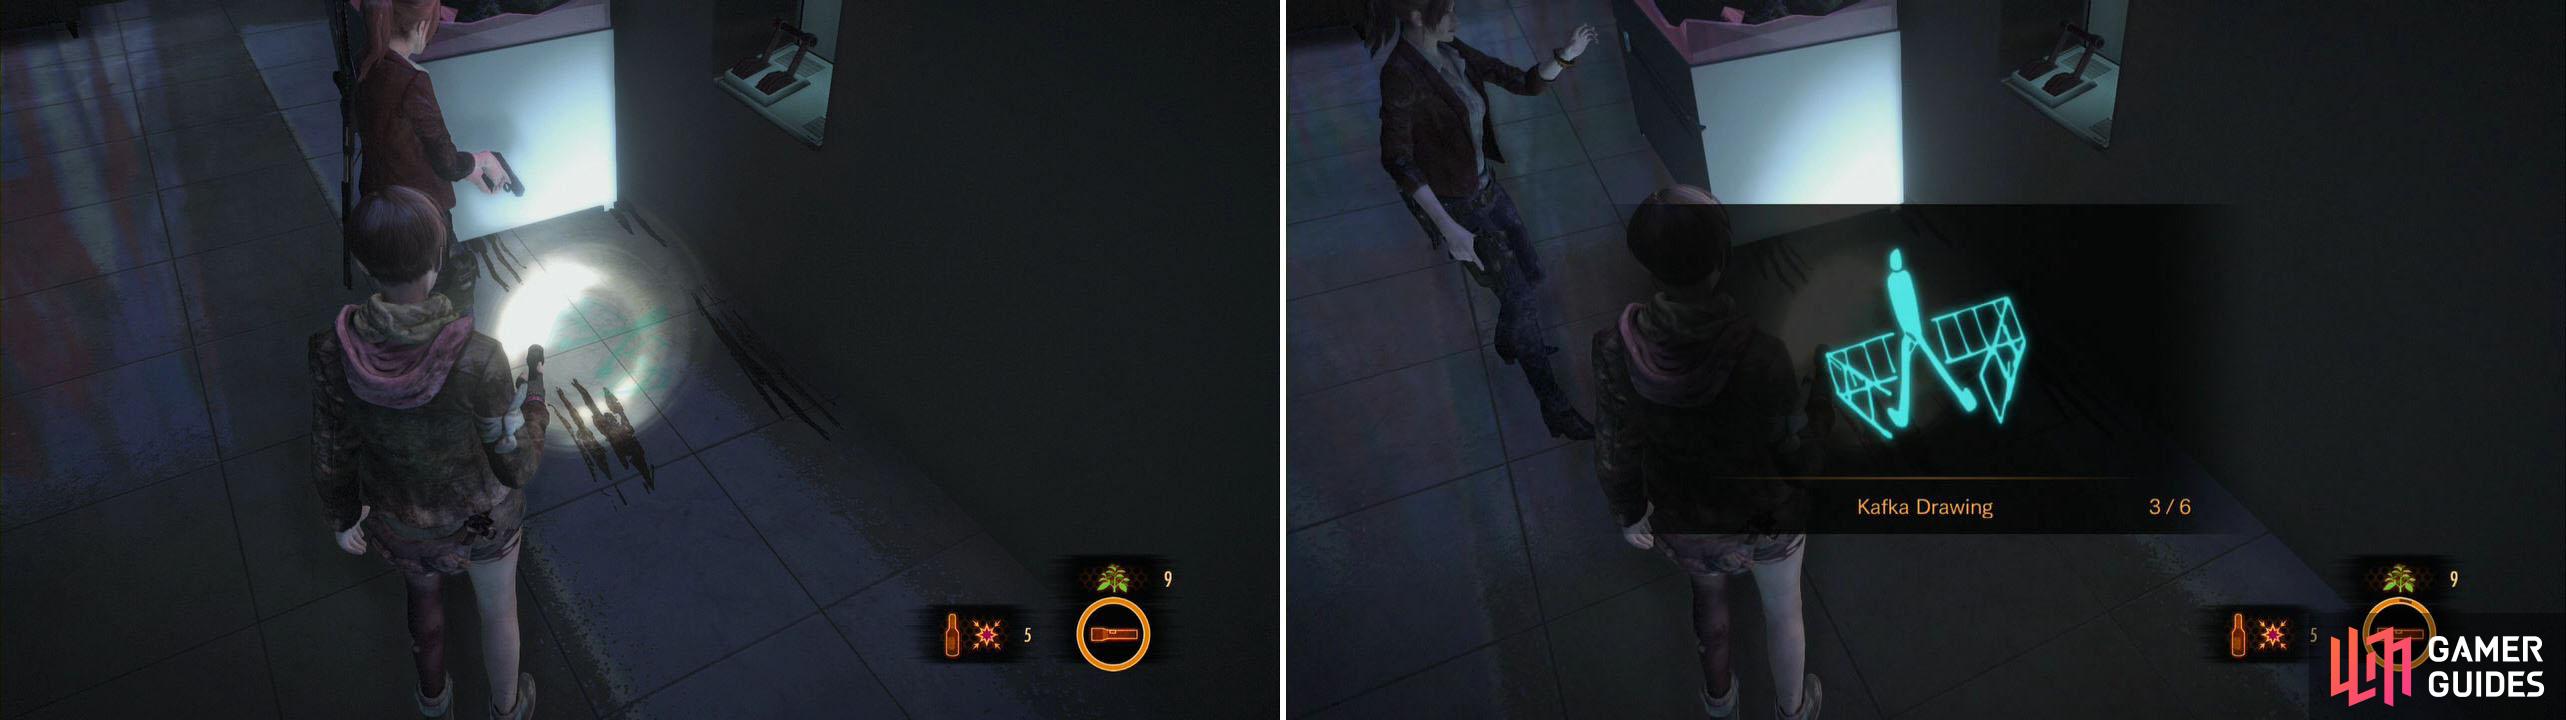
Who would have thought of looking for a Drawing on the floor? First and last!
Follow the path up several sets of stairs and enter the door at the end. STOP here and look to the right to see Tower Emblem 1/10 on a machine nearby.
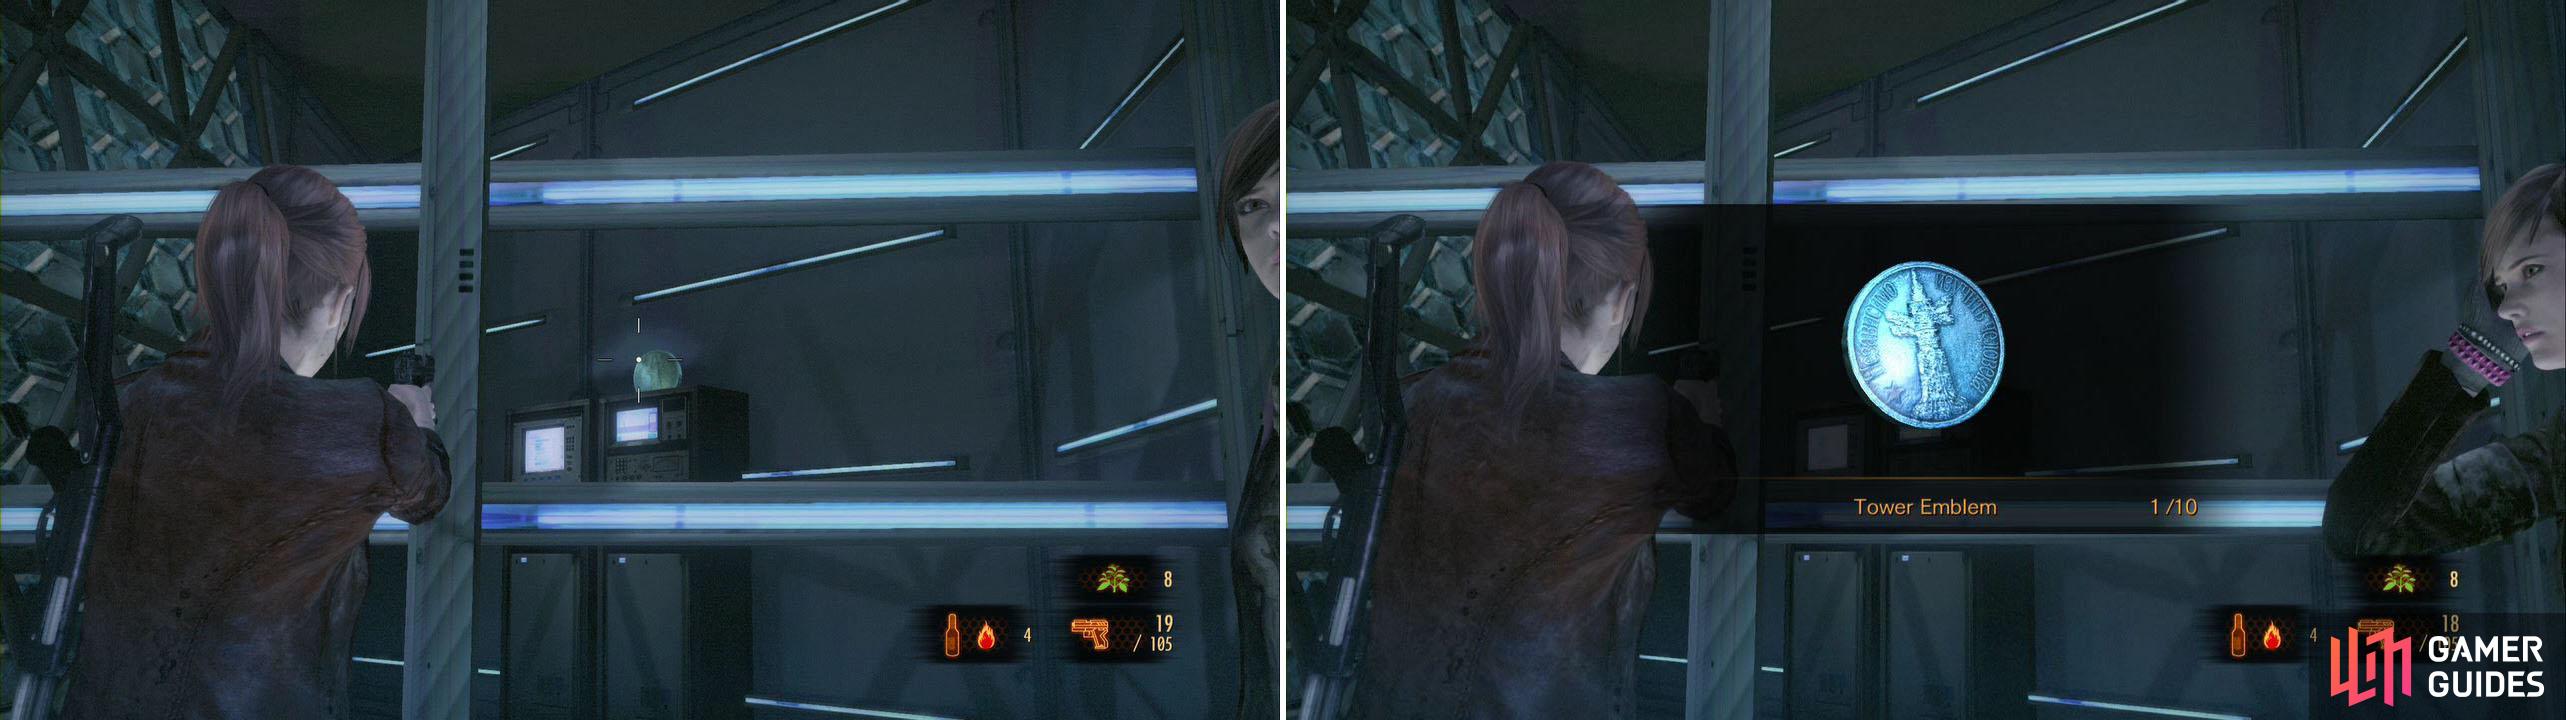
Get this Tower Emblem before you exit the room.
Head forward now and you’ll be stuck in a small area with a view of the person you came to see. A scene will start here that is… truly just unbelievable.
WOW… well, time to leave! Head back the way you came, back to the elevator but as you get near a large pipe will drop. Head down it and slide down the walkway to another one below. Follow this path until it splits. To the left is a Crate and a workbench. Get it and head right, but have Moira shine her light on the wall here to find Kafka Drawing 4/6 .
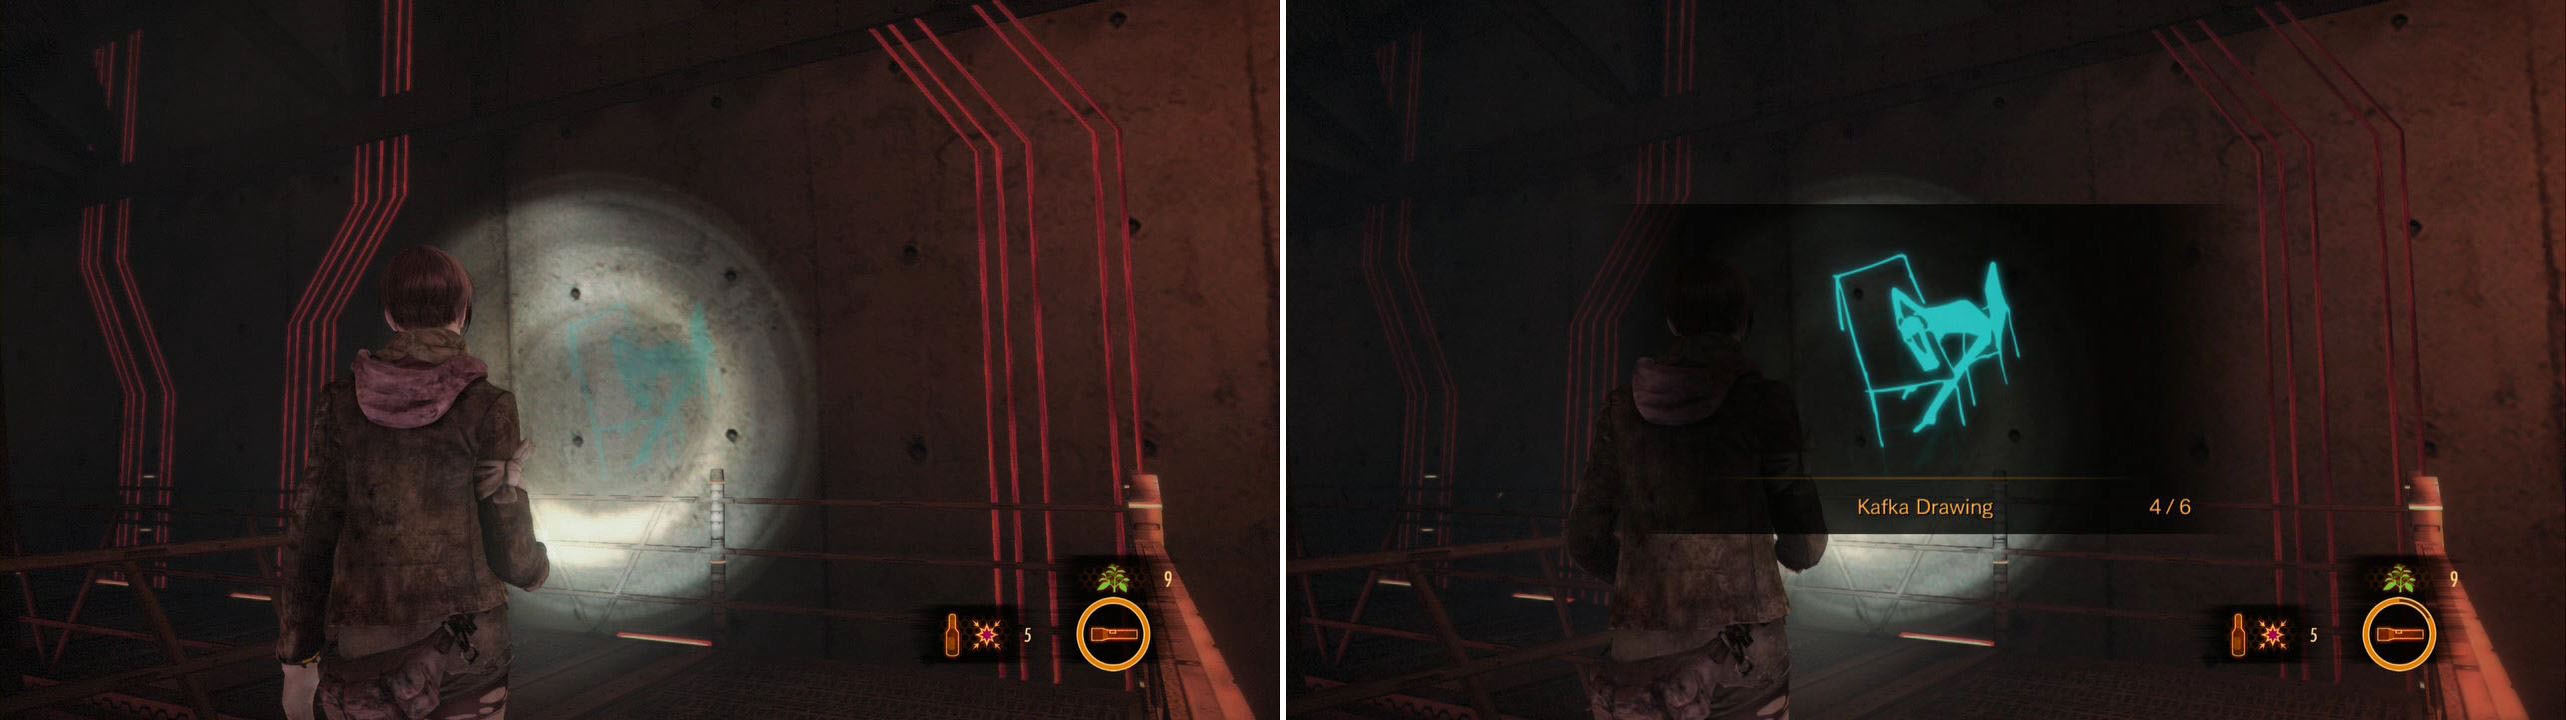
A Drawing this big is hard to miss.
Past that is a door with two locks on it, on the left and right. Shoot them off and have Moira open the Military Box just past it for a Magnum Ammo Case for Claire. Head down the ladder now.
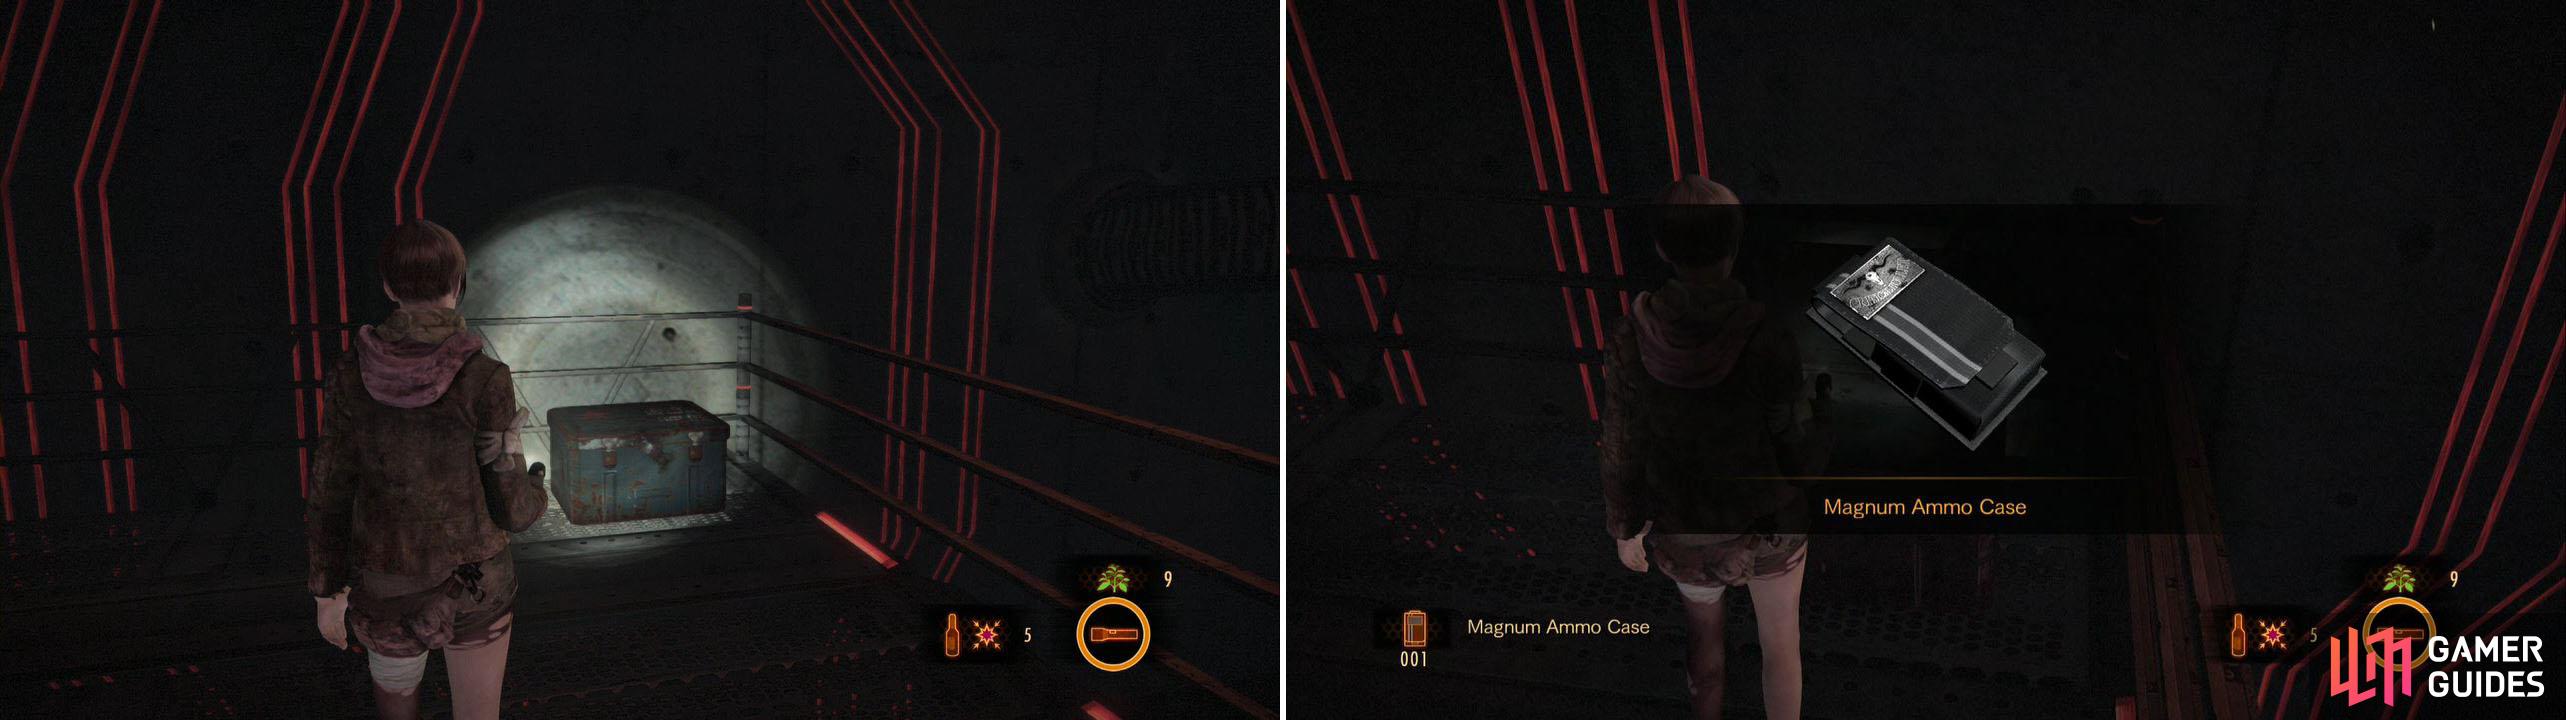
A case for more Magnum bullets… when there are no more enemies around. Why?
On this next walkway, go get the Crate nearby and then head forward. Here there are actually TWO Glasps, just like from Barry’s episode. They warn you with the first one as boxes move nearby, so use those as a clue and kill it. Now, the second is almost always to the left, so we can just go right, nab the Crate in the corner, and go down the next set of stairs.
On this lower walkway there are two more bugs. One is to the left past the stacked-up boxes and the other is to the right past more boxes. You only need to kill one of them really, then follow the path to a door. Open it with Claire for a quick scene.
We are now on the outside of the tower. To make things worse, we have a timer here to warn us of the impending explosion.
To the right on the wall is Kafka Drawing 5/6 , so have Moira shine her light on it as you descend to get it.
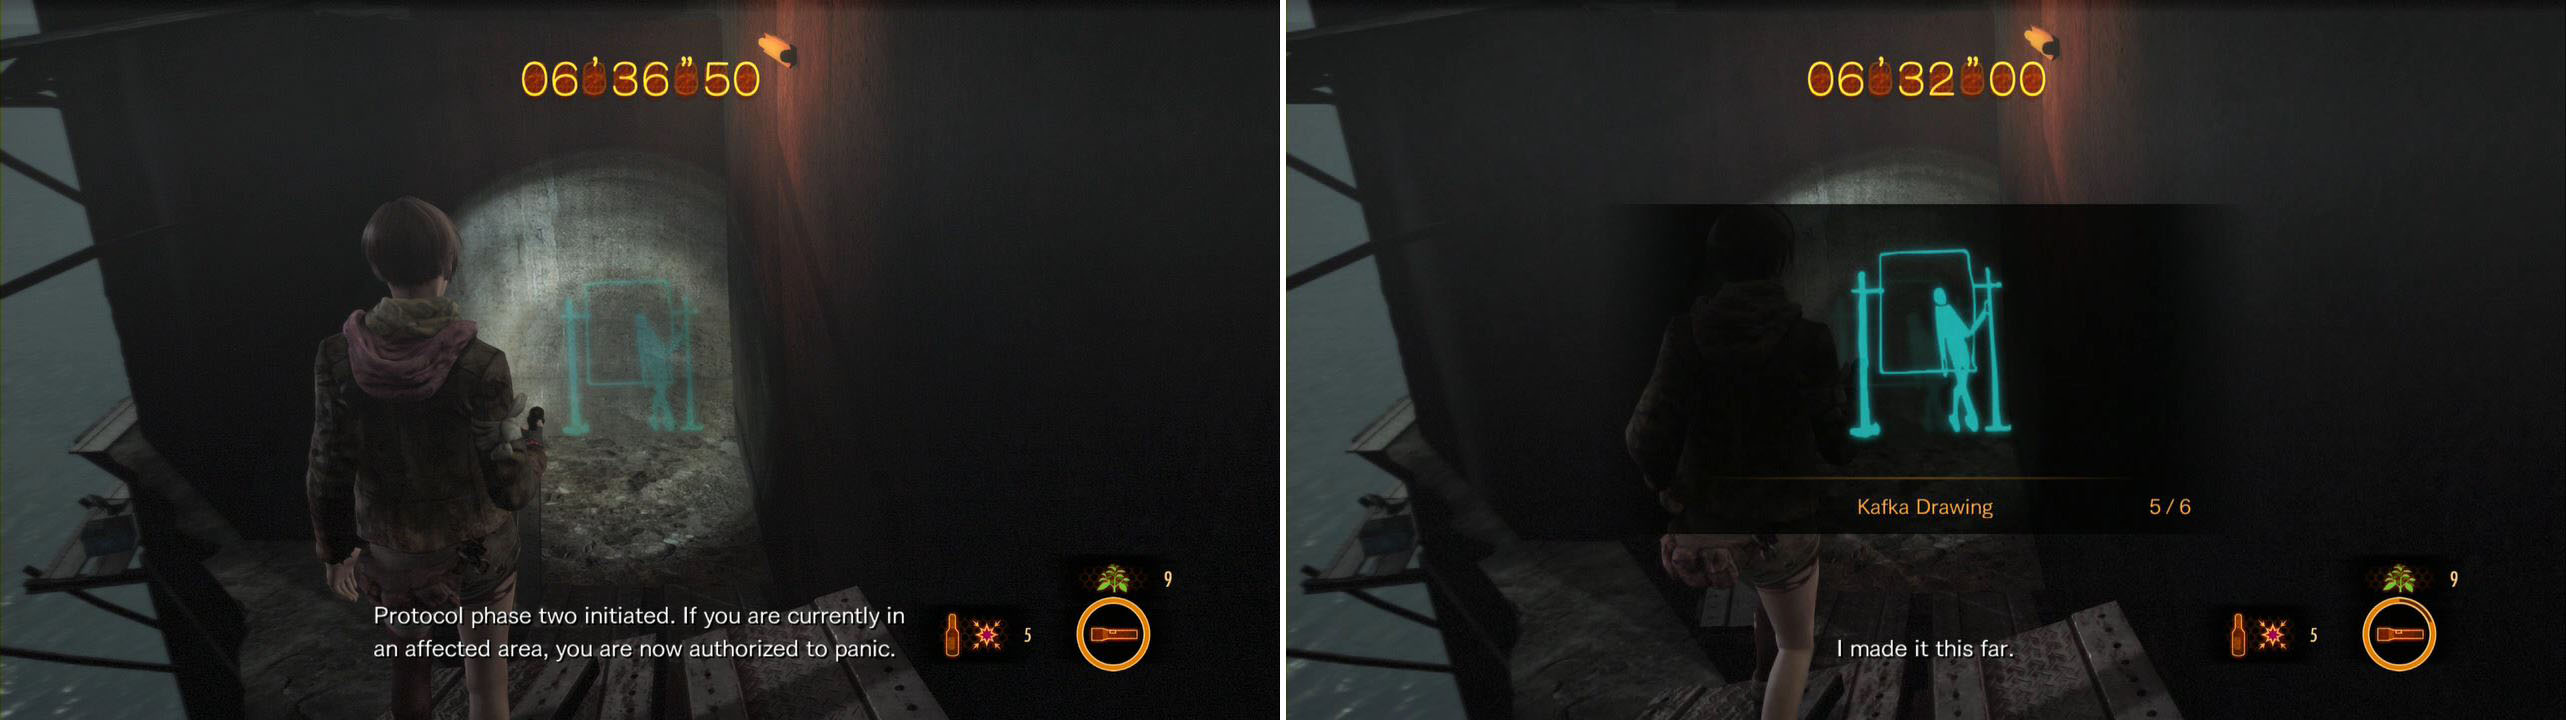
Another impossible to miss Drawing.
You’ll need to jump down past the drawing to the walkway below. Switch to Claire here and head right, looking up at the area you just walked down to find Tower Emblem 2/10 . Cleverly hidden.
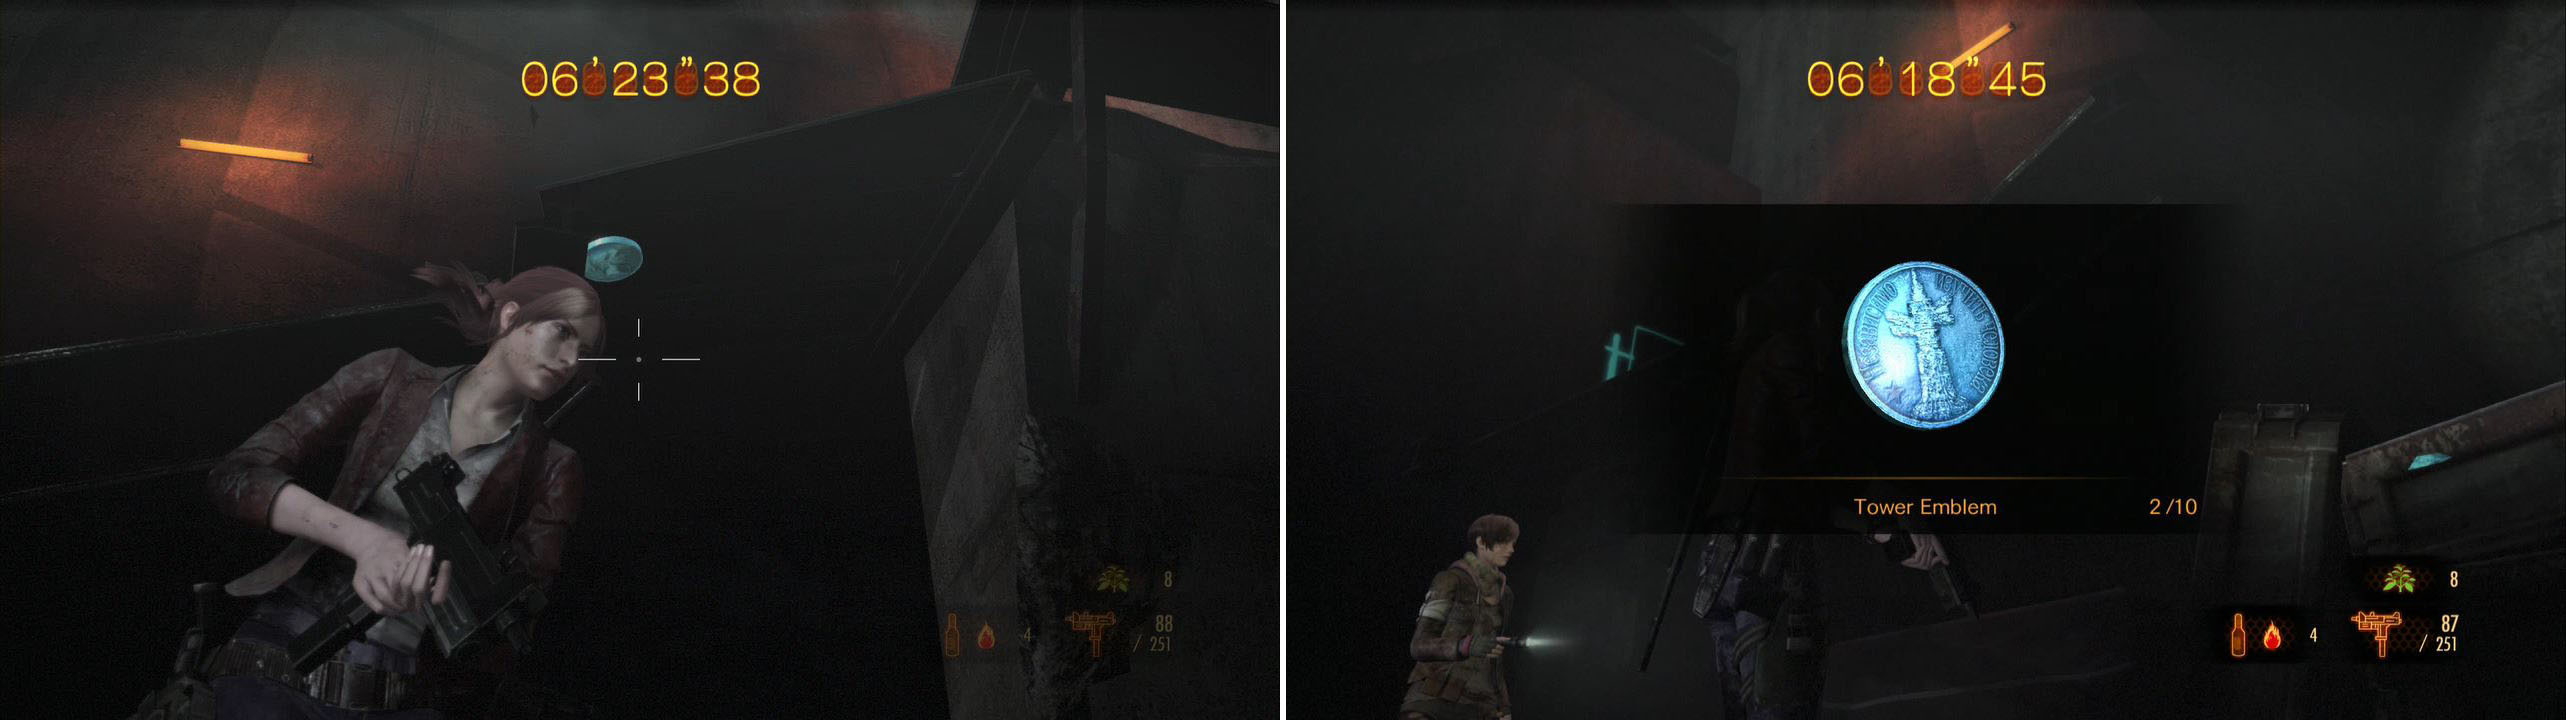
Underneath the exit is the Tower Emblem. Get it!
Head down the path now and we’ll need to shimmy for a bit. Once you have gotten past the shimmy part, switch to Moira and drop down to the platform directly below you to find a Military Box . Open it up quickly for a Diamond , worth a whopping 2,000 BP!
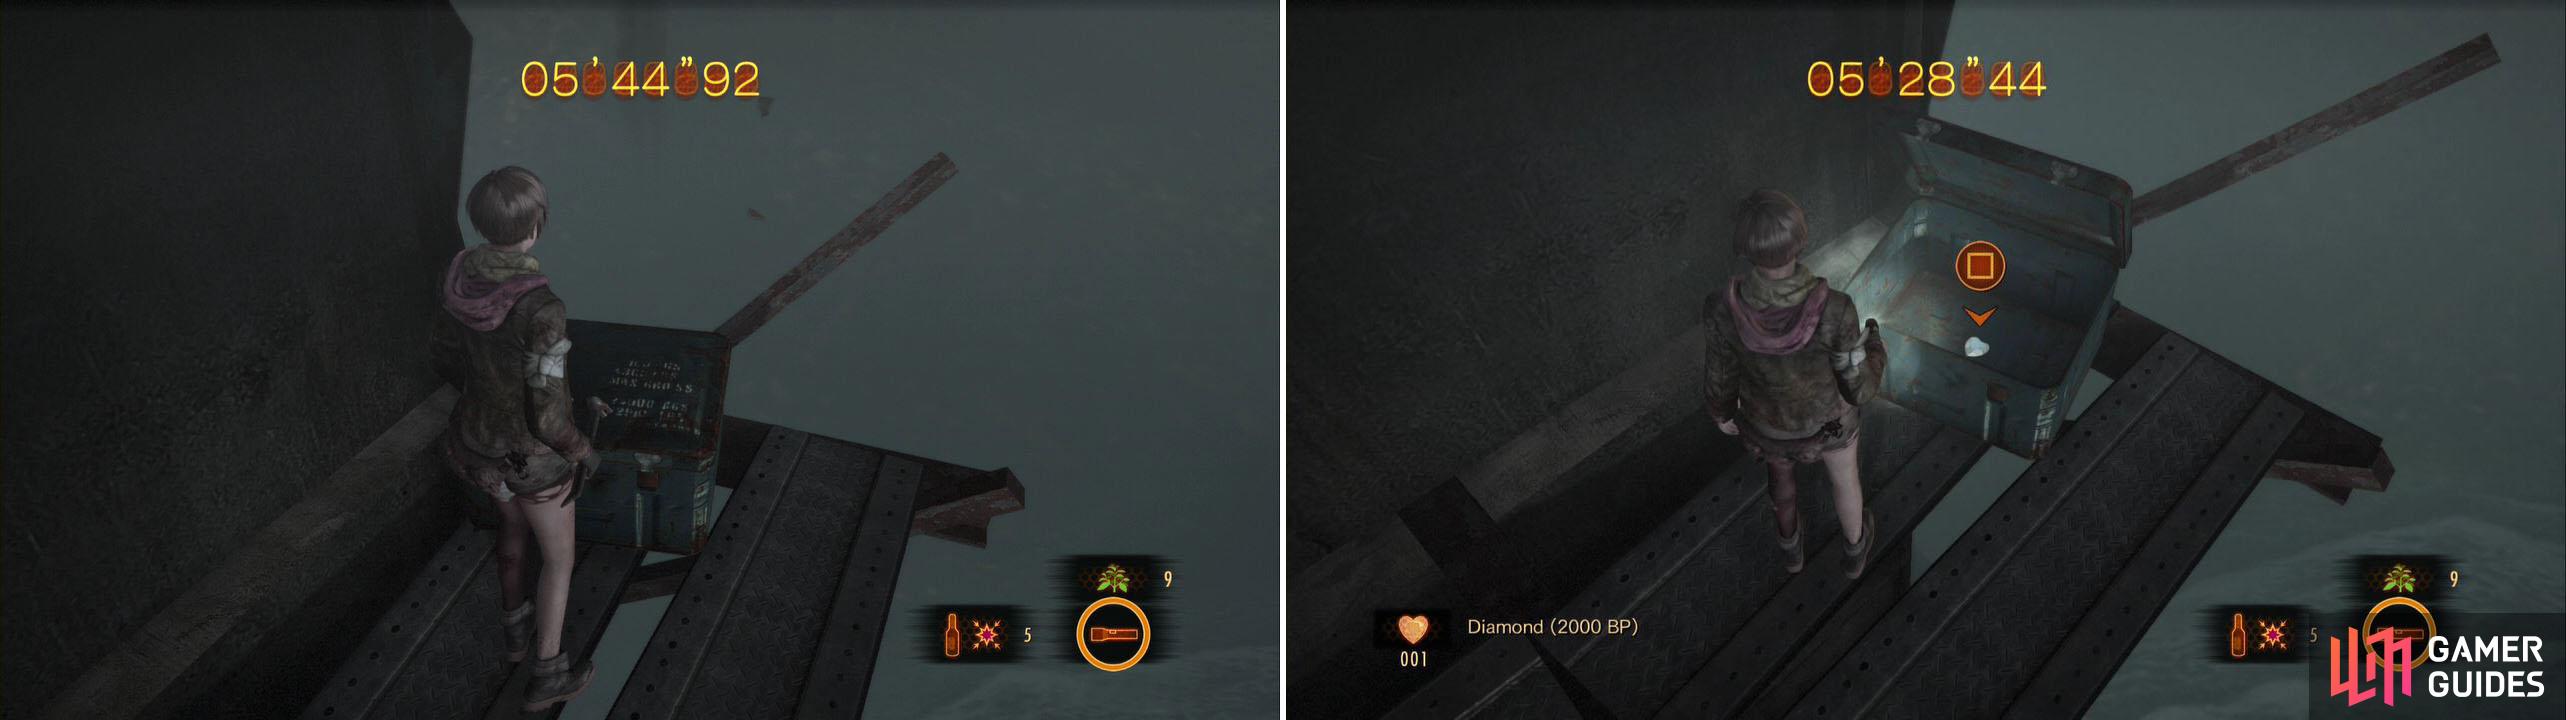
We get a Diamond in this Box. Be careful and don’t fall.
Keep following the path and stick to the right wall when you need to jump down (the left HURTS, but you’d survive). Jump down to the bottom area and look around quickly for a Crate and a box you can carry. Carry this box all the way to the end, past the area you jumped down from, and put it up against the stacked boxes in the corner. Use it to climb up and get past the fence and continue.
Keep going down the path and short shimmy area, dropping down when you need to until you come to an area with only slim poles poking out. Here have Claire boos Moira up on the right side, then as Moira look for places on the left to use your crowbar on and drop sheet metal down. This let’s Claire get across the gap safely.
As Claire, jump the gaps and at the end push the only metal box you can to the right. Switch to Moira and have her push the box out of the way from her end and go through the door.
Lift the metal grate here and then smash the Crate you find. Run down the pathway and duck past the debris. You’ll have to move diagonally on some ladders and at the end quickly have Moira examine the tower wall on the left to find Kafka Drawing 6/6 . Last one!
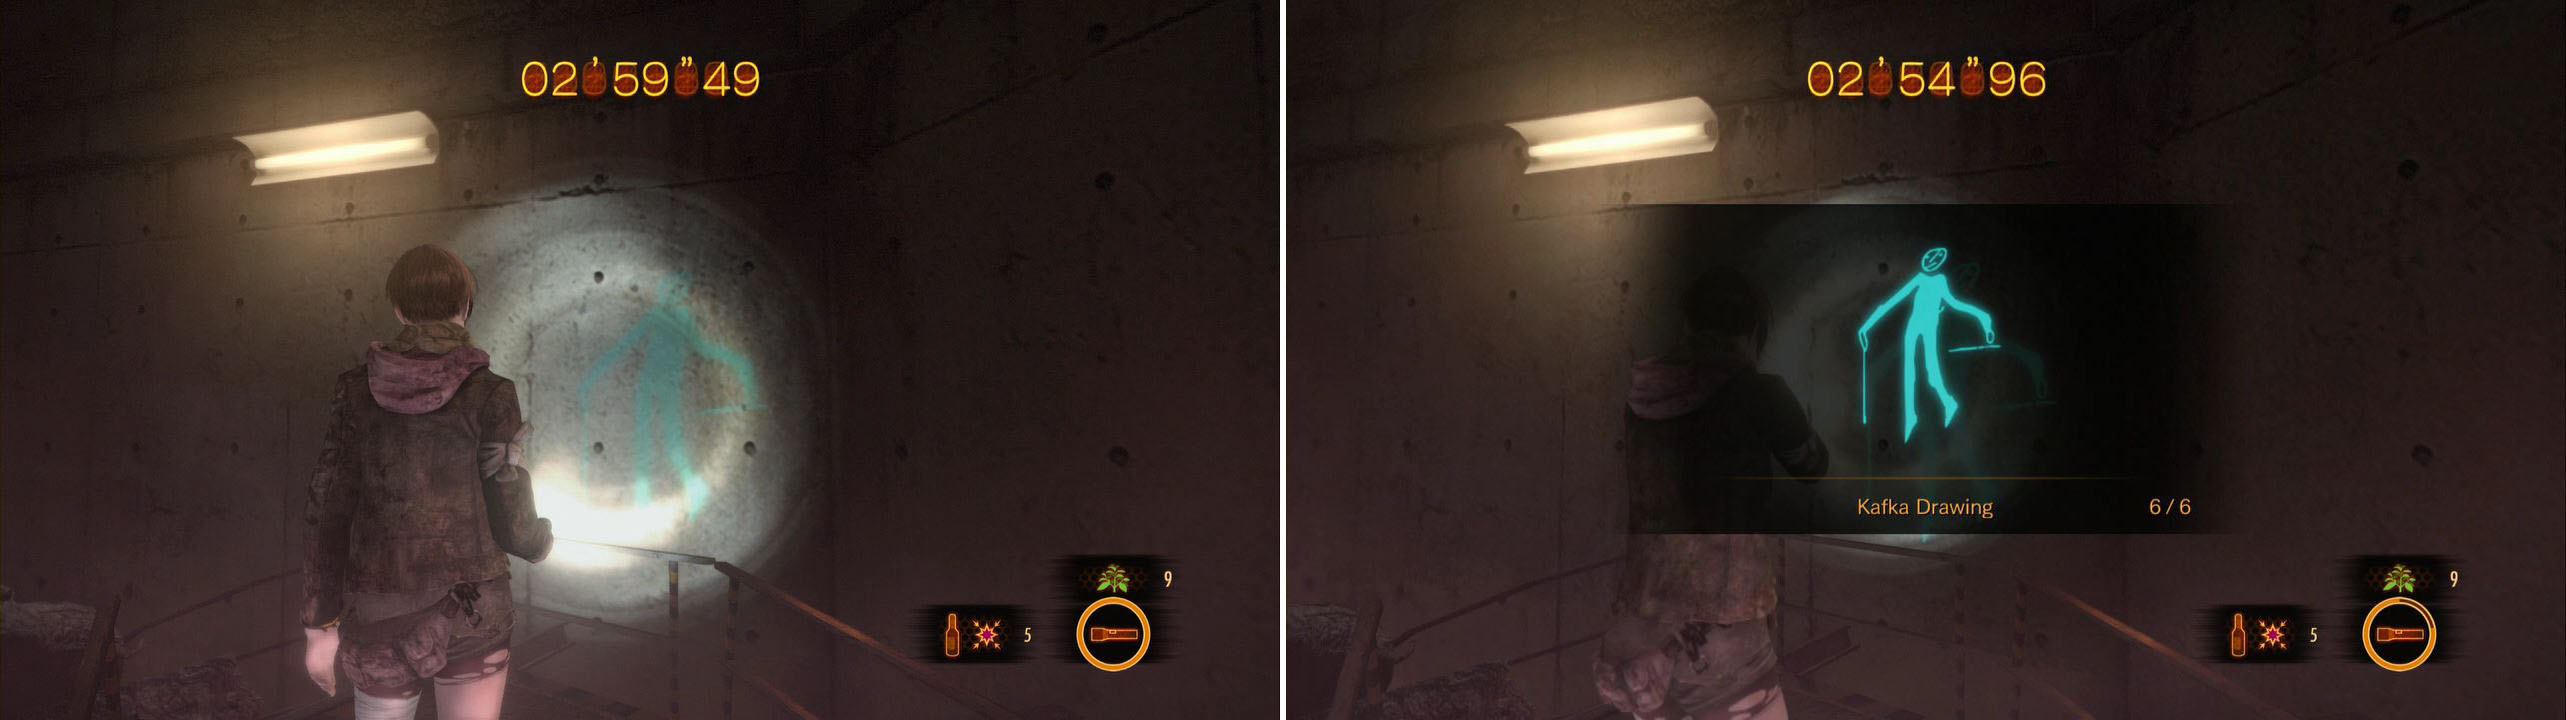
Even with the counter, make sure to get this Drawing before proceeding.
No time to celebrate, run quickly to the right and stay on the right. At the first ladder you can jump off safely. Keep going and at the second ladder make sure you are controlling Claire. Go down quickly and at the bend in the walkway look down the catwalk to the right to see Tower Emblem 3/10 down there.
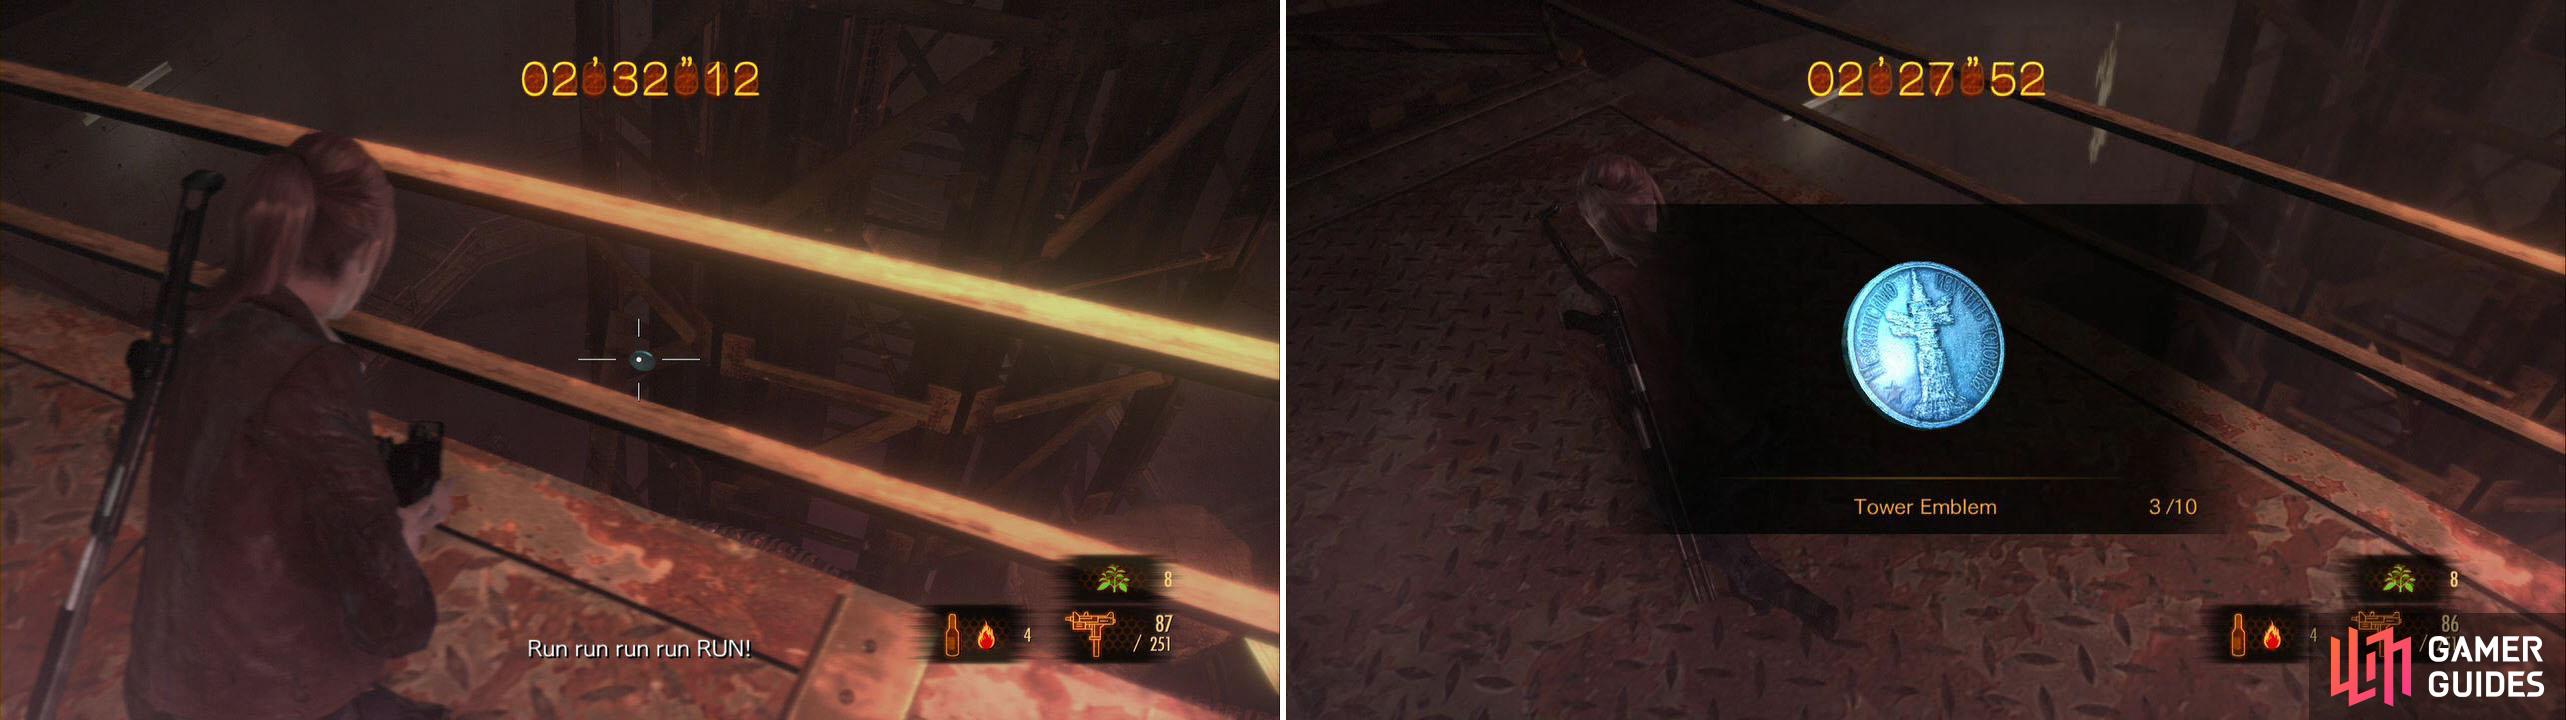
Stay calm and shoot this down. Don’t worry too much about the counter.
Shoot it and continue. Coming up there are two invisible enemies, so either send Moira ahead if you are playing solo or be ready to kill them quickly.

What You Can't See Can Kill You
Defeat six or more Glasps in the monument in Claire's Episode Four, on Normal difficulty or higher.

20
Keep racing ahead and soon you’ll see a scene…
We can’t stick around too long here, as heartbreaking as it is. We HAVE to go, or the place will blow and kill us. The exit is a short ways away. As much as you may want to stay… there is nothing you can do. Head to the exit and the end of Claire and Moira’s half of the episode.
No Comments