Here, move forward and examine the gate with Claire to trigger a short scene. Holy… crap! And yet no cooperation! Well, you can use the workbench past the gate here but then head into the water. BEFORE you go forward though, go back to the tunnel and shoot Tower Emblem 5/11 that is chilling back here.
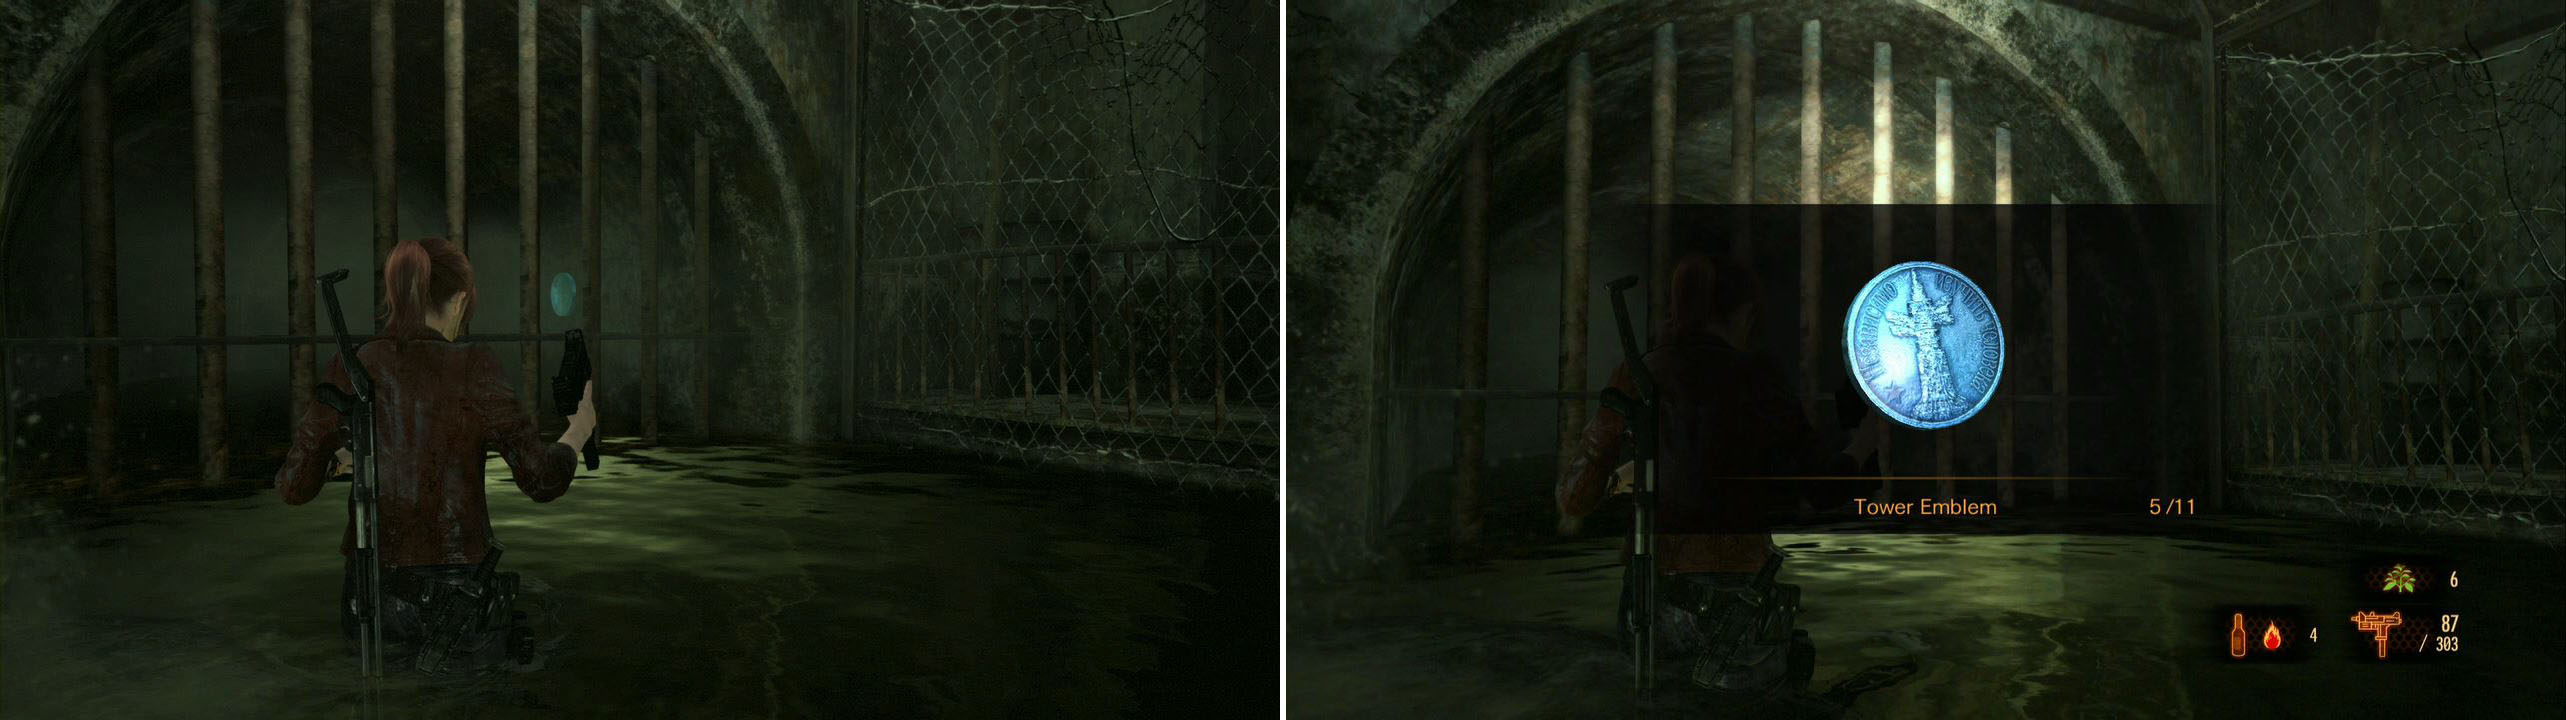
Shoot the Tower Emblem from behind the bars! Knife just won’t reach!
Press forward now and in the next tunnel get on the concrete to the right for the Sewers Map . There is a split in the path soon. Up ahead is a Crate and, if you head to the left and pull yourself up once more, a Military Box with a Parts Box inside. Nice. Head back to the split and go the other way now.
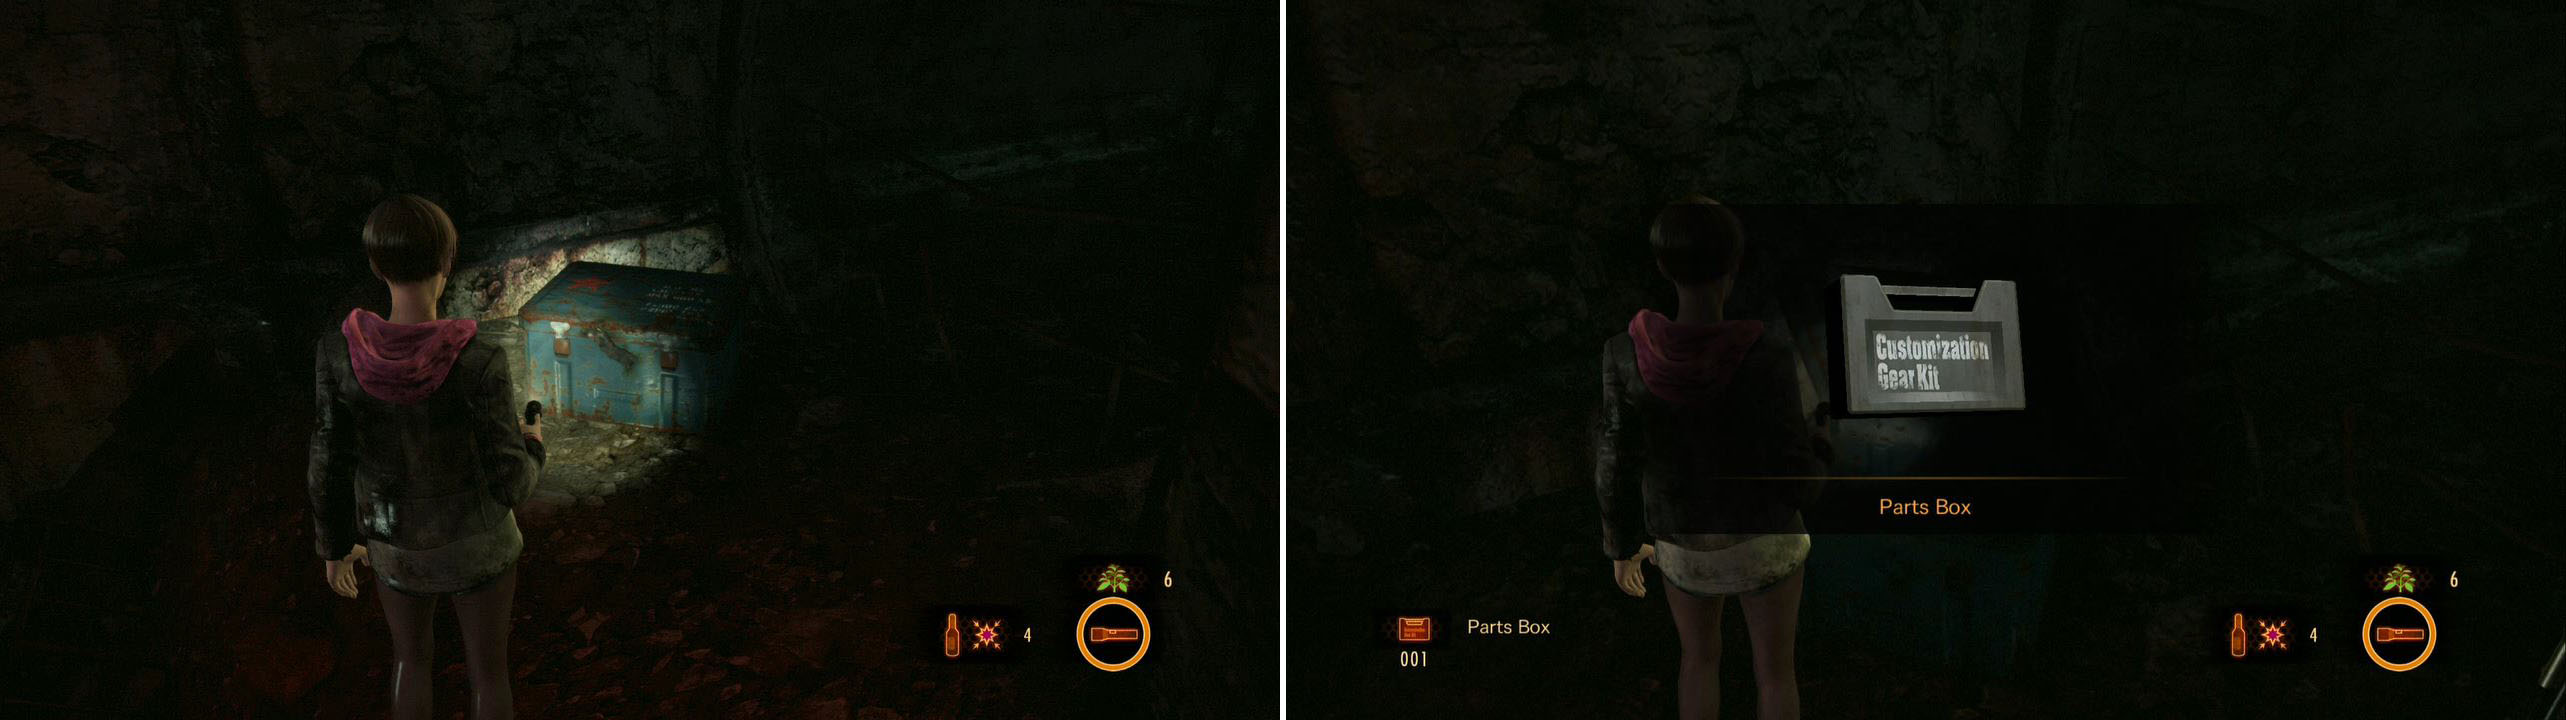
If you’re not looking at the dead ends, you’ll miss Military Boxes like this one.
Head back to the split and go the other way now. You’ll come to a new tunnel. To the right is a waterfall. Go underneath it and shine the flashlight above the gate for Kafka Drawing 5/6 .
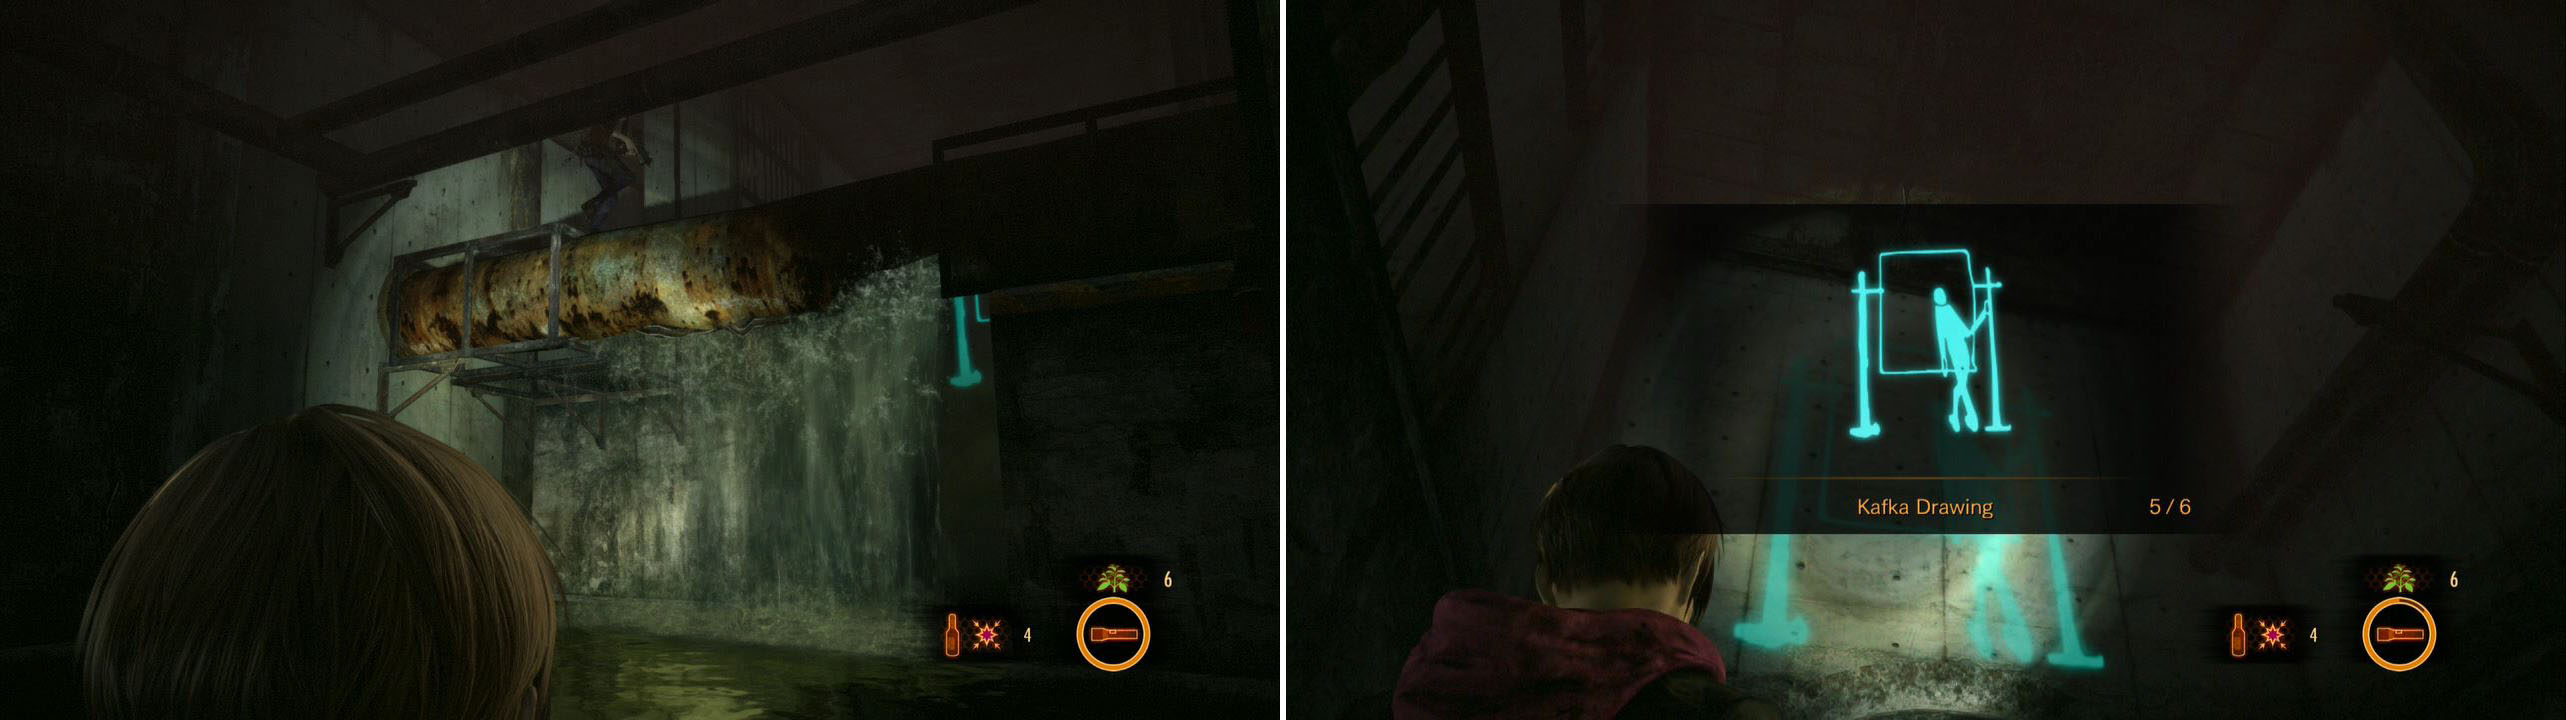
Besides the huge Drawing, there’s something really important here!
We can also climb up the boxes back here to get up to a Crate and a valve. Note the Sparkle Item by the valve. You can open the gate here but for this actually does NOTHING for us… yet. For Barry it will open a path though, so it must be done! This will also net you a Trophy so make sure to turn it!
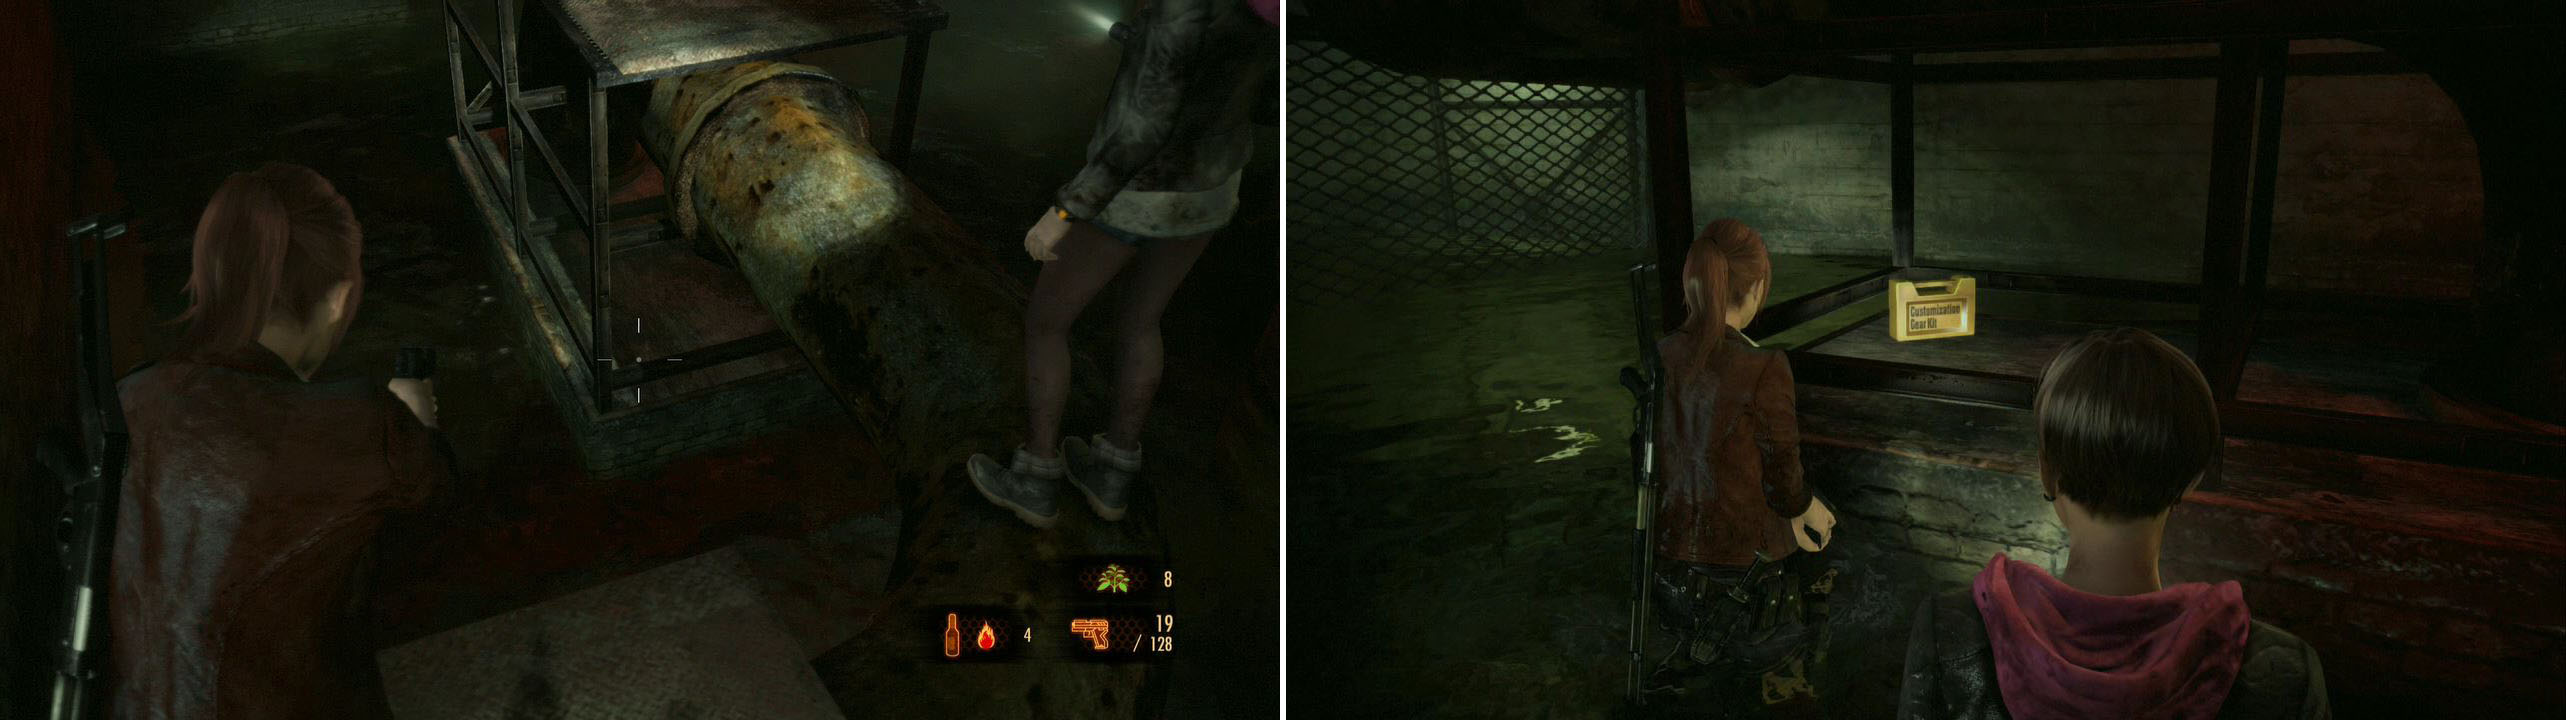
Head left now and go break the Crate on the walkway. At the path split, head right and at the dead end, crawl up the rubble on the left for some Shotgun Ammo . Head to the walkway nearby now and send Moira up. She can drop down a box for Claire from up here, which Claire should use. Up here you can find some Handgun Ammo , Alcohol , a Cloth and a Military Box with a Rare Parts Box .
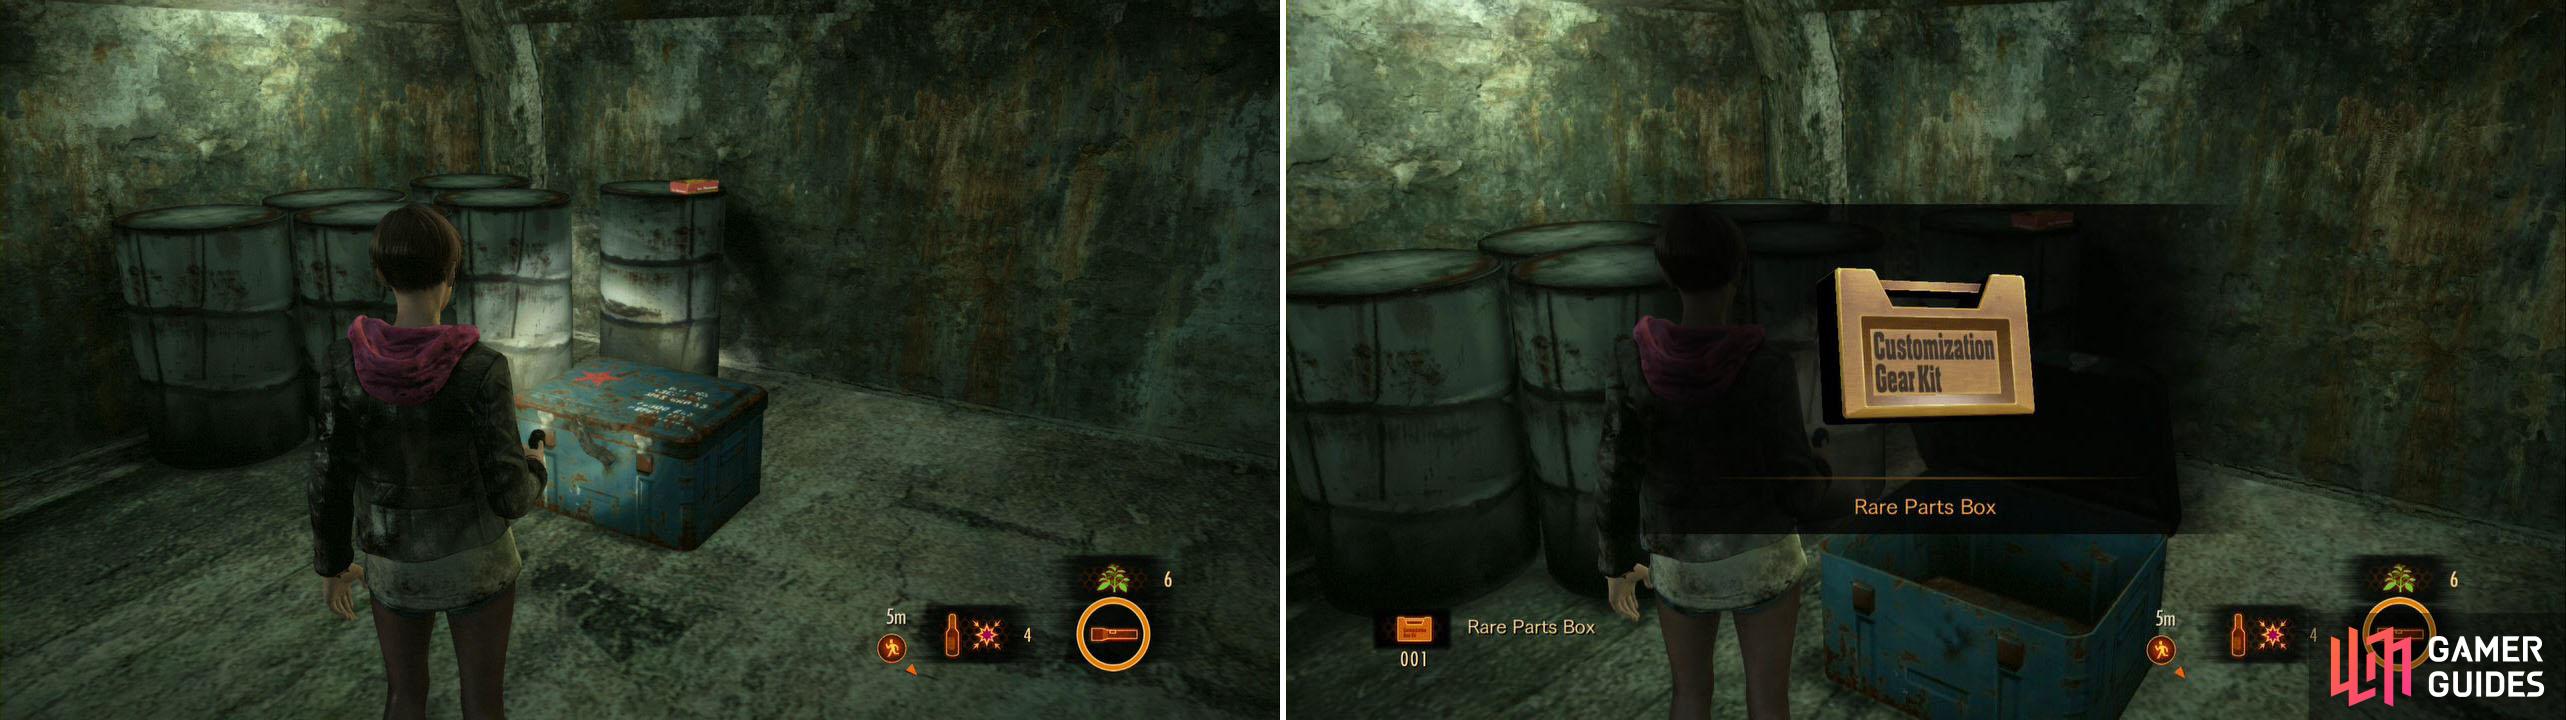
Have Claire boost Moira up here to get this Box as well as the other collectible.
While you are up here, look across the way and you’ll see more goodies. These aren’t for us, however. You CAN see a sparkle on the ground, behind the boxes though. Go ahead and shoot it for Tower Emblem 6/11 .
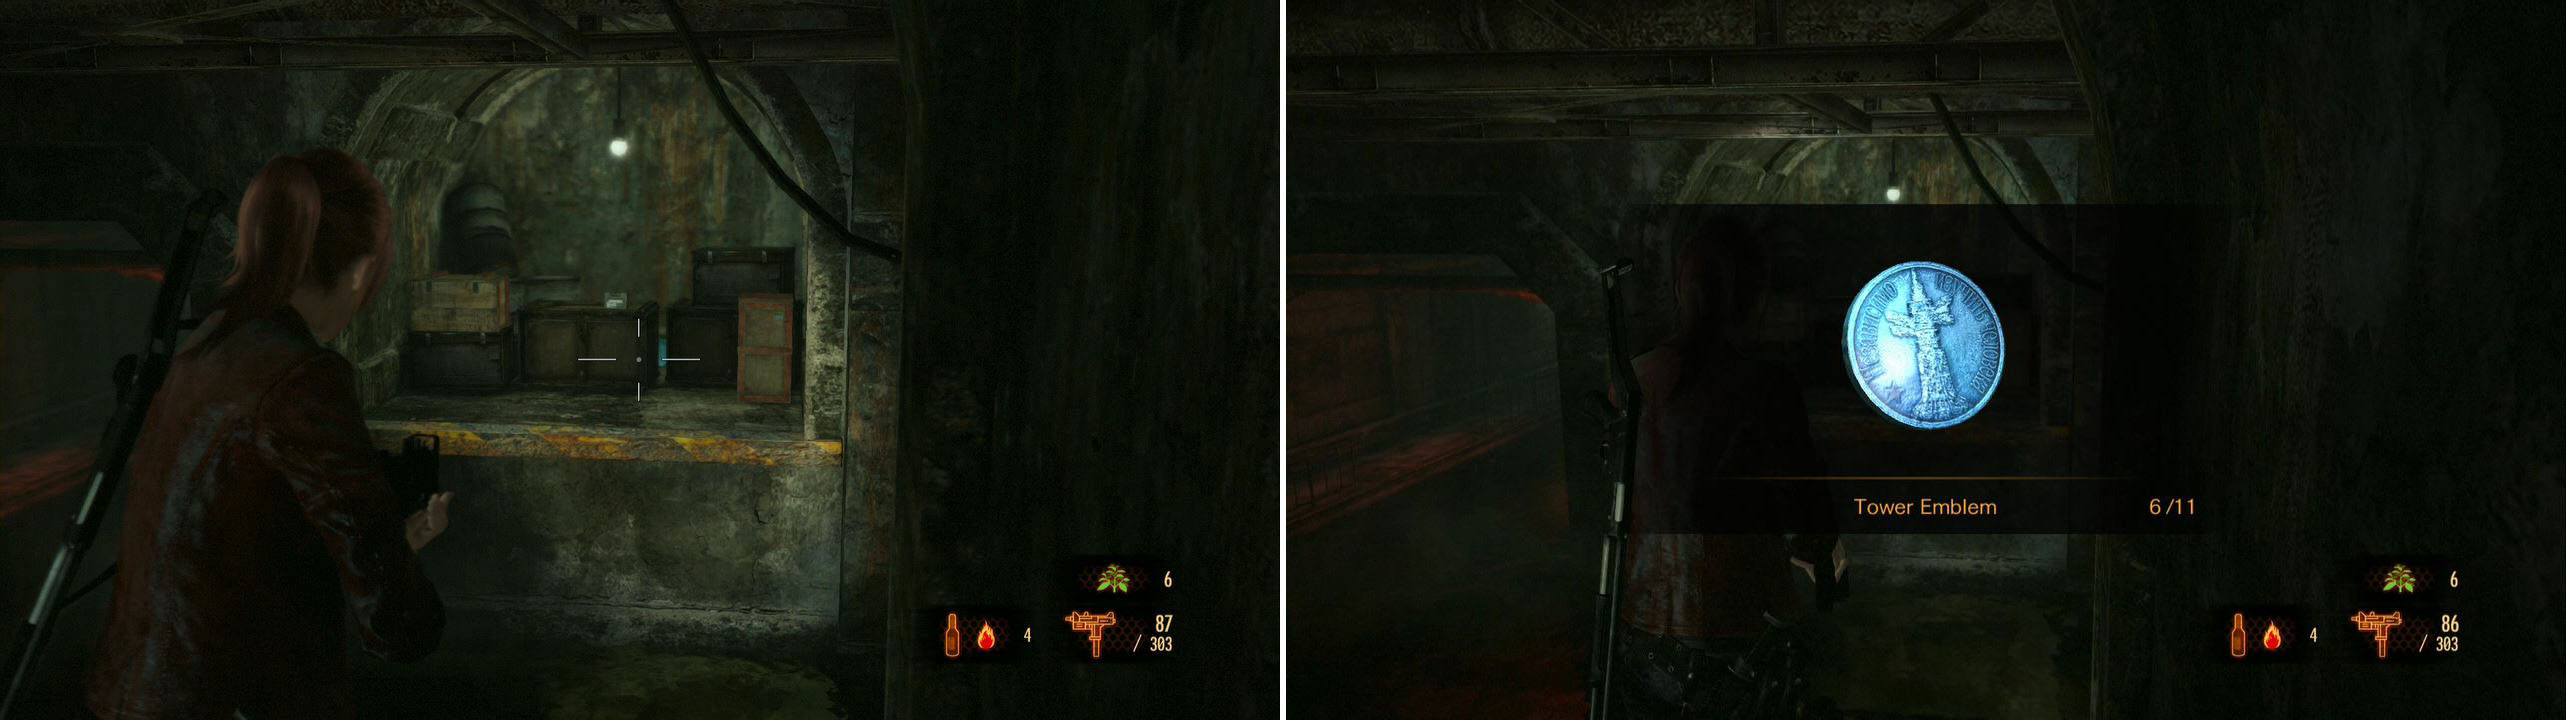
You can shoot it from here with Claire or wait until you pass here with Barry!
Get down now and press on. Around the bend be prepared to fight! Another fire-breathing afflicted shows up with about three normal afflicted! Use the tunnels here for cover and aim for the head! One of the normals turns into a bomb, so be prepared. The tunnel corners make a good refuge from the fire shots and let you take them out fairly easily.
Once they are dead, head back and break the Crate near the corner. Go up the stairs now and jump across to the walkway at the top. Follow this path to drop down to a Crate and a valve. Turn the valve to open the way out, then drop down and look to the RIGHT for a ladder. Up here is an all-powerful Red Herb and a Sapphire . Very nice!
Go ahead and break the bars off the door up the staircase now to continue. Grab the Handgun Ammo here and continue to a very large area. There is an Empty Bottle at the start of the area, to the left. Head into the water now and avoid the ladder. Go under the bridge and kill the afflicted to the left. Also, look for a Sparkle Item with Moira in this area, on top of a nearby Barrel. Continue to a walkway with a switch and turn it on.
This lowers the bridge but is VERY noisy. Noisy means enemies. Stay where you are and two afflicted will come to us. Take care of them and note the armored afflicted by the bridge. Take him out as well (easy from the switch area), then go to the stairs and past the bridge you made. Break the Crate and jump the gap to come to yet another large area.
Fear not, there’s no enemies here. Wade in to the island out in the center and to the left, near the destroyed walkway, is a Sparkle Item . Head to the slope and the Crate now and head up. At the top near the Barrel is another Sparkle Item . Hang a left here and duck under the wall for another Crate . You can also shoot down a Ruby that is embedded INTO the wall behind you.
Head back and take the other path now. It is walkway city over here! Grab the Green Herb and Alcohol here and go into the water. BEFORE you go up the stairs, head to the far end for a Crate and then to the far end on the left for a Rare Parts Box at the end. Head back to the stairs now and go up.
The location as shown from above (left picture) and sitting by itself surrounded by Afflicted (right picture).
As soon as you set foot on the pipe, three afflicted will rise up. Take them down with headshots from above. Continue on and at the split, go RIGHT and drop down the ladder. Break the Crate here and use the ladder behind you to go further up, dropping down to the platform below (the plank down here would have broke on you). Nab the Alcohol as well.
Continuing on means more infected. Of note is the bomb guy walking towards you from above. Take him out ASAP, then worry about the two afflicted and the armored afflicted. If you are quick you can kill them all off, but use the planks to get away from the big guy’s swings. Continue on to drop past the sewer divider and head up the ladder you find. Up here is an Empty Bottle and in one of the corners, a Sparkle Item . Use the gate here to leave the sewer area behind for good.
Once inside the Tower head forward and then left to enter a HUGE room with a ton of graves. Jeez. In here, head right first and past the small bridge take a left. Use Claire here and look down into the water area. Underneath the small bridge area you just crossed is Tower Emblem 7/11 . Well-hidden. Grab the Empty Bottle behind you as well.
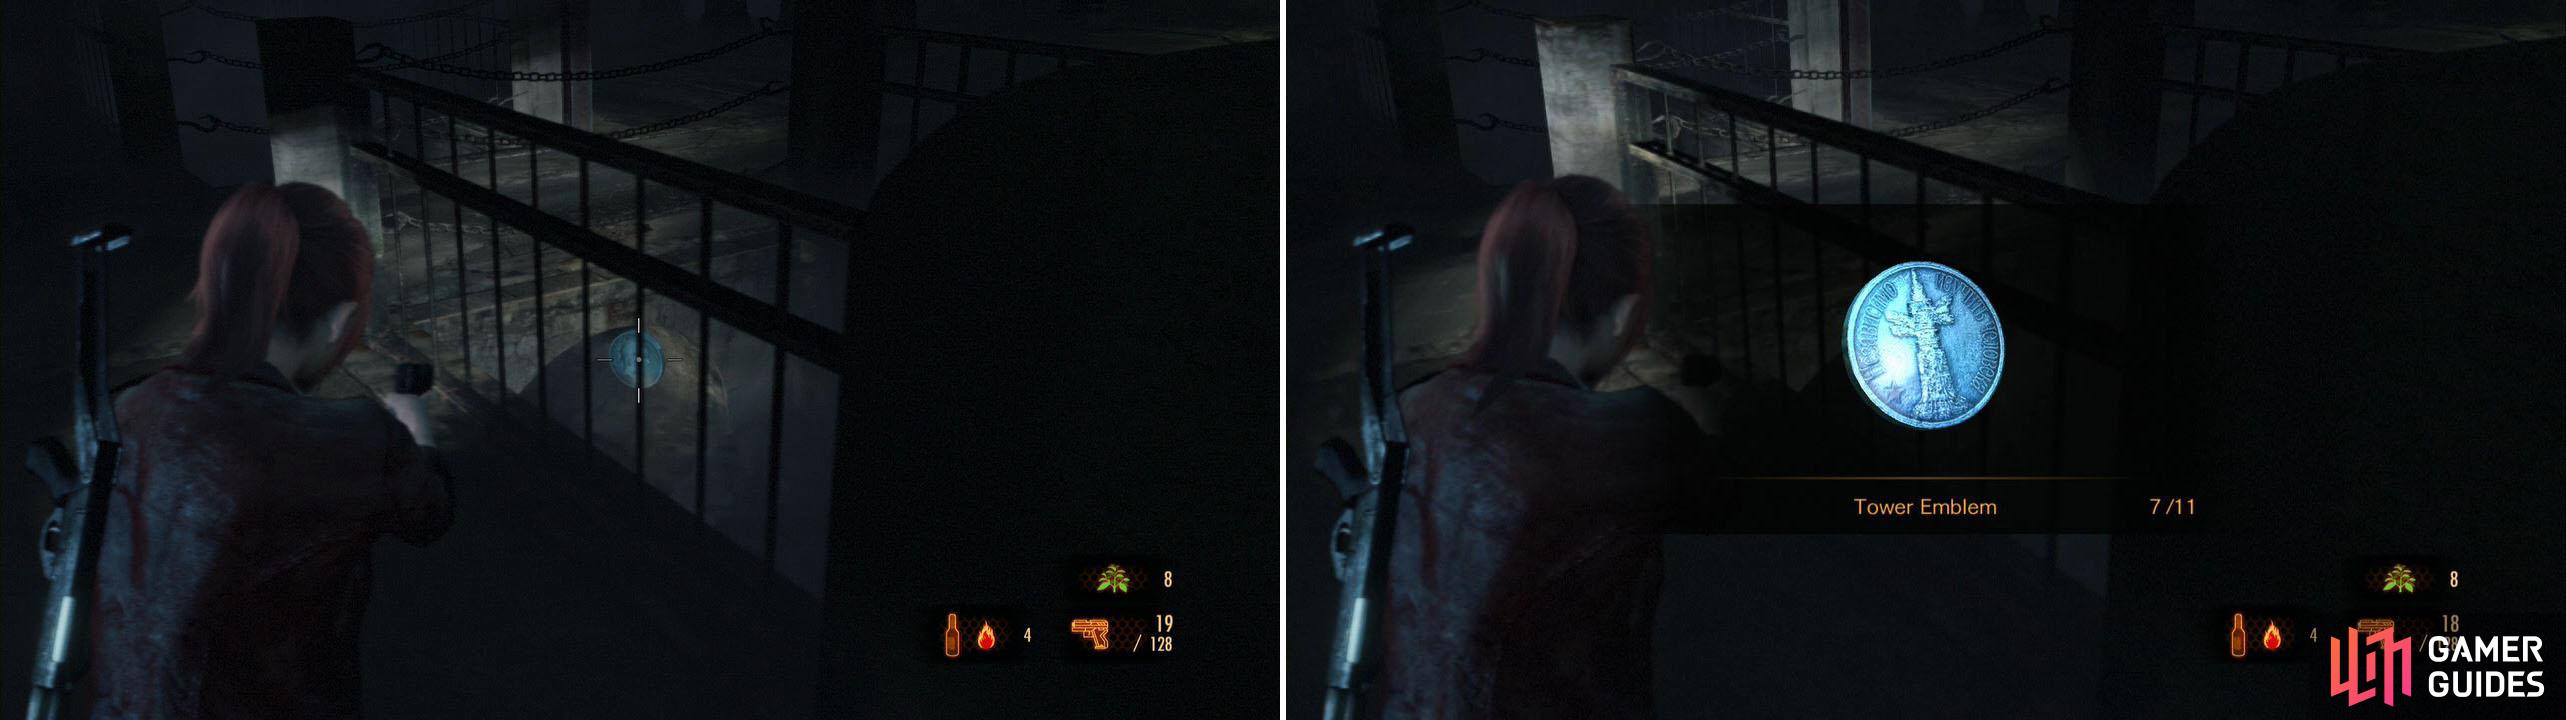
Another really hard Tower Emblem to find.
Head back across the bridge and examine the huge, bloody grave in the center for the A Eulogy for my Brethren document. Break the Crate to the left here and check behind the center grave for a Sparkle Item . Now, head forward to a hallway. To the left is the Release our Sworn Comrades document. This is a clue to the order of the puzzle in here, so it is worth noting:
- If you wish to know the truth, swear your allegiance in order.
Only then can you cast away your shackles of sin!
- To the first, you were always foolish, so you will have no grave.
- To the second, you shall bear your visage upon your back.
- To the third, you shall neighbor the fourth by three, but one row behind.
- To the fourth, you shall lose your head.
Before we get to it though, to the left is some Gunpowder and between the boxes on the right is a Sparkle Item . Head to the dead end and then search the right wall for Kafka Drawing 6/6 .
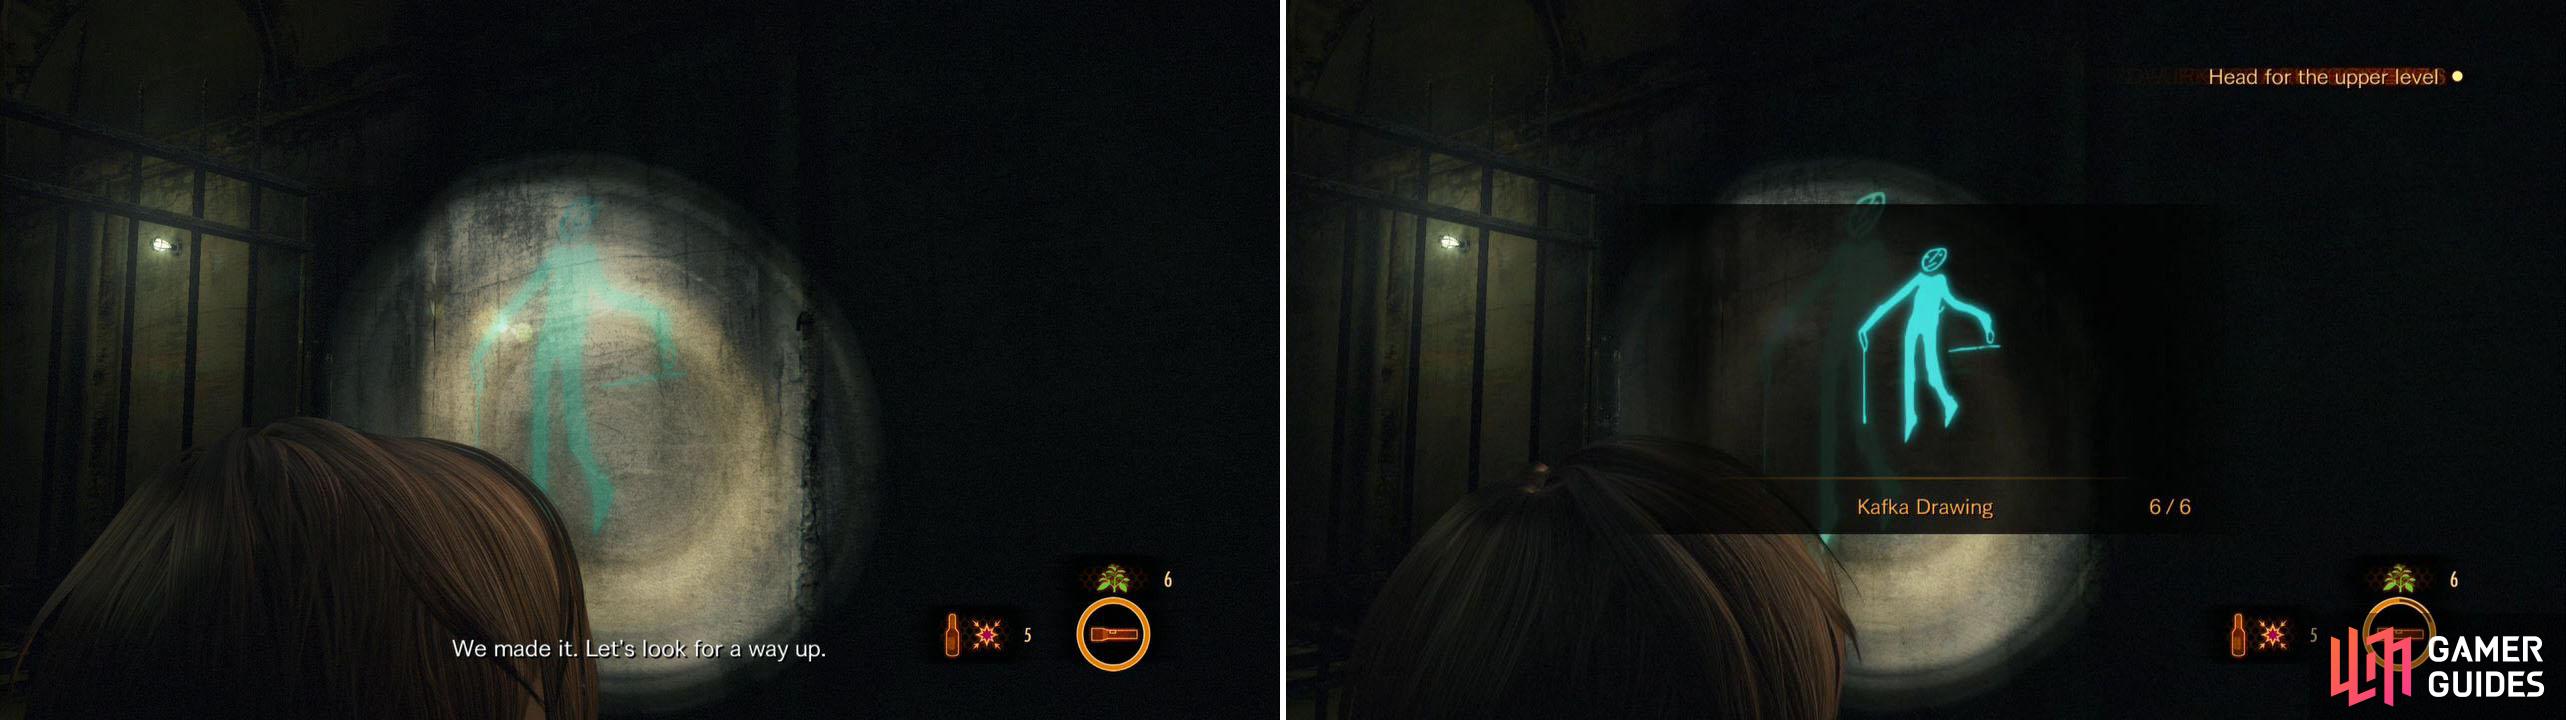
This Drawing is in the opposite direction of the exit so make sure to explore over here.
Head down the other path now for some Alcohol and in the far bottom room an Empty Bottle . Time to solve the graves puzzle now. Head to the center grave to start. Now let’s do this:
- Head to the top row of graves and look to the left. One pillar is missing. Interact with the star on the ground.
- Head to the very back (past the bridge) and check out the left graves. One has its star on the back. Interact with it.
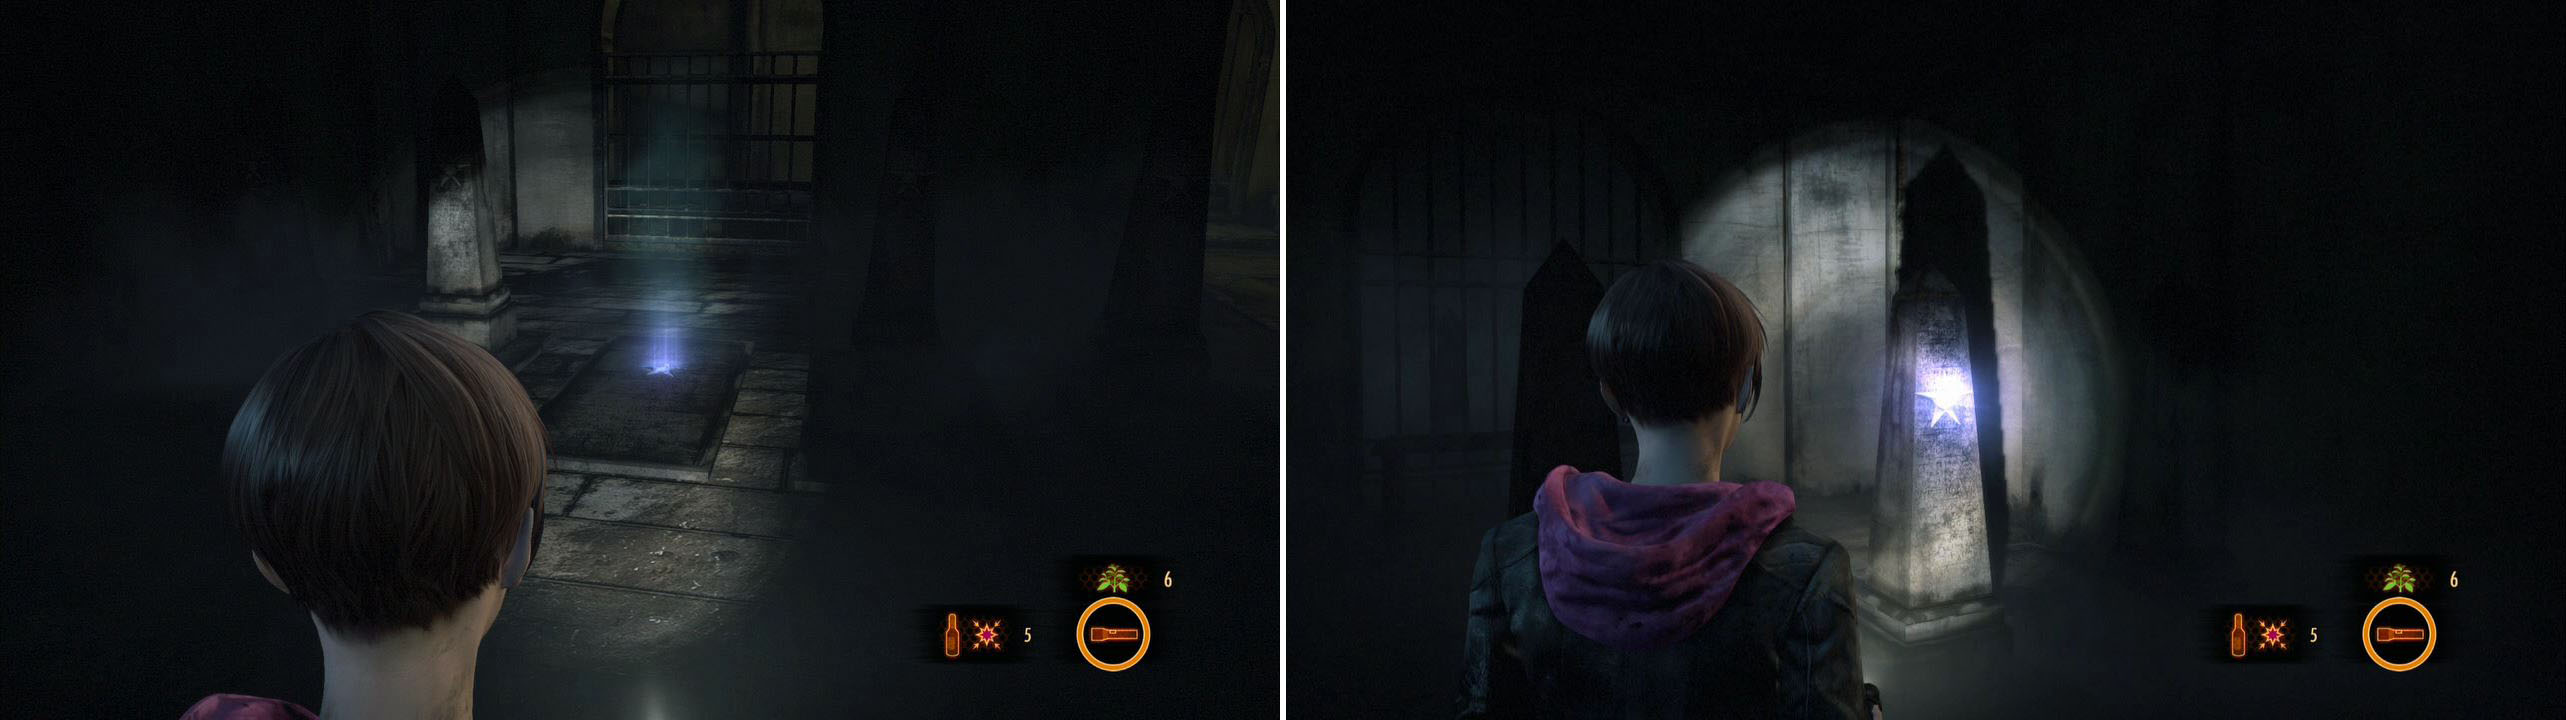
Left picture: First star to activate. Right: Second star!
- The third one is found by finding the fourth. Look past the bridge on the right side. Second row of graves has the last one’s “head” missing, so go to the row behind it (towards the bridge) and interact with the grave that is second from the left.
- This one is easy, go up a row and to the far right and interact with the headless grave to finish this puzzle.
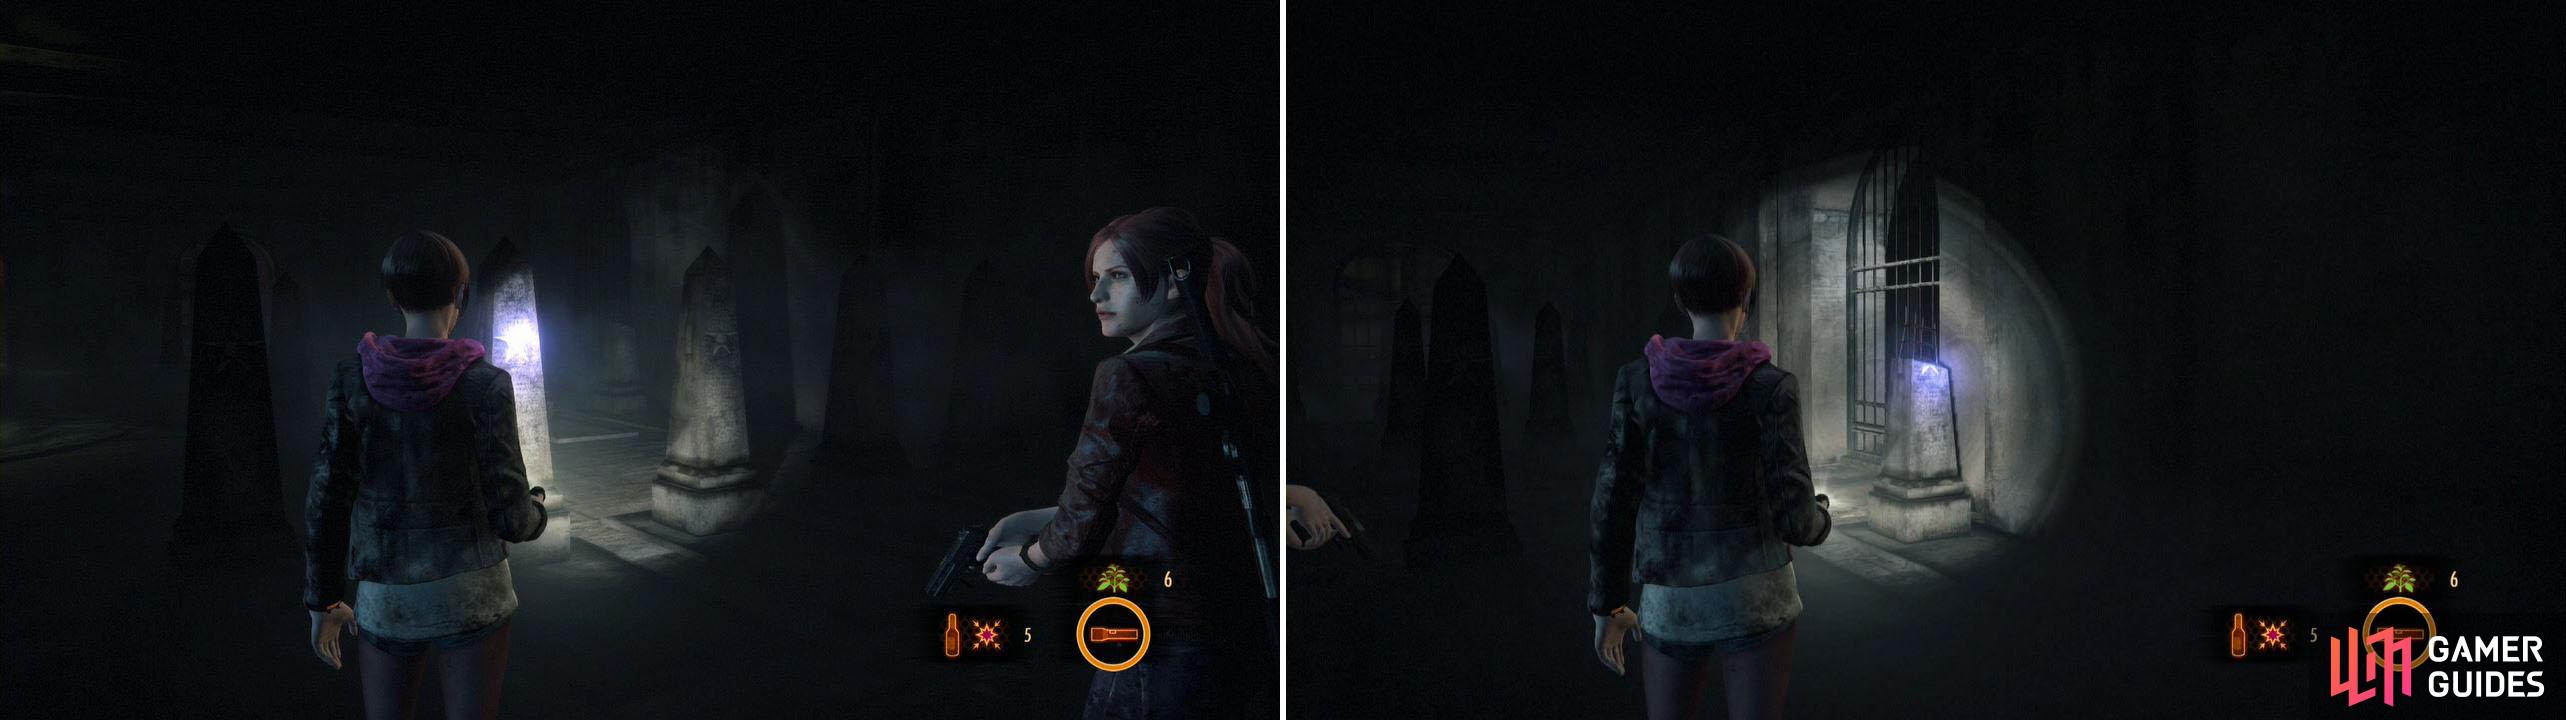
These last two stars are almost together. 3rd star on the left and the last star on the right.
Solving the puzzle opens the door in the hallway for us. Inside is a new weapon for Claire, the MP-AF . You also have a Parts Box and under that a Sparkle Item . With all of that gained, head left at the hallway and then follow the stairs up to a door to continue. Follow the paths to come to a HUGE industrial-looking room.
Here take the staircase on the right up to a door. Open it to an office. Heh, wonder how long that guy has been there. To the left is a Red Herb and on the desk nearby is the Instructions for Stuart document. In the bookcase by the body is the Stuart’s Valediction document. This is one you must read, for sure. Grab the Sparkle Item from the corner as well.
Head out and down the stairs. Follow the right wall of this area to under the room you were in to find Crate x2 . There is another Crate around the center column as well. Keep going to the staircase in the back. As you climb it, some interesting dialog will play. Hmmm… up here in the alcove is a Green Herb and a Crate . Gather them up and follow this path to a door at the end.
In this room there is Sparkle Item x2 : one to your immediate left and another under the desk to the right. There is some Machine Pistol Ammo by the computers and across from that the A Letter to my Compatriots document on the desk. There’s also some Machine Pistol Ammo in the far desk and a Green Herb in the corner. Use the workbench if you need to (we have enough new stuff!), then go view the monitors to see a cutscene.
After the scene, view the monitors again for Neil’s Candidate List document. Wow… just, wow. Get ready for a fight as you leave here…
Sure enough, an elevator comes down. Once you go inspect, it will be time for a boss…
Boss: Neil-Uroboros
Neil has undergone a monstrous change and now we have to face him. There isn’t any particular key to this fight, but there’s some tricks worth knowing.
First of all, the Crates filled with explosives are definitely our friends. Get Neil to run into each Crate and engulf himself in fire, all while taking pot-shots at his head. Try your best to get him to run into one at a time, which can be hard for some of them. He will in the meantime try to run up at you and punch, so keep your distance. Also worth noting is that you will get random drops of items during the fight. Ammo and even a Green Herb , so be on the lookout.
Once he’s caught on fire 2-3 times, he’ll shout out I’m Burning! and then run to one of the pillars in the area. This is EXTREMELY notable as this means his vulnerable heart is exposed! Run after him and pump whatever you can into him. This is your time to use that Magnum or Shotgun.
After that it is time to repeat the process, using the rest of the Crates in this area. Neil will start to jump to the bridge and try to use his arm to reach out and grab you. This results in getting slammed into a nearby wall, but doesn’t hurt nearly as bad as his punch. He’ll also try to jump on us from above if he can (he can land on the Crates still, just FYI). Keep getting him to hit the Crates and set himself on fire again. He’ll run to a pillar and his heart will be exposed. Hit him hard here again.
If you can, aim to do this entire process one more time. This time, try to use any Firebombs you have saved up, as well as Explosive Bottles. I ended up using about 3-4 Firebombs and he was looking for a pillar again.
Around now you are likely out of explosive Crates and Firebombs. We don’t NEED to burn him though, thankfully. He is likely dead if you managed three burnings though, so hit him with some Shotgun blasts and whatever you can until he falls.
Once he is down, gather up whatever items you can and head to the elevator. Use the button and wait for it to stop, then interact with the door to see a cutscene. After the scene, if you are playing with an AI, you’ll need to switch to Moira. Press the button to struggle forwards and watch what happens. I must say that they did this scene PARTICULARLY WELL. Very cinematic with a touch of emotion thrown in… which isn’t something Resident Evil is usually very good at…
After Moira has succeeded, you’ll be at the end of Claire’s Chapter.


No Comments