After the intro scenes, we’ll finally gain control of Claire inside of a prison cell, with a weird bracelet on our wrist… well damn. This isn’t good. At least someone opened the cell…
Head out and down the hallway. Up ahead you’ll hear someone shouting. Head forward to see Moira. Go interact with her and someone will let her out of her cell as well. We’re clearly being toyed with here…
Keep pressing forwards and open the cell door at the end of the hallway to enter a circular shaft. Bodies hanging everywhere… lovely. Head left and up the slope. Jump the gap and head up the ladder. We’ll have to shimmy here to continue. Take a left after that and up the next slope. You’ll hear a scream in the distance.
Head forward and ignore the door to the left for now. In the back check the first alcove for a Knife for Claire and a Flashlight for Moira. Yes, she gets a flashlight. We can only control Claire for now, so swing the knife a bit and head back to that door.
Open it up and… it’s disgusting. Go break the window with your knife and jump over to the next room. The Rules for Monitoring Test Subjects document is in here to the left. Check out the desk as well to get Handgun Ammo even though we don’t have the handgun yet. Exit the door now and head left to the next door. In here go forward and interact with the trash blocking the hallway. The game teaches you to crouch with L3 here. Do so to get by. We now have to push the bookcase out of the way. Push if forwards and you’ll be jumped by the first “Afflicted” enemy! Slash away at him until he leaves. We get slightly hurt here, but there’s nothing we can do about it.
Wow, it sounds like he’s making someone pay in the distance… keep pushing the bookcase out of the way to get by. Keep going to catch up to the monster and a woman. Follow them as they run off (we can’t stop it, by the way) and pick up the Green Herb you come to. The game teaches us how to open the inventory and use herbs (Touchpad and R1, respectively), but I’d recommend holding onto it for now…
Keep going into a bigger room and crouch when you need to to go onwards. We’ll be in a small hallway. Interact with the shutter to continue. You’ll run into Gina here. Oh man… nothing we can do, unfortunately. Nearby is the exit door, but we need the Experiment Block Key .
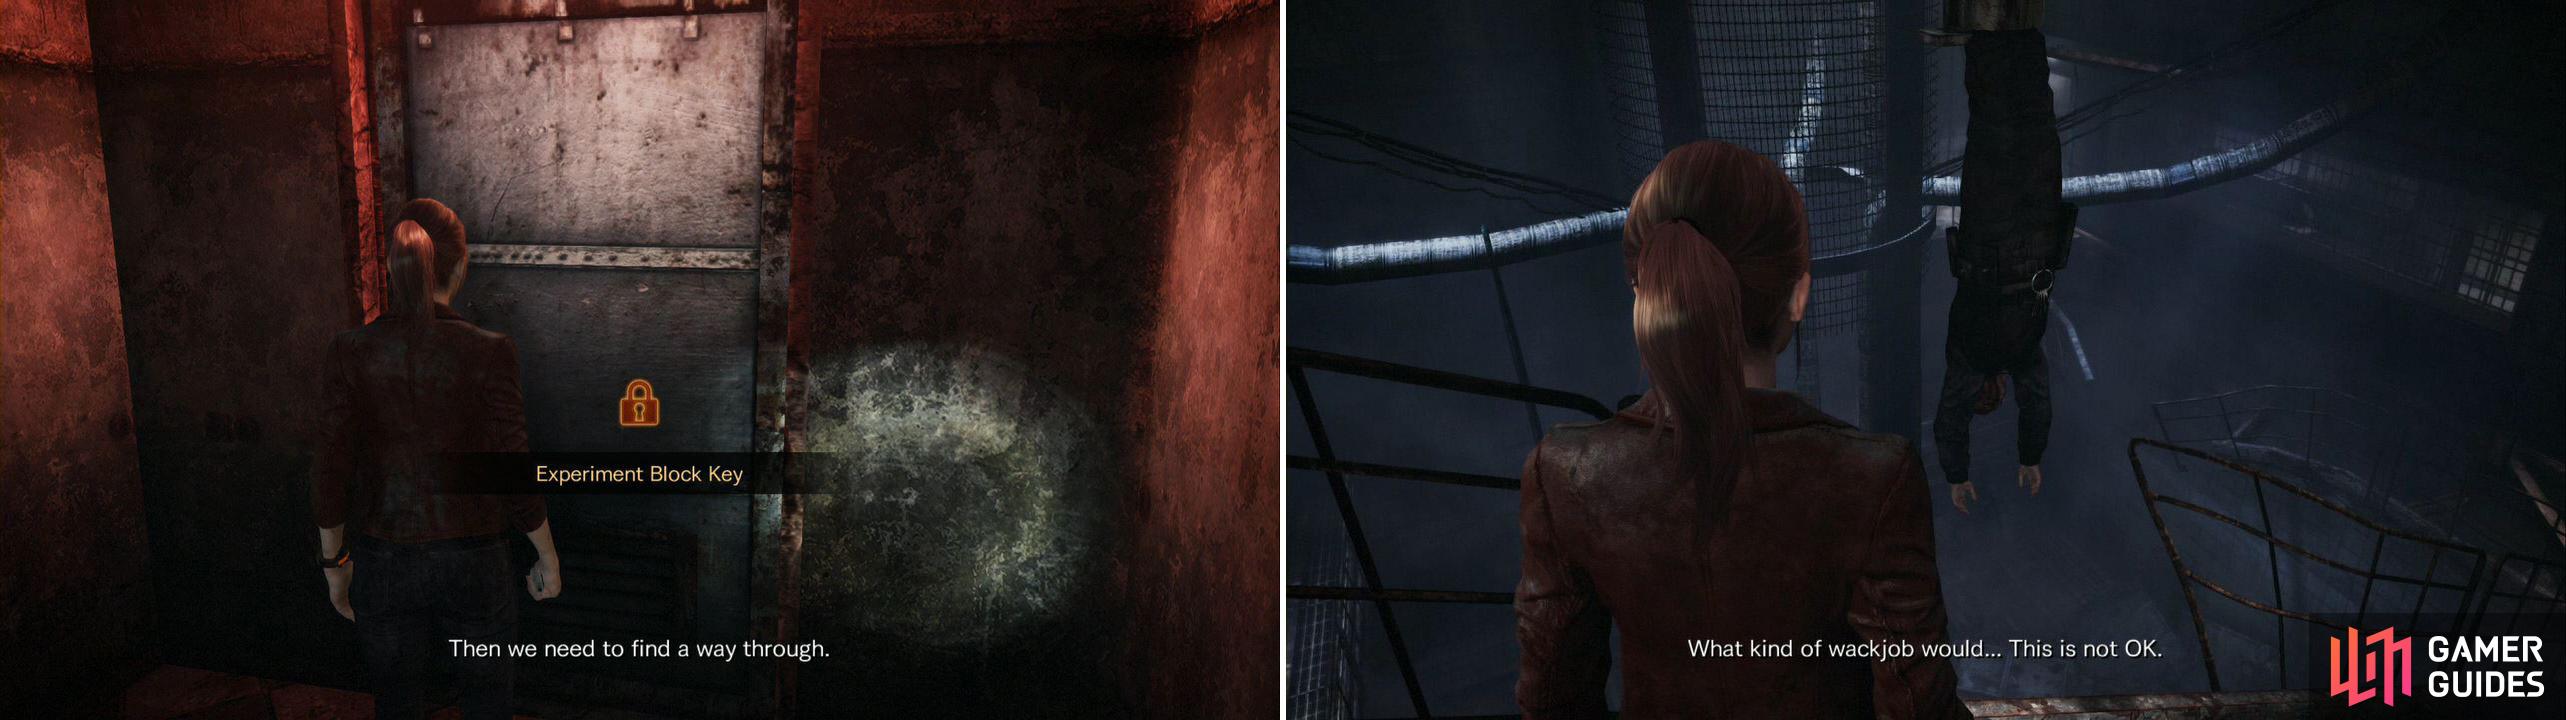
The key to the locked door can be found in the next room.
Continue on to the stairwell and you’ll see a dead guard hanging up down the stairs. He has keys on him too! Try to interact with him and he’ll end up falling down to the floor below. This makes the door nearby open up. Someone is DEFINITELY playing with us at this point…
Enter the door to find yourself in a hallway. Note all the doors to the right we can’t enter (you know that later on they’ll open these!). Continue on to a surgery room. Near the back, search the two desks for a Ruby and a Sapphire , two items that give us Battle Points that we can use later. Exit through the door here and out into the lower floor.
Here inspect the guard to obtain the Handgun for Claire. She takes his belt as well. The key isn’t here though… switch to Moira with the / button and search for it. It is actually ABOVE the body, hanging on a beam. Switch back to Claire to shoot it down. Be ready for an attack once you pick it up!
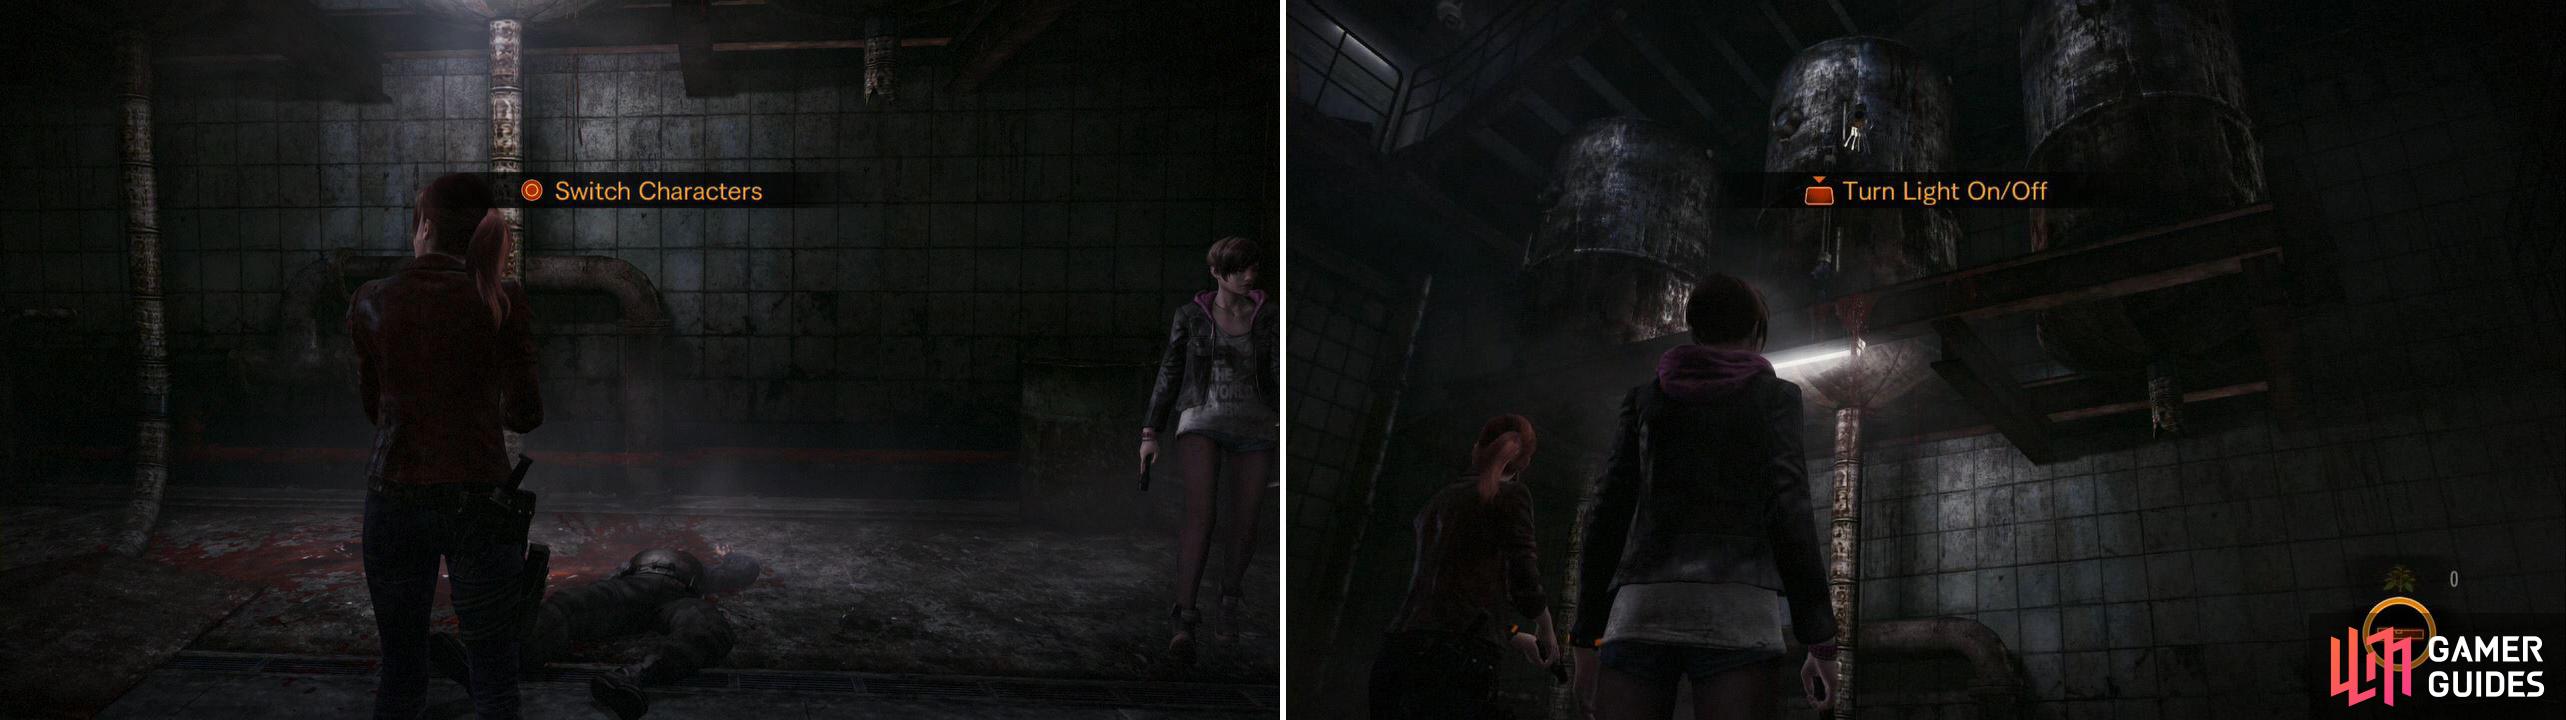
You’re shown how to change characters and what you can do with Moira.
Now, the s mart thing to do here is run, but there’s a collectable nearby so let’s kill off the ambush. THREE more enemies will drop down. It’s rough to fight them off, but one shot to the head, a quick kick, and some knife slashes will kill them all. You may need to use that herb while you take on these three foes, but it is worth it. Once they are dead, explore the room that opened up by the ladder for some Handgun Ammo and then bring Moira in here. Shine the light on the walls in here to find Kafka Drawing 1/6 .
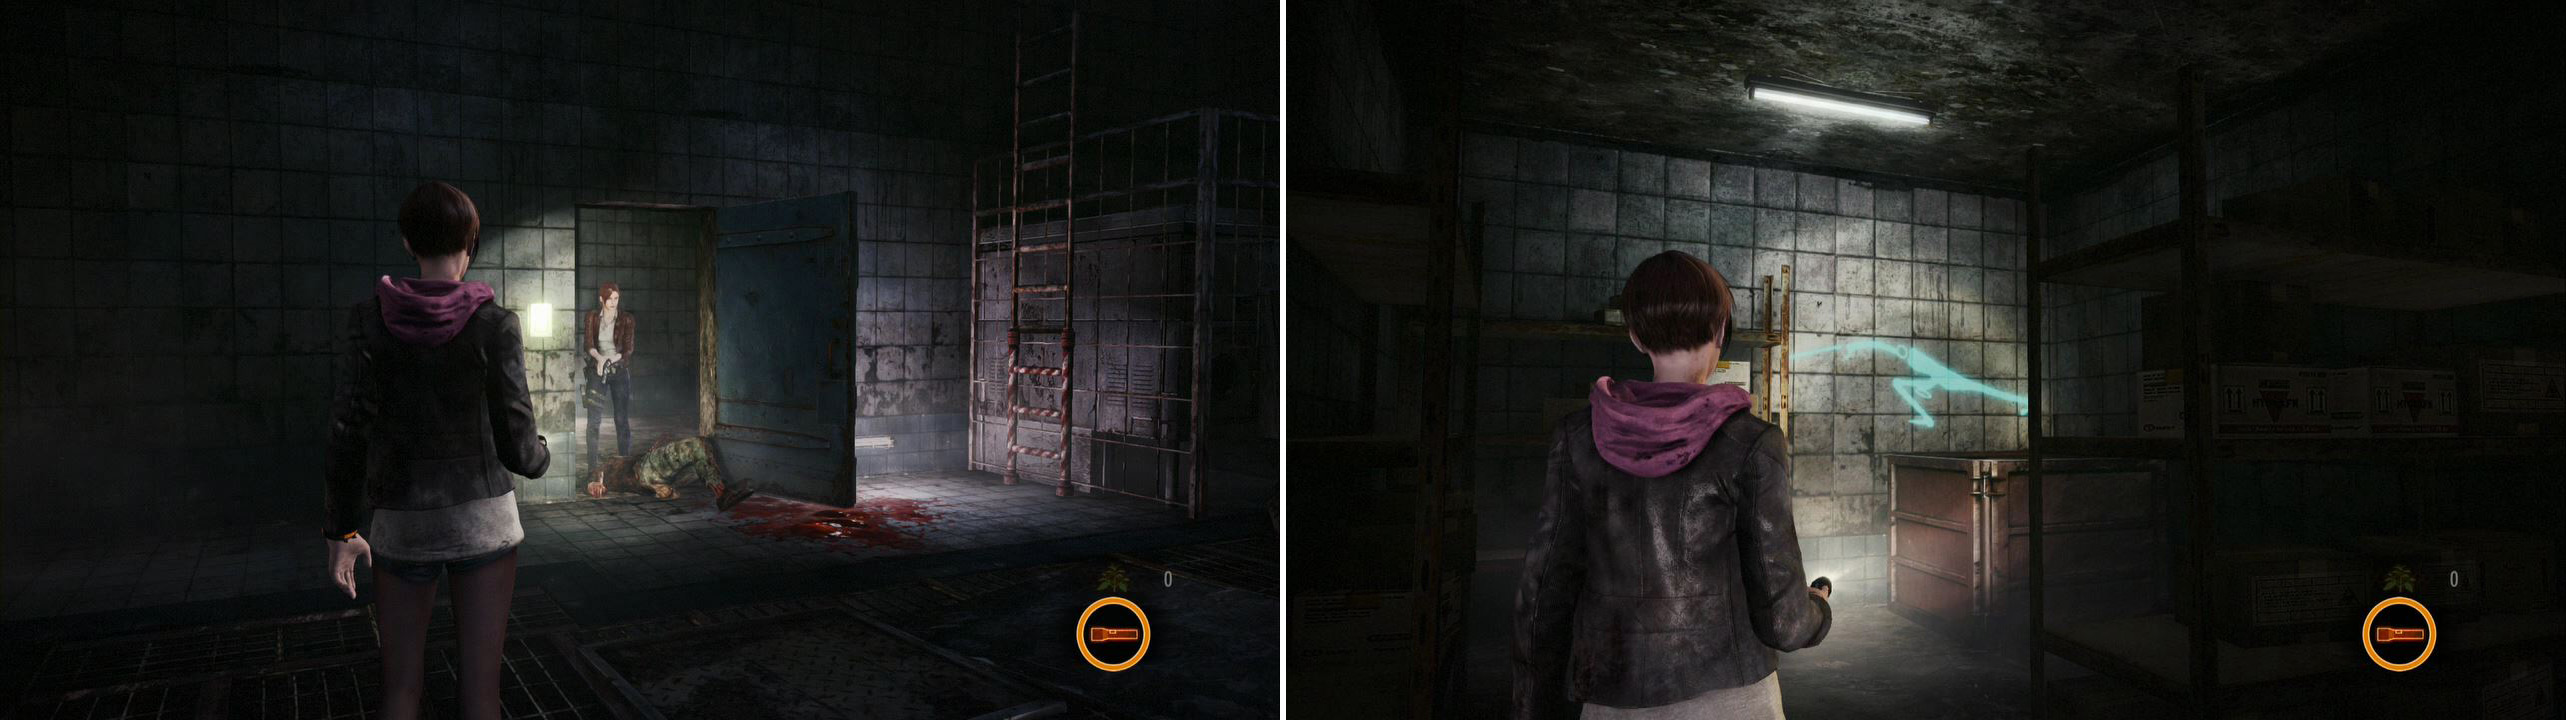
You’ll be finding drawings on walls that are hidden to the naked eye and you can only reveal when you pass the flashlight on top.
Head back up the ladder back to the surgery room. An afflicted will attack here, so once more stun him in the face with a shot and take him out. We also learn how to EVADE in here with the left stick and O, so that will help out quite a bit! The hallway has a door open to the right that allows us to grab the Green Herb and Handgun Ammo finally, so grab it and wait out in the hallway for the enemy to come, then take him out.
Continue on to the hallway of doors. At the start an enemy will bust out, so take him down quick. There’s two more foes to the exit as well. Pause at each door to see if they attack (they may attack while you pan the camera, so avoid doing that). Beware of their jumps and lunges (evade backwards) and take both of them out, then check the cells for another Green Herb before going back to the staircase.
Out on the staircase, head to where the cop was strung up and look down for an emblem to shoot. This is Tower Emblem 1/8 and is definitely worth a bullet. Take it out and then head up to the door. Use the key and escape the Experimental Block.
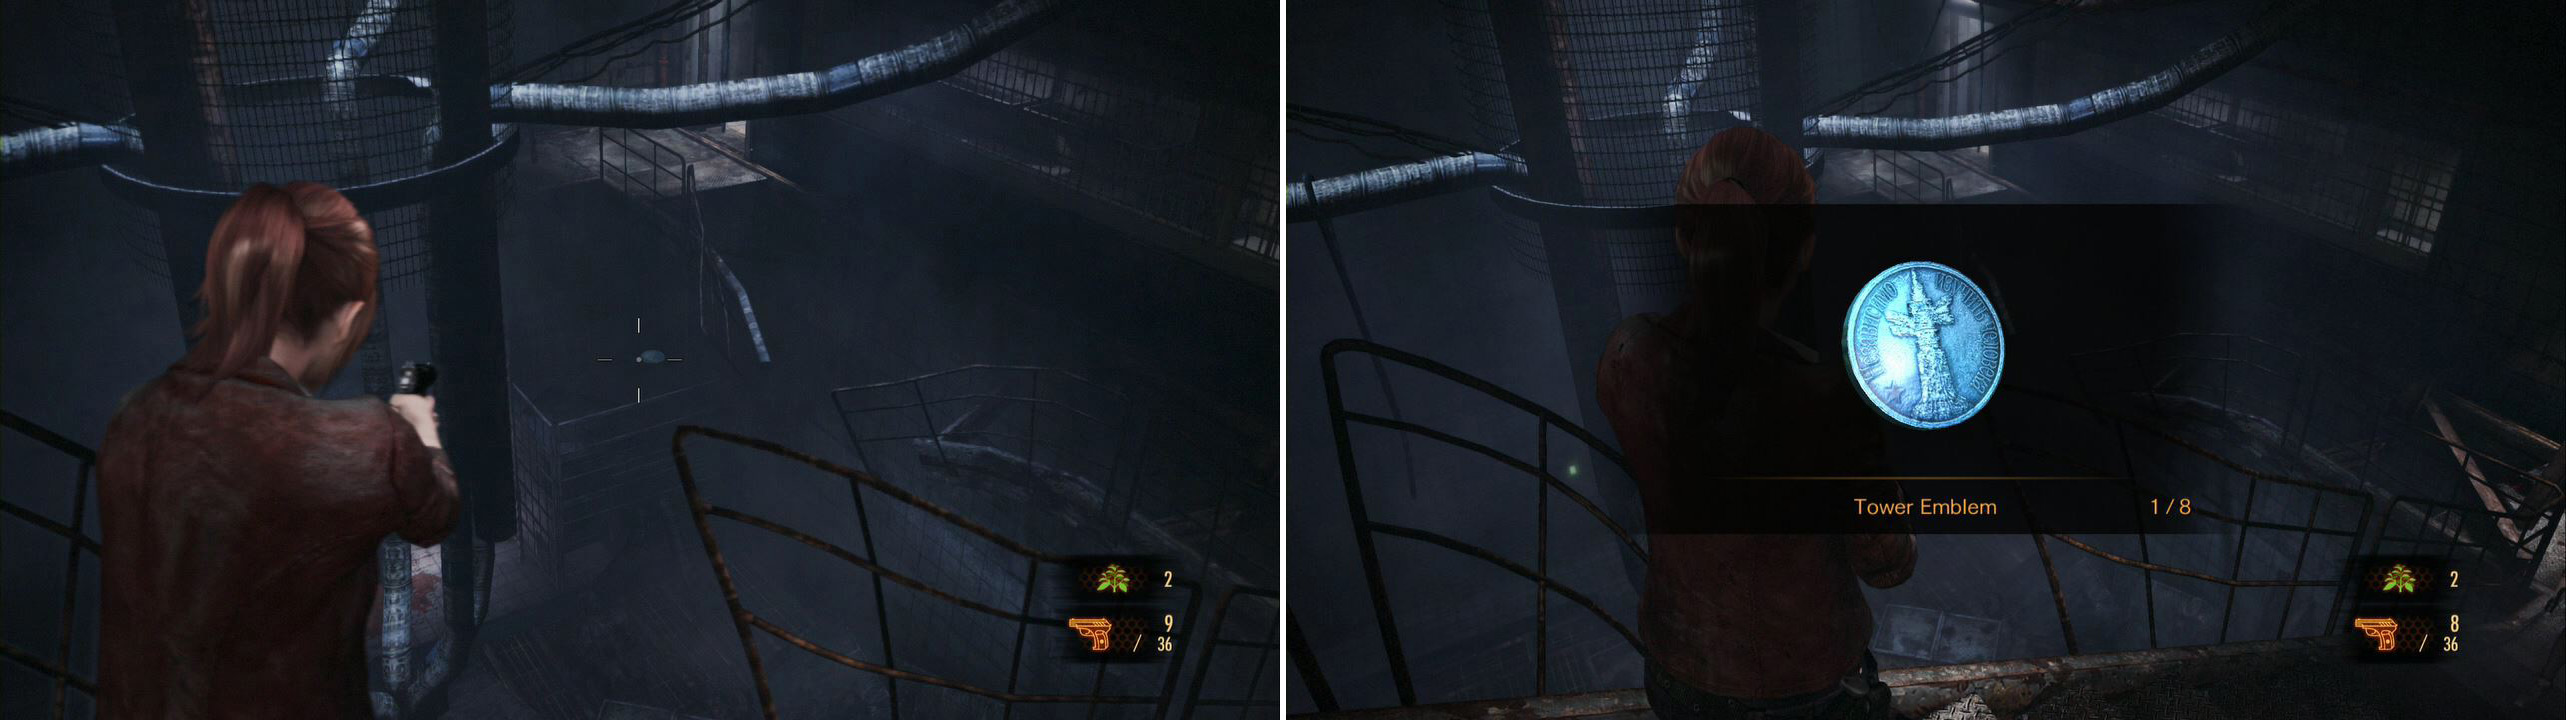
Tower Emblems are found in every episode and you need to shoot them, so use the Handgun/Machine Gun to do so.
For our efforts, we will find another dead guard with a Shotgun M147S on him. For Claire. Up ahead break the Box blocking the room for a random item and then the Box x2 in the corner.

The shotgun will be your most powerful ally in this first episode and half of the second one.
Claire and Moira have a talk about Moira not liking firearms and then you’ll switch to her. Use her flashlight to point out the Sparkle Item x3 in the shelves here and pick them up. One of them is the Crowbar for Moira, which is her main method of attack. Use it like you would the knife. You can also now focus the flashlight, which lets you blind enemies and put them into a stunned state. Very useful!
Head to the door here now and look at the wall to the right with Moira’s flashlight to discover Kafka Drawing 2/6 . Then use the crowbar on the door to continue on.
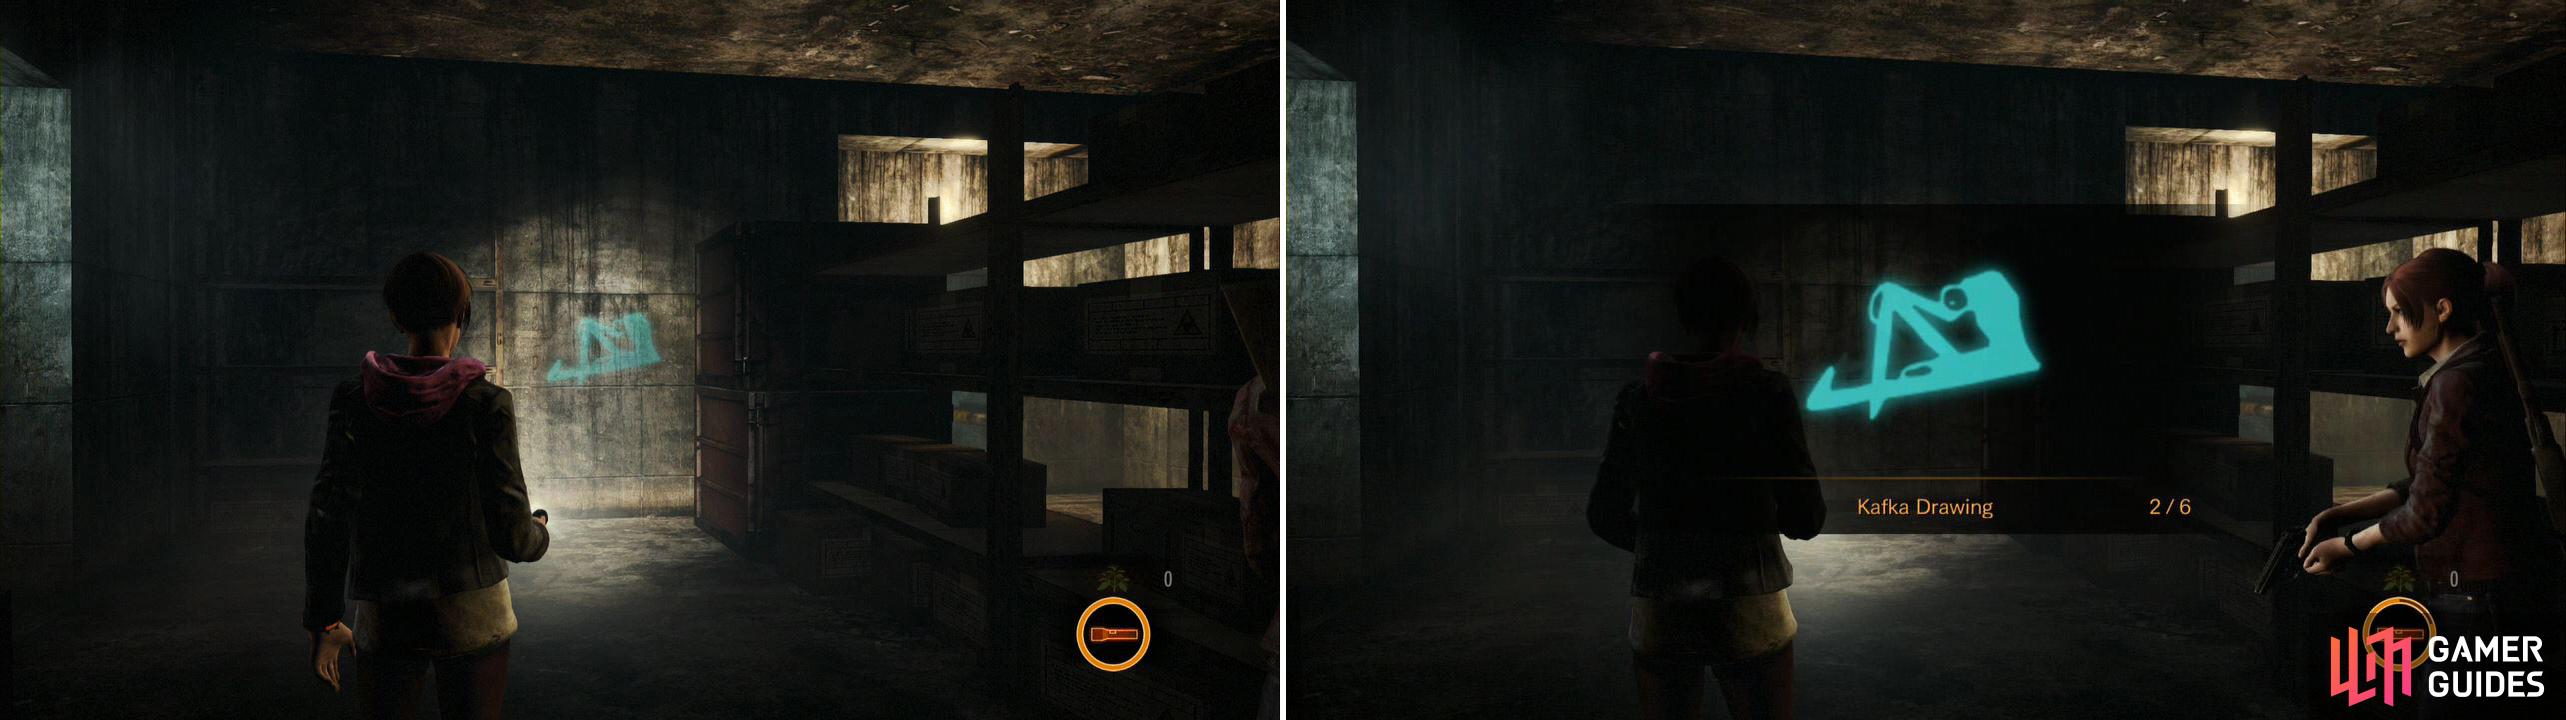
Don’t forget this second Kafka Drawing before leaving the room.
You’ll see someone dash off in the distance. Creepy. Continue to the open area and search with Moira for Sparkle Item x2 and break the Box that is nearby. Use the shutter after you gather up the items.
Head up the stairs and search the rooms behind you to find one open with a Box inside. So many rooms in this area… you just KNOW they are going to open them on us… head forward for a quick scene with whoever is monitoring us.
Continue forward after that. Note there is a staircase up to a second level with a locked door and even more doors. This is the Control Room and it needs a key, but let me just say that we won’t be exploring it during our half of the story. Continue to the foyer area instead and look straight up to find Tower Emblem 2/8 . Heh. We can also find the Improving Security Measures document to the right. Read this one for sure and note the flame bust. That will be important later.
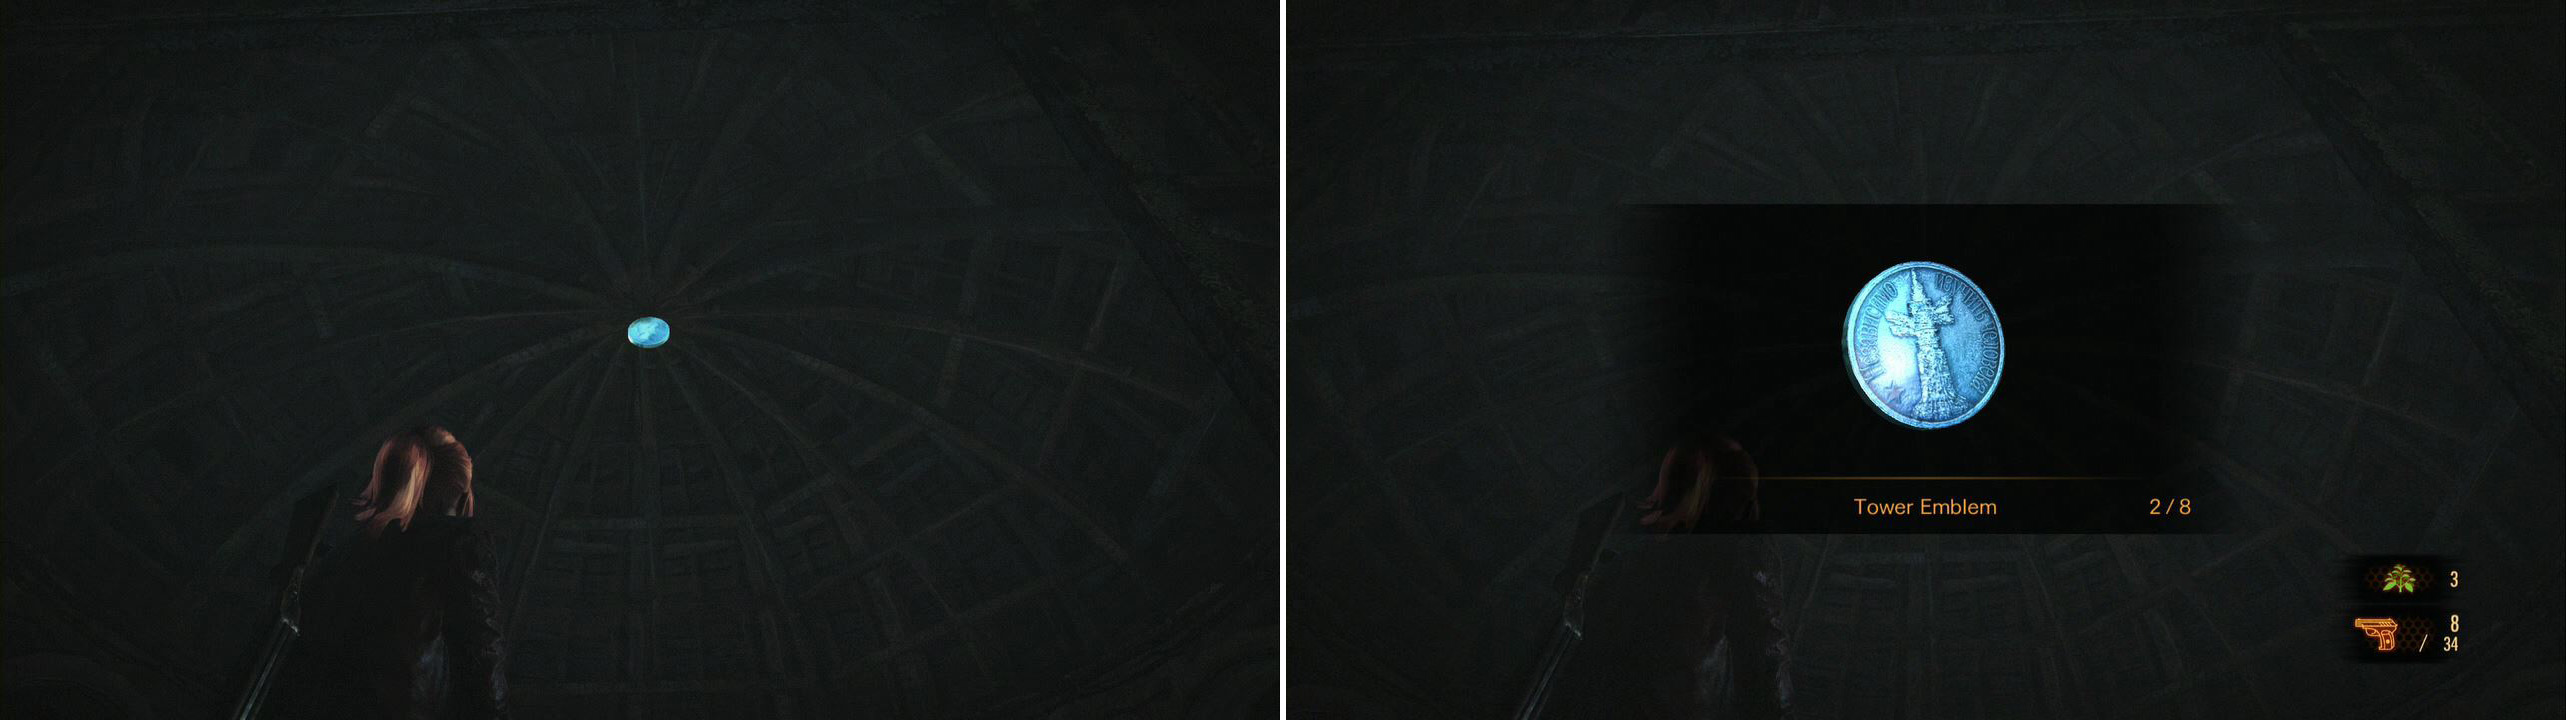
This one is easy to miss if you never pay attention to the ceilings!
Next grab the Detention Center Map from the left table. After that, go ahead and examine the door in front of us to see it is missing a Gear Kog . Finding this thing is our next goal, really. Note the two alcoves in the hallways here with traps in them. These are important later as well.
Let’s head right first, down a short hallway to a door. Past this door is a dead-end on the left, but this dead end has the Excerpt from Karka’s “In the Penal Colony” document down it, on a chair. Check it out and head back. Break the Box at the end of the hallway and enter the room.
This room has a torture device in it, but our Gear happens to be stuck in here! The device has no power though, which makes Turning the power on our next goal. You can find a Sparkle Item in this room if you search with Moira. The next room also has a Tourniquet and a Parts Box . Pick that box up with Claire and use the WORKBENCH to see what all you can do. You can use this part box to upgrade one of your weapons. Go ahead and put the upgrade on if you wish. Your call.
Head back to the previous room and interact with the broken ladder to send Moira on up. There is a Military Box up here. Open it with Moira. You will get a brief tutorial on how to do it. It’s all really trial-and-error, but the key is keeping your circle ORANGE as you hold down the button. Remember that you can let go to try again, with no consequence. Once you do open this box you will get the Handgun Ammo Case.
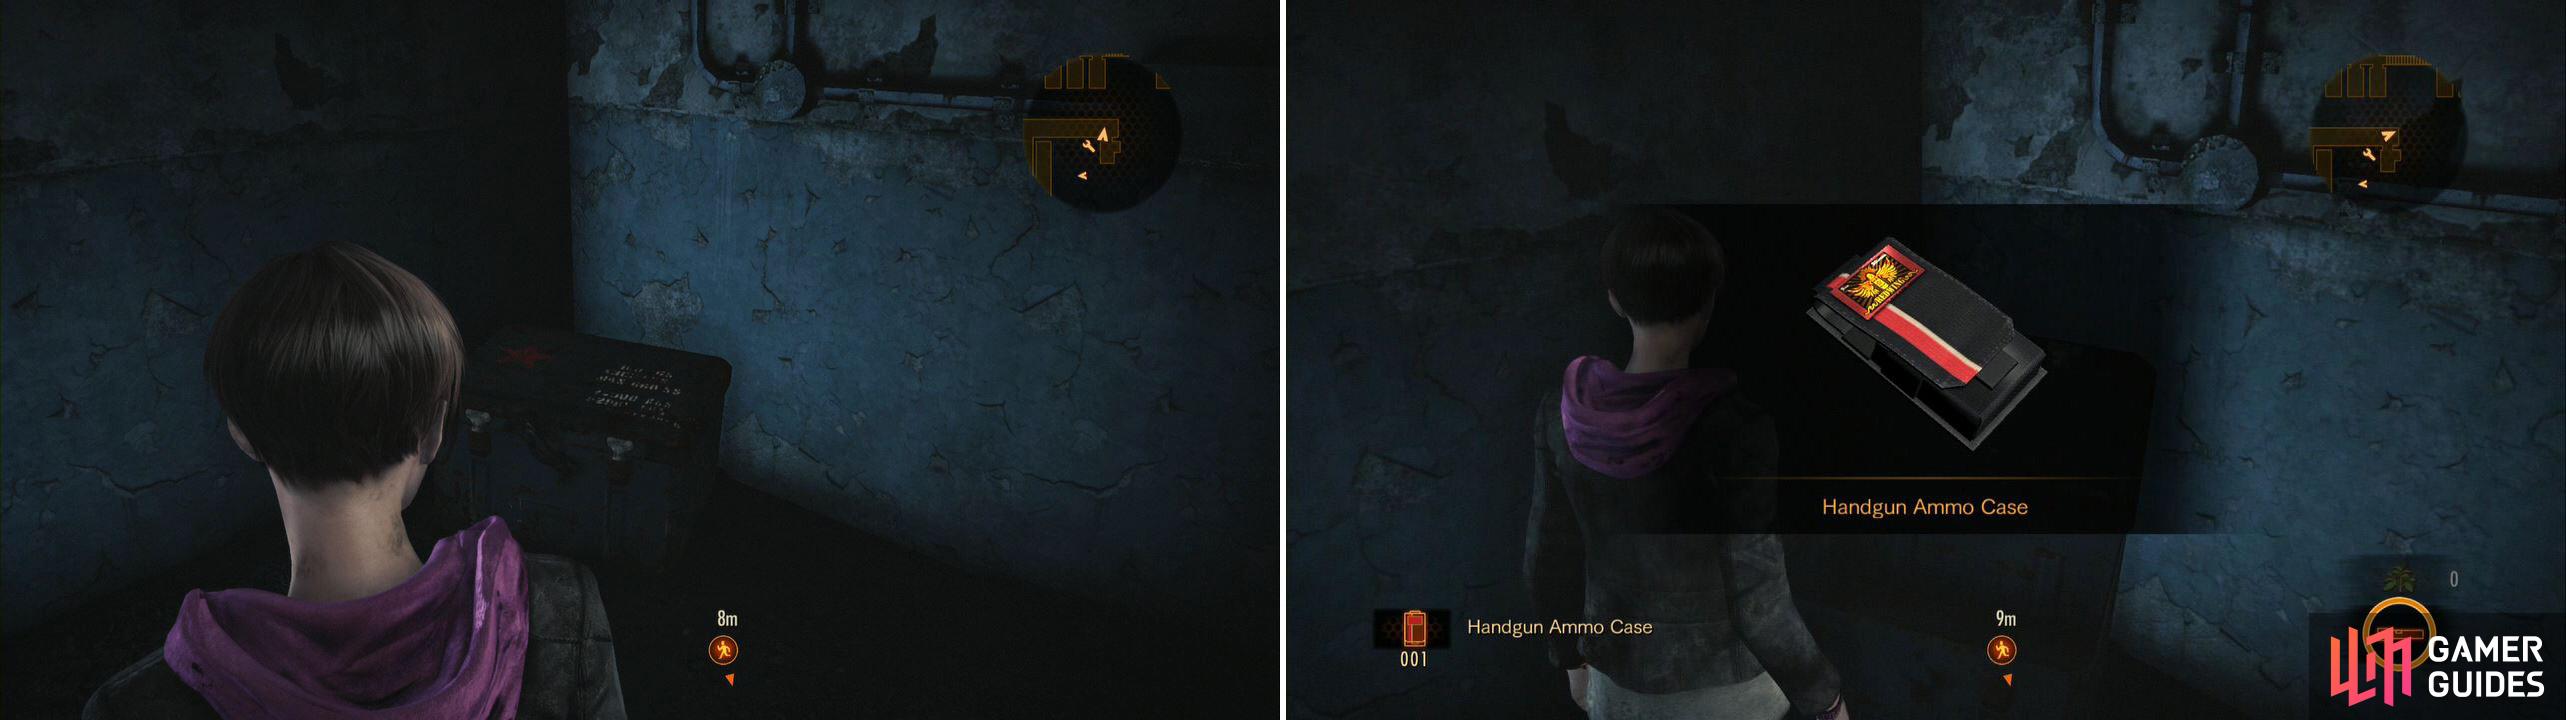
Ammo Cases lets Claire carry more Ammo without using up inventory slots!
Head down the hallway and take a left, unlocking the door you find. This lets the two meet back up. As Claire, head back to the Military Box and the broken ladder. Look up into the room here to find and shoot Tower Emblem 3/8 . Easy! Head back to the door at the end of the hallway to continue.
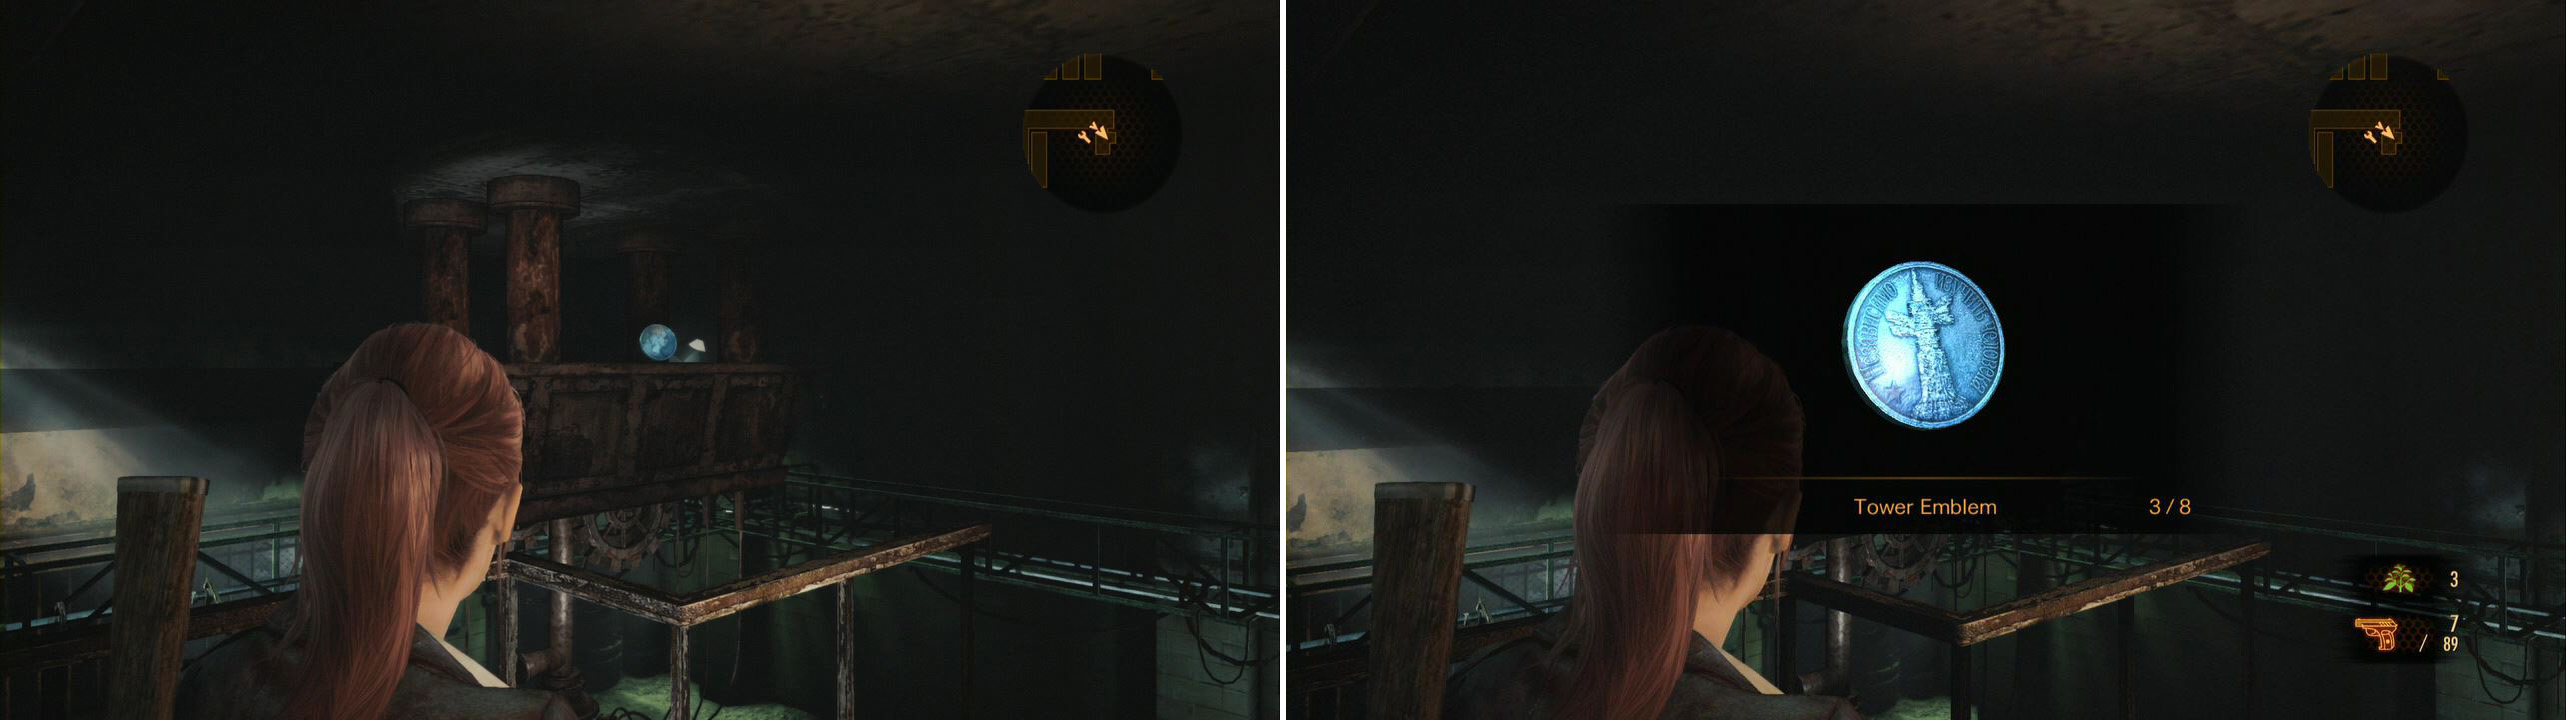
Third Tower Emblem is found on top of the Gear Contraption. Shoot it down or wait for Barry to get it!
Search nearby for a Sparkle Item and continue past the door (which is locked - this is the back of the Control Room) to another door. In here check to the right for a Box then have Claire ready. An afflicted jumps out of the first room. Put him down. The center room should have another Sparkle Item and the last cell has the Prisoner’s Letter document. Written in Russian. Interesting… Note that there is also a Sparkle Item in a box in the hallway (travel down it from the opposite direction to find it much easier).
Head into the next room and two enemies will burst out of the door on the right. Take them both out (Claire’s Shotgun helps a ton here). There’s also an enemy in the hallway that jumps out of the window, so take him out too. Pick up the Tourniquet here and examine the room the enemies came from for a Sparkle Item and the Caution for Experiment Handling document. Note the colors they list here. Also important and perhaps even prophetic? Only time will tell!
Let’s head right first, down the hallway. There is a Sparkle Item where the junk is. Turn right into a large room. Inside search for one more Sparkle Item and then the shelves for an Exploding Bottle . This is a sub-weapon which I recommend giving to Moira, especially if you are playing co-op (Be Nice!). There is also the Excerpt from Karka’s “The Trial” on one of the center shelves and a Military Box in here you can open with a Parts Box inside for Claire.

Another Military Box. Make sure to kill the Afflicted nearby.
One last thing: from the exit door look to the right wall and up with Moira’s Flashlight to find Kafka Drawing 3/6 .
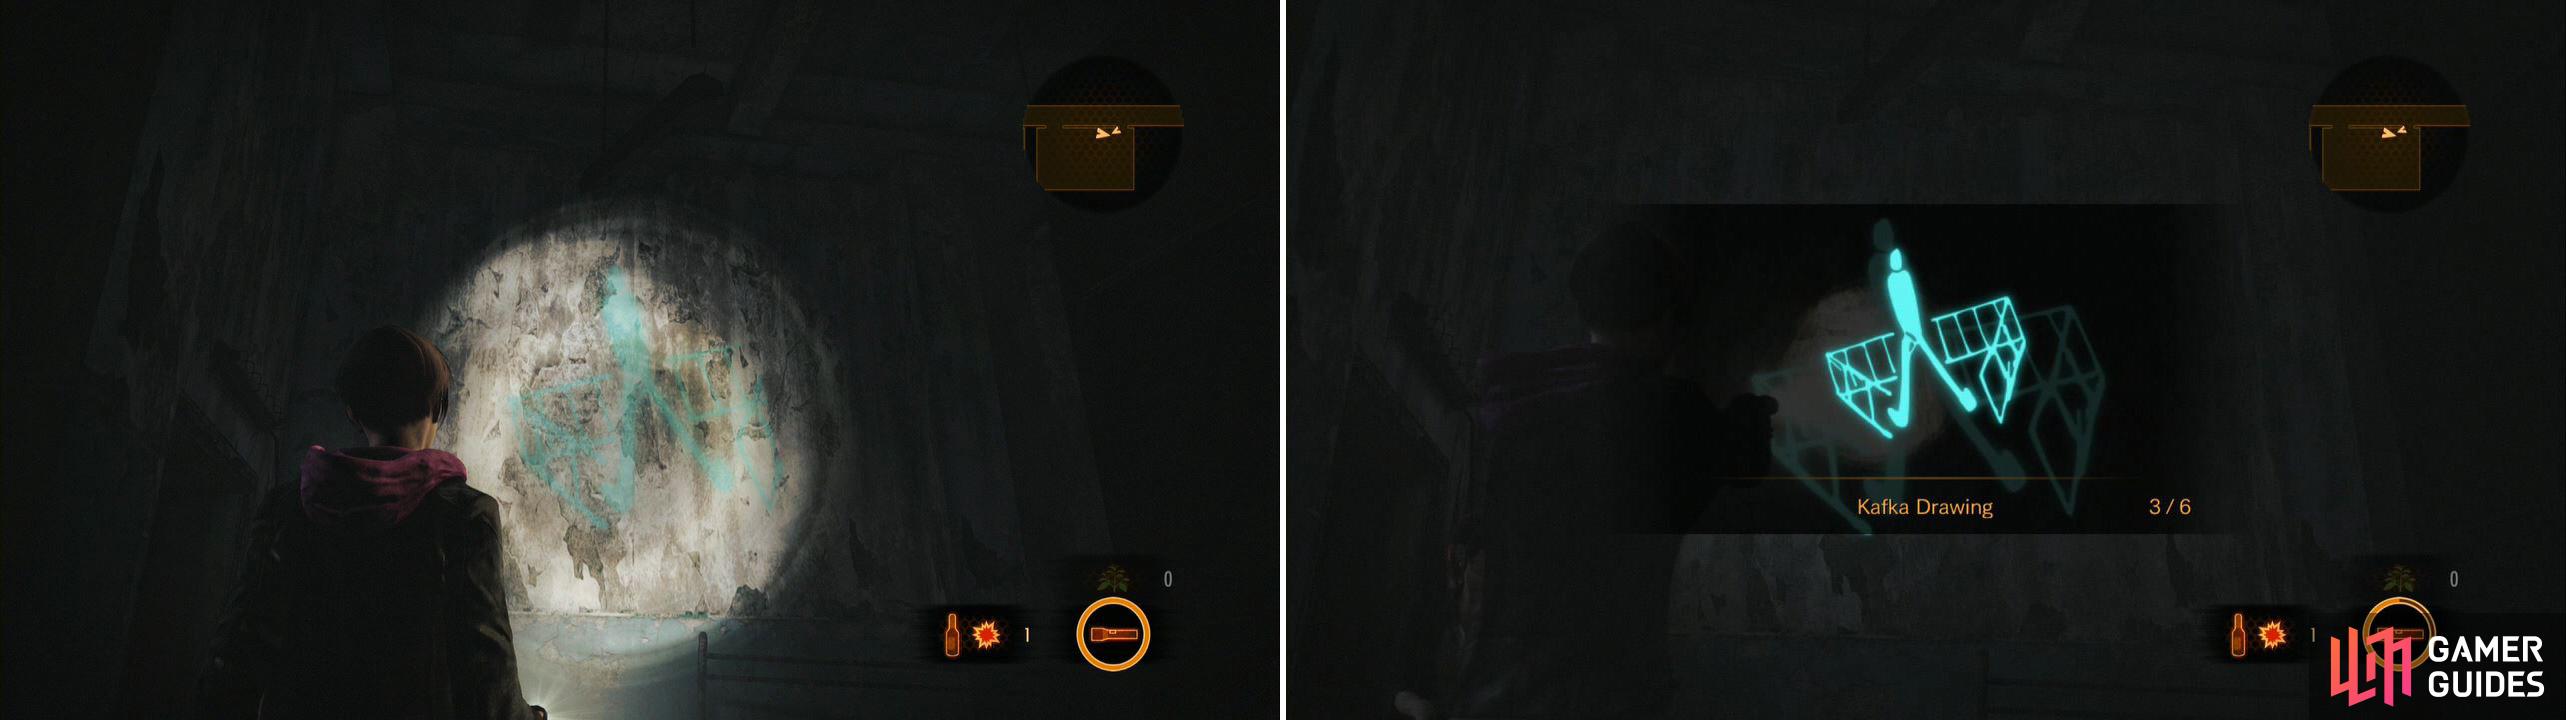
Don’t forget the Kafka Drawing near the Military Box.
With all of that in hand, head out the door and downstairs. Down here there are two afflicted and one BIG one with a shielded face. He seems to be at least partially inspired from Pyramid Head. Heh. We need to kill all of them. Use Claire to shoot with the handgun and once they get close, have Moira (or whoever) throw the Exploding Bottle at them all. Follow up with the shotgun after that.
The nearby door needs a Rusty Key and the way forward leads back upstairs to where the enemies busted down the door. Take the door on the left here instead to find another Exploding Bottle and the RUSTY KEY in the short hallway. You may as well push the box of junk out of the way here to open up the other door by the exit foyer while we are here.
Head back to the previous room and unlock the door with the Rusty Key. Head inside to see a trash compactor. There are several bugs here you can kill, but use your knife and crowbar. Jump down into the compactor and at the far end Moira can climb up. The game gives you commands here if you are playing by yourself:
- Triangle + UP: Follow
- Triangle + DOWN: Wait
This is a really good place to get the following Trophy!

Fish in a Barrel
Defeat five enemies with one exploding bottle or one firebomb bottle in the main campaign.

20
Send Moira up and into the hallway. Note the door here: an enemy will barge out of it eventually. In the back you can find a panel to turn the power on, but as soon as you do the trap nearby will come at you. Quickly move out of the way and face the enemy that barges out. The game teaches you about Impairment here: Moira can blind enemies and stun them. Use this time to do Melee attacks on the with Claire or beat them up with Moira’s Crowbar. It is very handy.
Beat the enemy up and check out the room he was in. The back wall here has a Kafka Drawing 4/6 on it and there is a Sparkle Item in here.
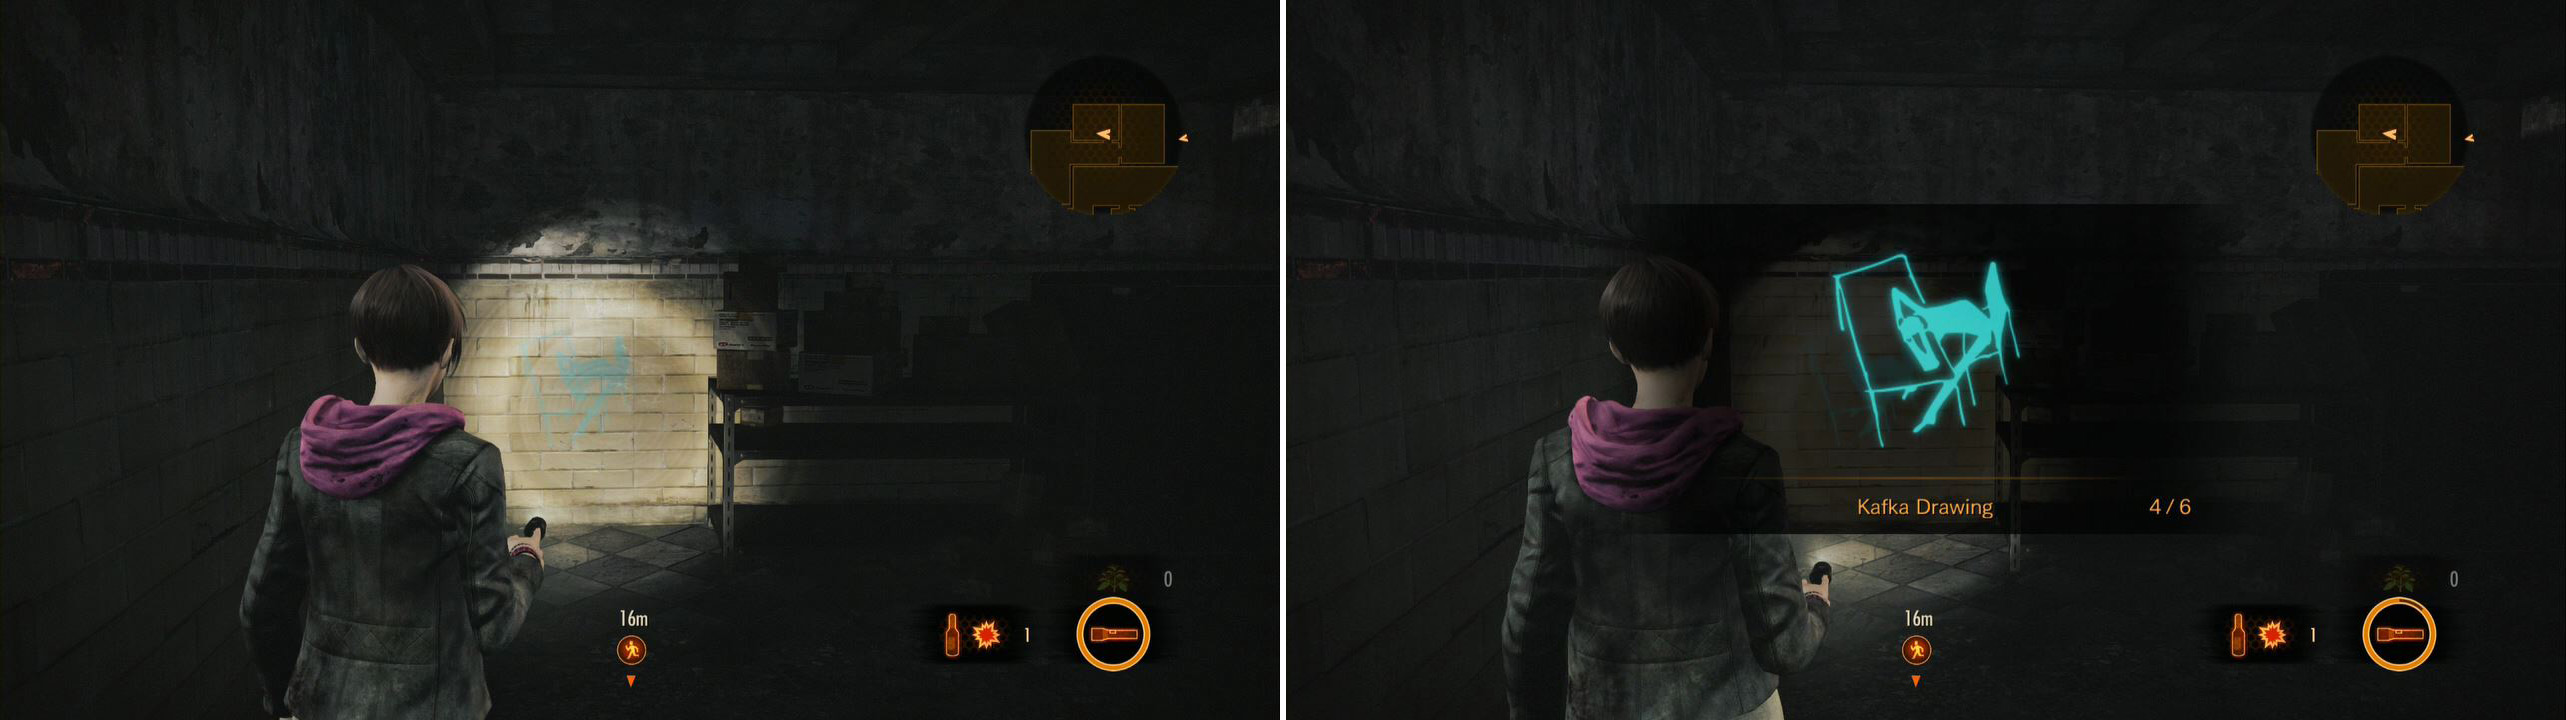
Make sure to get this Drawing instead of running away.
Head back to Claire now and the compactor will have turned on. Quickly look at the teeth to find a set missing, then climb up the wall moving at you. Be quick before you are a Claire Sandwich… yes, that line is gold!
Head back the way we came now, but watch out for enemies near all of the cell doors. Three, in total, by the time we get to the Control Room hallway. Look out for a trap on the floor on your way! Once you get back to the Control Room hallway, head down to the workbench and spend the Parts Box you got if you wish, then power up the torture machine to recover the Gear Kog . Very nice! Keep backtracking now to the foyer.
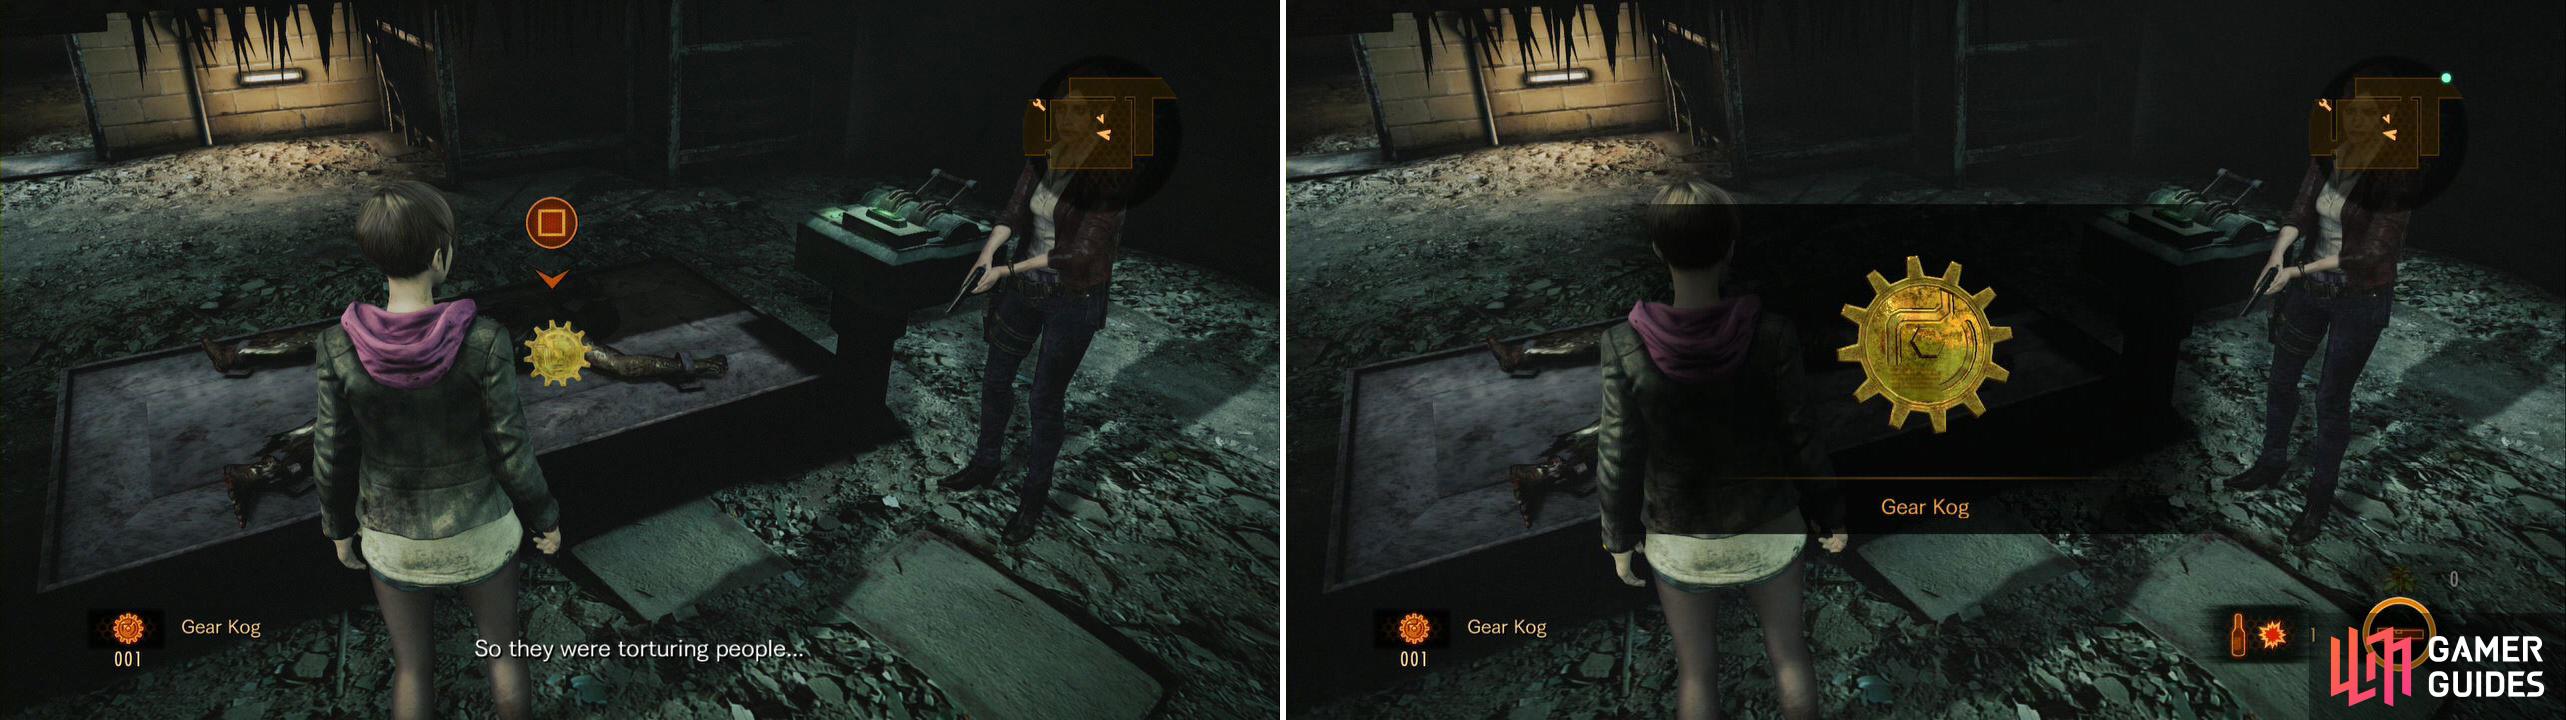
This is your way out. All the trouble just to get this Gear.
Kill the enemy waiting for you and note the moving traps. You can lure the big guy near the cells to the traps to help defeat him (worth doing). After that, replace the cog and enter the room. QUICKLY turn the wheel to the right and then spin the fire bust around to the entrance. Use the fire bust to burn any enemies stuck in the room with you (which will be a few, including TWO big enemies). Once you have the room cleared, face it at the door to protect your back and stick Moira on the exit door to tear down the boards blocking our way out of here. Once you can, exit the facility.
Now that we are outside, switch to Moira and shine the light above the exit, on the concrete, to reveal Kafka Drawing 5/6 . Almost done!

Right as we exit the Penal Colony, check on top of the arc to find the second to last Kafka Drawing.
Head forward for a scene with the Overseer. Seems like we’re being tested. On your way up the hill, check near the left tree for a Green Herb . At the top of the hill we’ll pass a gate and get another scene.
A radio tower! That would help. Up here to the left is a shack that we can’t do anything with (again, that is for someone else…) but there is a Military Box nearby. Open it up for a Parts Box for Claire.
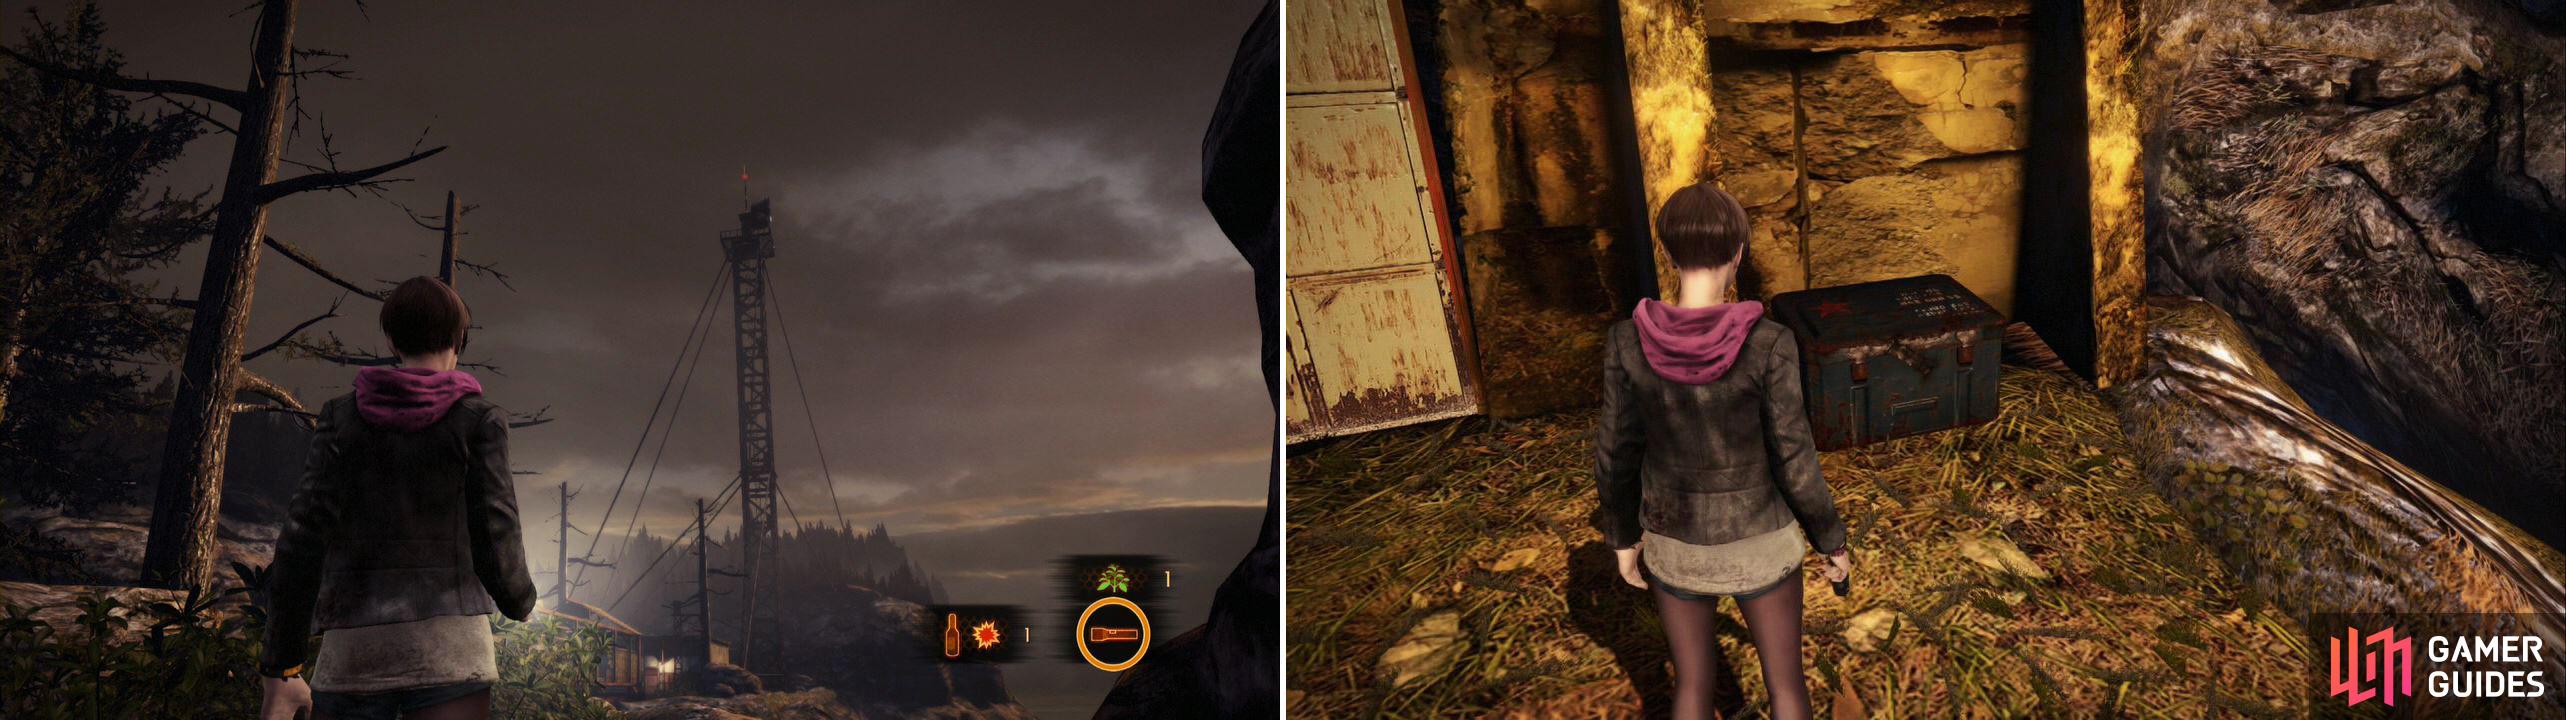
You can see the radio tower at the distance. Don’t miss the Military Box nearby.
Also, from that box look out to the right over to the bridge for Tower Emblem 4/8 which you can shoot easily from here. Very well-hidden.
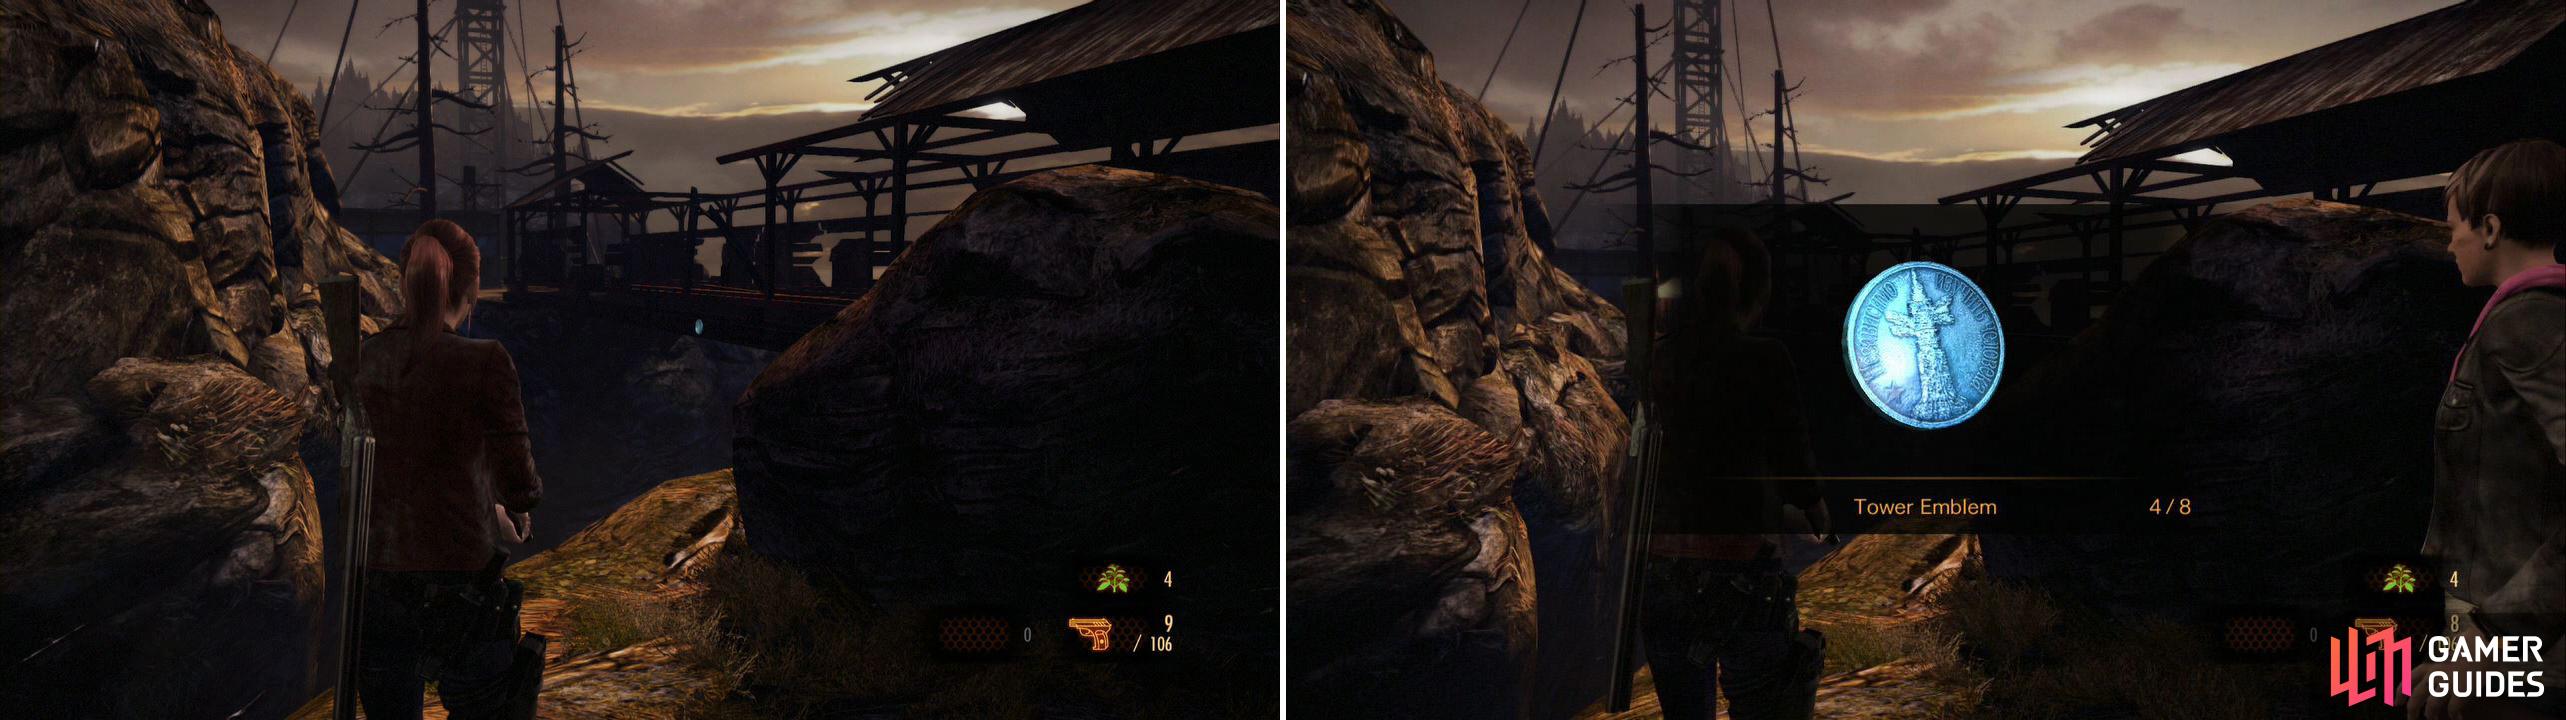
You can shoot down this Tower Emblem from either side.
Time to cross the bridge. Jump over it with Claire for a quick scene. Heh. Once you regain control, switch to Moira and at the end of the bridge, head to your immediate left and back to the side of the bridge. Use your flashlight here to find Kafka Drawing 6/6 on the side. Finally got them all!
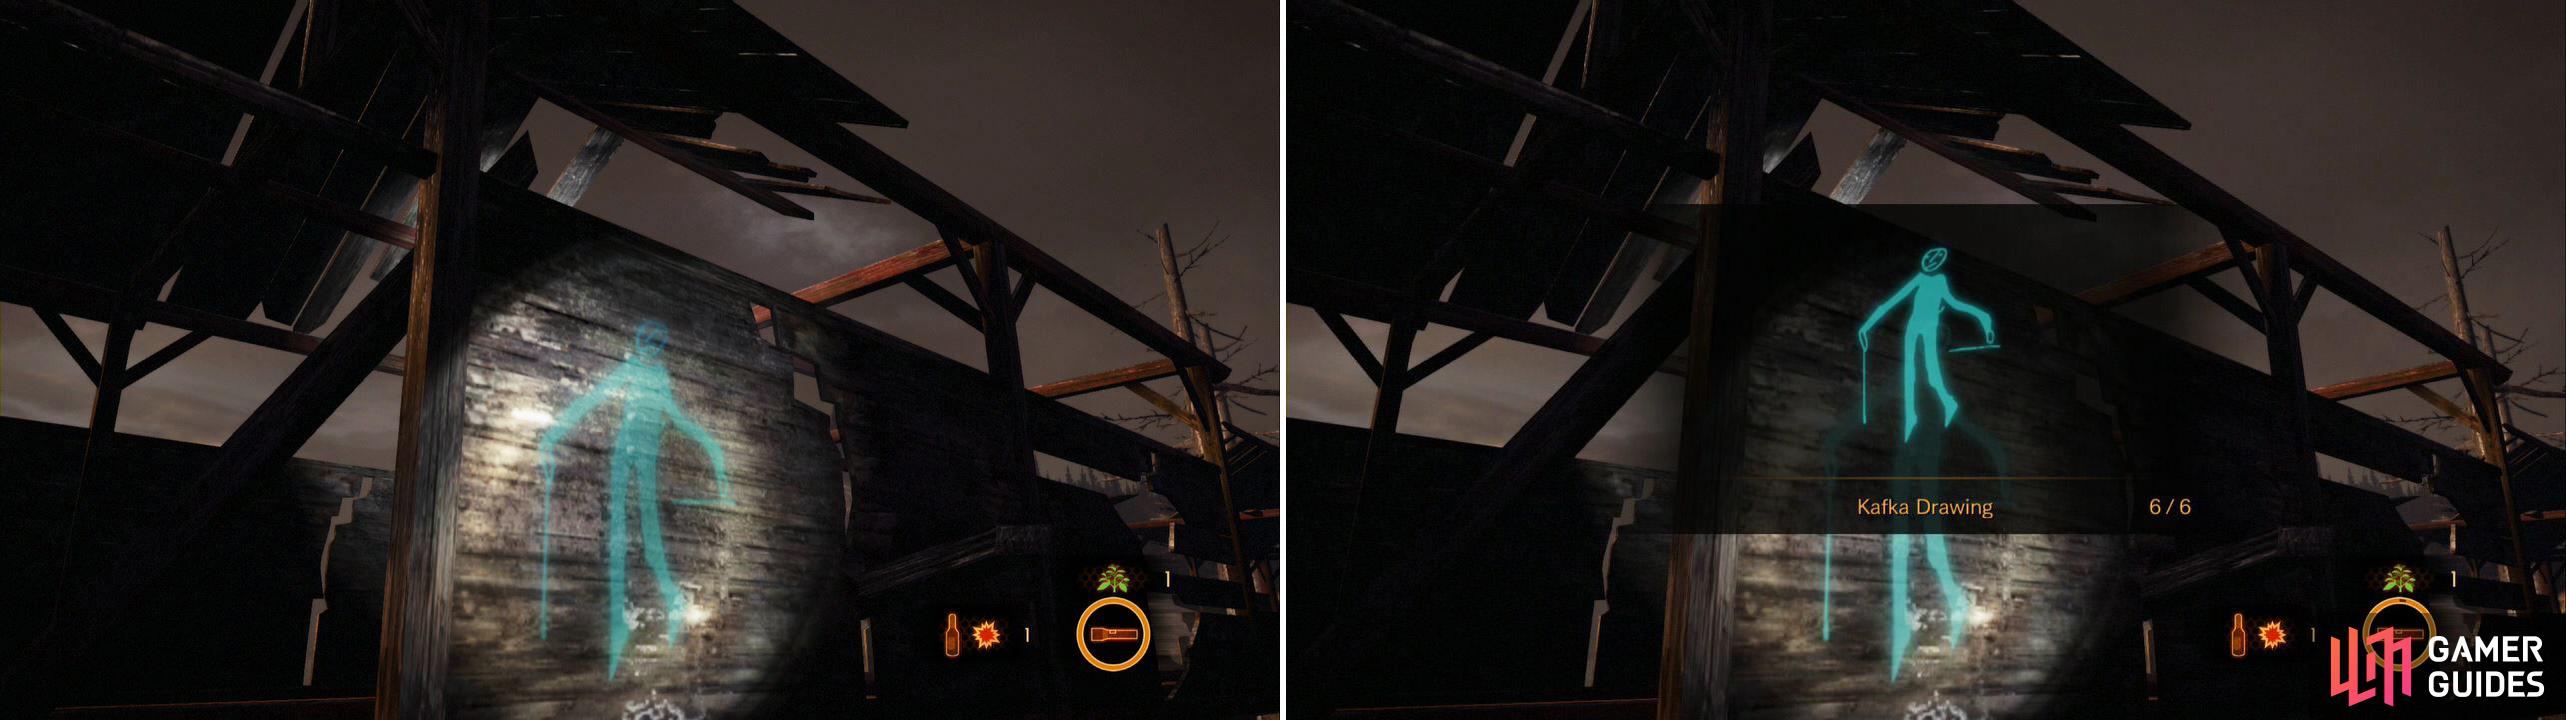
Mark this Drawing right before you enter the Radio Tower.
Head inside now and use the workbench if you wish. We have another Parts Box after all. Further in is a Box you can crack open. After that, inspect the control panel for a scene and the end of Claire’s first episode.
No Comments