Turn to the left (above where you entered the room) and place a portal up here (so it’s opposite the one still near the gel). Bounce up to the portal, step through and set the cube down on the square panel.
Now look up high and there’s now a new light-coloured wall panel that will have rotated into view. You need to place the exit portal up here and bounce back across to the entrance portal now opposite you.
You’ll want to jump through this portal and use the velocity gained to bounce up to the high ledge directly opposite you. Step through the force field and you’ll spot two walls coated in the blue gel.
Once you enter the room, divert your attention to the tiled wall panel on the lower ceiling in the right-hand corner (where the moving platforms moves under). Set your exit portal here and then fire your entrance portal at the tiled wall at the end of the Repulsion Gel.

Wait for the moving platform to appear underneath you before stepping through and onto the portal itself. Pick up the Wooden Test Cube from the ledge to your left and then drop back down to the floor.
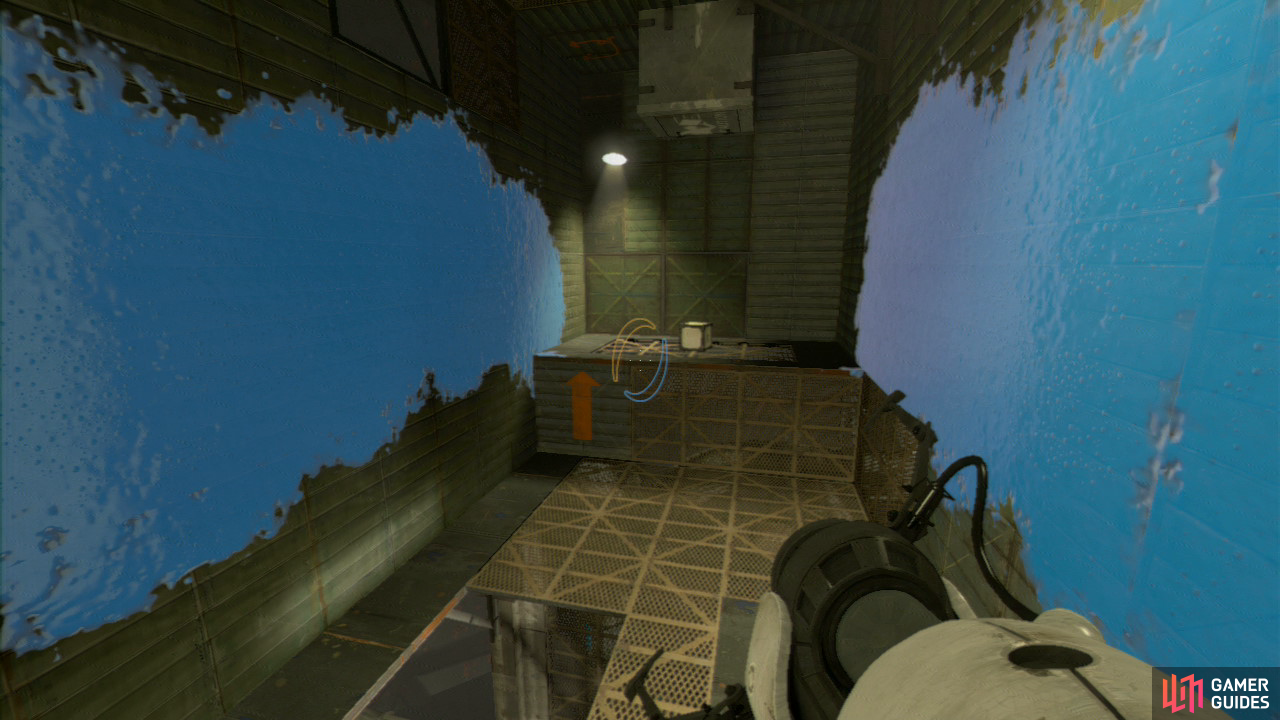
Jump at an angle into either wall and move in the opposite direction (at an angle) as you bounce between both walls. You’ll land by the next Wooden Test Crate, so pick it up and then either bounce back again, or run along the bottom and use the gel to bounce up. Drop the Cube on the square button up here and a new panel will rotate into view in the upper left-hand corner of the room.
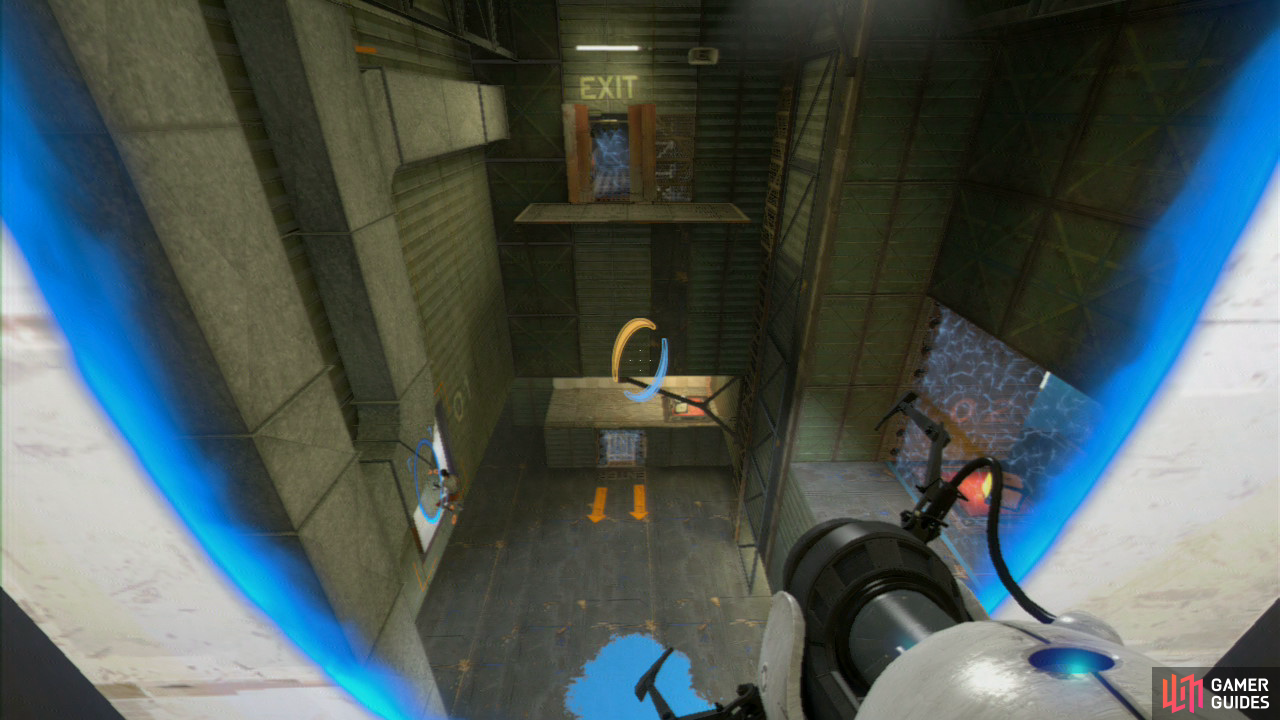
Place your exit portal on this panel then fire the entrance one at the panel straight ahead of you. Drop down and bounce back through the portal straight ahead of you and you can now use the height to bounce across to the exit directly ahead.

 Sign up
No Comments