This’ll take a decent amount of attempts to get right (even with our guidance), there’s a lot of mini-sections to this final part of Chapter 7, so take your time as you’ll need a fair bit of patience to see you through!
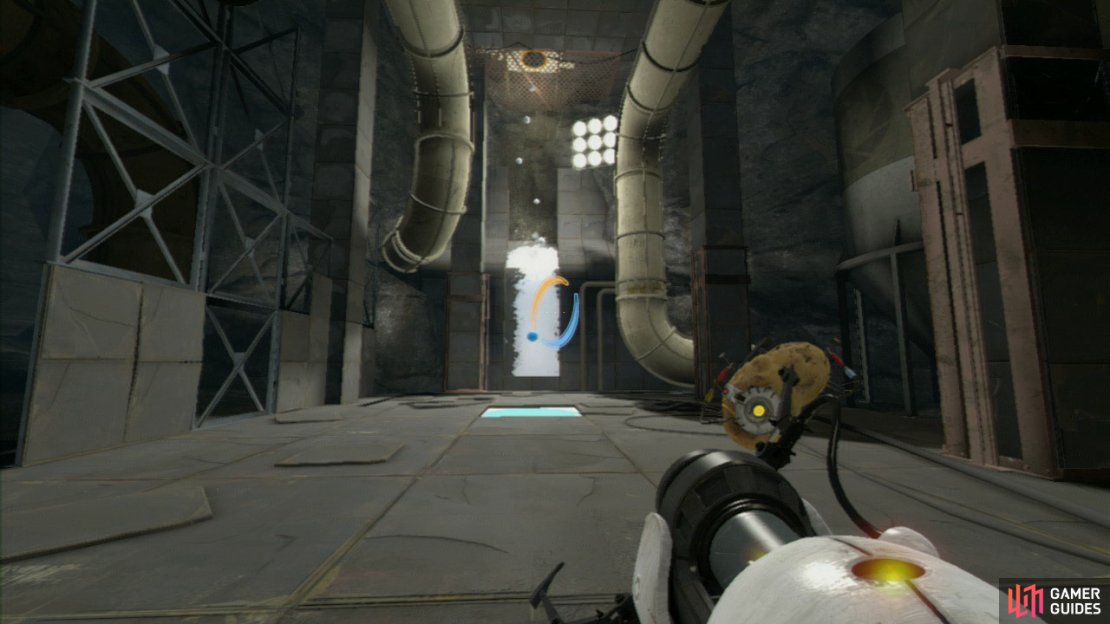
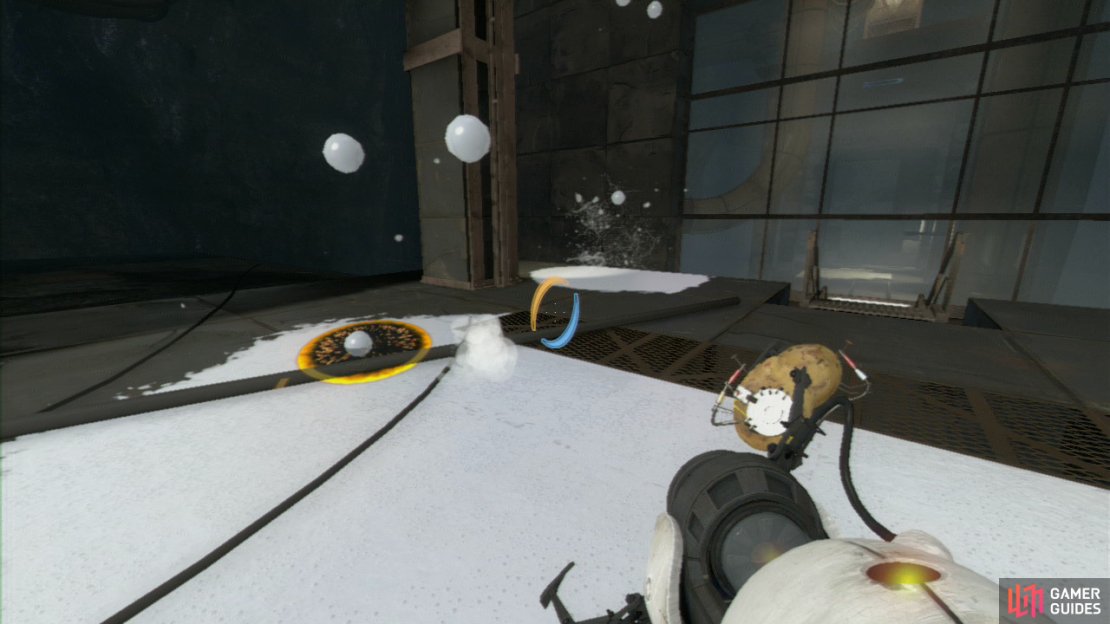
Upon entering the room and walking up the steps, turn to your right and get a portal in the white gel. Now look at the back of the room at the vertical wall with the slanted top and above it (in the ceiling) is a shoot-able portion of wall. Get your Conversion Gel falling from up here and leave it until it coats the whole wall.
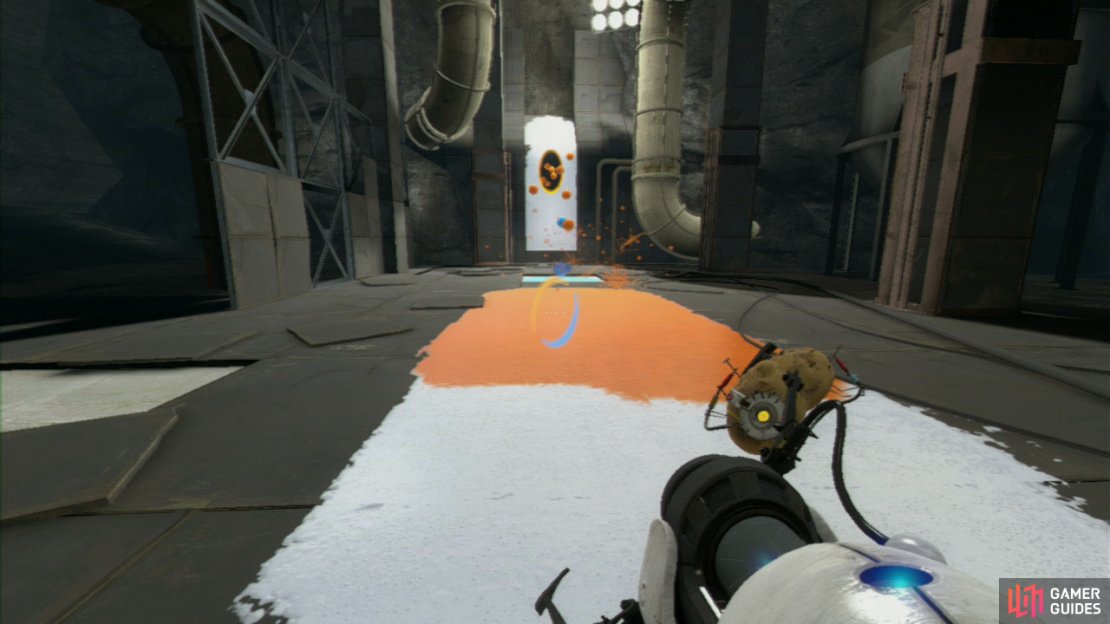
Note the colour of the portal dropping the white gel onto the wall and place it on the top of the vertical wall (just under the slant). Now fire a portal under the orange gel puddle and watch as a runway is coated in orange Propulsion Gel.
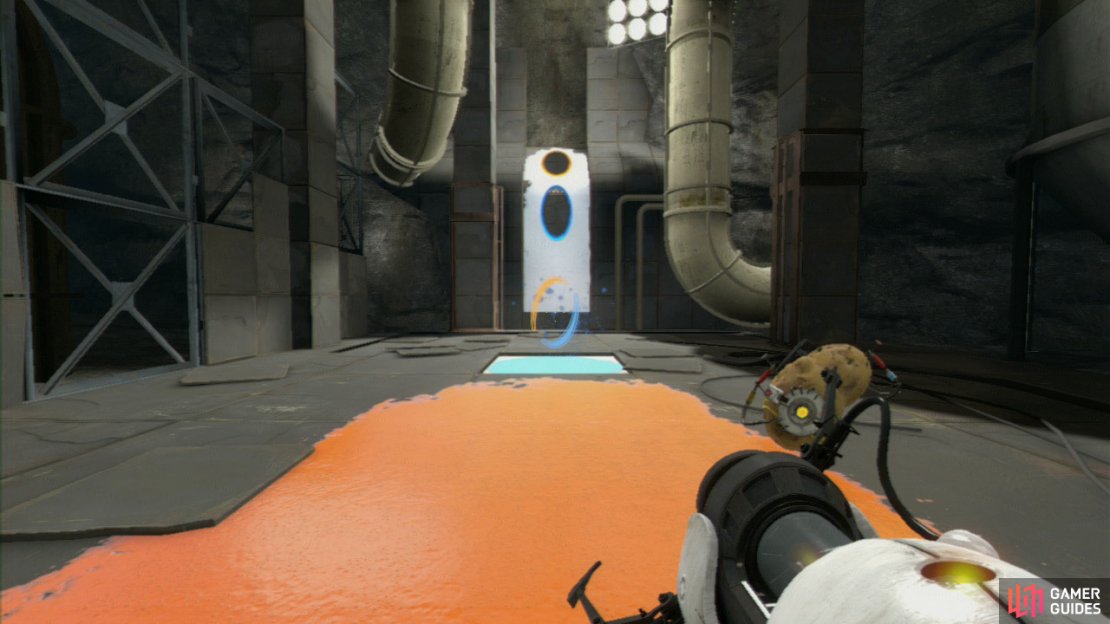
Now keep the portal at the top of the wall where it is and place another portal directly above it on the slanted portion of the wall. Run over the gel and you’ll be bounced into the wall as you hit the puddle of blue Repulsion Gel.
Just before you reach the wall, fire off another portal so you’re guaranteed to make it through both portals and onto the upper platform.
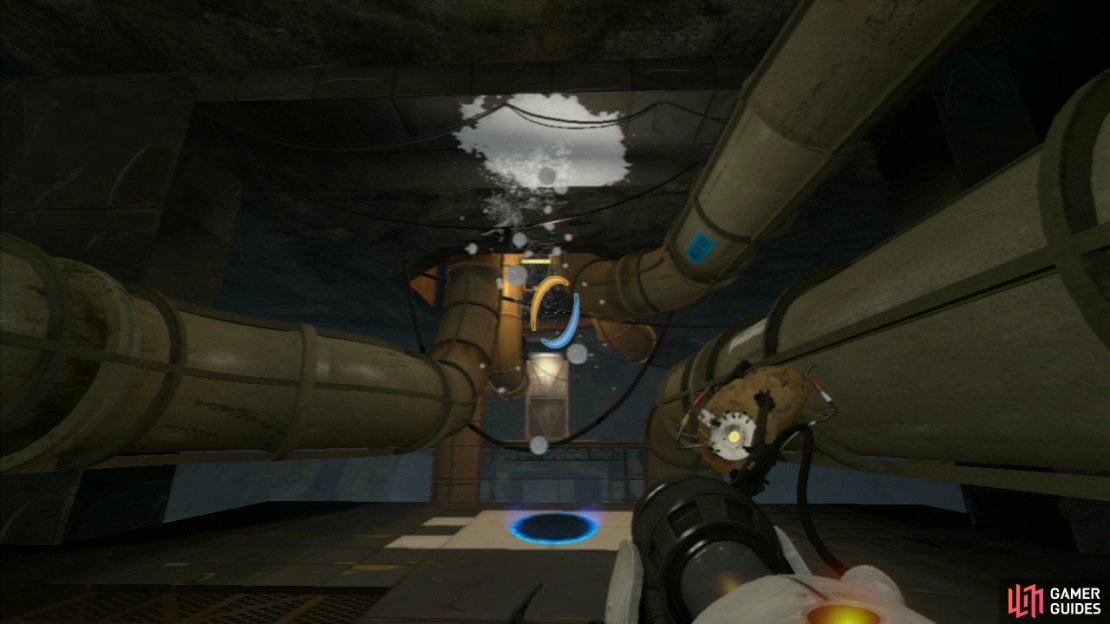
Once up here, you’ll want a portal on the light portion of the floor and then a portal back on the white gel puddle blow you (fire through the grating). This’ll coat the ceiling above with the Conversion Gel.
As soon as there’s enough white gel on ceiling above, get a portal on it and then another one in the blue puddle on the floor below (there’s a constant stream of blue gel dripping there). This’ll drop blue Repulsion Gel on the floor, so once there’s enough there, drop back down to the ground floor.
Once again you need to align the portals on the white wall so you can run at the wall and get boosted up to the upper level, only this time you’ll bounce twice and over the gap to the next - and rather irritating - puzzle.
Walk around to the white gel puddle and set a portal in the middle of it. Now fall through it and drop back down to the ground floor. You’ll want to set the second portal on the white gel pool down here. What you’re looking to achieve my doing this is coating the wall up above the white gel pool on the upper floor (where you bounced across to).
The main trouble you’ll have is that it’s only small doses of white gel that’s dropped, and it has a tendency for going in a straight line, this makes getting it to touch the walls required much more awkward than it needed to be.
One thing you can do to make it a bit easier is to use the white wall to get some Conversion Gel over the orange ‘runway’ and guide it so it meets up with the first white puddle you came across in the room.
By doing this, you can alternate the position of the gel balls so you have more chance of it coating the upper wall.
Keep checking the upper wall to see if there’s enough white gel on it to lay a portal there. Once there is, simply use a portal by your feet to get up there.
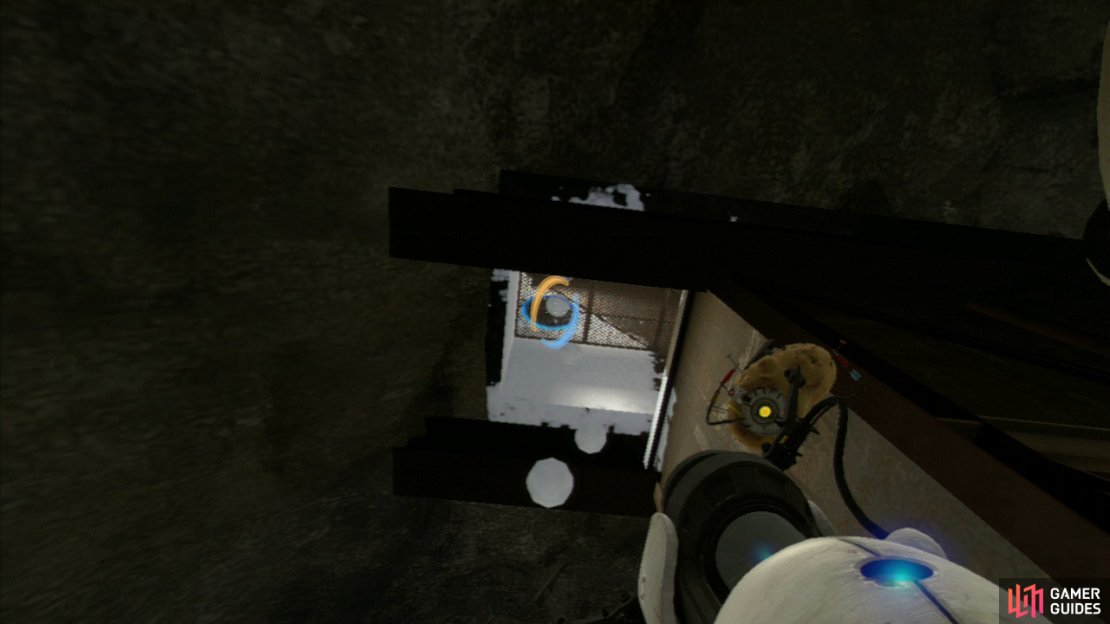
Once you’re on the walkway, look to your left and you should spot a slanted panel behind a metal grating. Get the exit portal in here so the Conversion Gel is sent into the funnels on the right, coating the whole of the tunnel up ahead.
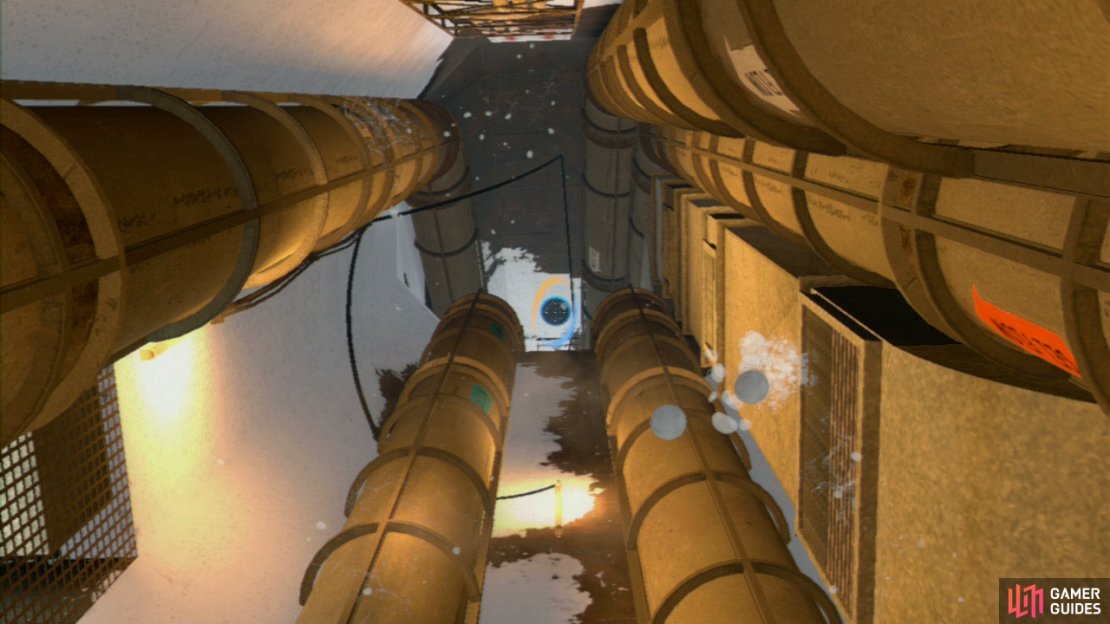
You only need to worry about the ceiling up at the top getting covered in gel. Once it is, get a portal up there and drop down into it.
Don’t be deceived about where you end up, you can actually walk straight along this path (even though it looks like a vertical wall). Half way up there should be some white gel laying on the floor, place a portal here then keep waling until you reach the top.
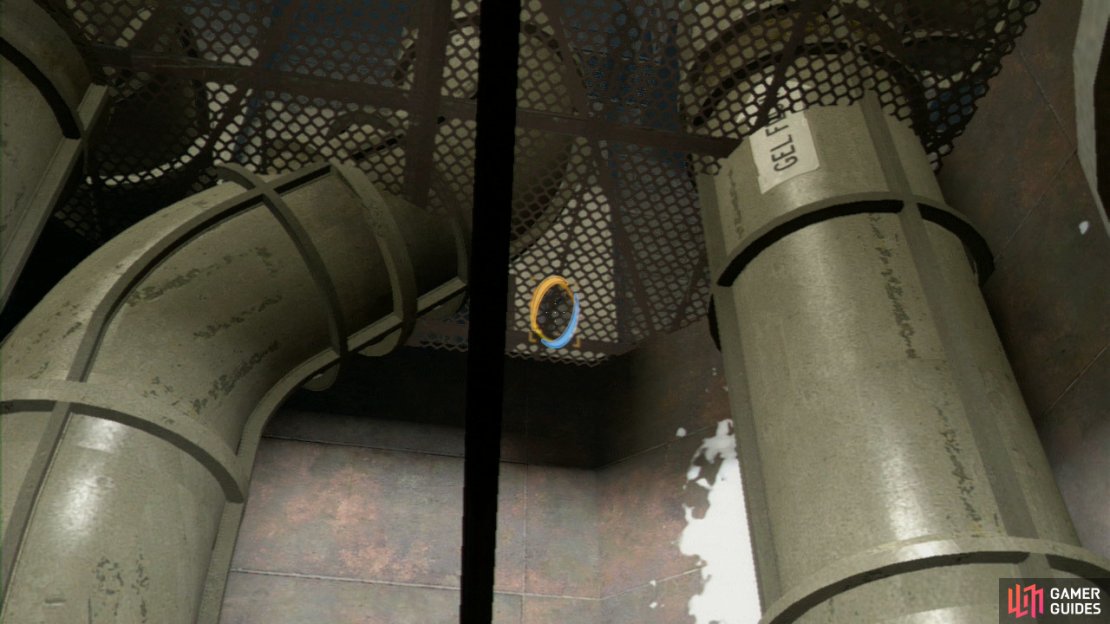
Turn around and zoom in past the grating and you should spot the familiar sight of a light-coloured wall. Get your second portal here and then drop through via the first portal just below you.
No Comments