
In-Game Description
A cove nestled among a graveyard of shipwrecks.
Objectives
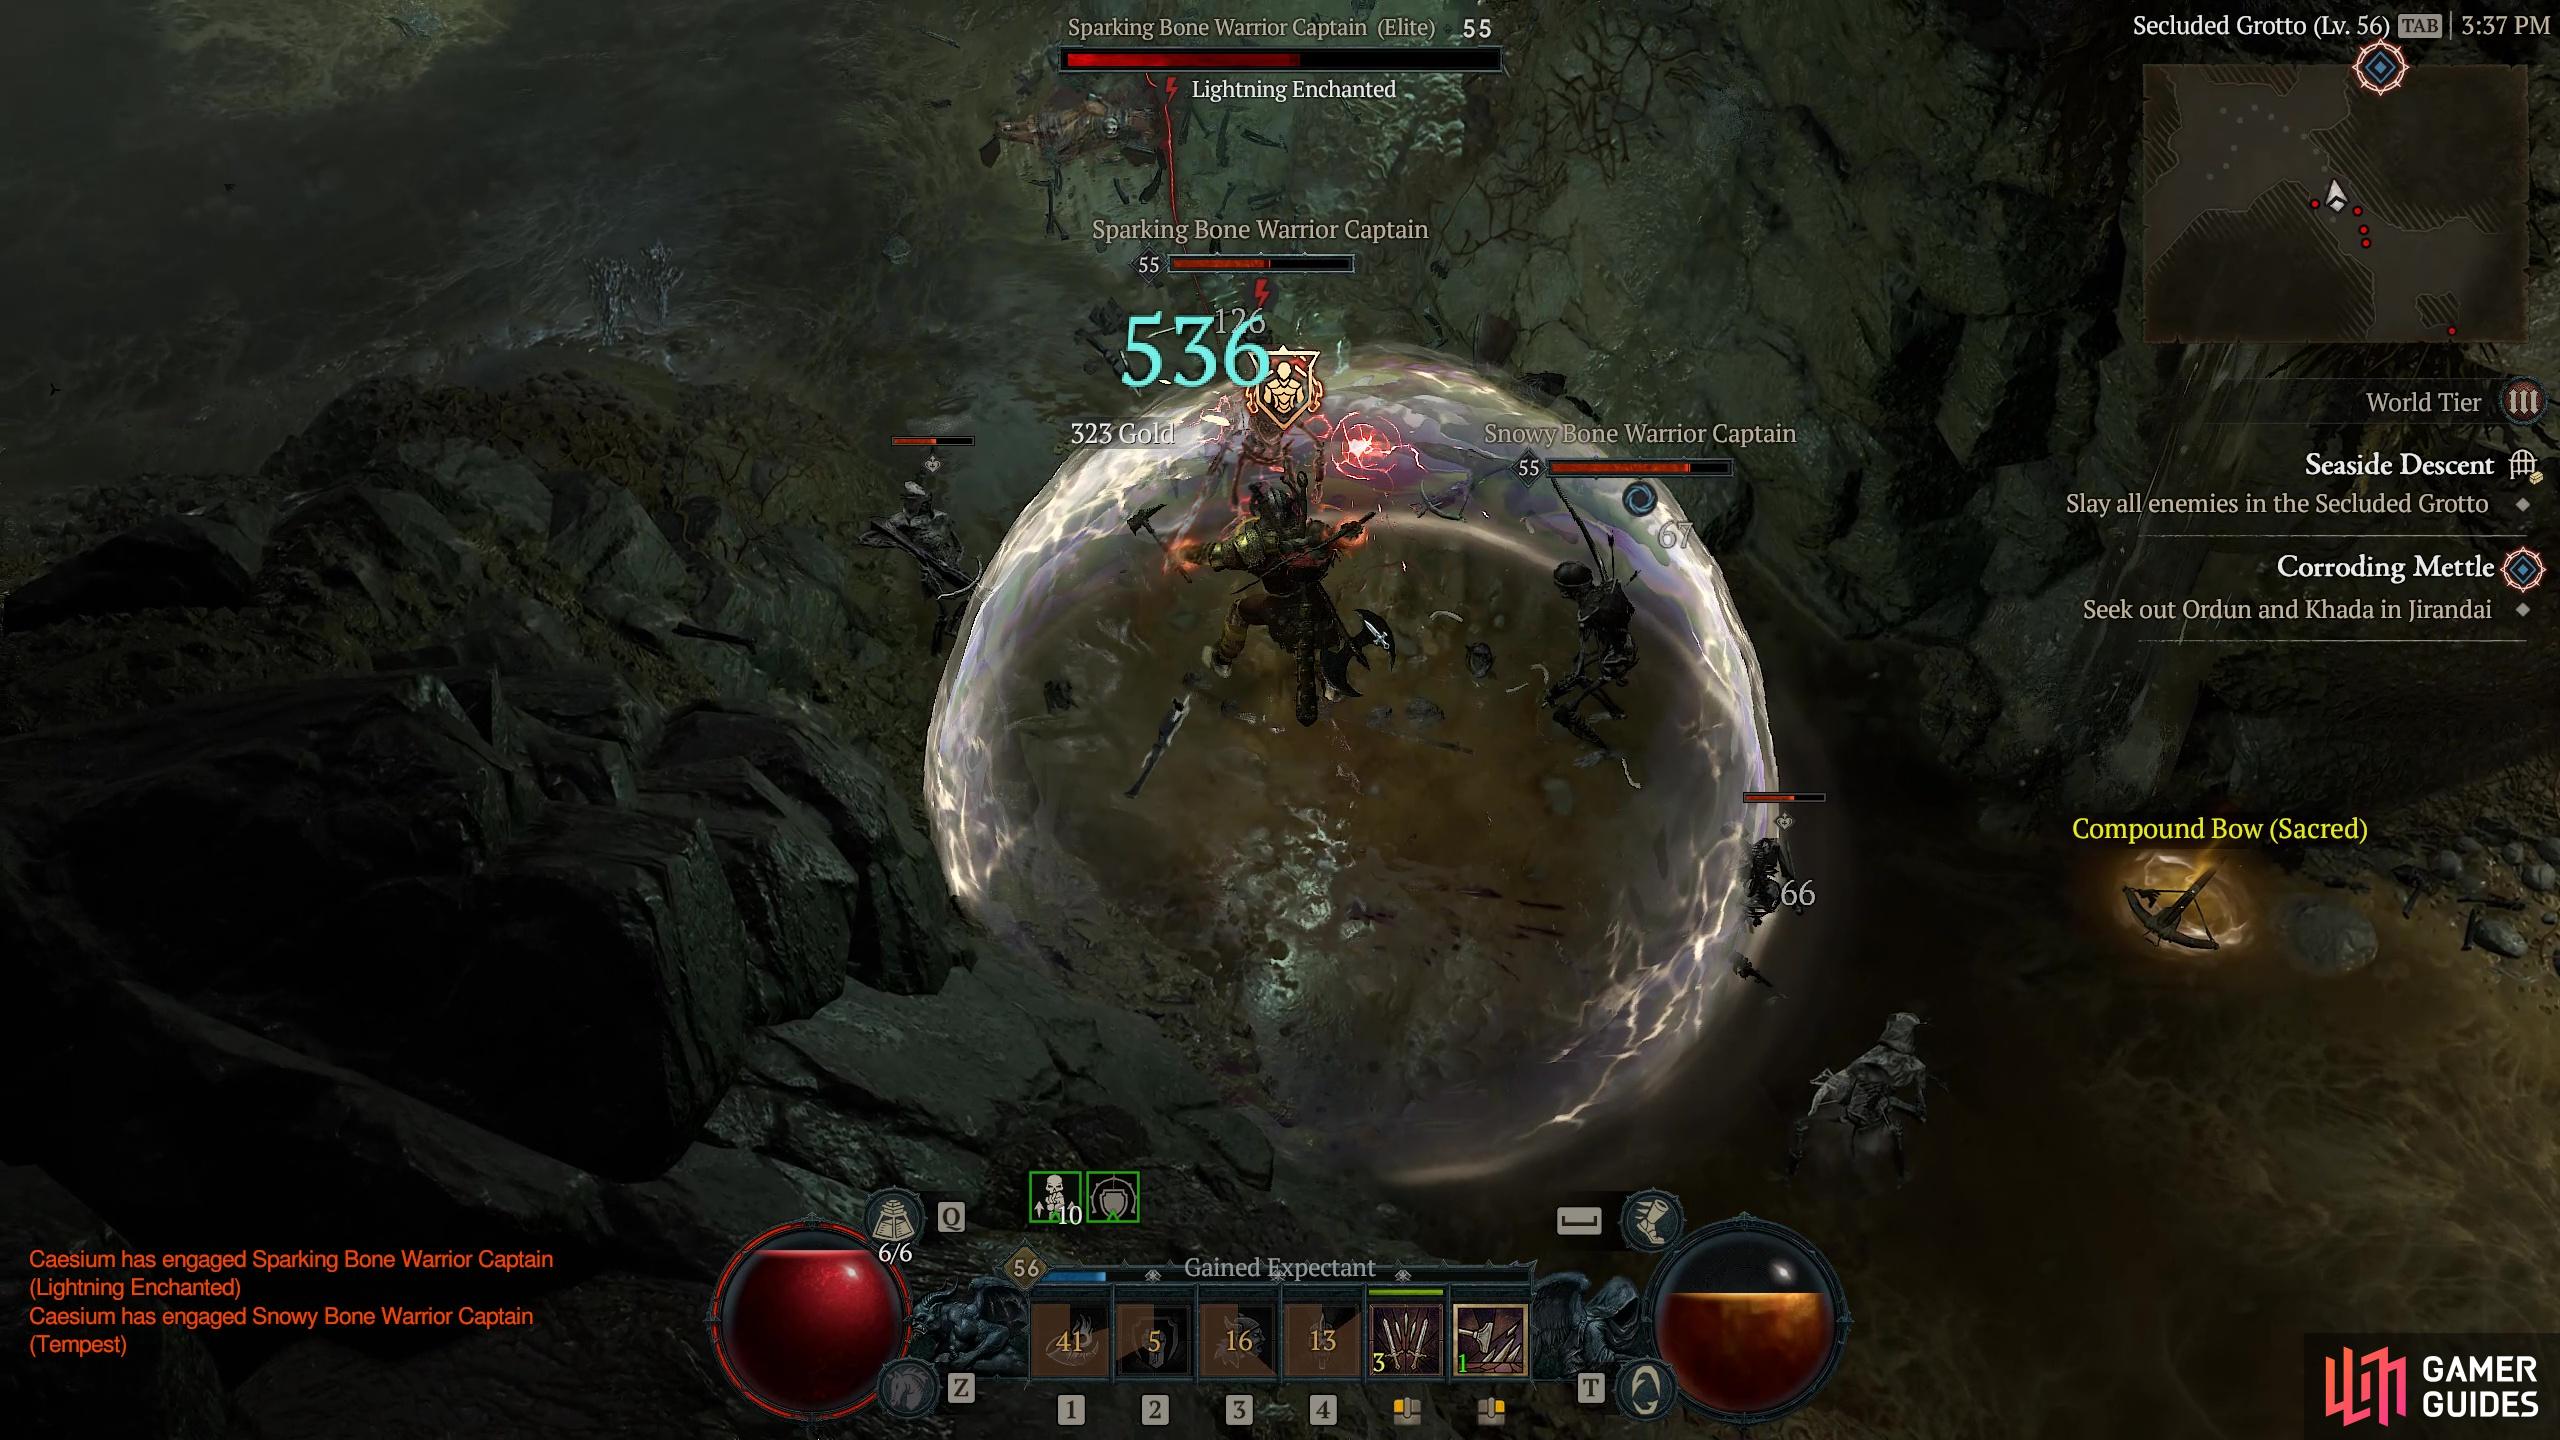
- Slay all enemies in the Secluded Grotto
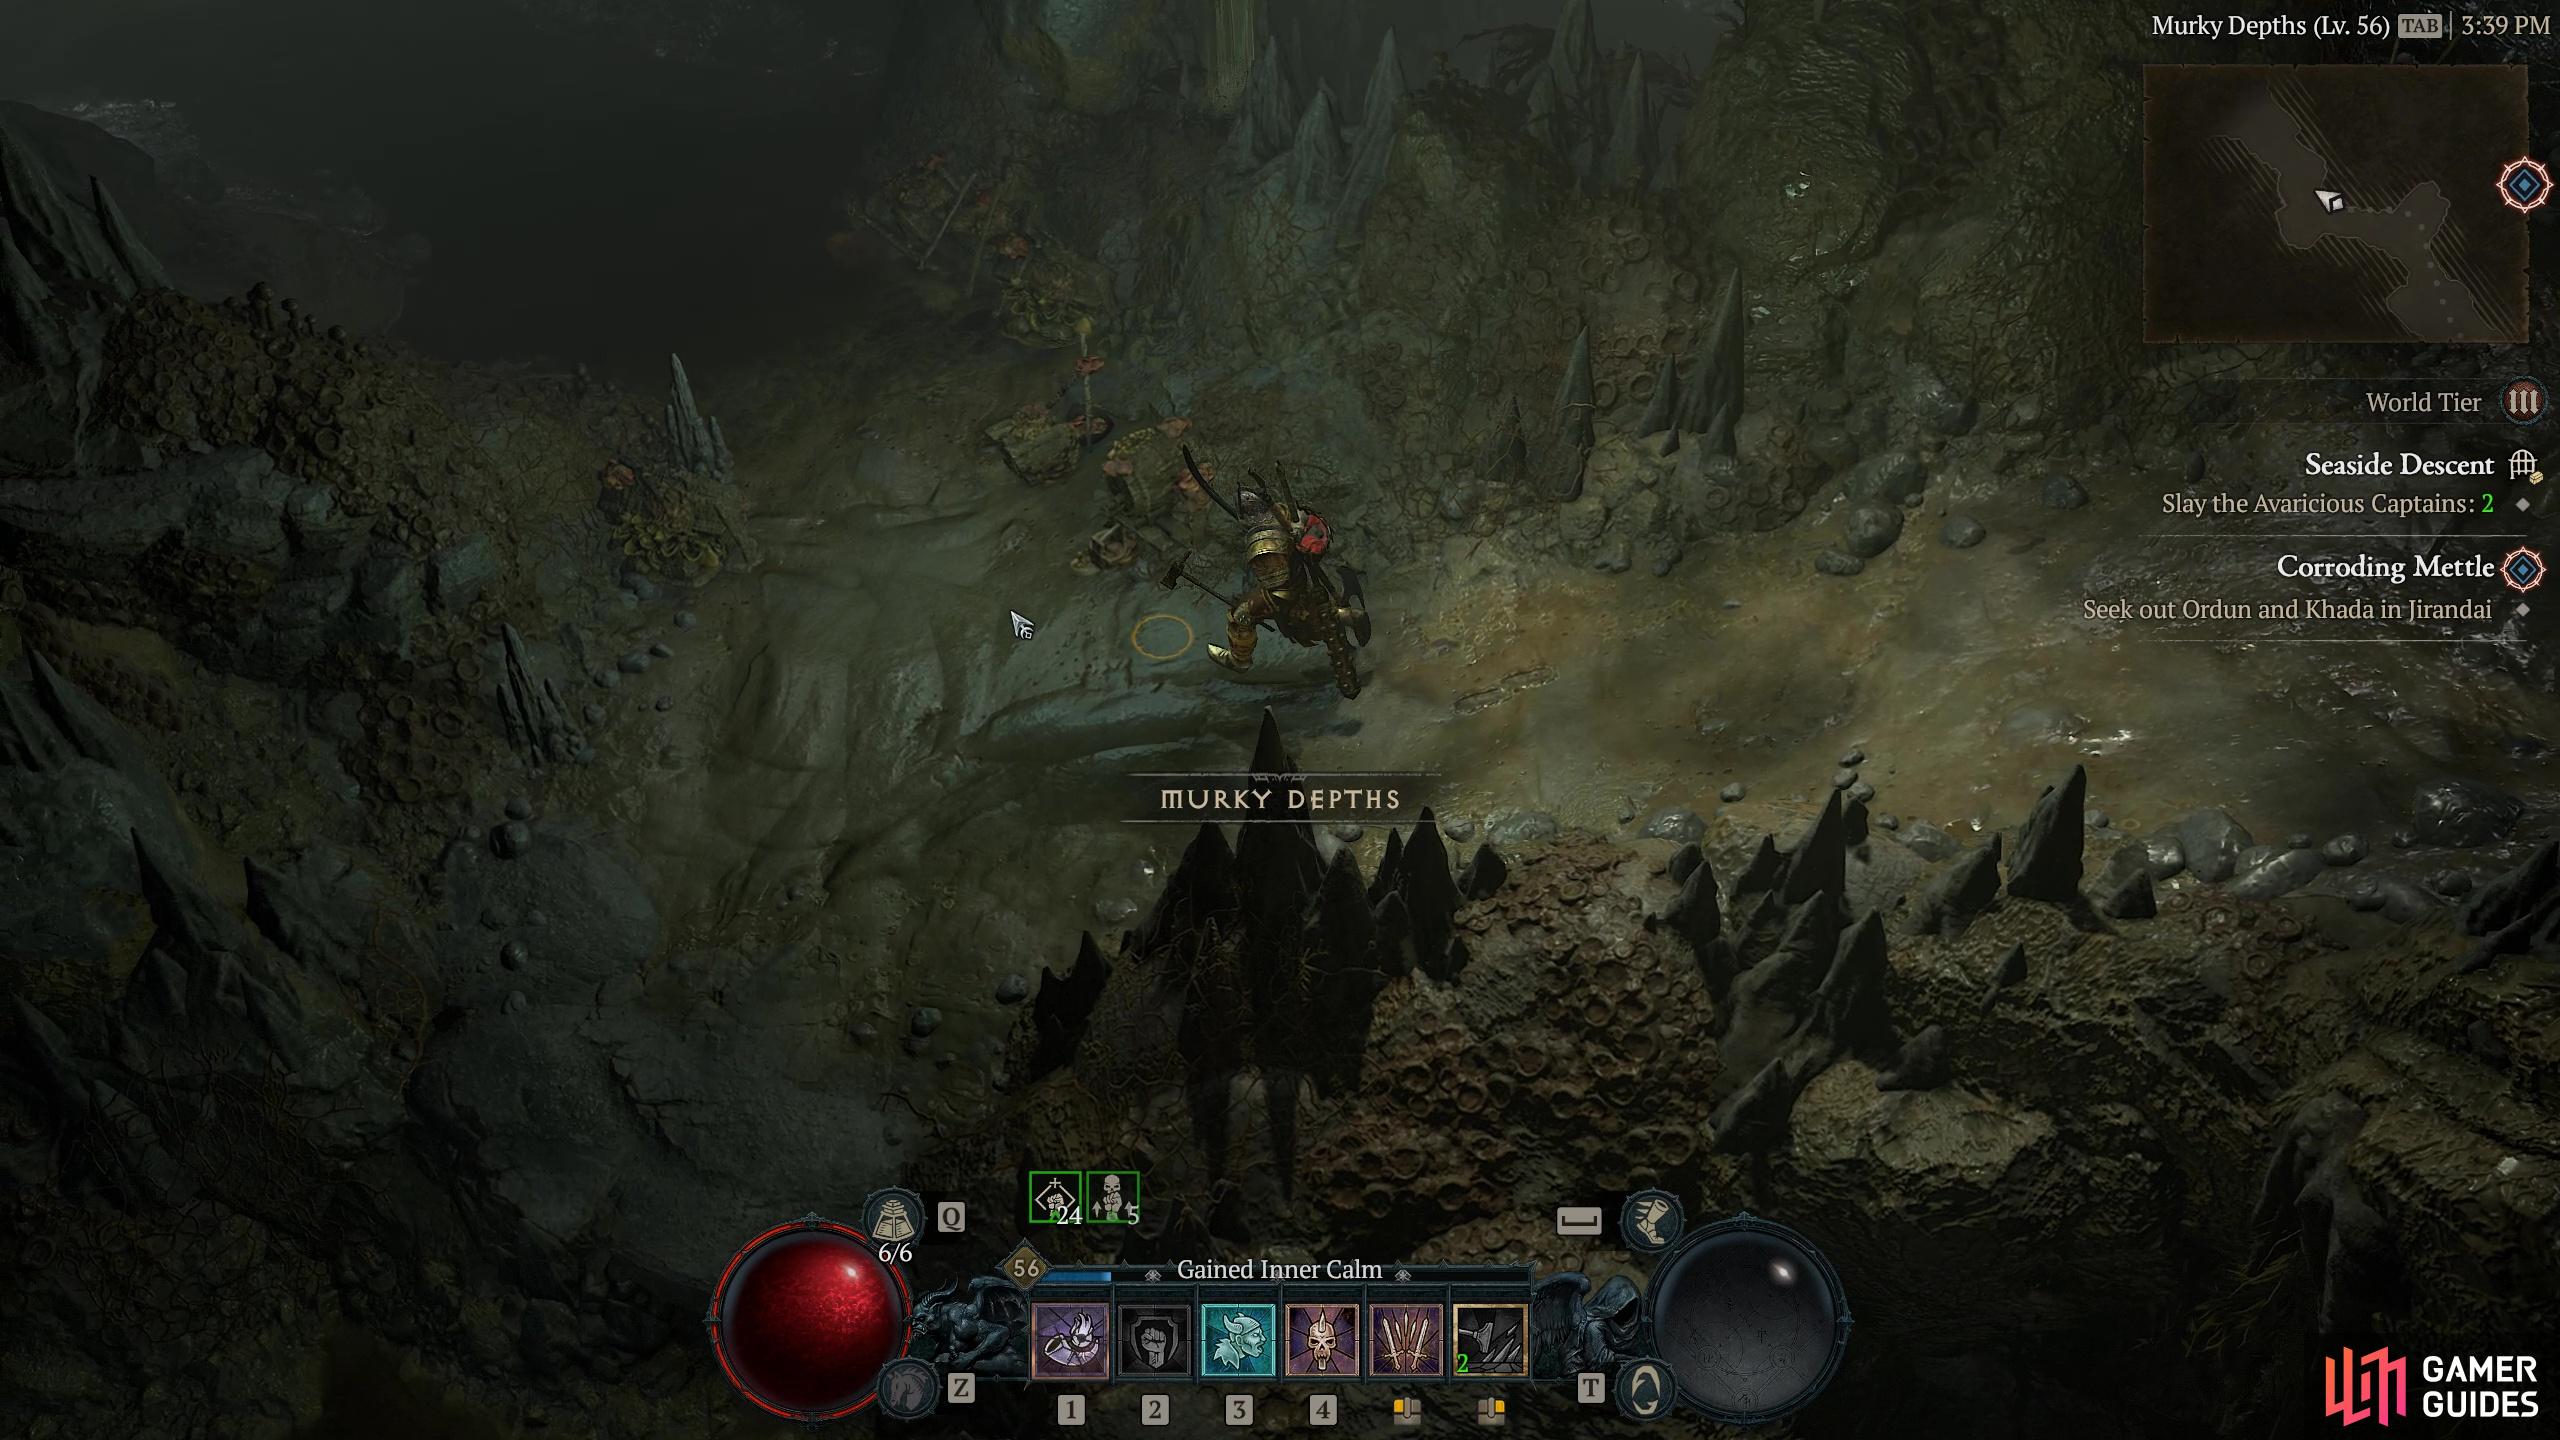
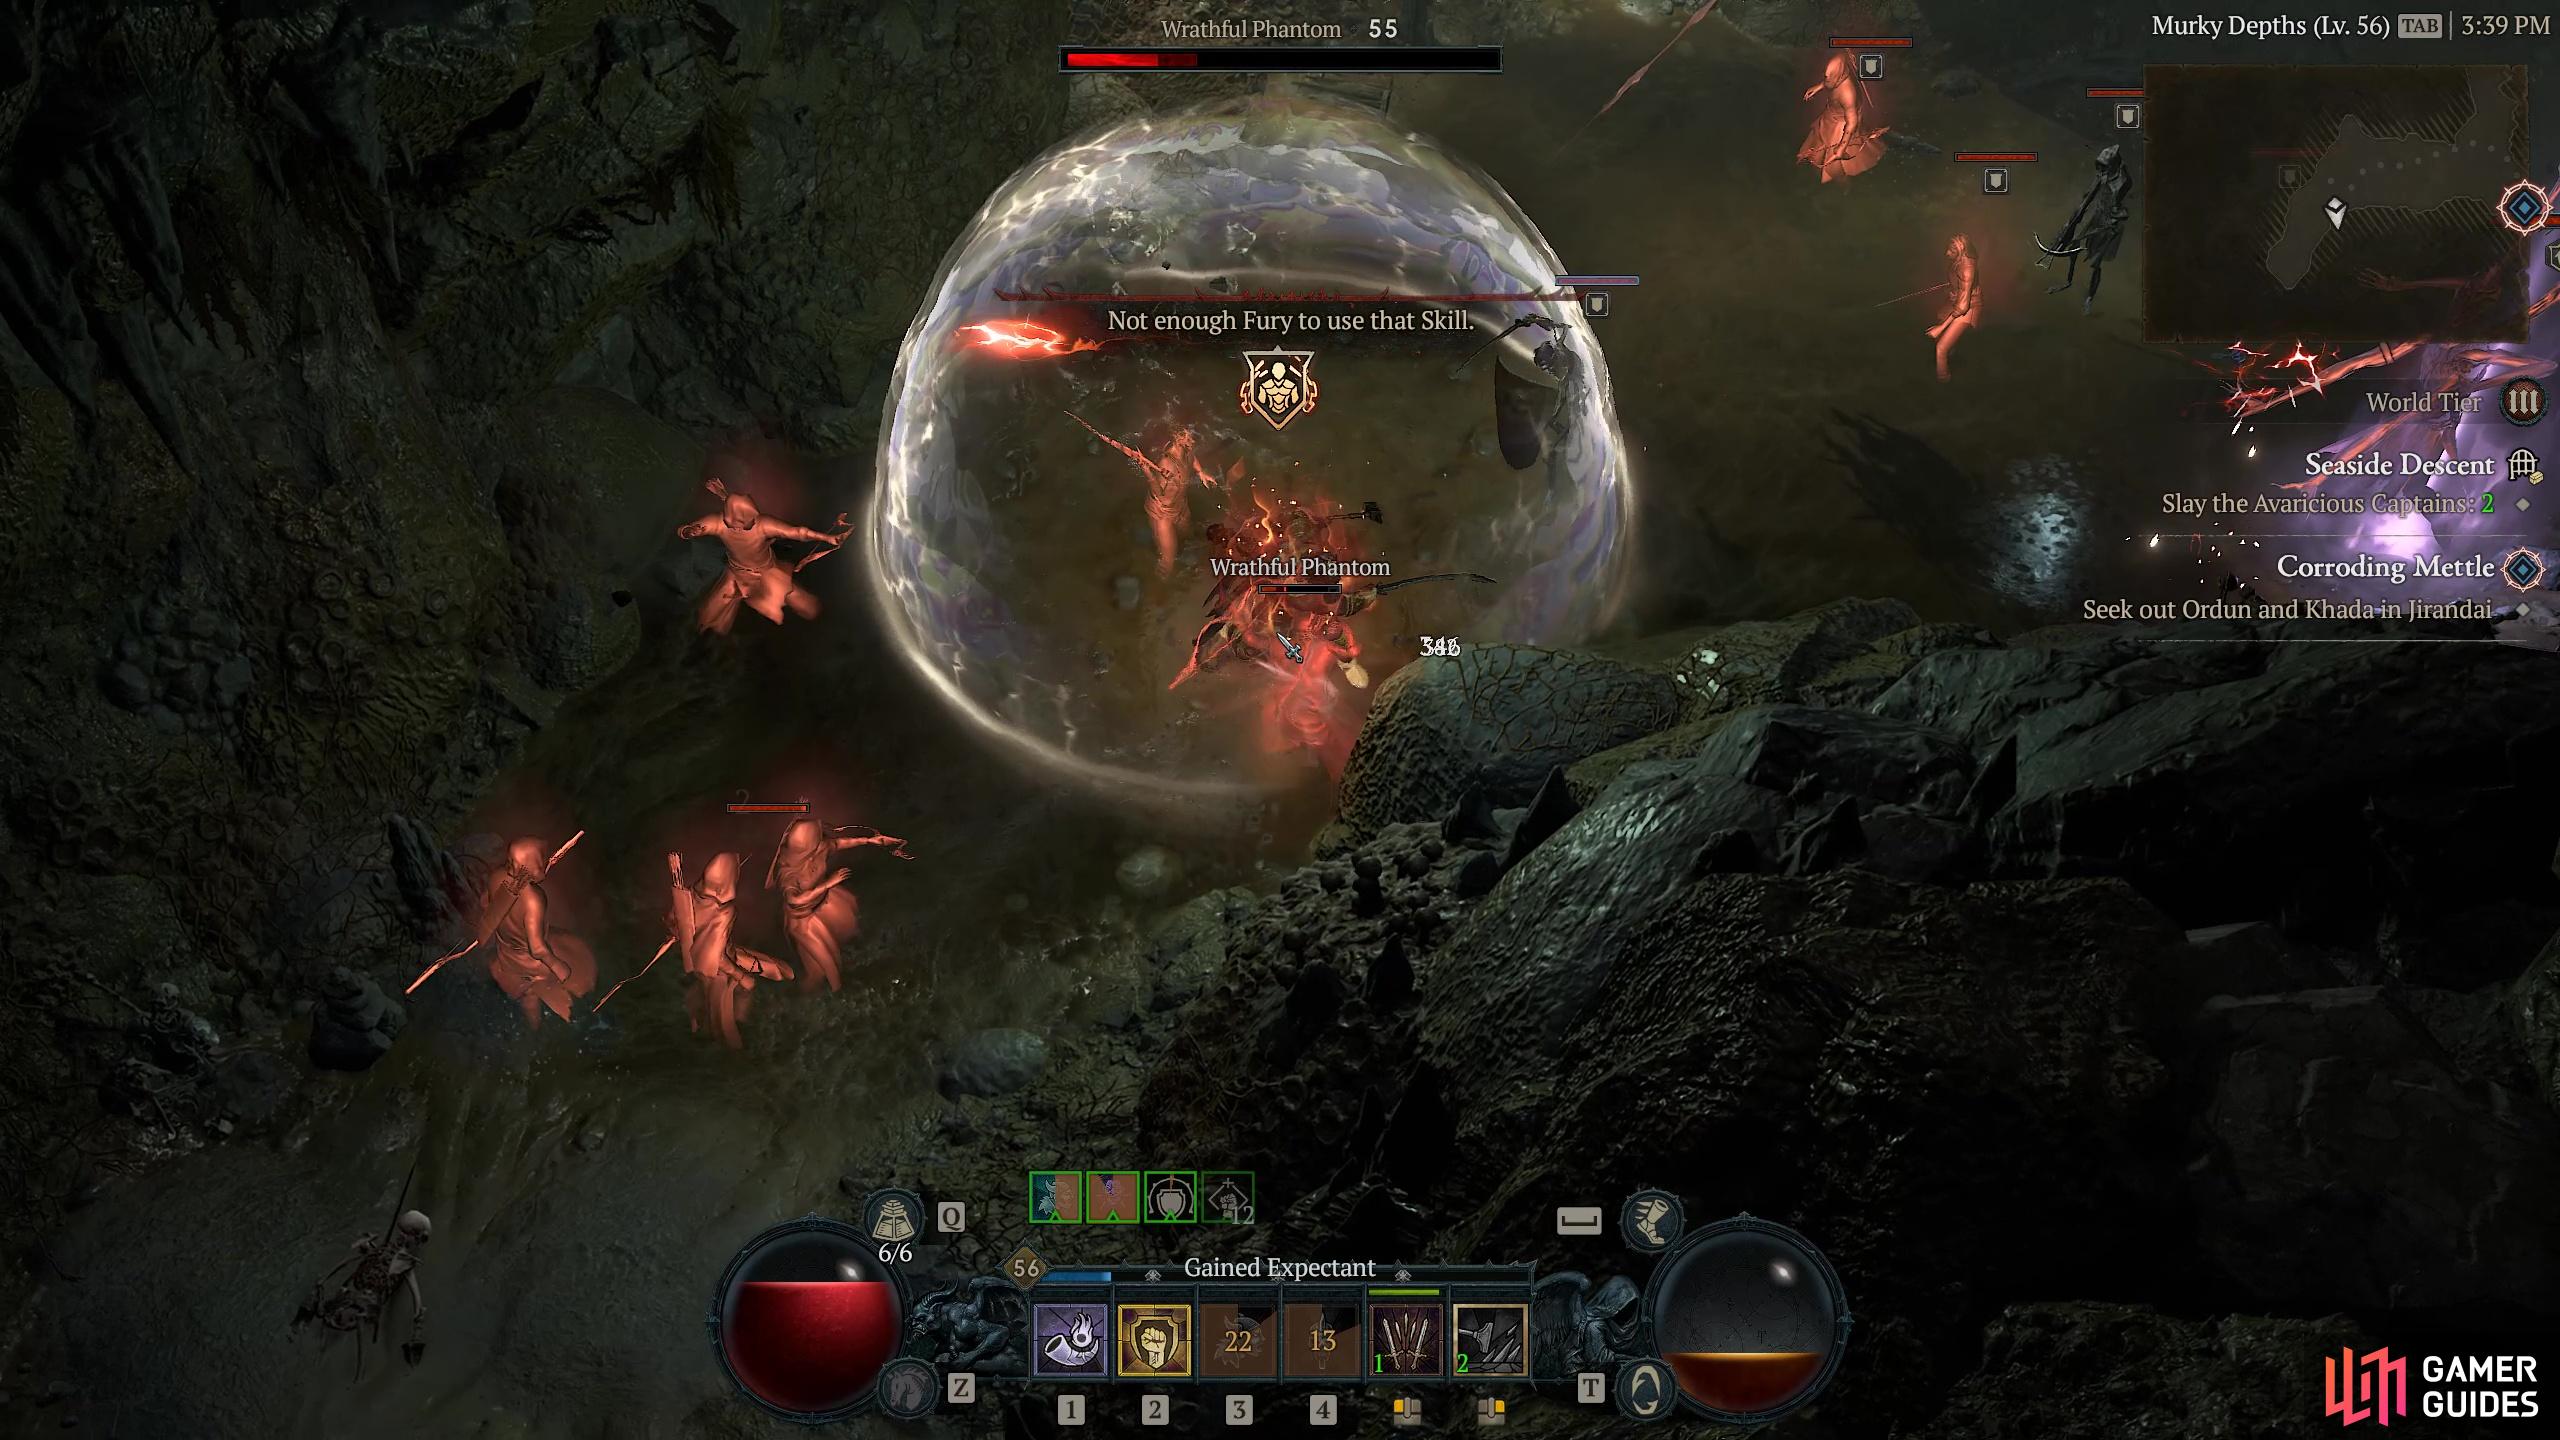
- Travel to the Murky Depths
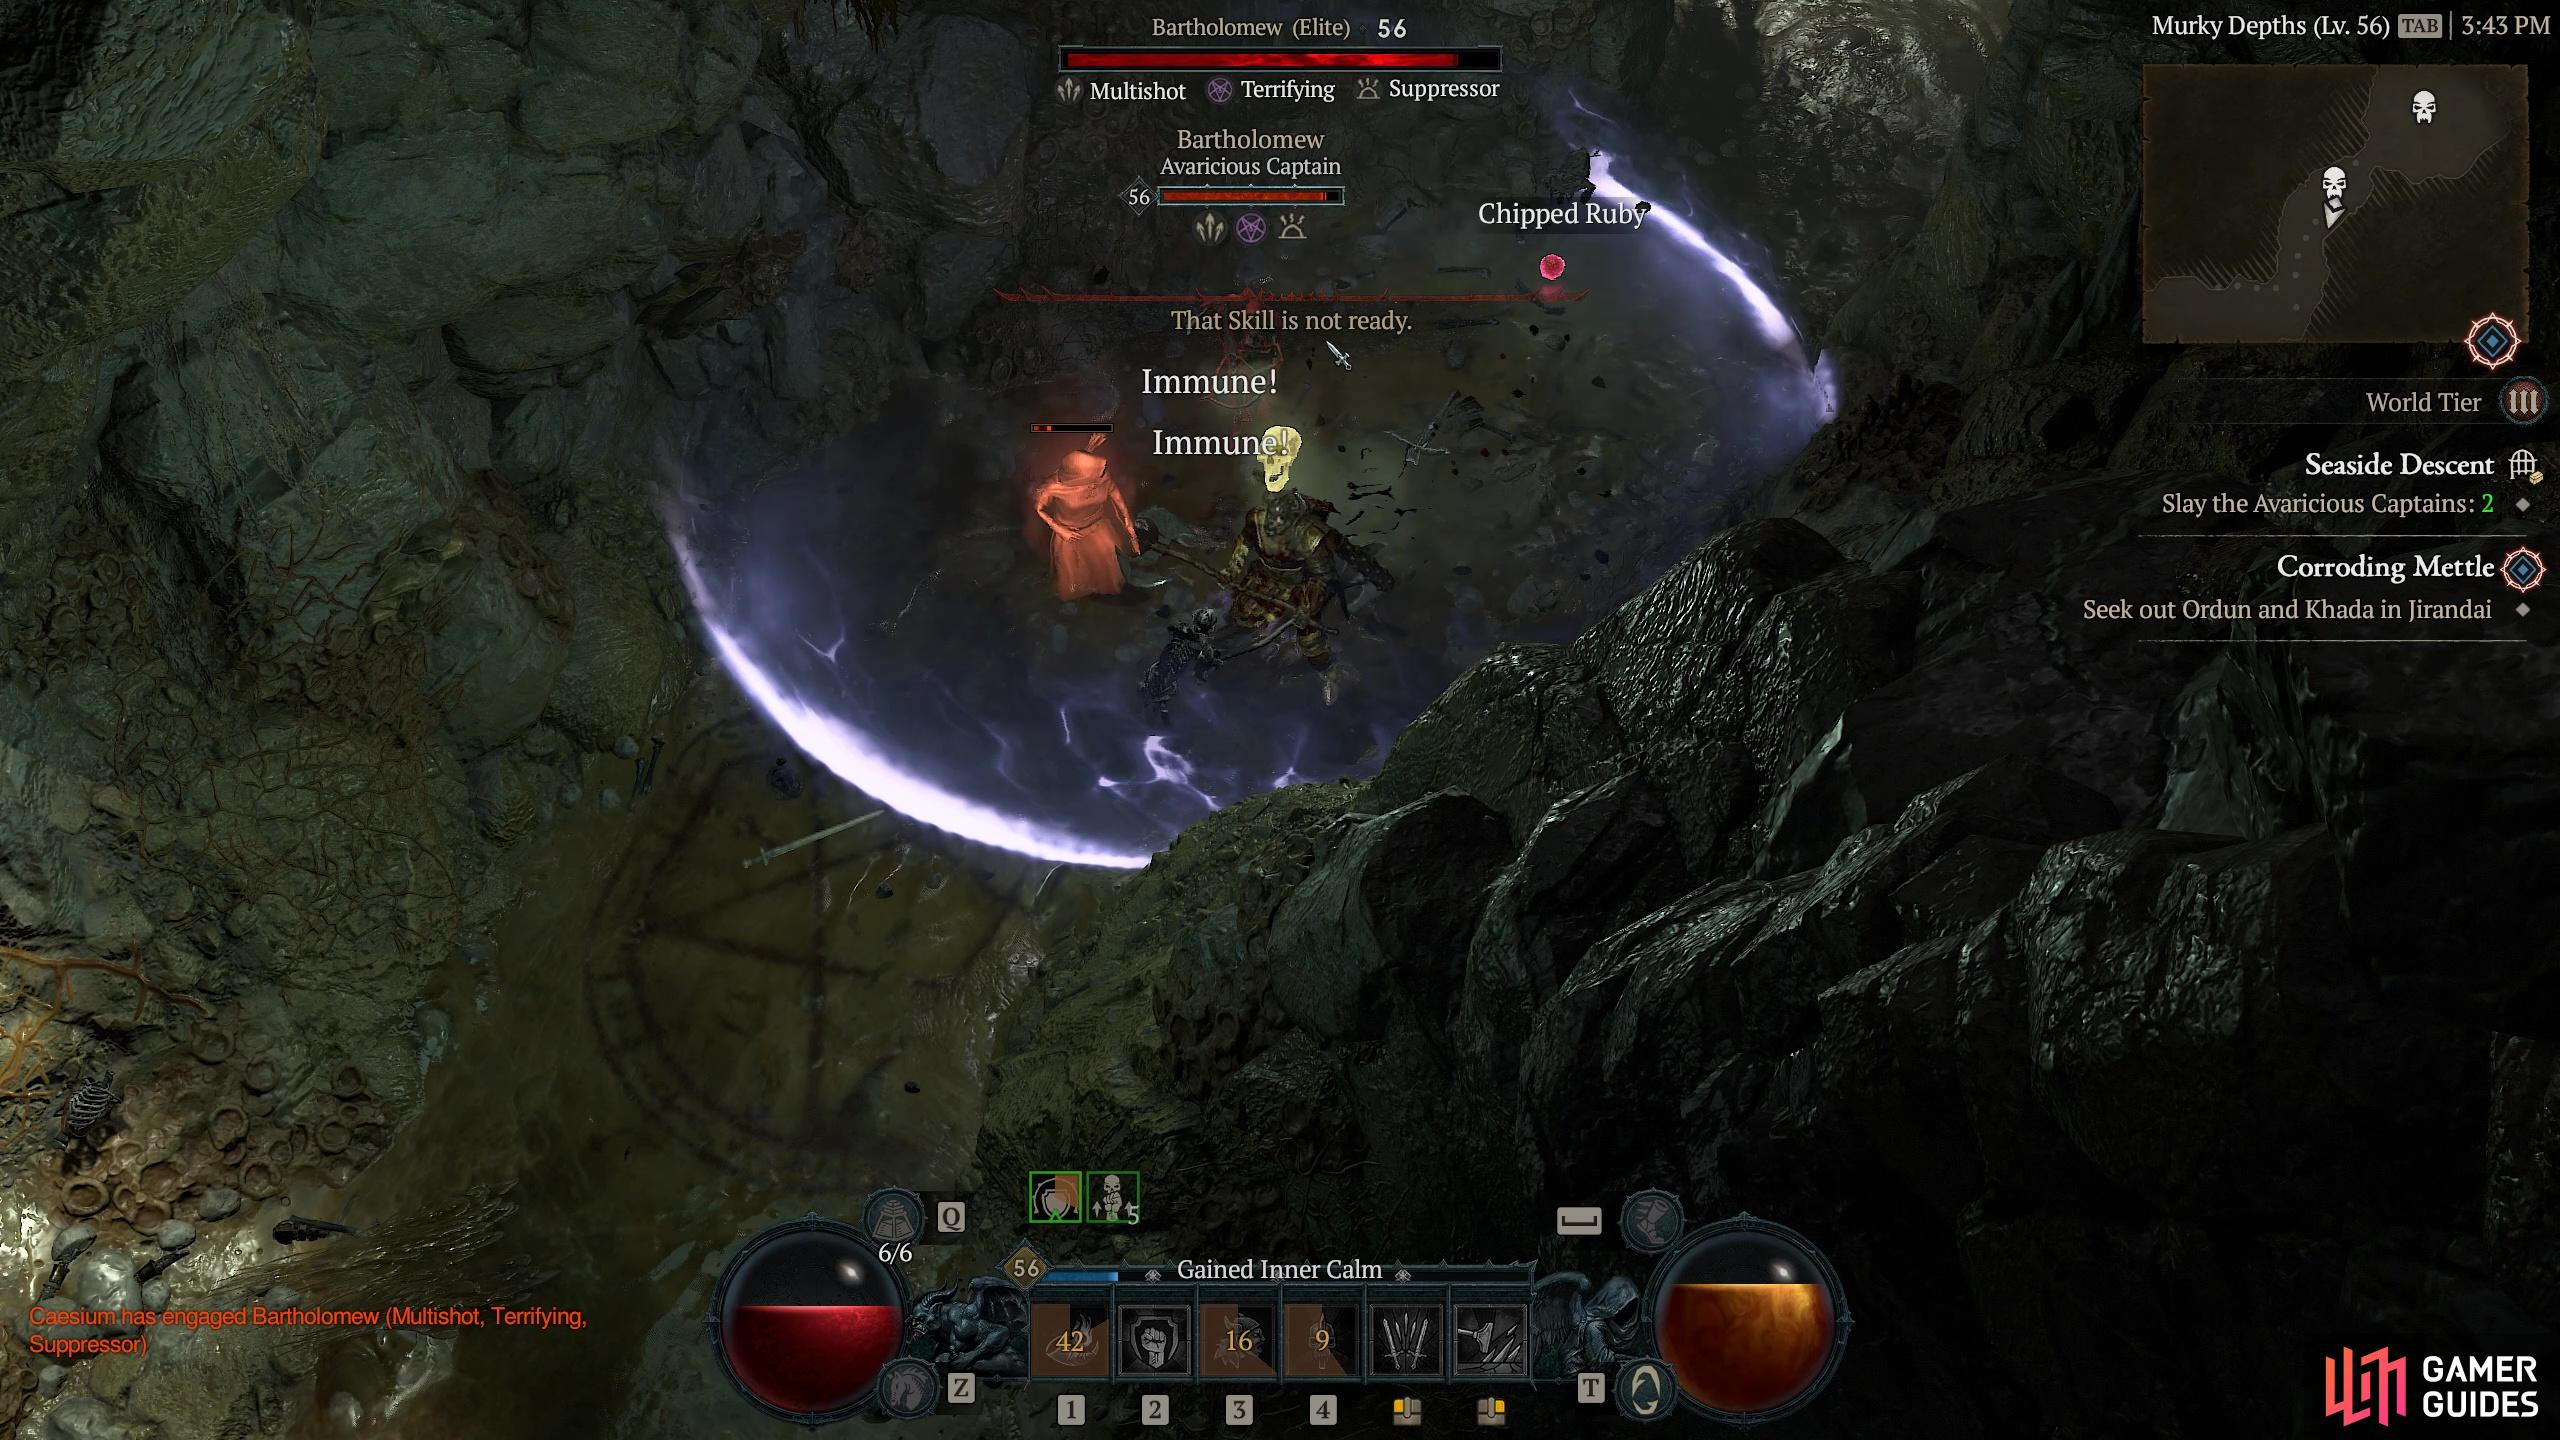
- Slay the Avaricious Captains (2)
- Activate the Gate Release
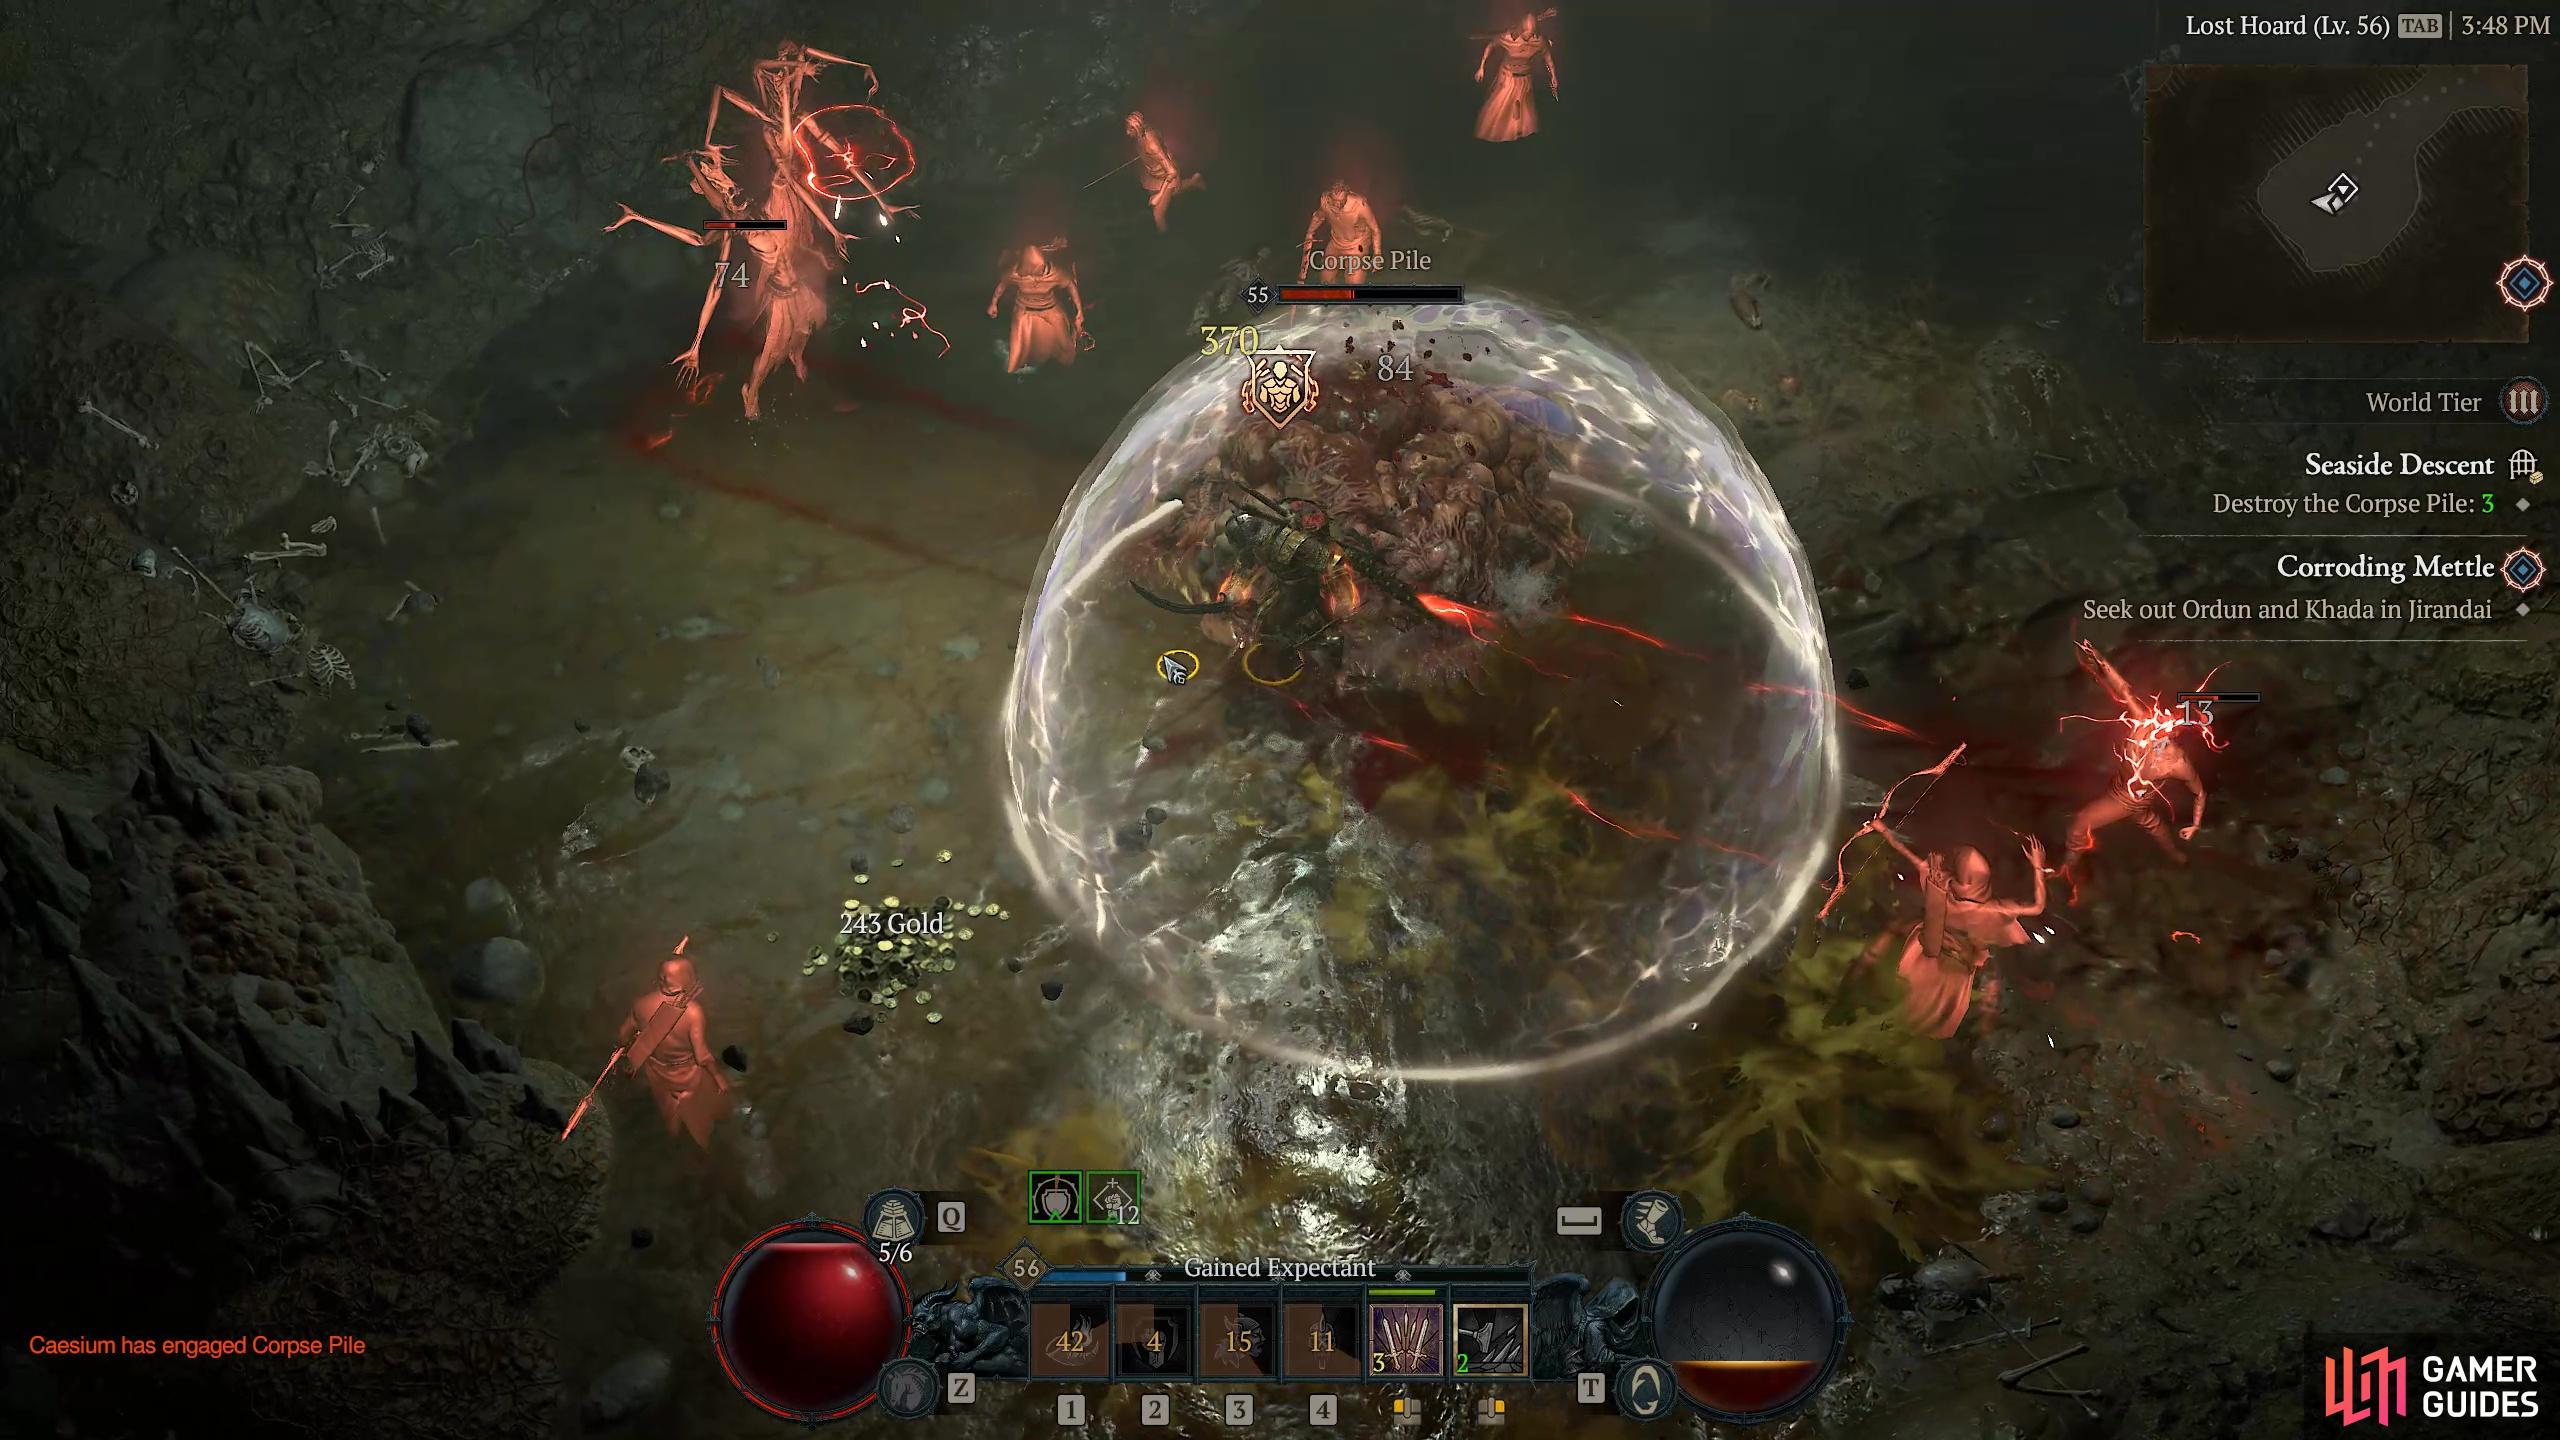
- Travel to the Lost Hoard
- Destroy the Corpse Pile (3)
Description
Now this is a busy dungeon. You know how most dungeons kinda feel the same after a while. Well this one feels packed. There are so many enemies in here that it can, at times, feel a bit overwhelming, especially as your first task is to slay everything in the Secluded Grotto at the start.
This is a coastal dungeon, as you probably guessed from the name but it doesn’t contained the Drowned enemies from the East Coast that you might expect, given the proximity to shipwrecks here. The first part of this dungeon is exclusively populated by the bony undead. ![]() Bone Warriors,
Bone Warriors, ![]() Bone Warrior Captains,
Bone Warrior Captains, ![]() Bone Warrior Archers - we have the whole family here. So if you have an Elixir that specializes in these guys, you would do well to equip it before you enter.
Bone Warrior Archers - we have the whole family here. So if you have an Elixir that specializes in these guys, you would do well to equip it before you enter.
Once you have killed them all though, you need to make your way to the Murky Depths - here the enemies get a little more spooky. Well a lot more spooky because it is vastly overpopulated with with ![]() Wrathful Phantoms and
Wrathful Phantoms and ![]() Wraiths as well.
Wraiths as well.
Once through here you need to locate and slay two Avaricious Captains Elites who hang out close by to each other. Try not to get drawn into a fight with both at the same time as you are just making life difficult for yourself.
Once they are dead you need to activate the gate release to pass into the final section of this time-consuming dungeon.
This area is known as the Lost Hoard, and despite sounding promisingly being filled with treasure, there are just three Corpse Piles - spread suitably far apart to be irritating, to dispose of. These are all well guarded and solo players will certainly find themselves in a fight, but once you get the last one you have completed the dungeon.
Enemies
Screenshots


No Comments