Raise the Spire
Approach this area and you’ll notice a cliff that is just high enough to where you cannot leap up it, perhaps if you are skilled enough to make it you can. Regardless, head around the left side and position two players at Sync Plate #1, two at Sync Plate #2, and finally two more at Sync Plate #3. Make sure each team of two is comfortable playing with the other then take control of the Sync Plates. This will start to form the spire, which in turn opens the Vault of Glass Door. The downside is that enemies will begin to spawn and you’ll need to keep them out in order to maintain control of the Sync Plates; failure to keep the Praetorians out of the Sync Plate area will cause the spire to slowly begin deconstructing. You do not need to stand in the Sync Plate area, just defend it like in The Crucible game mode Control.
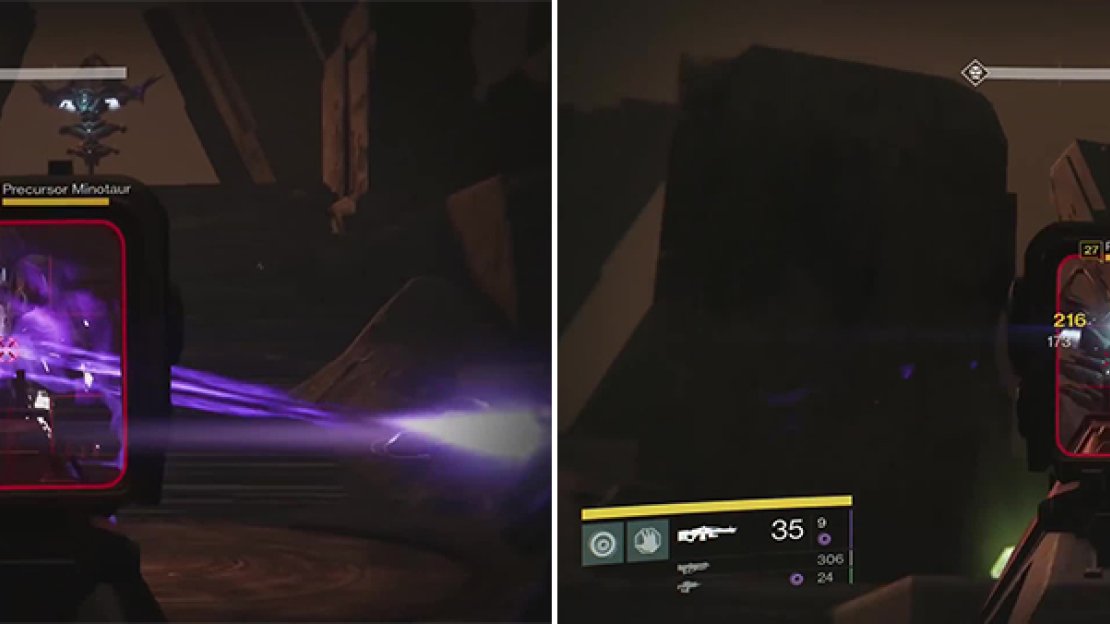
Harpies and Goblins make up the majority of the attackers and are easy enough to deal with without much coordination. When a Minotaur spawns you’ll want to call it out and have everyone focus it down since this Vex lacks a weak point and often blinks forward to deal massive damage. Gaining entry to the Vault of Glass is simple enough, but it’s definitely a check to make sure your team is at a high enough level. Team 1 should be at Sync Plate #1 and defending against Enemy Spawn #1 and #2 with assistance from Team 2. Likewise, Team 3 will be defending against Enemy Spawn #3 and #4 with assistance from Team 2. As you enter the Vault of Glass you should notice the first Loot Chest to the side.
Stand in the Sync Plates in pairs and defend the area from the onslaught of enemies.
The Templar
Templar Mechanics and Terminology
This encounter begins when you jump down from the ledge and is composed of three phases. Before you get started there are a few things you’ll need to know or you’ll have a difficult time.
Conflux: This needs to be defended from the Vex that are trying to sacrifice themselves and there are three in total.
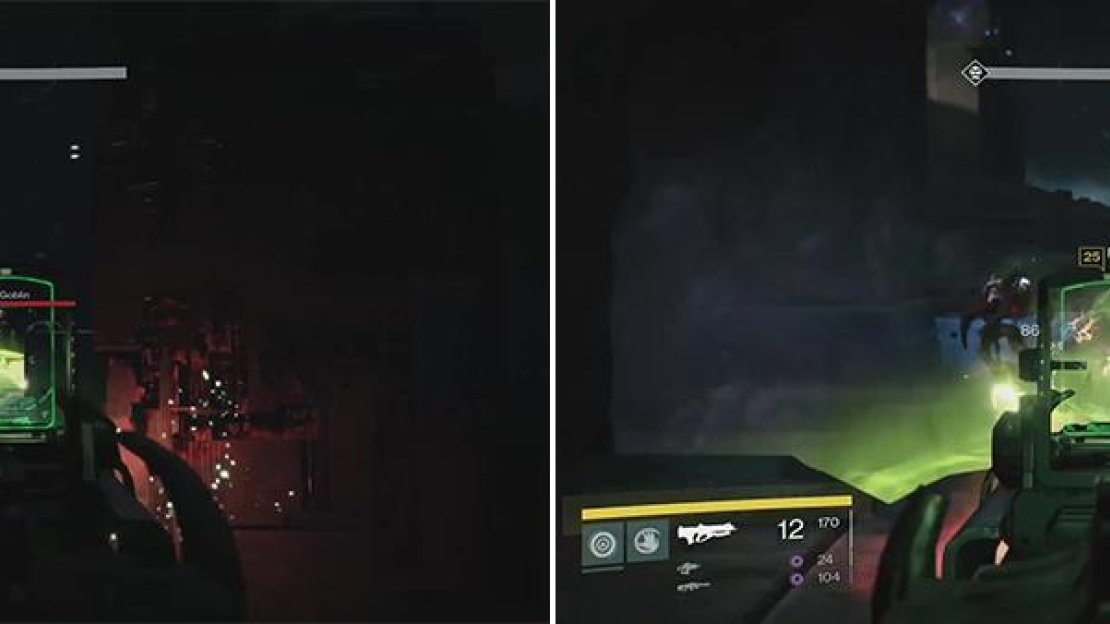
Fanatic: This is a poisonous Goblin that can tag a player with the Mark of Negation. It also leaves behind pools of poison that can inflict this debuff on the player.
Mark of Negation: A debuff that is inflicted by Fanatics and the green pools they leave behind.
Ritual of Negation: This ability is used by the Templar to kill any player afflicted with Mark of Negation.
Cleansing Ring: This glowing ring is in the center and will cleanse the Mark of Negation debuff. This object is not present during the Boss Phase.
Hobgoblin: This is a standard Hobgoblin that has a weak point at its yellow center. If you do not defeat it in a single shot, the Hobgoblin will put up a Solar Shield and you’ll need to wait to defeat it. They snipe from the corners and can cause a lot of trouble.
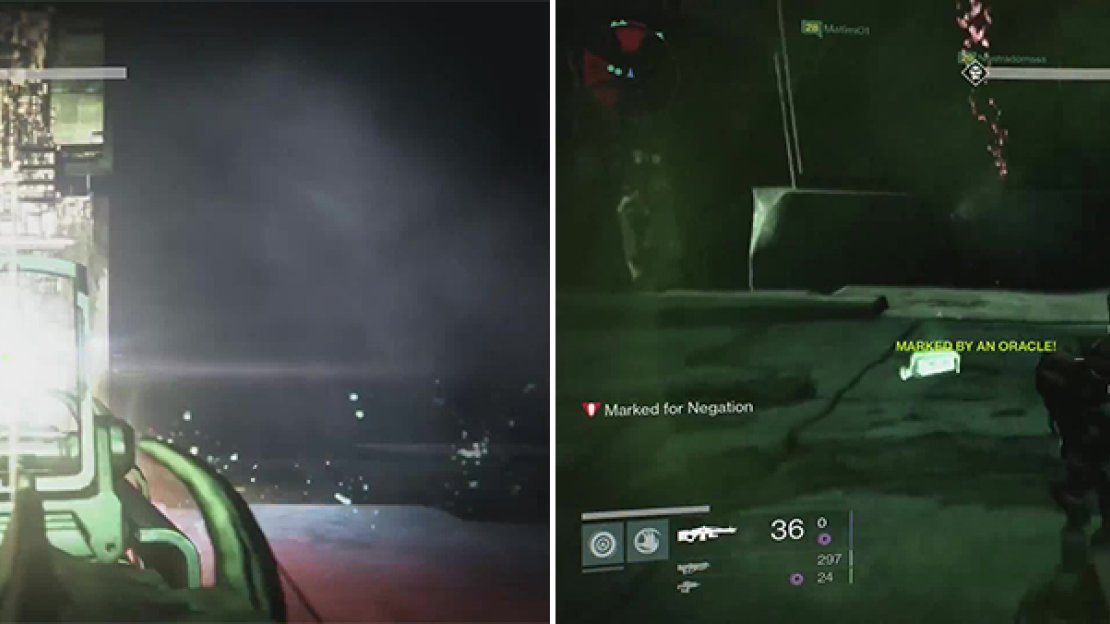
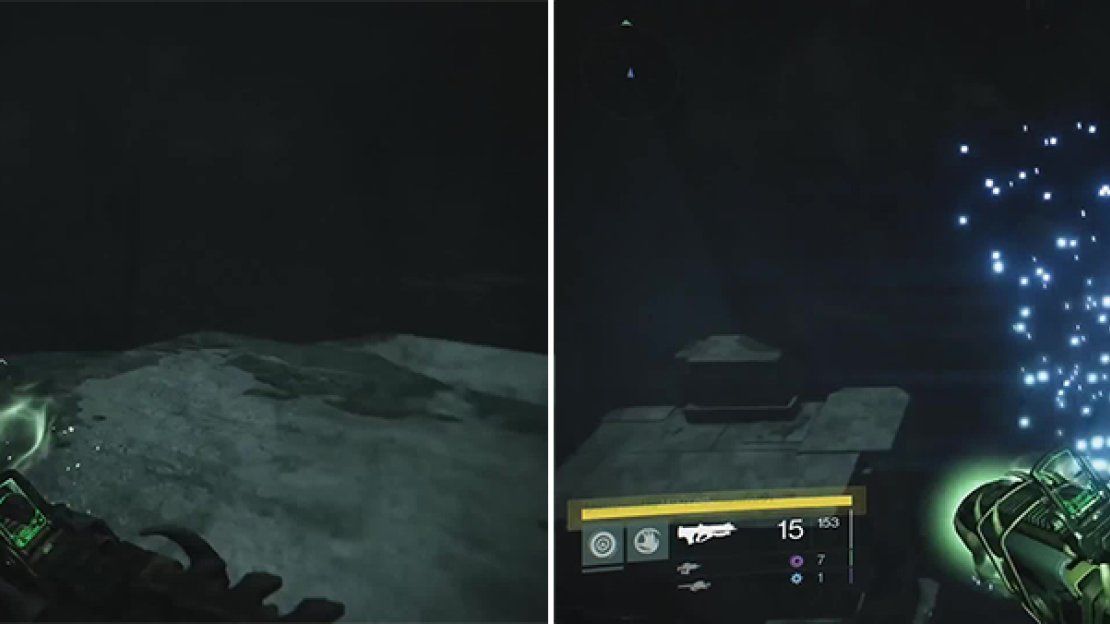
Oracle: Seven of these glowing golden orbs will spawn around the map. If they are not all defeated then they will cast Mark of Negation and effect the entire party which will be immediately followed by Ritual of Negation from the Templar.
Relic: This is a special item like the Sword of Crota but it has an important use in that its Super Ability allows you to break the shield of the Templar. This item must be held at all times; if the user is defeated then the Relic must be picked up within 6 seconds.
Curse of the Aegis: This is an ability that will kill all members of the party if the Relic is not in use for more than 6 seconds.
Suppression Field: When the Templar’s shield is broken a few players will be encased in this field that needs to be destroyed or the player will die.
Enrage: After about 10 minutes the Templar will enrage and spawn more Oracles and Minotaurs will spawn with the Harpies.
Phase 1 - Gauntlet
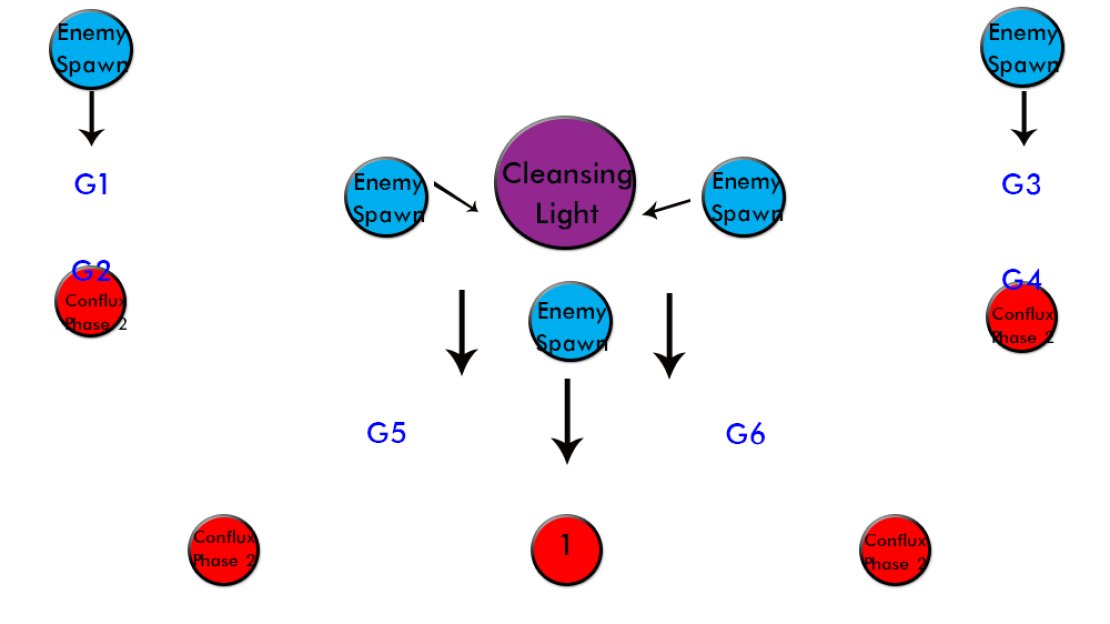
During this phase your objective is to protect the Conflux from the Vex that are attempting to sacrifice themselves to it. The first wave will have a single Conflux active at the top of the staircase and should be defended by the entire party. The Fanatics will need to be lured away so that Mark of Negation is not transferred to anyone and the Negation Pools are not near the rest of the group. If someone is afflicted with Mark of Negation then head to the Cleansing Ring to remove it.
The second wave brings a Conflux on the left and on the right. Have two groups already designated for these locations and treat it like the first wave. The third and final wave will have three Confluxes, one in each of the previous locations. Split the team into groups of two and defend as you have been. The Conflux will despawn once you’ve defended them long enough and the second phase will begin. You receive a checkpoint for clearing the Gauntlet.
Watch out at your area for enemies and kill any that spawn. Fanatics are especially dangerous as they can poison you.
Phase 2 - Oracles
Oracles will spawn during this phase; they are hard to miss as they are gold and bright. They can spawn in 7 different locations, 3 to the left and to the right, then 1 at the top of the stairs. There are 12 rounds of Oracles, so just stay spread out and use powerful attacks to defeat the Oracles quickly. Super Abilities can break them in a single shot. This makes the Golden Gun very useful as it can break three Oracles in one Super. Once you have completed this phase you’ll get a breather and some loot. You receive a checkpoint for clearing the Oracles.
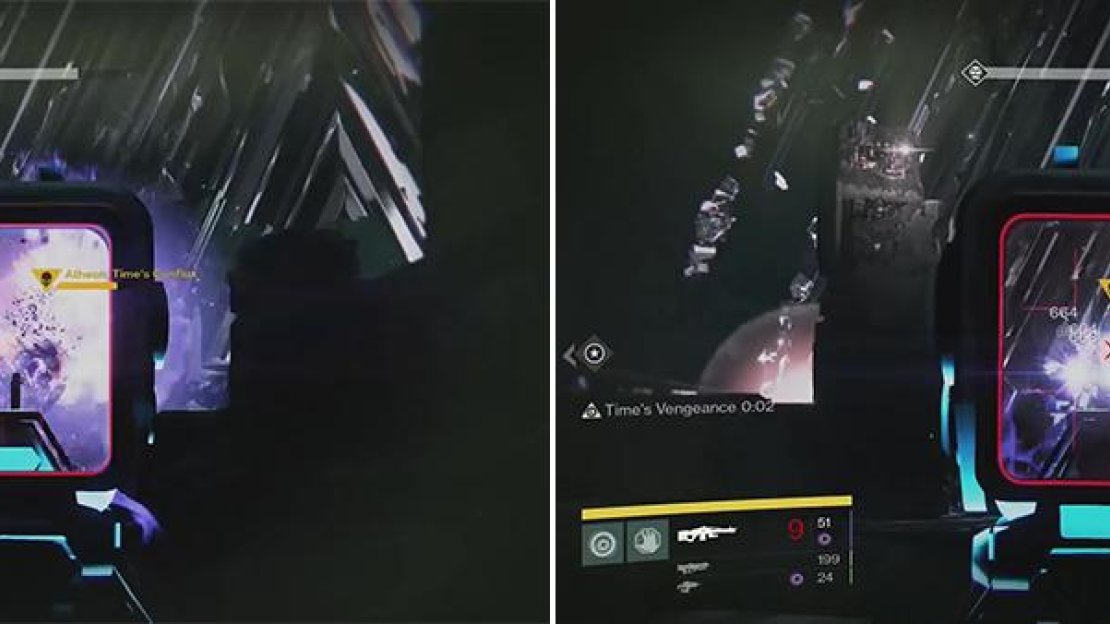
The Oracles (left) must be shot immediately or your team will be marked (right) and they will have to be cleansed.
Phase 3 - The Templar
Once the Oracles have been defeated the Relic will appear inside the Cleansing Ring. To start this phase pick up the Relic, but before doing that you’ll want to set up and determine which strategy you want to use. There is a location off to the left of the Templar where a Hobgoblin normally sits. It’s a way out on some floating structures but going up there is perfect because you can avoid the Harpies that will spawn and not worry about the Oracles. Group up here and use the Relic to cleanse the Mark of Negation on the party, then use the Super Ability of the Relic to break the Templar’s shield. From here you can start unloading on this foe and you’ll be fine even if the Templar enrages for some reason.
If you feel the previous strategy is a bit cheesy and would rather fight with the additional Vex joining the fray then you’ll need to spread out. Keep an eye on the Oracle and defeat it when it emerges; this takes priority. Afterward, take down the Templar’s shield and start tearing it up. From here the Templar will want to teleport. There are 5 locations it can teleport, two on the left and two on right, then the starting spot. If you stand on the area where the Templar is trying to teleport it will cancel the teleport and the Templar’s shield will stay down so do your best to interrupt the teleport! If the boss Enrages then you’ll be faced with even more Vex, so much so that you’ll likely die so try to end the fight quickly. With the Templar defeated you will receive some loot and gain access to the Gorgons’ Labyrinth. You receive a checkpoint for defeating the Templar.
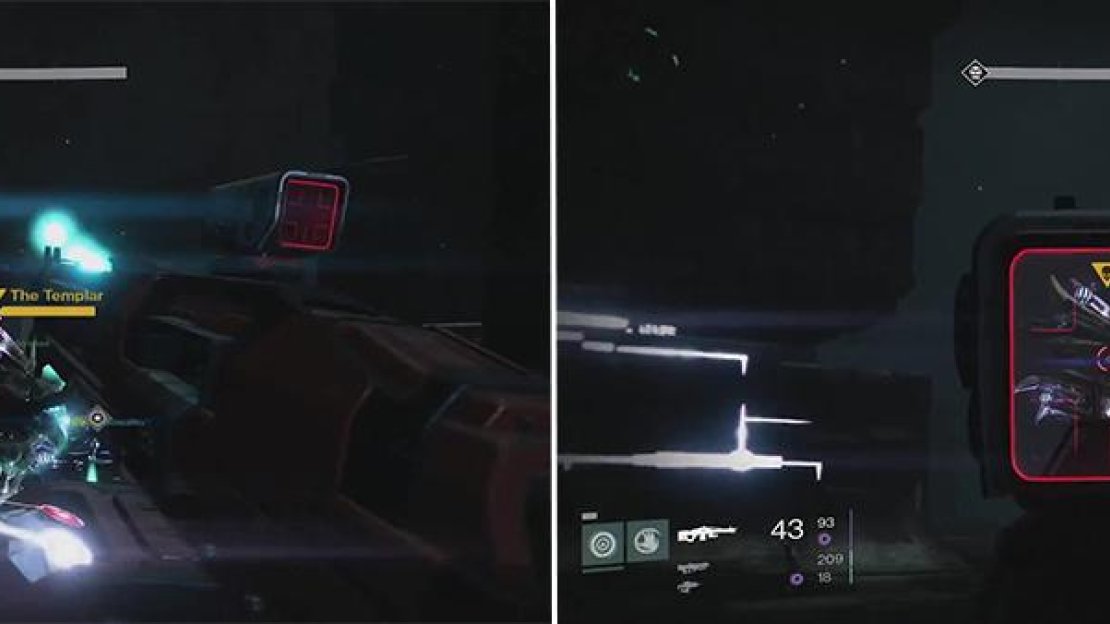
The Templar is very powerful as you would imagine. It also teleports around the location so be watchful.
The Gorgons Labyrinth - Locating Treasure
The objective is to make it past the Gorgons, a Harpie variation, without being seen or heard. Notifying any one of them causes it to cast Gorgons’ Gaze which kills everyone and forces a restart at the checkpoint. There are Loot Chests in here though, so get them before leaving! Start by going down the river until the path splits. Take the right path and have a Hunter stealth up to ensure it’s alright to move up; be sure not to sprint. At the end of the hallway is a set of stairs that leads to a large platform and centered on this is a Loot Chest.
Start back again from the beginning and go left this time. Cross the river to the left and into a crevasse. From here you’ll simply need to leap back and forth up the narrow area. Use the middle platform to elevate to the top. Simply run to the end of the cave to find the second Loot Chest. Head back to the beginning now so you can leave.
Escaping the Labyrinth
From the entrance, head up to the big rock in front of you. Have a Hunter check up that it’s safe then look towards the back where you’ll see four large pillars. Sneak past the Gorgon when it starts to head back to the right. Follow it a way to the right and behind a rock is an opening that leads to the next area, a jumping puzzle. You will receive a checkpoint for exiting the Gorgons’ Labyrinth.
Jump Puzzle
Navigating the Platforms
There are floating platforms that will appear and disappear at intervals, requiring you to quickly navigate them. Head off to the left and wait for the platform to appear in front of you. Begin making your way progressively and swiftly to the next platform that appears until you can leap to the wall on the right side. Hug the wall as it gets pretty narrow but eventually you’ll be able to leap to the other side safely. For reaching the other side you will receive a checkpoint.
You must be quick and use a lot of double/triple jump to navigate the jump puzzle.
Atheon, Times Conflux
Atheon Mechanics and Terminology
Gatekeeper: This enemy needs to be defeated in order to gain access to the Sync Plates. There is one in the present, one in the past, and one in the future.
Sync Plate: These plates work like at the beginning of the raid. You’ll need to control them in order to open the Time Gates.
Time Gate: The left gate leads to the past and the right gate leads to the future.
Oracle: Like in the Templar fight, Oracles can spawn but only if you lose control of the Sync Plate. In the past or present during Phase 2 there will be a large number of these.
Relic: A Relic like you used in the Templar battle will appear in either the past or future once a Gatekeeper has been defeated. It is brought to the present to assist the Guardians.
Marked by the Void: This is a debuff acquired from being in the past or future after killing the Gatekeeper. This is cleansed by the Relic.
Supplicants: These are Harpies that are kamikaze, dashing in and exploding near you. With that in mind, they are a priority.
Enrage: After about 10 minutes, Atheon will enrage. This means that Supplicants will begin to spawn at the back of the room where you entered.
Time’s Vengeance: After destroying the final Red Oracle all players receive a 30 second buff that increases damage output to Atheon by about 5 times. Super and Grenade cooldowns are near non-existent so you’ll be able to go all out.
Phase 1 - Kill the Gatekeeper
The first phase is pretty simple. Just kill the Hobgoblins and Goblins, then down the Gatekeeper because more enemies will continue to spawn. The trick to the battle begins with the next phase.
Phase 2 - Collect the Relics
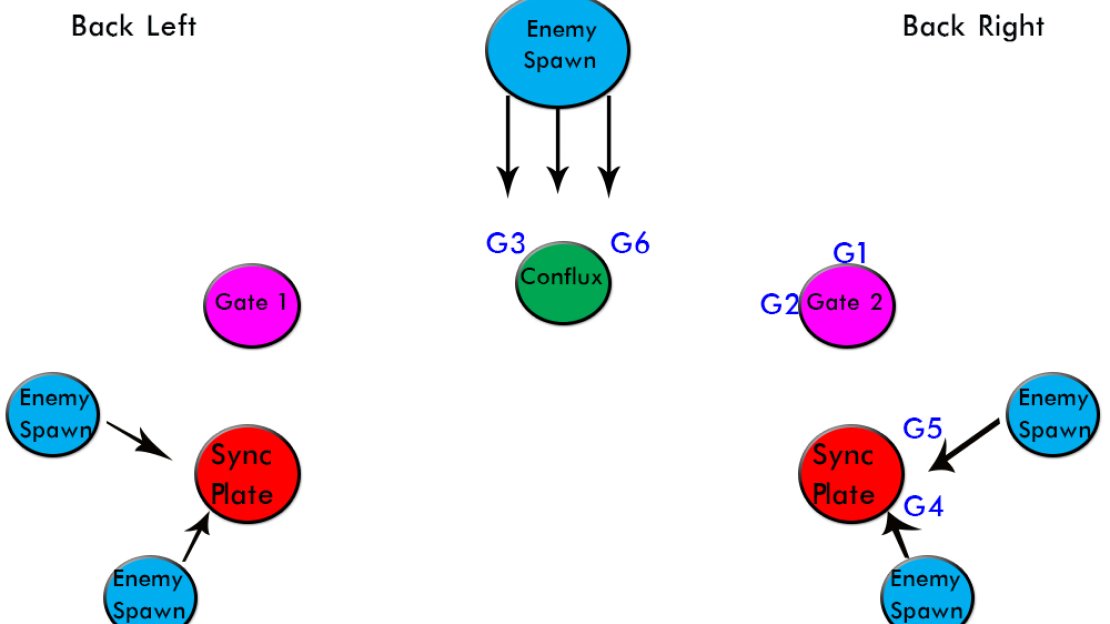
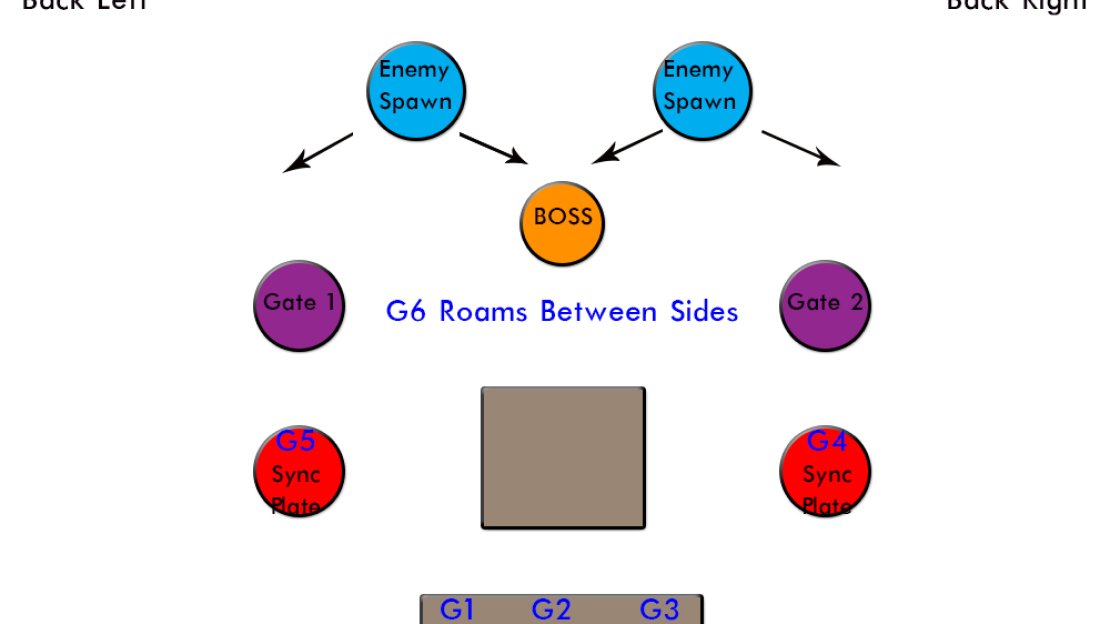
A Conflux will spawn after the first Gatekeeper is killed and Vex will attempt to sacrifice themselves (similar to the Templar). Your fire team should be setup like this.
There are two Time Gates in this area and you’ll need to go through both of them. Like in the initial entry to the Vault of Glass, you’ll need to open up the Time Gate by standing on the corresponding Sync Plate. Start with the left side; this take you to the past where everything is desert-like. You’ll want to have four people defend the Sync Plate. If a Praetorian enters and the Vex take over then a Red Oracle will spawn above the portal which must be defeated or it will wipe the party. Two people will enter the portal and defeat the two Praetorians and Goblins, then defeat the Gatekeeper. At the back of the area is a Relic. With the Gatekeeper defeated you will be Marked by the Void, so the Relic wielder must use L1/Left Trigger (Grenade) to place up a barrier that cleanses the Mark.
The players inside will exit and the Sync Plate no longer needs to be defended. A Conflux will spawn once this happens so two players need to defend the Conflux, two need to defend the right portal, and the Relic wielder plus the other person needs to enter the future (right-portal) which is lush and jungle-like. Here, it’s simple to use the Relic’s Super Ability to torch the Gatekeeper quickly then grab the other Relic and return to the present. The players that are defending outside need to go all out to keep anything from sacrificing into the Conflux or taking over the Sync Plate. Defend the two Conflux in the center for a minute or two and the next phase will begin immediately.
When you enter the time gate, you will be faced with some strong enemies. You must also kill the Gatekeeper to claim the Relic.
Phase 3 - Defeat Atheon
Boss spawns. The 3 furthest players from the boss will be teleported to a portal. 2 of the 3 outside players must hold the correct sync plate so the players may exit once they clear the portal.
The last part was pretty hard but this final phase simply requires execution. The mechanics are fairly simple: Atheon will appear and walk around for a minute then will teleport the three people furthest away from him to either the past or the present. Designate three players from the get go, they will always stand at the back towards the door and just hide until teleported. From here the two groups must work together, separately.
The group that is teleported is spawned on top of the Relic. One player must immediately pick this up as all three are Marked by the Void. The past (left side, desert) has three Hobgoblins, the best way to deal with them is to have two players shoot them quickly to produce their Solar Shield then have the Relic wield do a leaping smash (Jump + R2/Right Trigger). This will defeat the enemies and let the other two focus on their next task, destroying the quickly spawning Oracles. They will always spawn in the same order, in the same location. Use the Relic to cleanse the Mark periodically then exit once all Oracles have been destroyed as Time’s Vengeance will trigger. If you are on the right side (future with jungle) then you’ll have to contend with a Praetorian. Have the two players shoot the enemy with Void damage to quickly break the shield; this will allow the Relic user to easily defeat them. From here, destroy the Oracles as normal.
The group outside has it a little bit easier but it’s still tough. After the group is teleported to the past or future, Atheon will begin to summon the Supplicants. These nasty little Harpies will explode if they get close enough to you and it’s usually an instant kill. You can bait them and Double Jump at the last moment, but it’s risky and best to simply stand on the Sync Plate columns. One player should be on each Sync Plate column, this will allow the portal to spawn without having to worry about what side the other group was teleported to. From here, the three will need to do their best to defeat the Supplicants quickly to keep the area clear of instant death attacks.
If you are part of the teleport group, stand at the back until you are teleported. When you return, keep attacking Atheon and repeat the process.
When the group that was teleported returns to the present, the Relic wielder will call out that everyone is through. It’s also best to know which way to turn when you come out of the portal (turn right if you were in the future, turn left if you were in the past). Turning in the right direction is critical because the entire group will need to group up on the floating platform between the two portals. This will allow the Relic wielder to use the shield effect (L1/Left Trigger/Grenade); simply hold it down and have everyone else stand behind him. This allows the party to damage Atheon with all their might while not taking any damage! The effect recharges constantly with the Times Vengeance buff so it wont go away, though you can take splash damage so you must stand behind the Relic wielder. Give a countdown to the 3-4 second mark so the group can split back to their normal positions and repeat the cycle. It should take about 4-5 times going to the Future/Past to defeat Atheon. When you do the split, it is often beneficial to drop a Ward of Dawn to avoid unnecessary damage before making the leap.

No Comments