
Servant of God is the second main quest of No Rest for the Wicked that tasks you to meet Madrigal Seline in the Nameless Pass. You can reach this area by heading east from the upper area of Sacrament, where the gate will now be opened. Find out how to make it through the Nameless Pass safely while obtaining the majority of chests along the way.

Madrigal Seline asks you to meet her in the Nameless Pass in the Servant of God quest.
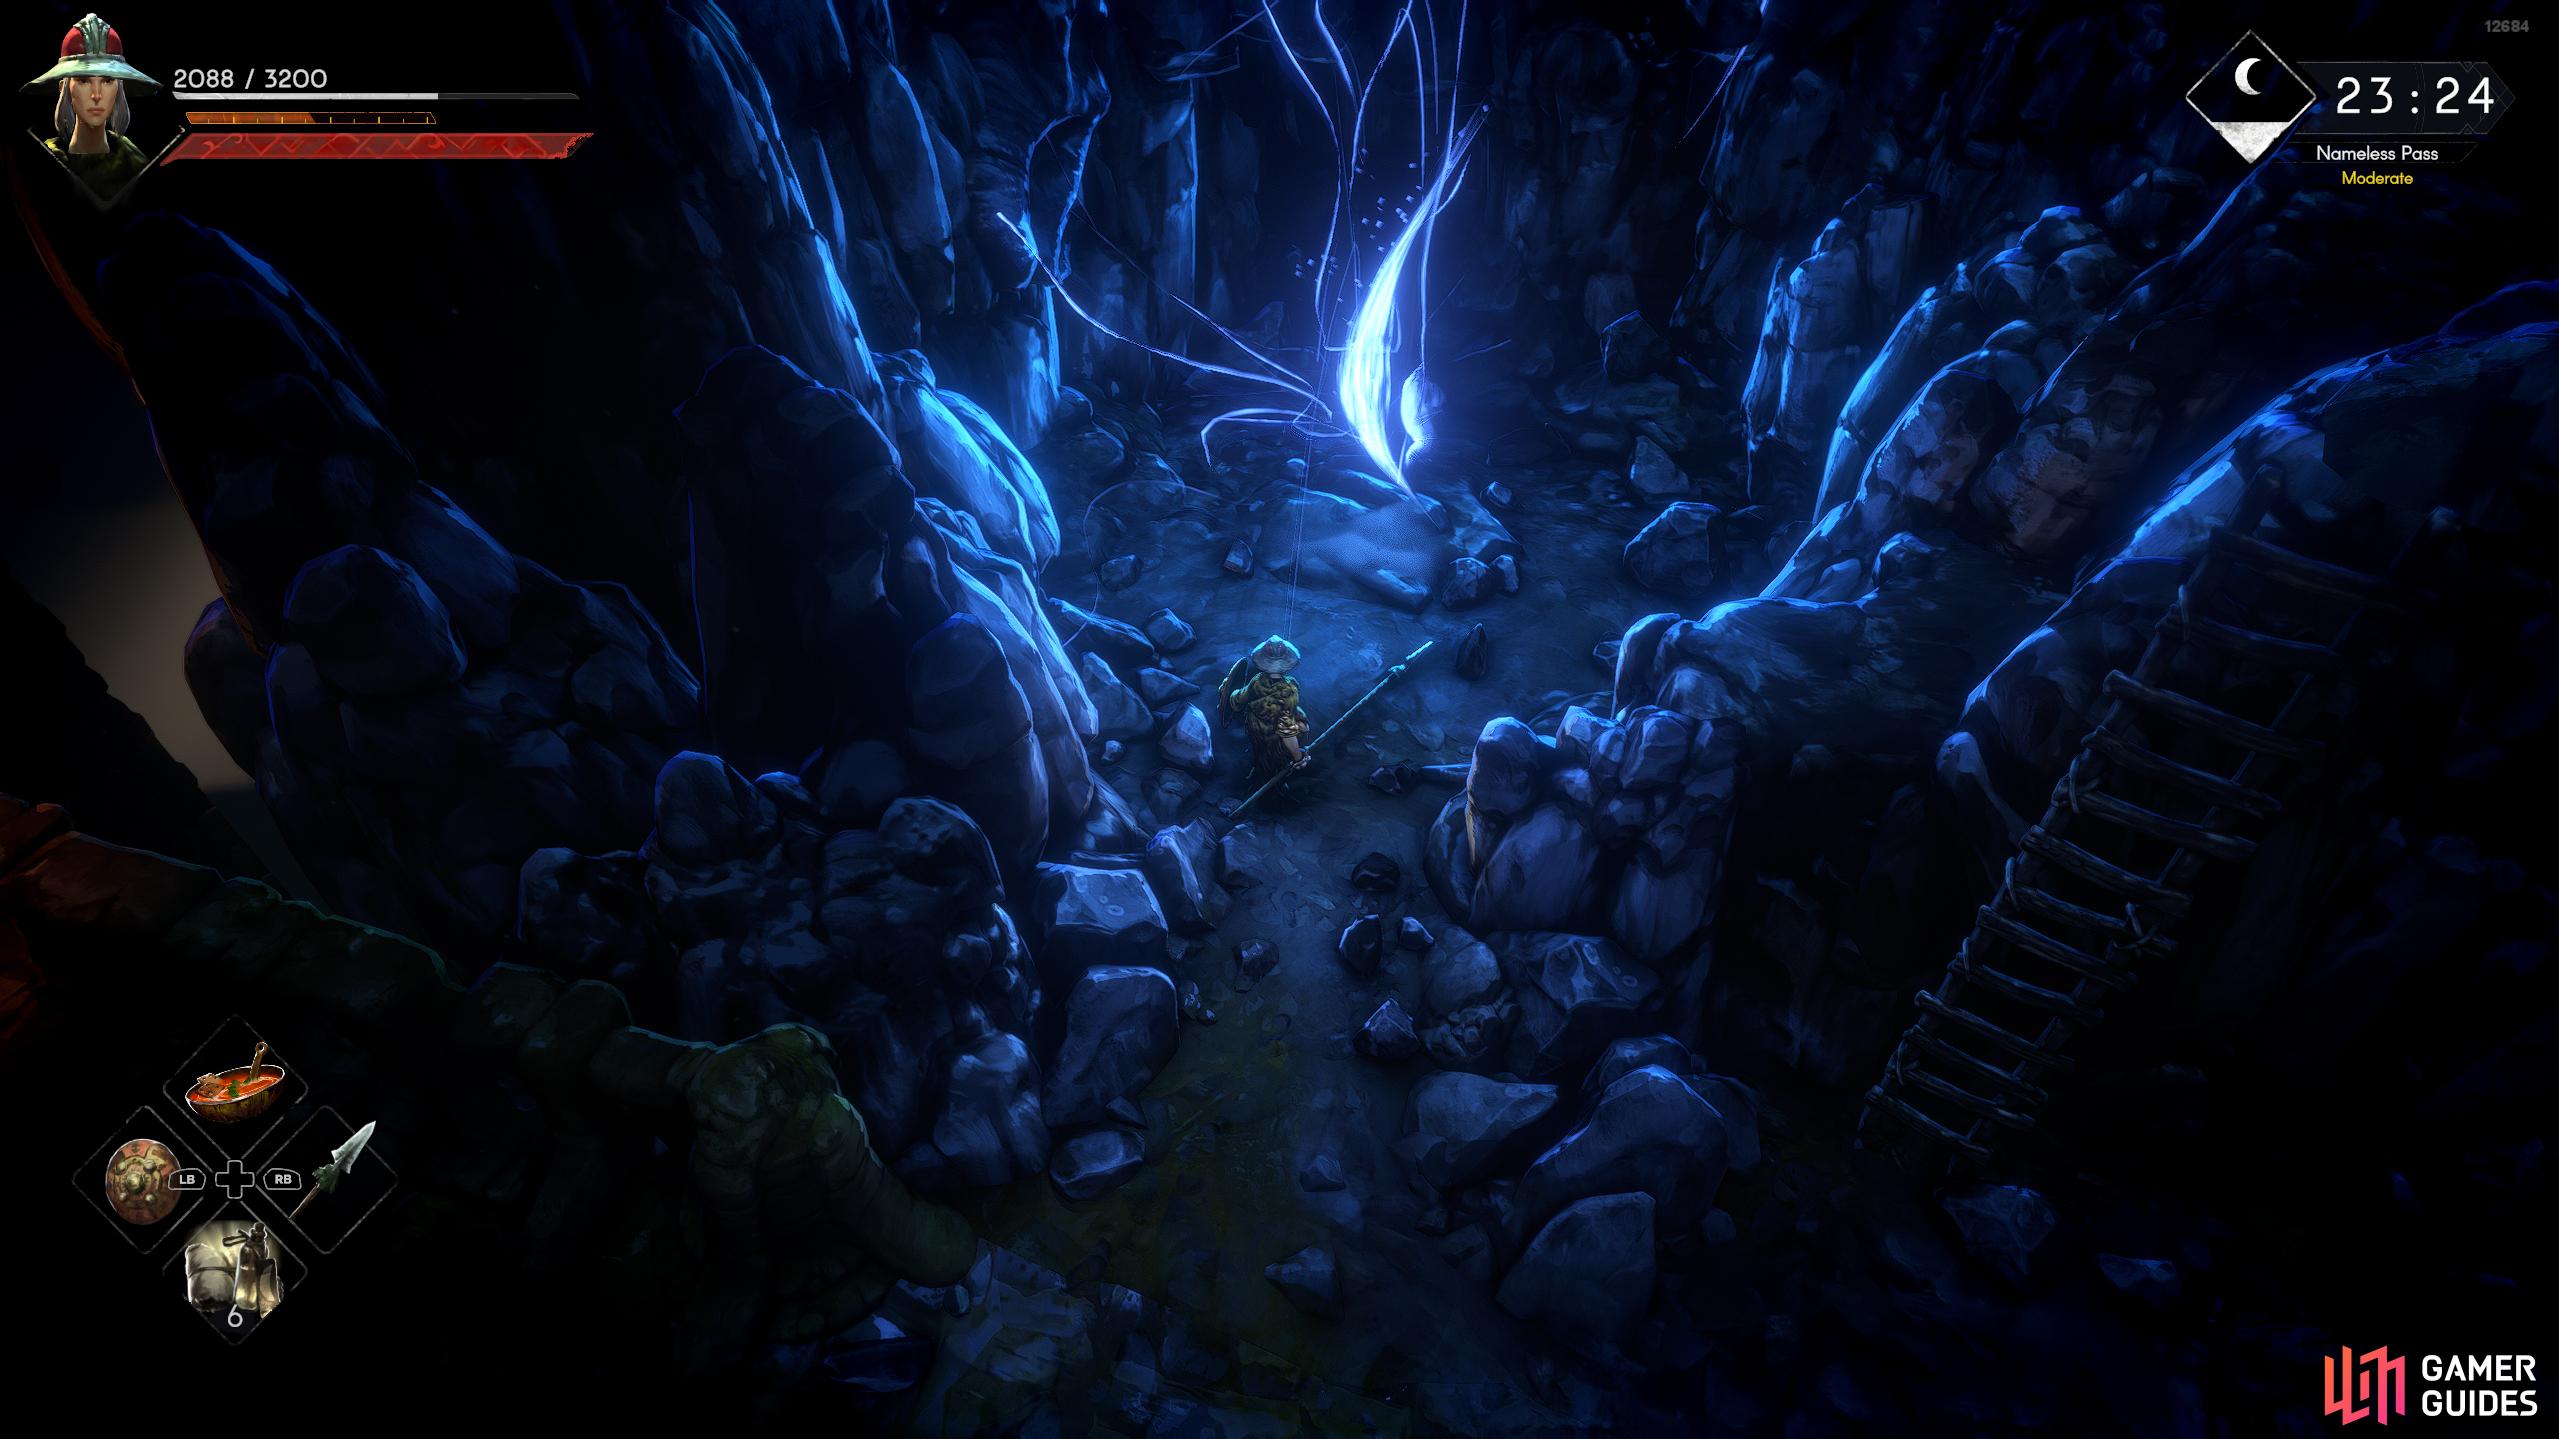
Nameless Pass Entrance Whisper
Before we get started on the Nameless Pass, let’s talk about its difficulty quickly. Odds are, the place will read “Dangerous” to you on the map if you hover over it. If this is the case, You may want to get a couple of levels first before venturing into the Pass to make things easier on yourself. However, if you bring along a lot of healing food with you and take each battle slowly, you can get those levels while still making progress. The choice is yours.
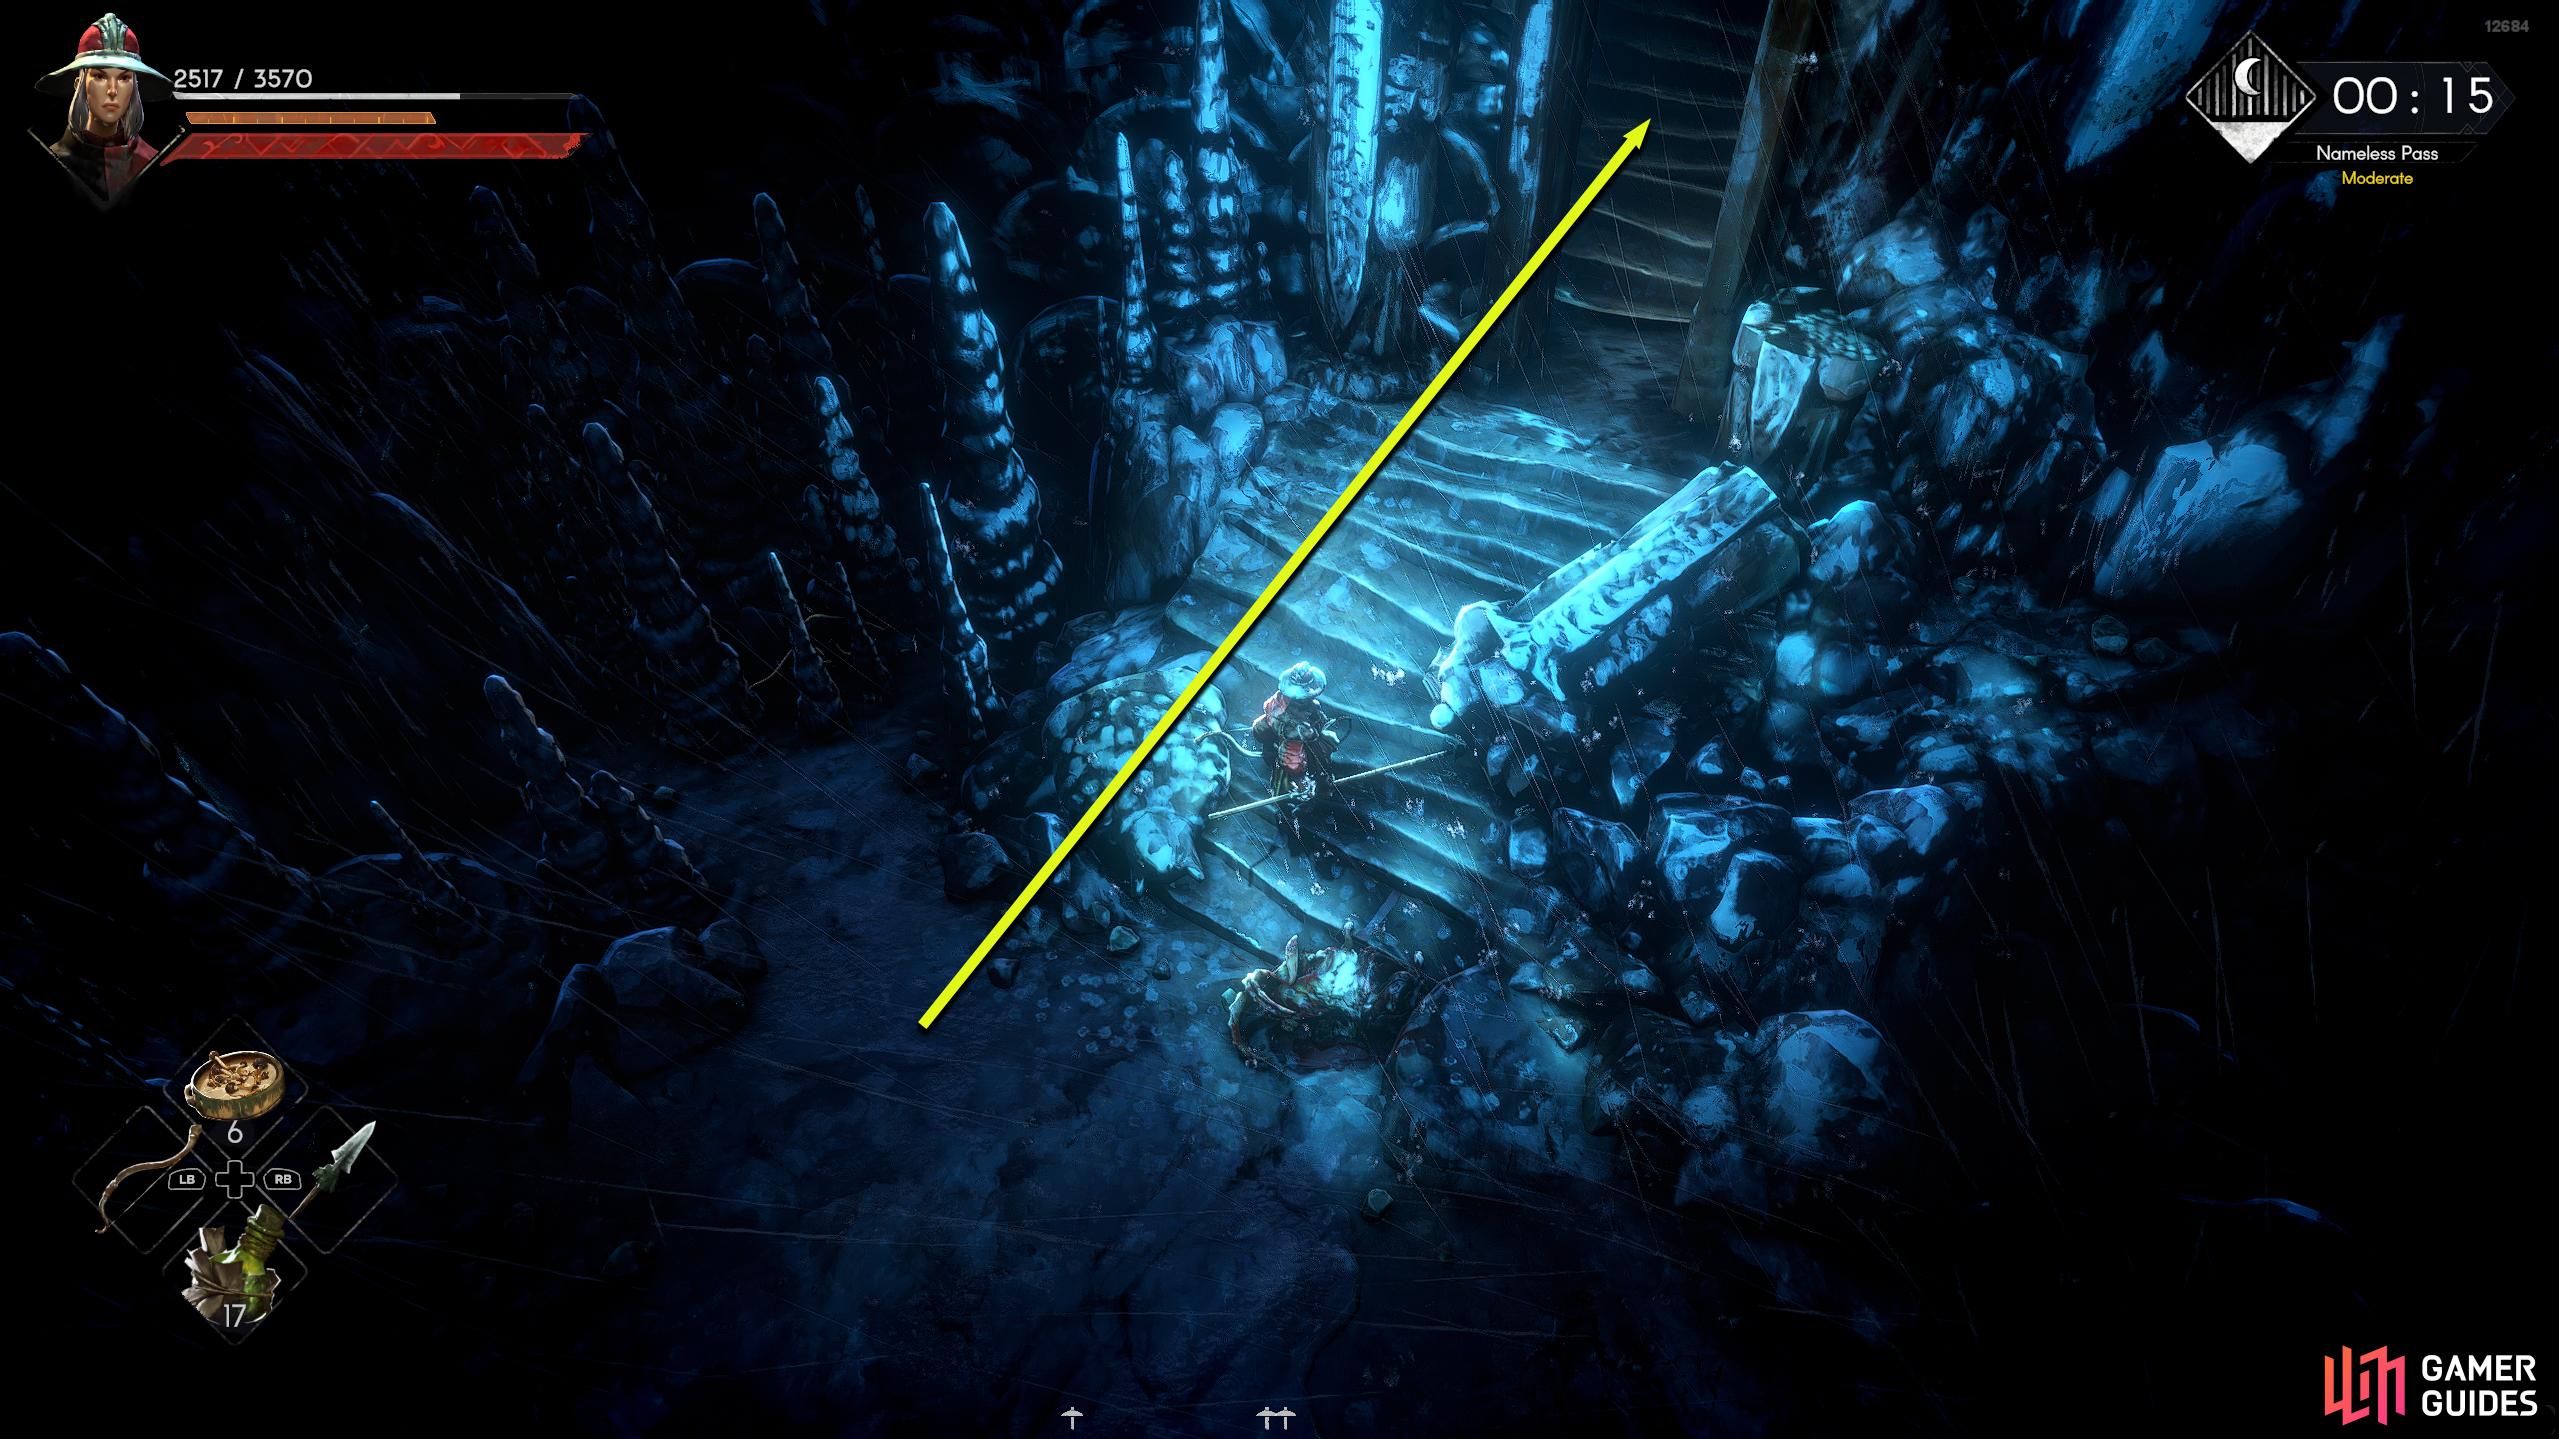
Back to the Nameless Pass, you can reach the area by exiting Sacrament from the exit in the northeast. To reach this area, make your way north and go the same way you would to reach the Rookery. When you get to the bridge that leads to there, head east instead, go up the path, and exit through the gate in the east by going across the bridge out of town. Immediately after leaving Sacrament, you’ll find a Whisper in the cave to your north just after you leave the bridge, enter the cave and touch the Whisper, so that you end up here if you die, and believe me, you will die.
Head east from the Whisper, and you’ll soon meet your first enemy of the area. If it’s the same for you as it was with us, you’ll fight a hunter-type enemy with a one-handed sword. The easiest way to deal with these is to block their attack, and then attack them a couple of times. However, if they roll away from you, they will unleash a few projectiles in your direction, so be sure to roll out of the way when you see them.
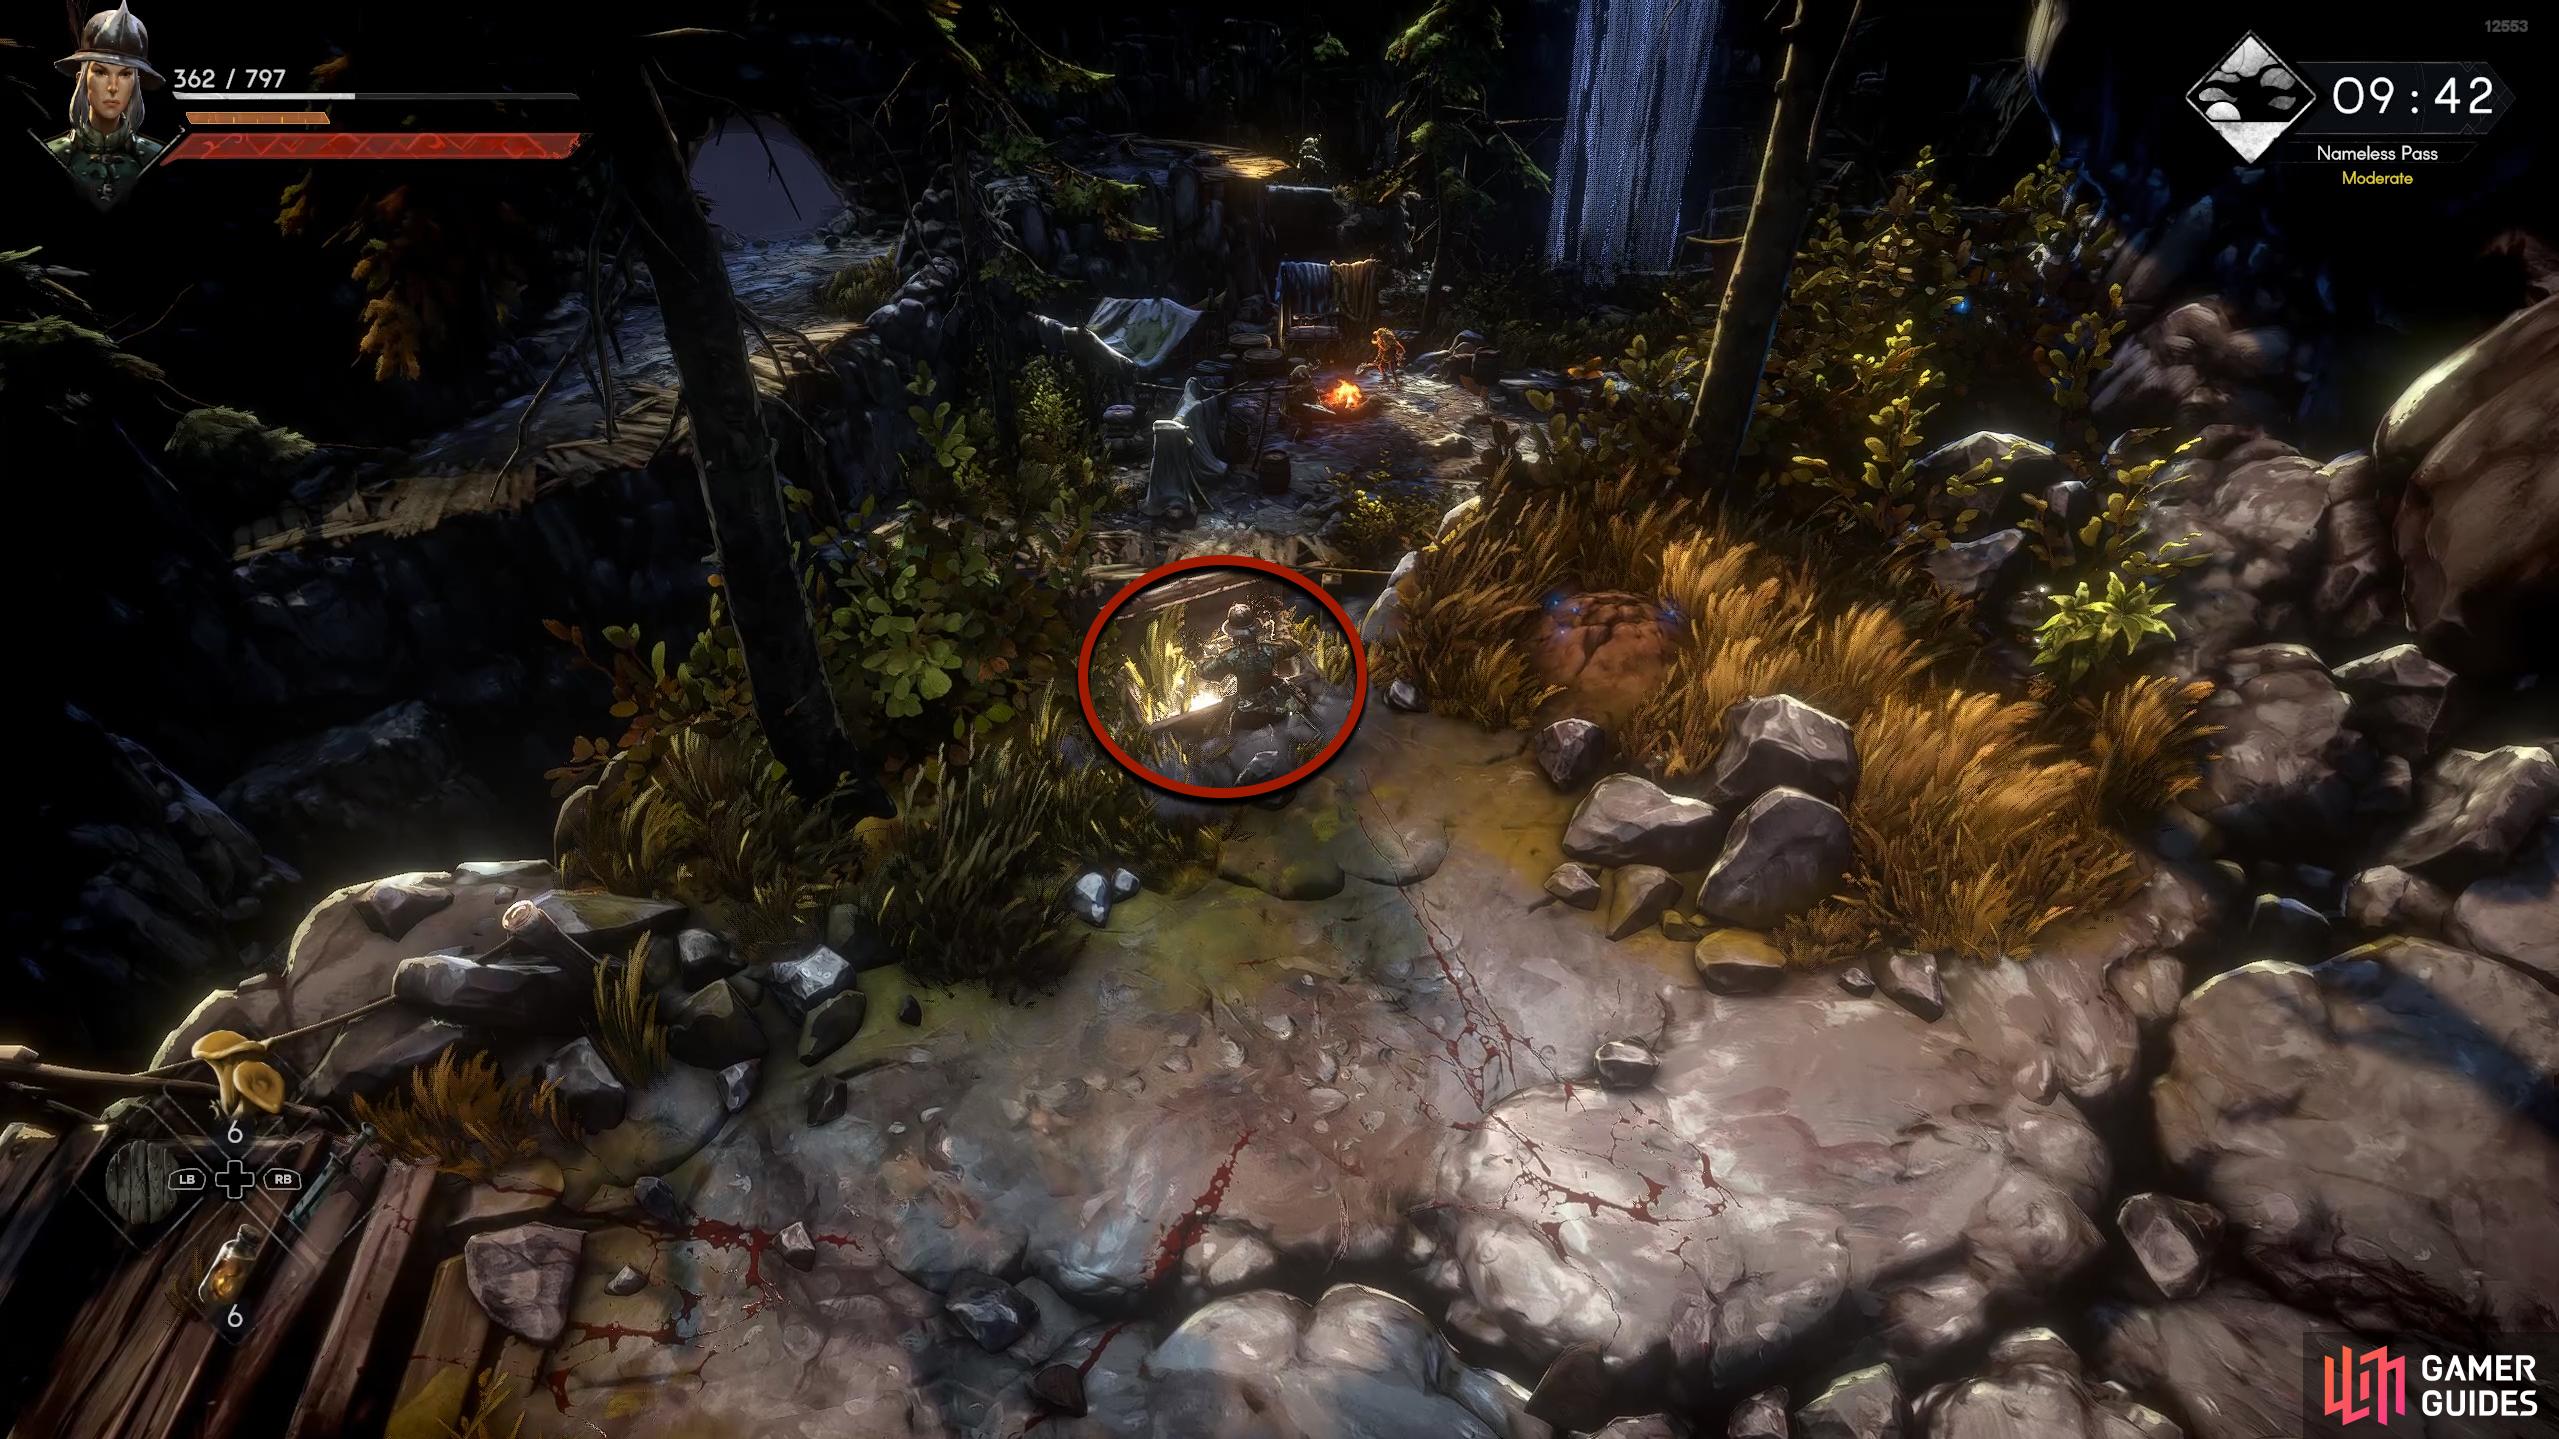
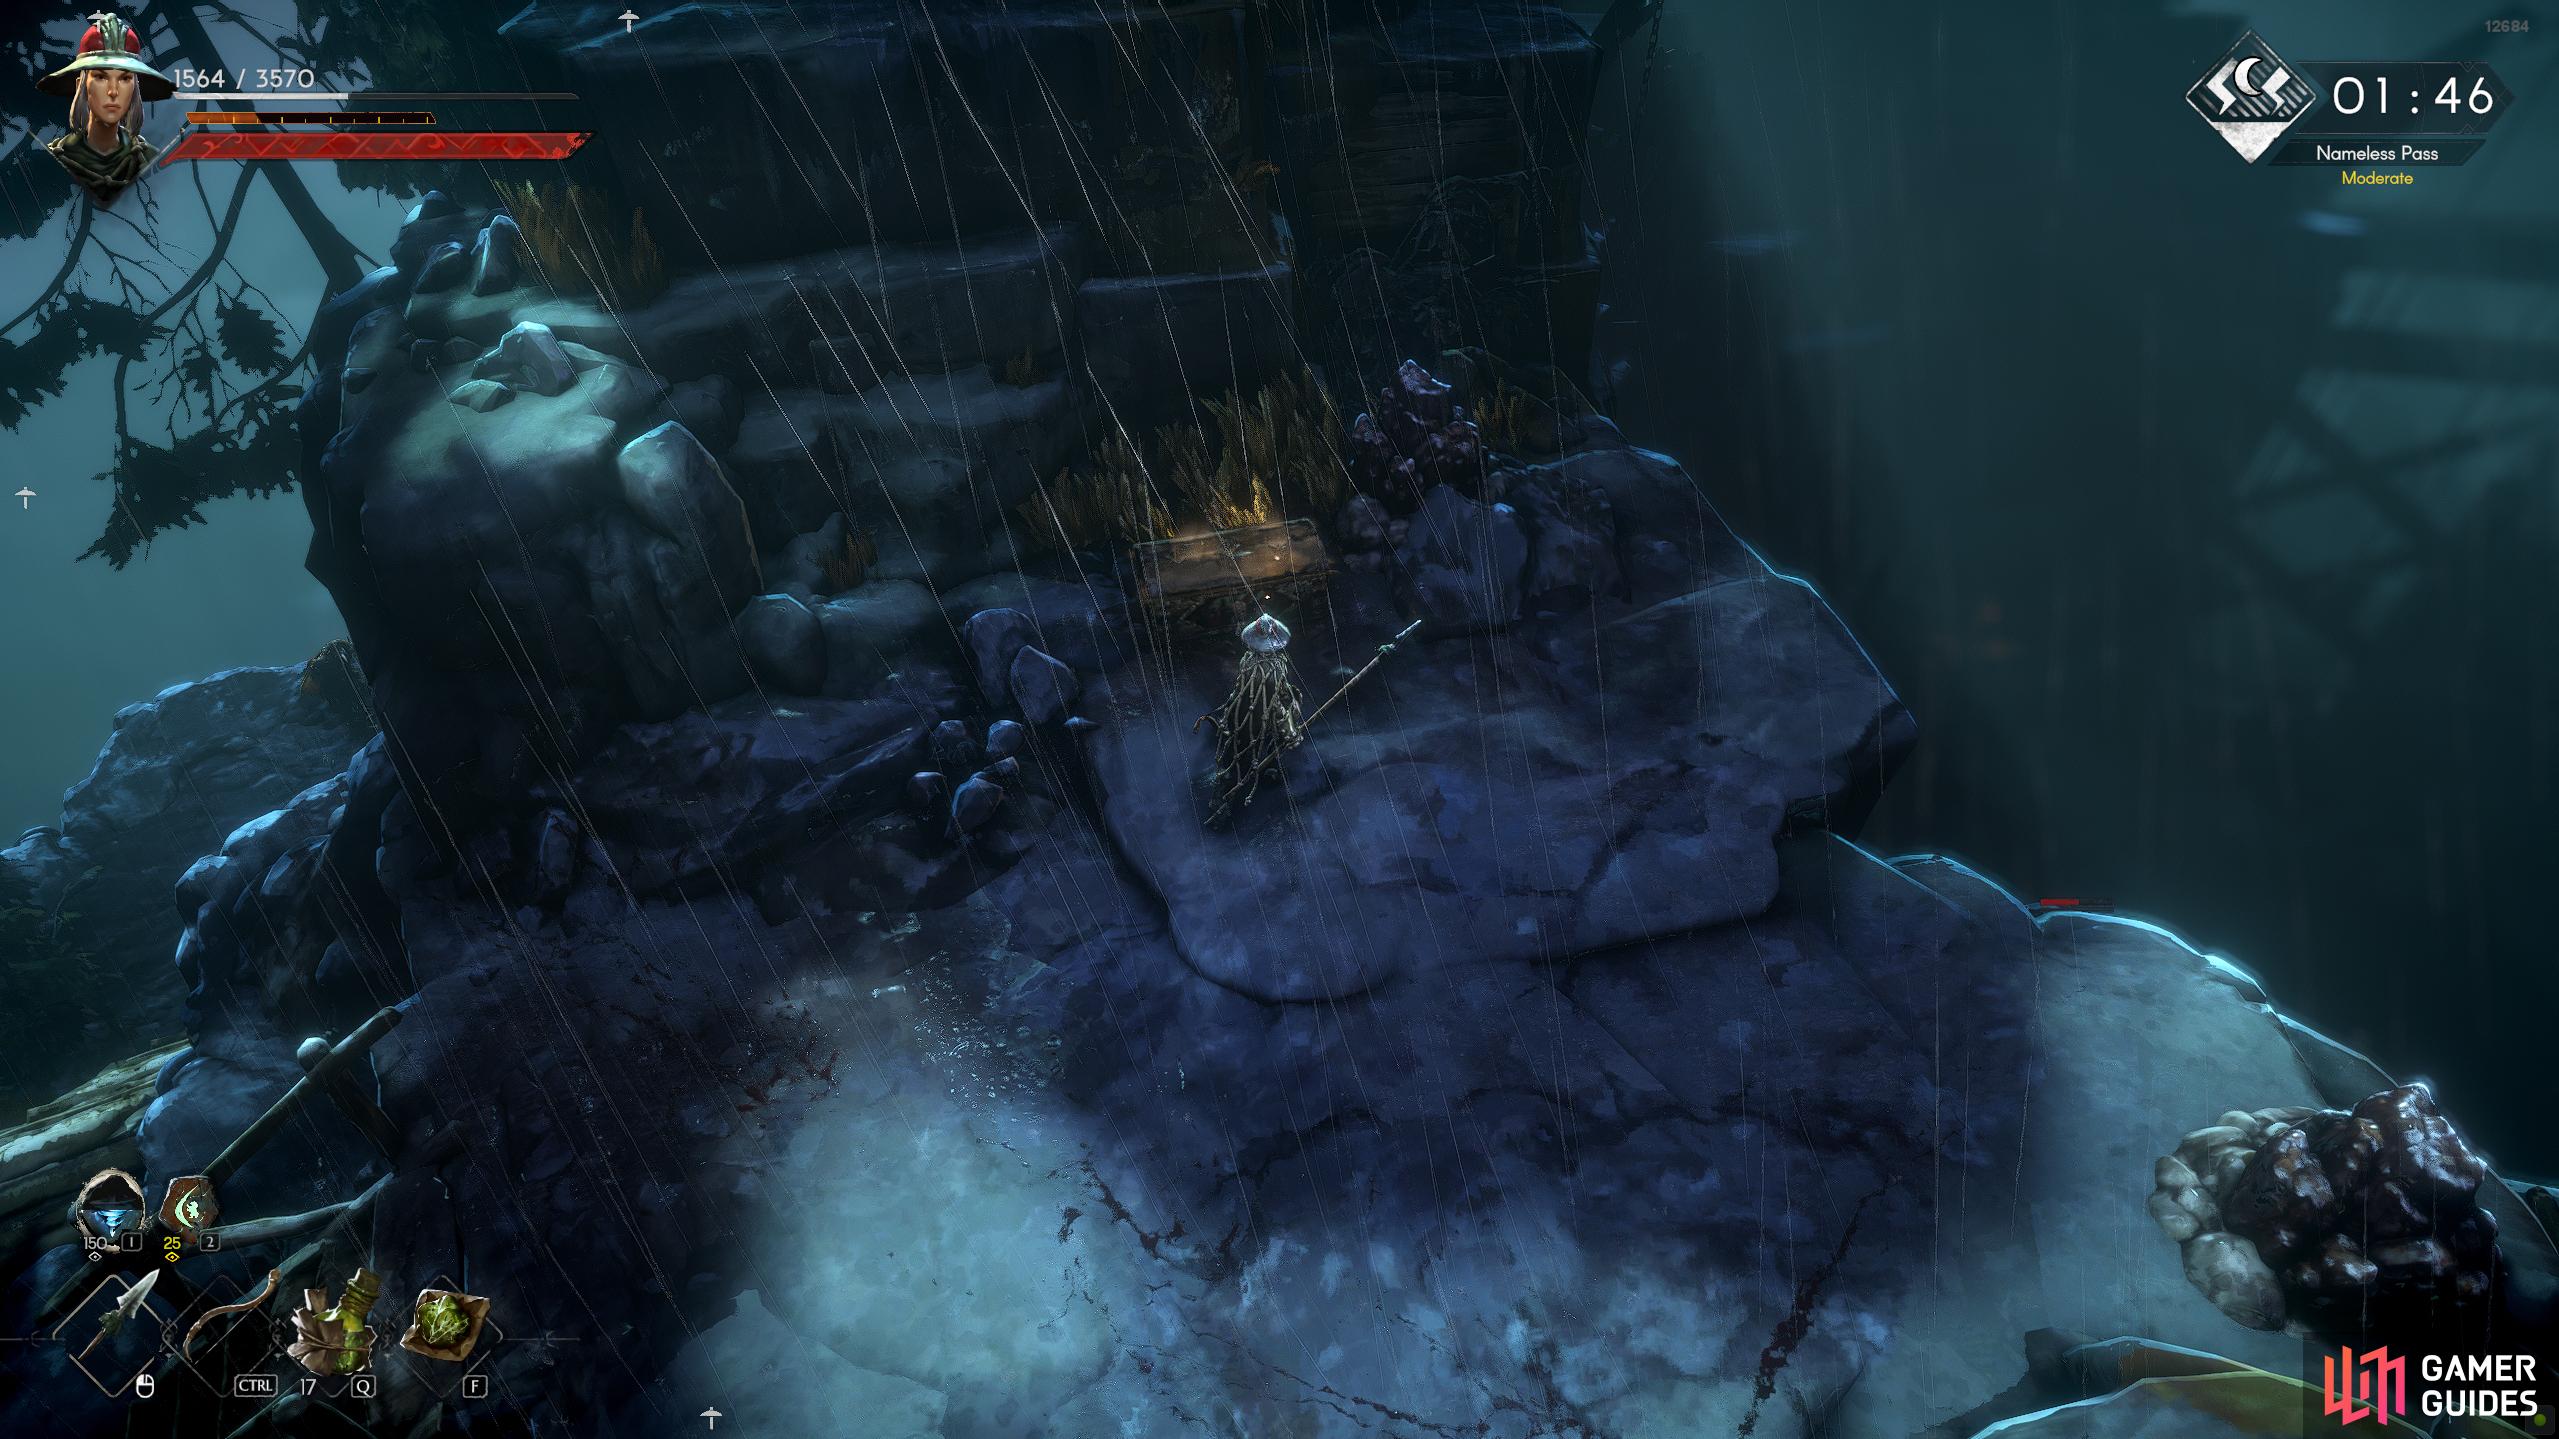
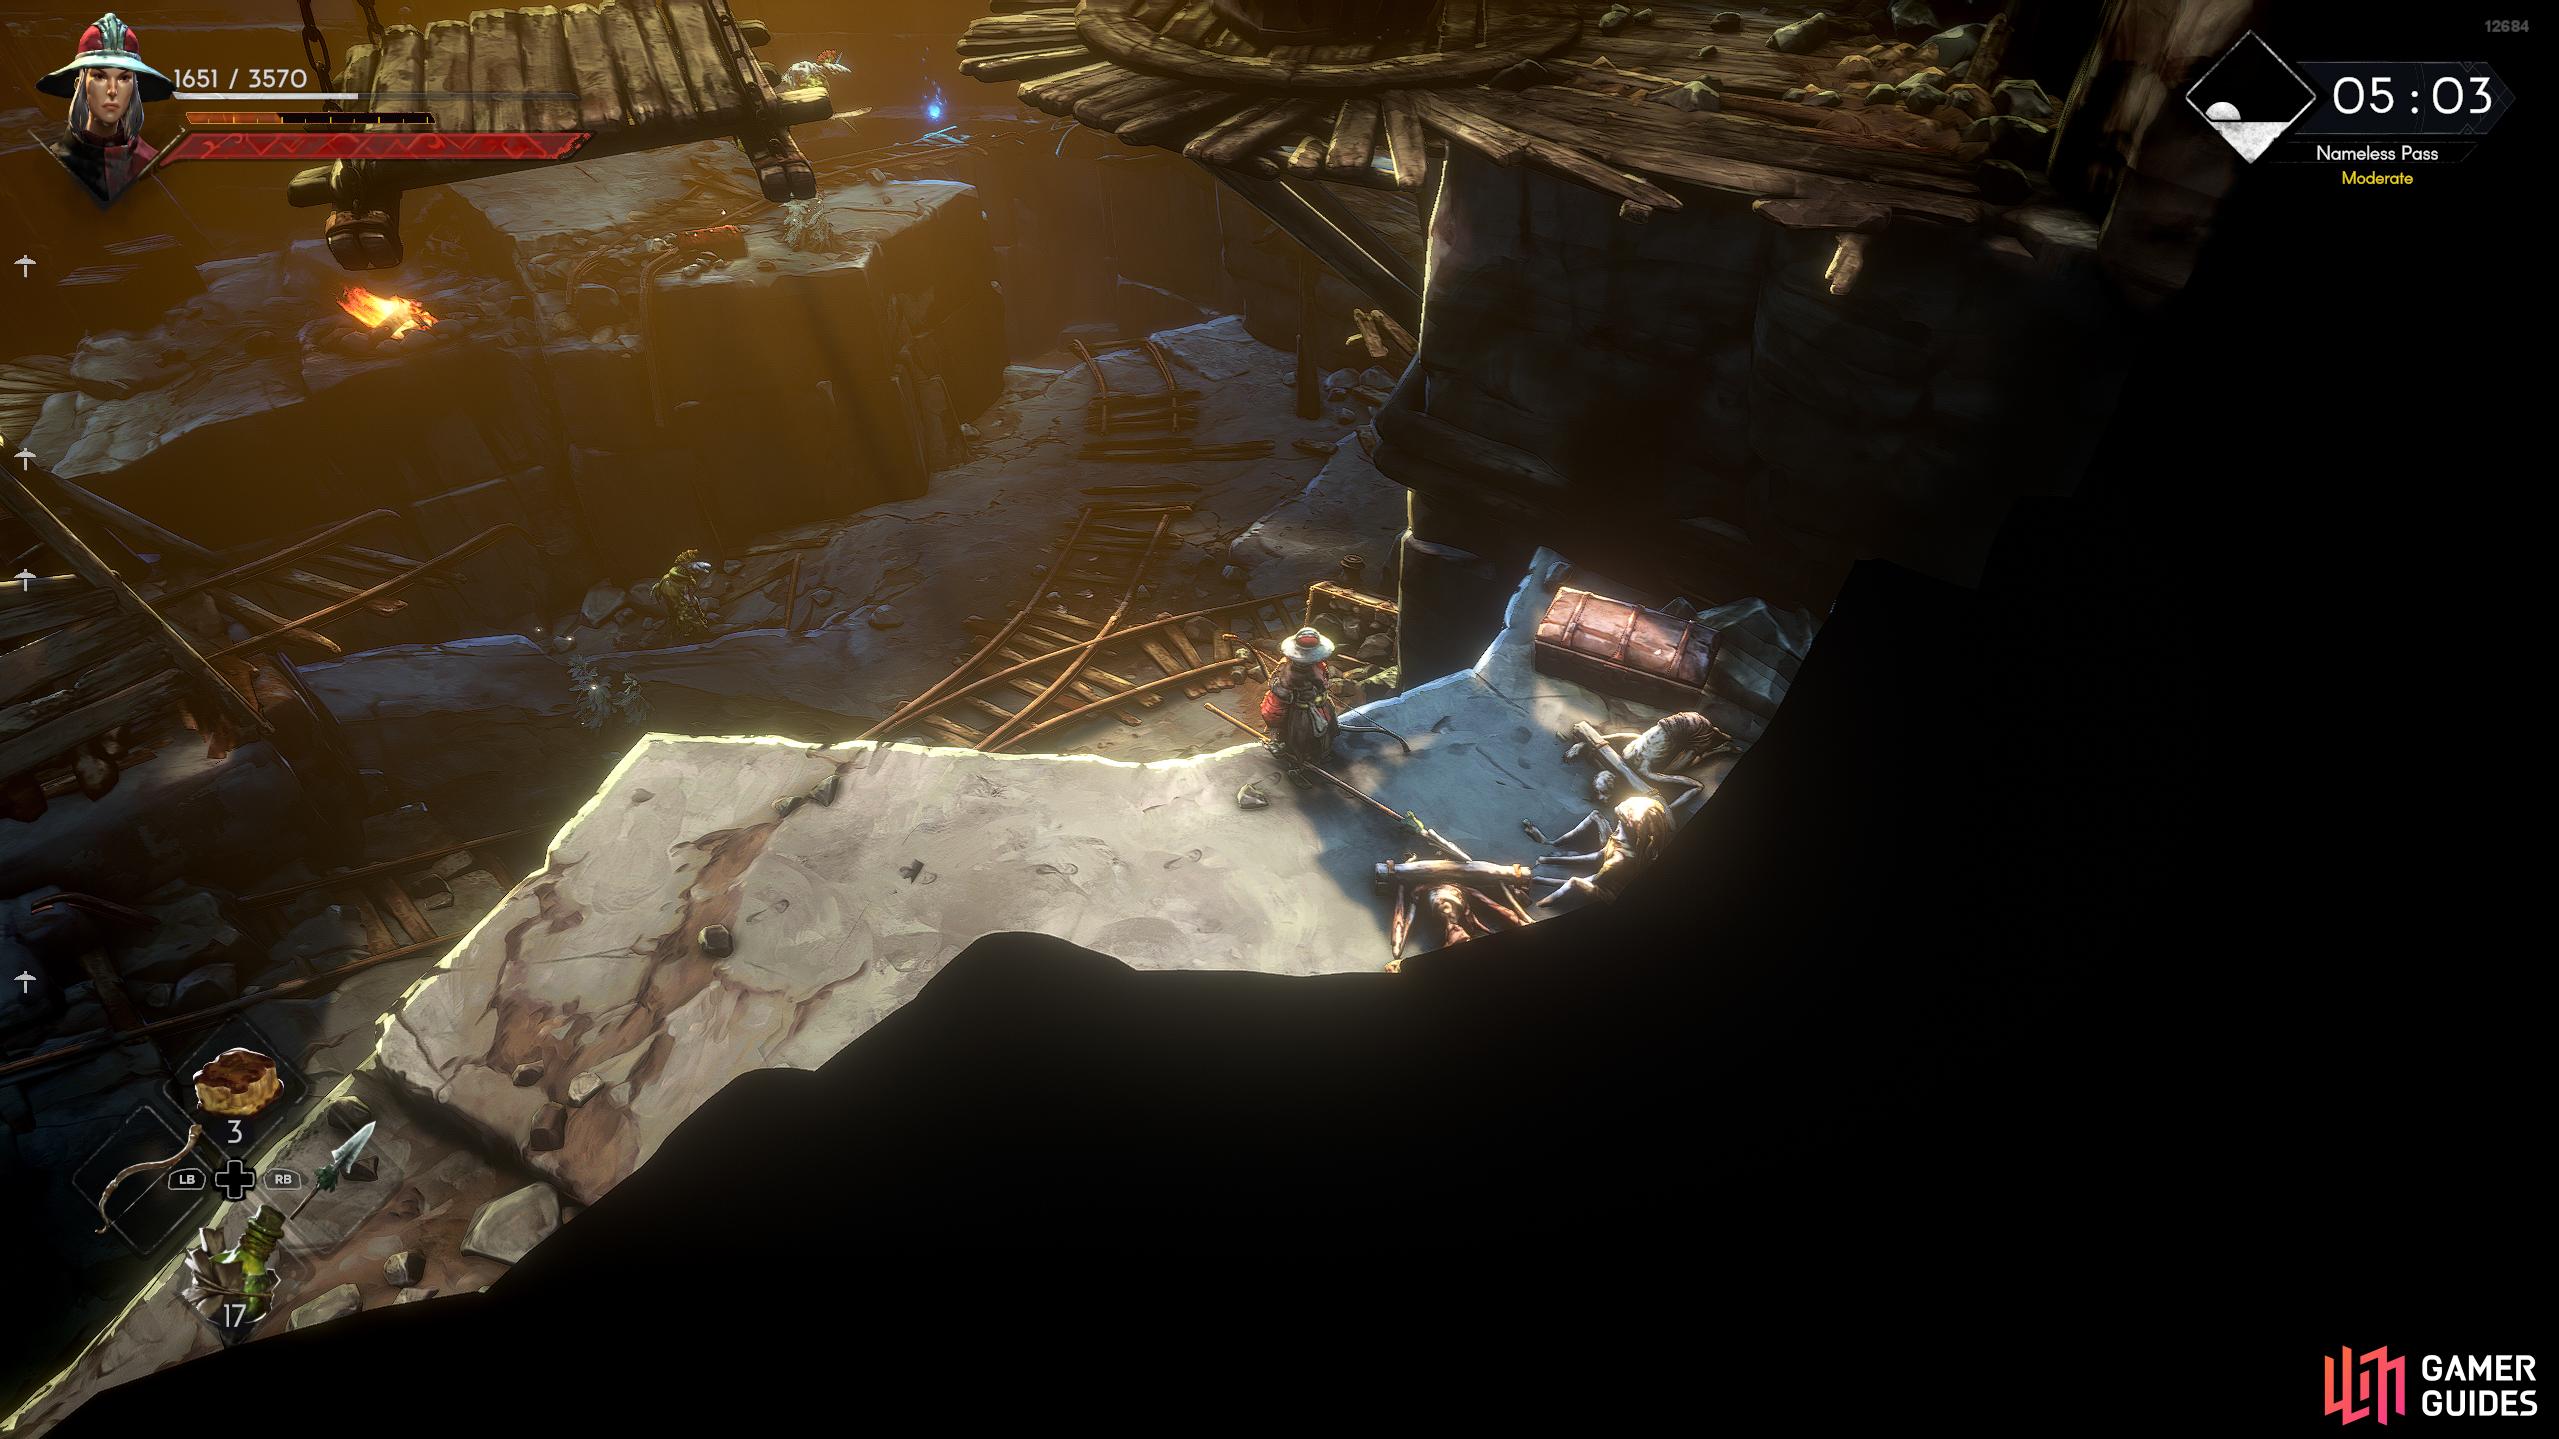
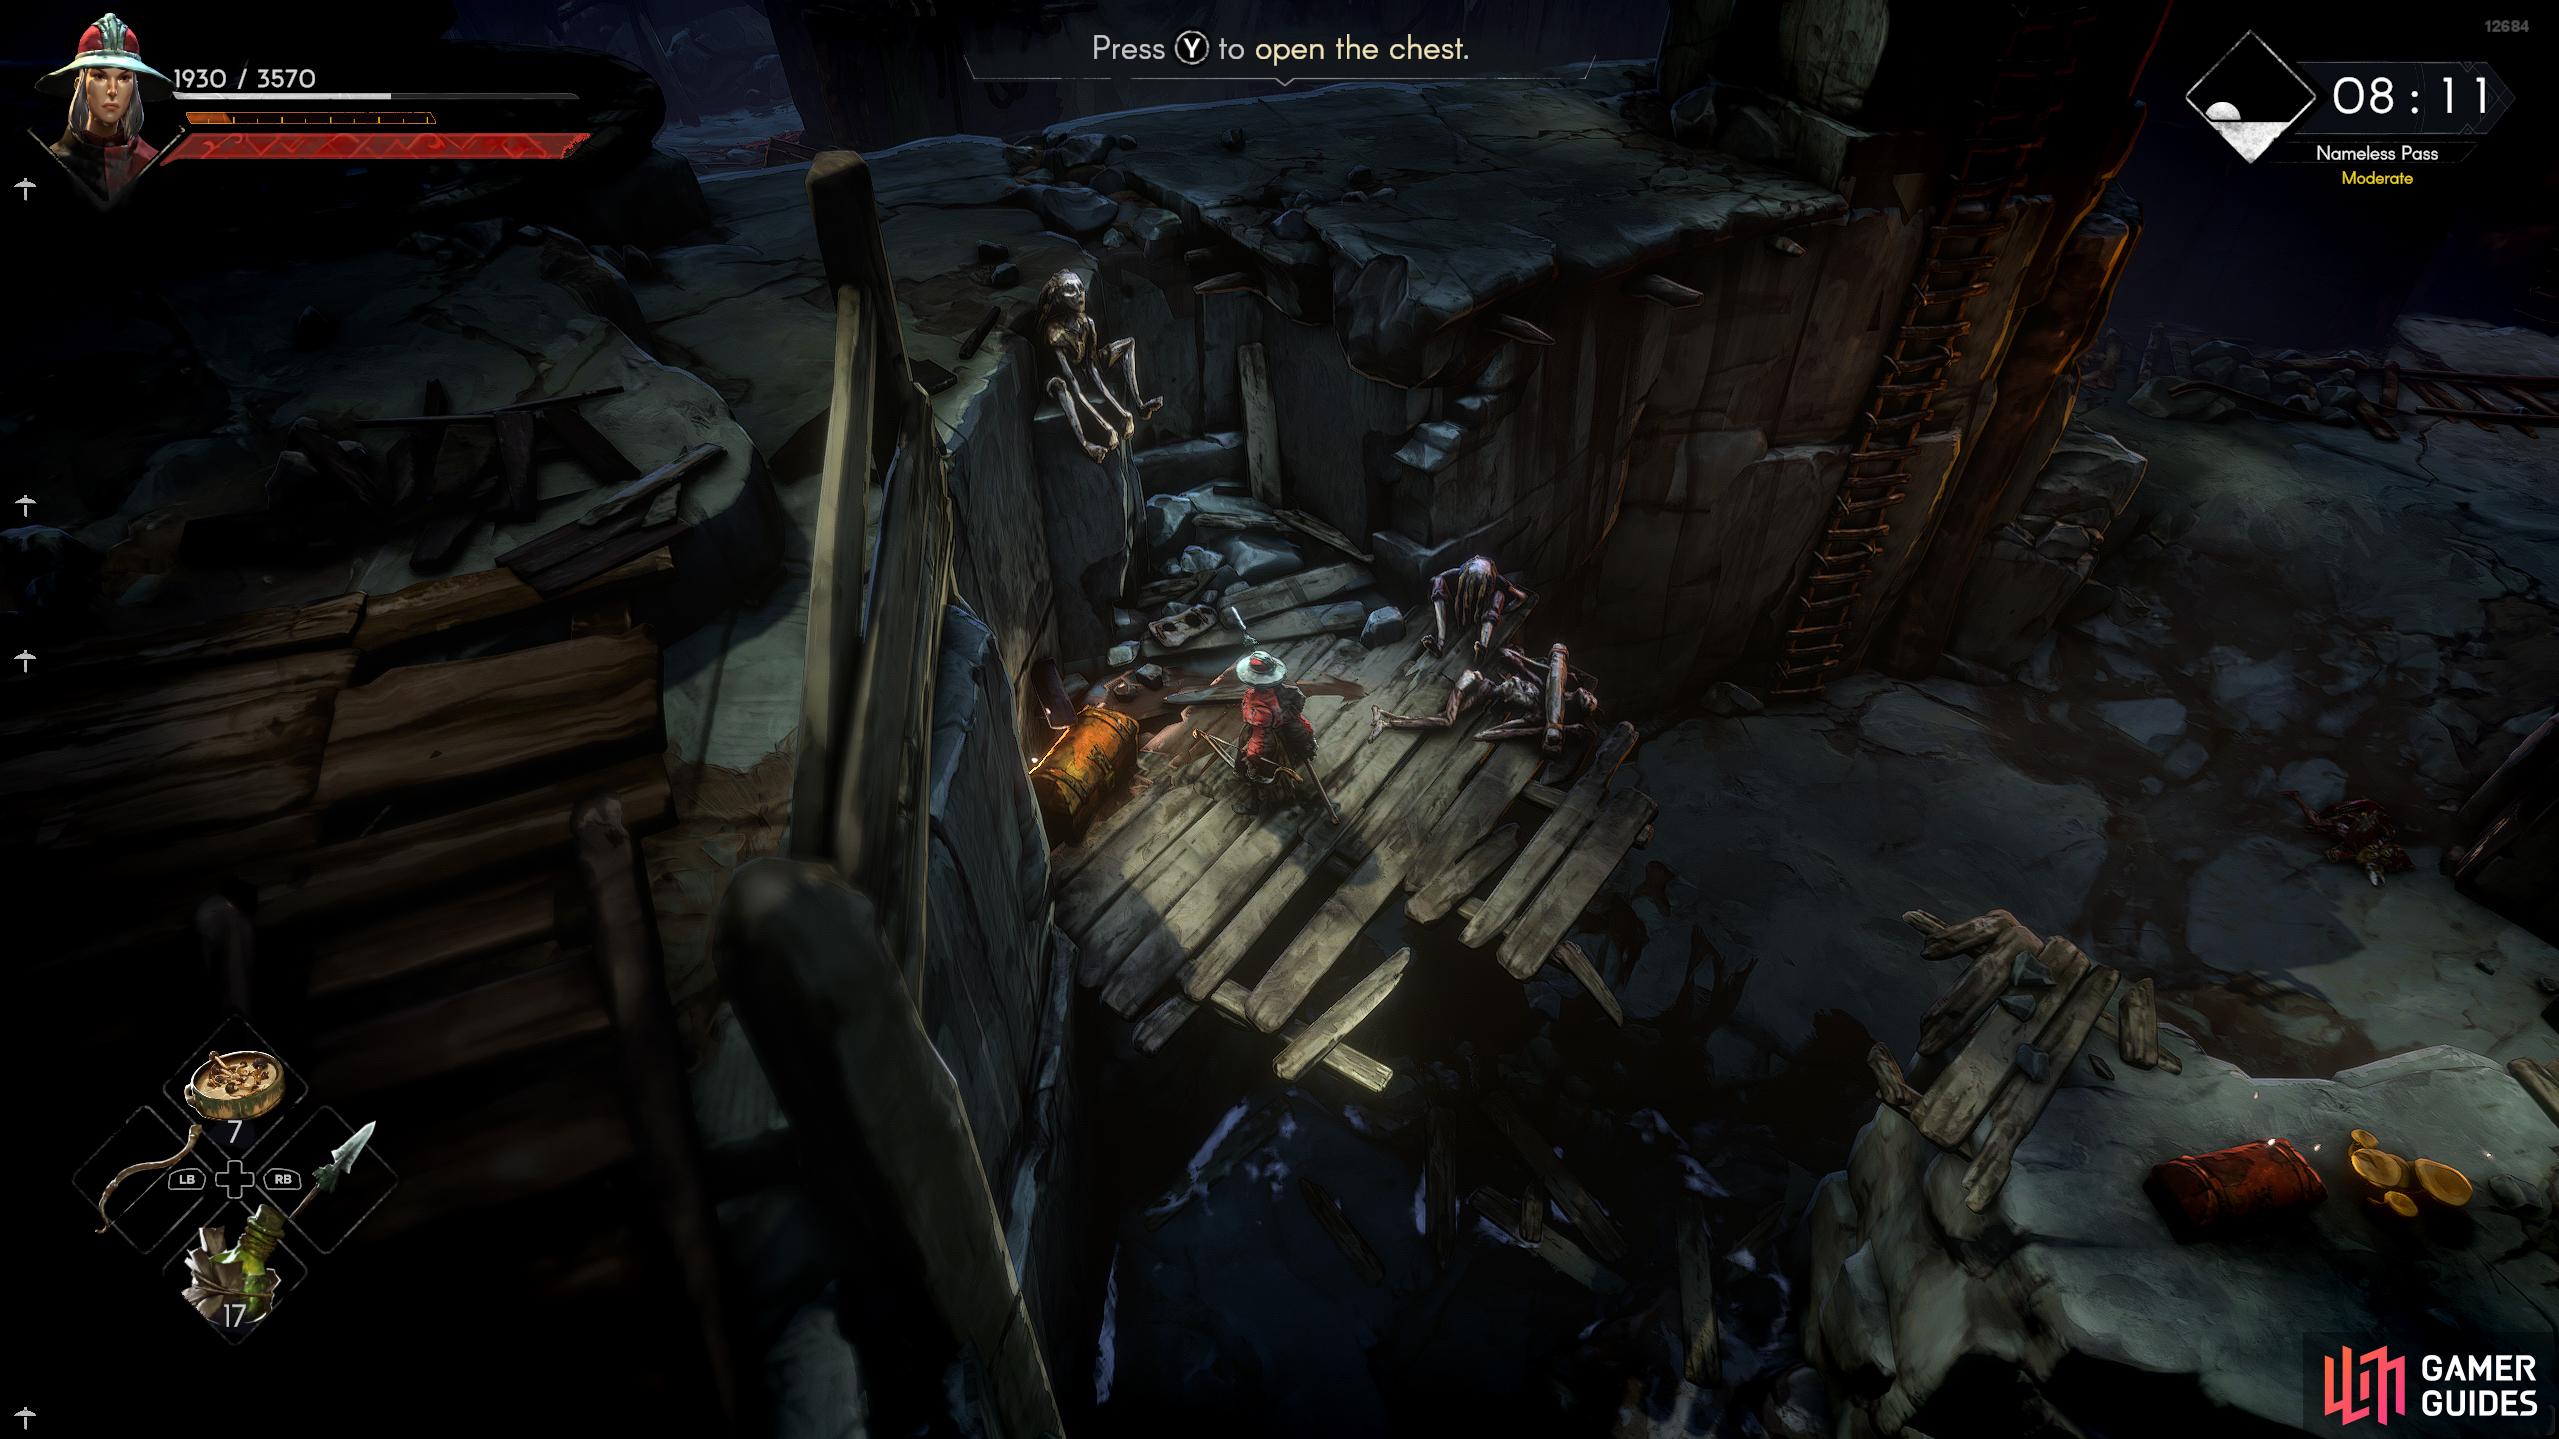
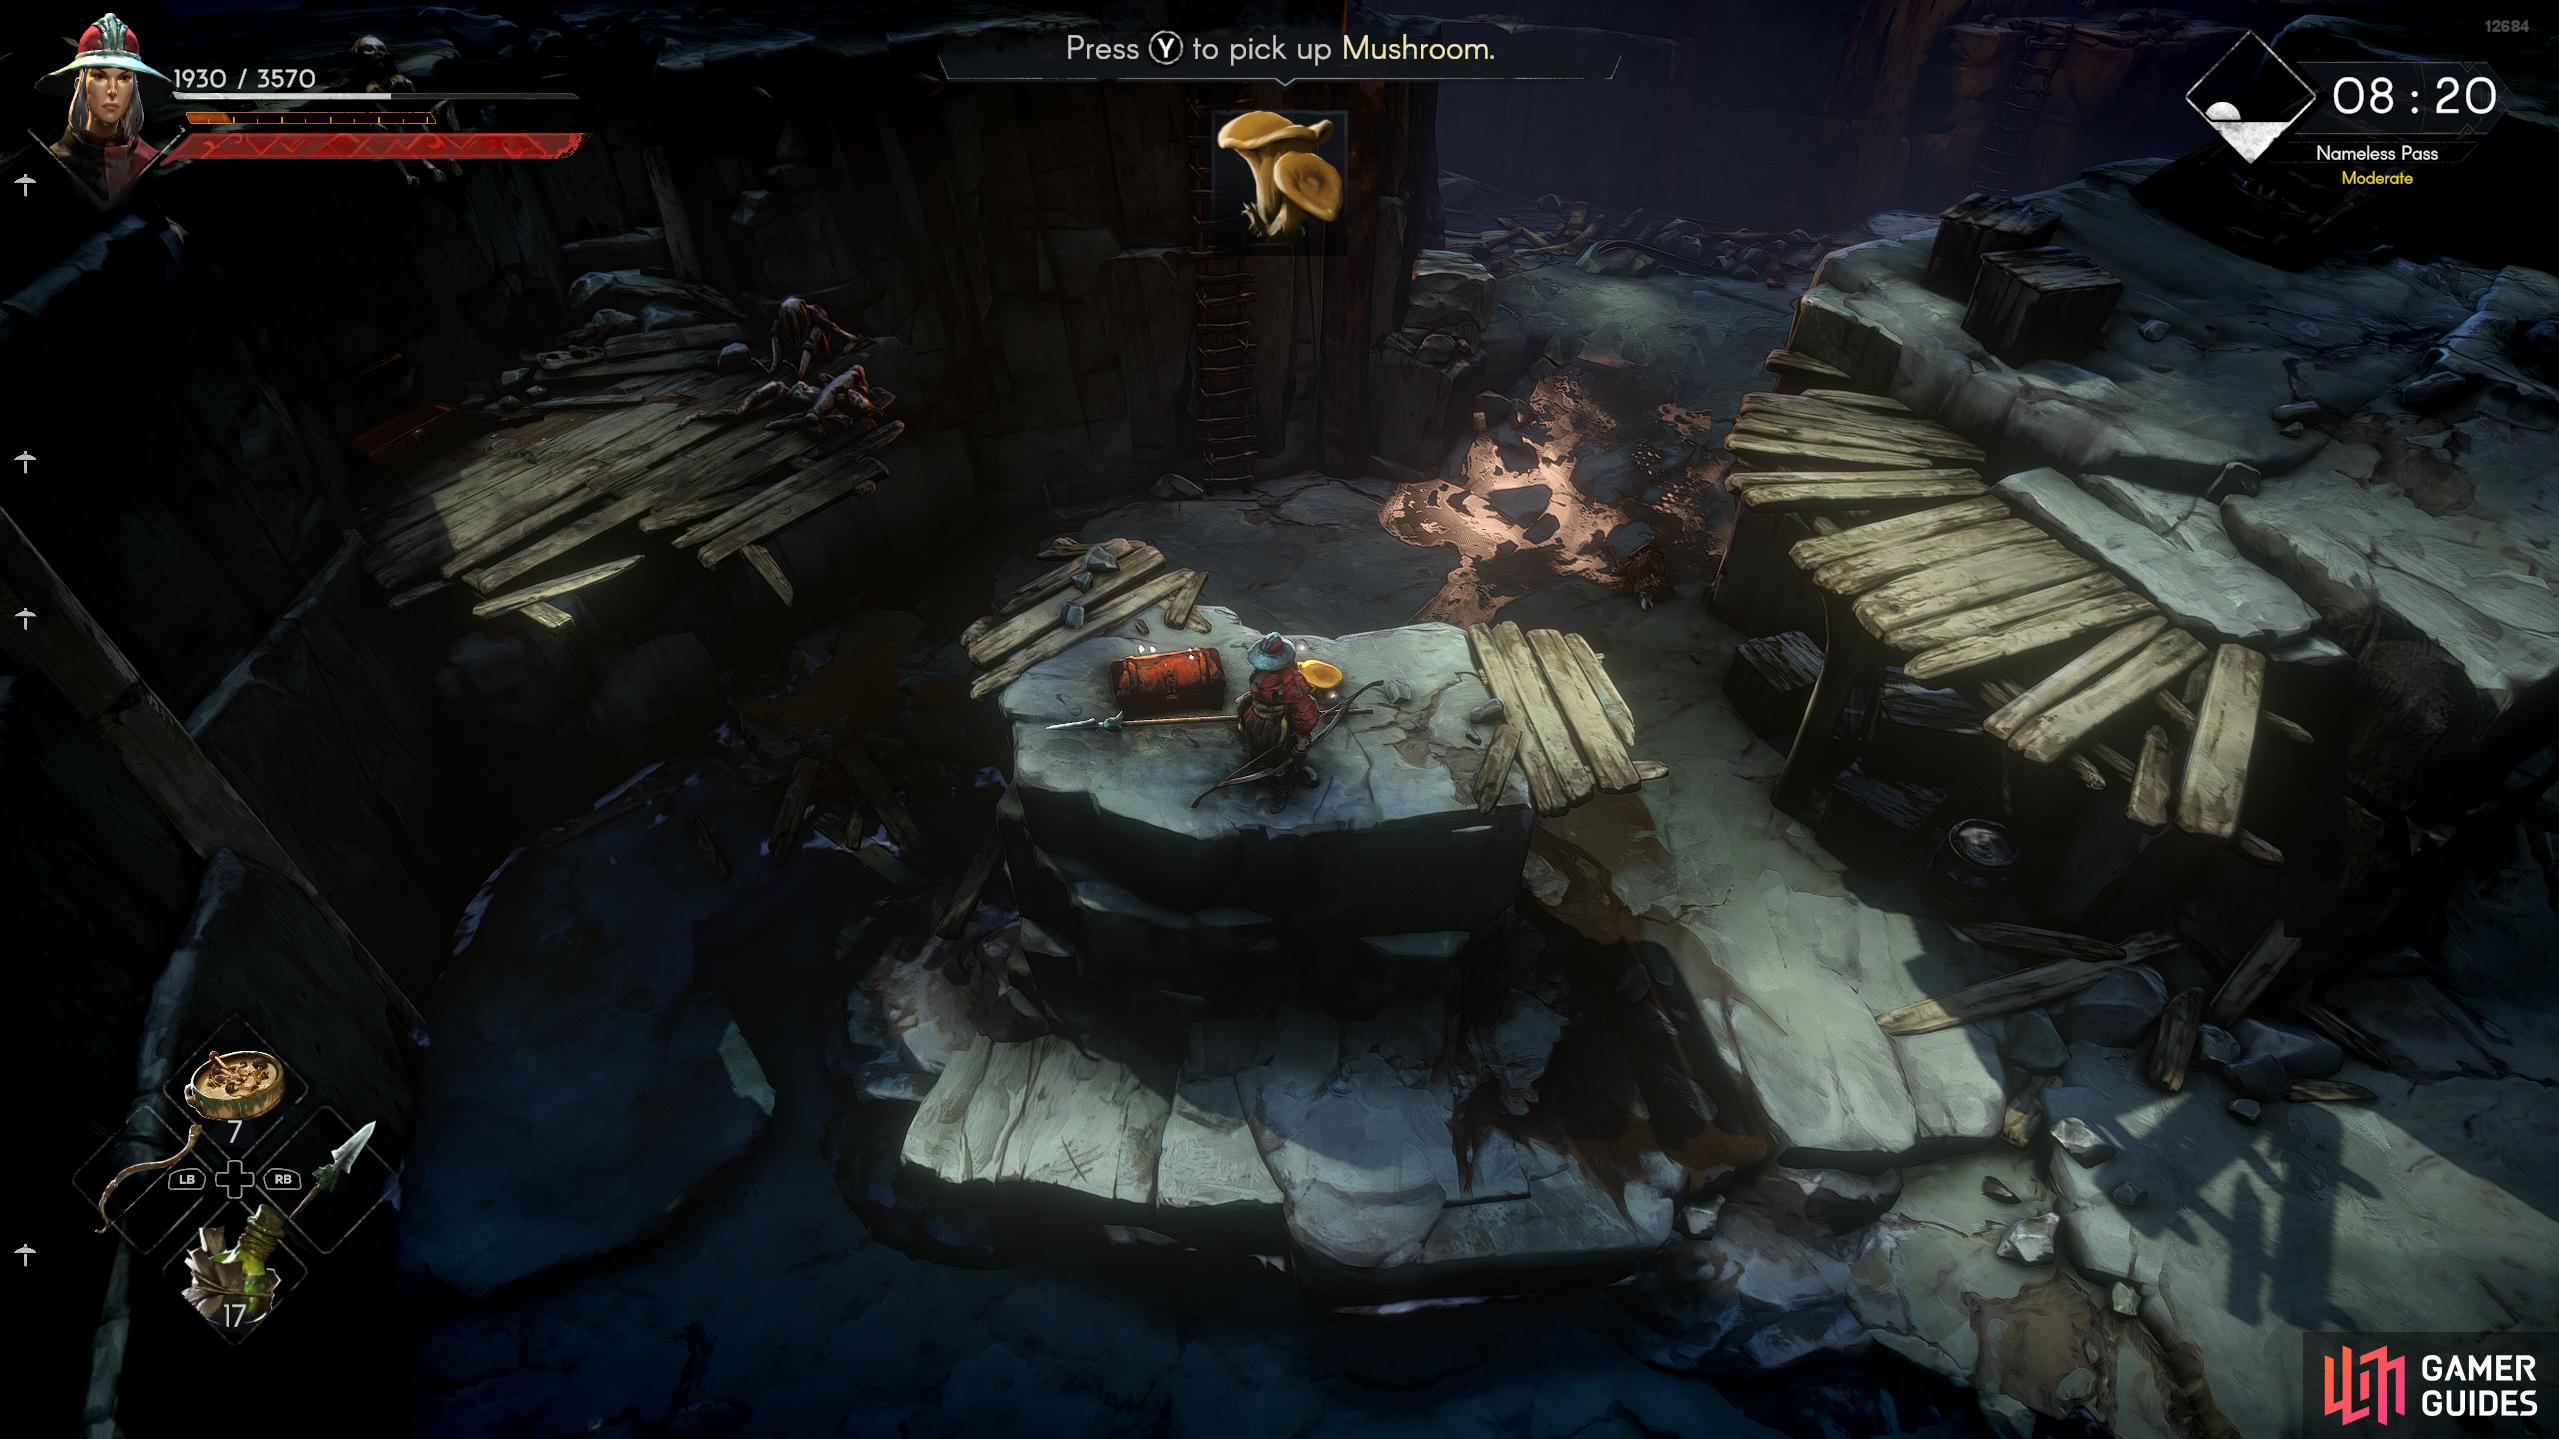
After you defeat the enemy, head south, down the muddy slope in the center of the path to find a few resources (spruce trees, and food ingredients) as well as a couple of fishing spots. A chest can spawn to the east of the slope just past the archway. Open it up if it’s there and then head through the archway to your north and follow the path to the end where another chest can spawn. This one can be hard to spot as it’s obscured by the environment, but you’ll find it at the back behind the wooden pole on your right. Head back to the archway and climb back up onto the main path from the slope. Go up the stairs next to the cottage, and then go across the broken bridge by jumping across the gap. On the other side of the bridge, defeat the enemy, and then head across the next bridge to find a chest. To your right, you’ll see what’s obviously a shortcut later, keep this in mind.
(1 of 3) This Whisper is at the entrance to the Nameless Pass.
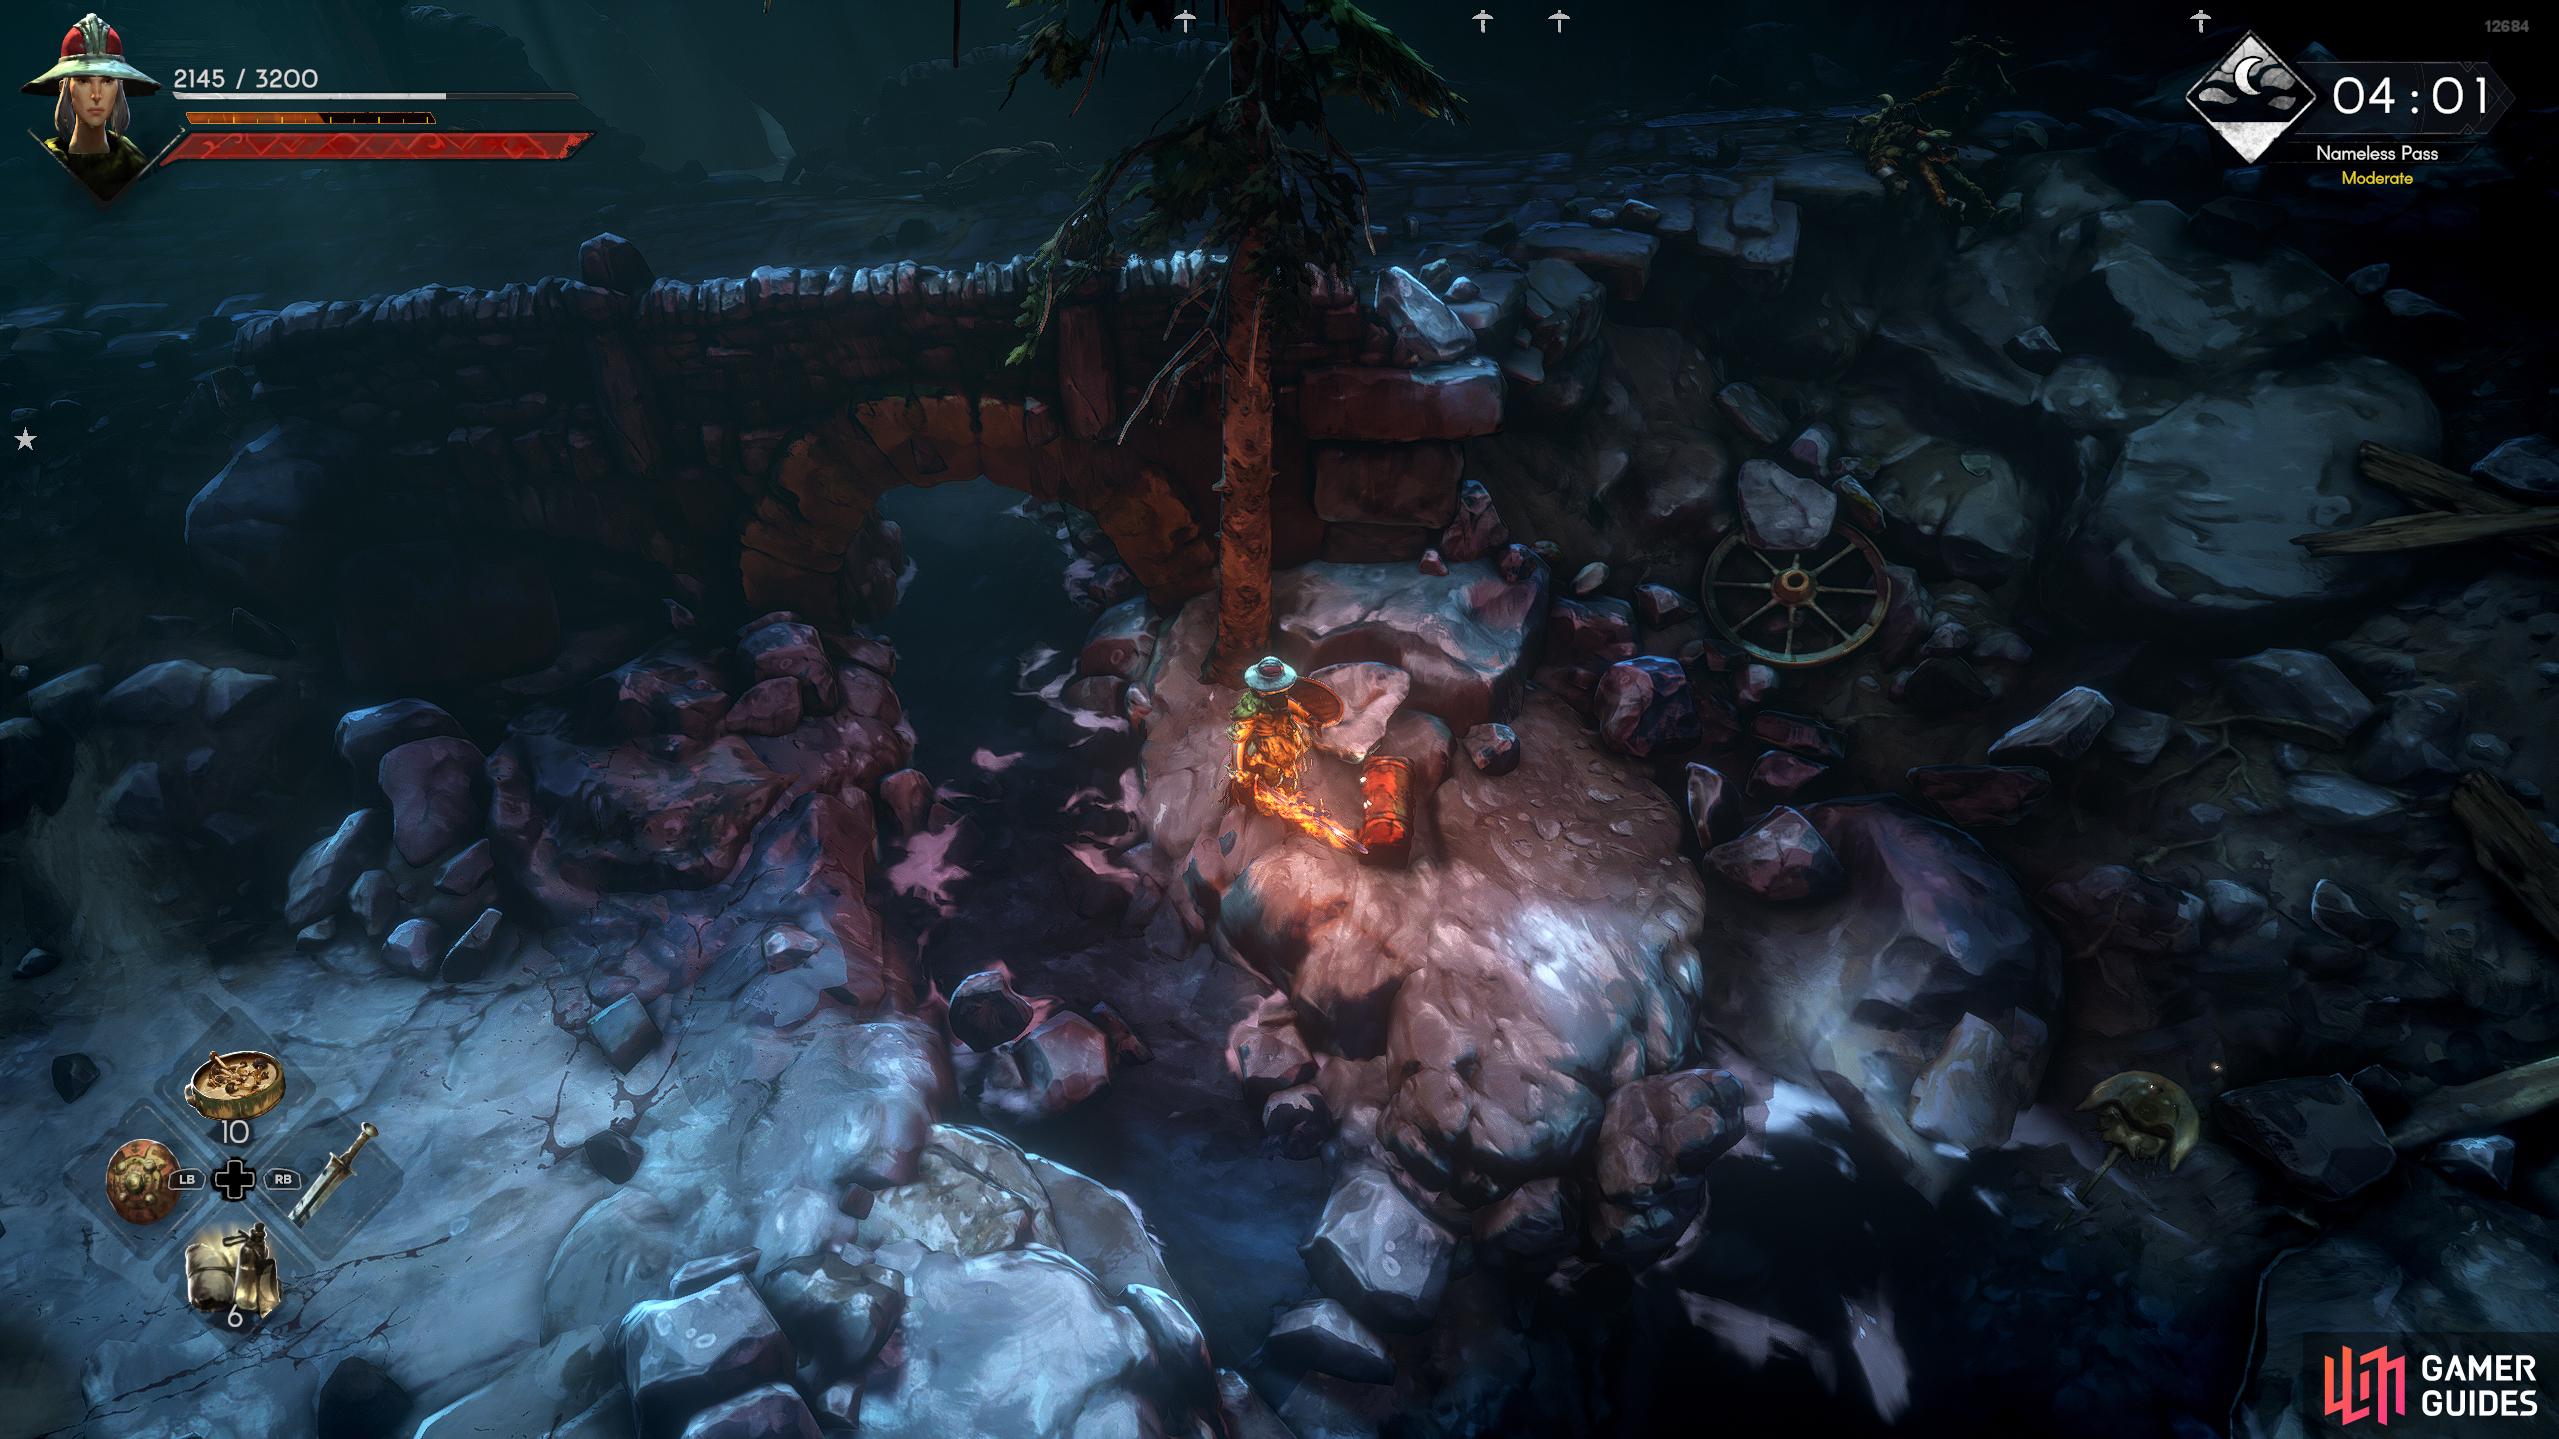
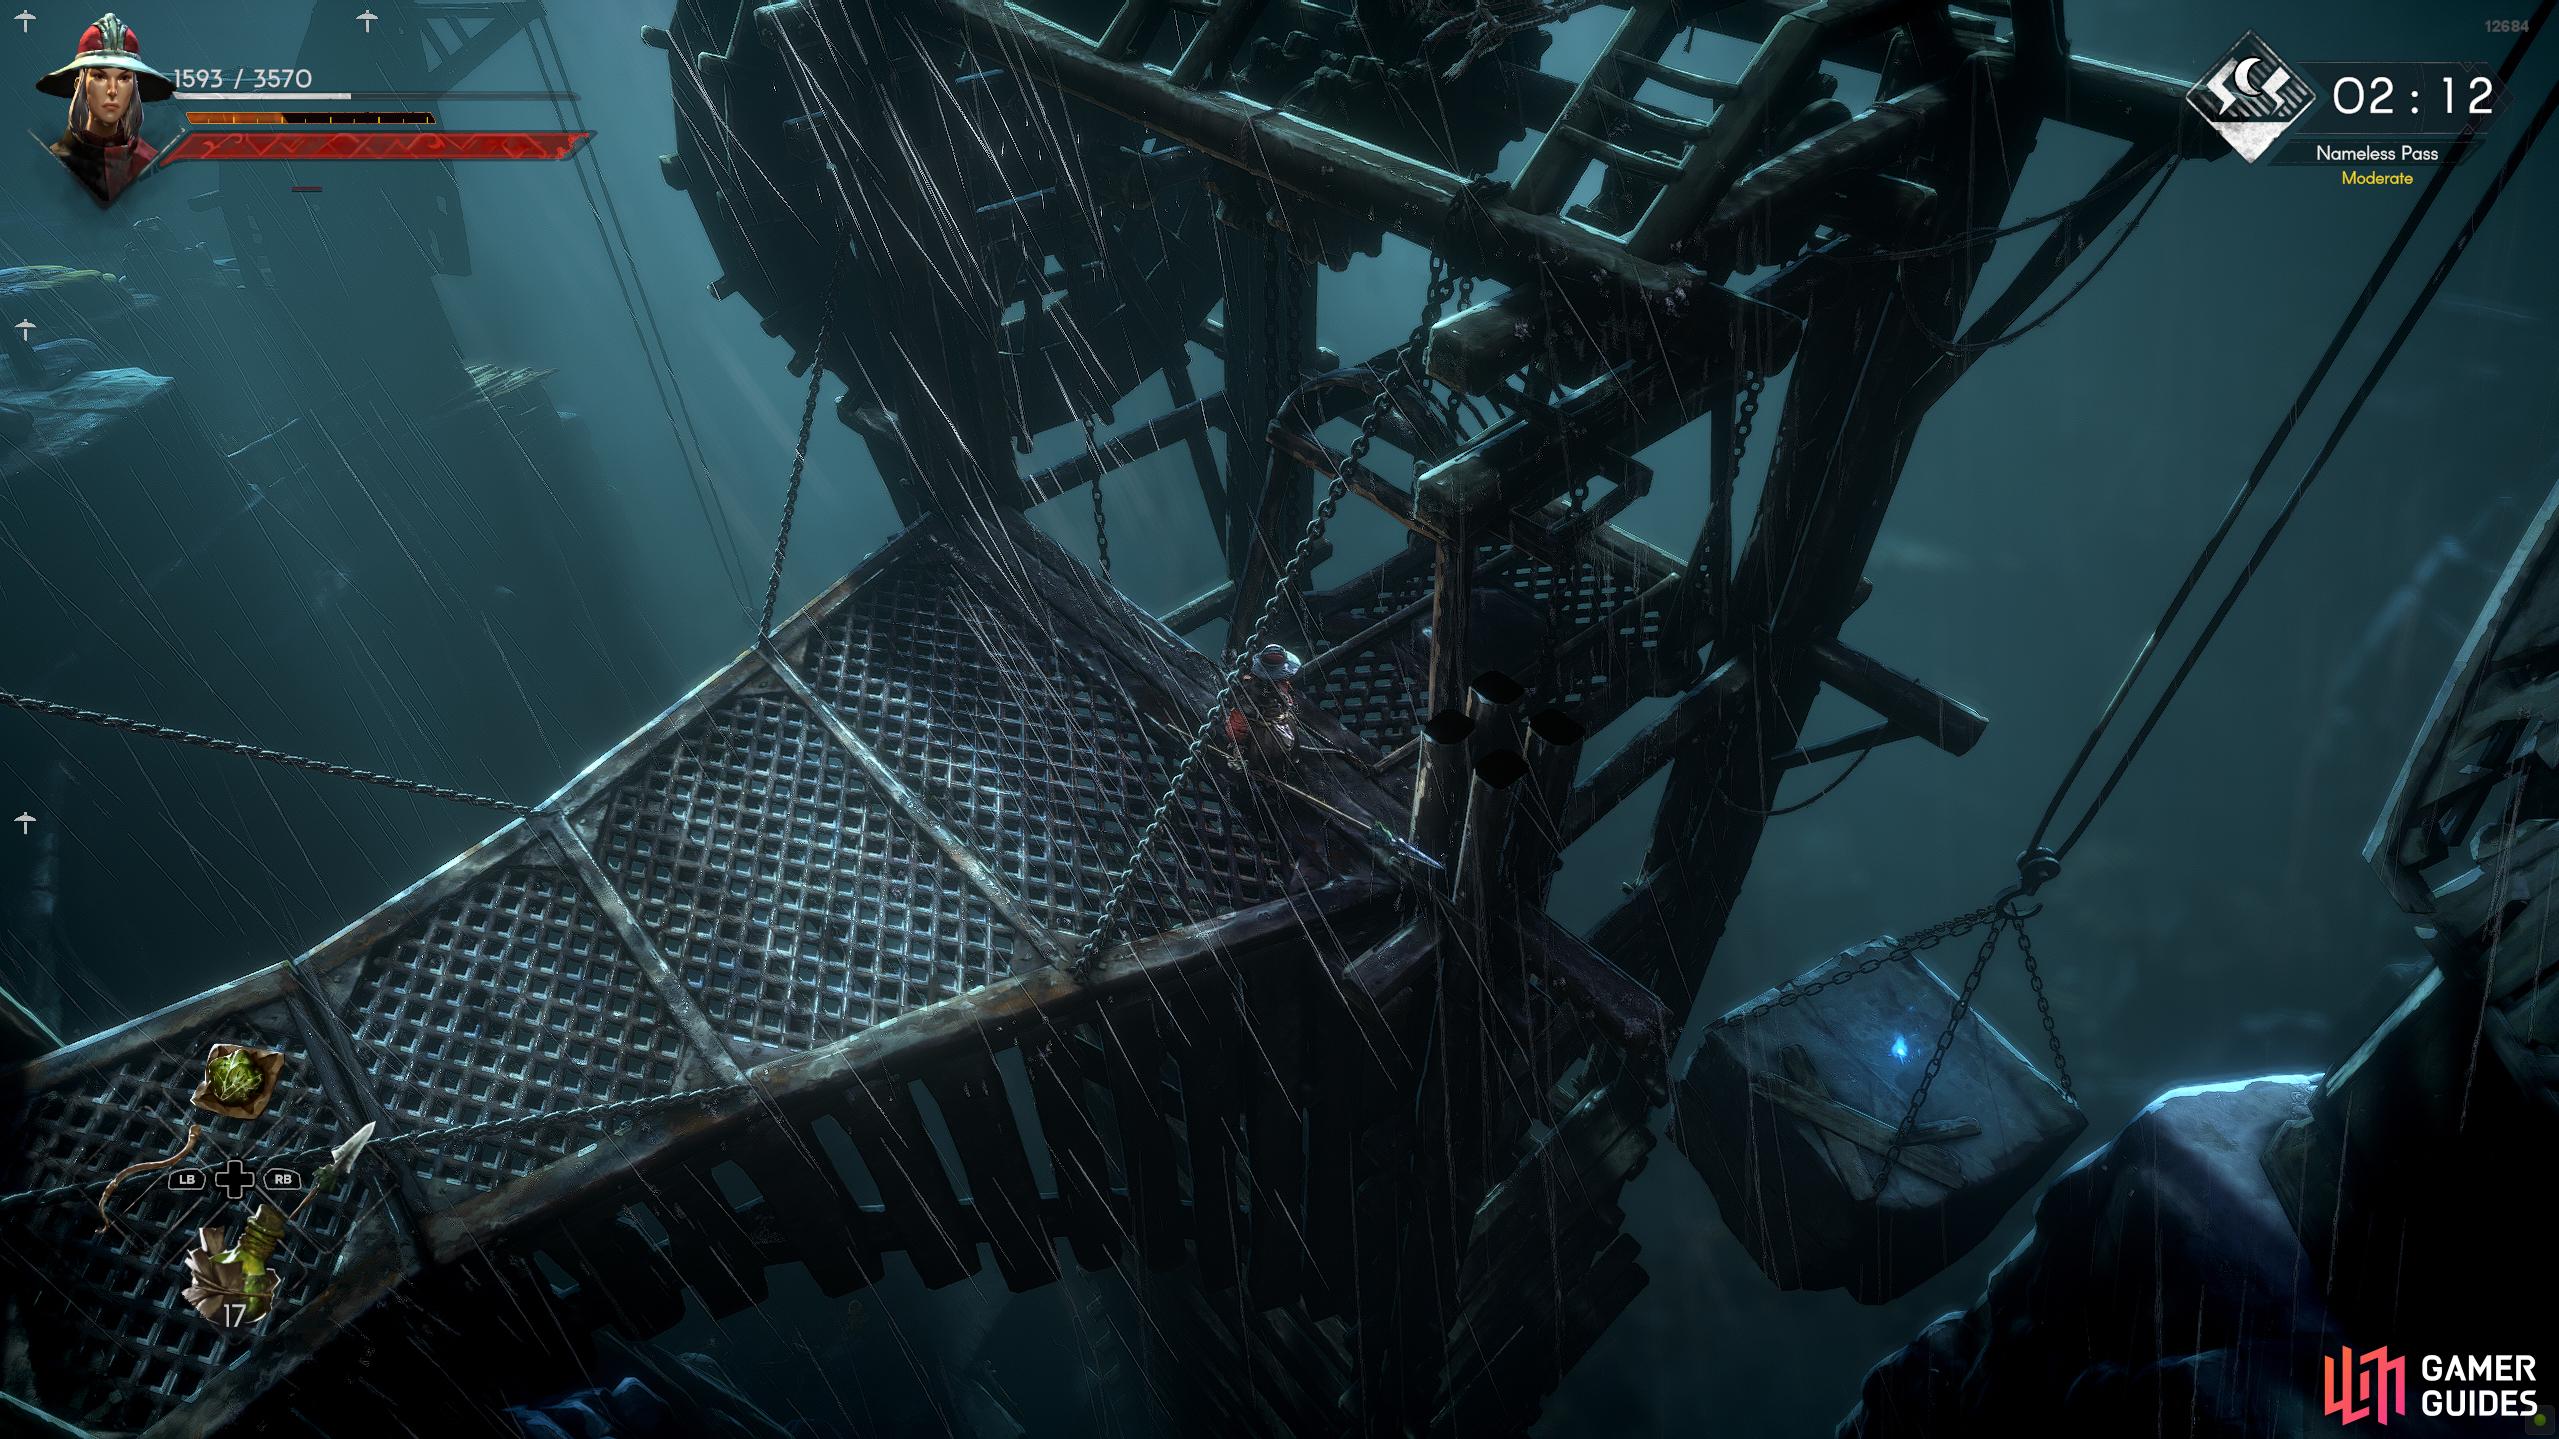
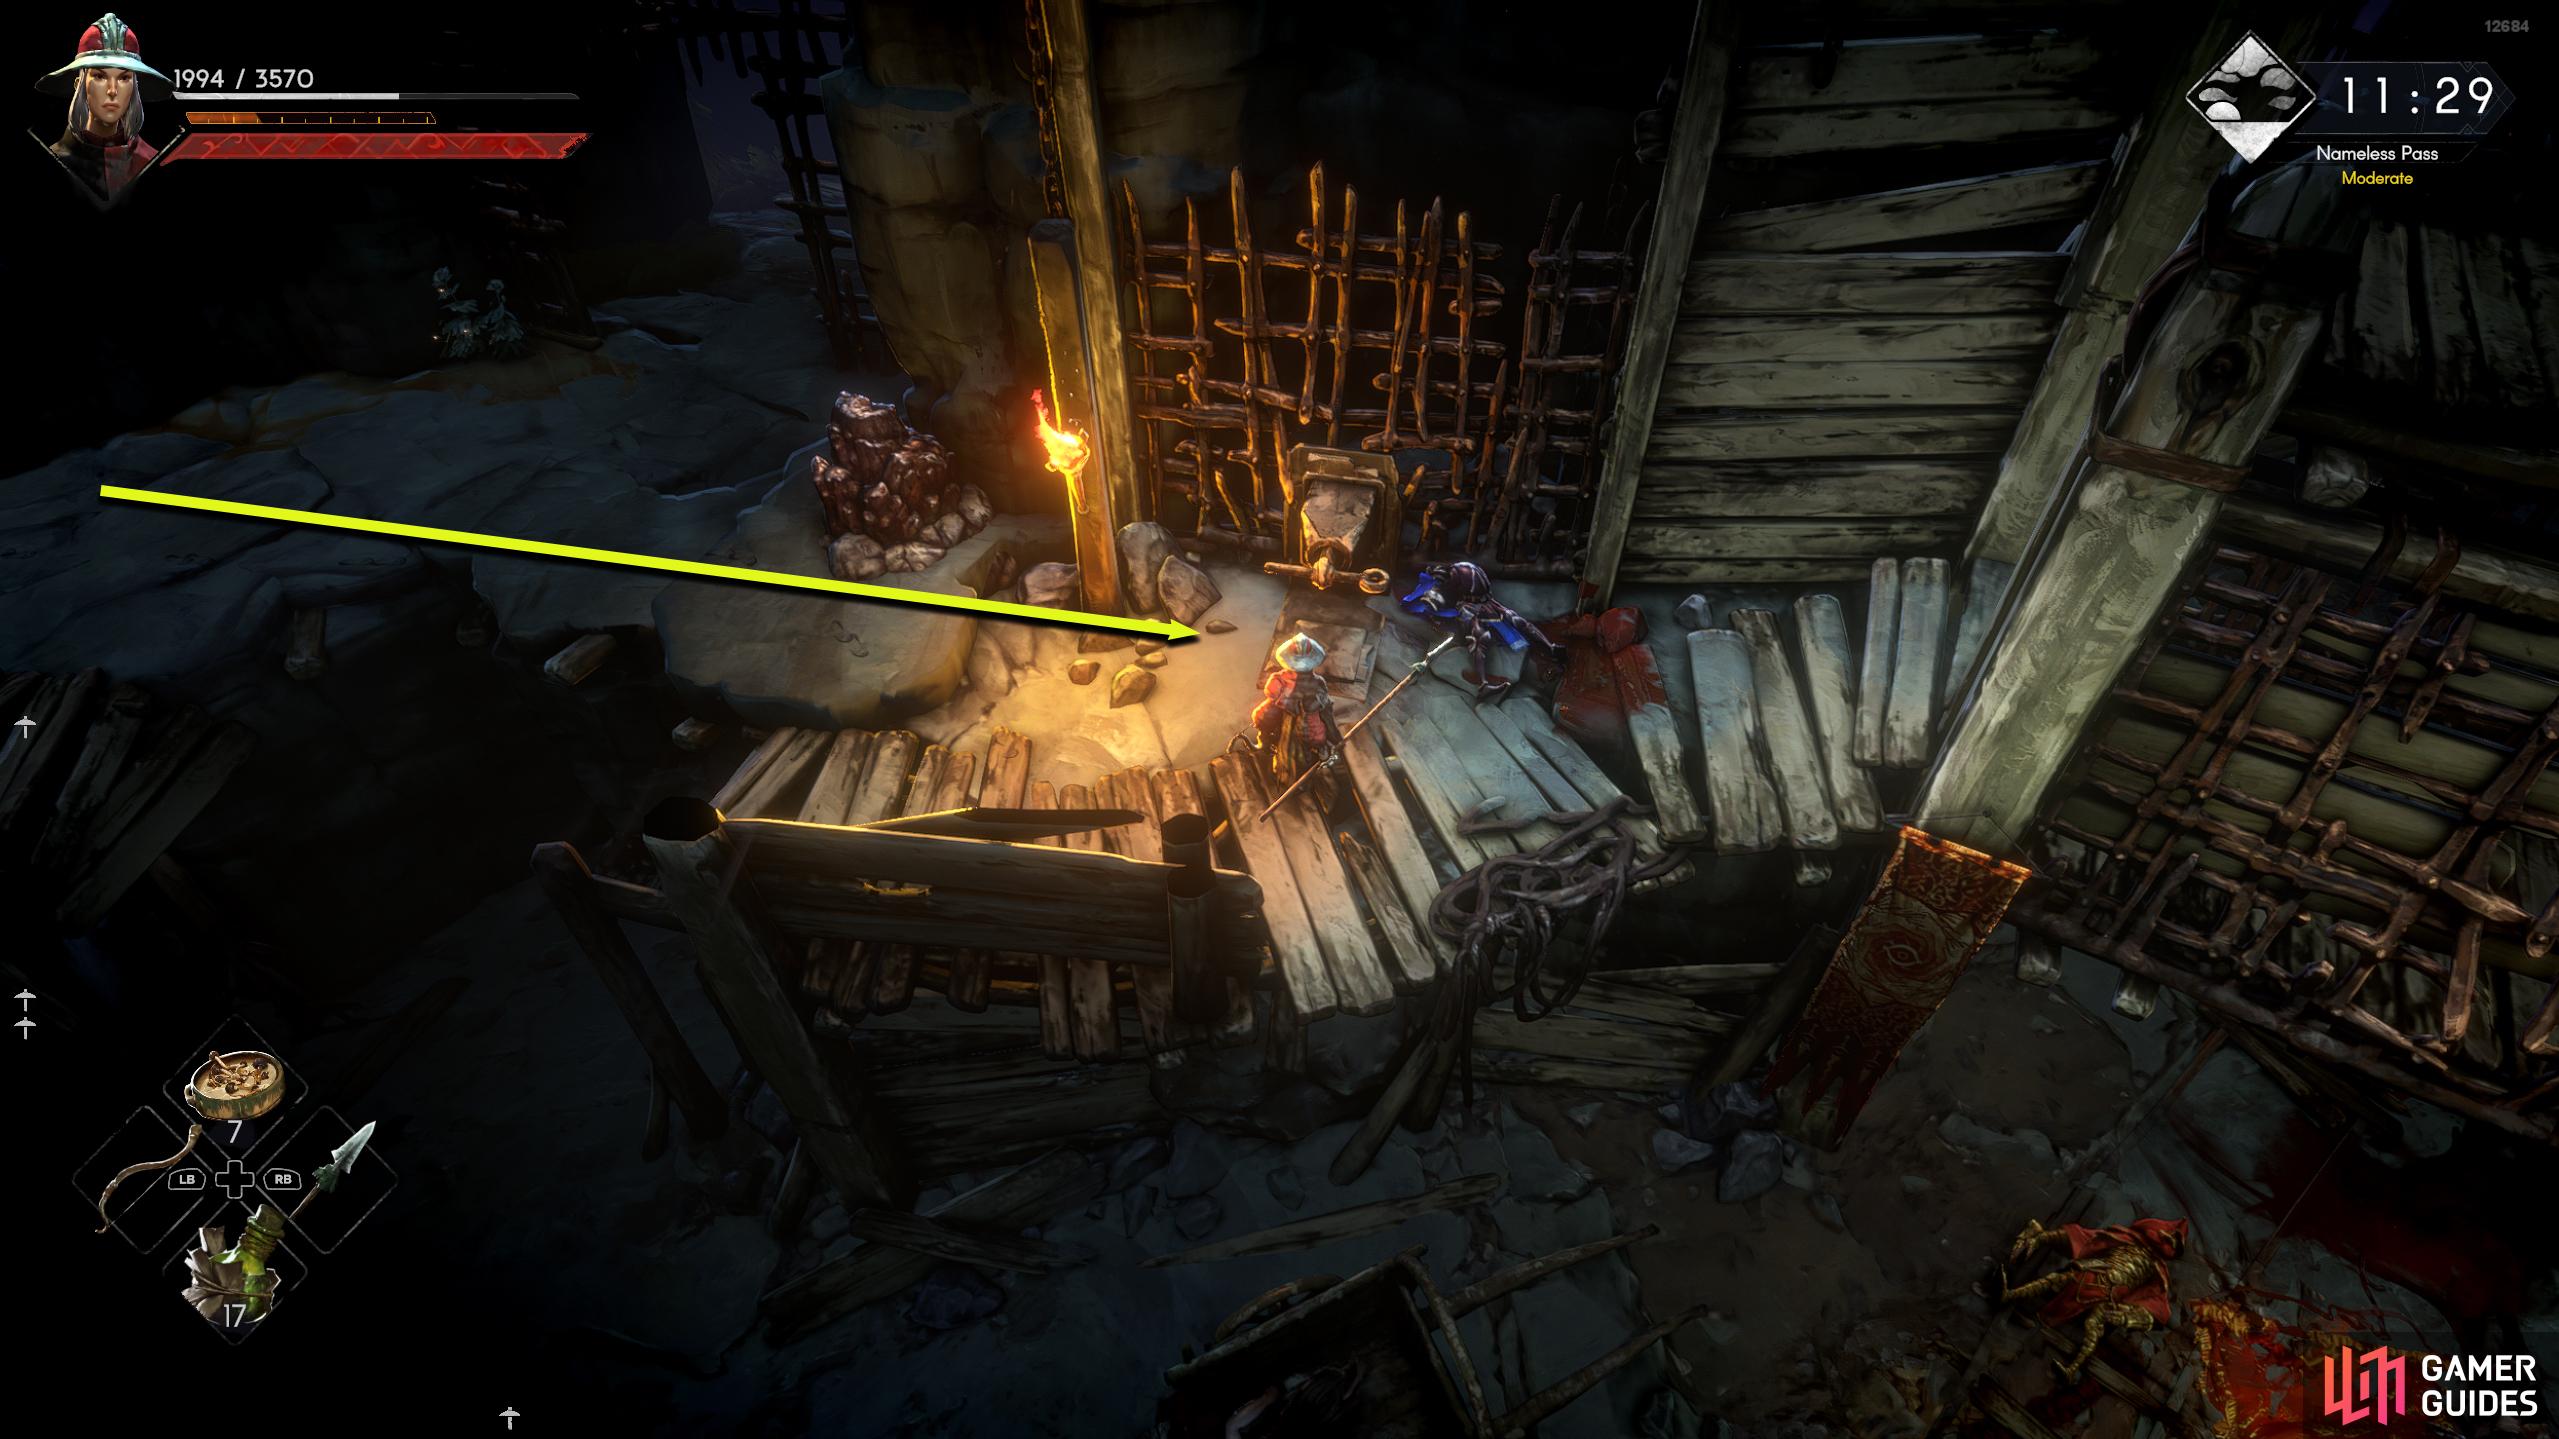
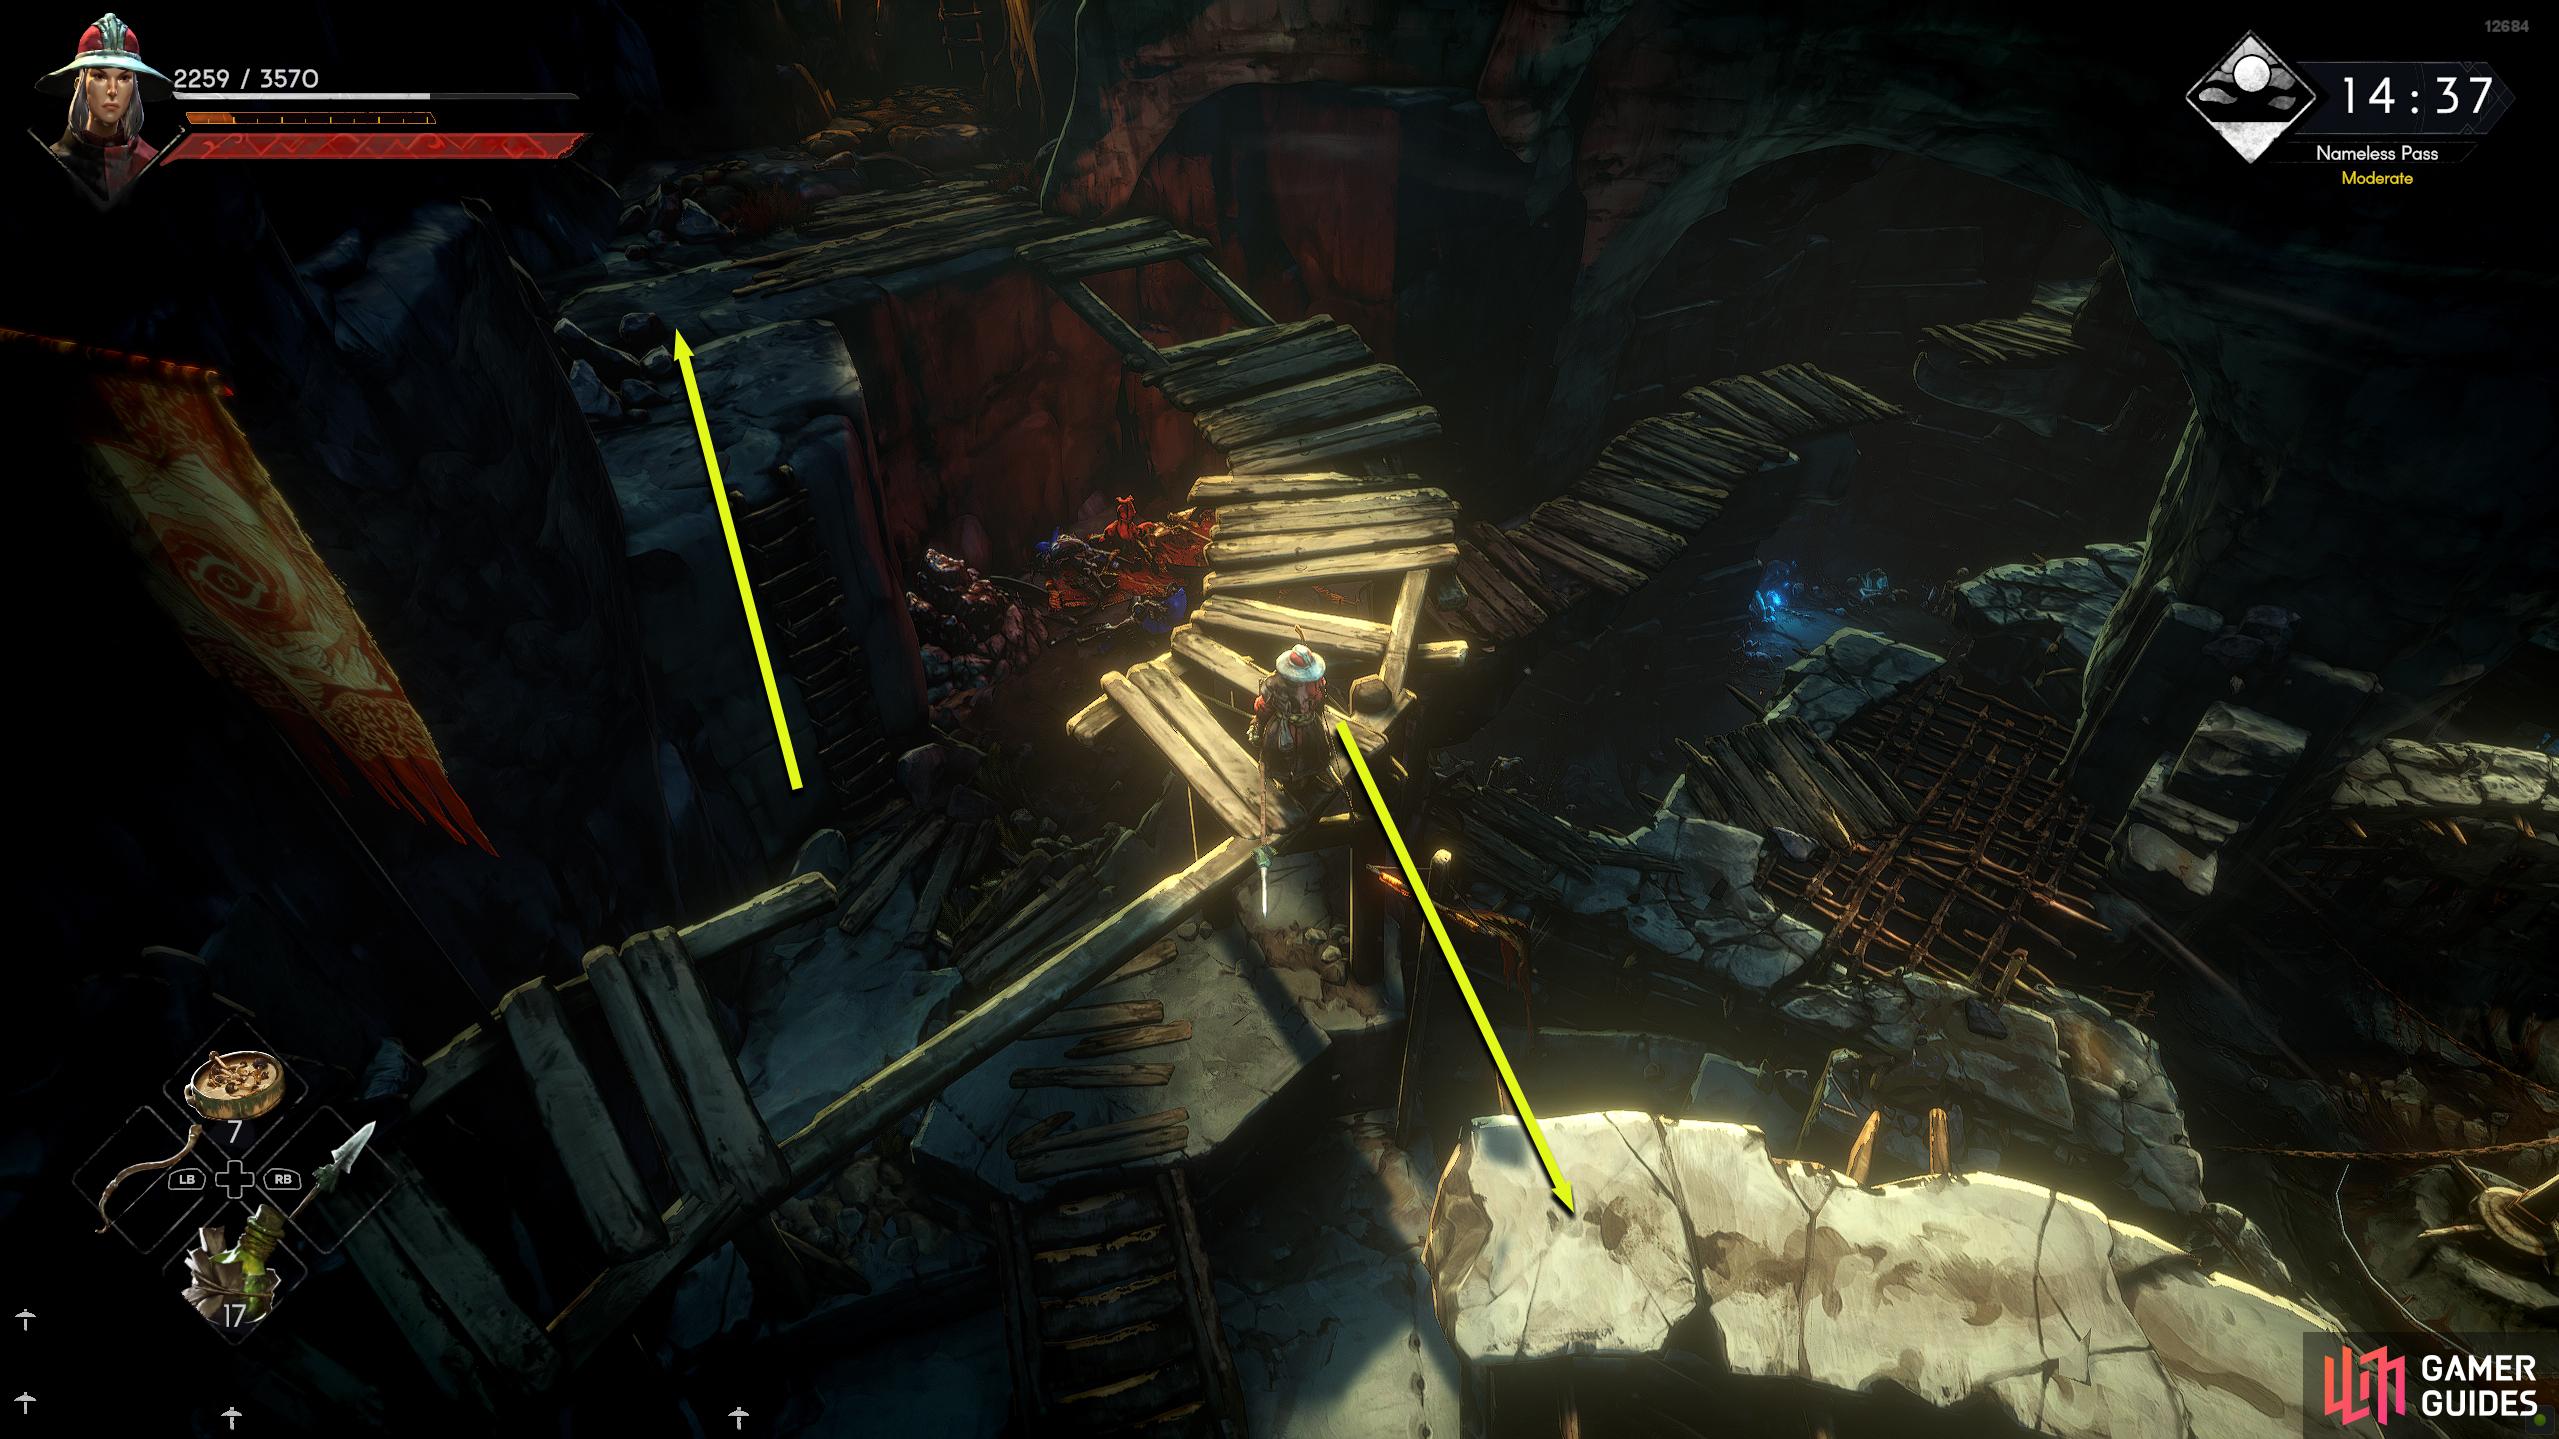
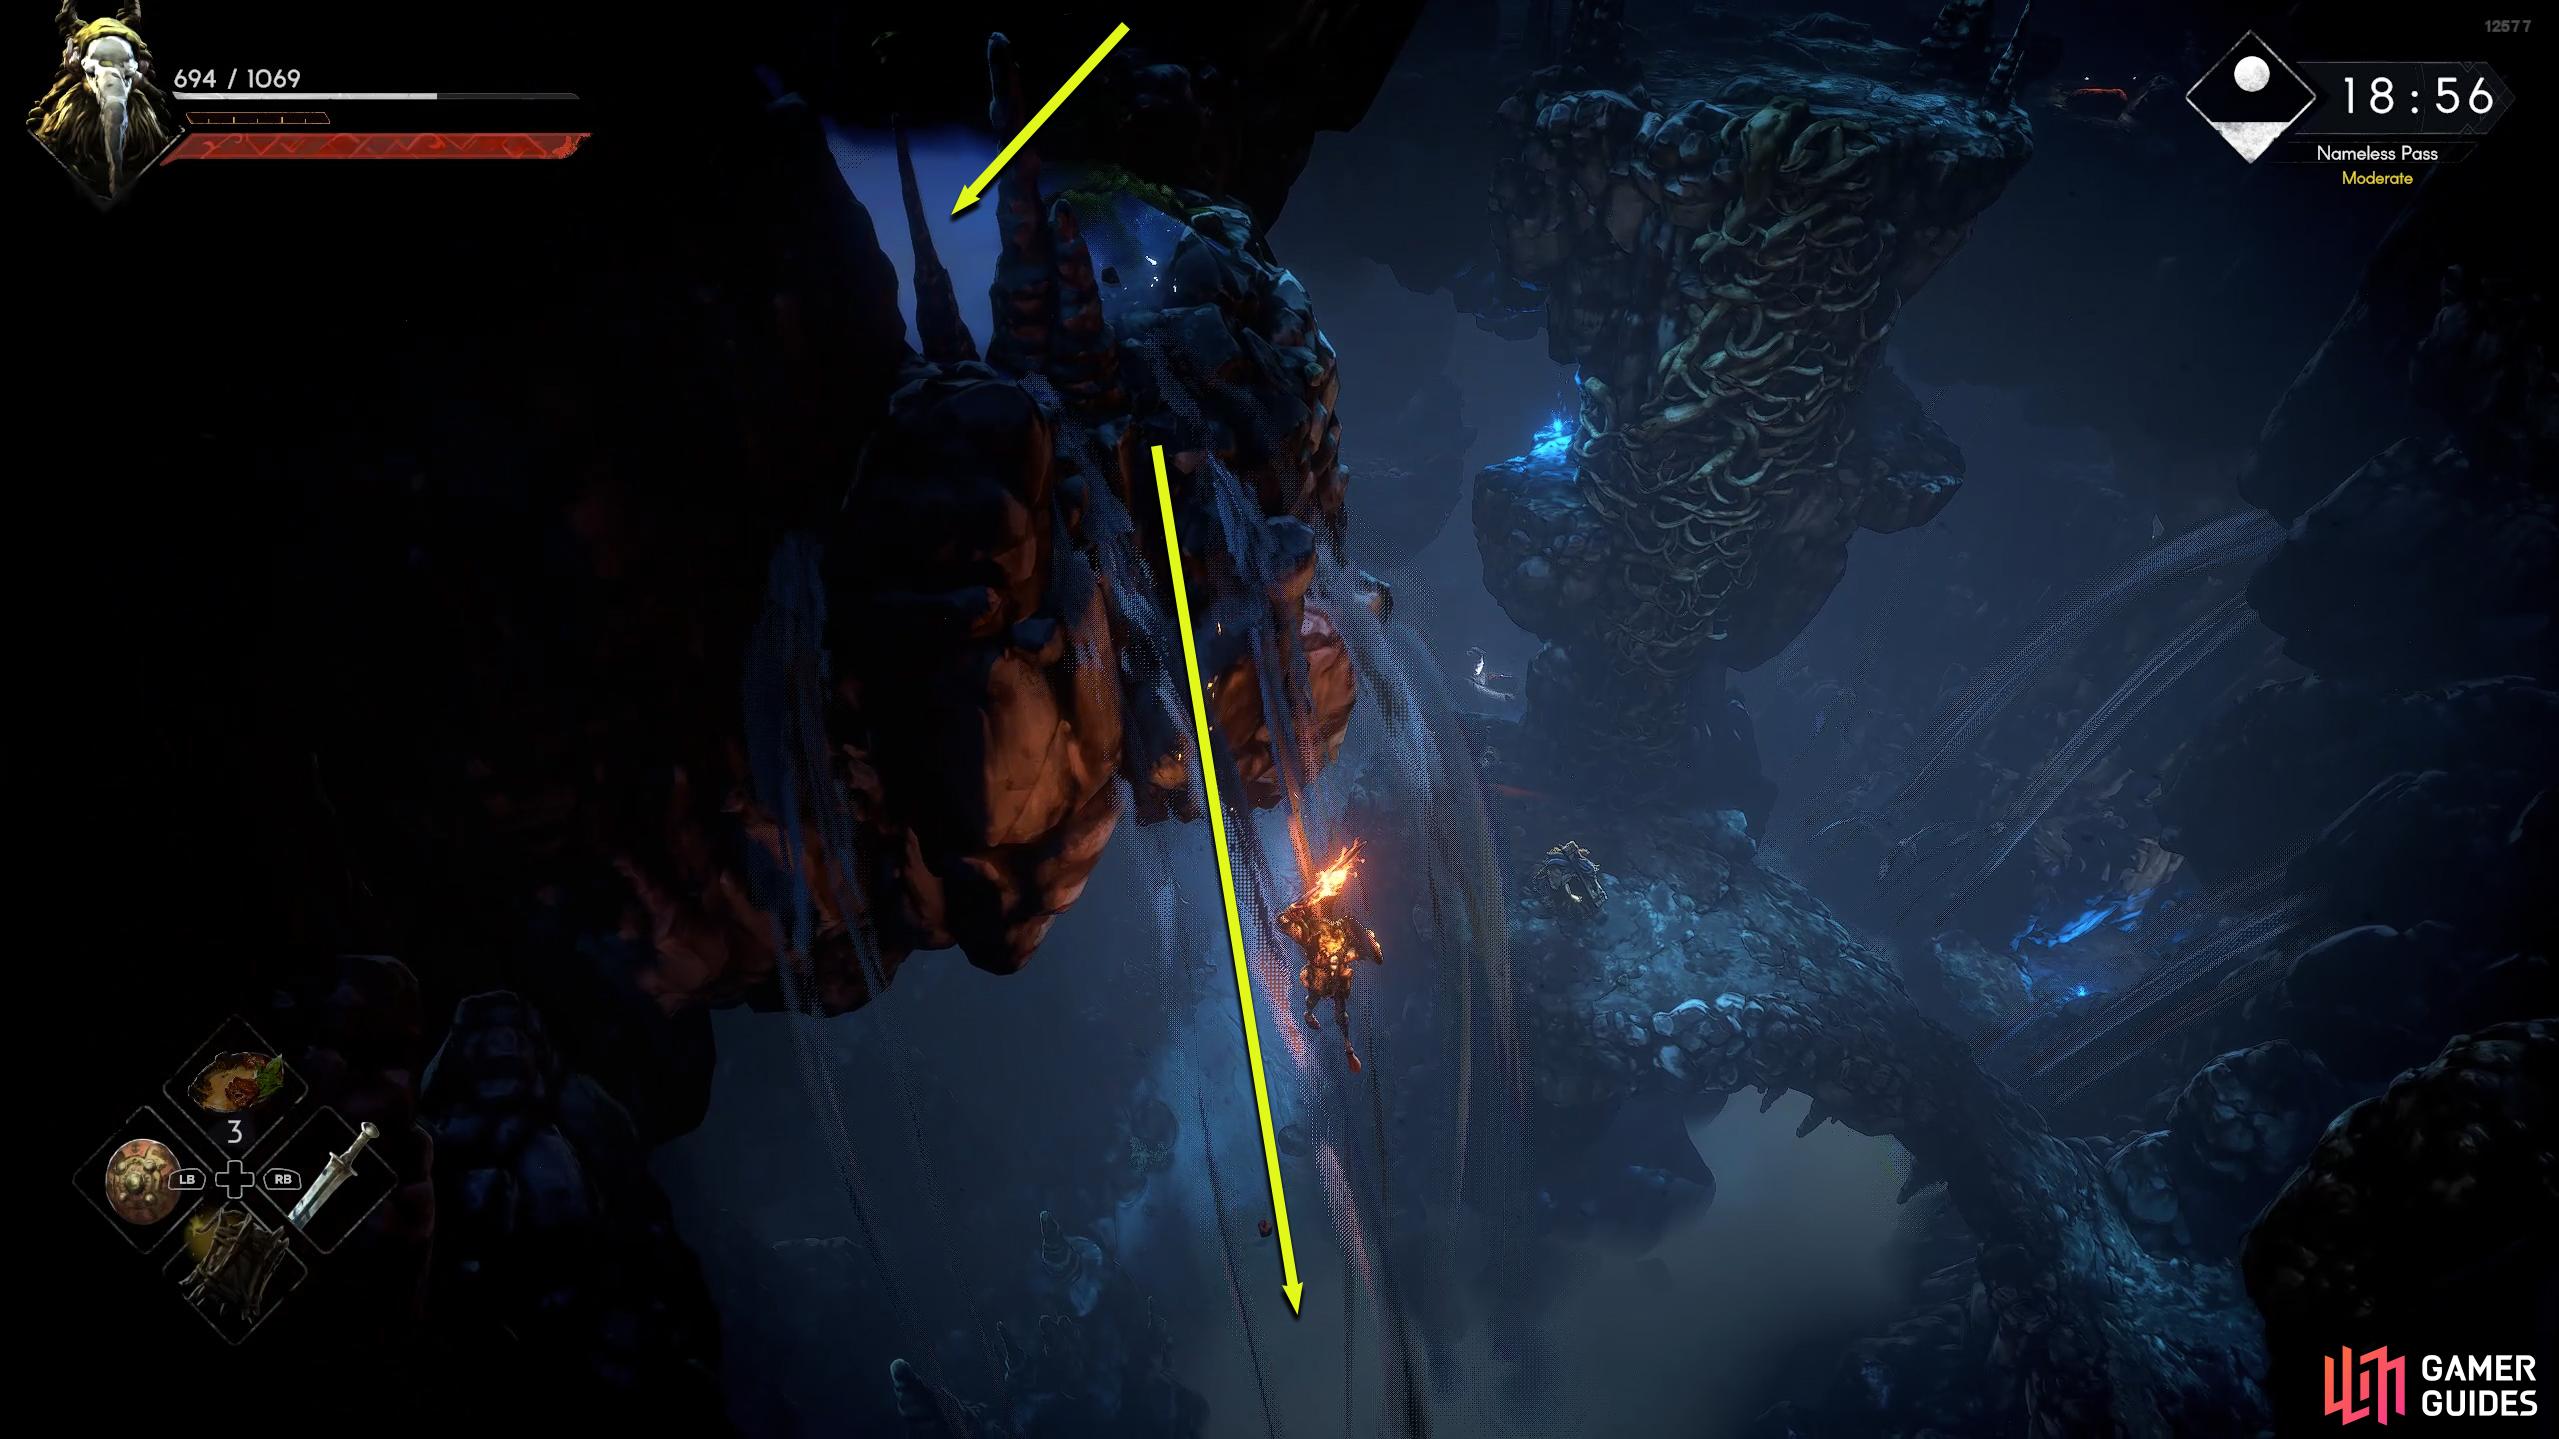
Make your way back to the main path and head east across the rubble, where you’ll find a wooden platform you can climb up. As soon as you climb up, you’ll be attacked by an enemy who is making their way down the stairs. Take them back onto the main path to give yourself some room to fight them and once they’re defeated, head back to the wooden platform. There’s a locked door here that requires the Old Cottage Key, which you’ll get later. For now, head up the stairs, and jump across the broken platform to reach the upper area.
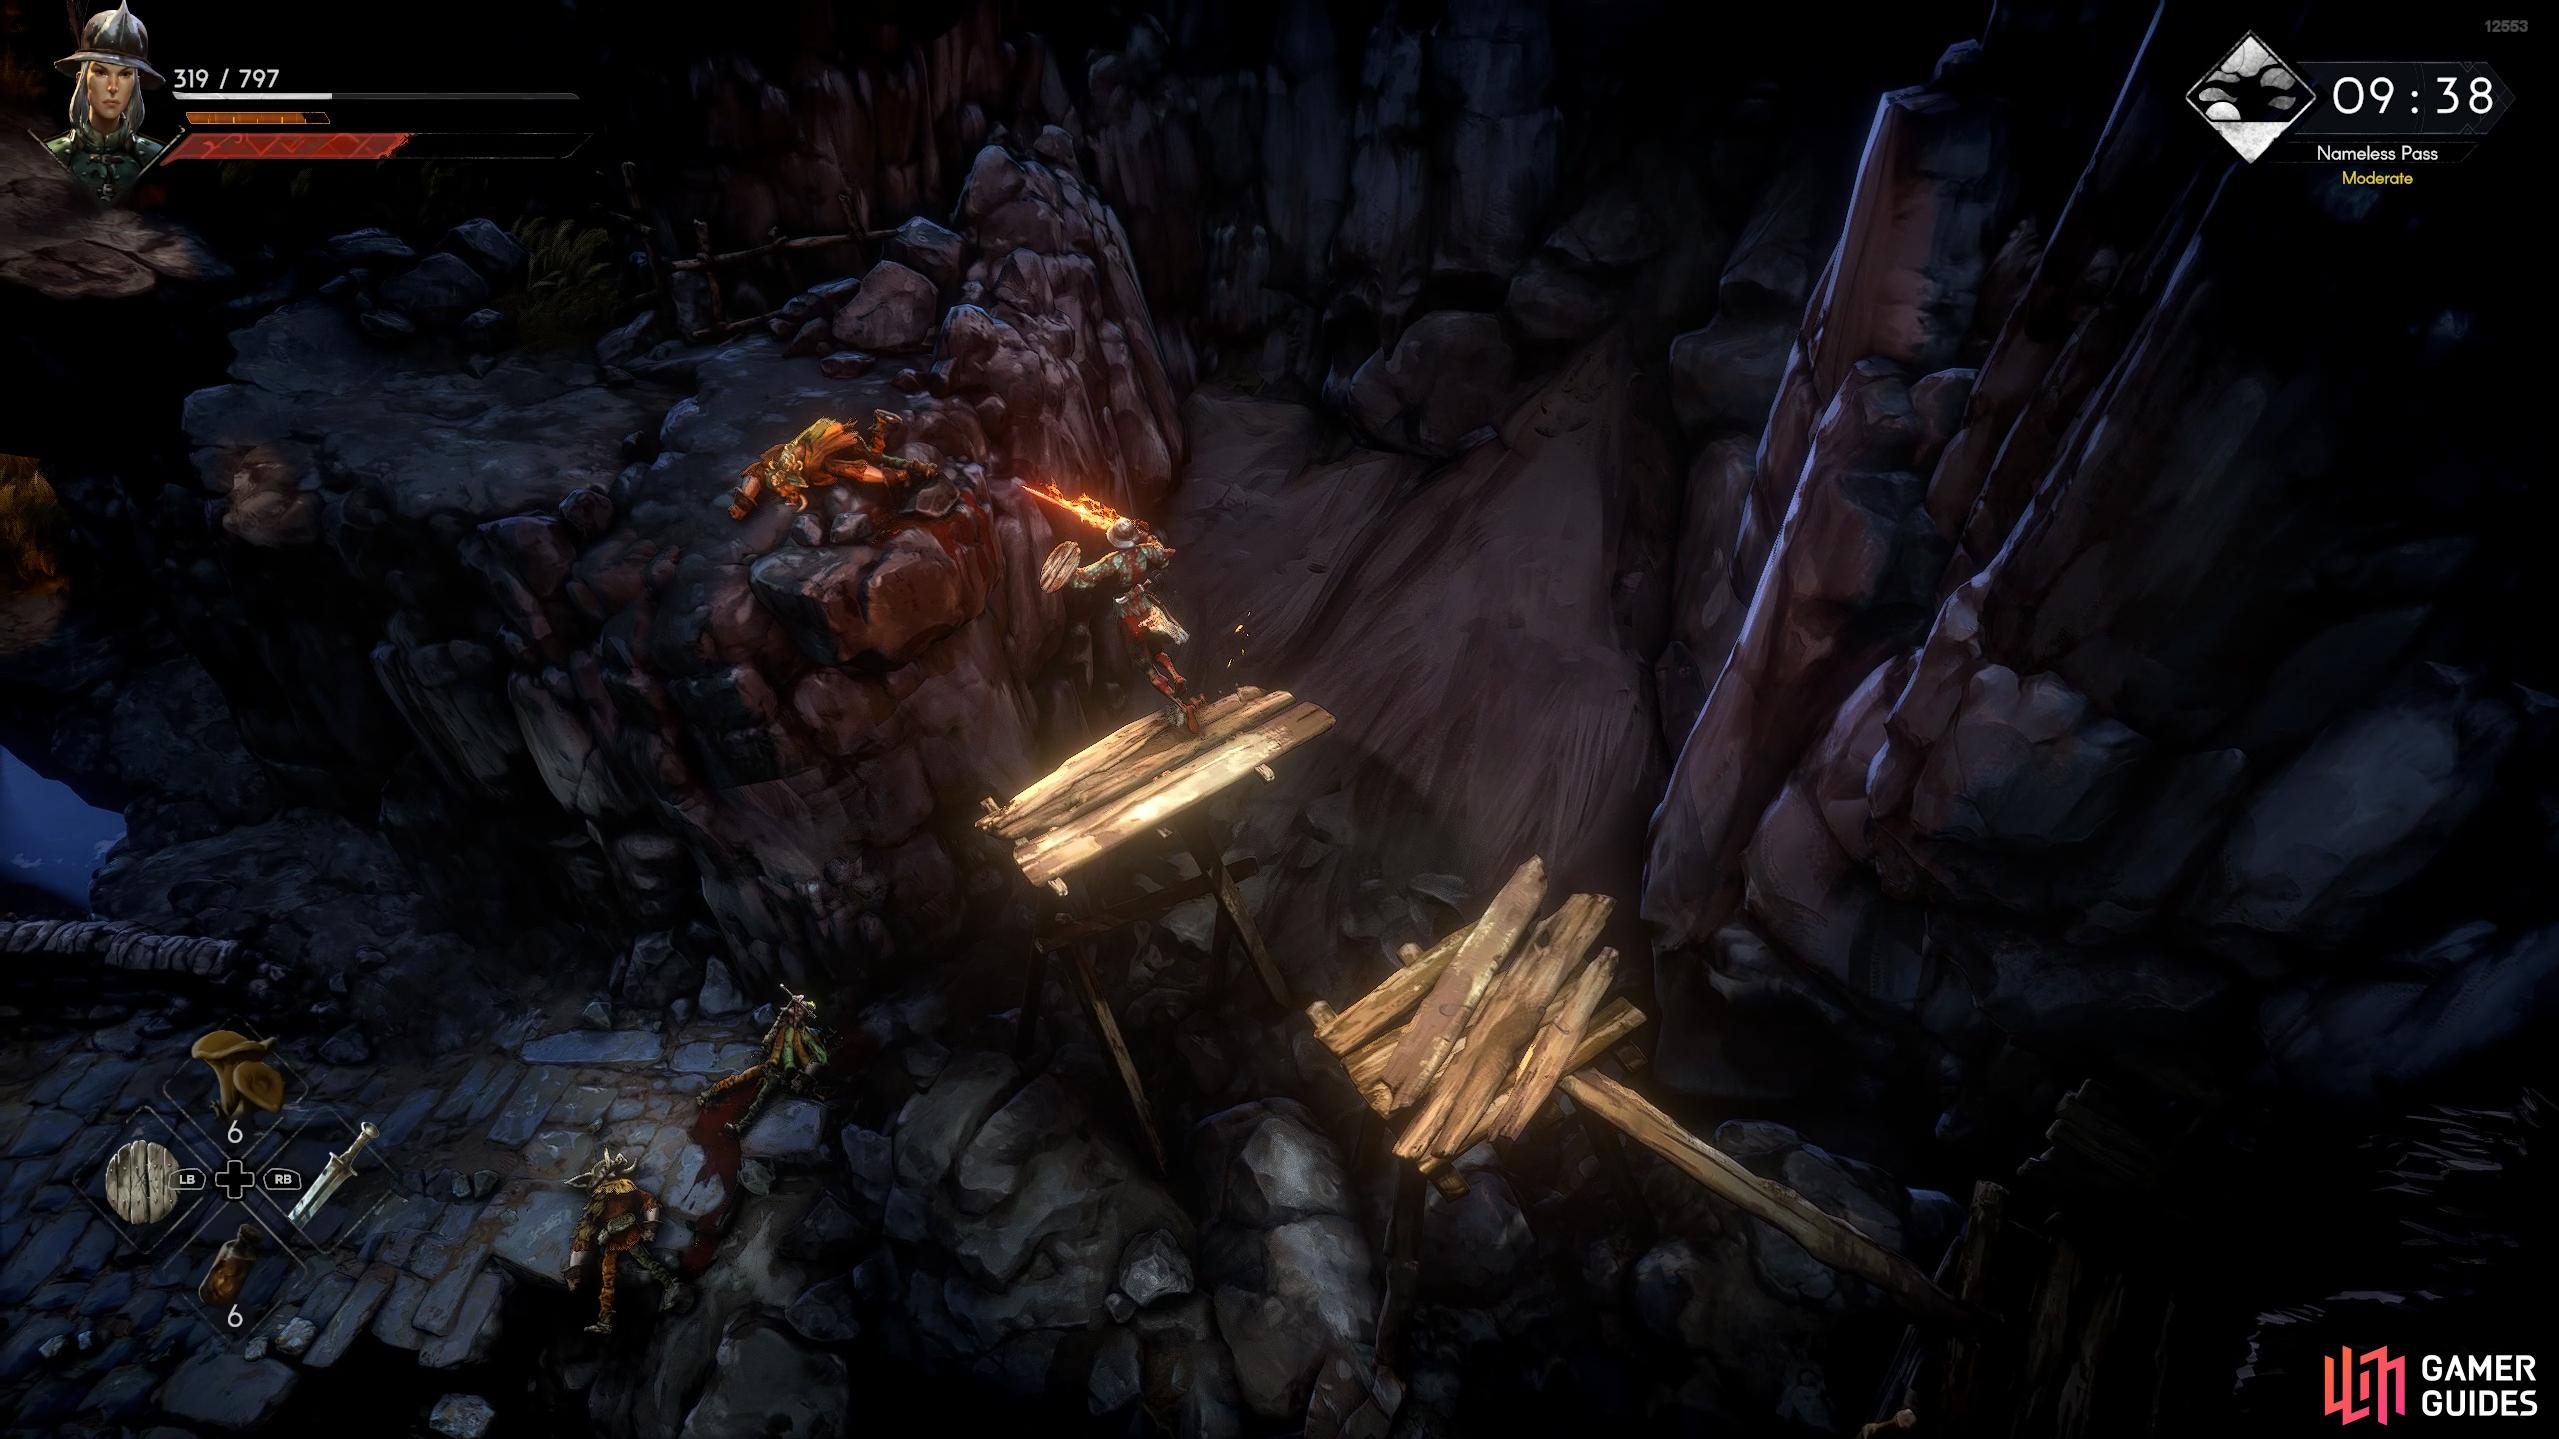
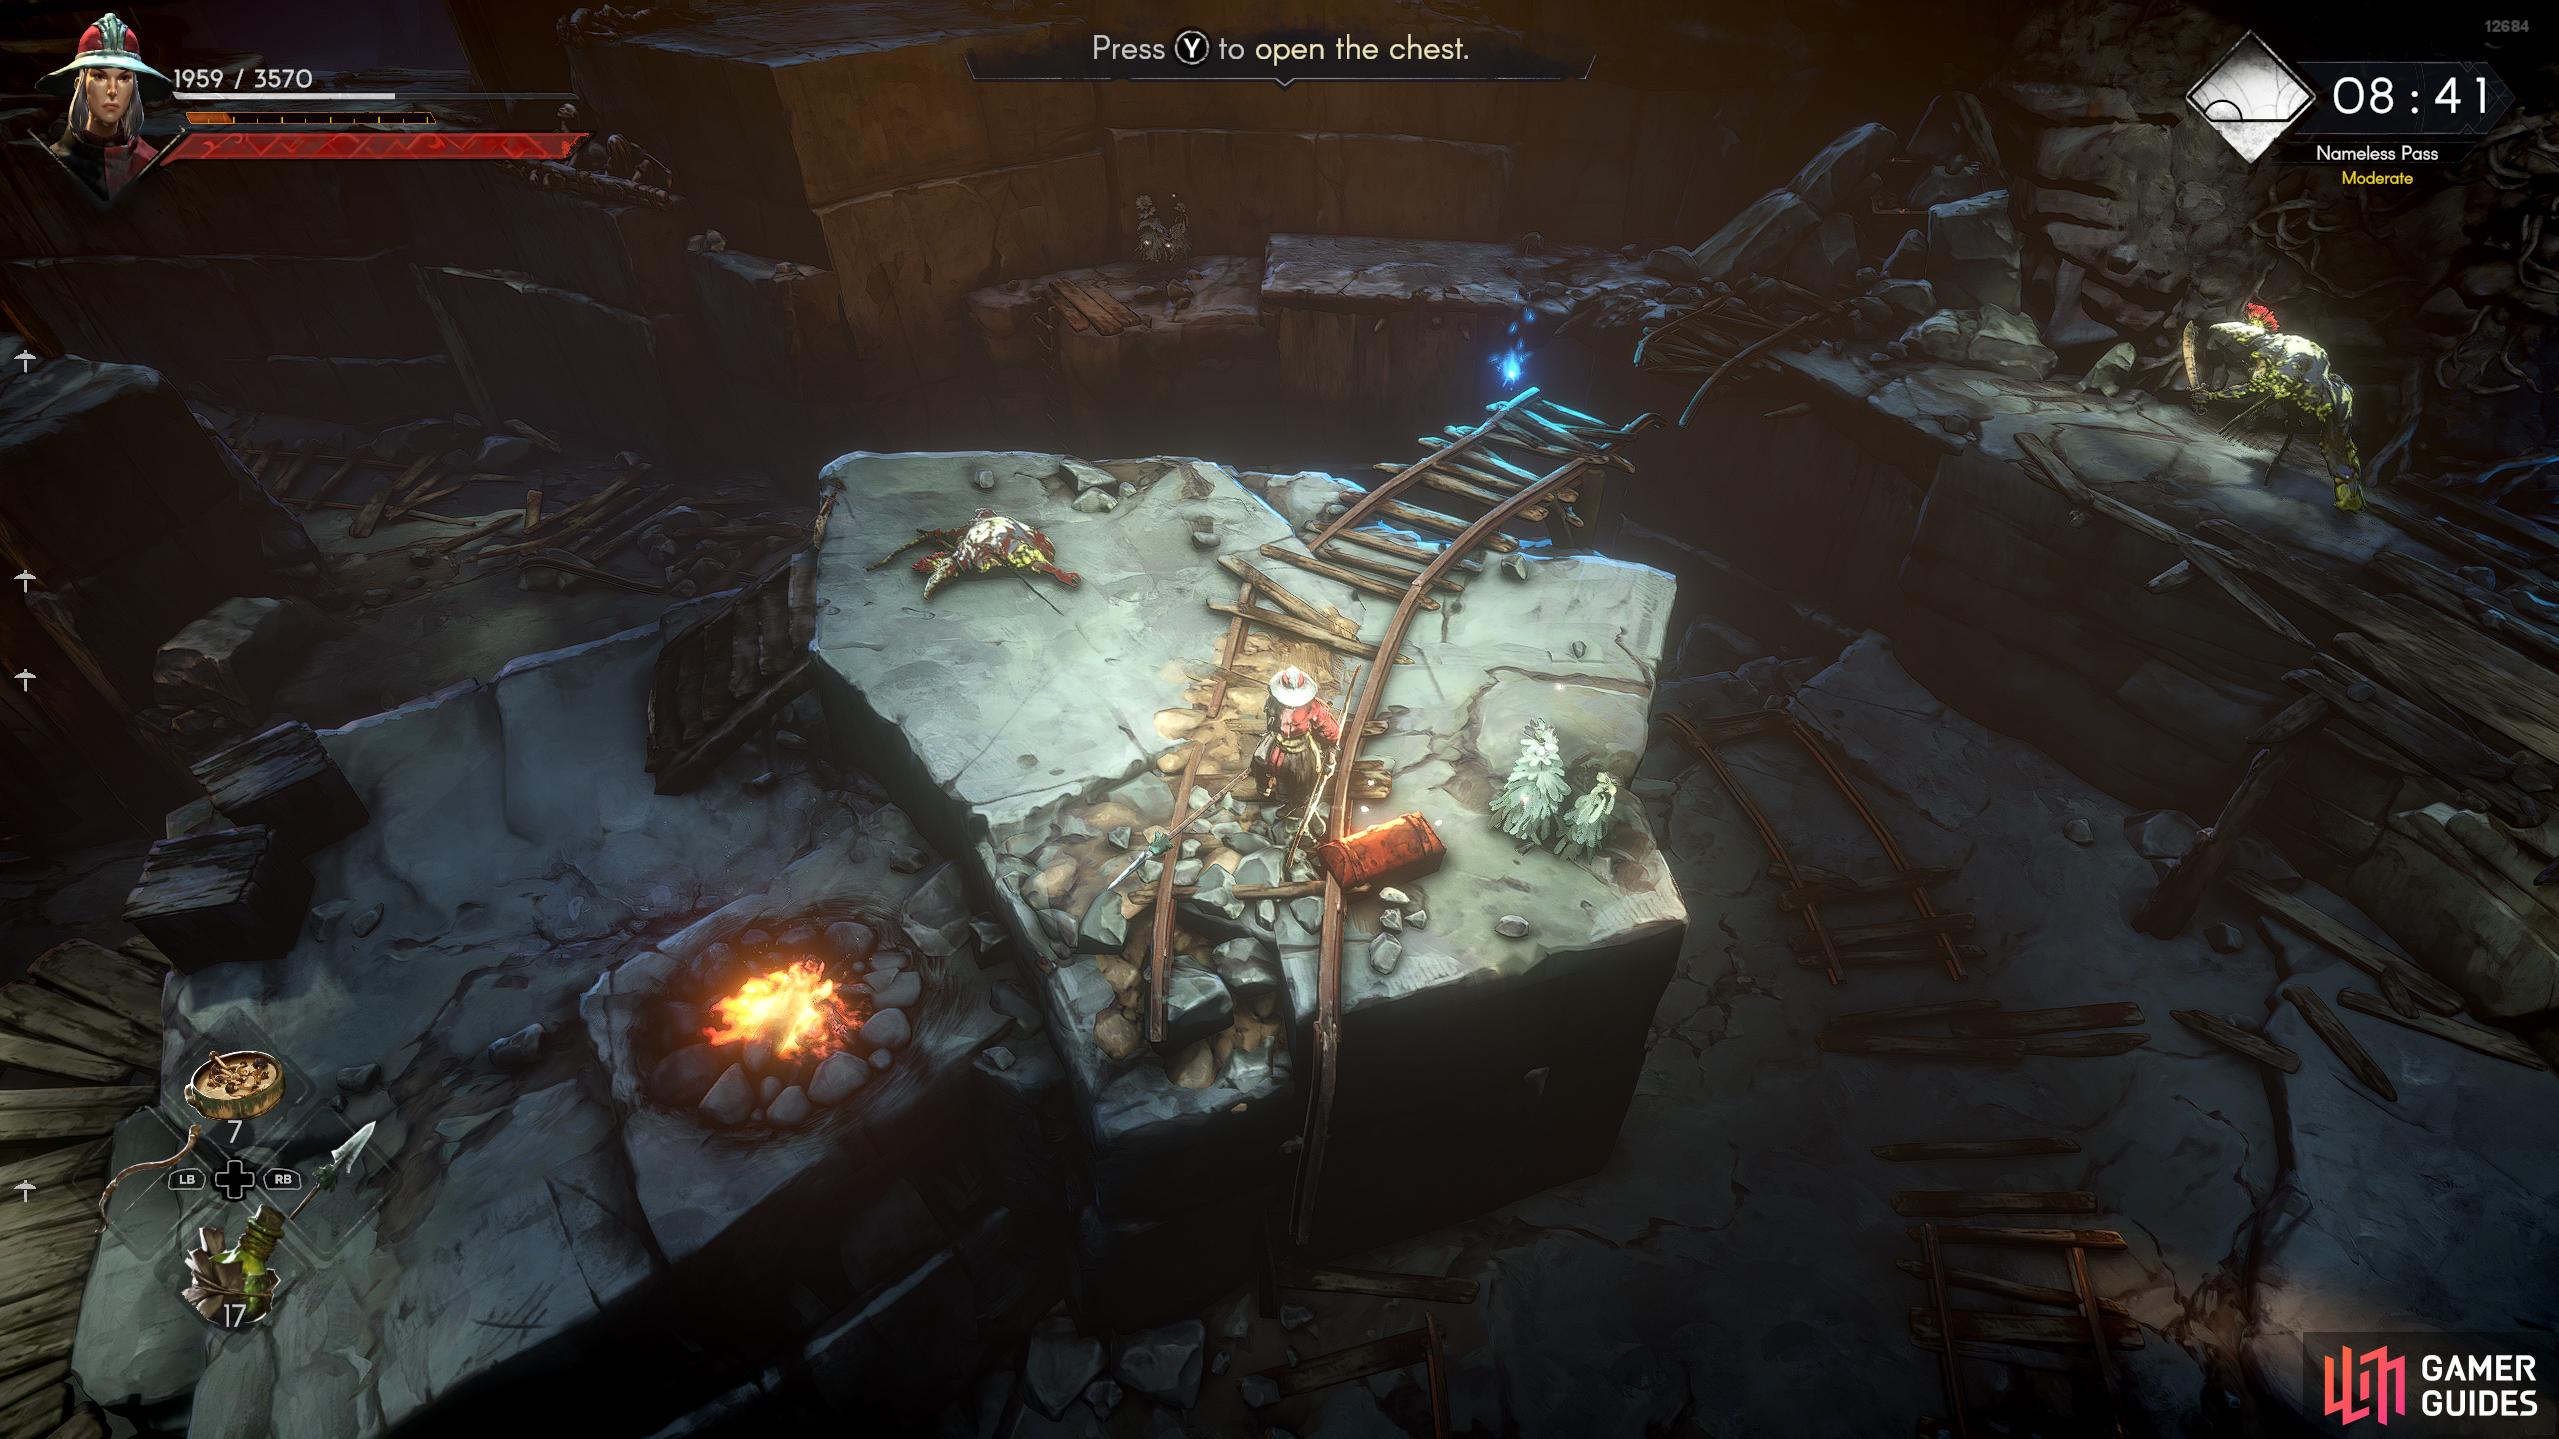
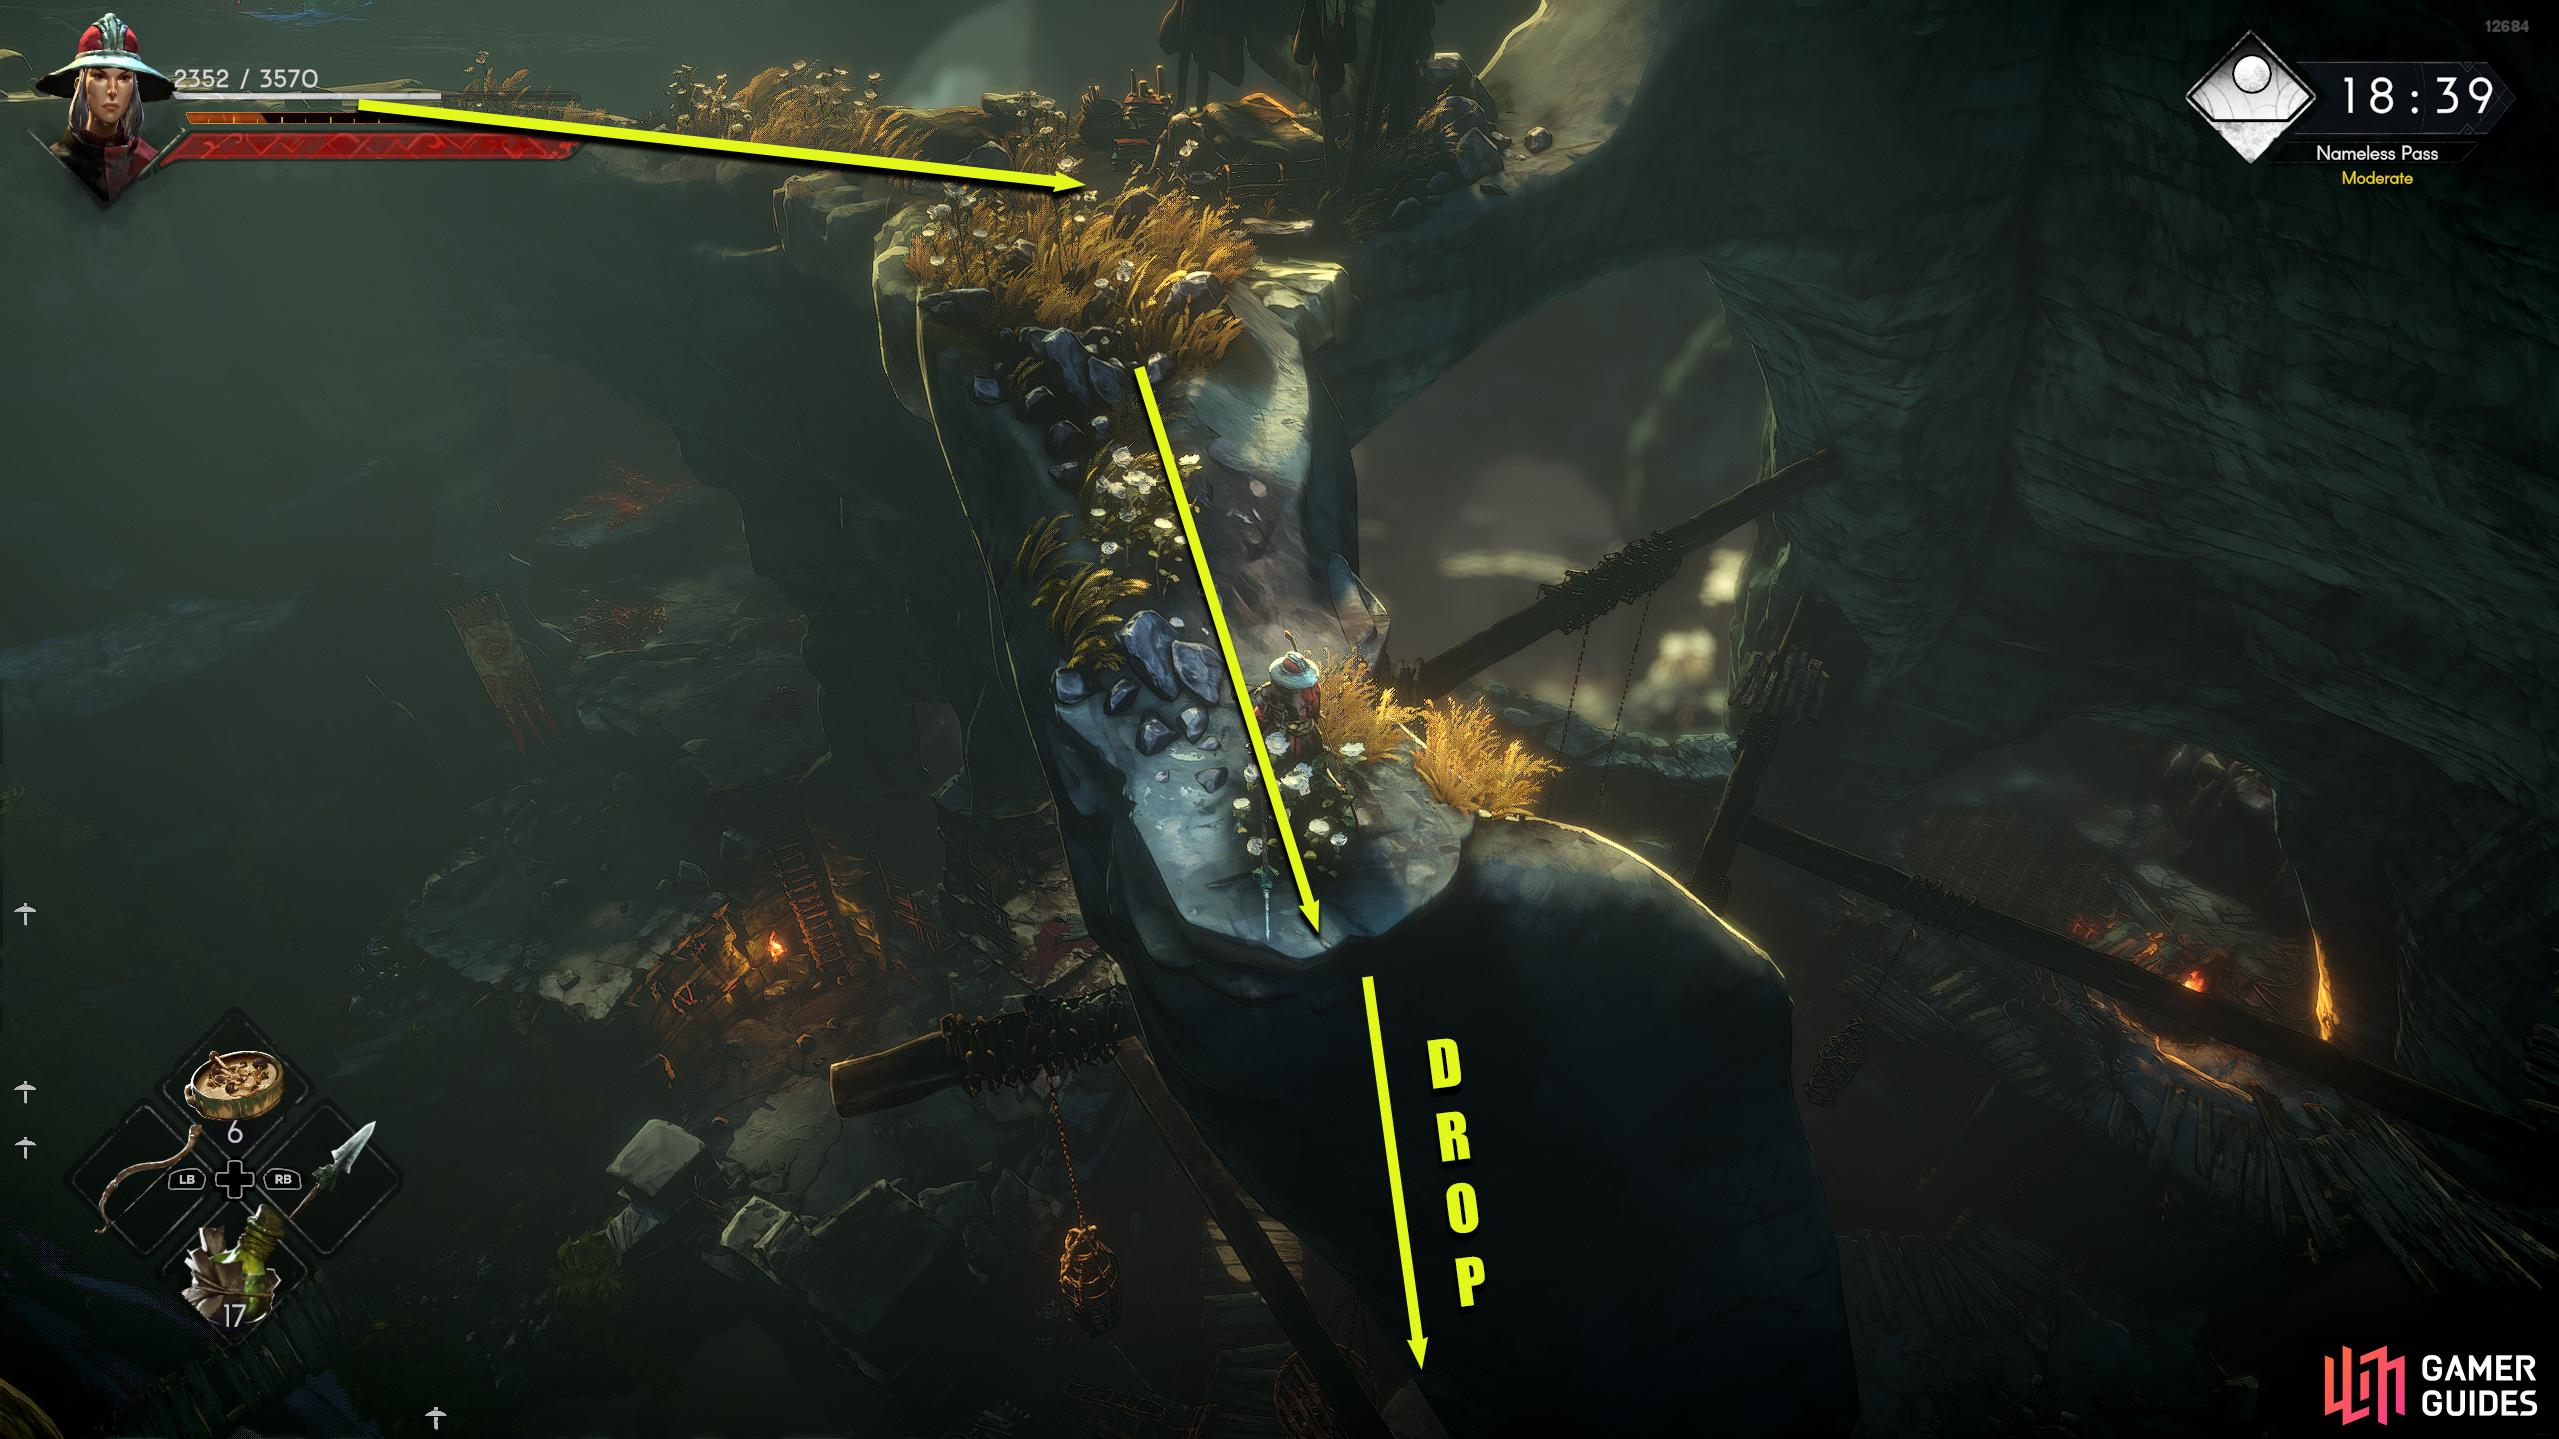
Walk up the slope and defeat the hammer-wielding hunter, and then open the chest near the northern cliff edge. For the hammer enemies, wait for them to lunge forward with their attack, roll through it, and hit them a couple of times in the back. Repeat this to defeat them. One thing to note is that they can cover a lot of distance with their lunges, so don’t underestimate their range. Moving on, proceed across the bridge to the west where you’ll find three hunters waiting for you, yes, three. The easiest way to deal with this is to hurl numerous bombs at them, but if you don’t have any, try to use the bridge to funnel them into one place, and hope that they hurt each other with their attacks. If things get too hectic, run away while slowly taking them out. You can lure the nearest enemy with the spear on its own if you slowly walk toward it. As it uses a spear it has a lot of range, so wait for it to perform a thrust, and then roll through the attack, and hit its back.
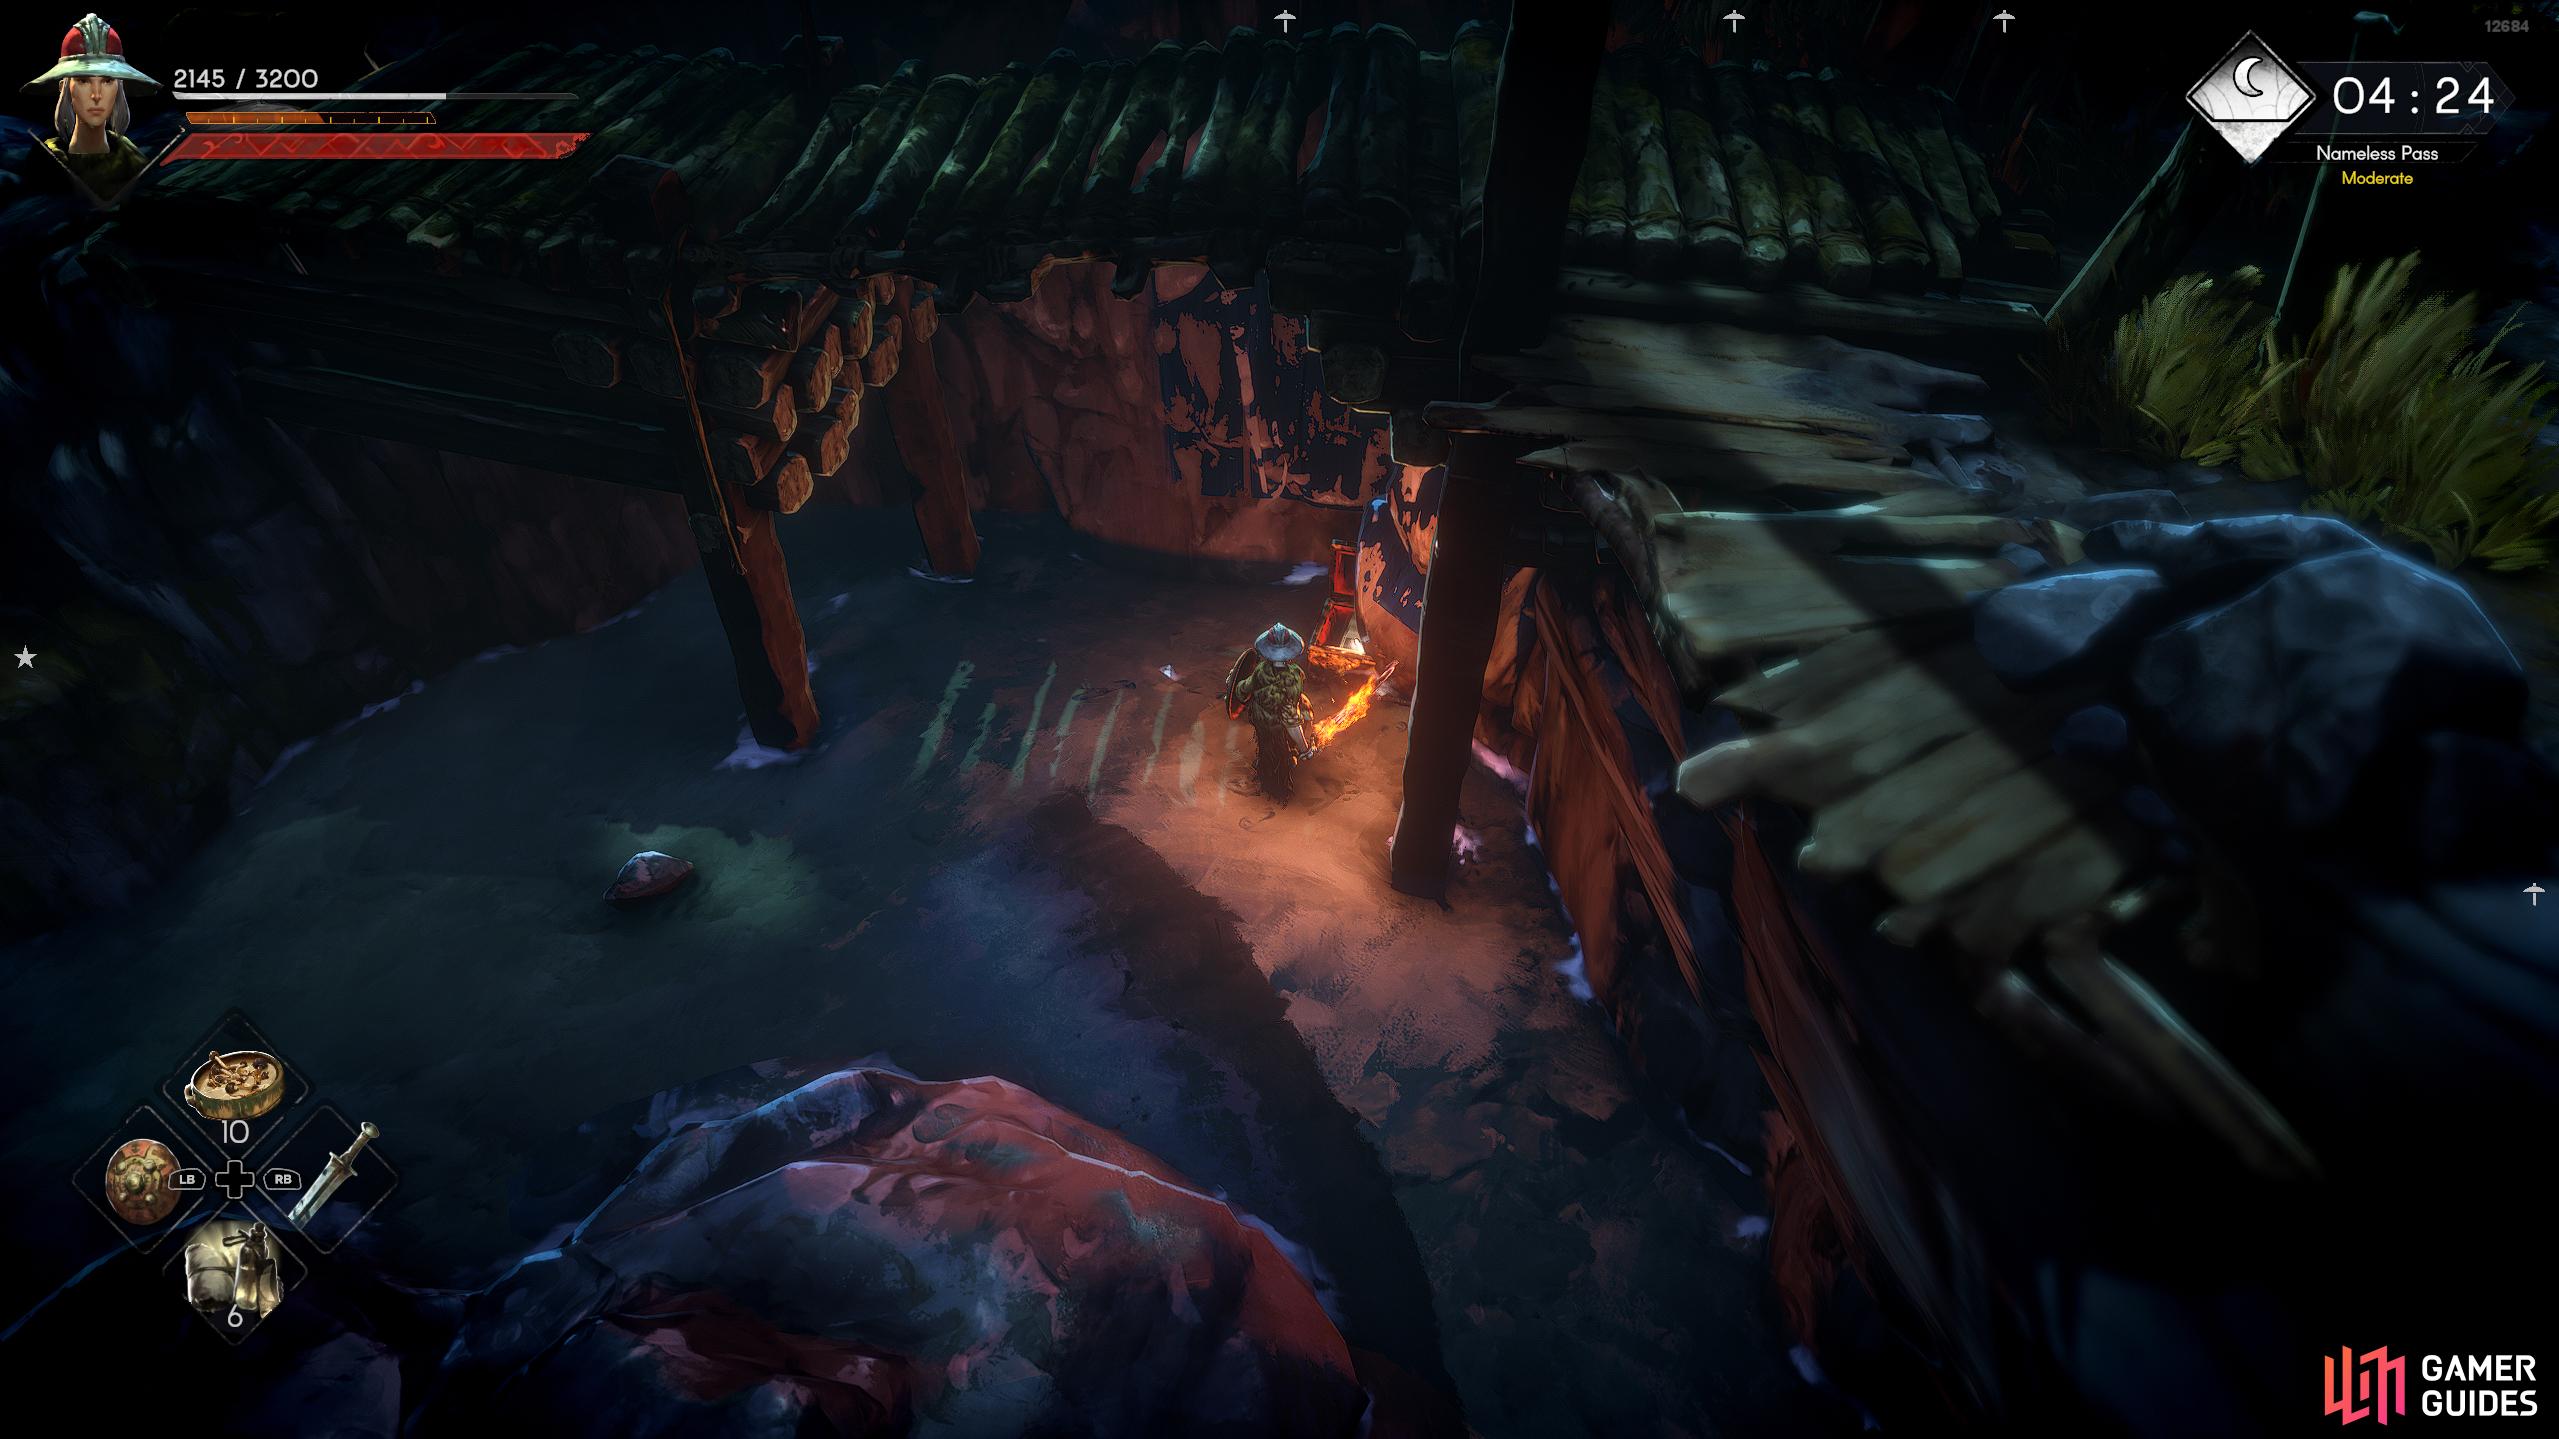
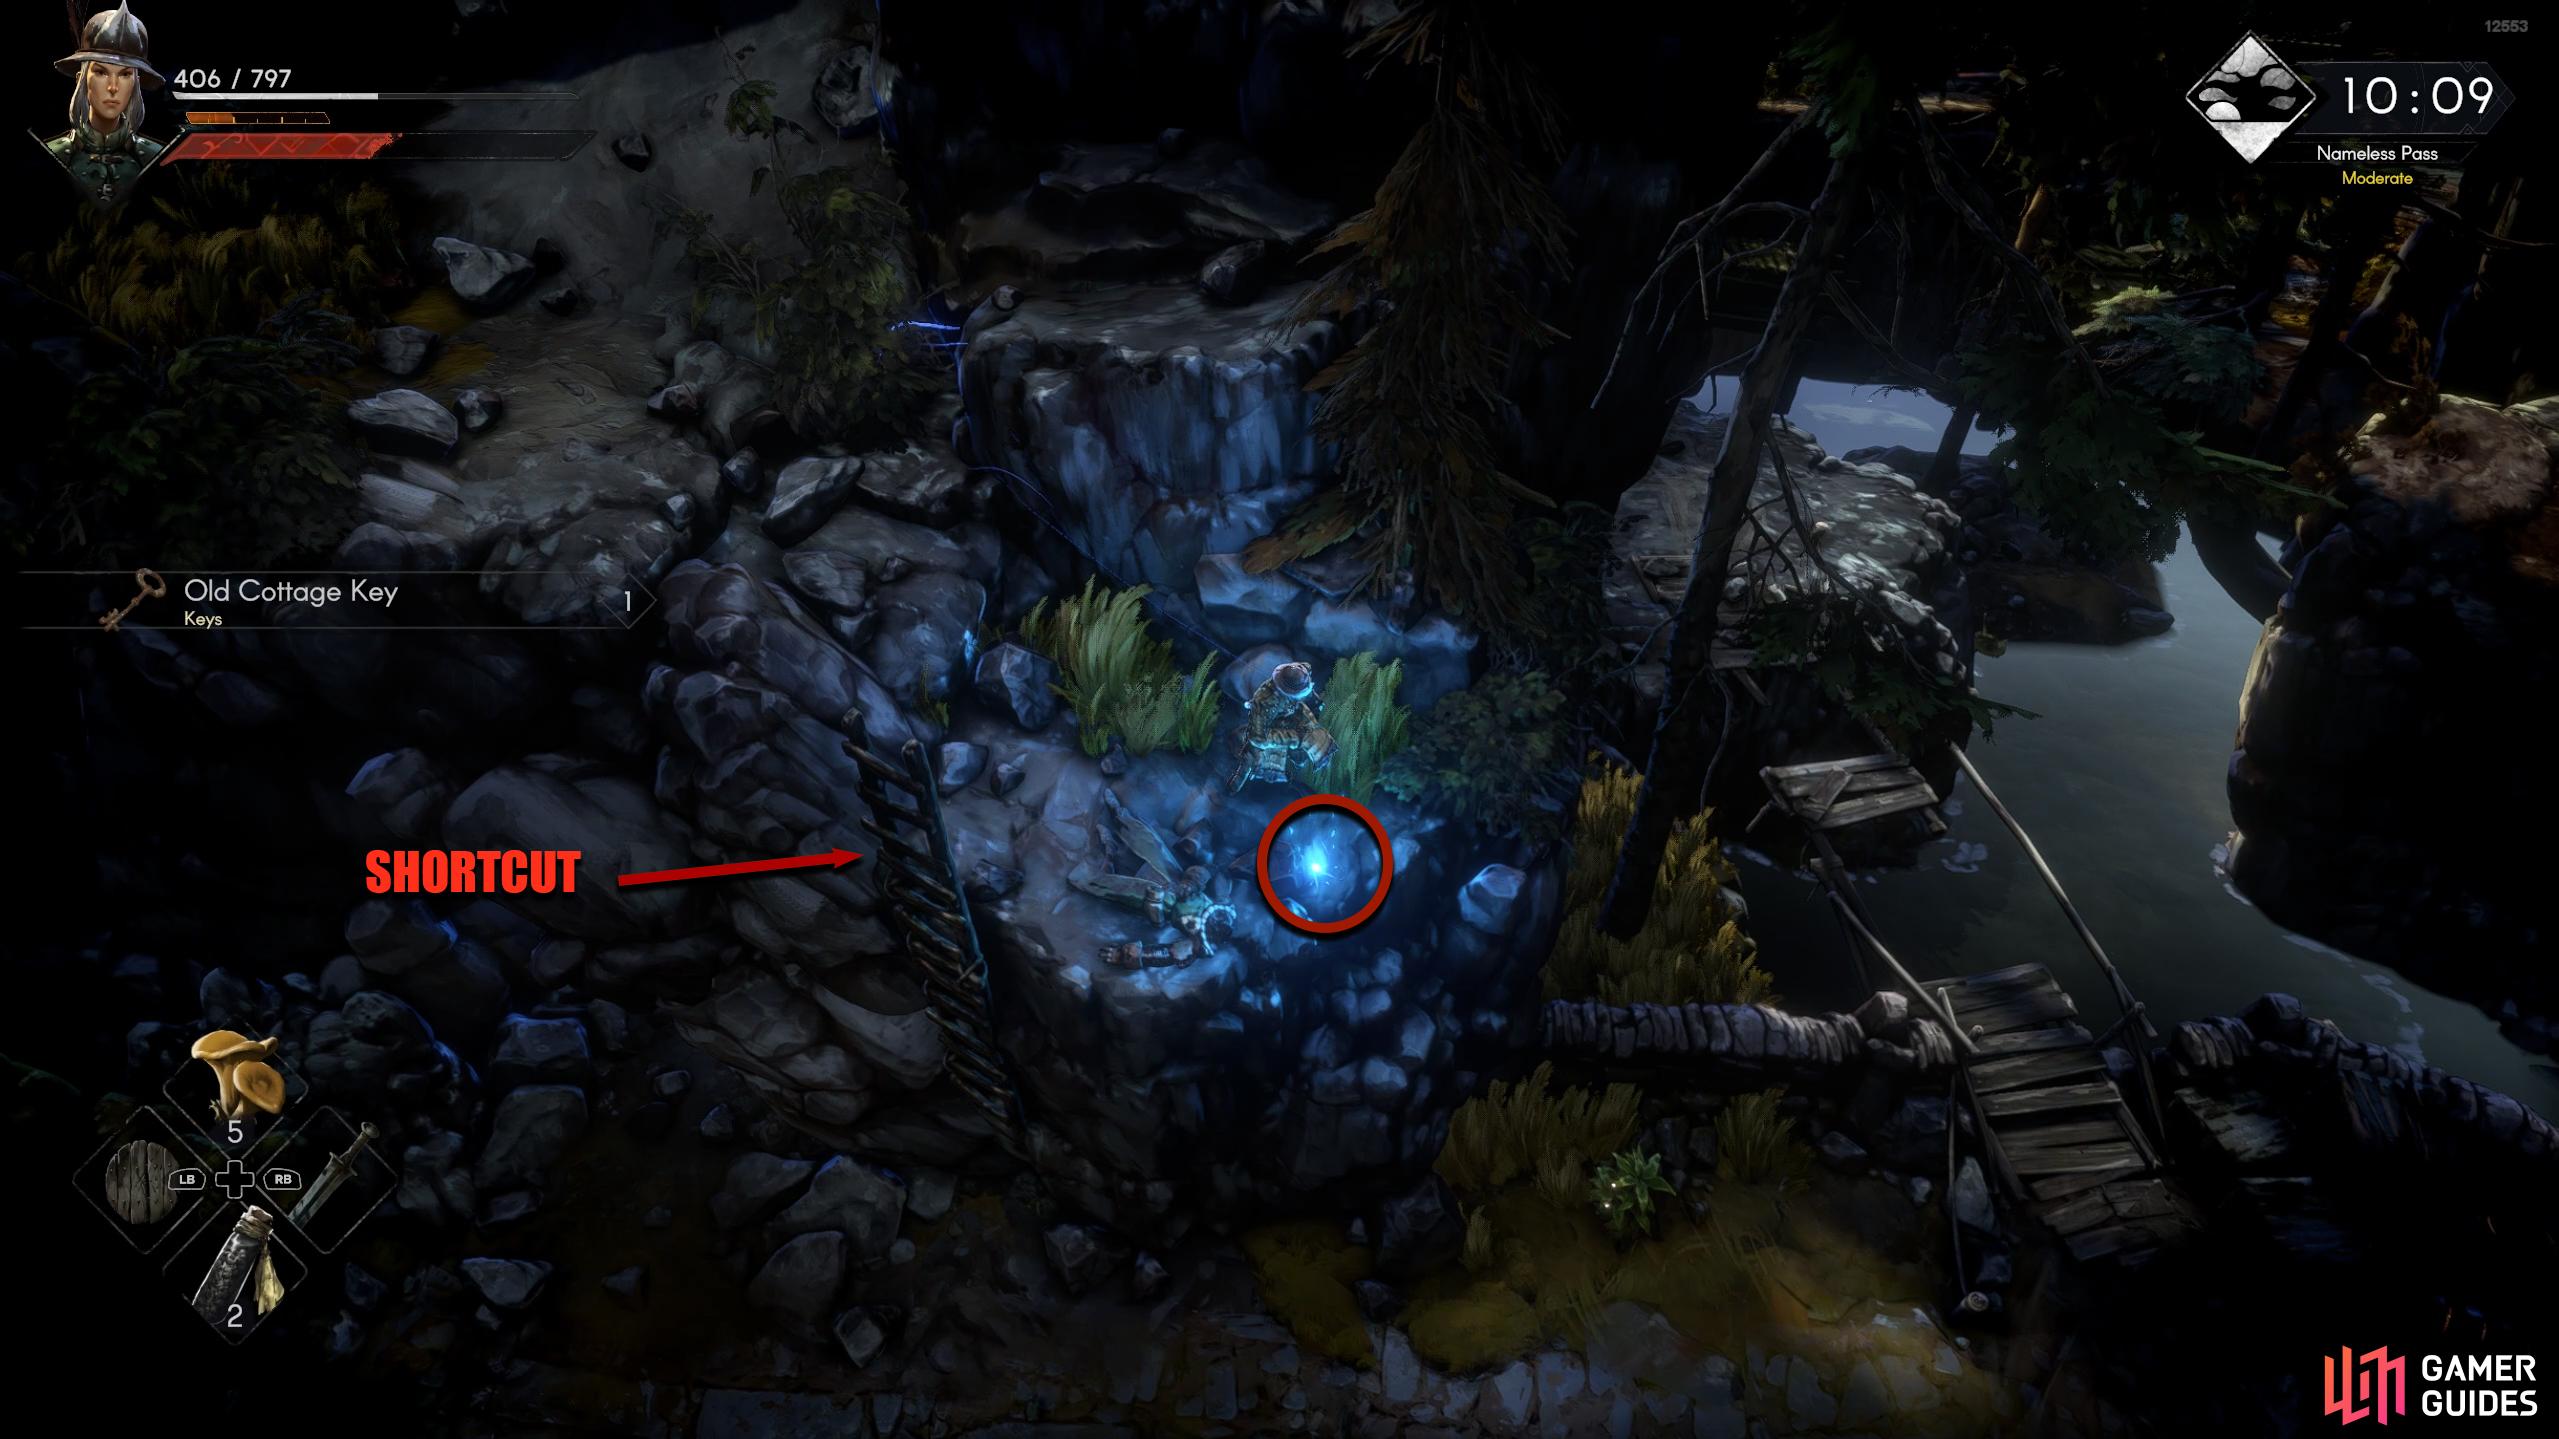
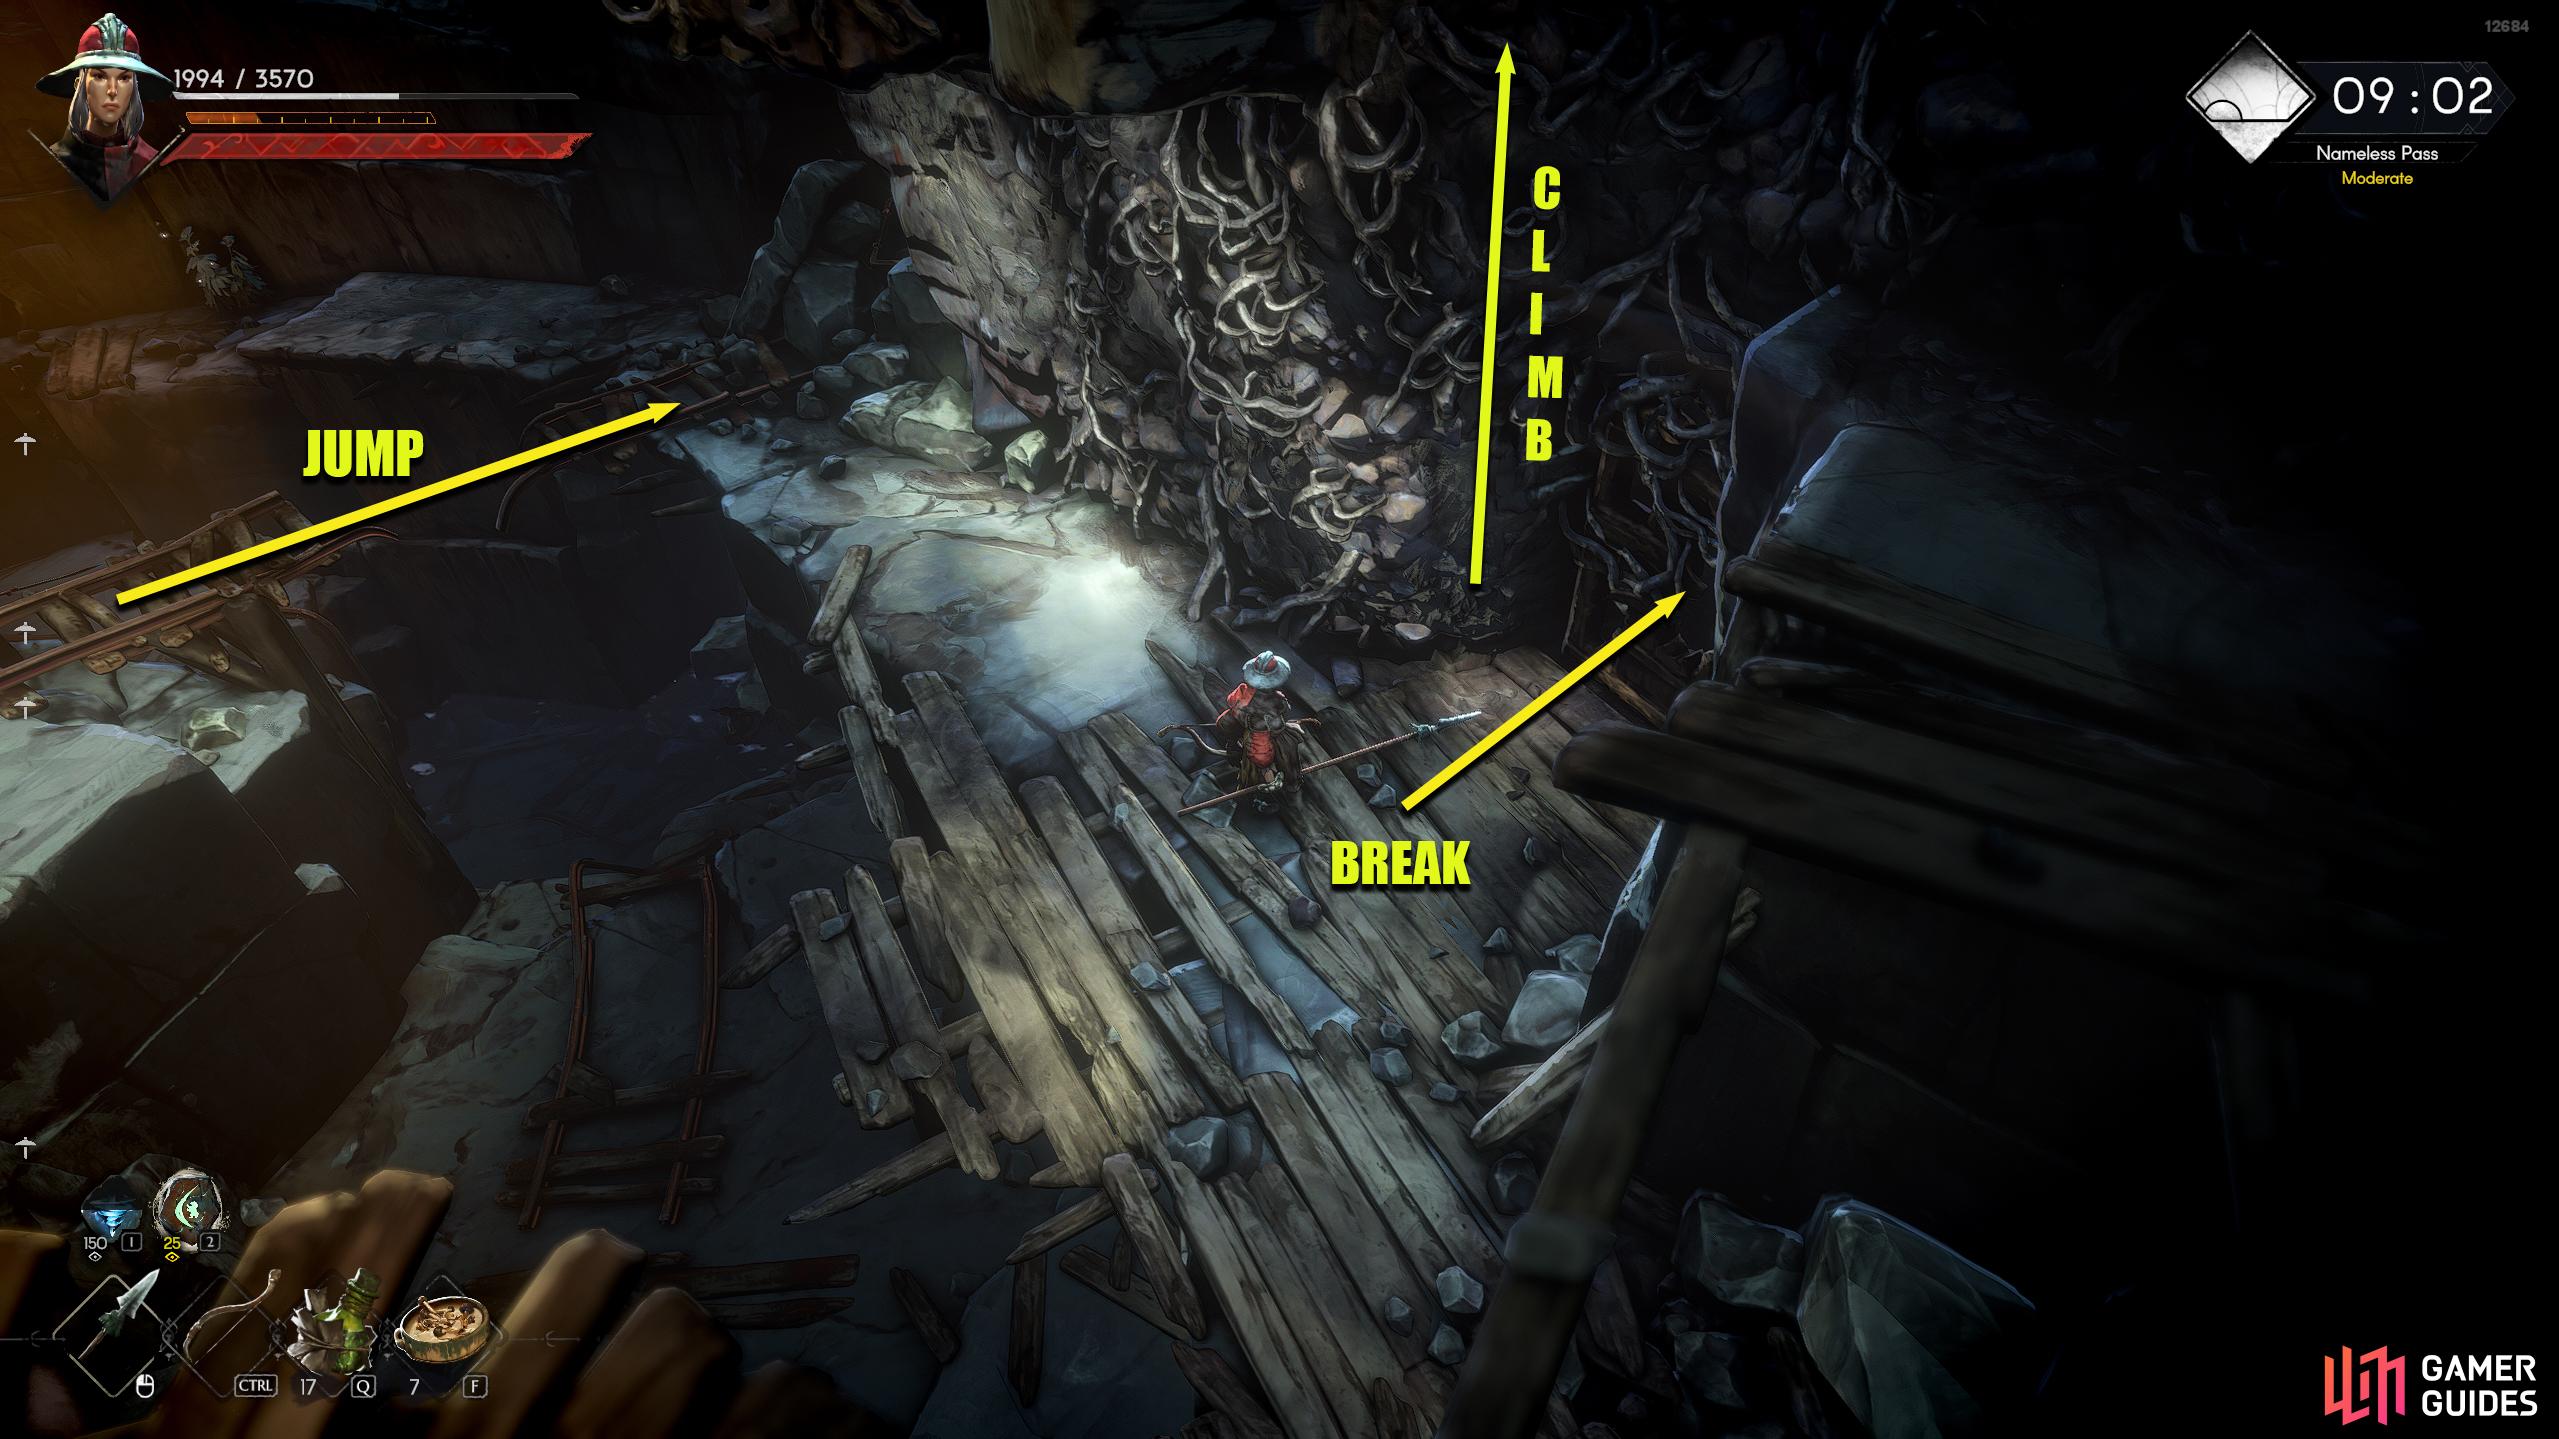
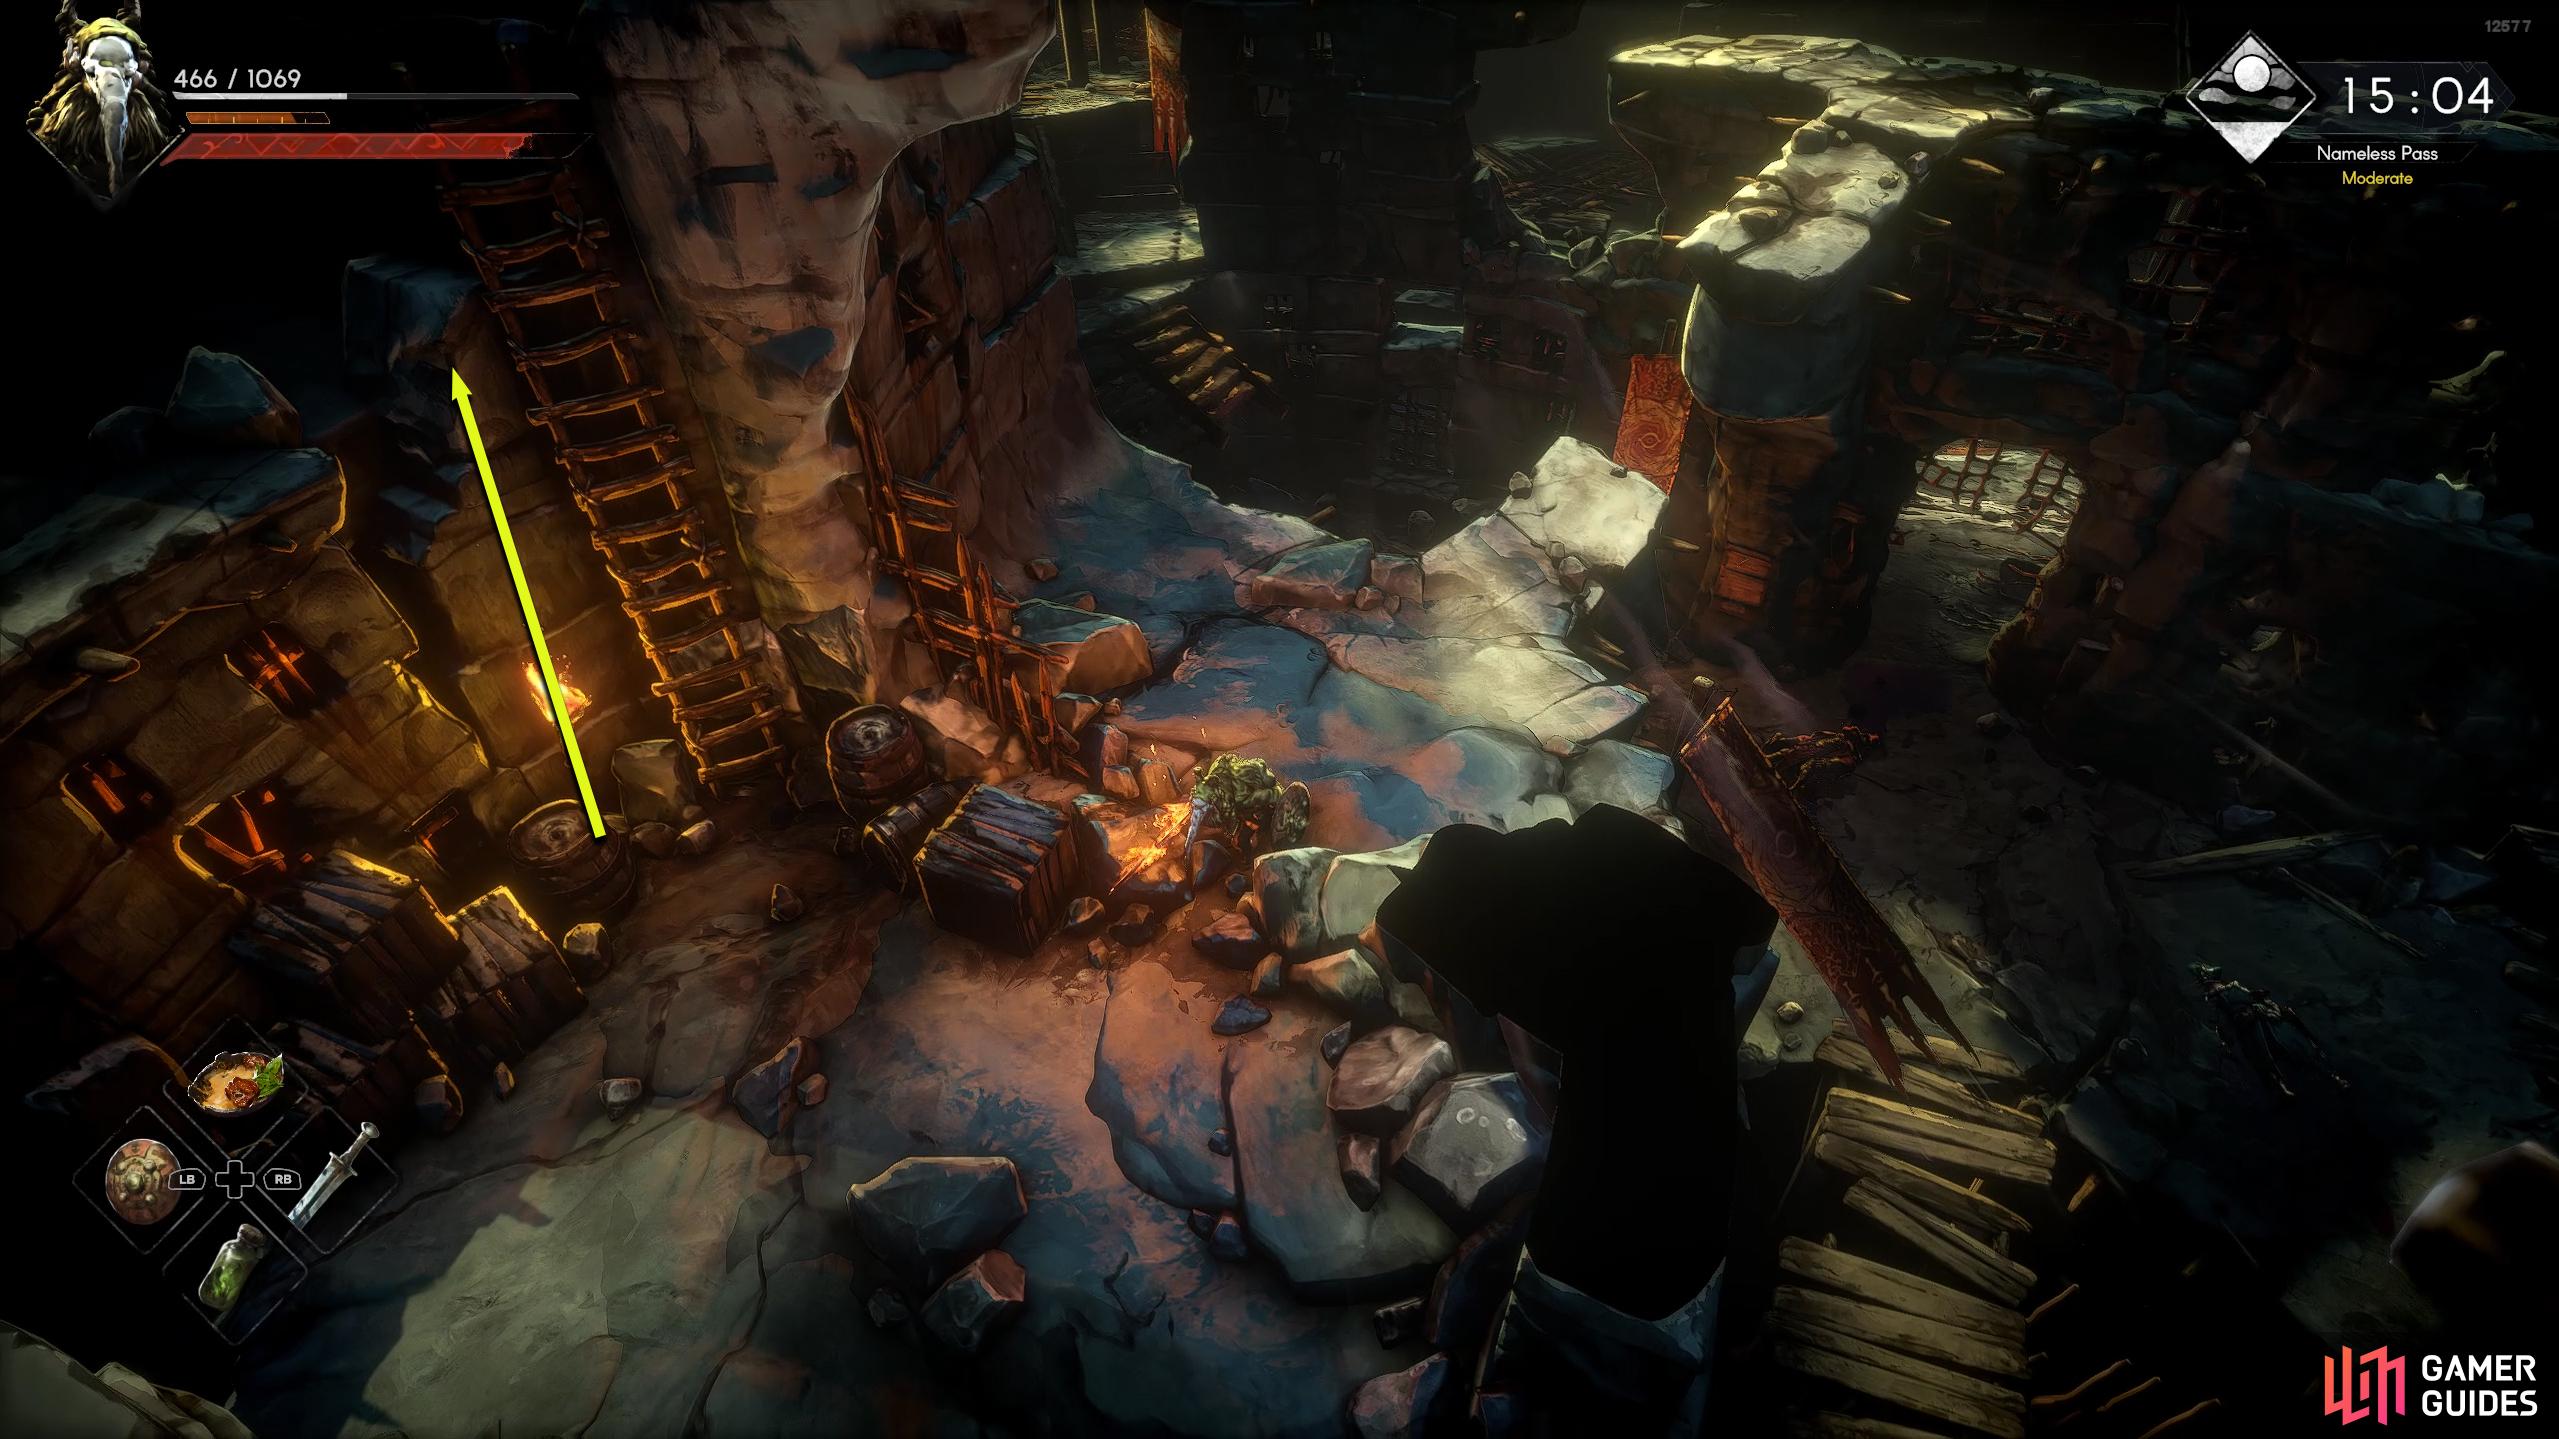
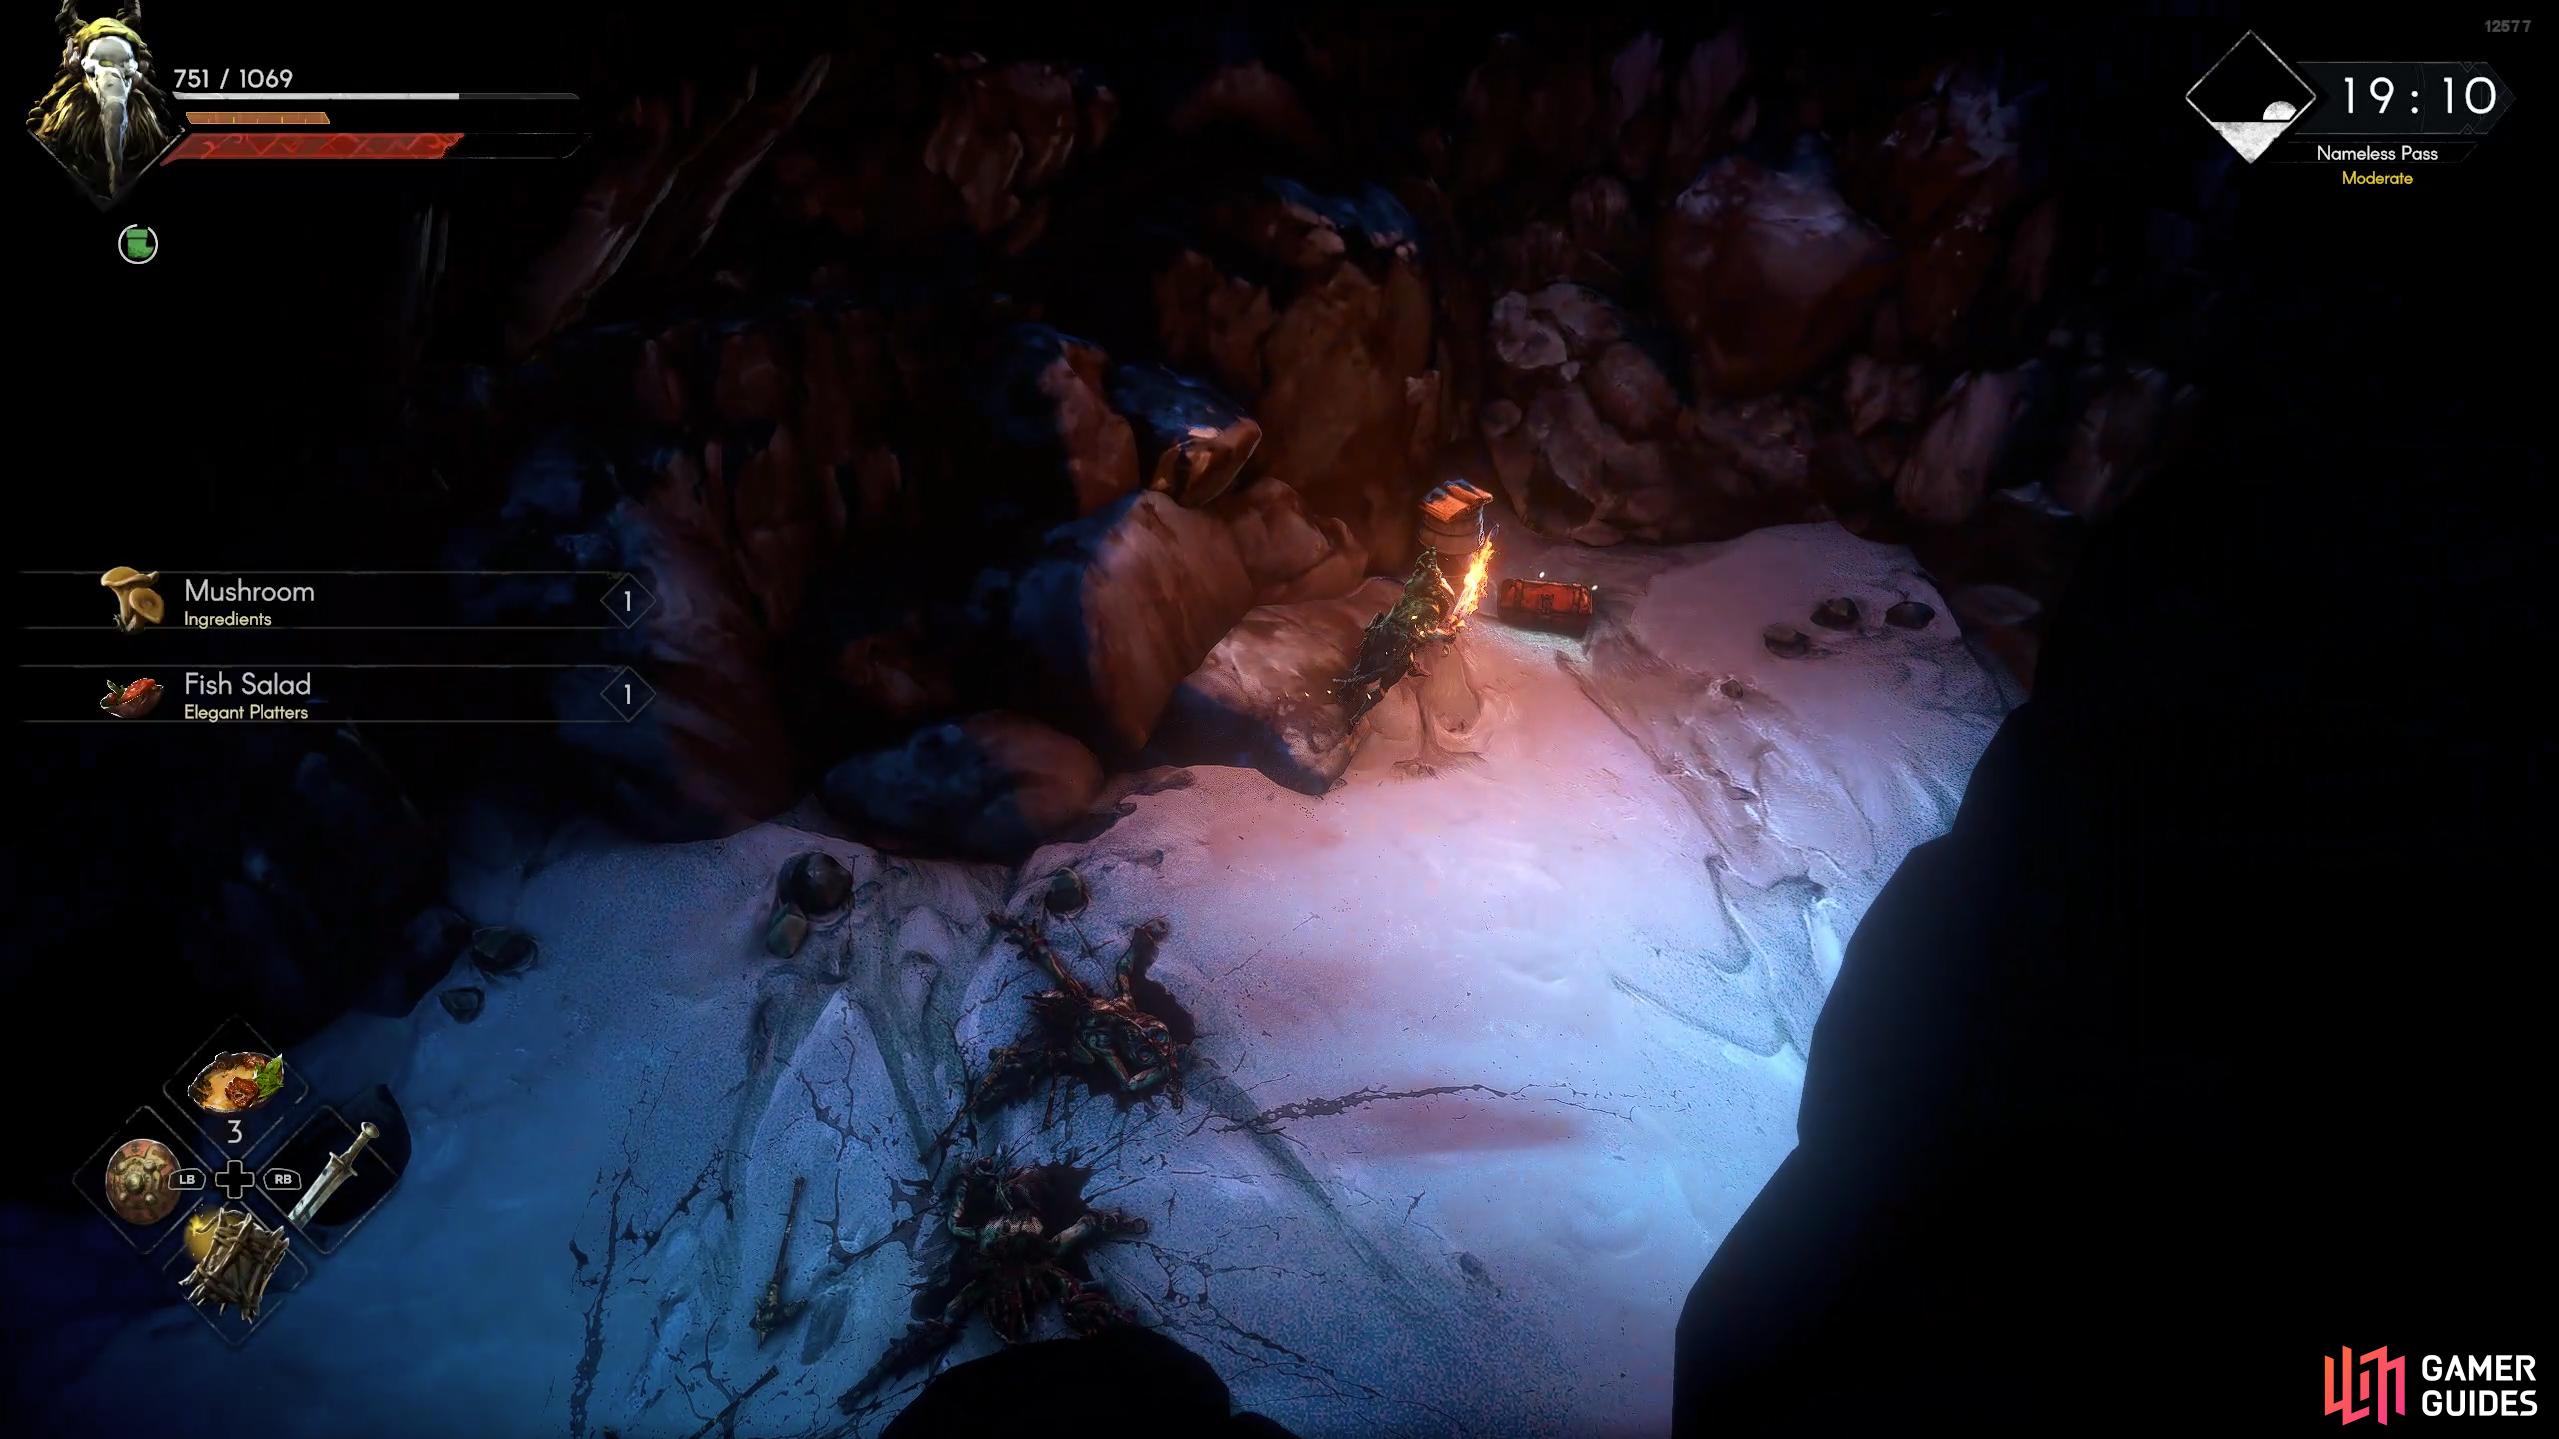
Once you’ve defeated them, you’ll find a tent with a firepit. Use the fire to make some more healing items if you need some and then pick up the various resources, of which there are some trees, an Iron Ore deposit, and a few herbs. When you’re done looting, follow the slope south, kick the ladder down for a shortcut, and pick up the item in front of it which is the Old Cottage Key. This will lead to the Entrance Whisper but don’t go down the ladder unless you need to head into town quickly, instead make your way east, across the bridge, and climb the vines attached to the cliff and pull yourself up to the ledge. Now, grab the next set of vines to your right and follow them east.
(1 of 4) Climb the stairs near the Old Cottage and jump across the broken bridge.
At the other side, you’ll have a few enemies around here, so take them out one by one if you can and if things get troublesome, climb back across the vines to heal before you head back to take them out. Aside from the enemies, there are a few resources scattered around here, so be sure to pick them up. When you’re done, head up the rubble and follow the path south to find a cave with a barricade on it. Sometimes, you can find a chest in here (not always), and if there is one, there’ll be a couple of enemies in there as well as a spike trap at the entrance. Bait the enemies to walk over the spike trap to loosen them up before you take them out, and then roll through the entrance to get the chest.
Head back out and follow the path north, defeat the enemy, and take the path west. At the end, you can find some resources and a chest (not always there). Backtrack east and continue in that direction until you can head north over the rubble, and then head east followed by south to reach the upper area. Some more enemies will be up here, take them out, head west, and jump onto the stone pillar to reach the platform to the northwest. Once again, there’ll be enemies around here, so take them out before progressing. Jump across the platforms to the south if you want some resources (Iron Ore, trees, dig spot, herbs) otherwise continue up the slope to the northeast.
In this section, you’ll have an enemy or two in front of the slope, a chest to the left of them, and some vines to the right. Defeat the enemies, loot the chest, and climb the vines to the next area. At the top, you’ll have an elevator to your right that will lead to the next Whisper. Do this now if you’re worried about dying, otherwise, head north where you’ll find some more enemies. Take out the enemies and then loot the chest further north while also mining the iron deposits here. If you take the stairs down to the west, sometimes you’ll find a chest by the edge of the cliff. You can see if it’s there from the stairs, so if you don’t see one, it won’t be there.
(1 of 3) This chest is acquired by jumping across the platforms and then heading northeast.
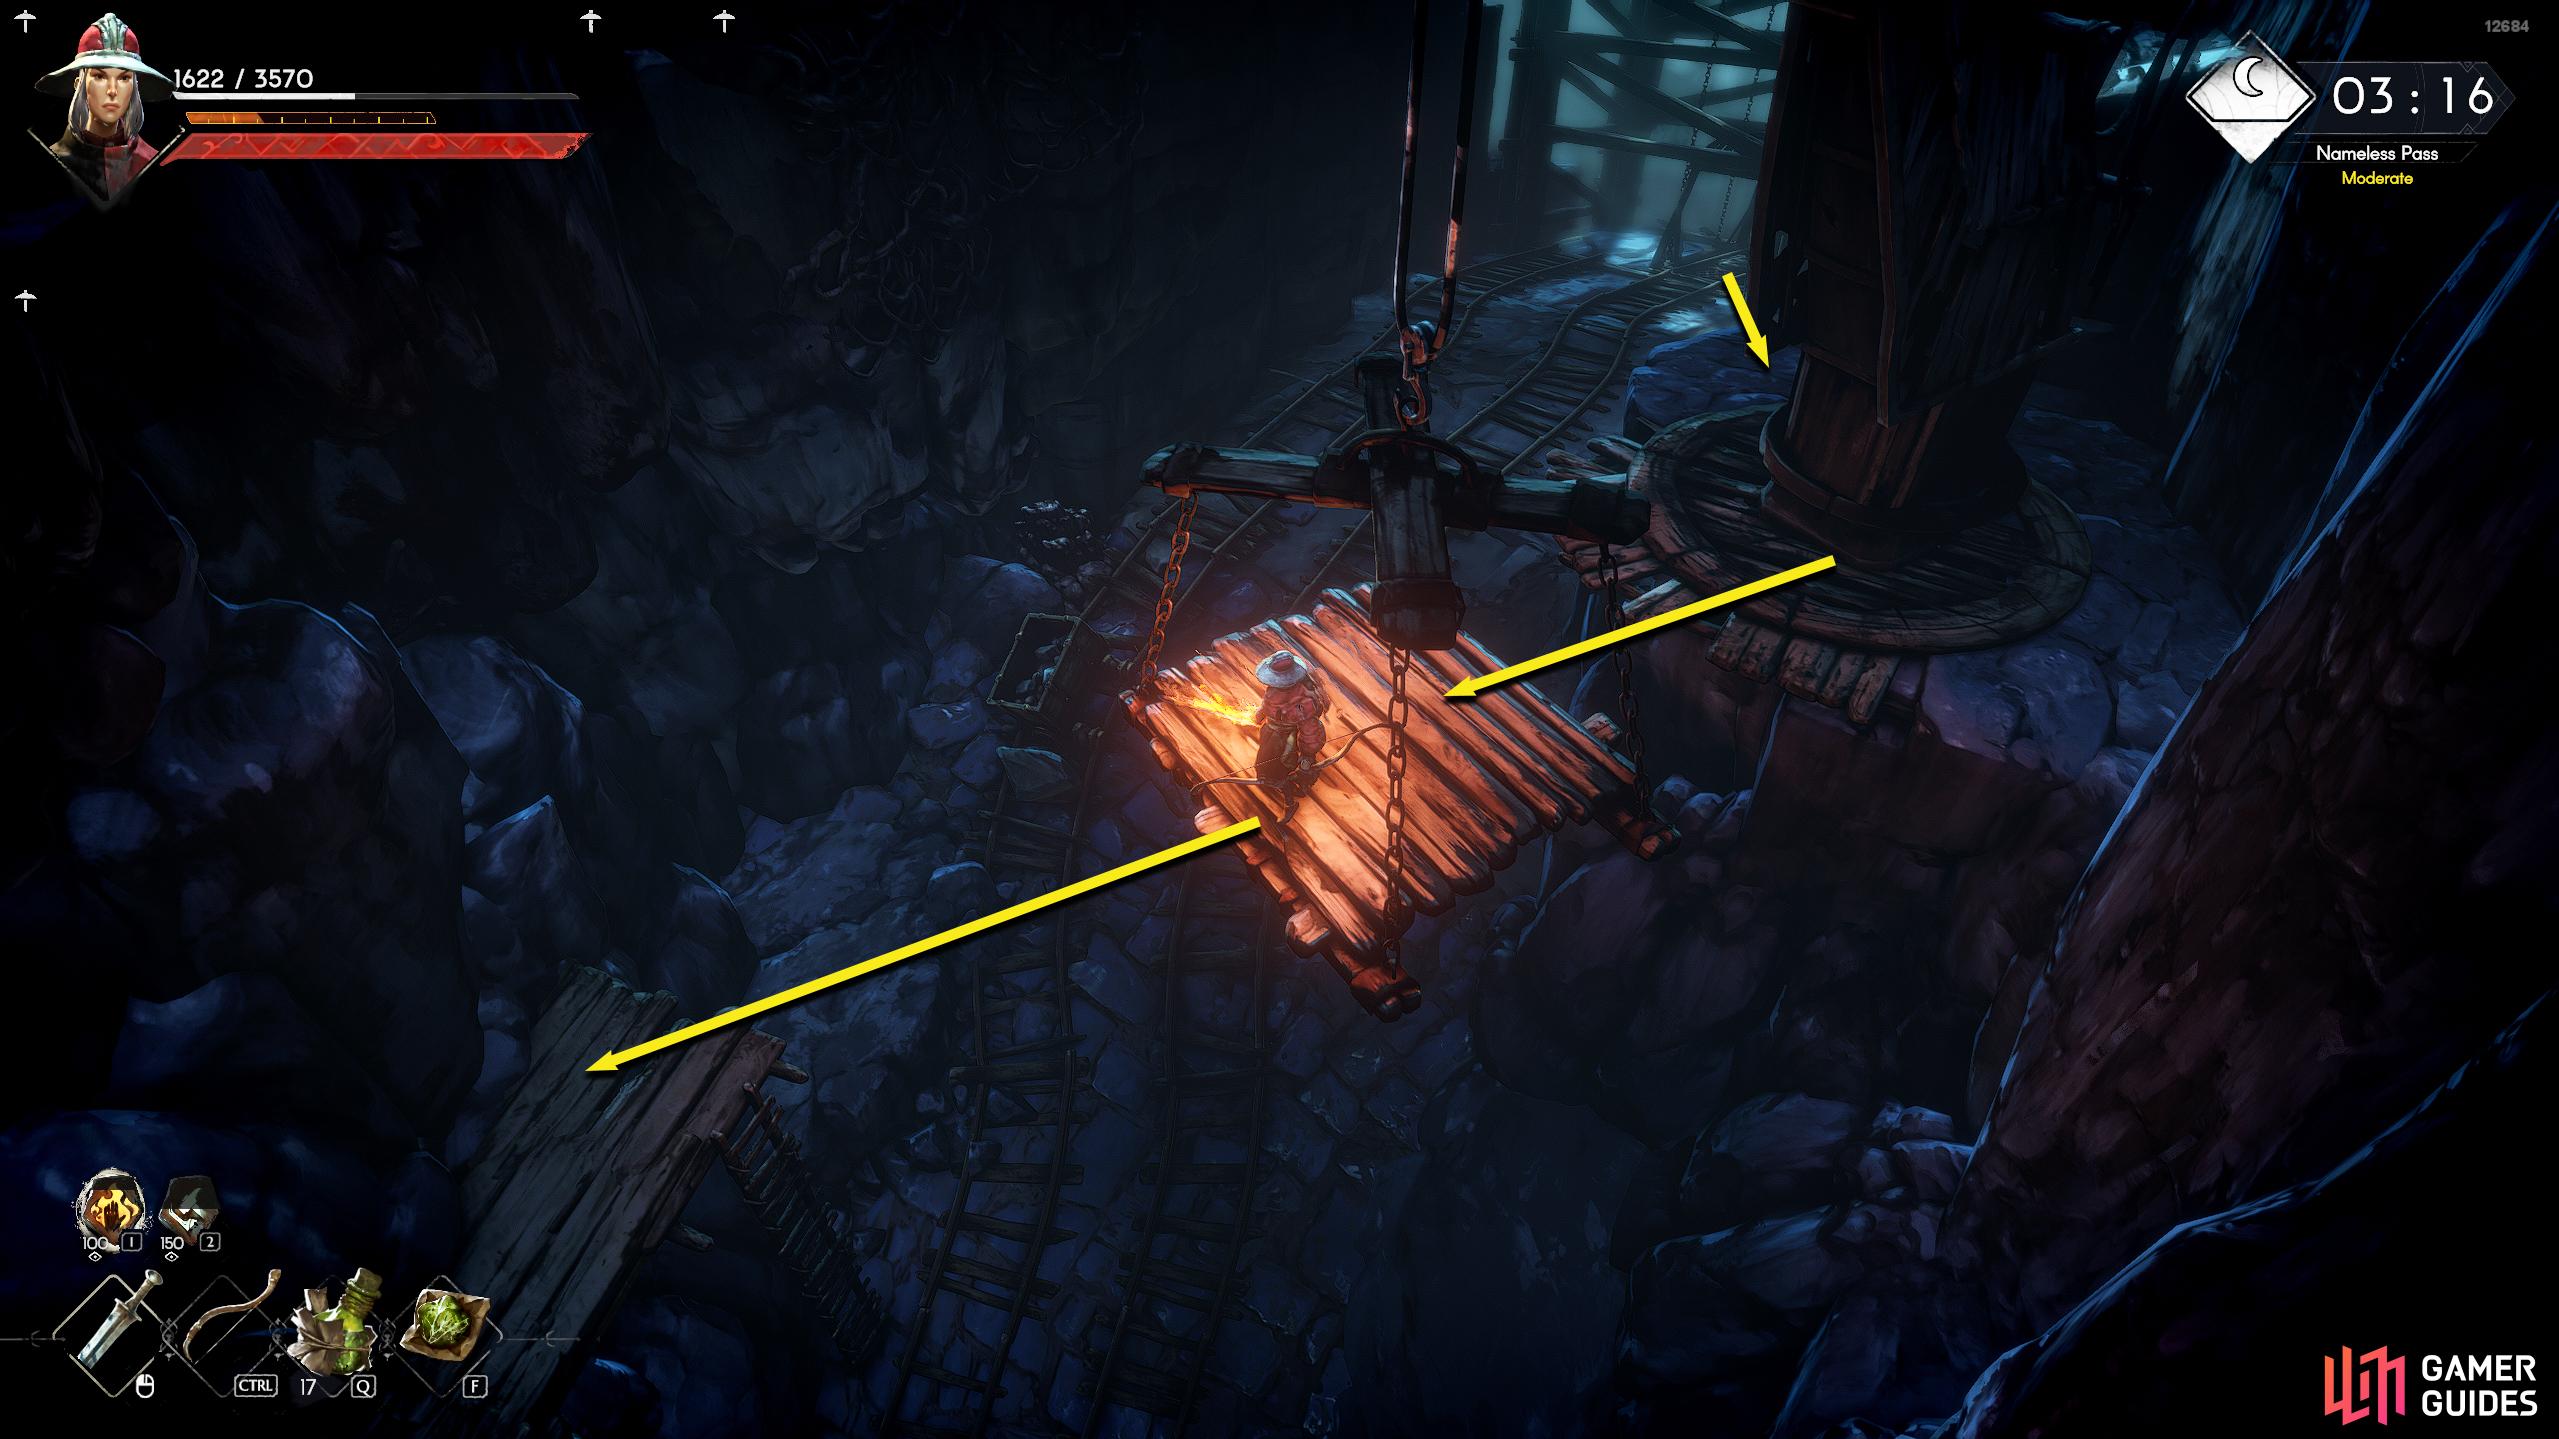
Make your way back to the elevator, and take it down to the quarry. On your way down, you may spot a chest on top of the hanging stone block. You can roll off the elevator to reach the chest, and then use the wooden planks on the south side of the elevator housing to reach the bottom. However, we recommend taking the elevator down to the quarry first and touching the Quarry Whisper northeast of it first. You don’t want to fall and have to make that long run back again.
Quarry Whisper
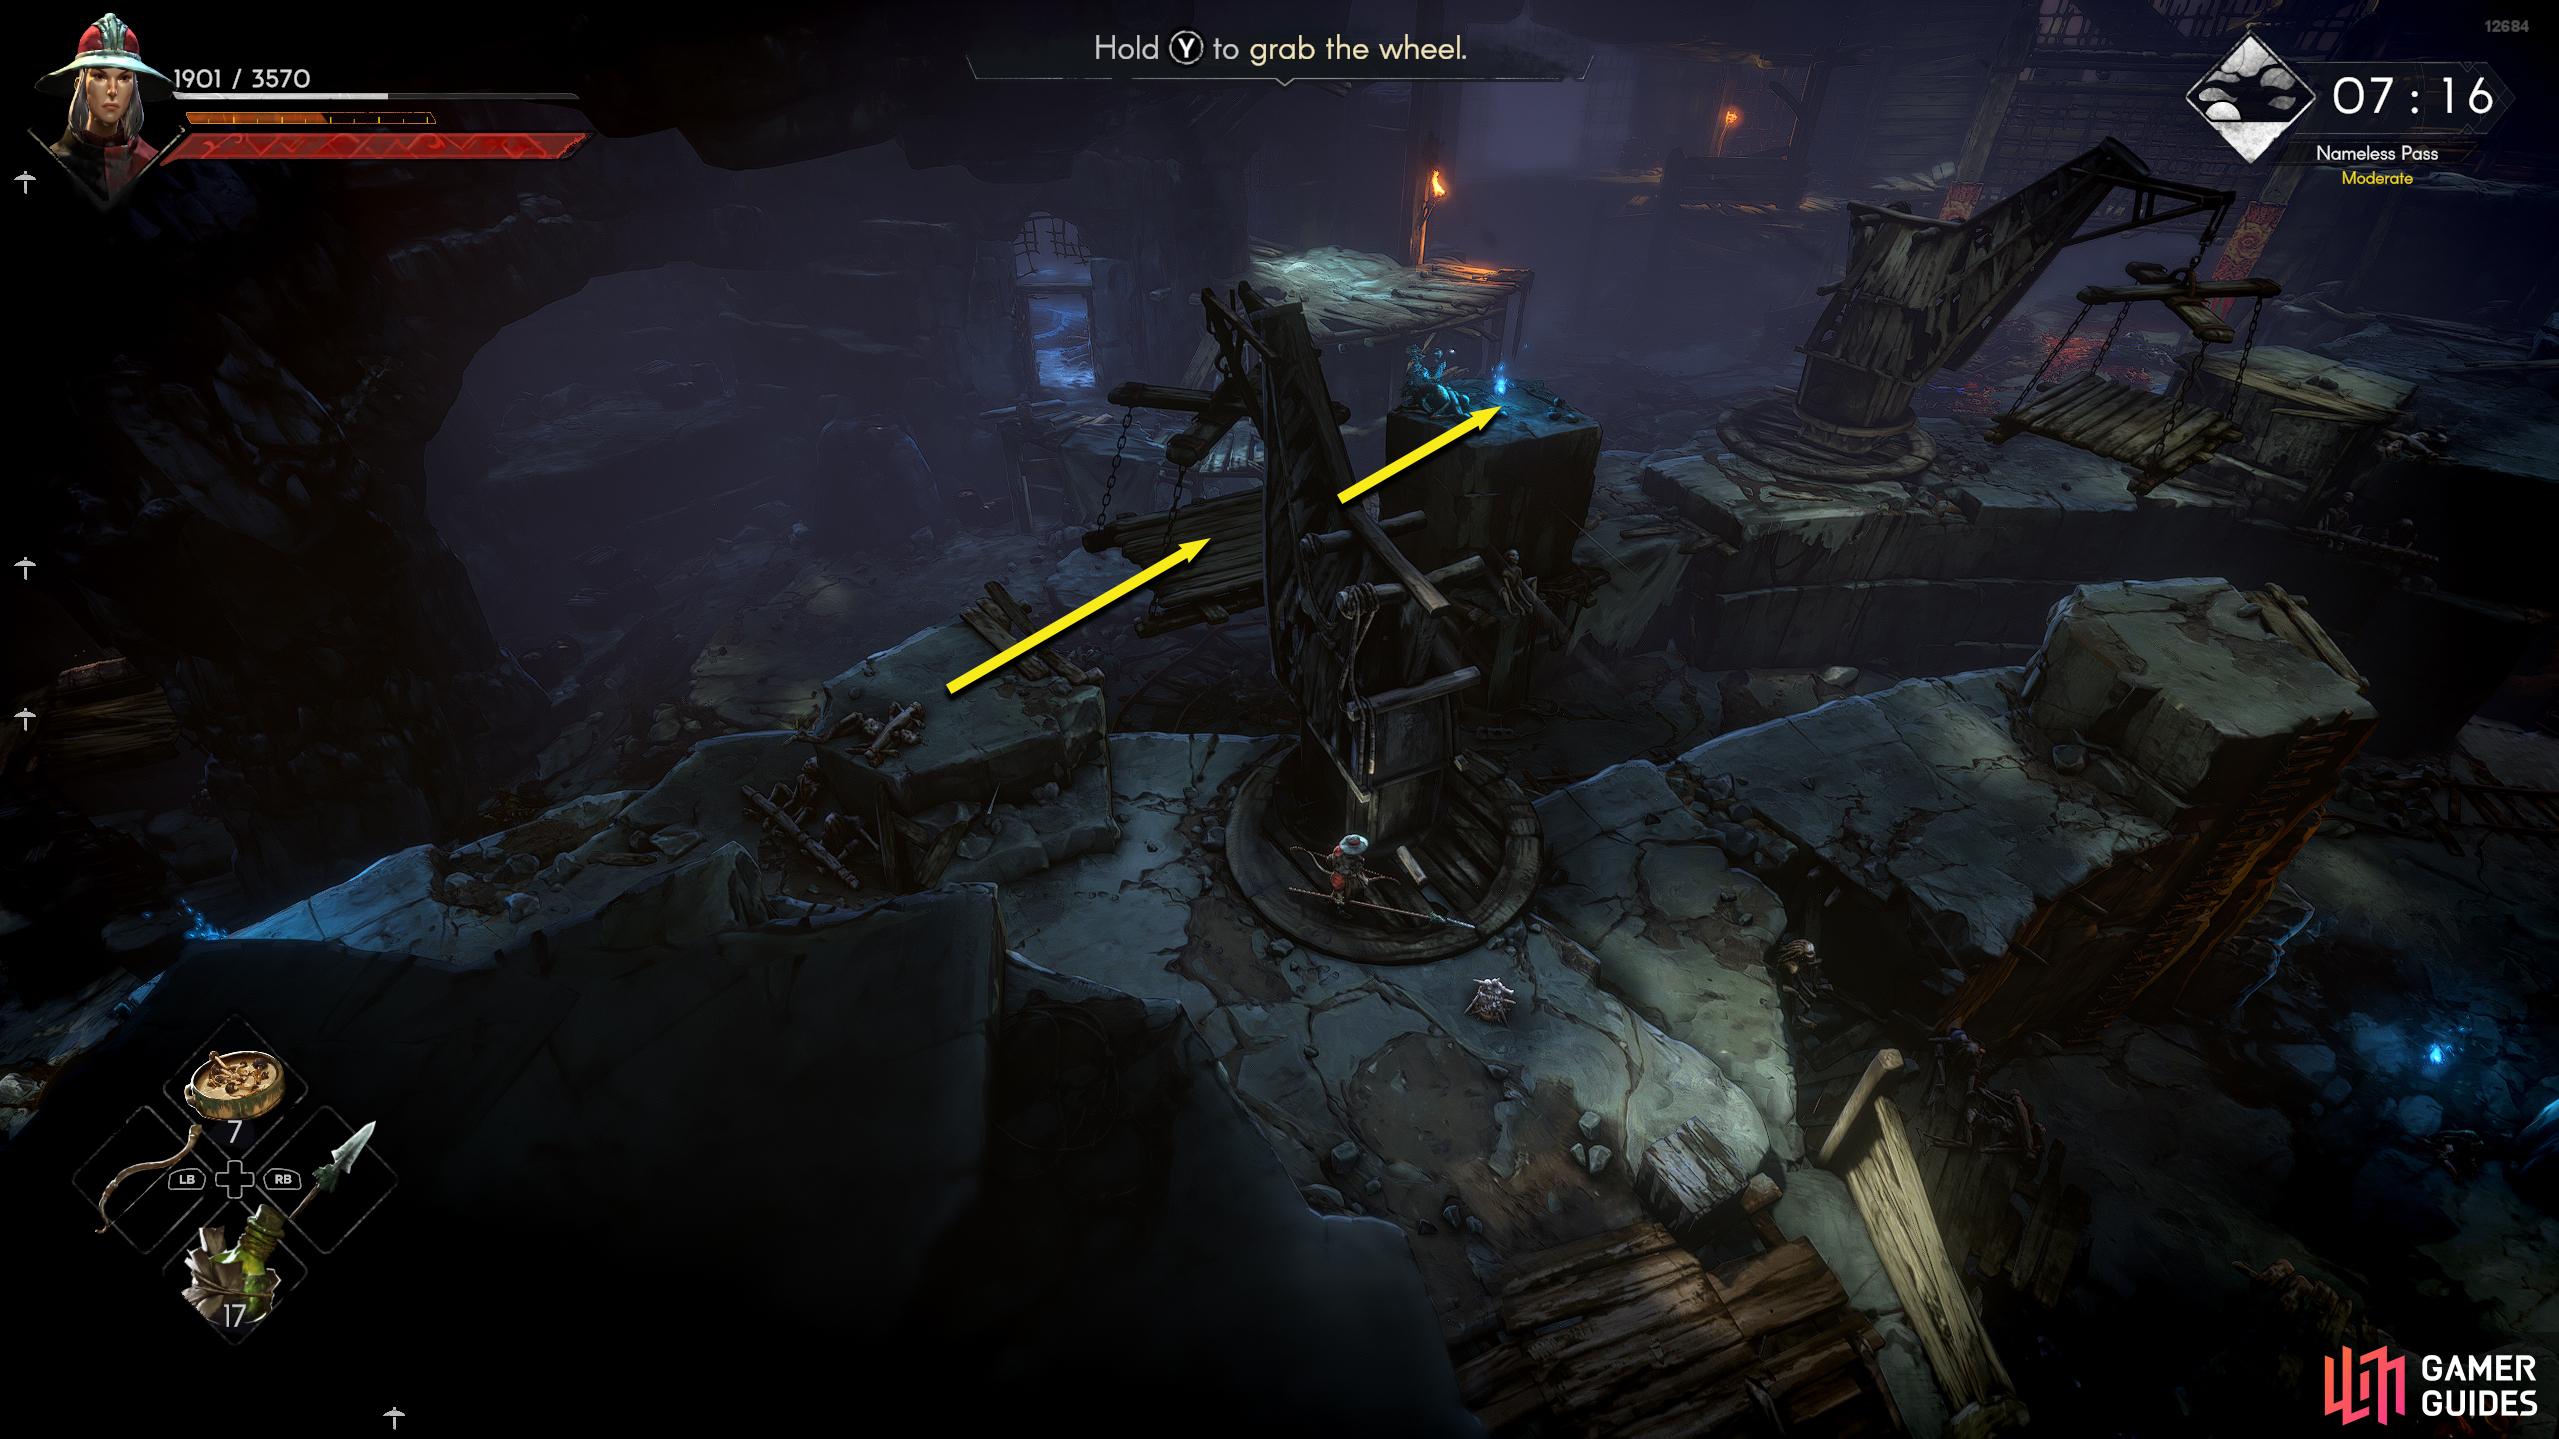
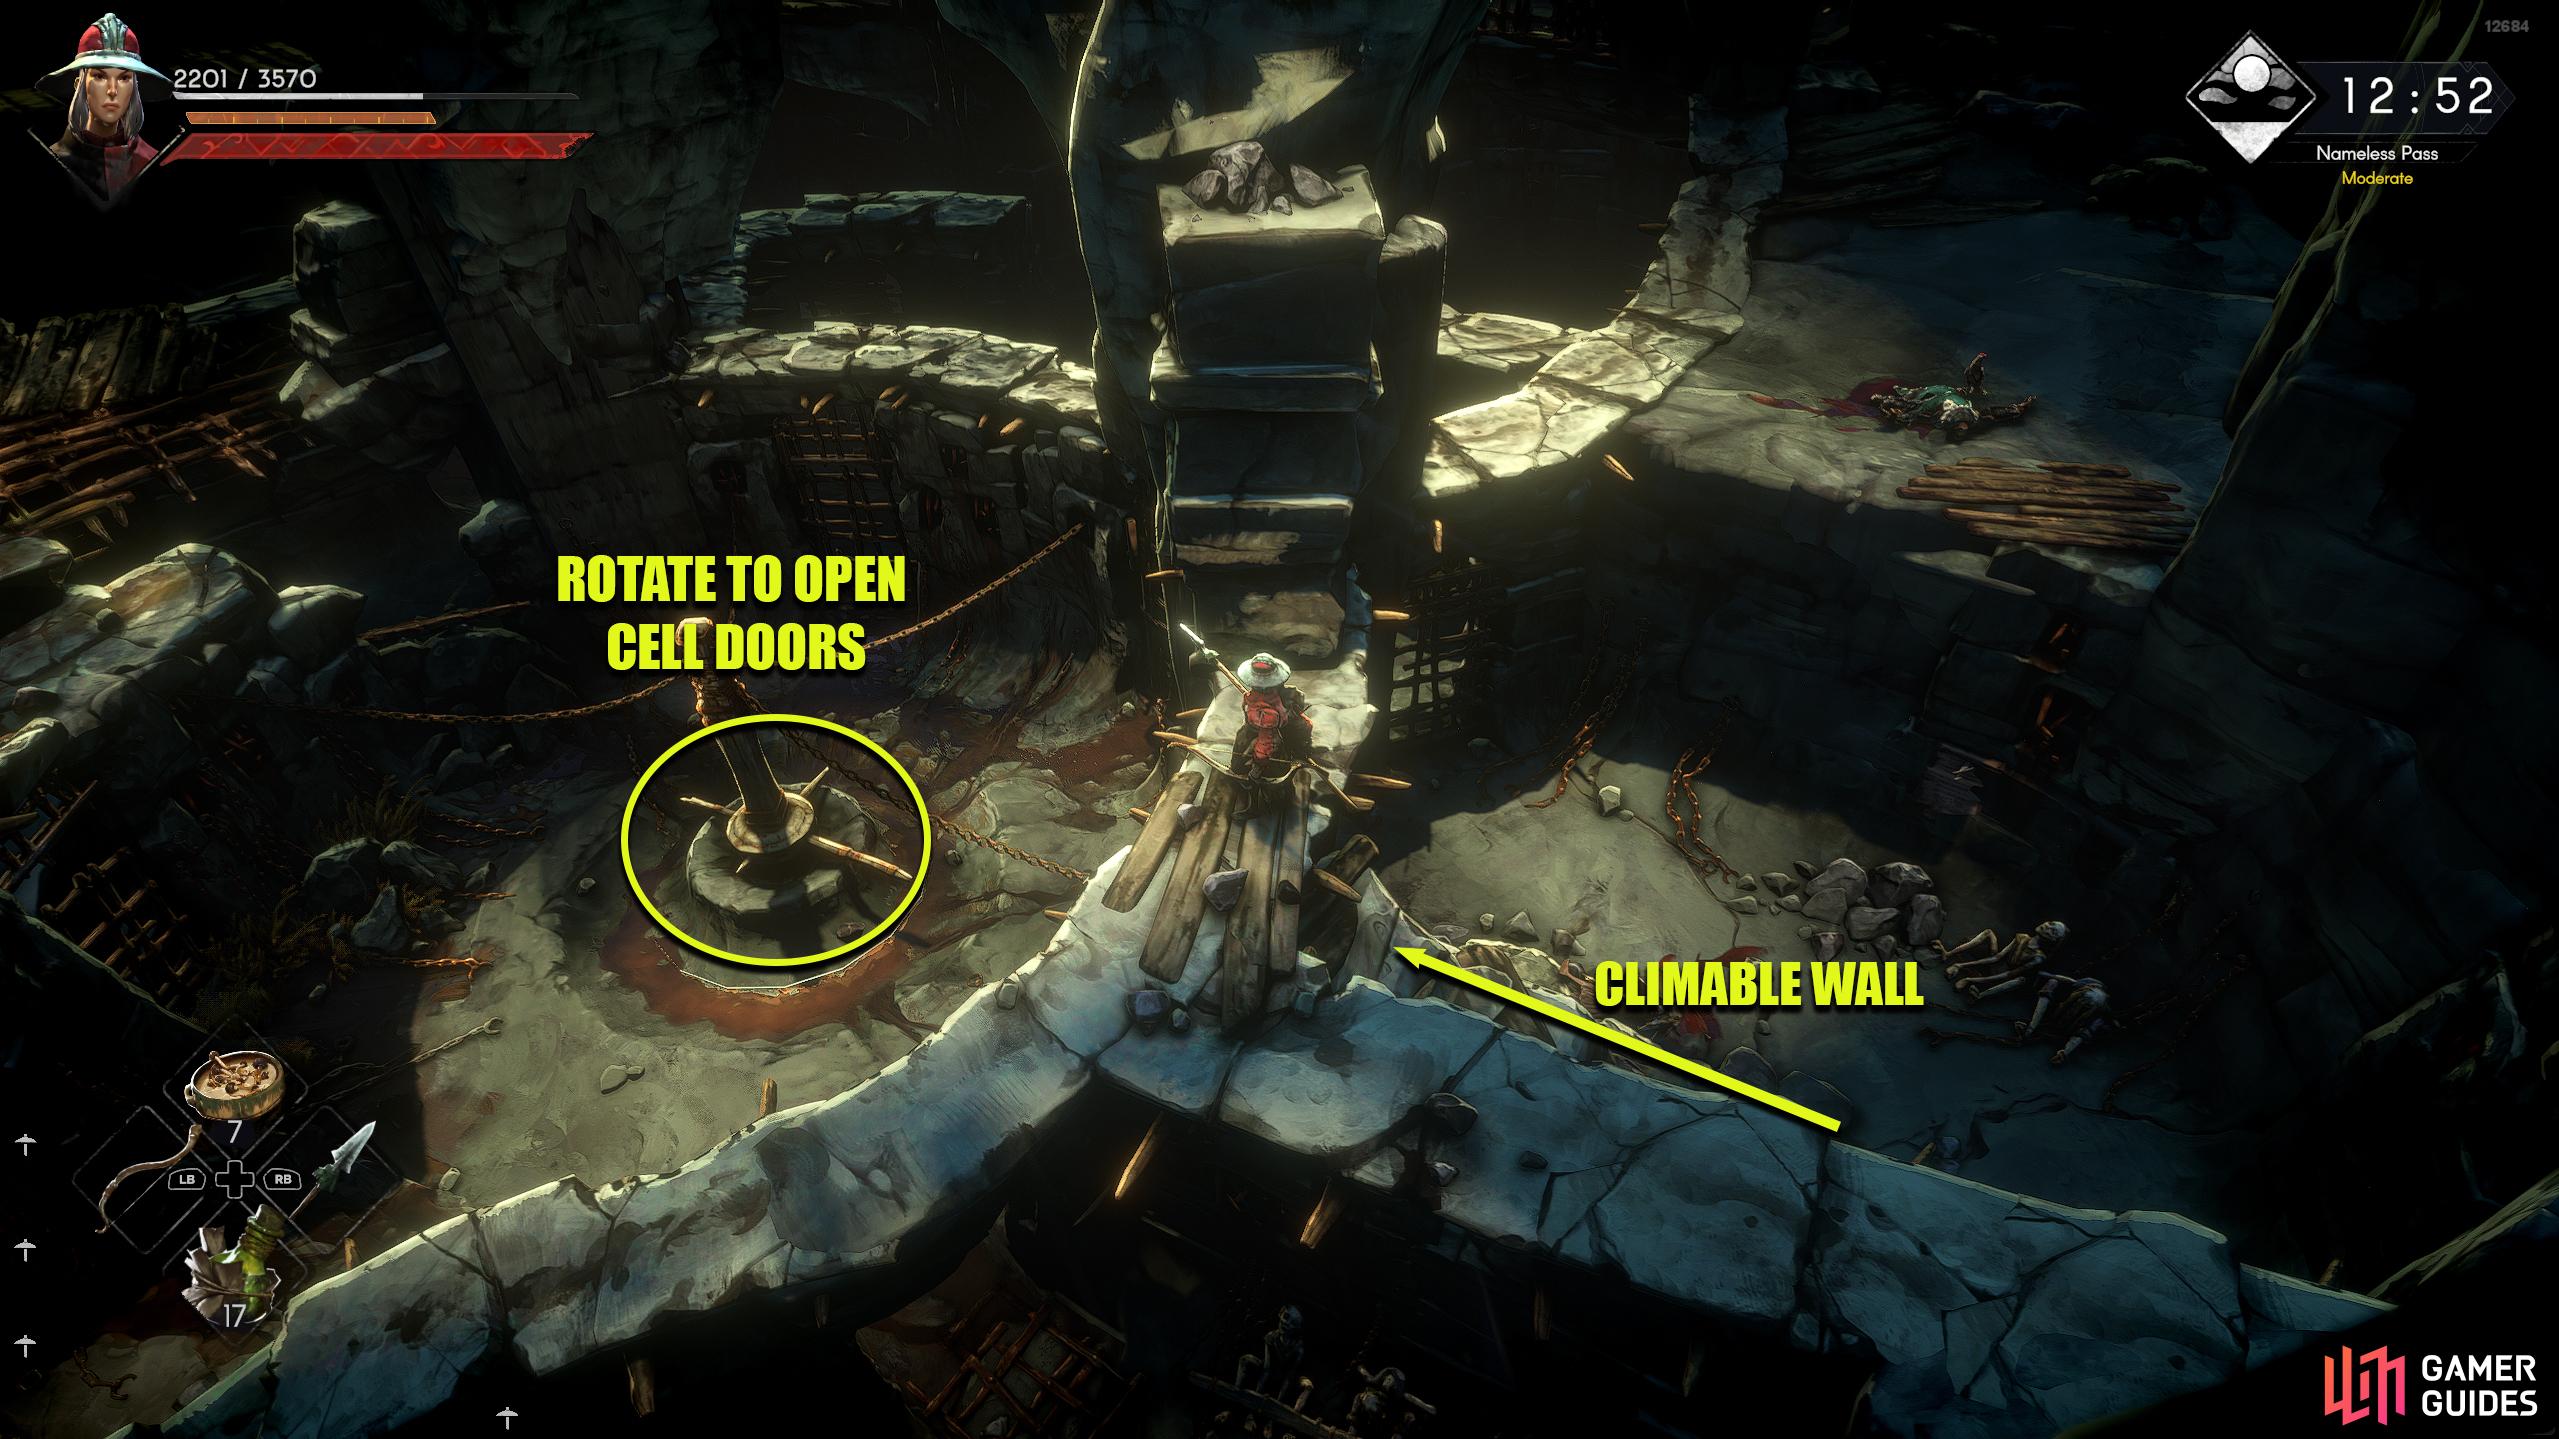
Now you’ve reached the quarry. There are a few ways you can go here but go south first as it’ll lead to some chests and a shortcut back to the first Whisper. Before you do this, head forward and touch Quarry Whisper first. Now, head back toward the elevator and continue in that direction. As you head south, you’ll find some stairs leading to a crane. This crane can be operated by interacting with the lever and pressing in a direction. Rotate the crane so that the wooden platform hanging from it faces to the southwest, where you’ll spot a wooden platform with a ladder. Jump across, kick down the ladder, and follow the platform south and east to find a lever to press. This will unlock the gate below it.
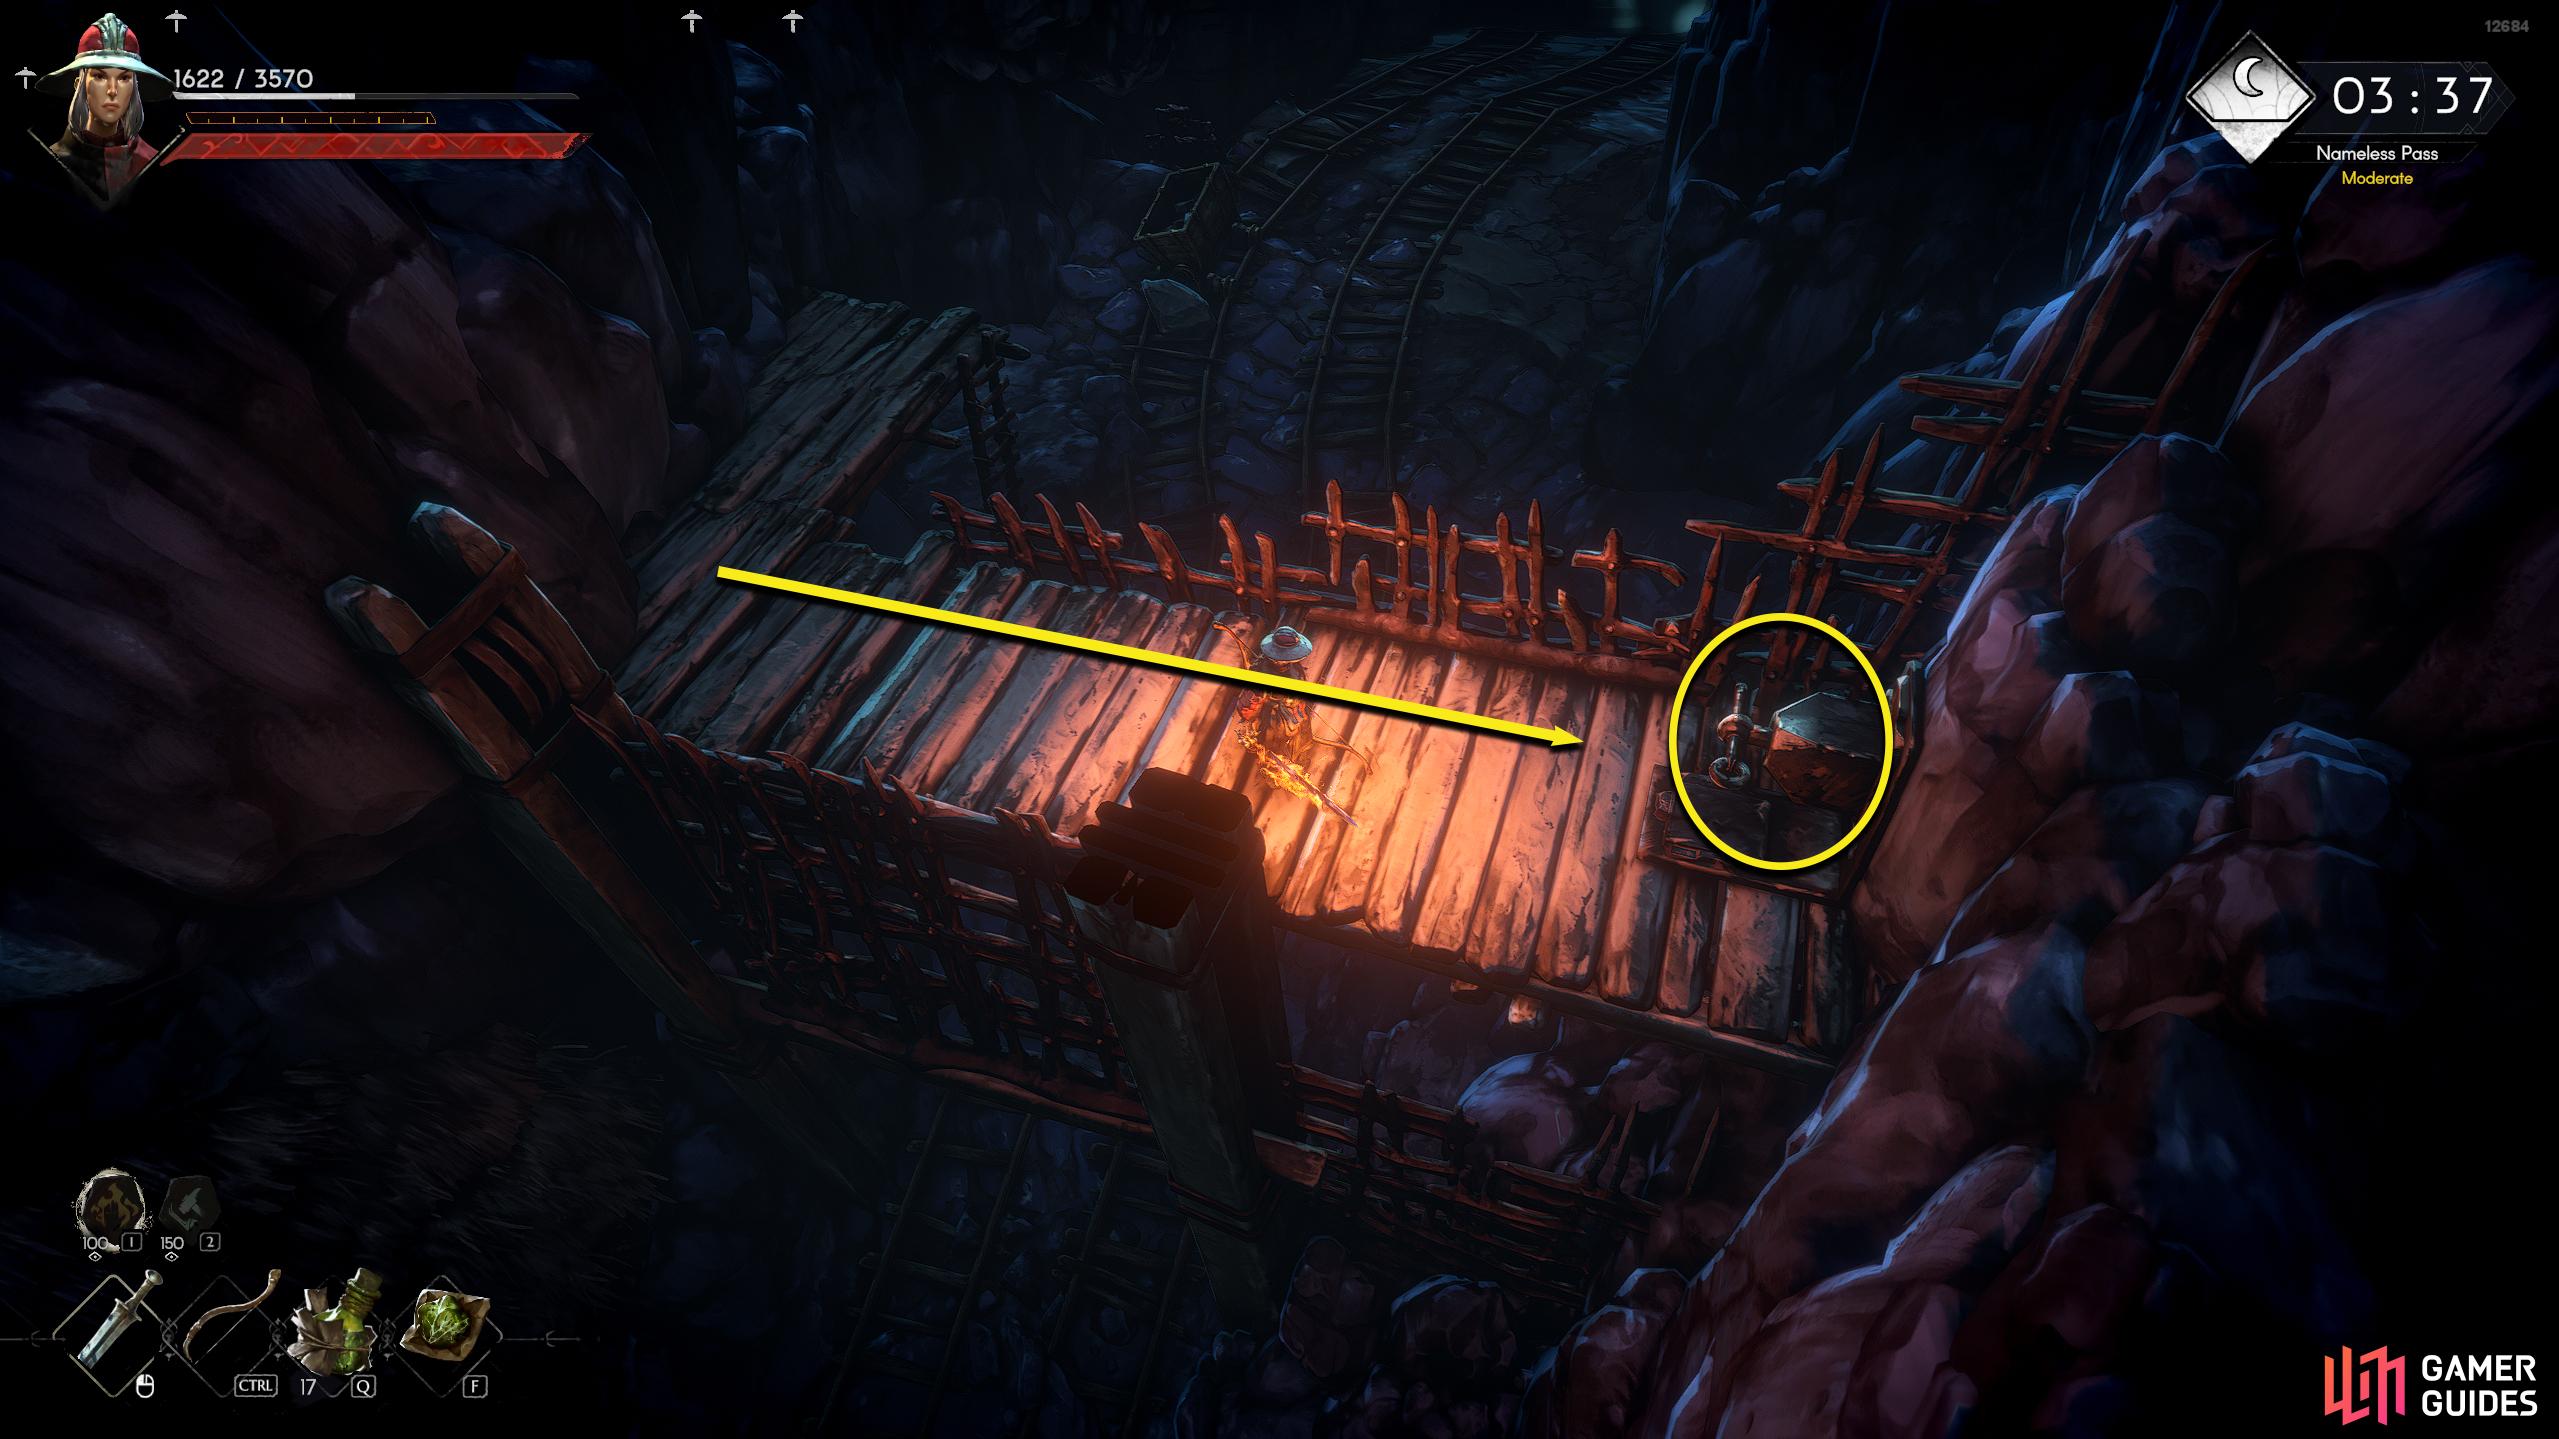
Head back to the Quarry Whisper, defeat the nearby enemy, and then climb up the stone platform to the east, under the crane. Here, you’ll find a chest at the back. Drop to the floor below, and head northeast until you can head west. Take the western path to the end to find an iron ore deposit, then head north across the water. Follow the path northeast while defeating the enemies along the way, and head up the wooden stairs south to find the infamous crane puzzle. Note that this puzzle had a bug where you couldn’t rotate the cranes properly, which would block you from progressing. As of the Early Access Hotfix 3, this has allegedly been fixed.
(1 of 2) Head south of the elevator, rotate the platform to the southwest, and jump over to the platform with the ladder.
Head south of the elevator, rotate the platform to the southwest, and jump over to the platform with the ladder. (left), Kick down the ladder and then interact with the lever to raise the gate for a shortcut. (right)
Crane Puzzle
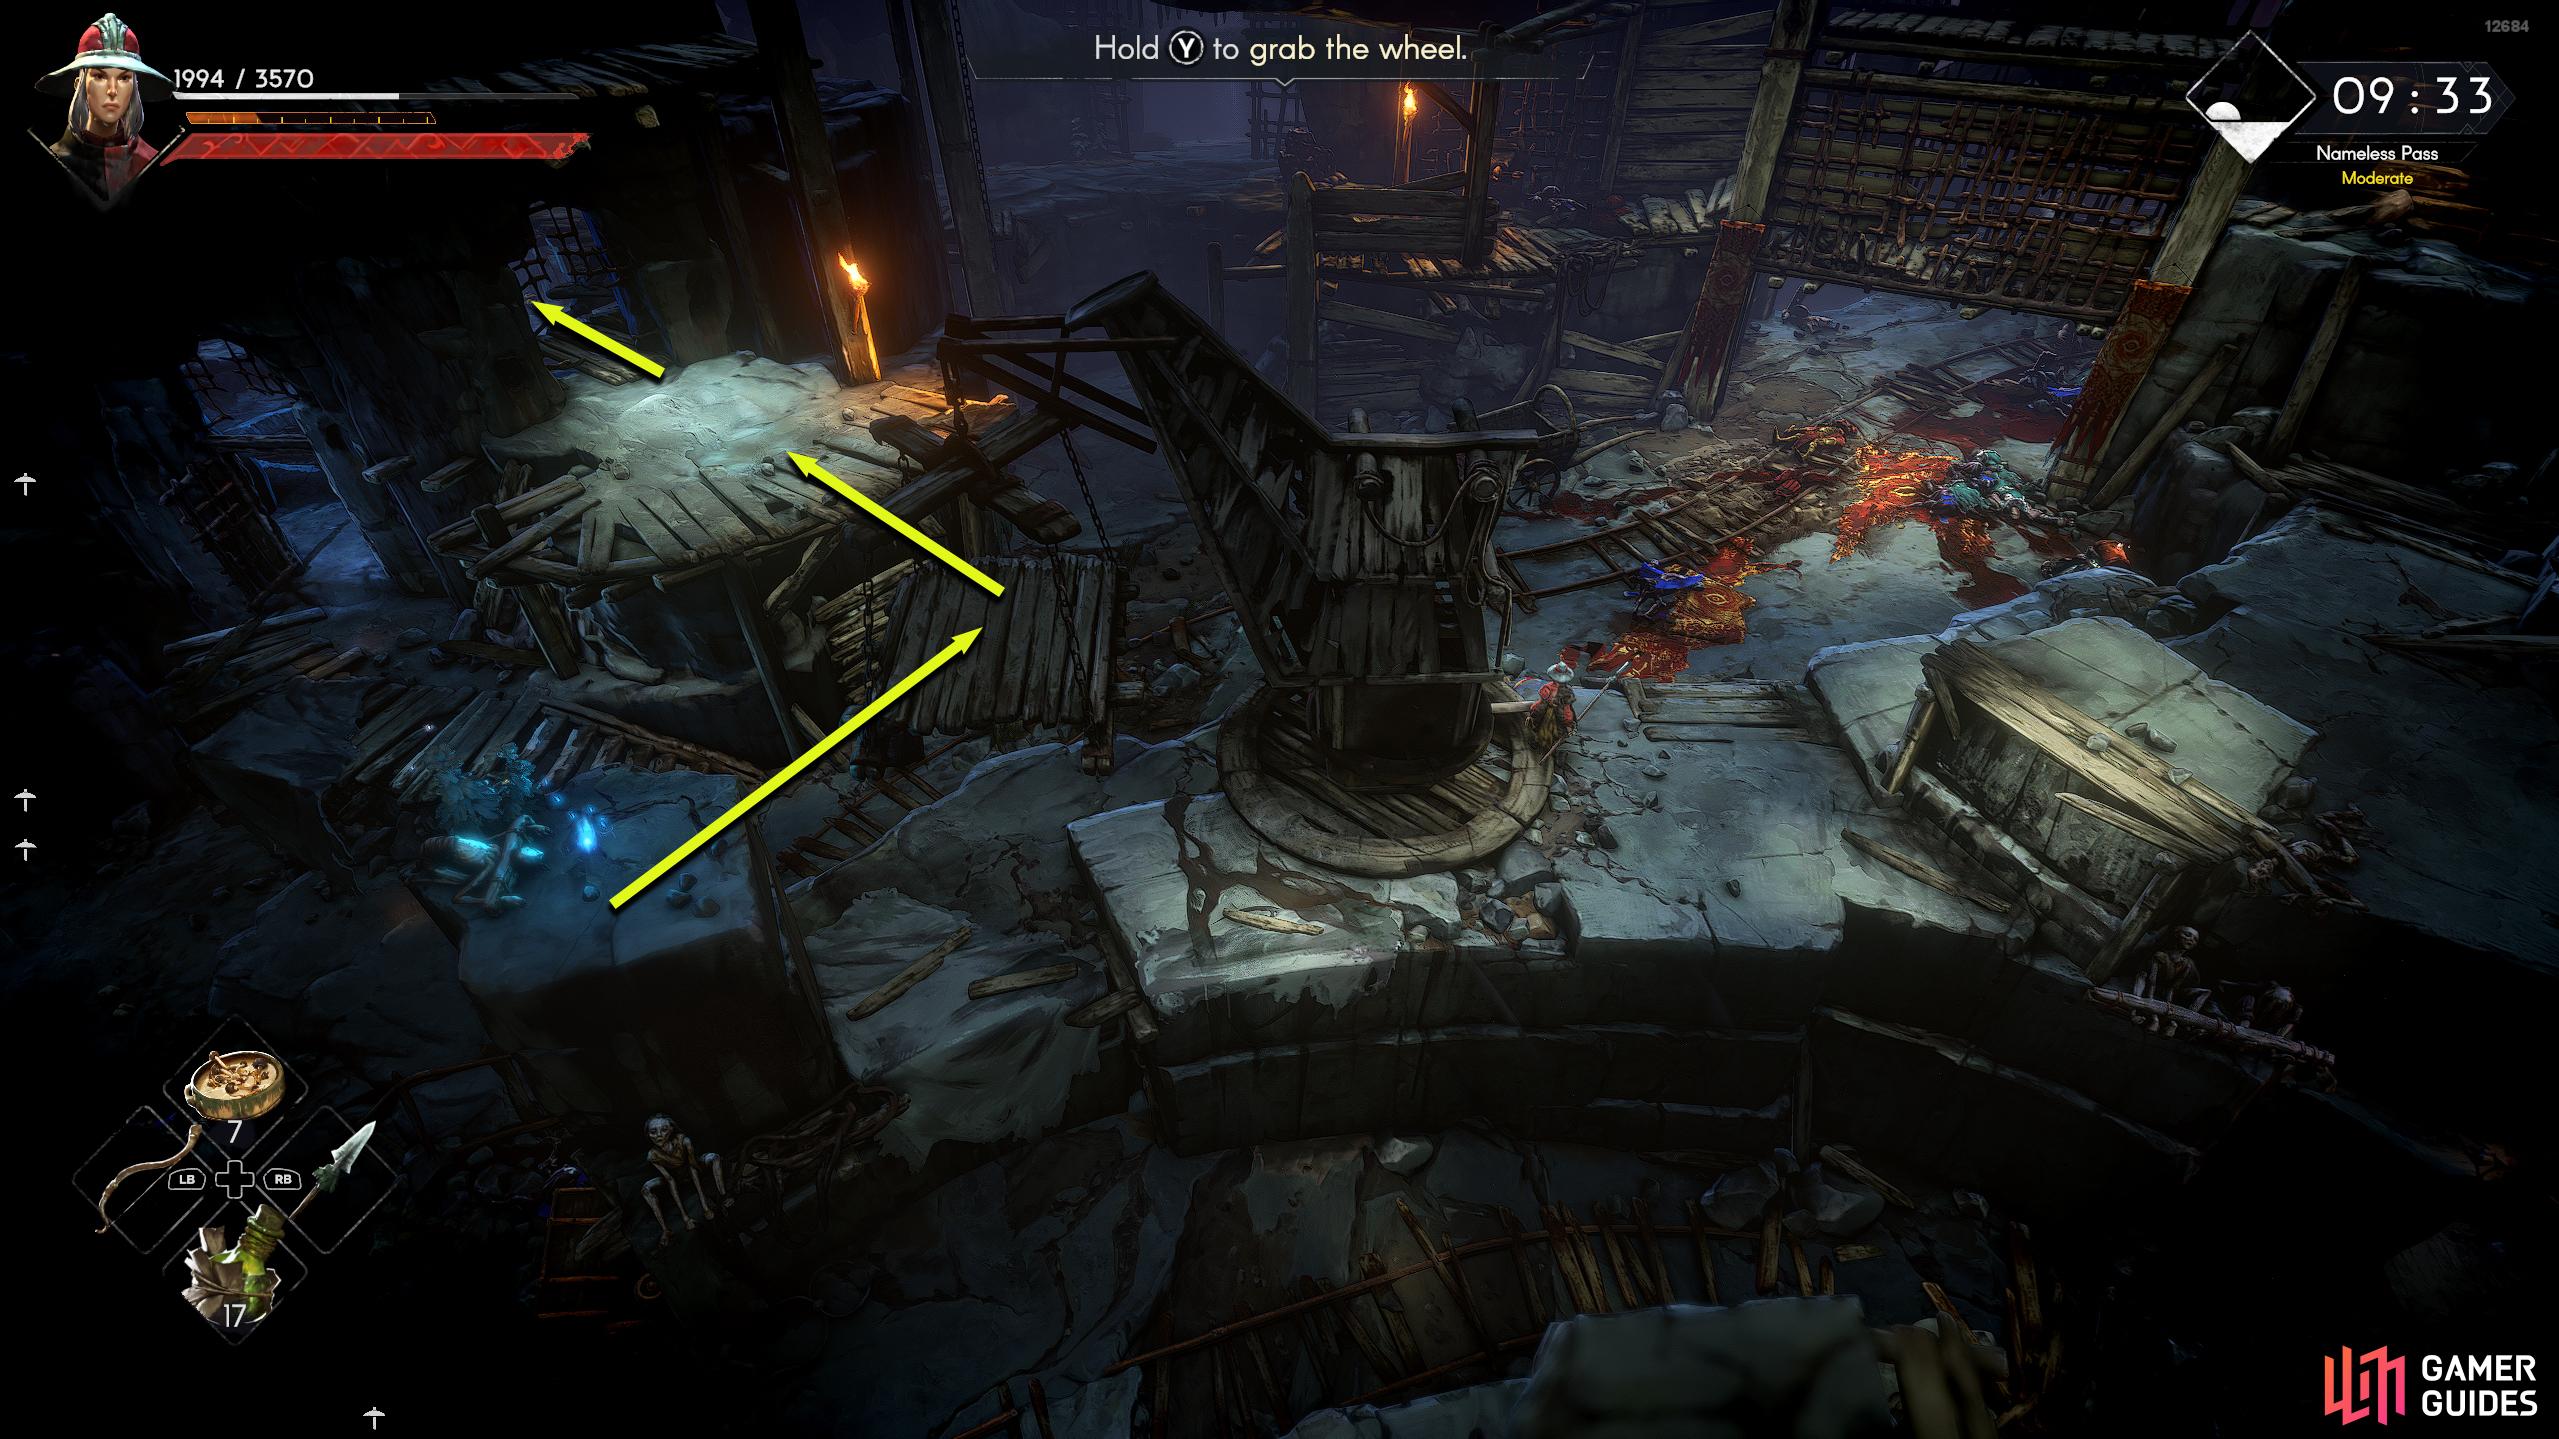
Walk up to the crane and interact with its handle. Rotate the platform south so it bridges the gap between the raised platform to the right of the crane (the one with the wooden planks at the end of the block, and the platform to the south. Now, jump from the raised platform to your right onto the wooden platform hanging from the crane, and then jump south onto the platform to the south. When you land on the southern platform, kick down the nearby ladder to the south, and then head west to reach another crane. Before you mess around with that, head south down the wooden platform, defeat the nearby enemy, and loot the chest. Head back to the crane and rotate it so the hanging platform is in the center of the two platforms north of you. This will make sense later.

(1 of 4) This chest is on the raised platform east of the Quarry Whisper.
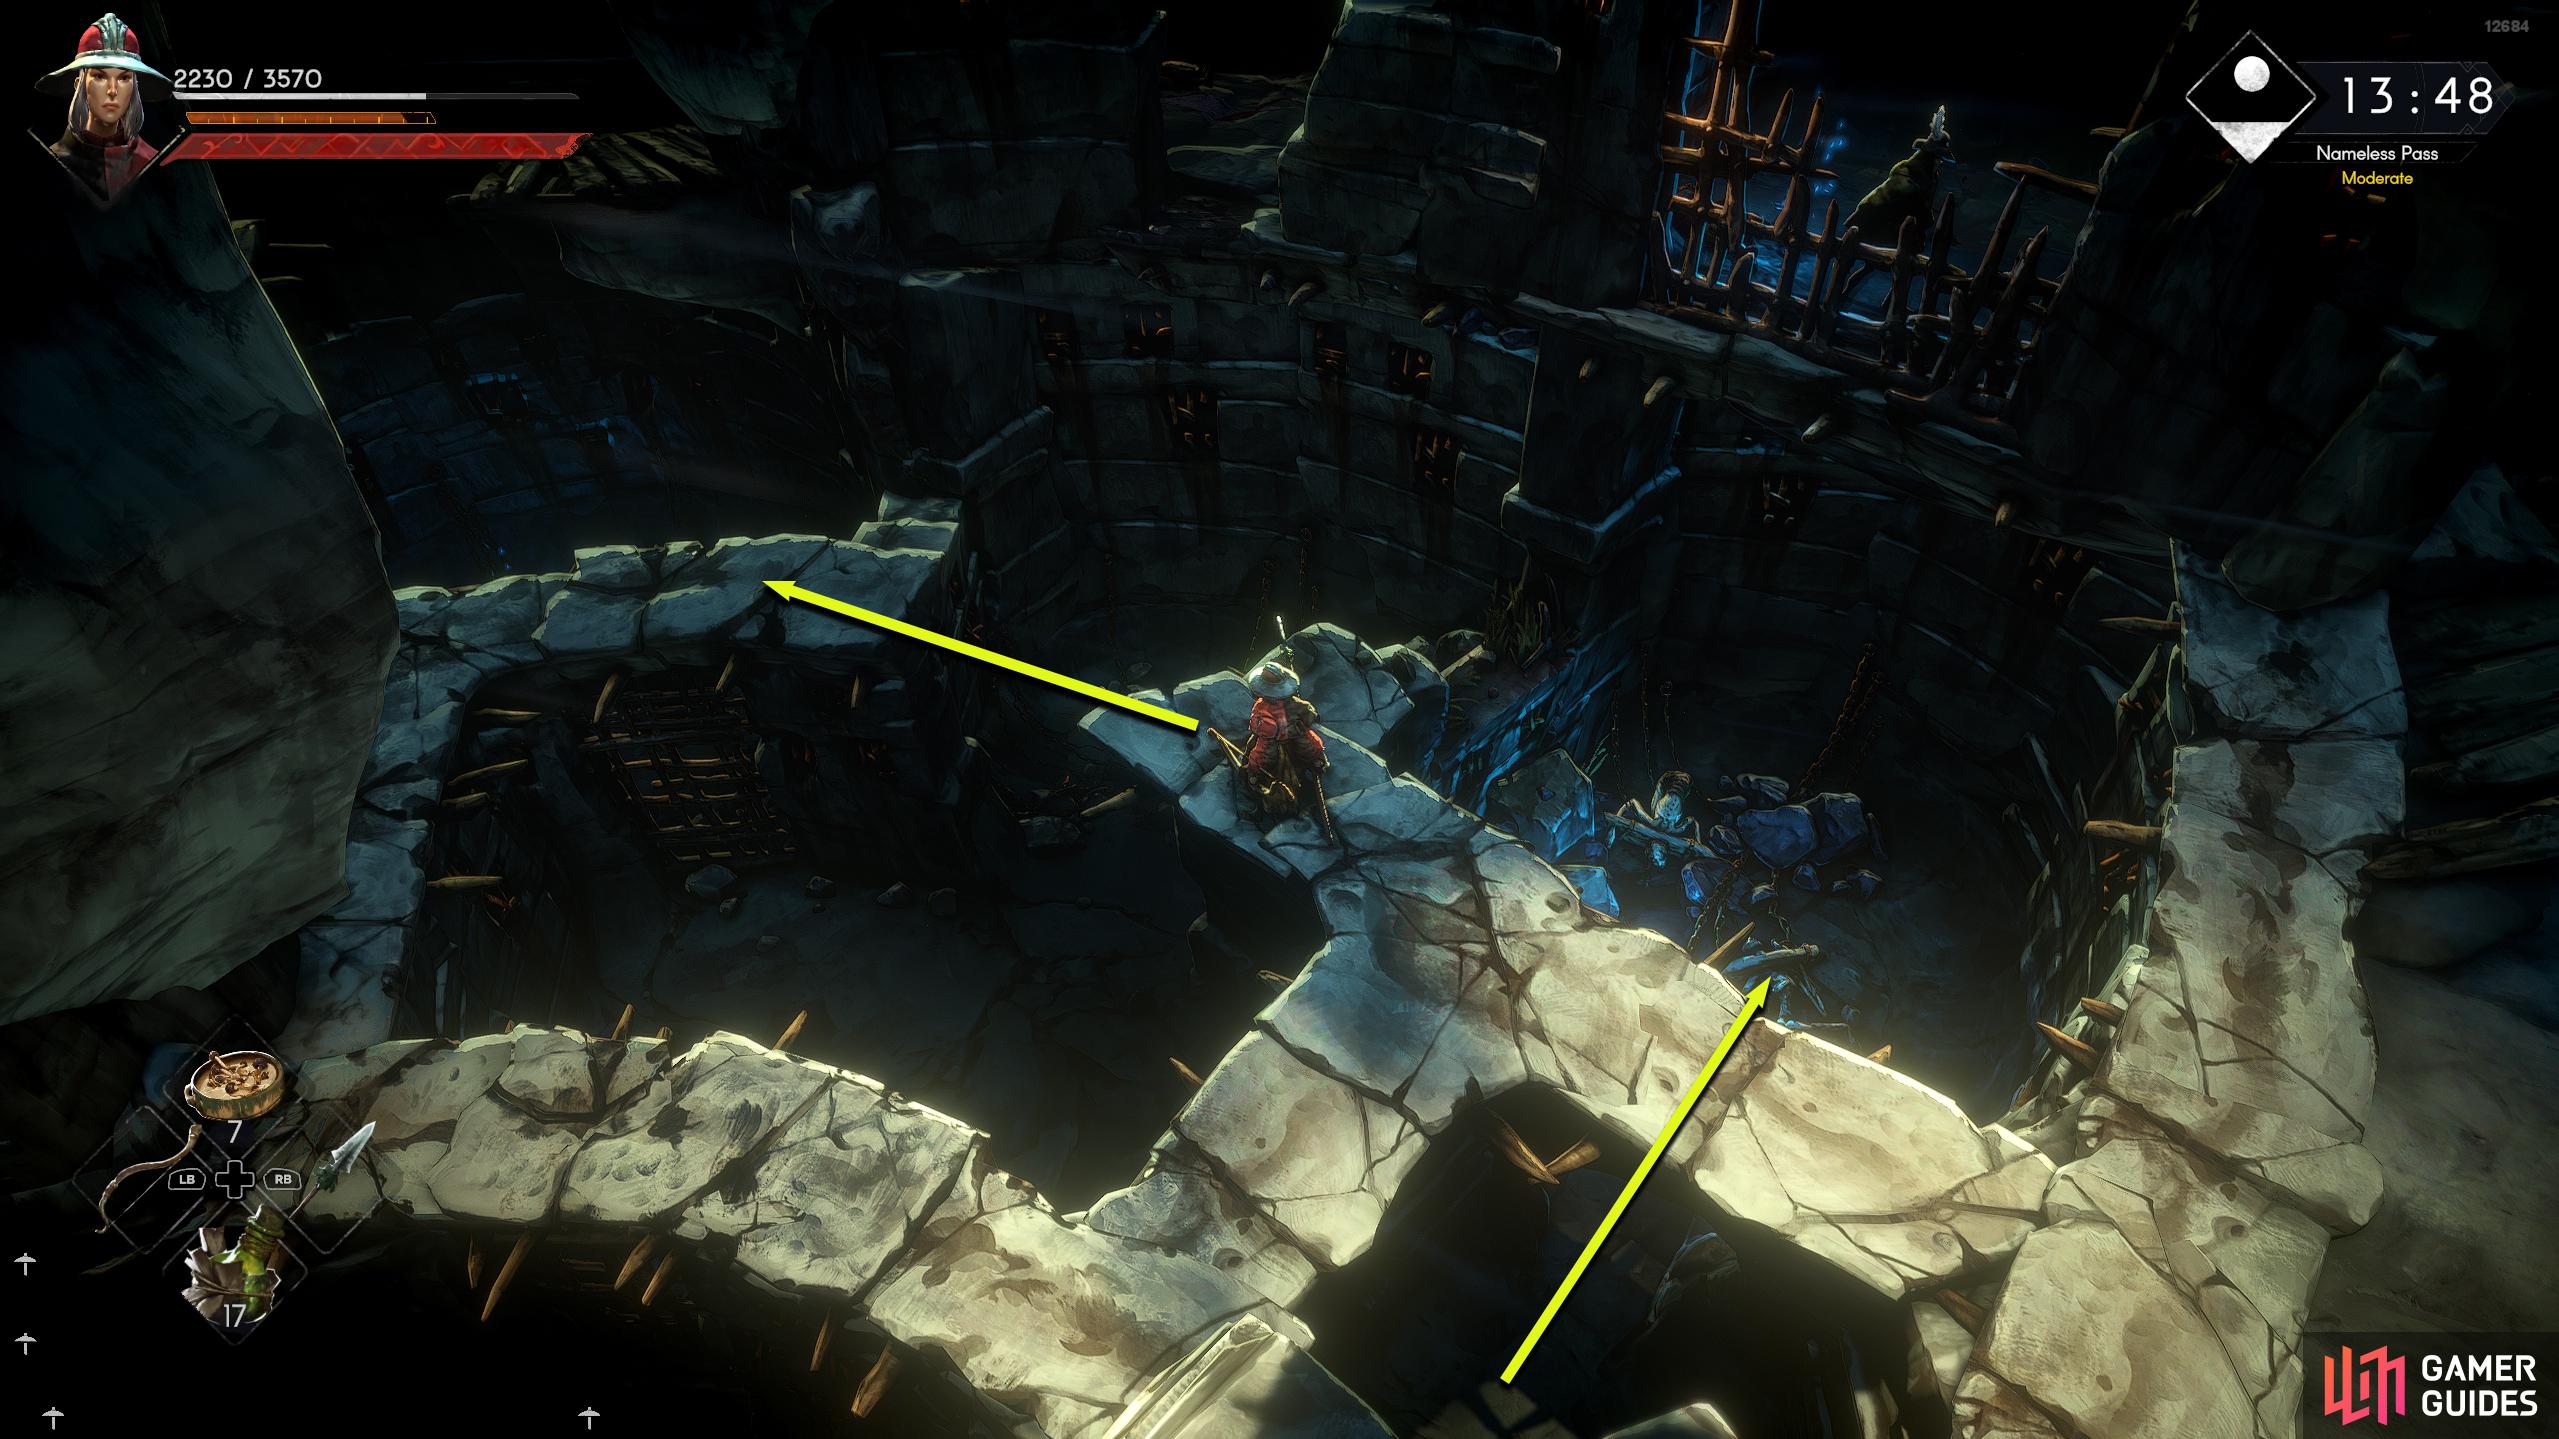
Drop onto the wooden platform southeast of the crane and open up the chest near the wall. Now, jump over to the other wooden platform to your east and open up another chest. From there, jump across to the platform to your east to find an enemy, a firepit, and another chest. Defeat the enemy, open the chest, and use the firepit if needed. Continue east, jump across the broken track, and then follow the ledge north and kick down the ladder at the end. Now head south along the ledge to find vines covering the wall with some wooden flooring near it. If you look carefully, there is a door covered up by the vines but if you roll into it/attack it, you’ll find a secret passage that can lead to an item at the end.
Climb the vines, head east, and then jump over the small gap south to reach another crane. Rotate this so the hanging platform bridges the gap to the top of the cage. Jump onto the platform and then onto the roof of the cage to pick up the item. Now head back to the first crane you interacted with by using the shortcuts you opened. Back at the first crane, rotate it so it bridges the gap from the stone pillar to your west and the wooden platform to your north. Drop to the floor, and head back to the second crane by using the ladder you kicked down. If done correctly, you’ll be able to climb up the small block to the west, jump onto the first hanging platform to the large stone pillar, and from there, onto the next hanging platform, and finally onto the wooden platform to the north. When you reach the platform, head through the makeshift doorway to the north, drop, touch the Crane Whisper, and unlock the door to the room to the south. This will end the crane puzzle.

Crane Whisper
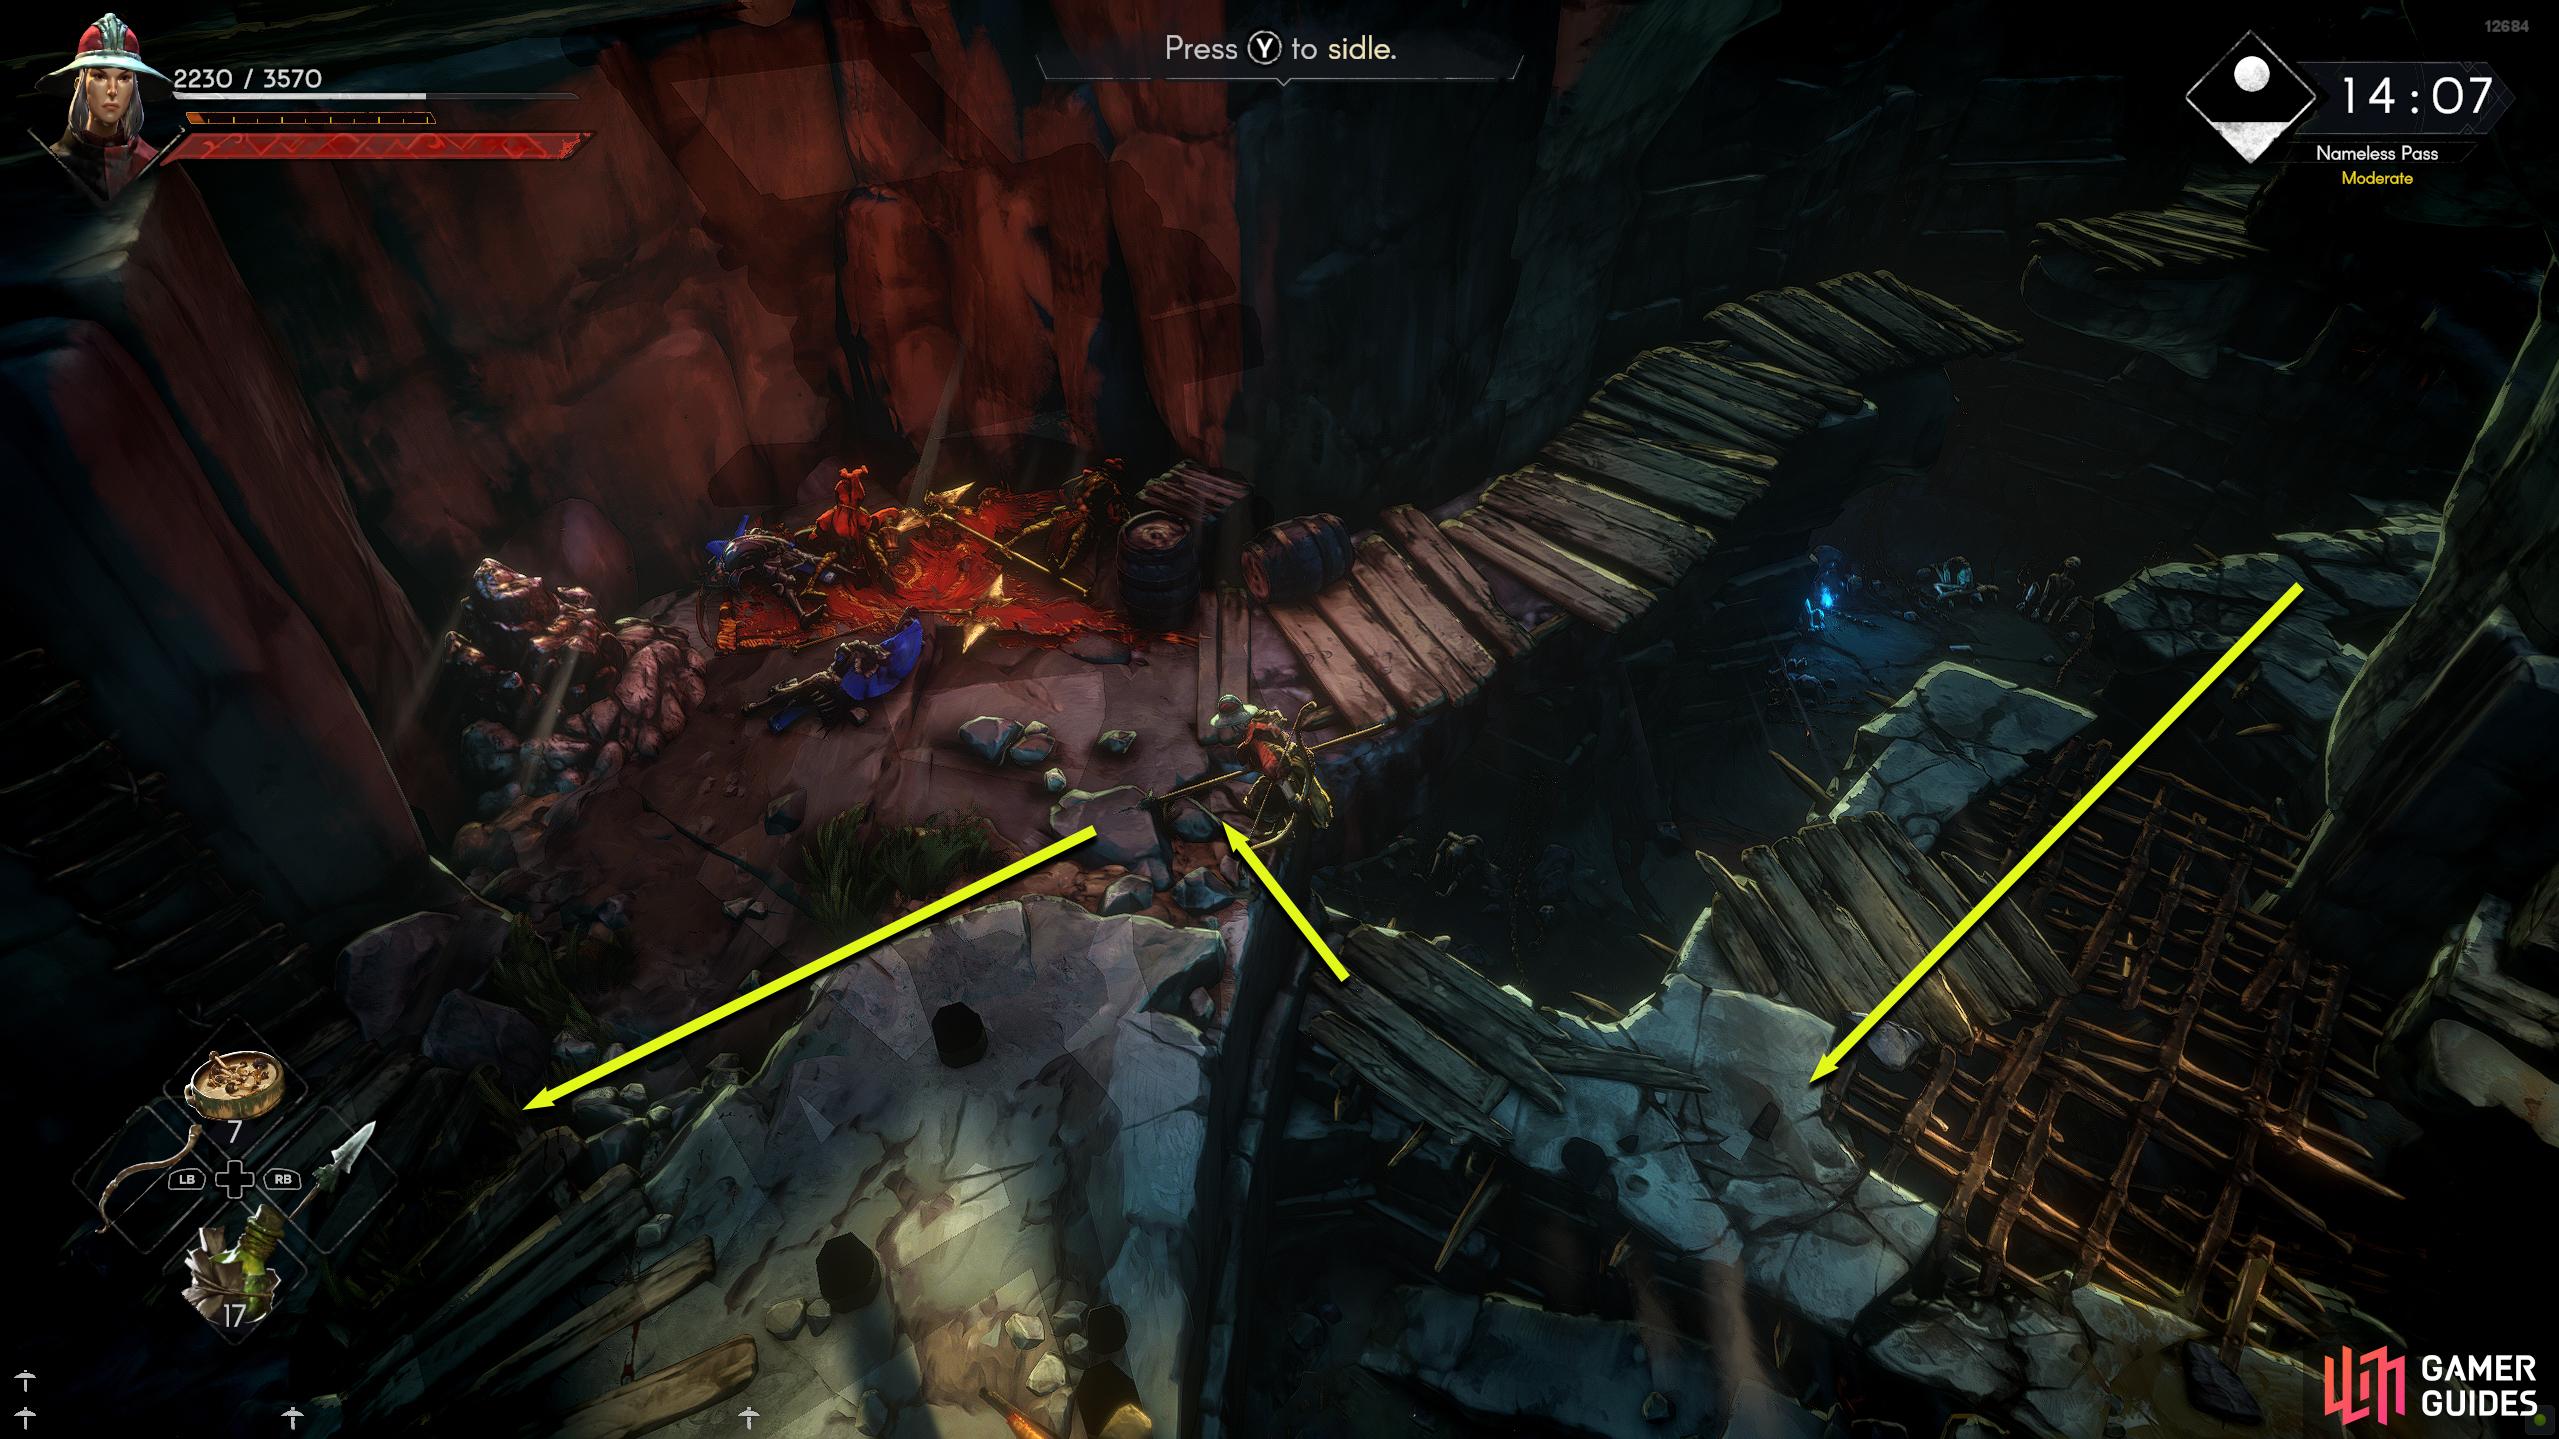
Back to the main walkthrough, exit through the now unlocked door, and head to the west of that platform. If you look closely at the platform to the west with the barrels on, sometimes a chest can spawn here. If you see it there, jump onto the raised stone pile, and from there, over to the platform. Go back into the Whisper room, climb the ladder at the back, and head east. As you head east, you’ll notice an opening to the north, this is where a shortcut will lead later on. For now, continue east, defeat the enemy if there is one, and interact with the lever to open the gate below.
Drop to the ground level and go through the opened gate into the next room (sometimes there is a chest to the right of the gate before you go through it). In the next area, walk across the rickety wooden bridge and defeat any enemy that may be in there. This area will have a concrete path heading north in the center, with a wooden bridge to the left of it. If you fall here, you’ll die due to the spikes protruding out of the ground, so be careful when dodging. Continue north, and you’ll reach a room with another puzzle. We’ll can this the Rotating Wheel Puzzle.
(1 of 2) From the Crane Whisper, climb up the ladder.
From the Crane Whisper, climb up the ladder. (left), Now, head east and open up the gate with the lever. (right)
Rotating Wheel Puzzle
If there are any enemies in here, defeat them first and then interact with the lever in the center of the room. When you rotate it, it’ll open up different doors around it. Firstly, rotate the wheel clockwise so it opens up the second door on your right. Enter the room and head to the southern side to find a mountable wall you can climb up. Follow the narrow path east and then south to find a firepit with a ladder you can kick down to the left of it. Use the firepit if needed and then head back to the wheel.
Rotate the wheel clockwise until the next door opens up and head inside. In here, you’ll find breakable planks you can destroy to head further in. Break the planks by attacking them and climb up on the wall to the northwest. Now, climb up onto the narrow ledges again, and if you head east, you’ll find Finley locked up here. For now, you can’t do anything to let him out, as you don’t have the key. Head back onto the narrow ledges and jump across the gap to the northwest. Once again, jump across to the metal grating to the south, head over to the wooden planks near the wall to the northwest, and pull yourself up.
South will lead you to an enemy as well as a chest that can appear there. However, if that doesn’t interest you, climb up the nearby ladder, and head south across the broken bridge to your right. Jump over the first small gap until you reach the next gap, and then jump south onto the concrete ledge. Follow that southeast and then take the southwest path at the intersection. Once again, jump over the gap and head into the next room.


(1 of 7) Rotate the wheel to open up one cell door at a time. Open the second cell door from your right.
How to Unlock Finley
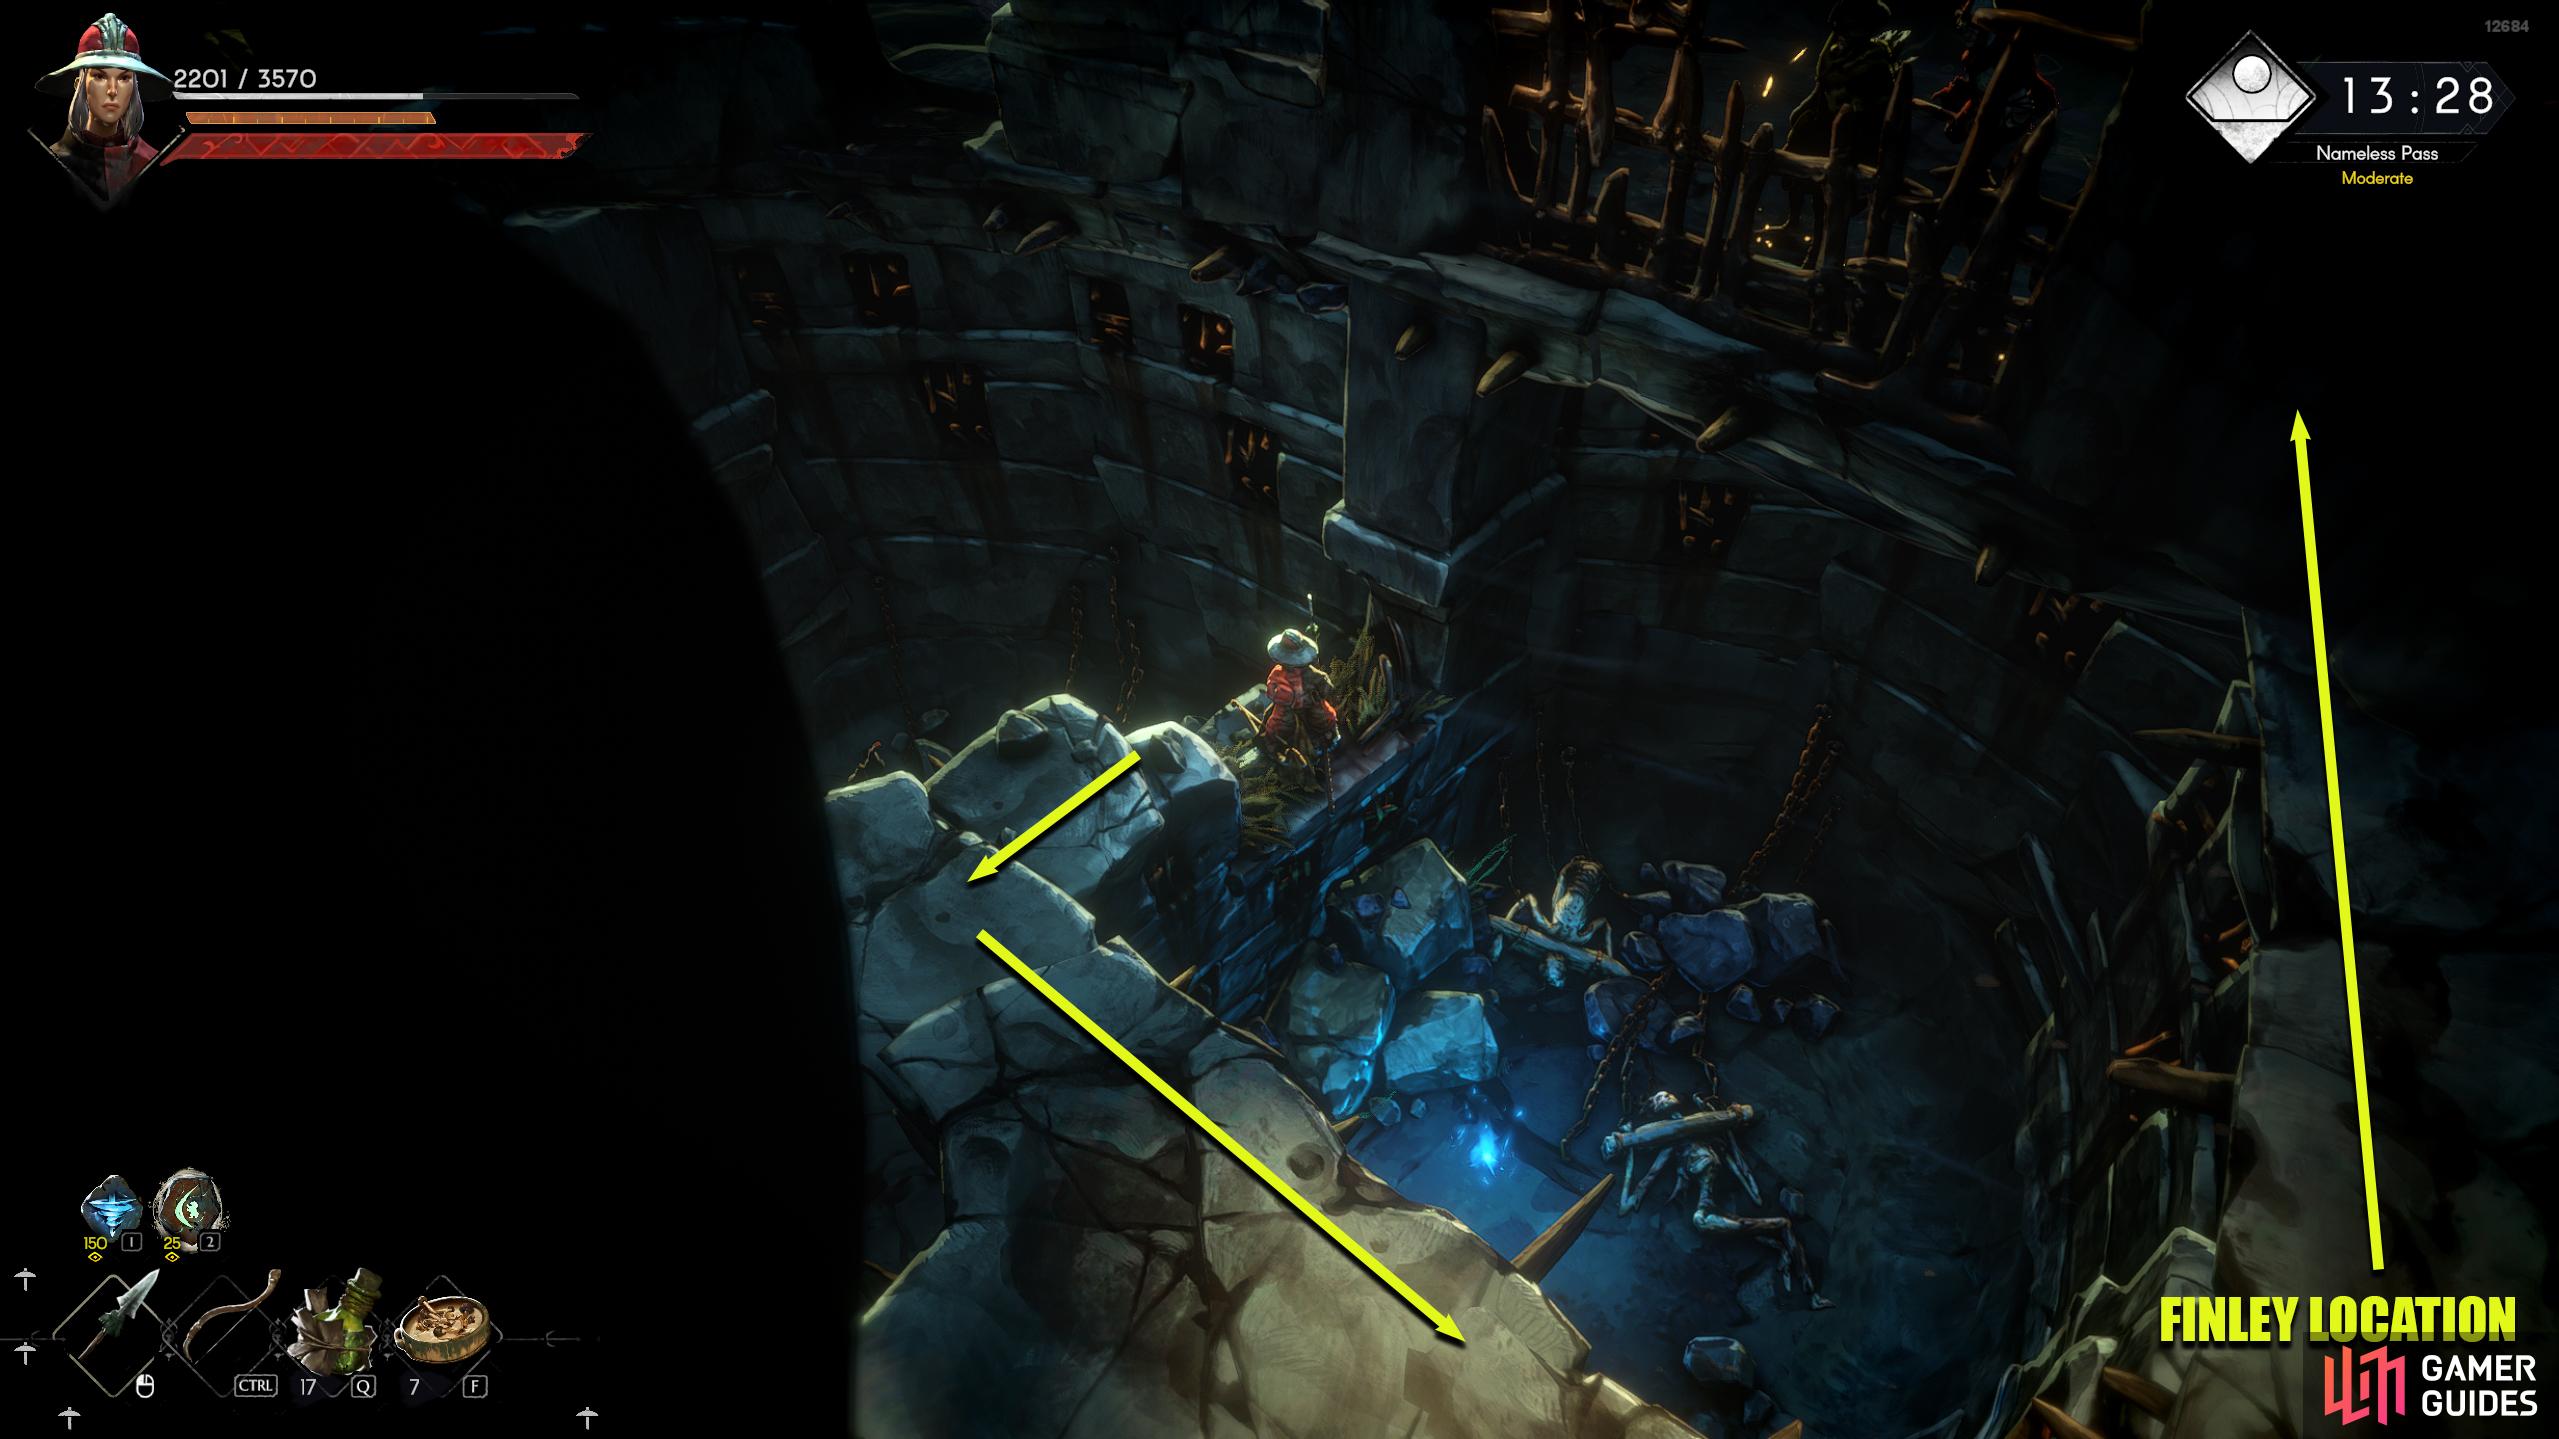
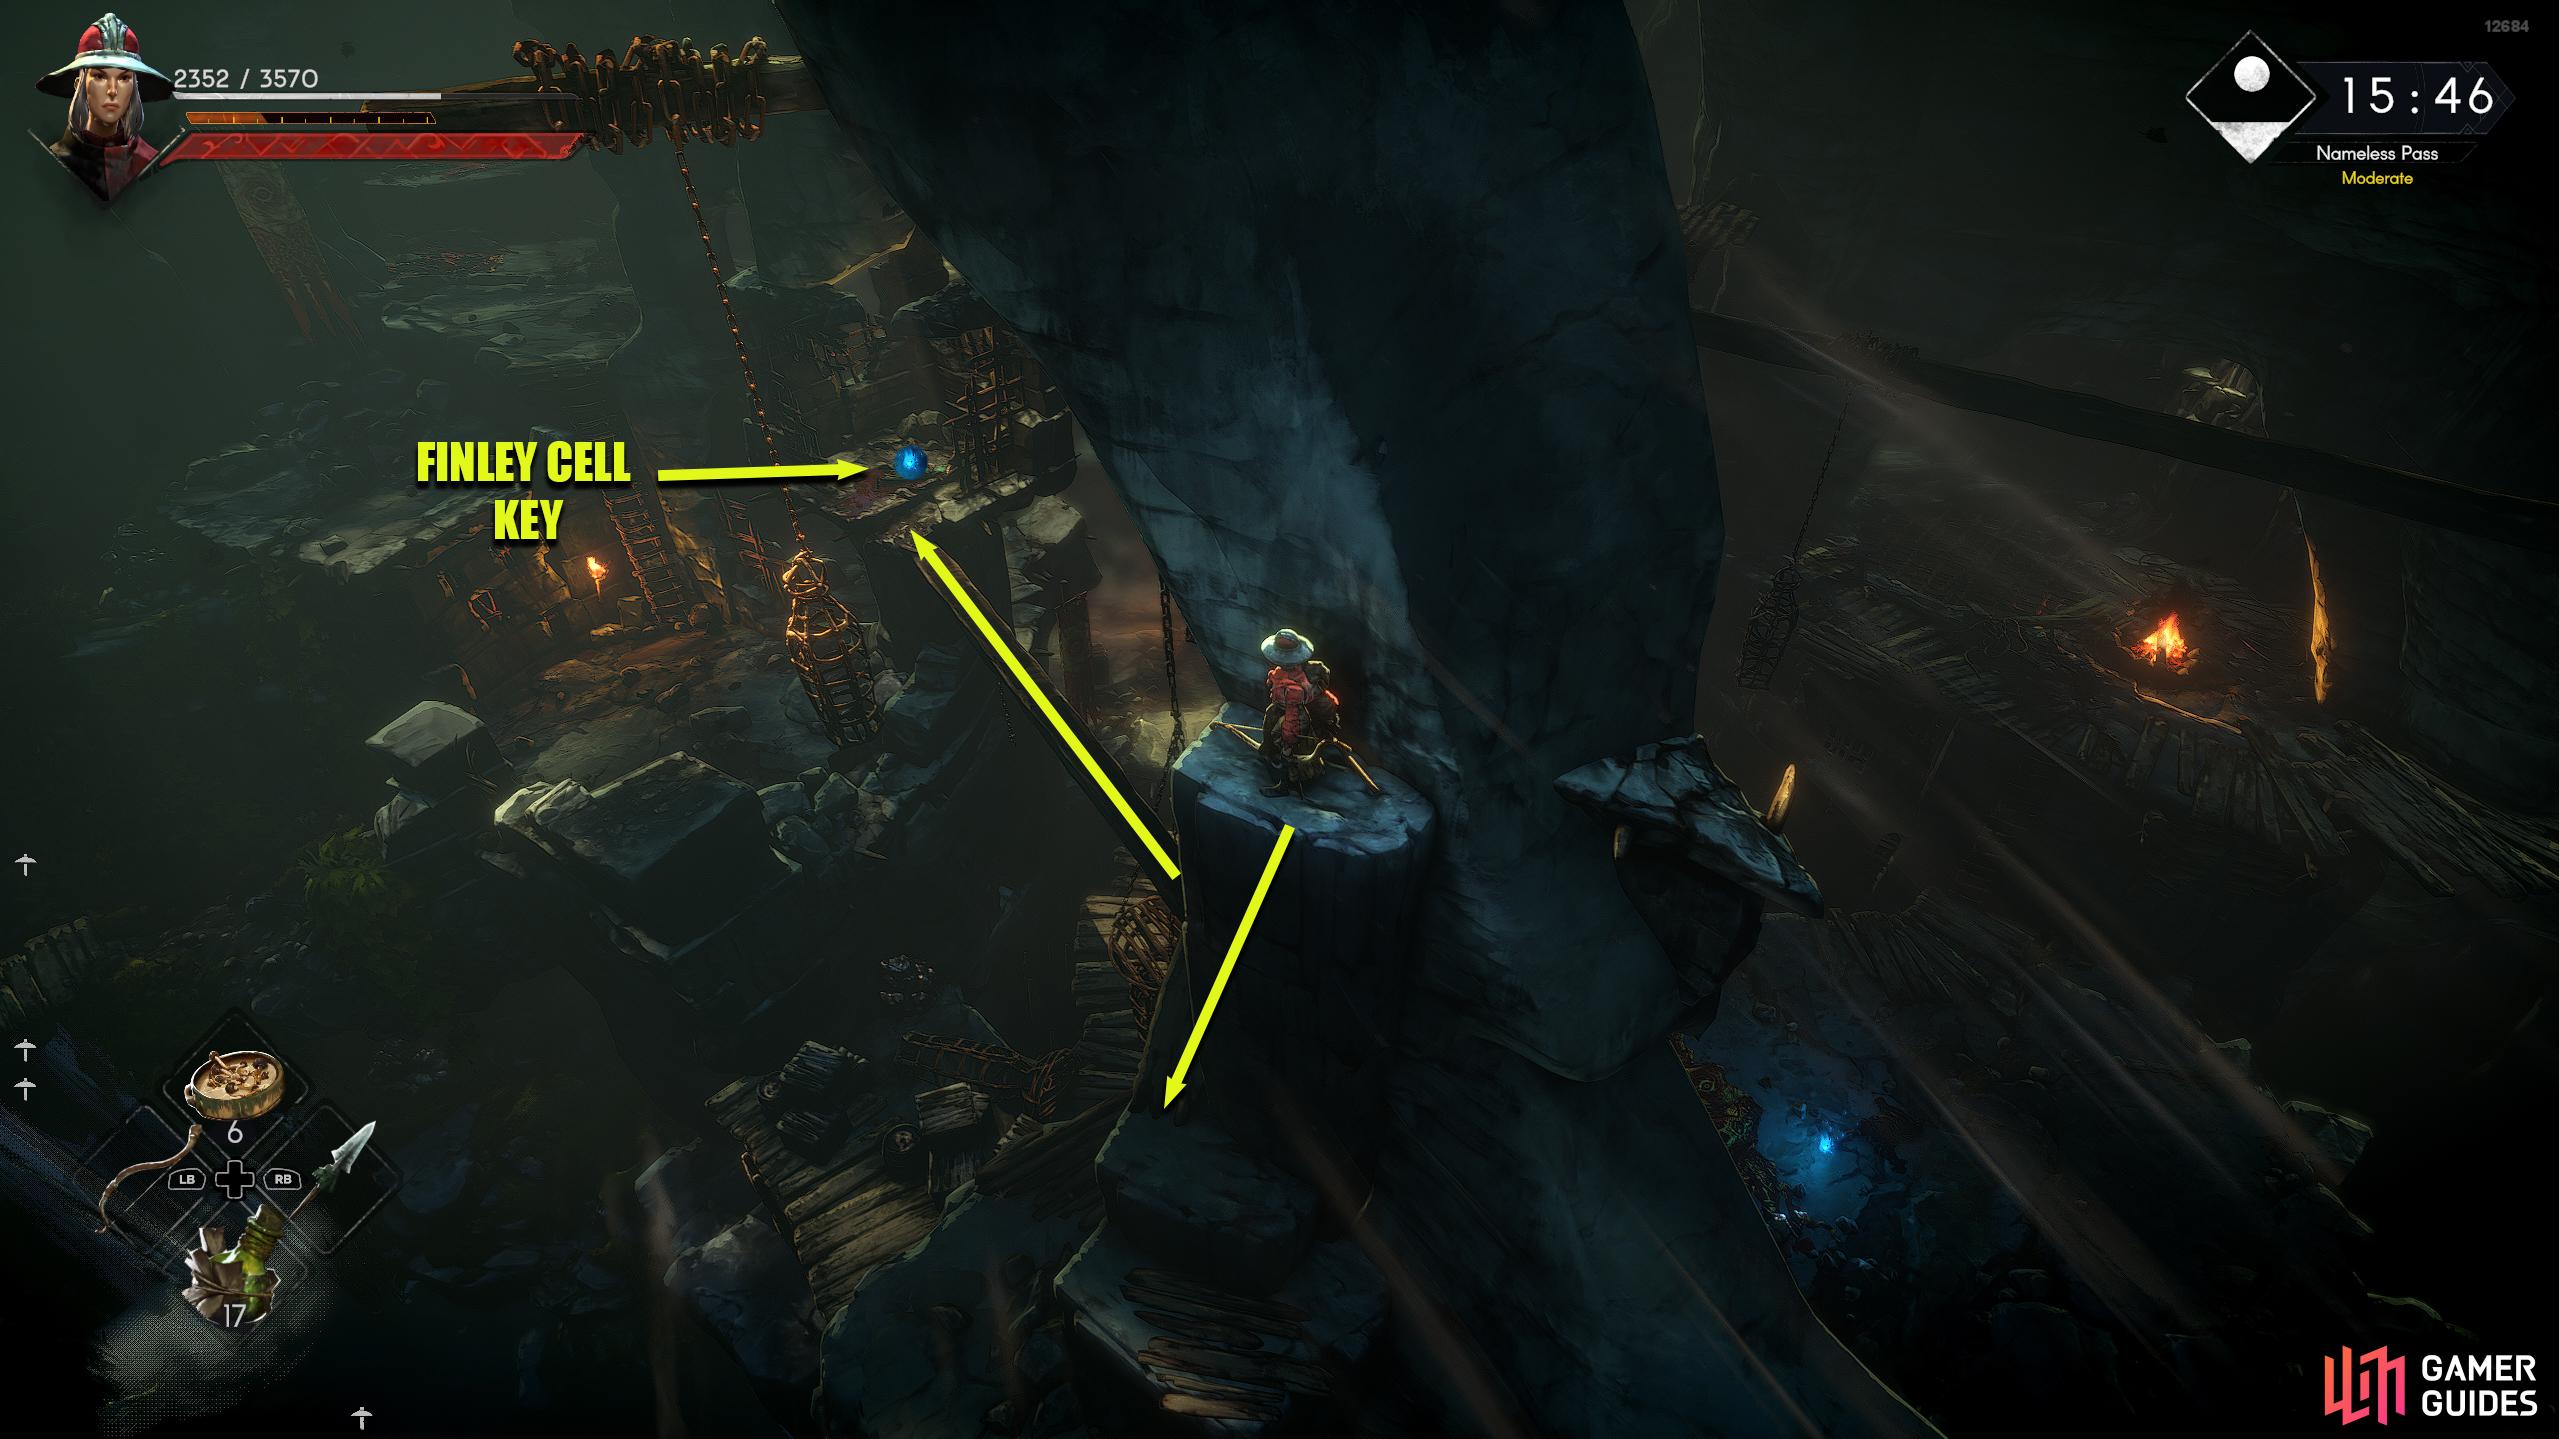
Here, you’ll find a ladder to the north but first head west to find a somewhat hidden path that leads to a bridge you can kick down to create a shortcut back to the Crane Whisper. Go back into the room you just came from, climb the ladder, head north to defeat the enemy, and climb up the vines on the wall to the left of the broken bridge with the flag next to it. At the top, defeat the enemy near the firepit and go south until you reach a narrow ledge. Go across until you reach a tent, and then head south once more until you reach the edge. Slowly drop off the cliff and with a bit of luck you should land on a small platform. From here, drop again and slowly walk forward onto the wooden beam, and then follow that beam into the cage where you’ll find the key to unlock Finley’s cell. Now, head back to the wheel room, open the second door on your right, climb up onto the narrow ledge, and head east to find his cell. Unlock the cell and speak to him to find out that he is a merchant of some kind. Finley is to this game what Xur is to the Destiny games. He will appear once a week (Saturday in real life) at a specific time (8-12 am) and sell you special items.
(1 of 4) Finley’s Cell can be reached by climbing atop the wheel puzzle’s ledges, heading east, and then north.
Cerim Ruins Whisper
Back onto the main walkthrough, head back to the firepit area above the vines, and follow the path west across the bridge. At the end of this path is another Whisper, make sure you touch it so you respawn here should you die. This is the final part of the Nameless Pass now, and the worst of it is behind you (apart from the boss). Head north into the open area, and you’ll have the option to go west or east. As these paths join up, it doesn’t matter which way you go but for guide purposes, we’ll go west. Follow the wooden path northwest and then take the stairs down to the south. Head through the opening to find Ellsworth, Madrigal Seline, and her followers. Walk up to them for a scene, and then speak to her again after the scene concludes. She will ask you to go to the chamber to the west to find the device to open the large door in front of her, as only a Cerim can do it.
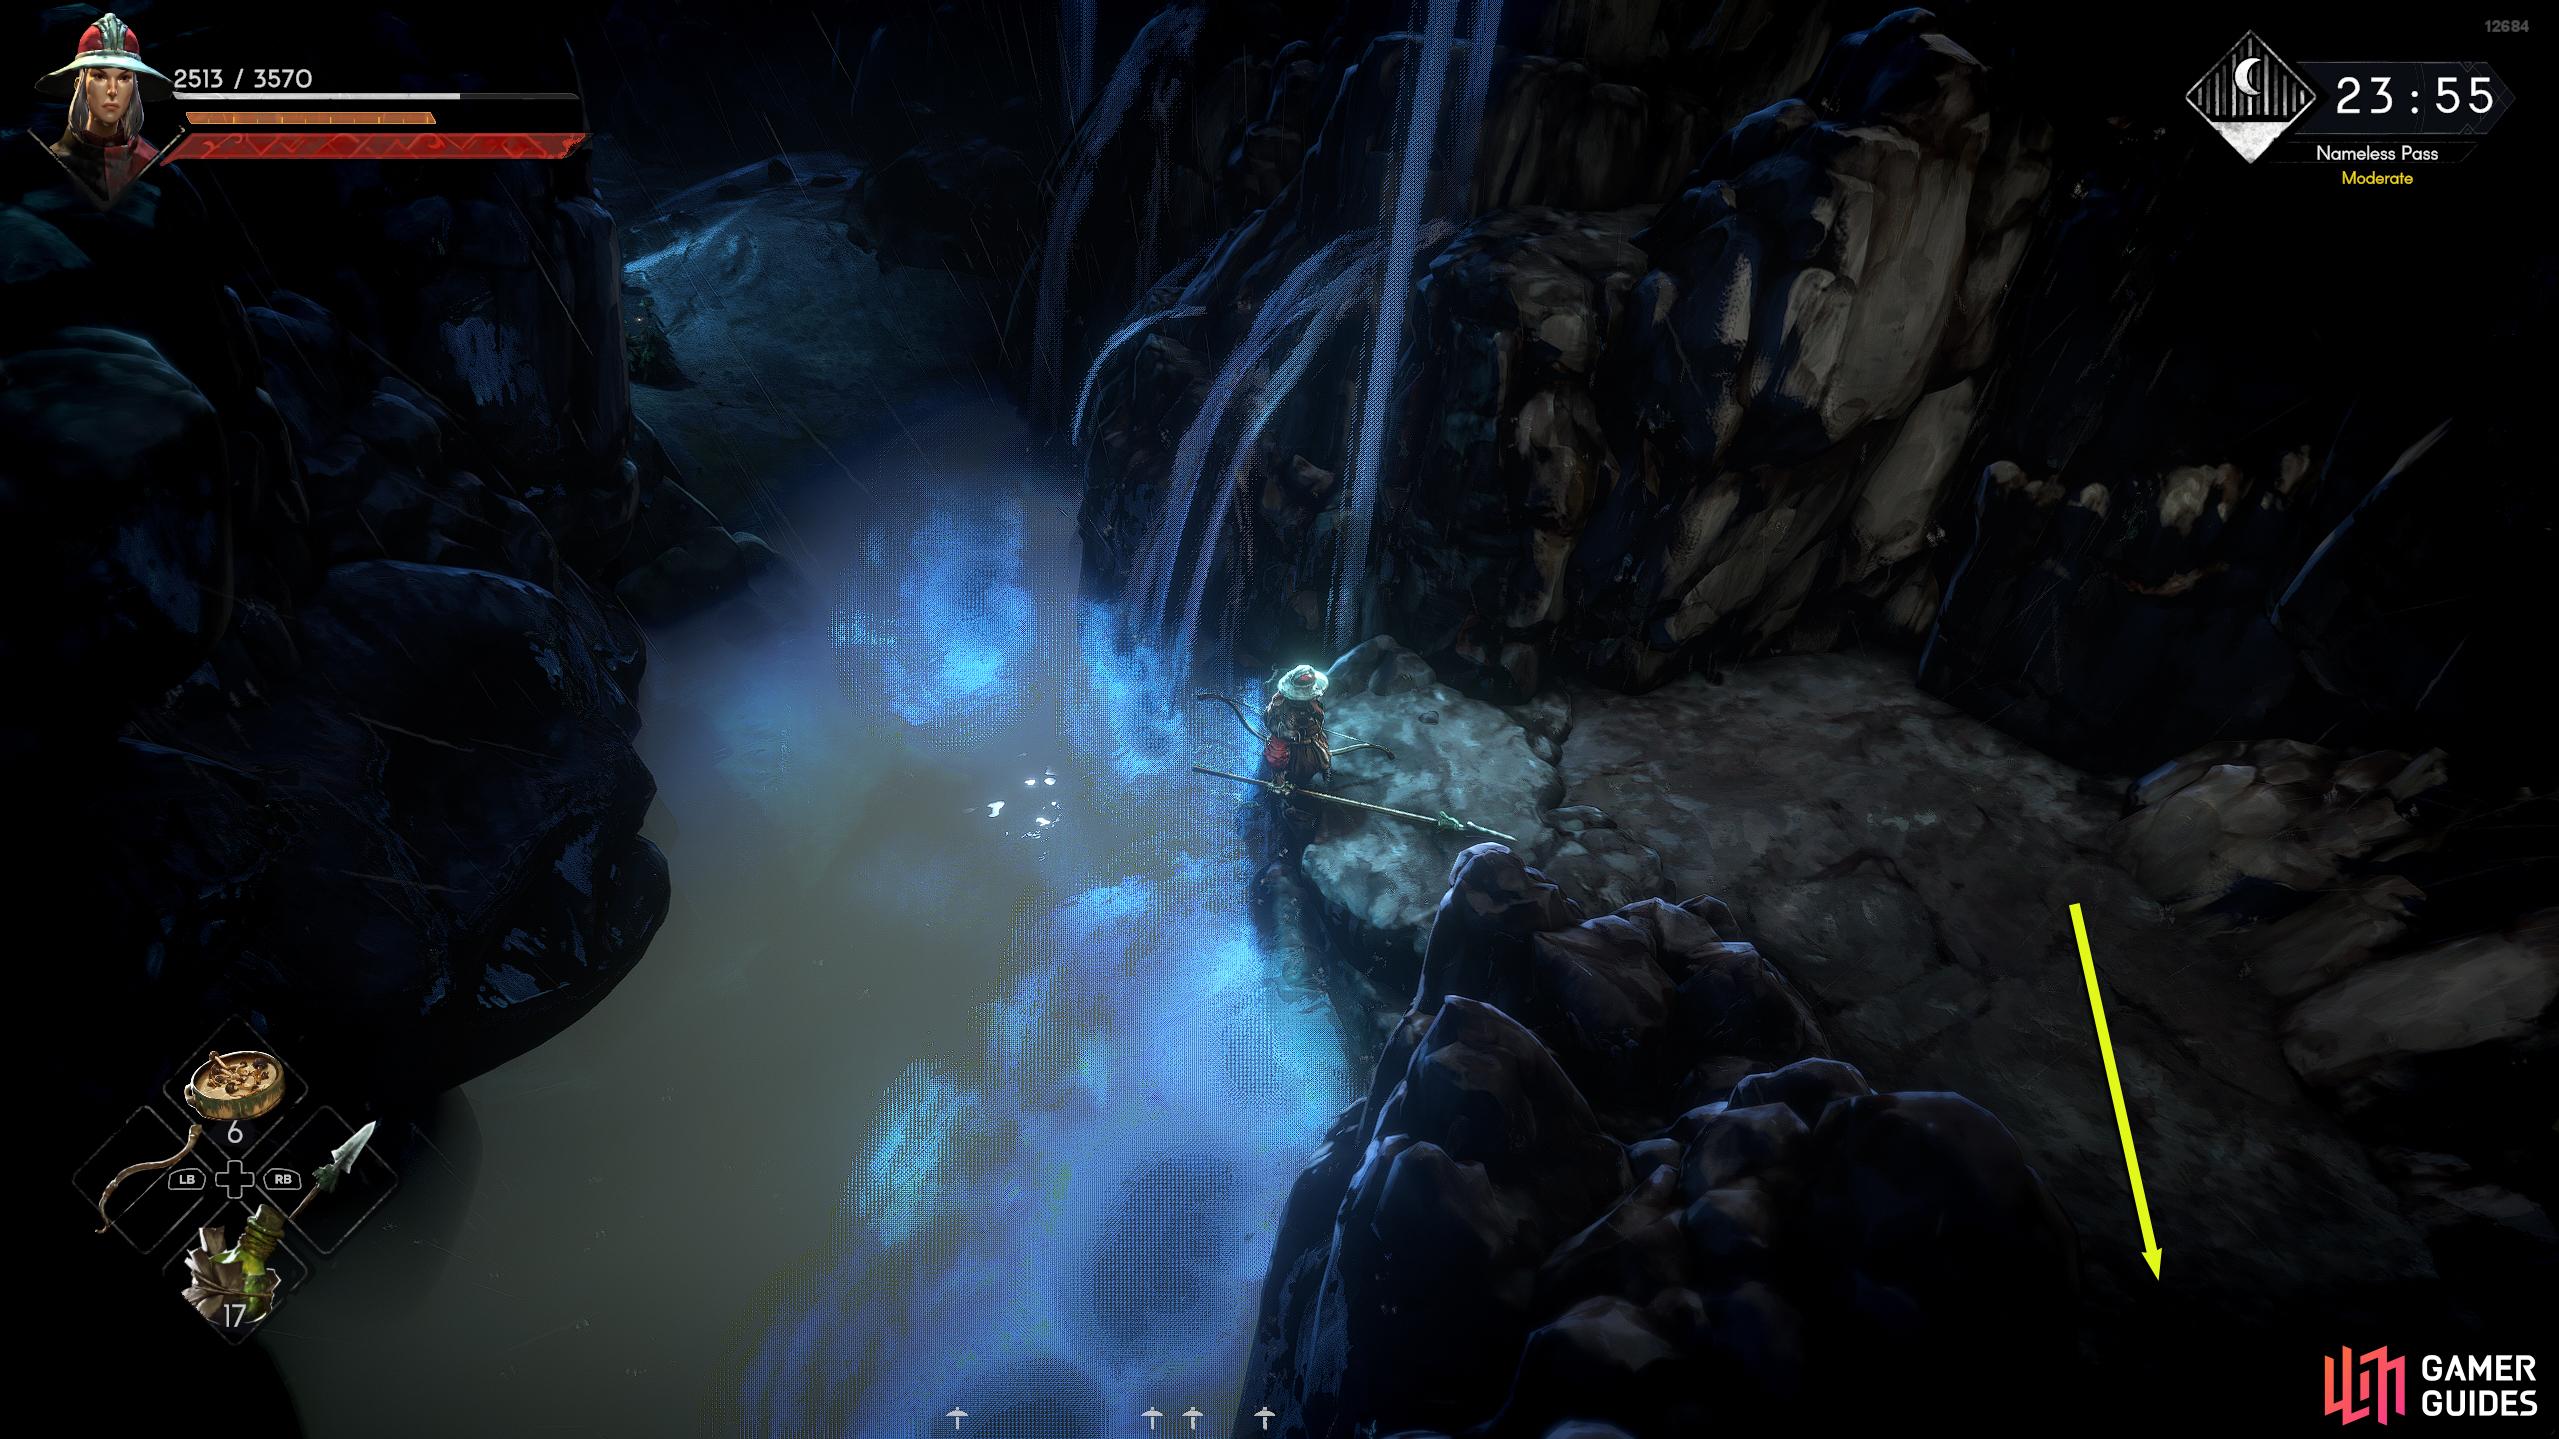
Head back the way you got here, and go back up the stairs to the west. Continue along the path to find another Whisper, which is situated outside the boss room. Unfortunately, you’ll still need to do a bit more before you can fight it, though. From the Whisper, head west into the grassy area to find a passage into a cave area. Kick down the statue to create a bridge and head across it. Follow the path south until you reach what appears to be a dead end. Drop into the pool of water to your left, loot the blue orb, and then jump off where the waterfall is.
(1 of 3) This is the Whisper outside the boss room, but you can’t reach the boss from here until you unlock the shortcut.
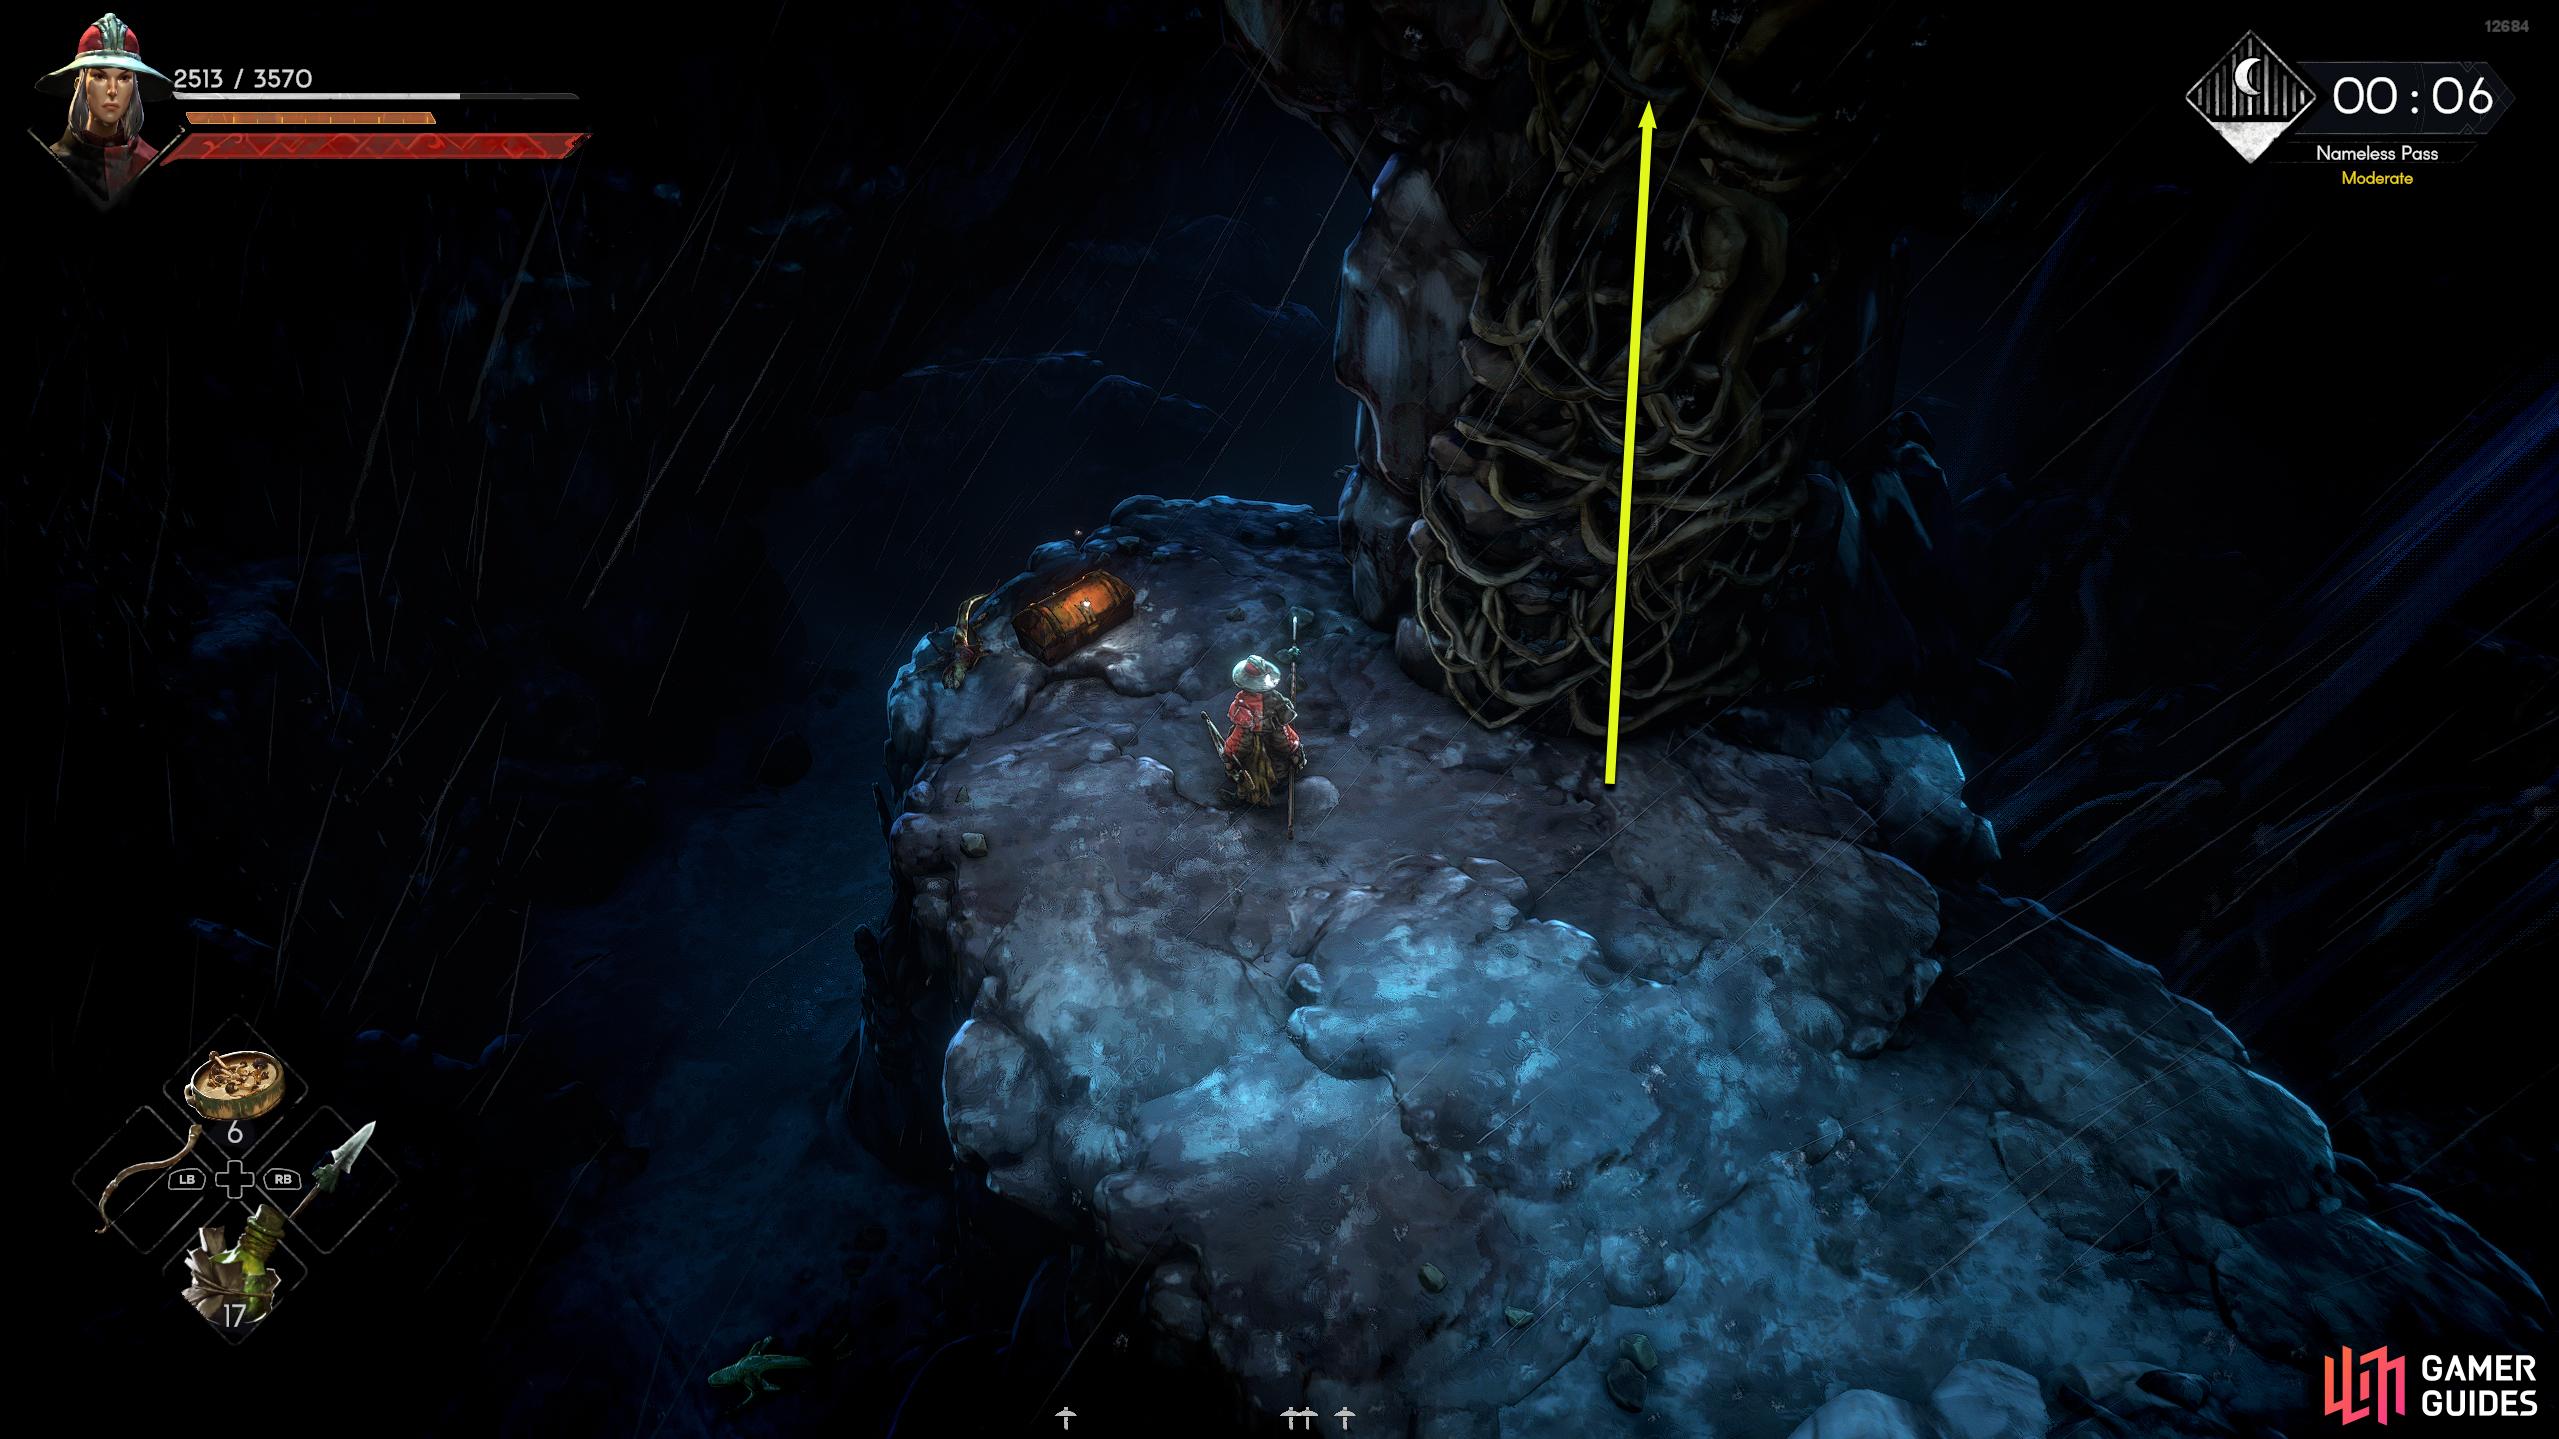
This will make you drop into the water below, where you’ll need to make your way back up. There’s not much at the bottom of the cave outside a few enemies, but there is a journal at the back of the cave to the north if you’re interested, as well as a potential chest next to it. Swim around the water to the eastern side to find a small platform you can climb up. Follow this path up while defeating the enemies along the way, and it’ll lead around to the pillar in the center with some vines on it. We had a witch to defeat here and if you haven’t fought one yet, they can be difficult to defeat due to their repeated use of fireball and teleport. What you want to do is roll toward the witch when it casts a fireball and get a couple of attacks on it before it disappears. Rinse and repeat, and you should be fine. Also, if you’re lucky, a chest can appear to the left of the pillar. Climb the pillar, defeat the enemies, and head through the doorway to the northeast where you’ll find a firepit. Continue through to the next doorway, and you’ll be in the room opposite the last Whisper you visited. Through the door to your left is where you’ll find the boss but before attempting that, kick down the statue to your right to create a shortcut to the Whisper.
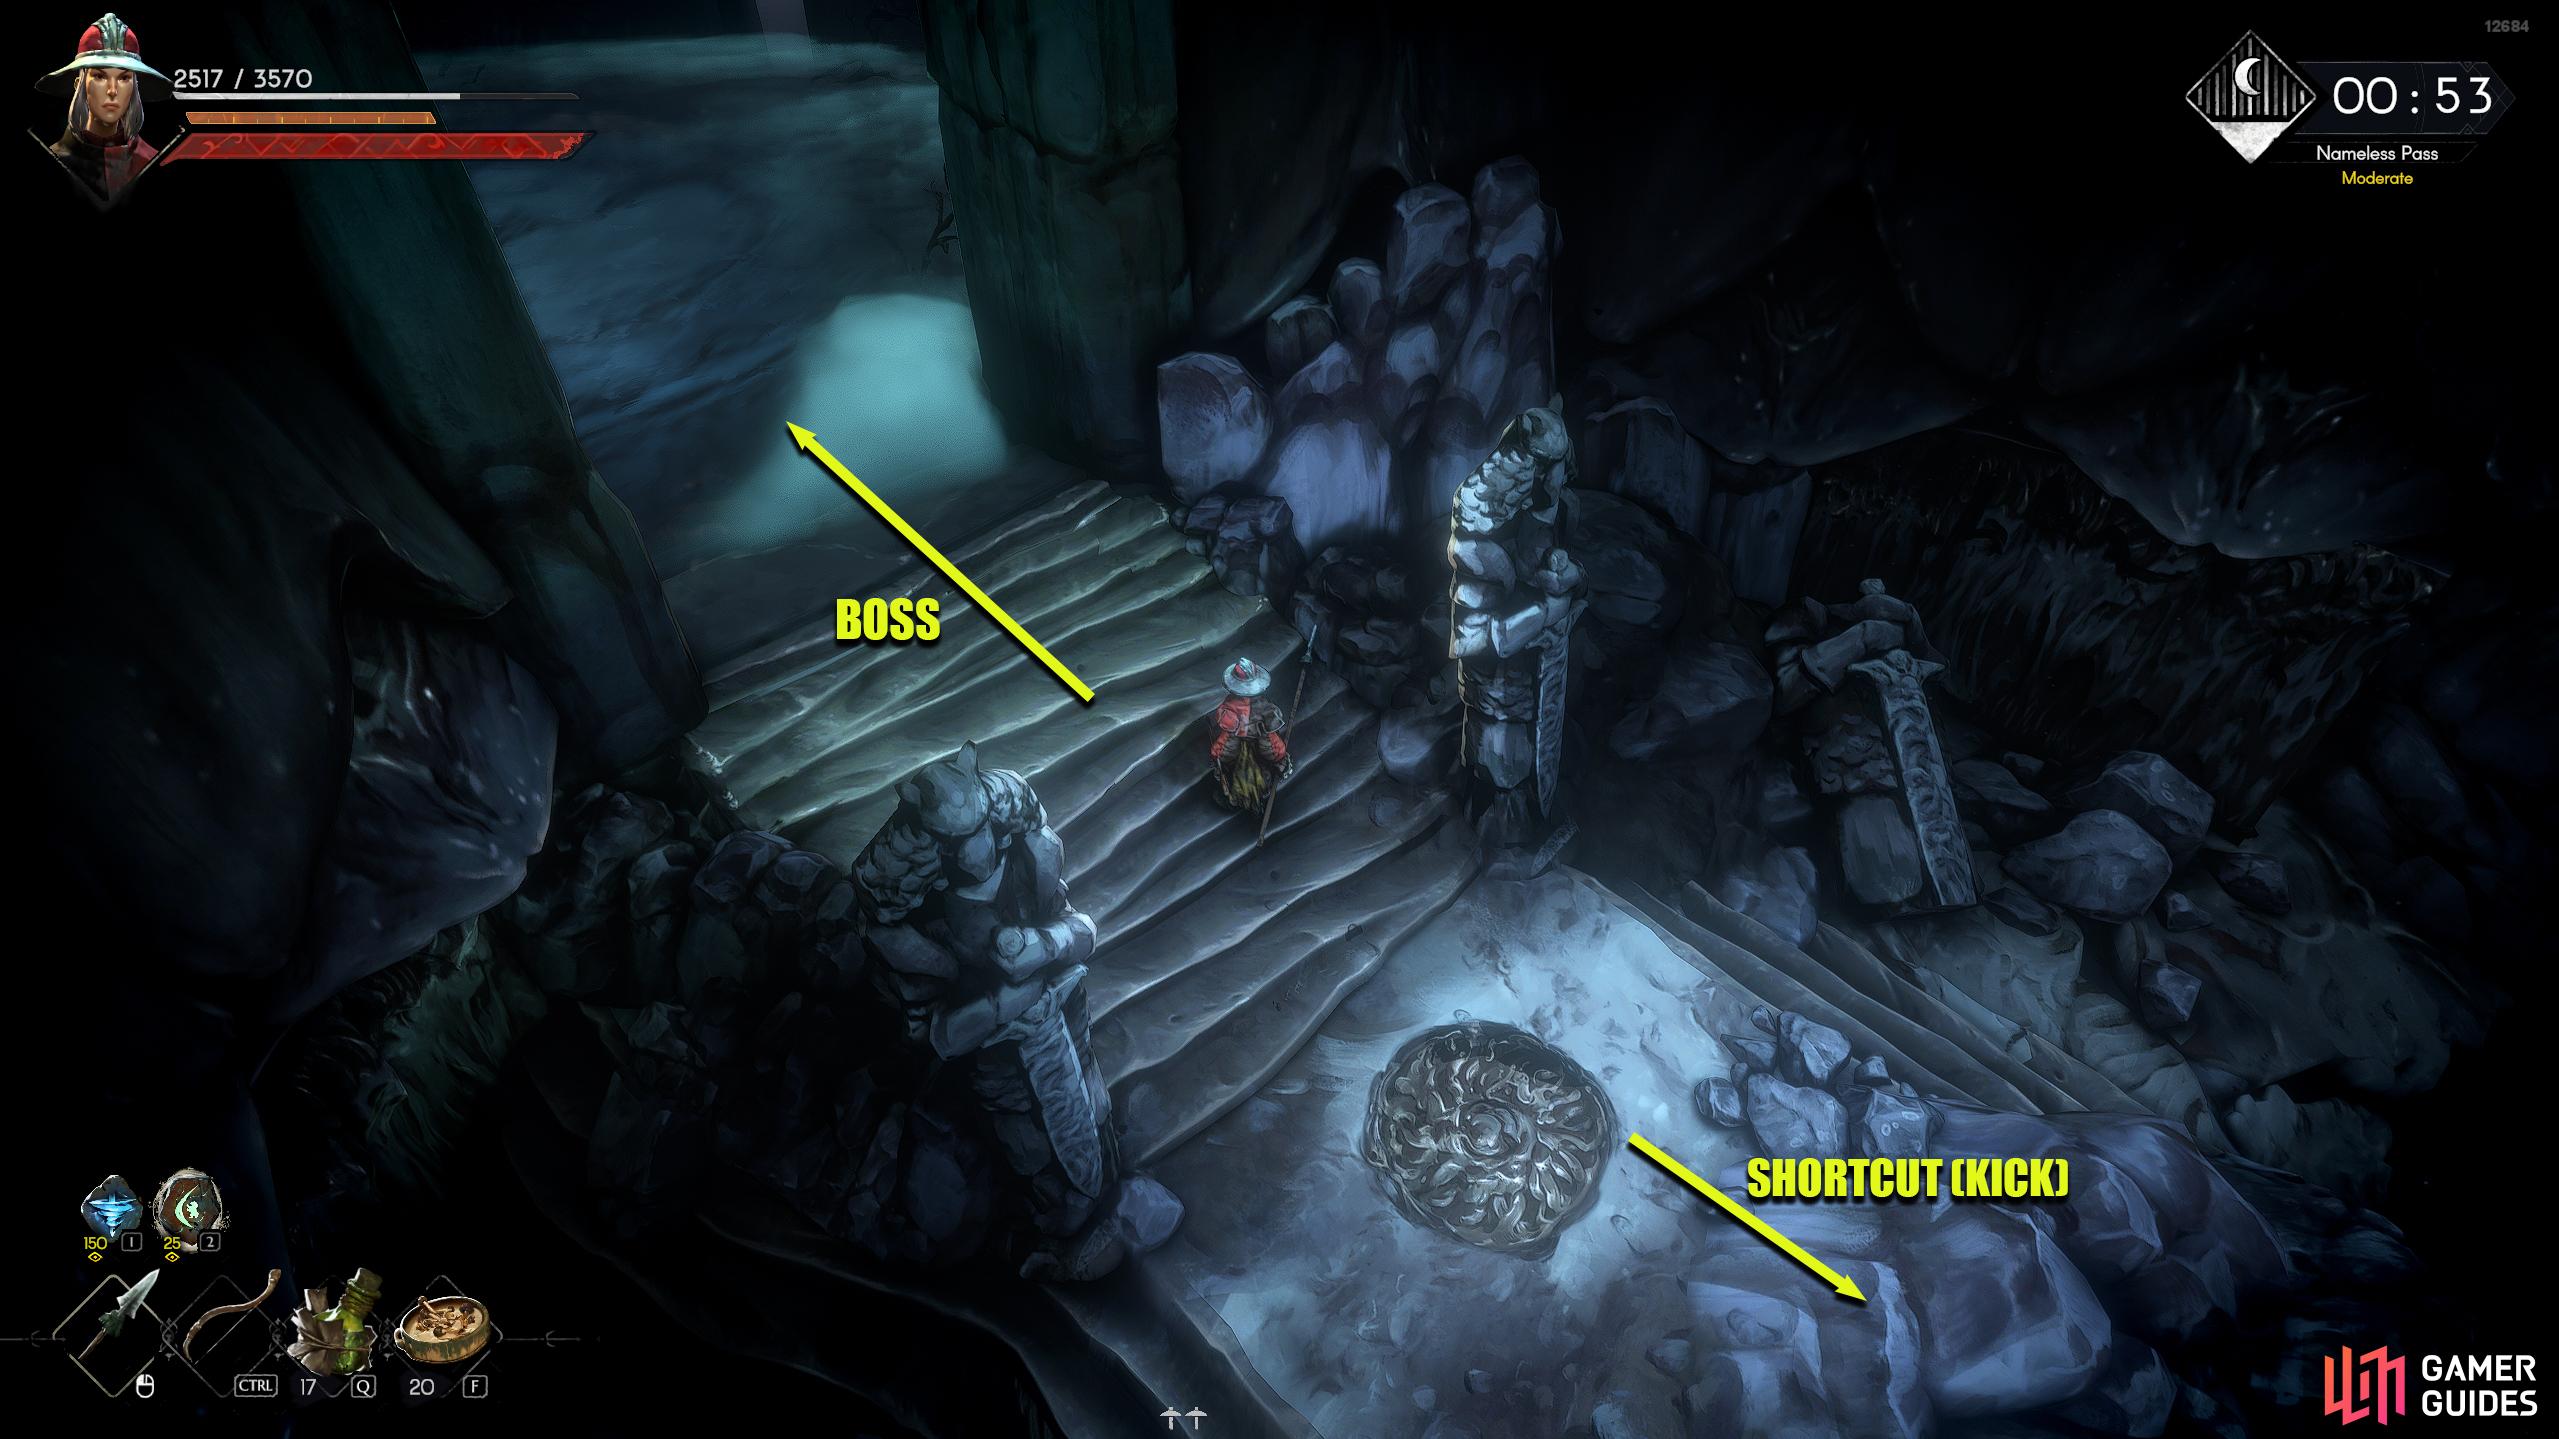
All that’s left to do now is to fight and defeat the boss, and then interact with the altar inside the room. Return to the Madrigal and tell her what happened, and the quest will be completed. Follow our in-depth Boss Guide for a strategy on how to defeat it.

 Sign up
No Comments