
The Cerim Trial consists of several small floors that can appear in a random order. Each floor will have a group of difficult enemies that you must defeat before you can reach the next floor. After completing several floors, you’ll encounter the boss, Echo Knight, and defeating it will complete the trial. You will have to do this at least once to complete the main quest, Spoken and Unspoken. Read on to find out where to find all chests, how to defeat all enemies, and general tips to help you get through the Cerim Trials.
| Quick Jump | – | – |
|---|---|---|
| Autumn Forest Floor | Icy Cave Floor | Sewer Floor |
| Forest Ruins Floor | Caged Witch Floor | Ruined Bridges Floor |
| Swamp Floor | Dark Woods Floor | – |
Crucible Trial Location
When you have access to the chamber in the Old Masonry house in Sacrament, make your way to the altar on the western side of the room, and place a Fallen Ember on it, which will activate the trial. Now head over to the elevator next to the Whisper, and it’ll take you down to the first floor. If you haven’t unlocked the Cerim Crucible yet or don’t have any Fallen Embers, read our Cerim Crucible and Fallen Ember guides.

You can access the Crucible Trial by standing on the elevator in the center after you’ve activated the altar to the left with a Fallen Ember.
Cerim Trial Tips
Before we get started on the floors, here are some tips that will help you get through the trial.
-
Bring lots of Healing items. We like Angler’s Delight Chowder as it’ll heal you for 100 Health while also providing 50 Focus. If you don’t have these, Fish Salad is a great alternative offering you 80 Health and 50 Focus.
-
Bring lots of Focus potions so you can use your skills more often. Especially if you have a bow as it’ll cost Focus to fire it.
-
We recommend being at least level 20-25 for the floors and level 30 for the boss.
-
Fully upgrade at least your weapon, preferably your armor too. Higher-tier resources and gear can drop from the enemies and chests in the trial. Use this to upgrade your character.
-
Bring a ranged weapon. If you have high dex, bring a bow or a staff if you’re playing as a mage. Finally, if you can’t equip a ranged weapon, bombs will suffice. The reason for this is a lot of difficult enemies are grouped up near each other, and if you have a ranged weapon, you can defeat some of them before they get to you, making it easier to deal with them. Otherwise, you’ll have to fight two to four enemies at the same time and one misplaced dodge could be the end of you.
Cerim Trial Floors
Each floor will have a theme. For example, one floor will be set in a cold frosty area while another will be set in a wooded area. Although this doesn’t have any gameplay mechanic, it will determine what enemies you’ll likely face. As the order that you get the floors is random, find what floor you are on regarding the theme, and read below where to find the chest if there is one.
Autumn Forest Floor
This floor has an orange hue to it while being situated in a forest with autumn leaves scattered across the ground. You’ll exit the elevator room via the northeast and drop down to the ground. This floor generally has three enemies at the start, two of them will be some kind of knight (the type can change), and a Witch who likes to sit on the raised platform to your right. Ideally, you’ll want to run up the slope on the right and take care of the witch first. For the other enemies, use this slope to get away from them to heal, or to use falling attacks on them for bonus damage.
After you’ve defeated the enemies, attack the crates at the back for a small chance of loot, and then climb the platform the Witch was on, jump over to the large rock to the left, and then over to the vines, and pull yourself up. At the top, you’ll find some more crates, destroy them, and then jump across to the left. Here, you can find up to five enemies. Normally, it’ll be a couple of Knights, a Witch, and a large enemy with a large mace. This part is particularly tricky as the Knights will rush you while the large enemy slowly closes the distance.


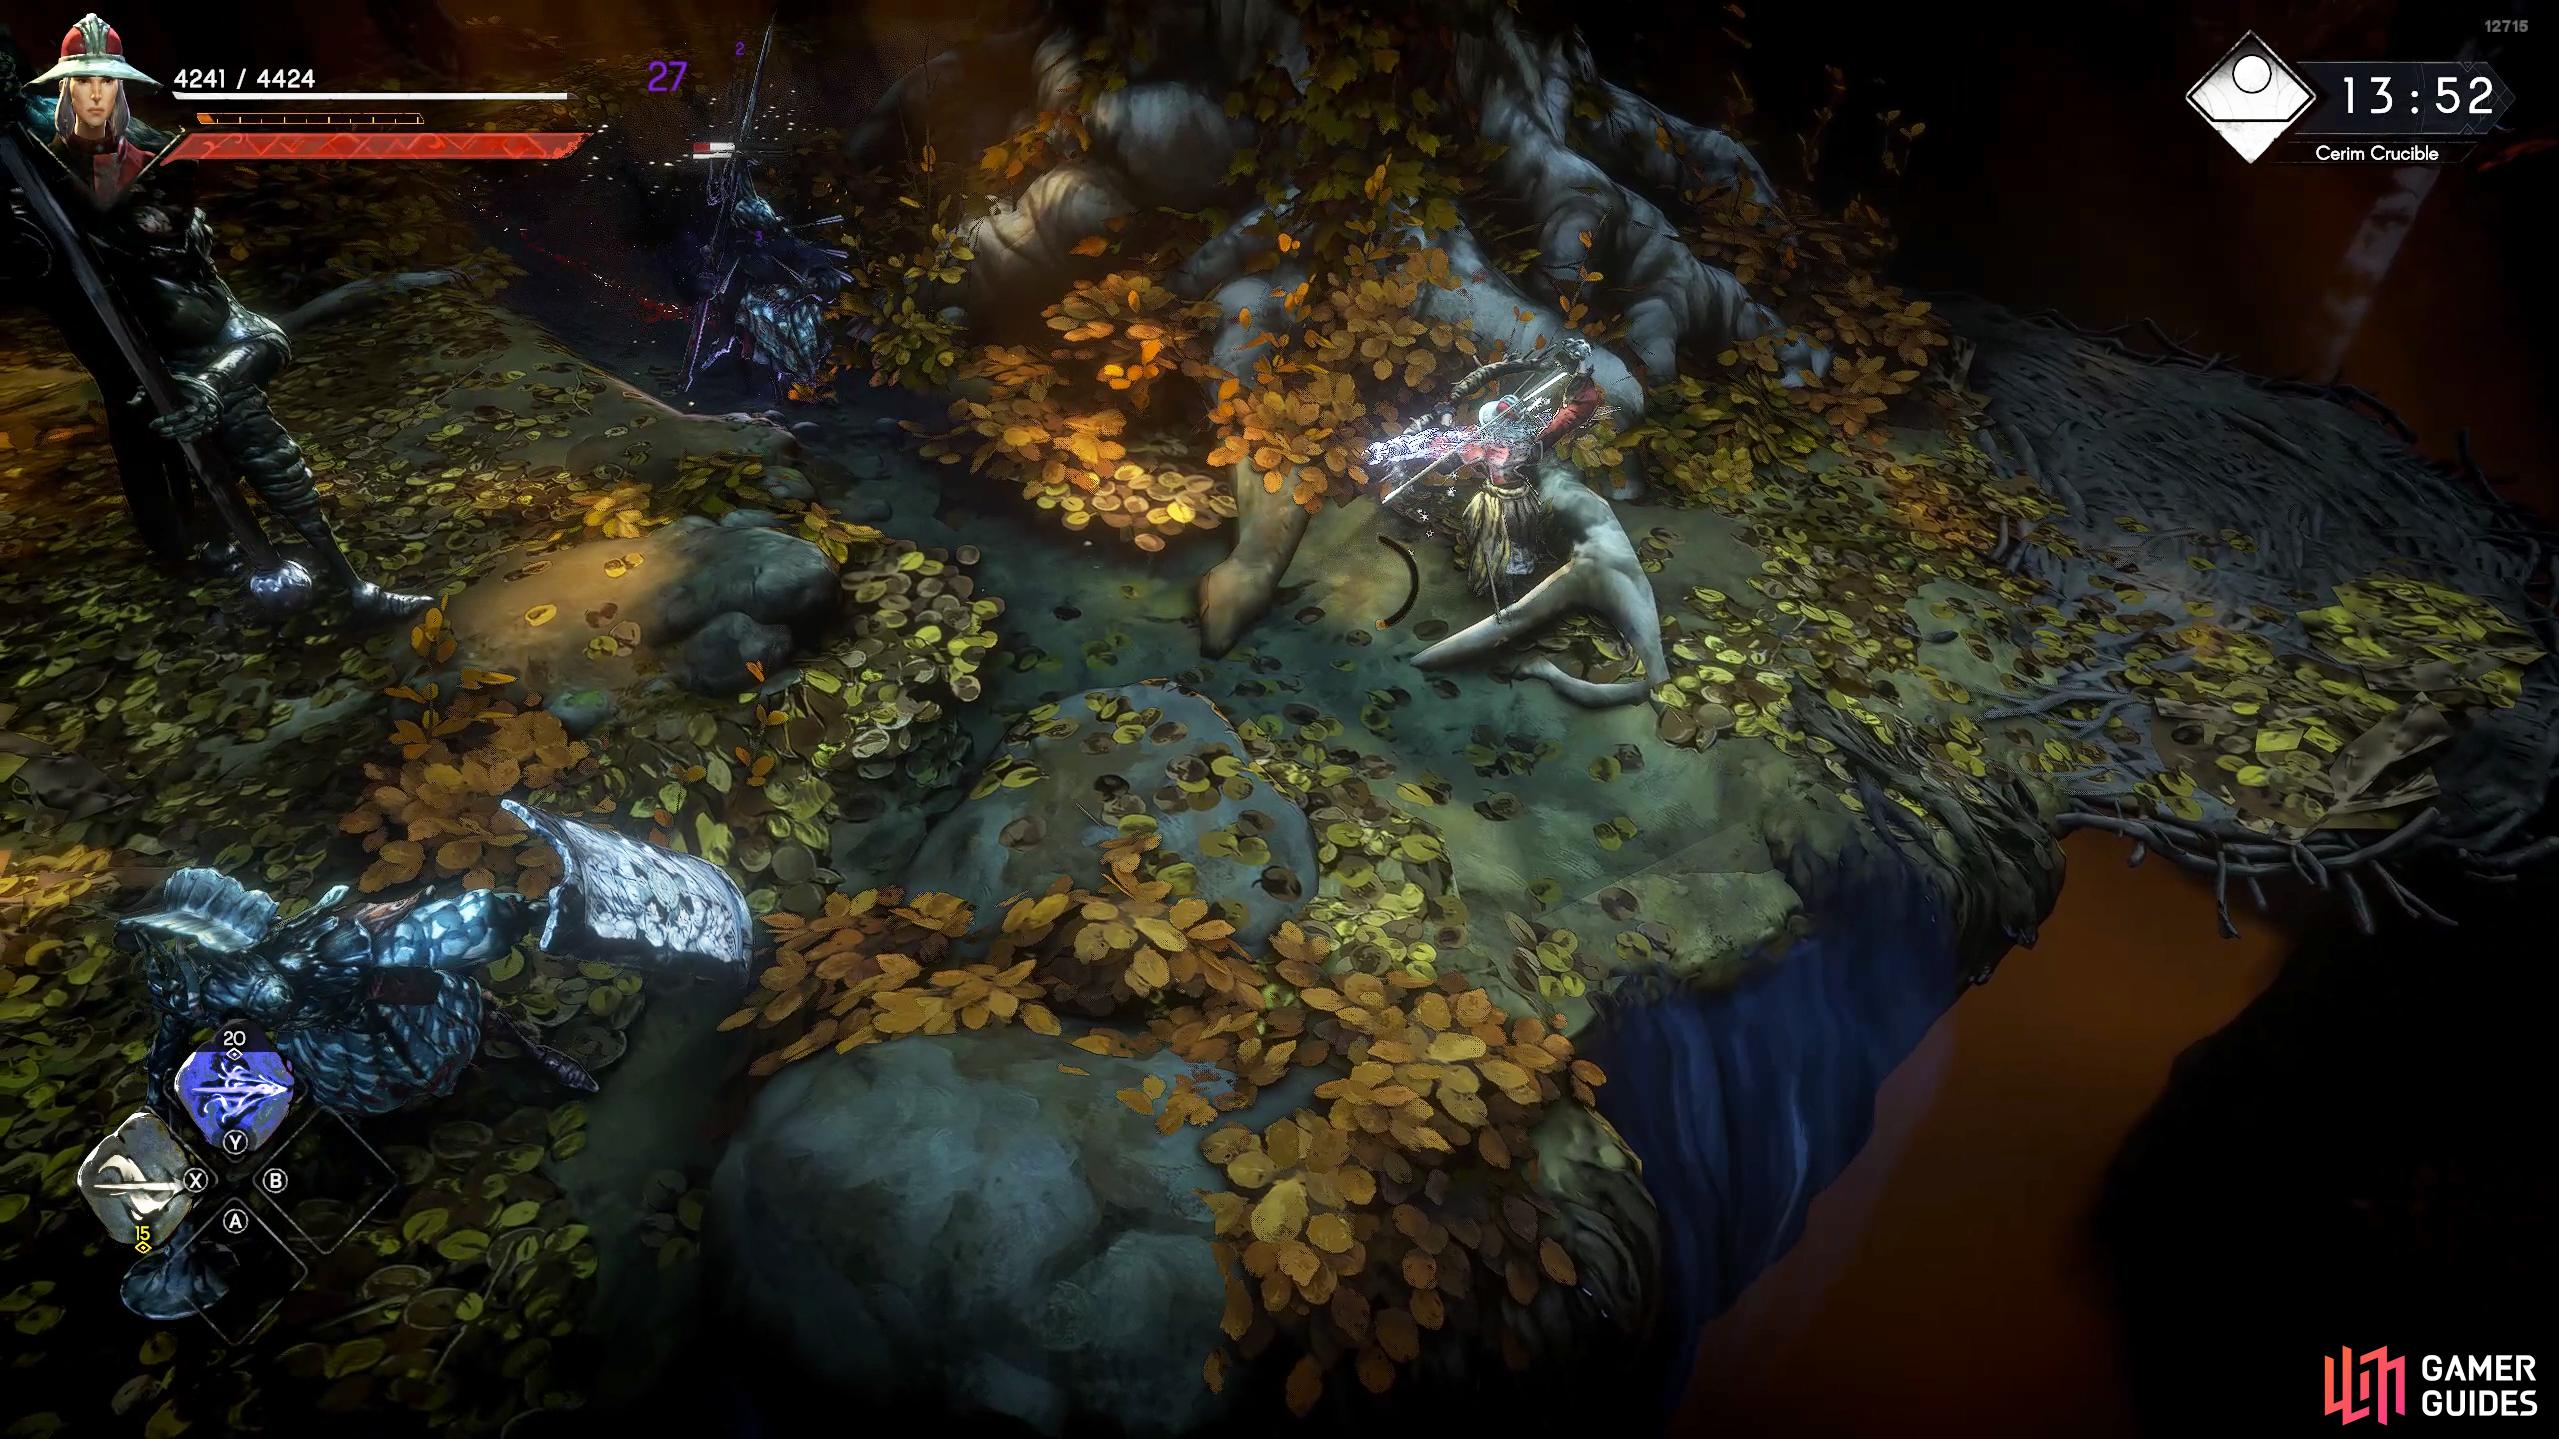
(1 of 4) Head up the slope on the right and take out the Witch as soon as possible.
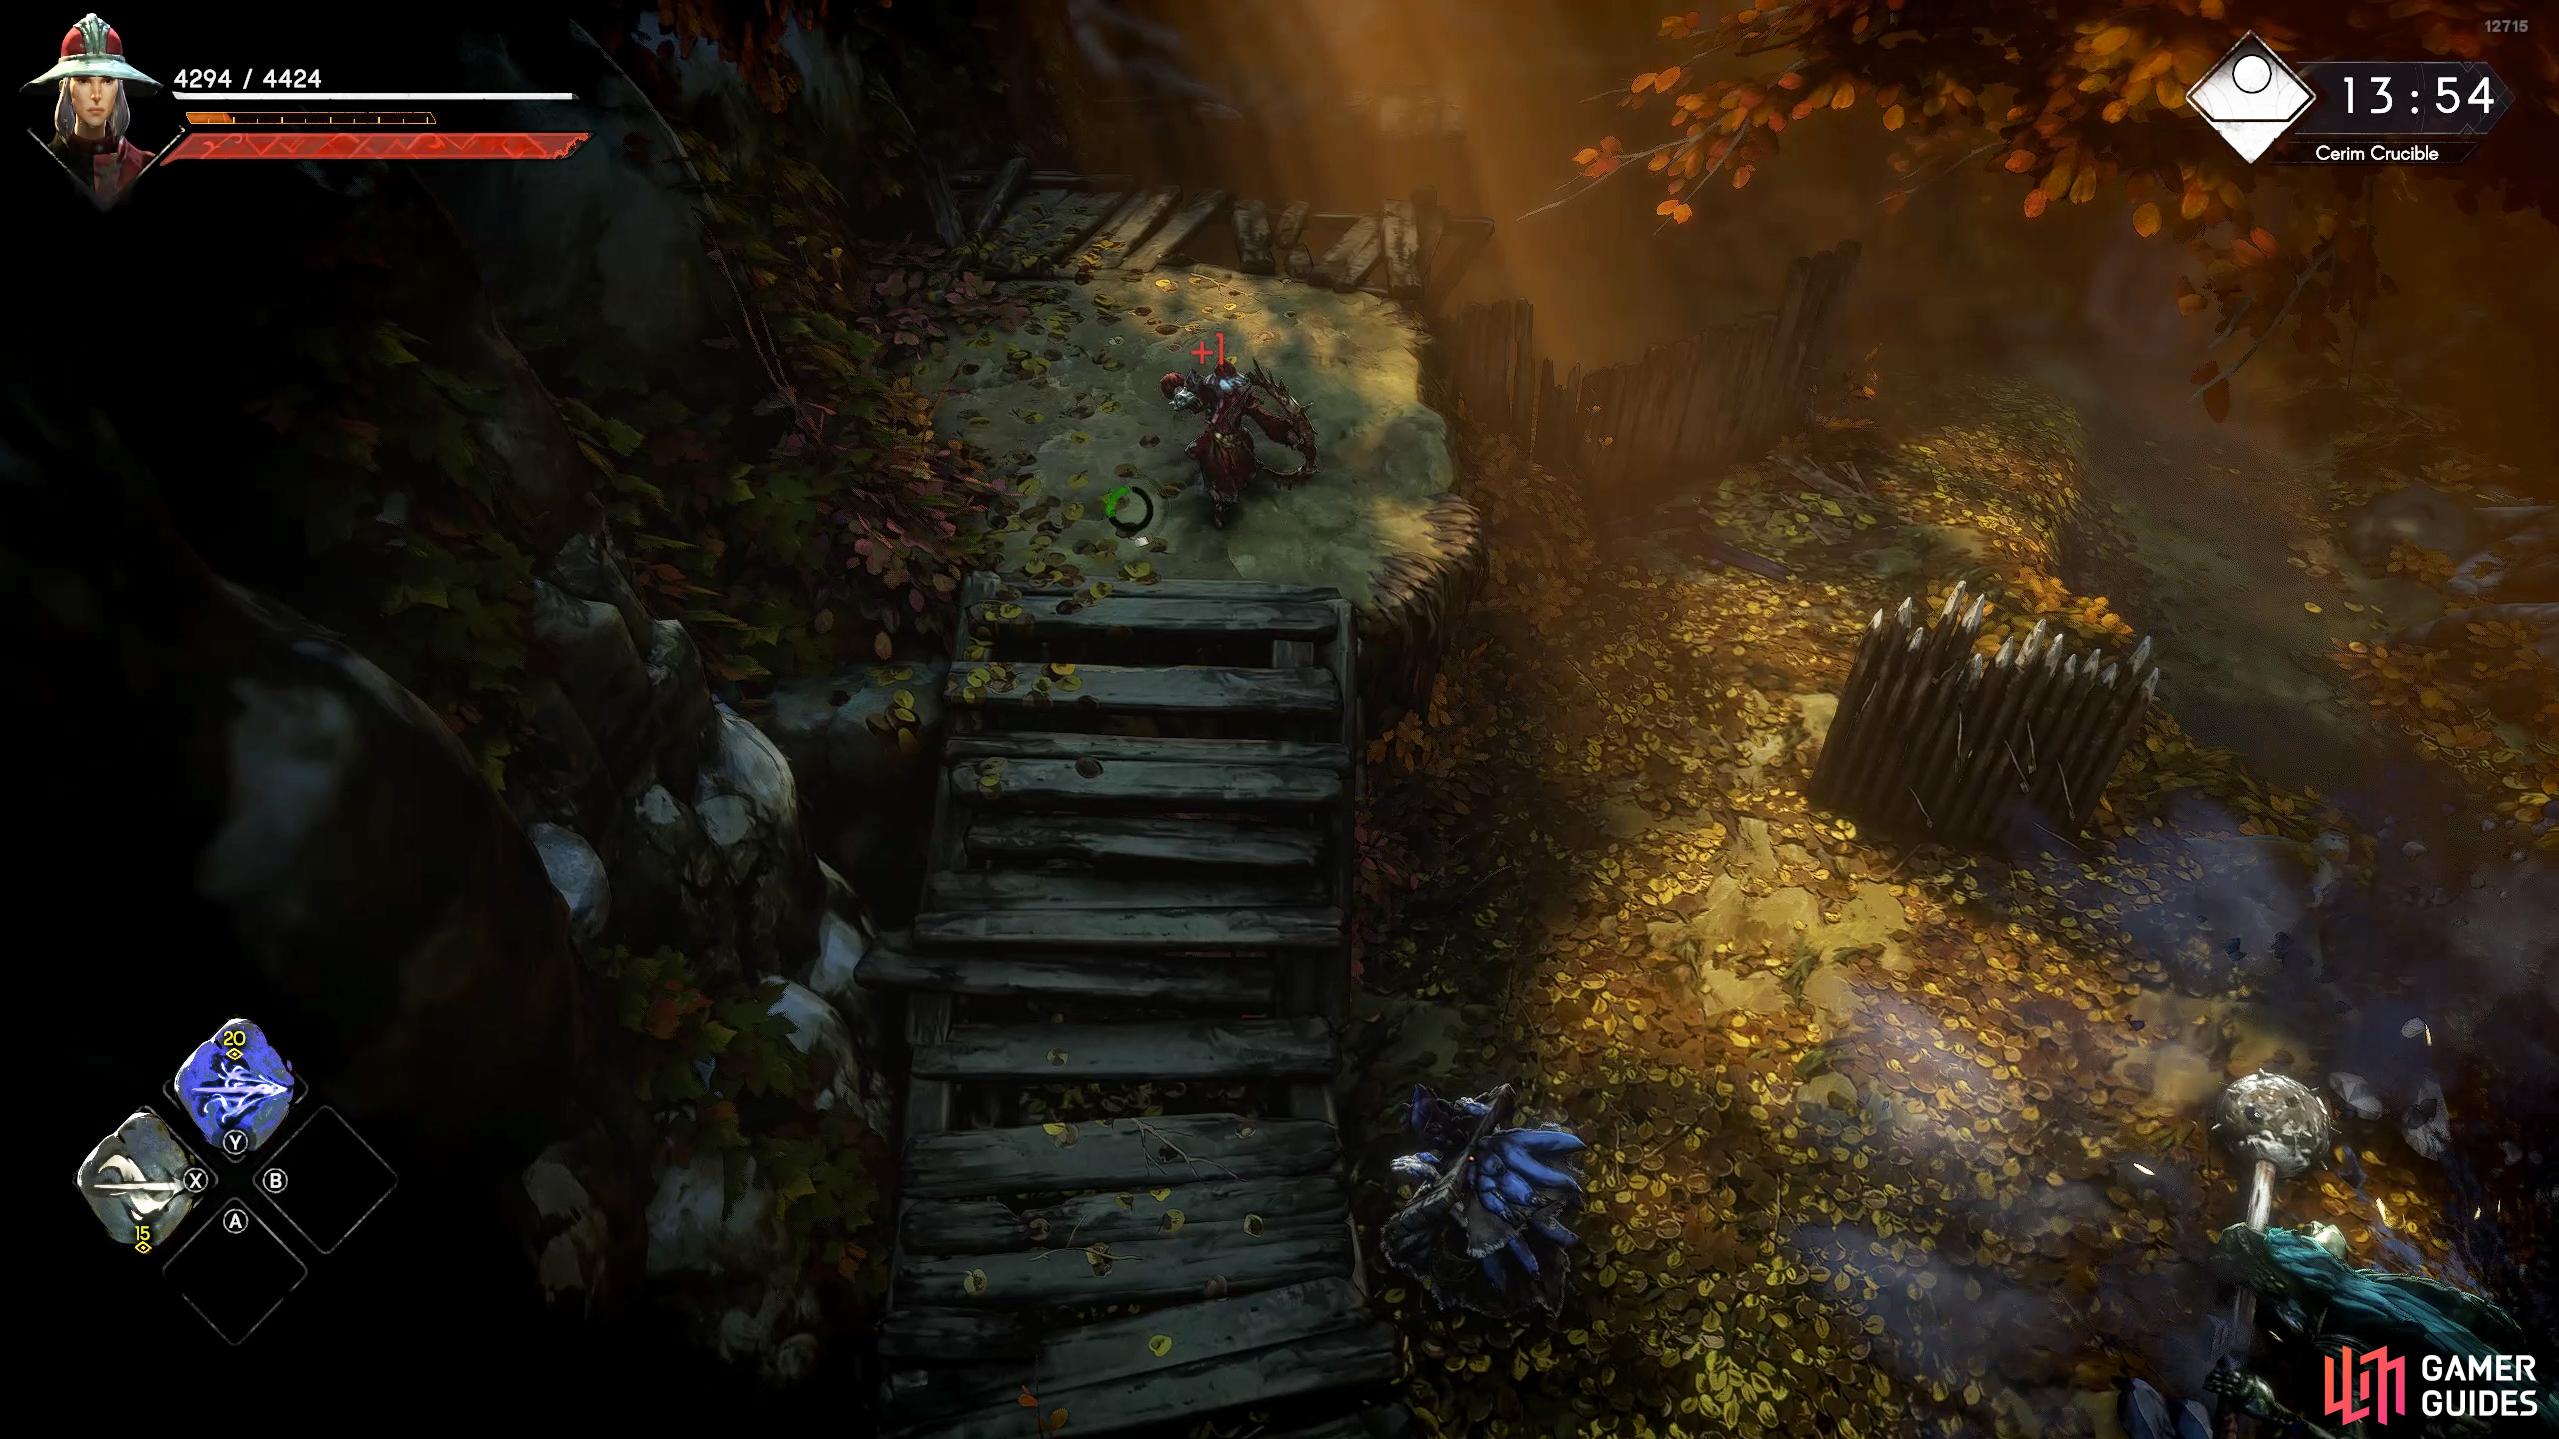
What you want to do is attack the Knights from range until they get closer and then rush to the left side of the map (while dodging), and take care of the Witch over there. If you head all the way left, you’ll find a set of stairs leading up to a small grassy platform. This is a great place to attack enemies from range, and when they get close to you, drop and run to the opposite side. Another great tip is to bait the large enemy into slamming its weapon down at you as it can hurt and kill the other enemies in the process. When the enemies are dealt with, head back up to the platform via the stairs and jump across. Finally, take care of the last enemy, which is predominantly a Knight but I have seen a Witch there, and then continue following the path around.
You’ll run past a locked gate here which will open up when all the enemies are defeated. Continue around the path where you’ll find some more enemies to defeat. We regularly see a Witch here but you can find a Knight instead. Defeat the enemy and continue up where you’ll find a couple more enemies. The easiest way to deal with them is to back up and use ranged attacks but you can use a hit-and-run tactic while descending the path you just came up. Whatever you do, make sure you don’t roll off the side as you will die.
Once the enemies are defeated, continue east to find a chest. This chest will always be here, even on subsequent runs, so make sure you always open it. Now all that’s left to do is to make your way back to the locked gate you encountered earlier and follow the path to the elevator to go to the next floor.
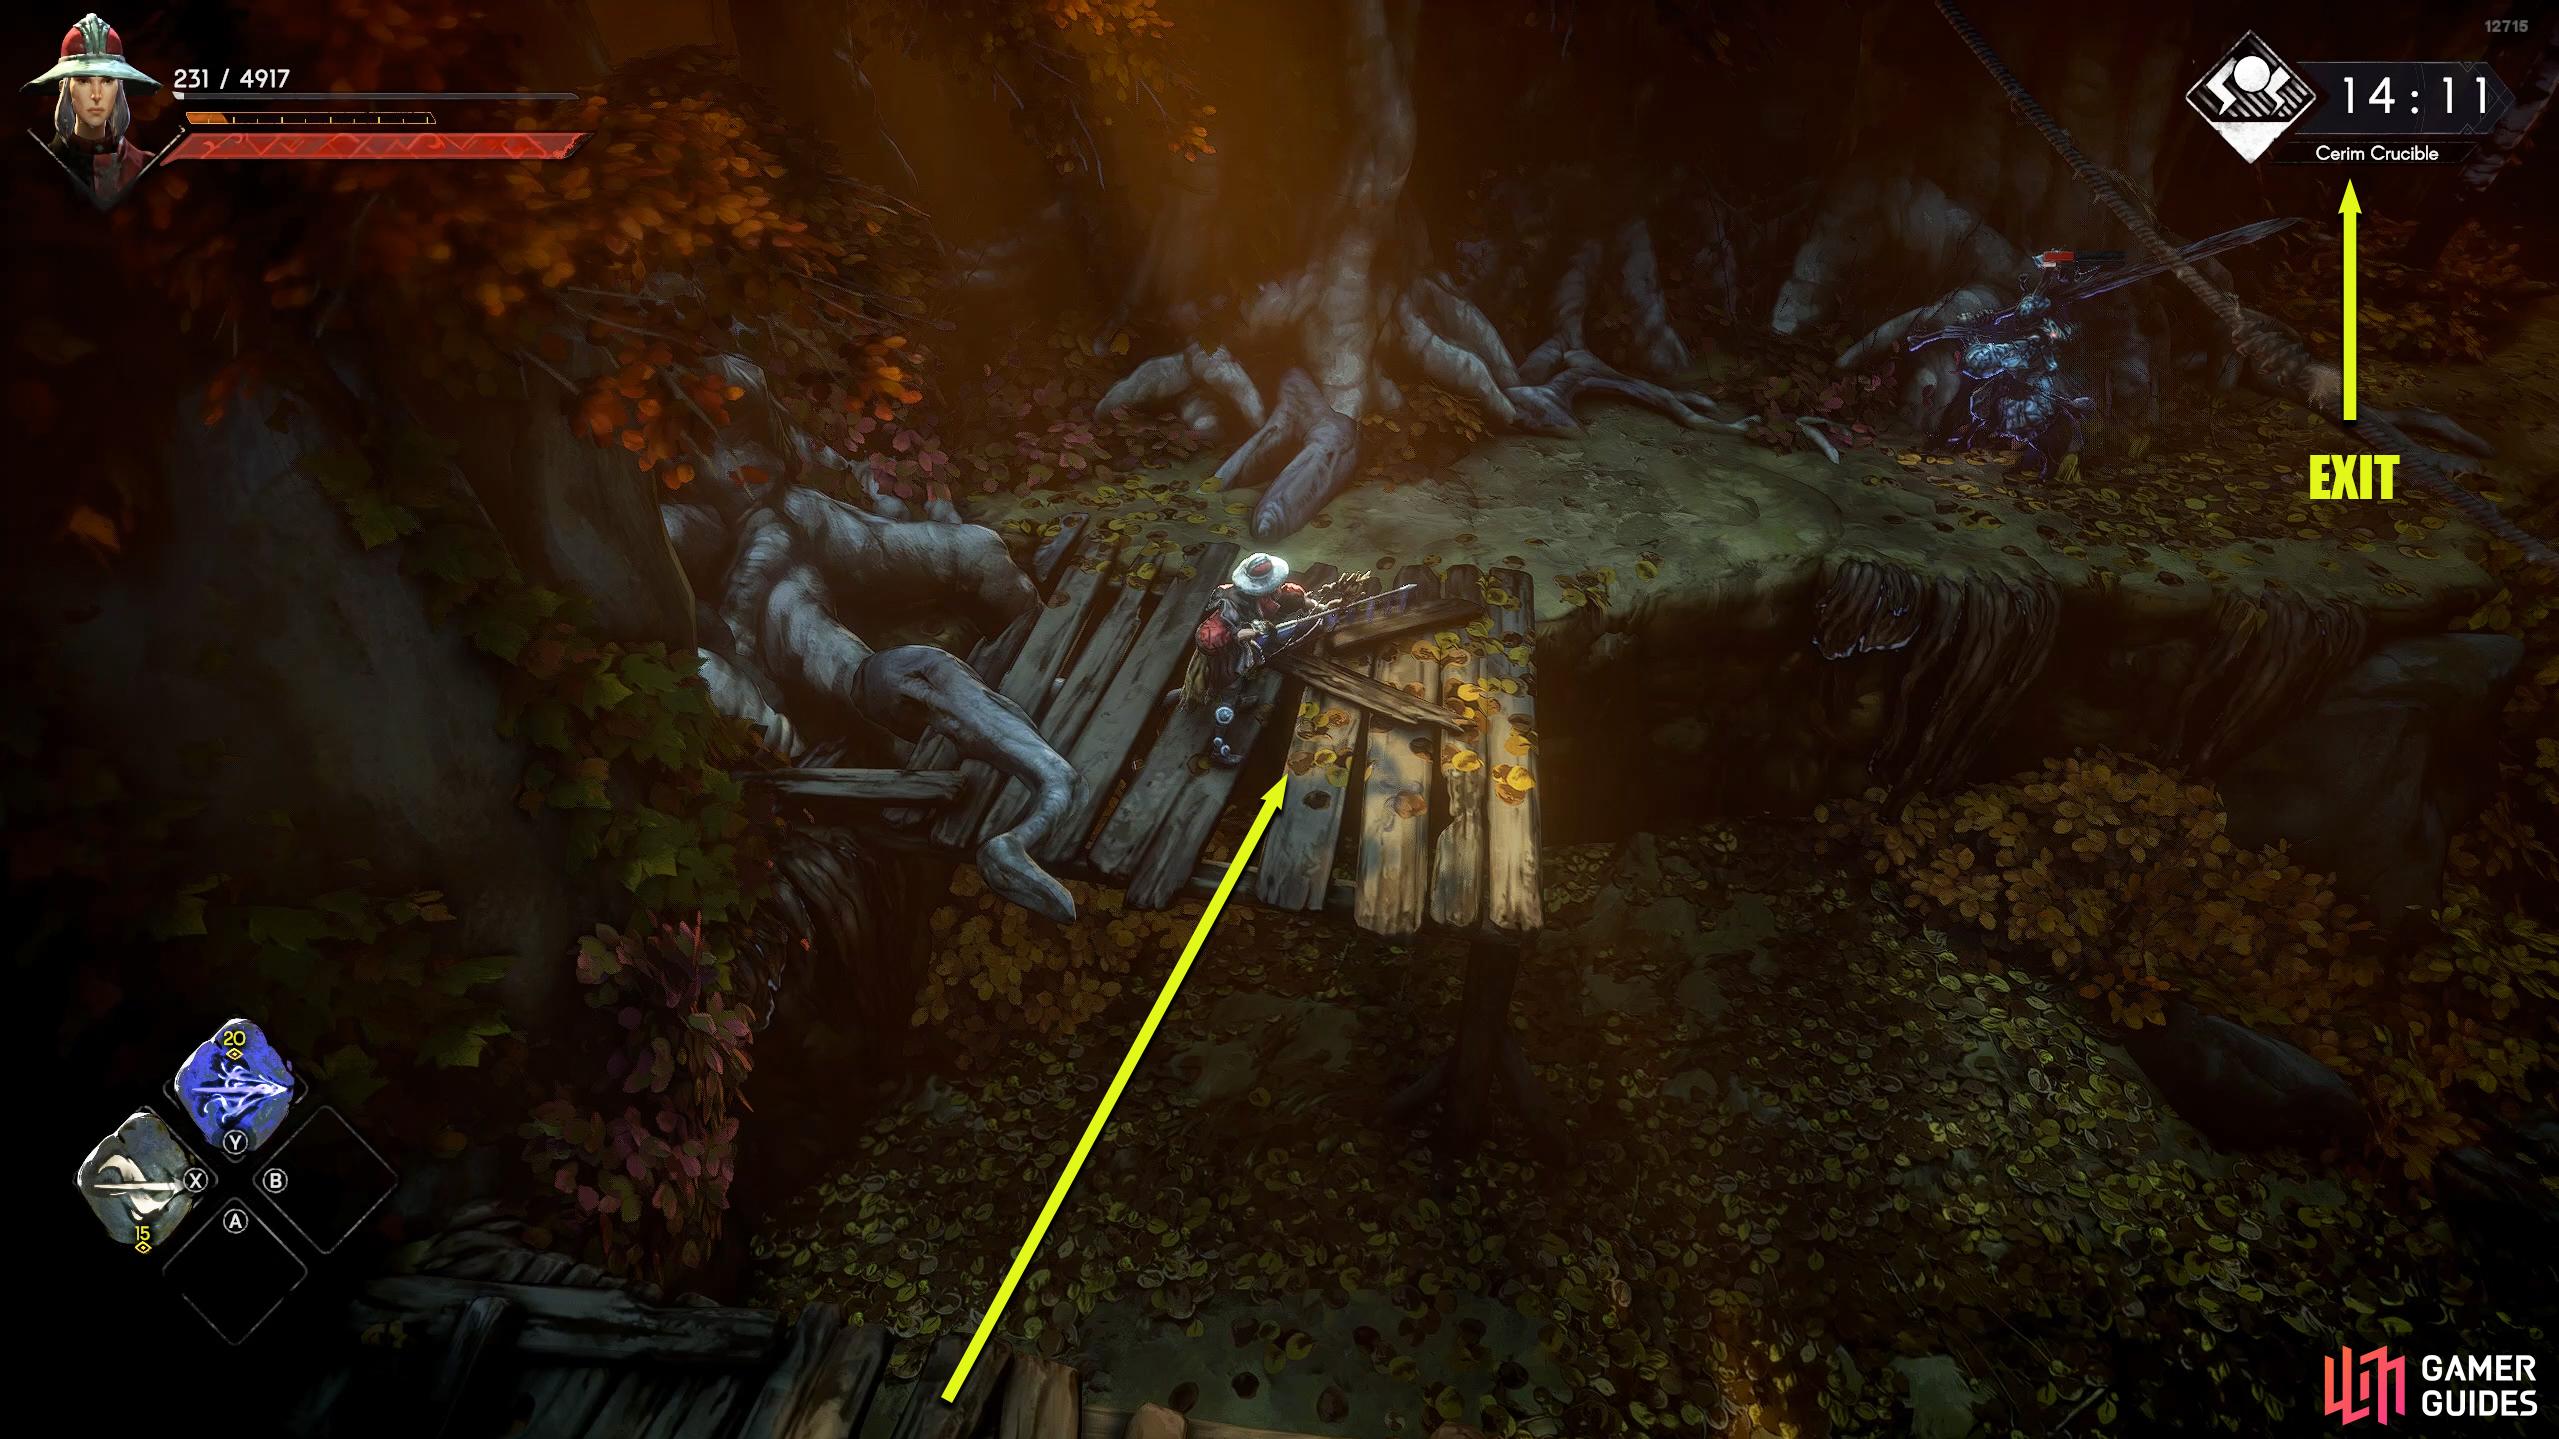


(1 of 3) When they’re dealt with, jump over to the wooden platform, and defeat the incoming enemy.
Icy Cave Floor
This floor is set inside a cave with a blue hue. You’ll exit the elevator room via the southwest which will lead to a “dead end”. Drop into the water below and climb up to the path on the right. To your left will be a Knight of some kind. Sometimes it’s a Shield Knight, other times it’ll be a Knight with a Greatsword. As always, start by using a ranged attack (use a Focus potion if you have no Focus), and either take it low on health or outright defeat it.
Once you’ve dealt with the enemy, you’ll need to drop to the platform below. Before you do this, take note of the enemies down here. Sometimes they’ll be two Knights here, one to your left, and one to your south. If you stray too far left, you’ll make a large enemy smash through the stalagmites and join in on the fun. Once again, the easiest way to deal with this is to take as many enemies out as you can from the platform above with ranged attacks as the enemies won’t be able to reach you outside of some magic, which they do have access to.

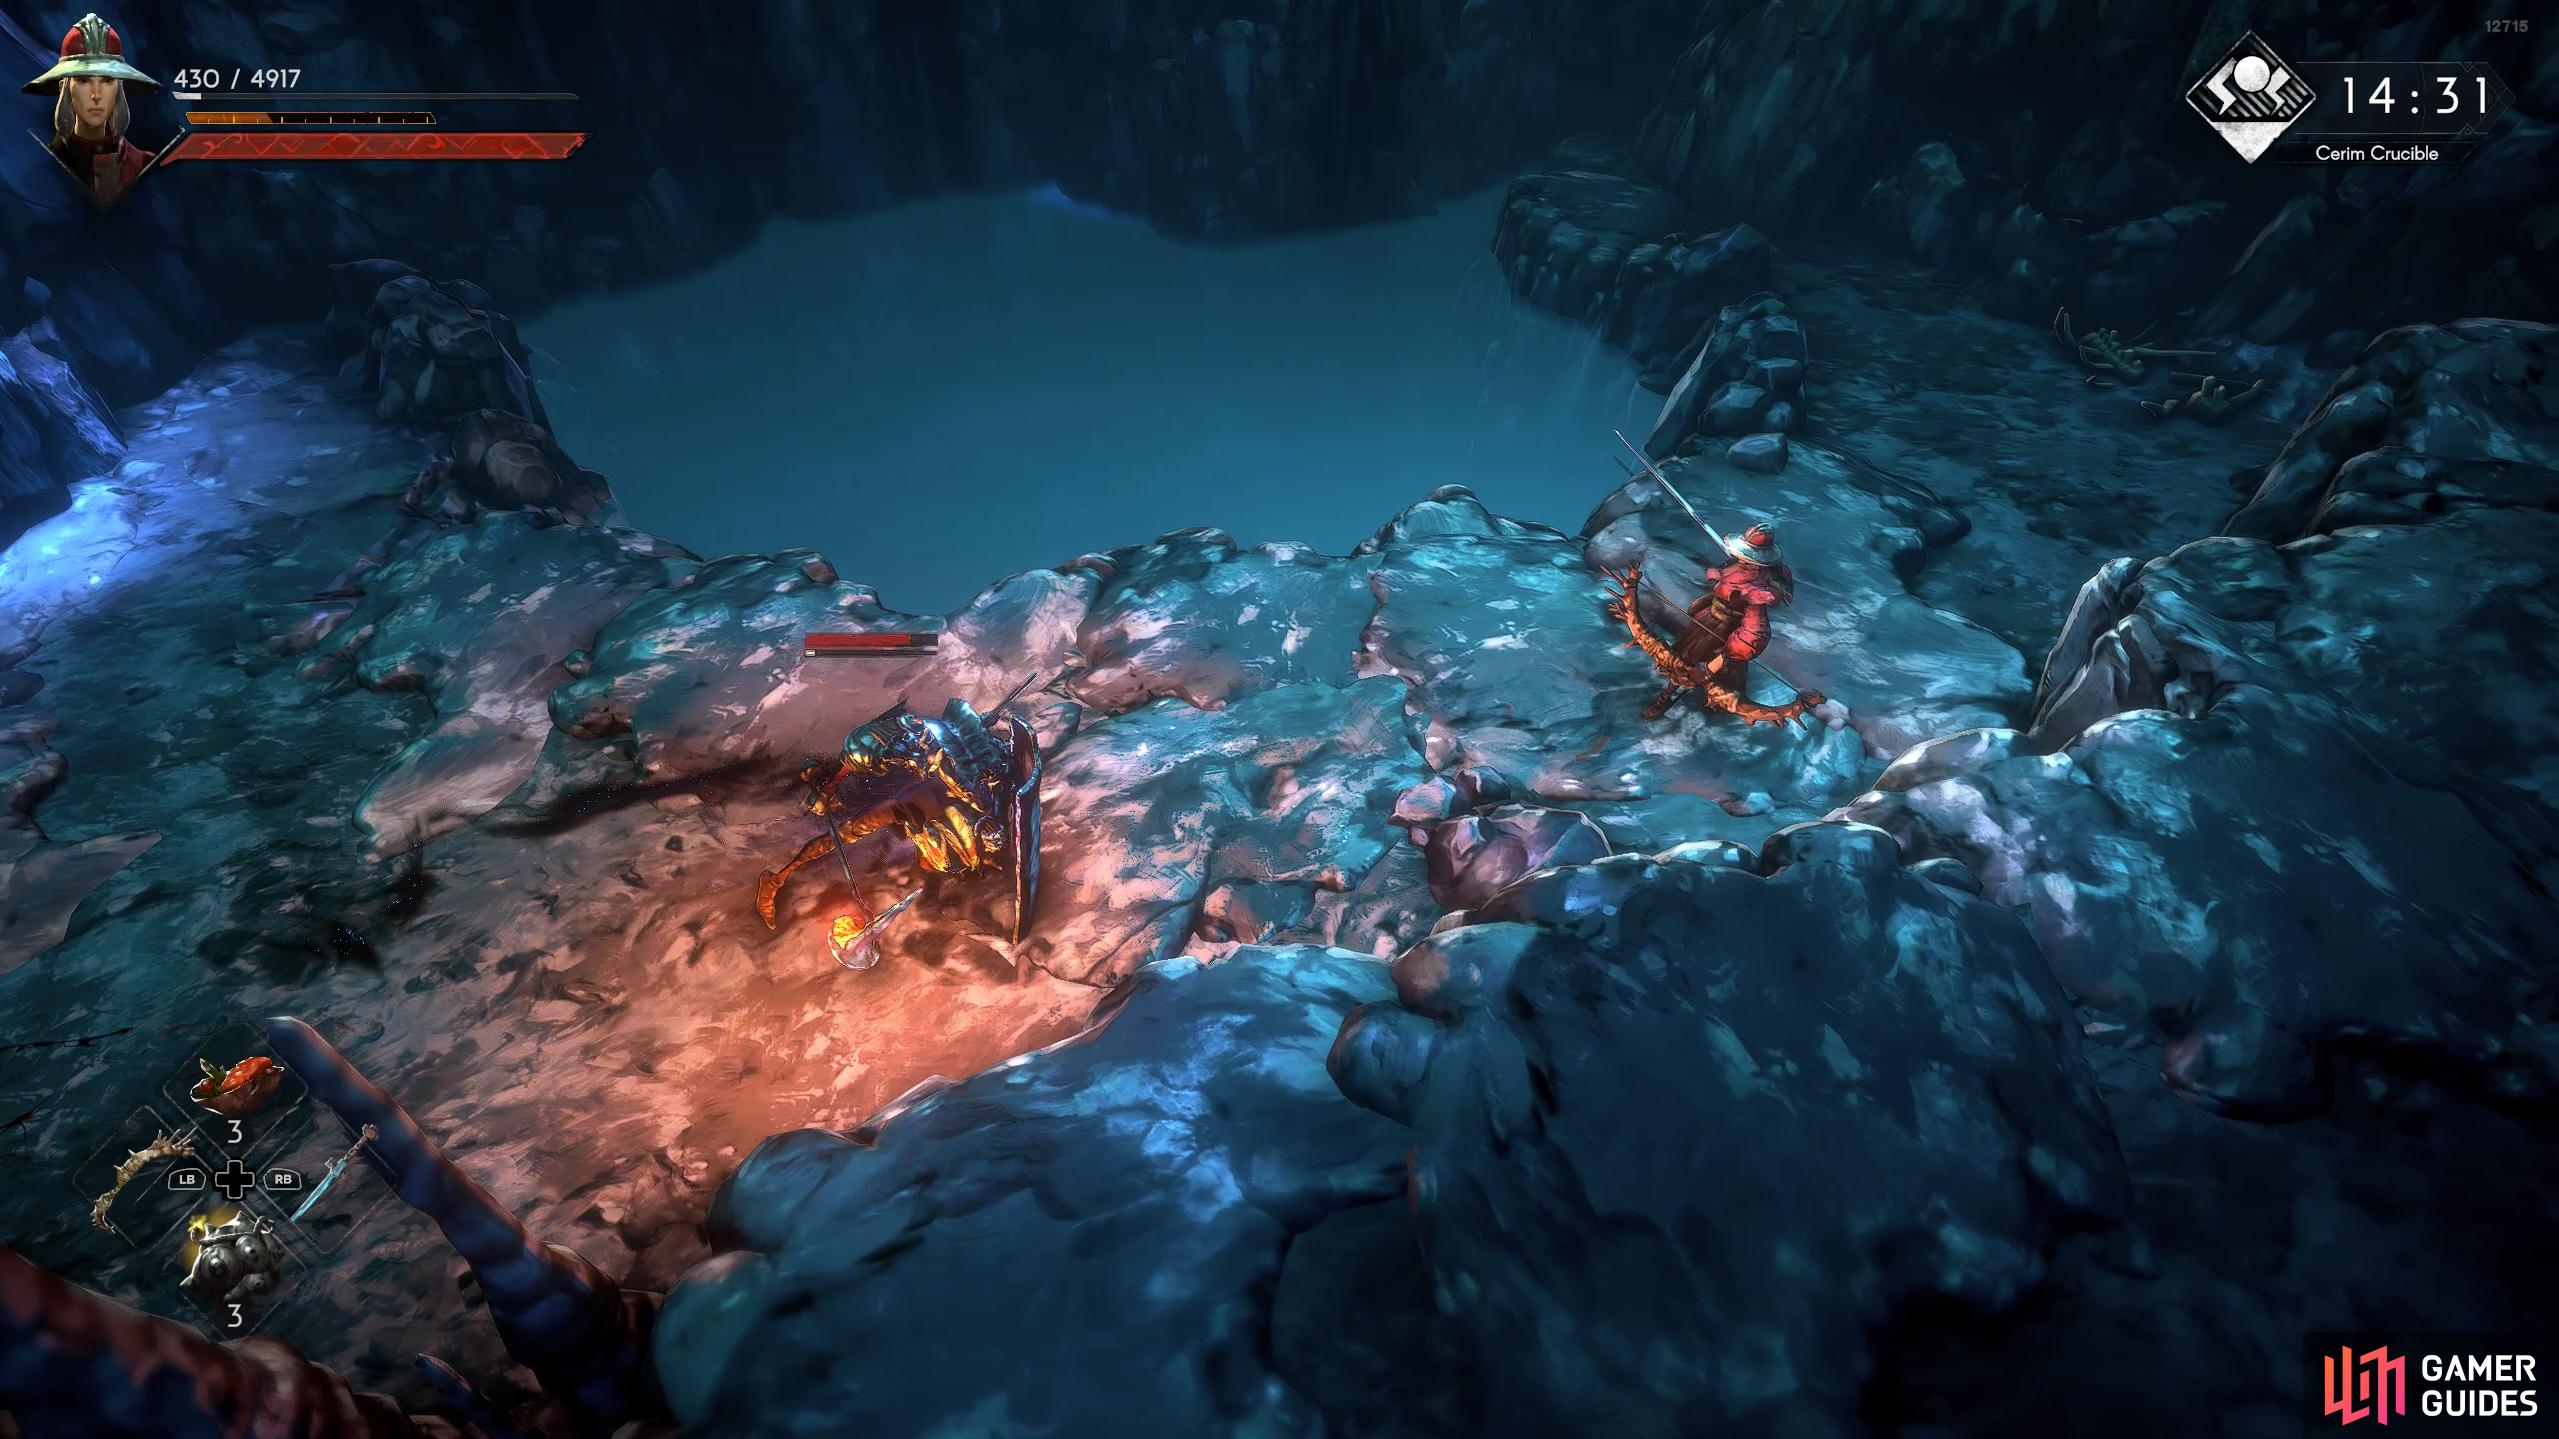
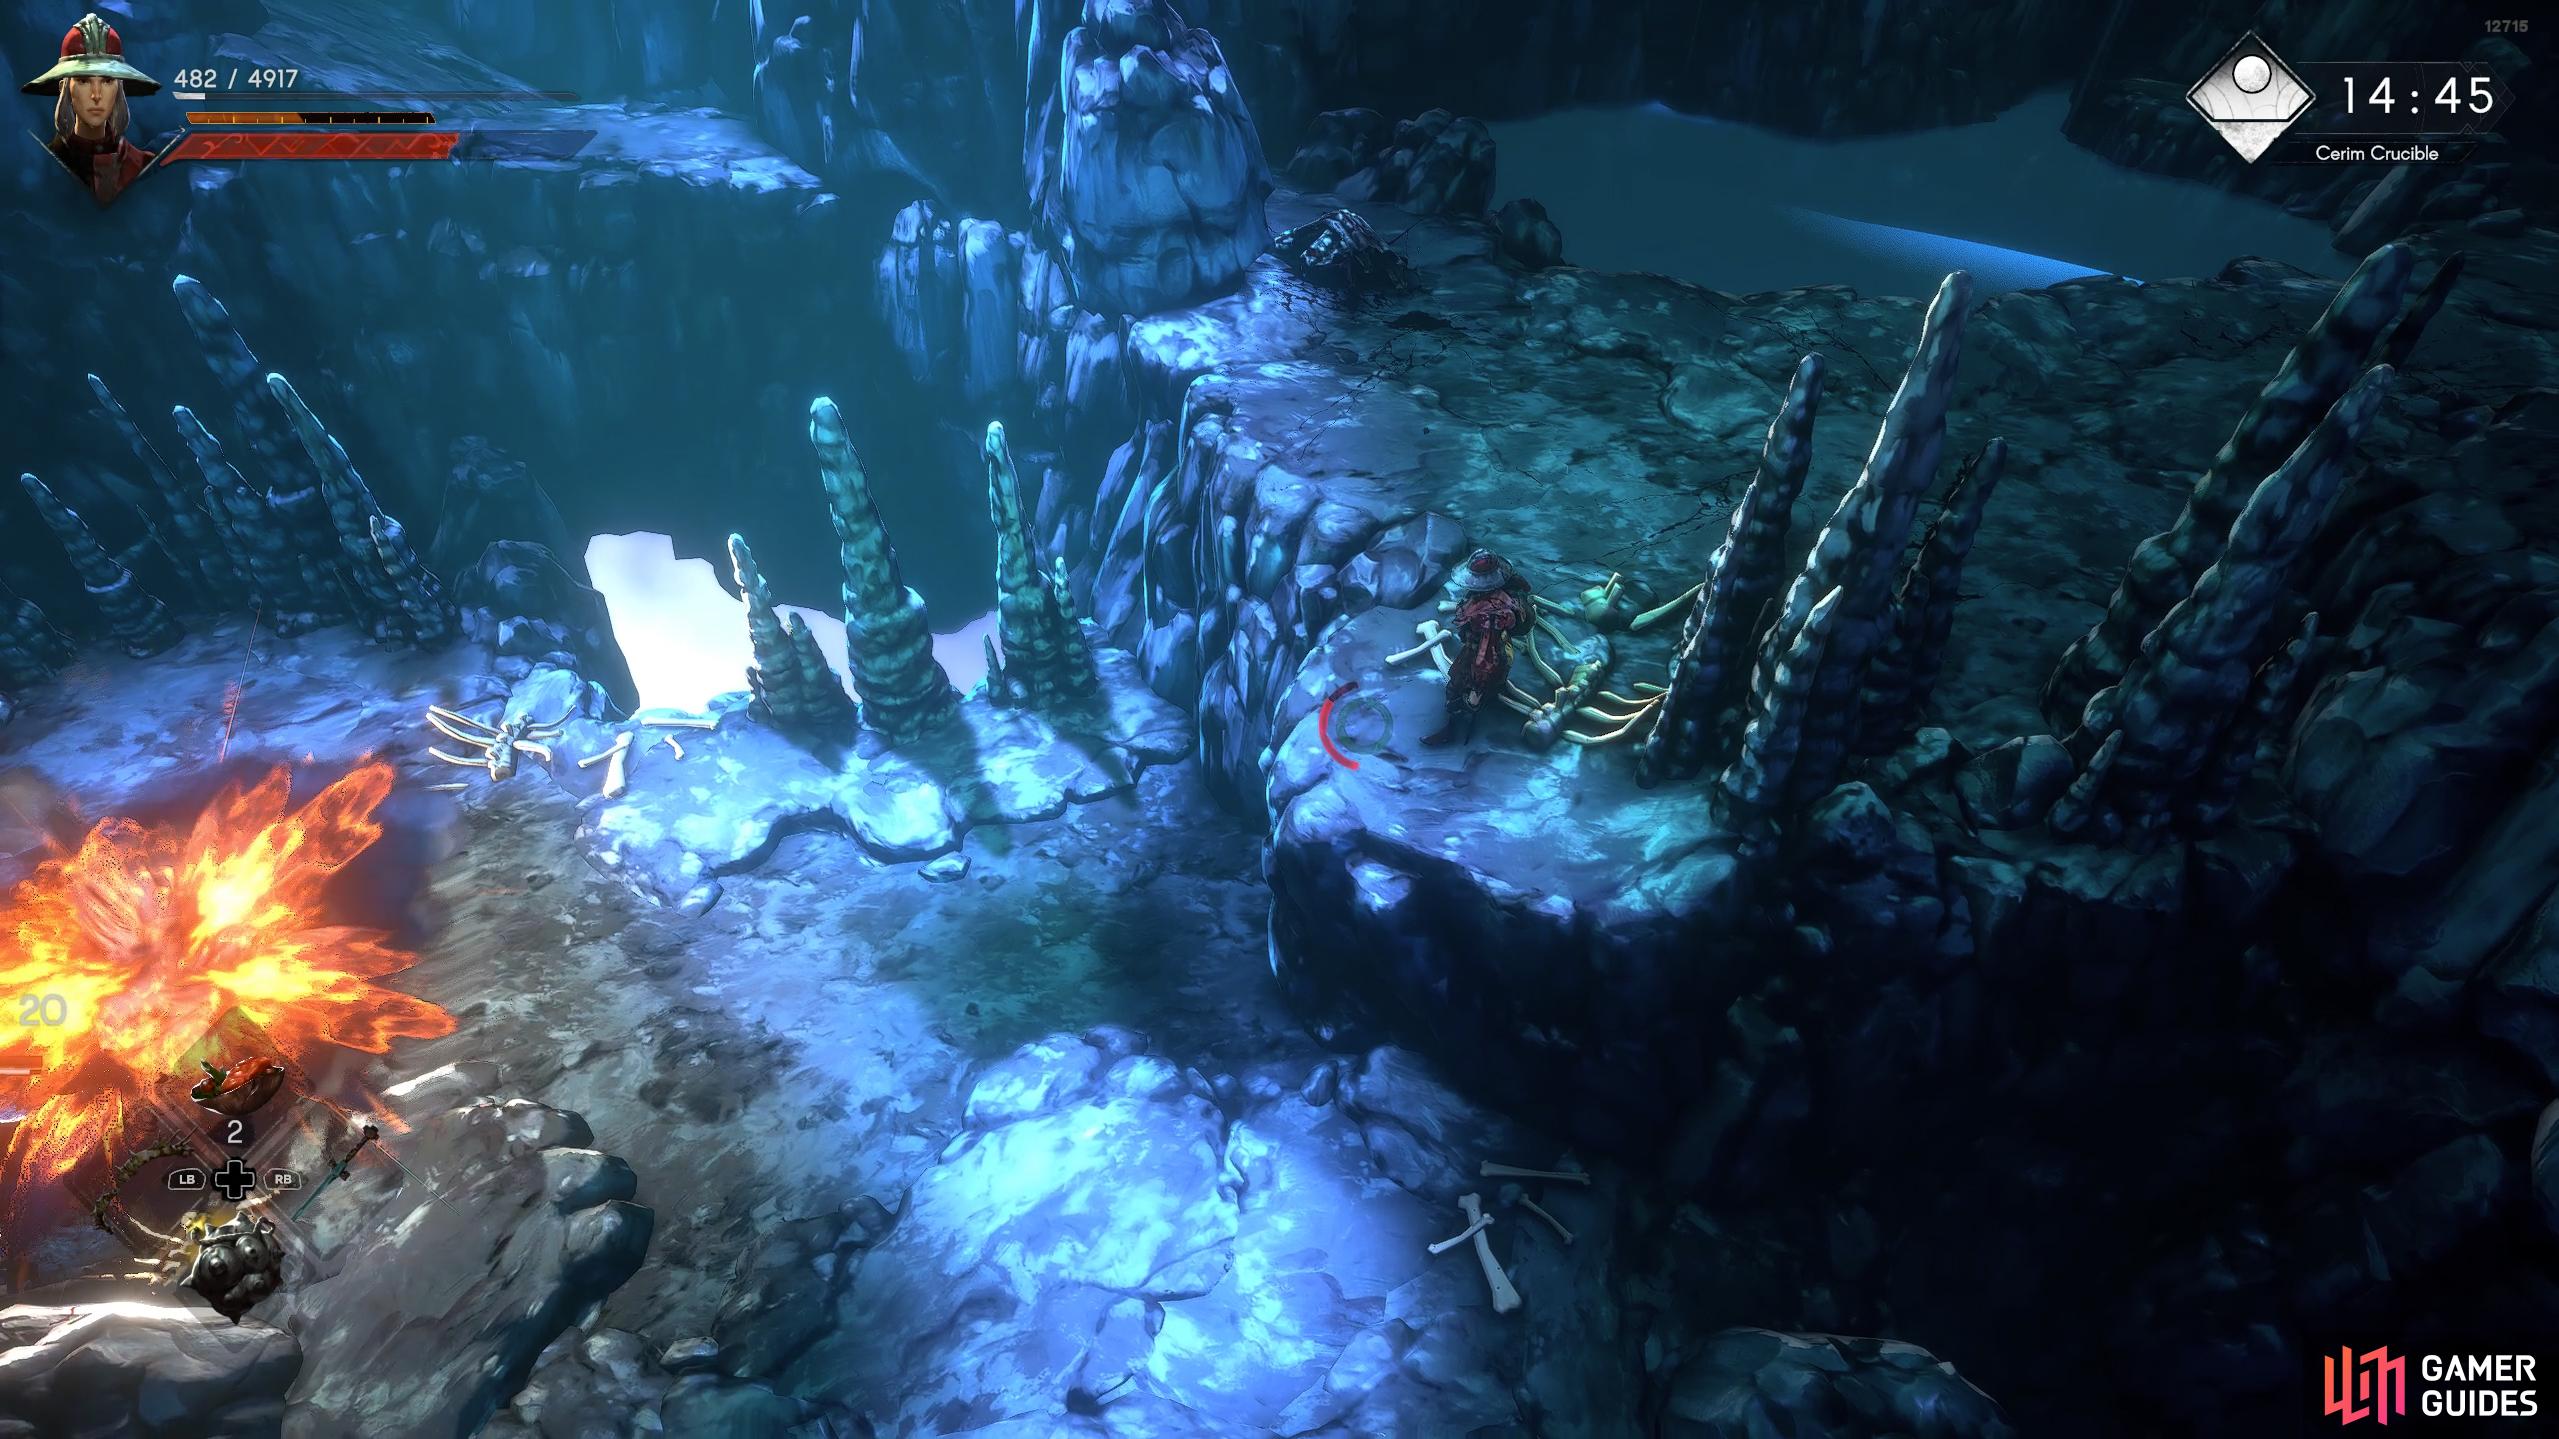
(1 of 4) Exit the elevator room and drop into the water below.
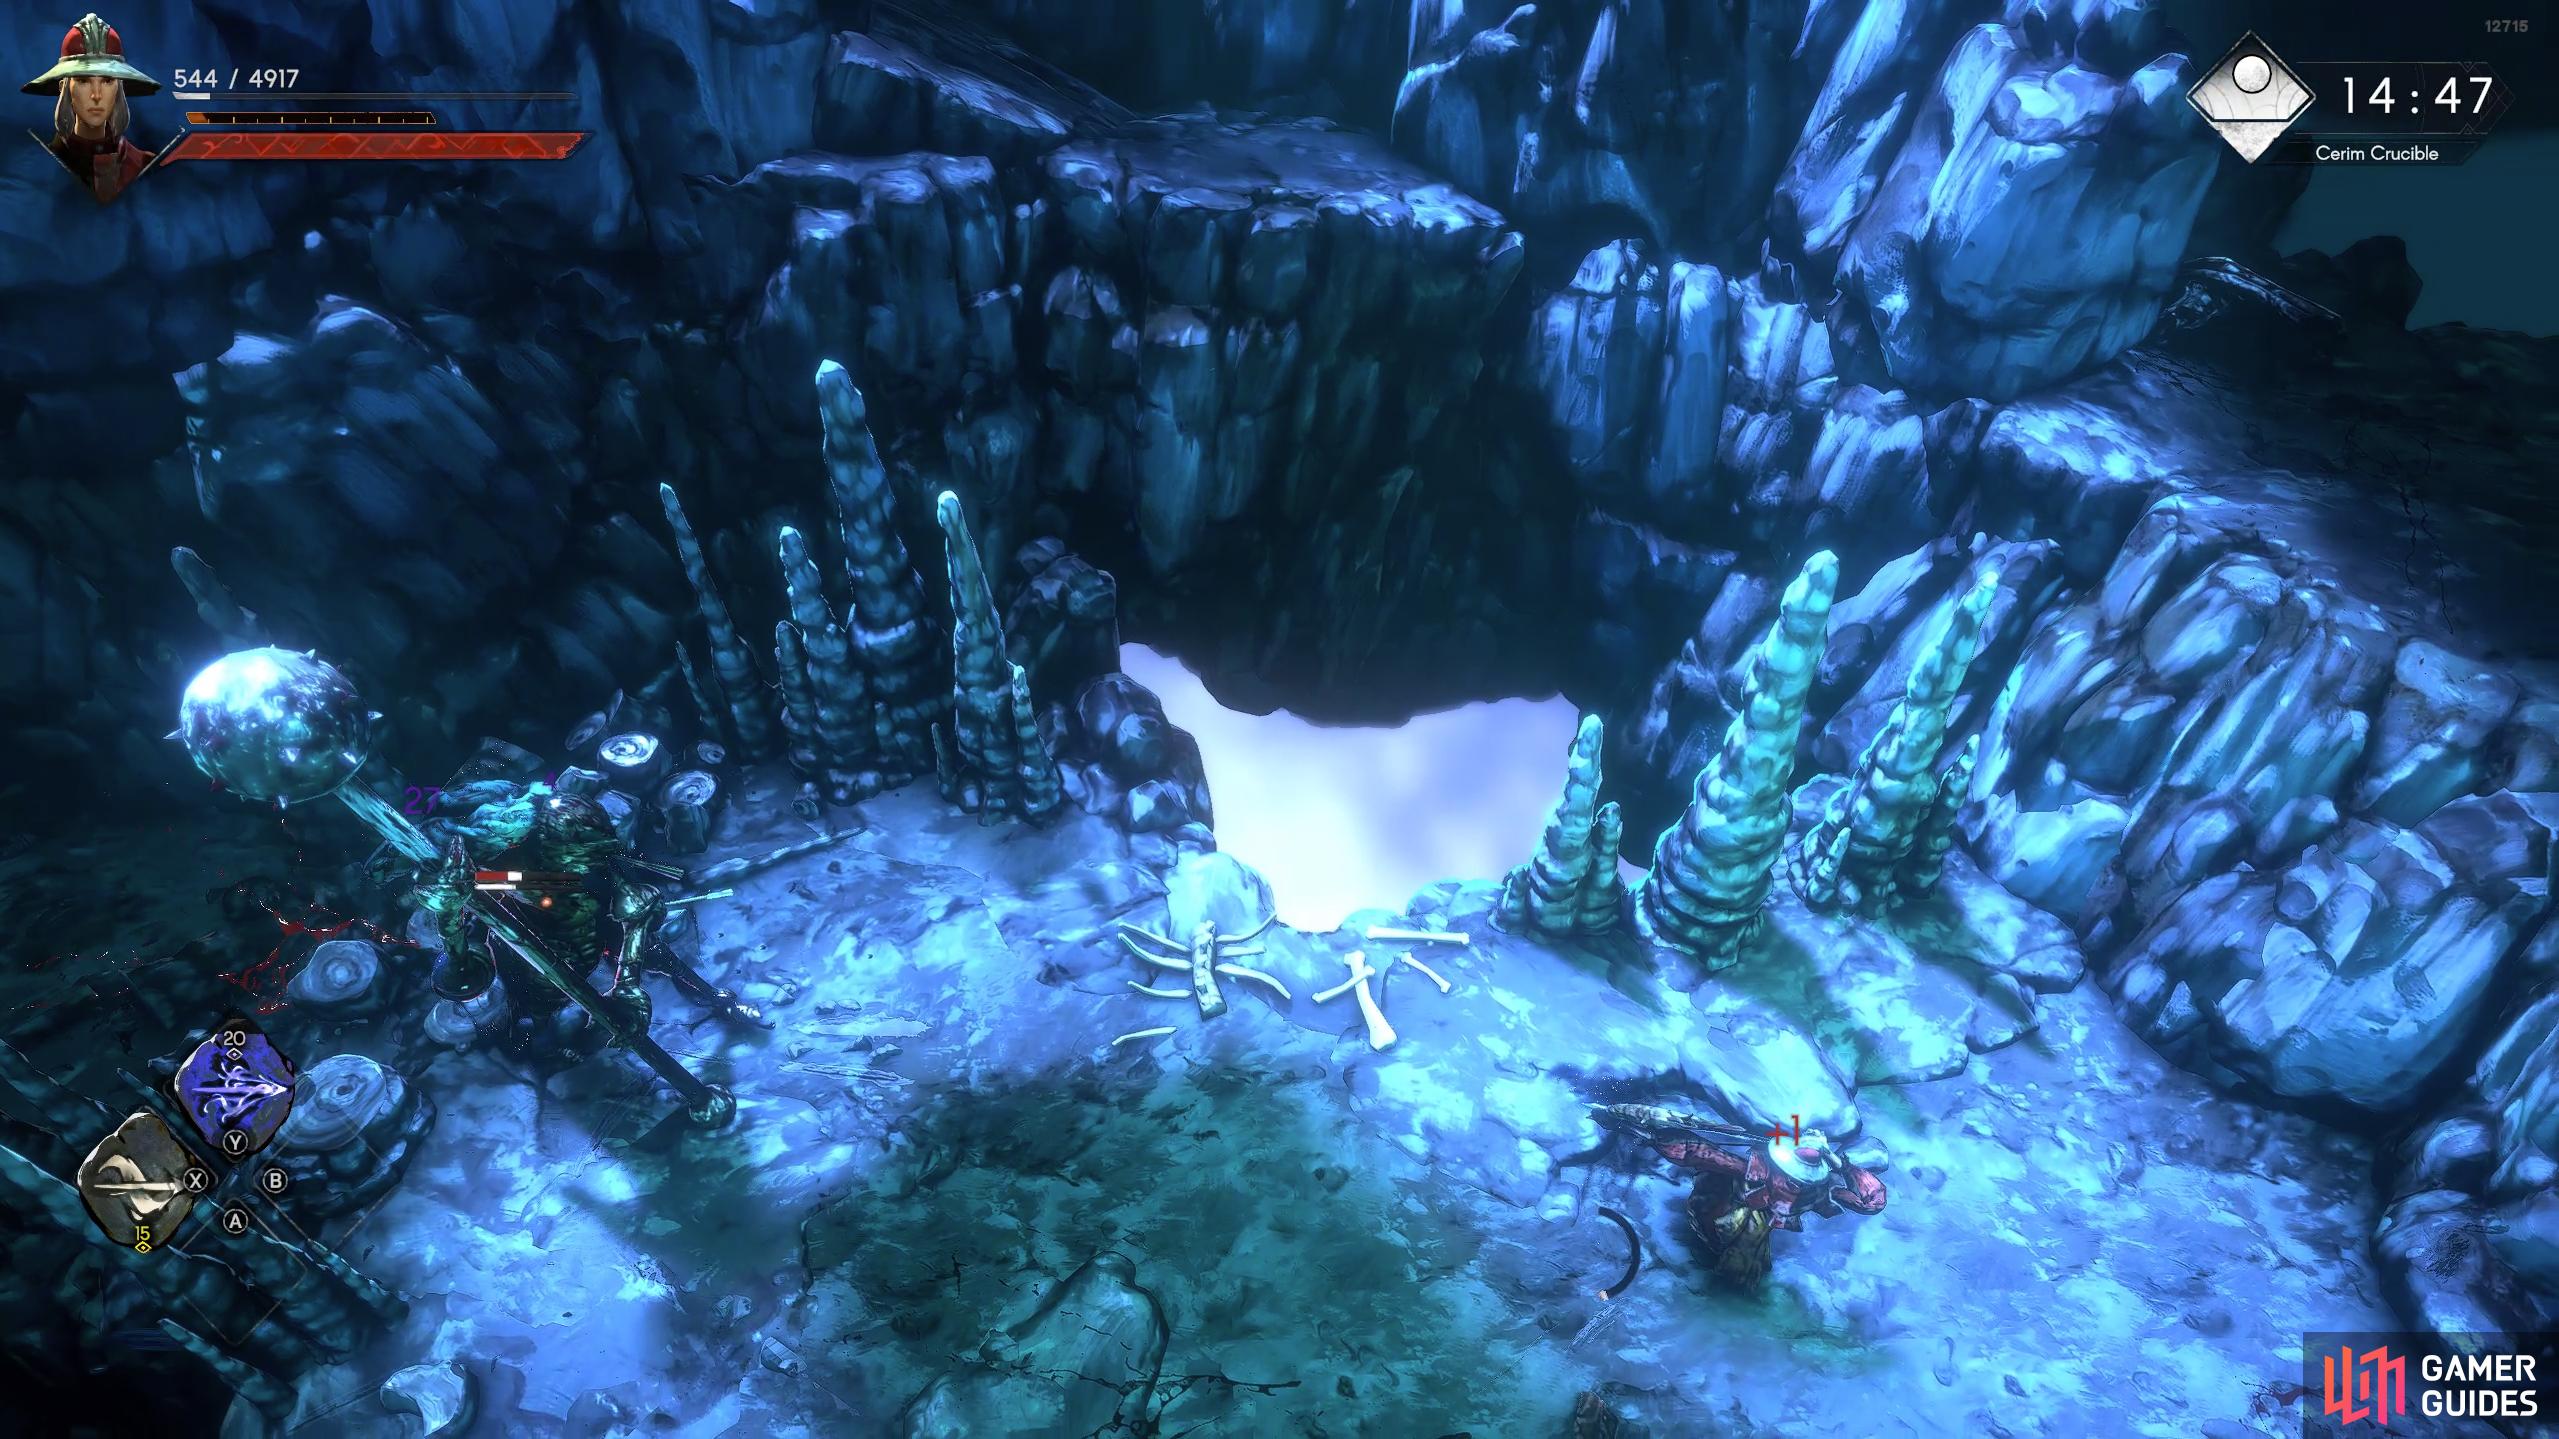
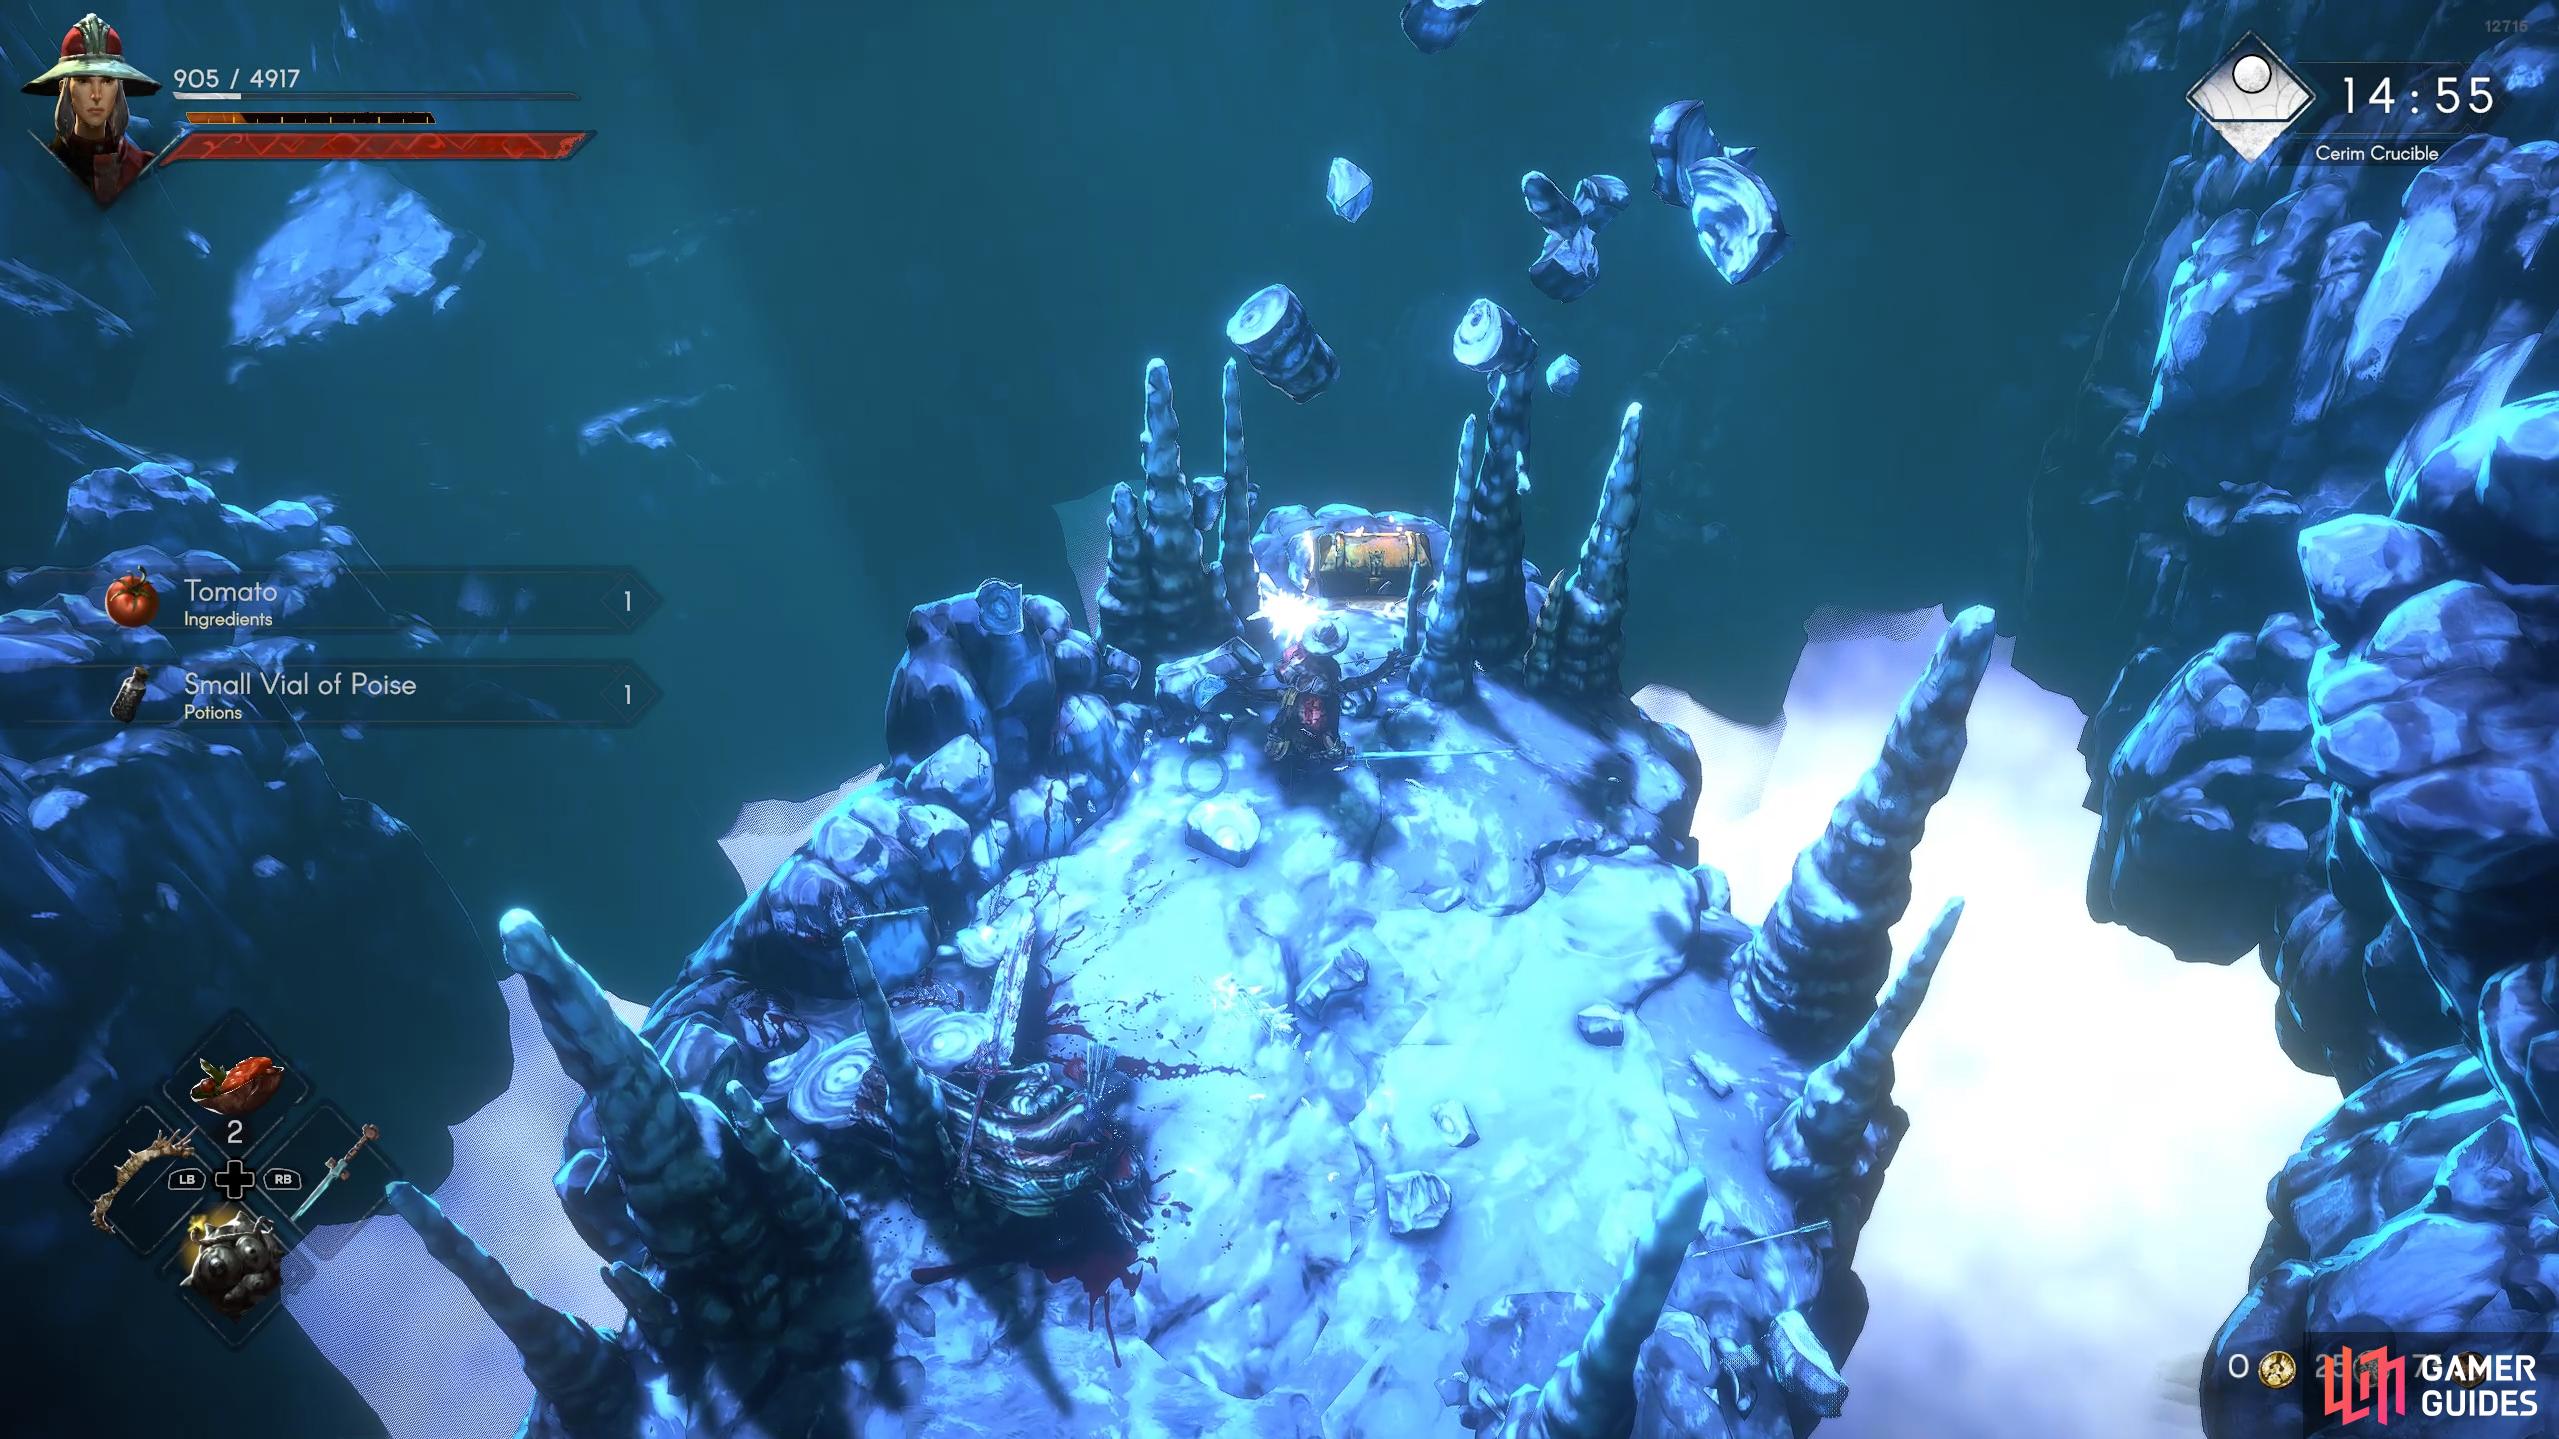
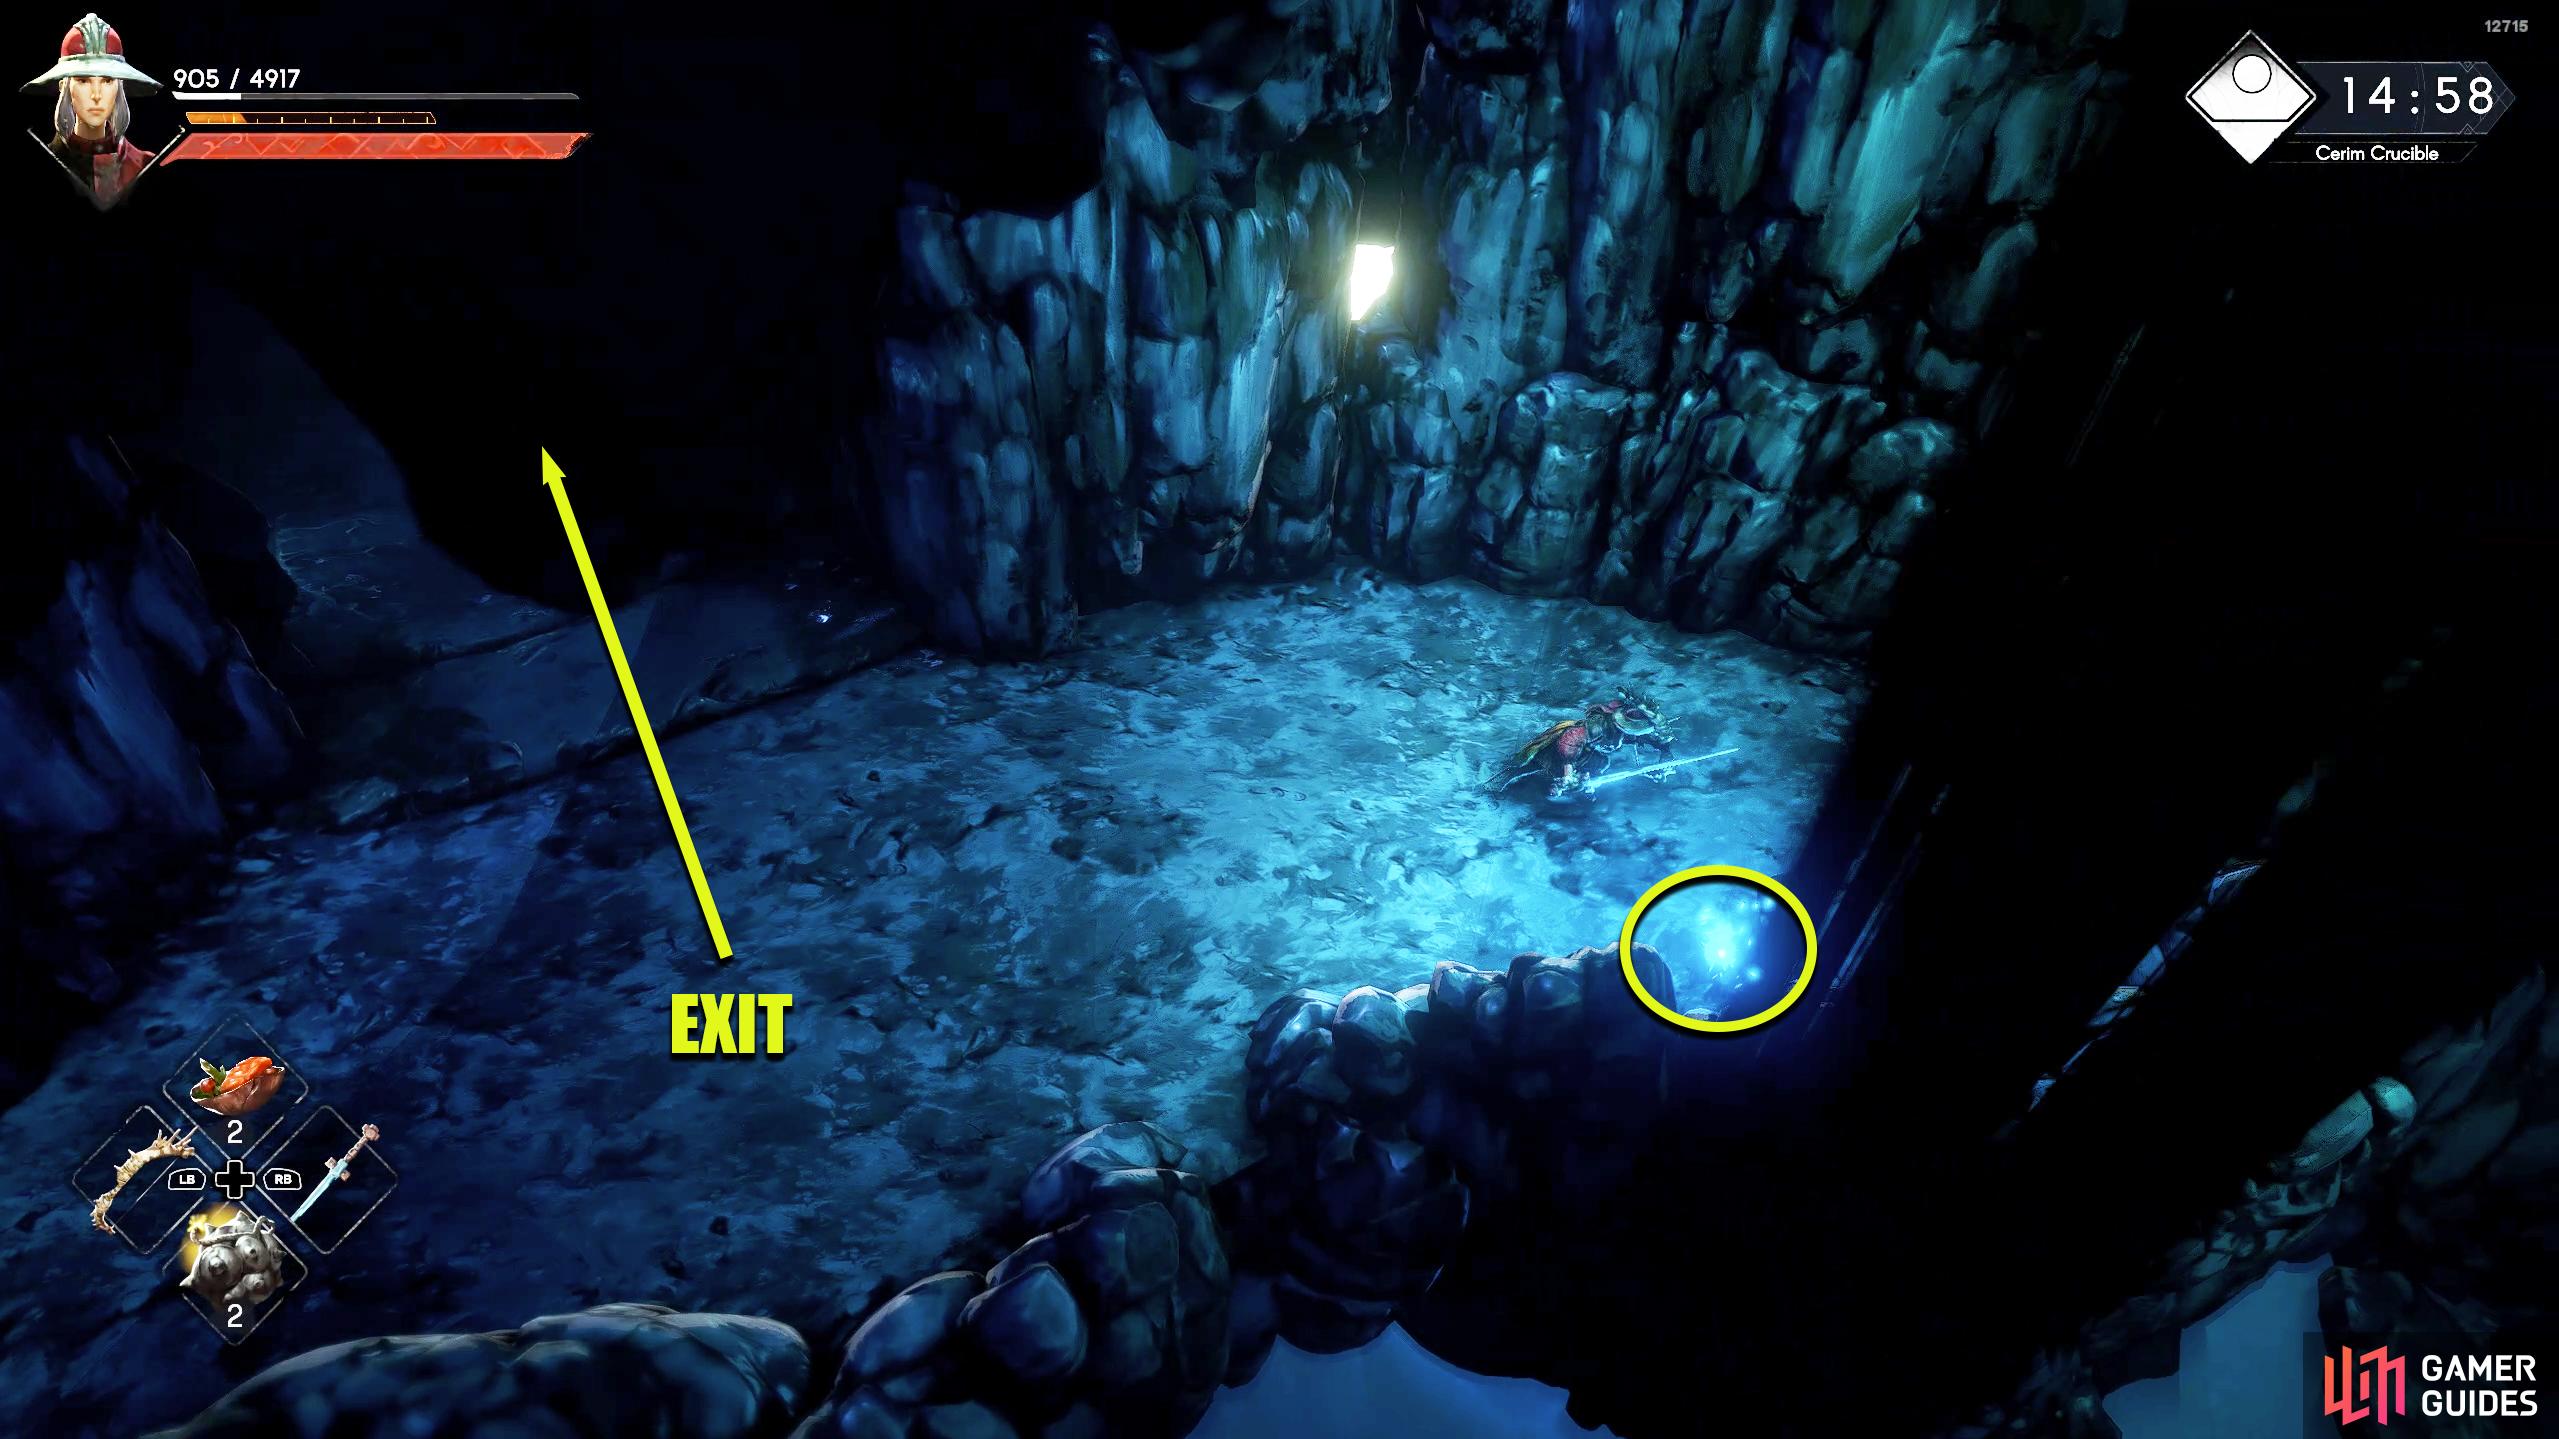
When the enemies below are dealt with, drop and head left where you’ll find the large enemy. Bring it back to the area you just fought the Knights and take it out there. Be aware that a Witch can attack you from the upper platform to your north but it doesn’t happen often. With the enemy slain, continue left and climb the vines to the upper platform. When you get to the top, you’ll encounter an enemy, sometimes a Knight, sometimes a Witch. Defeat them, and head to the left where you’ll find a blue orb to loot. From here, shoot down at the enemy to your left who’ll be the last enemy of the area. Either defeat it here, or bring it low, and then finish it off over there. Once the enemy is dealt with, head over to where it died, smash the stalagmites, and loot the chest by the edge of the cliff. Now, head back up the vines, follow the path right to the intersection, and then head right to find another blue orb to loot. Go back to the intersection, head north to find the elevator, and head down to the next floor.

(1 of 3) Go left a bit to climb some vines and take out the nearby enemy. Head to the orb location to your left and fire upon the enemy to your left.
Sewer Floor
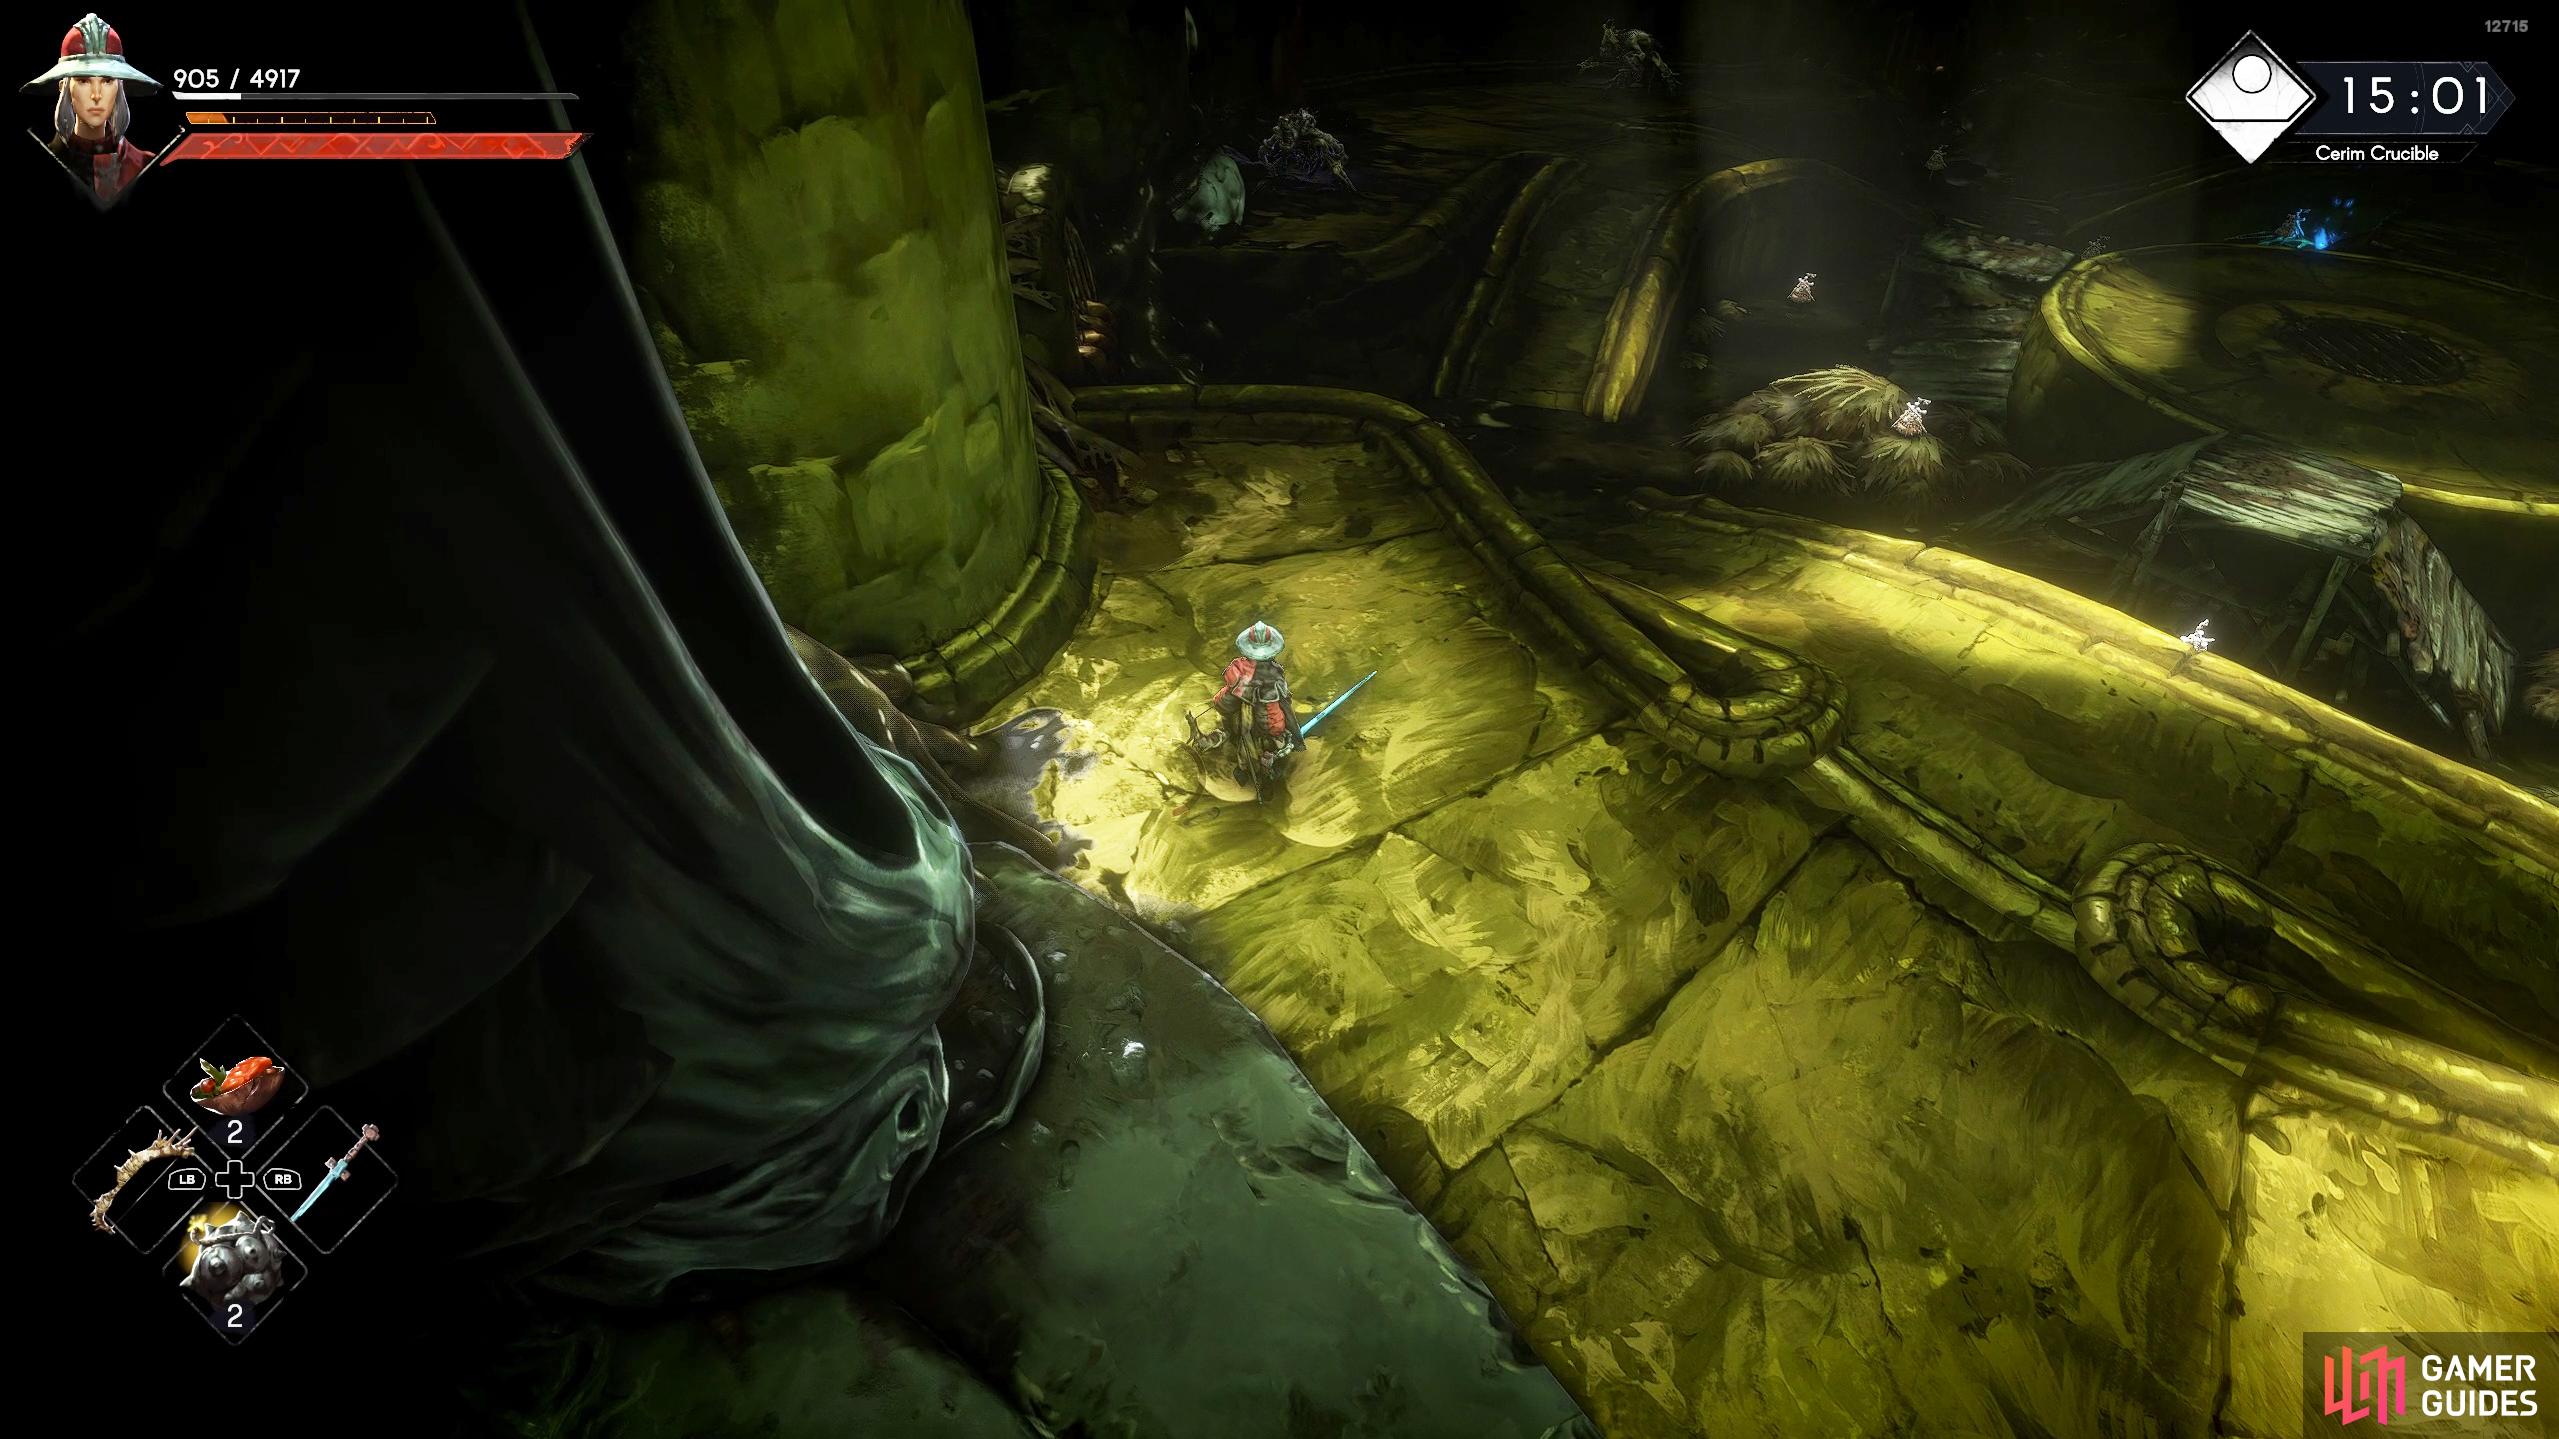
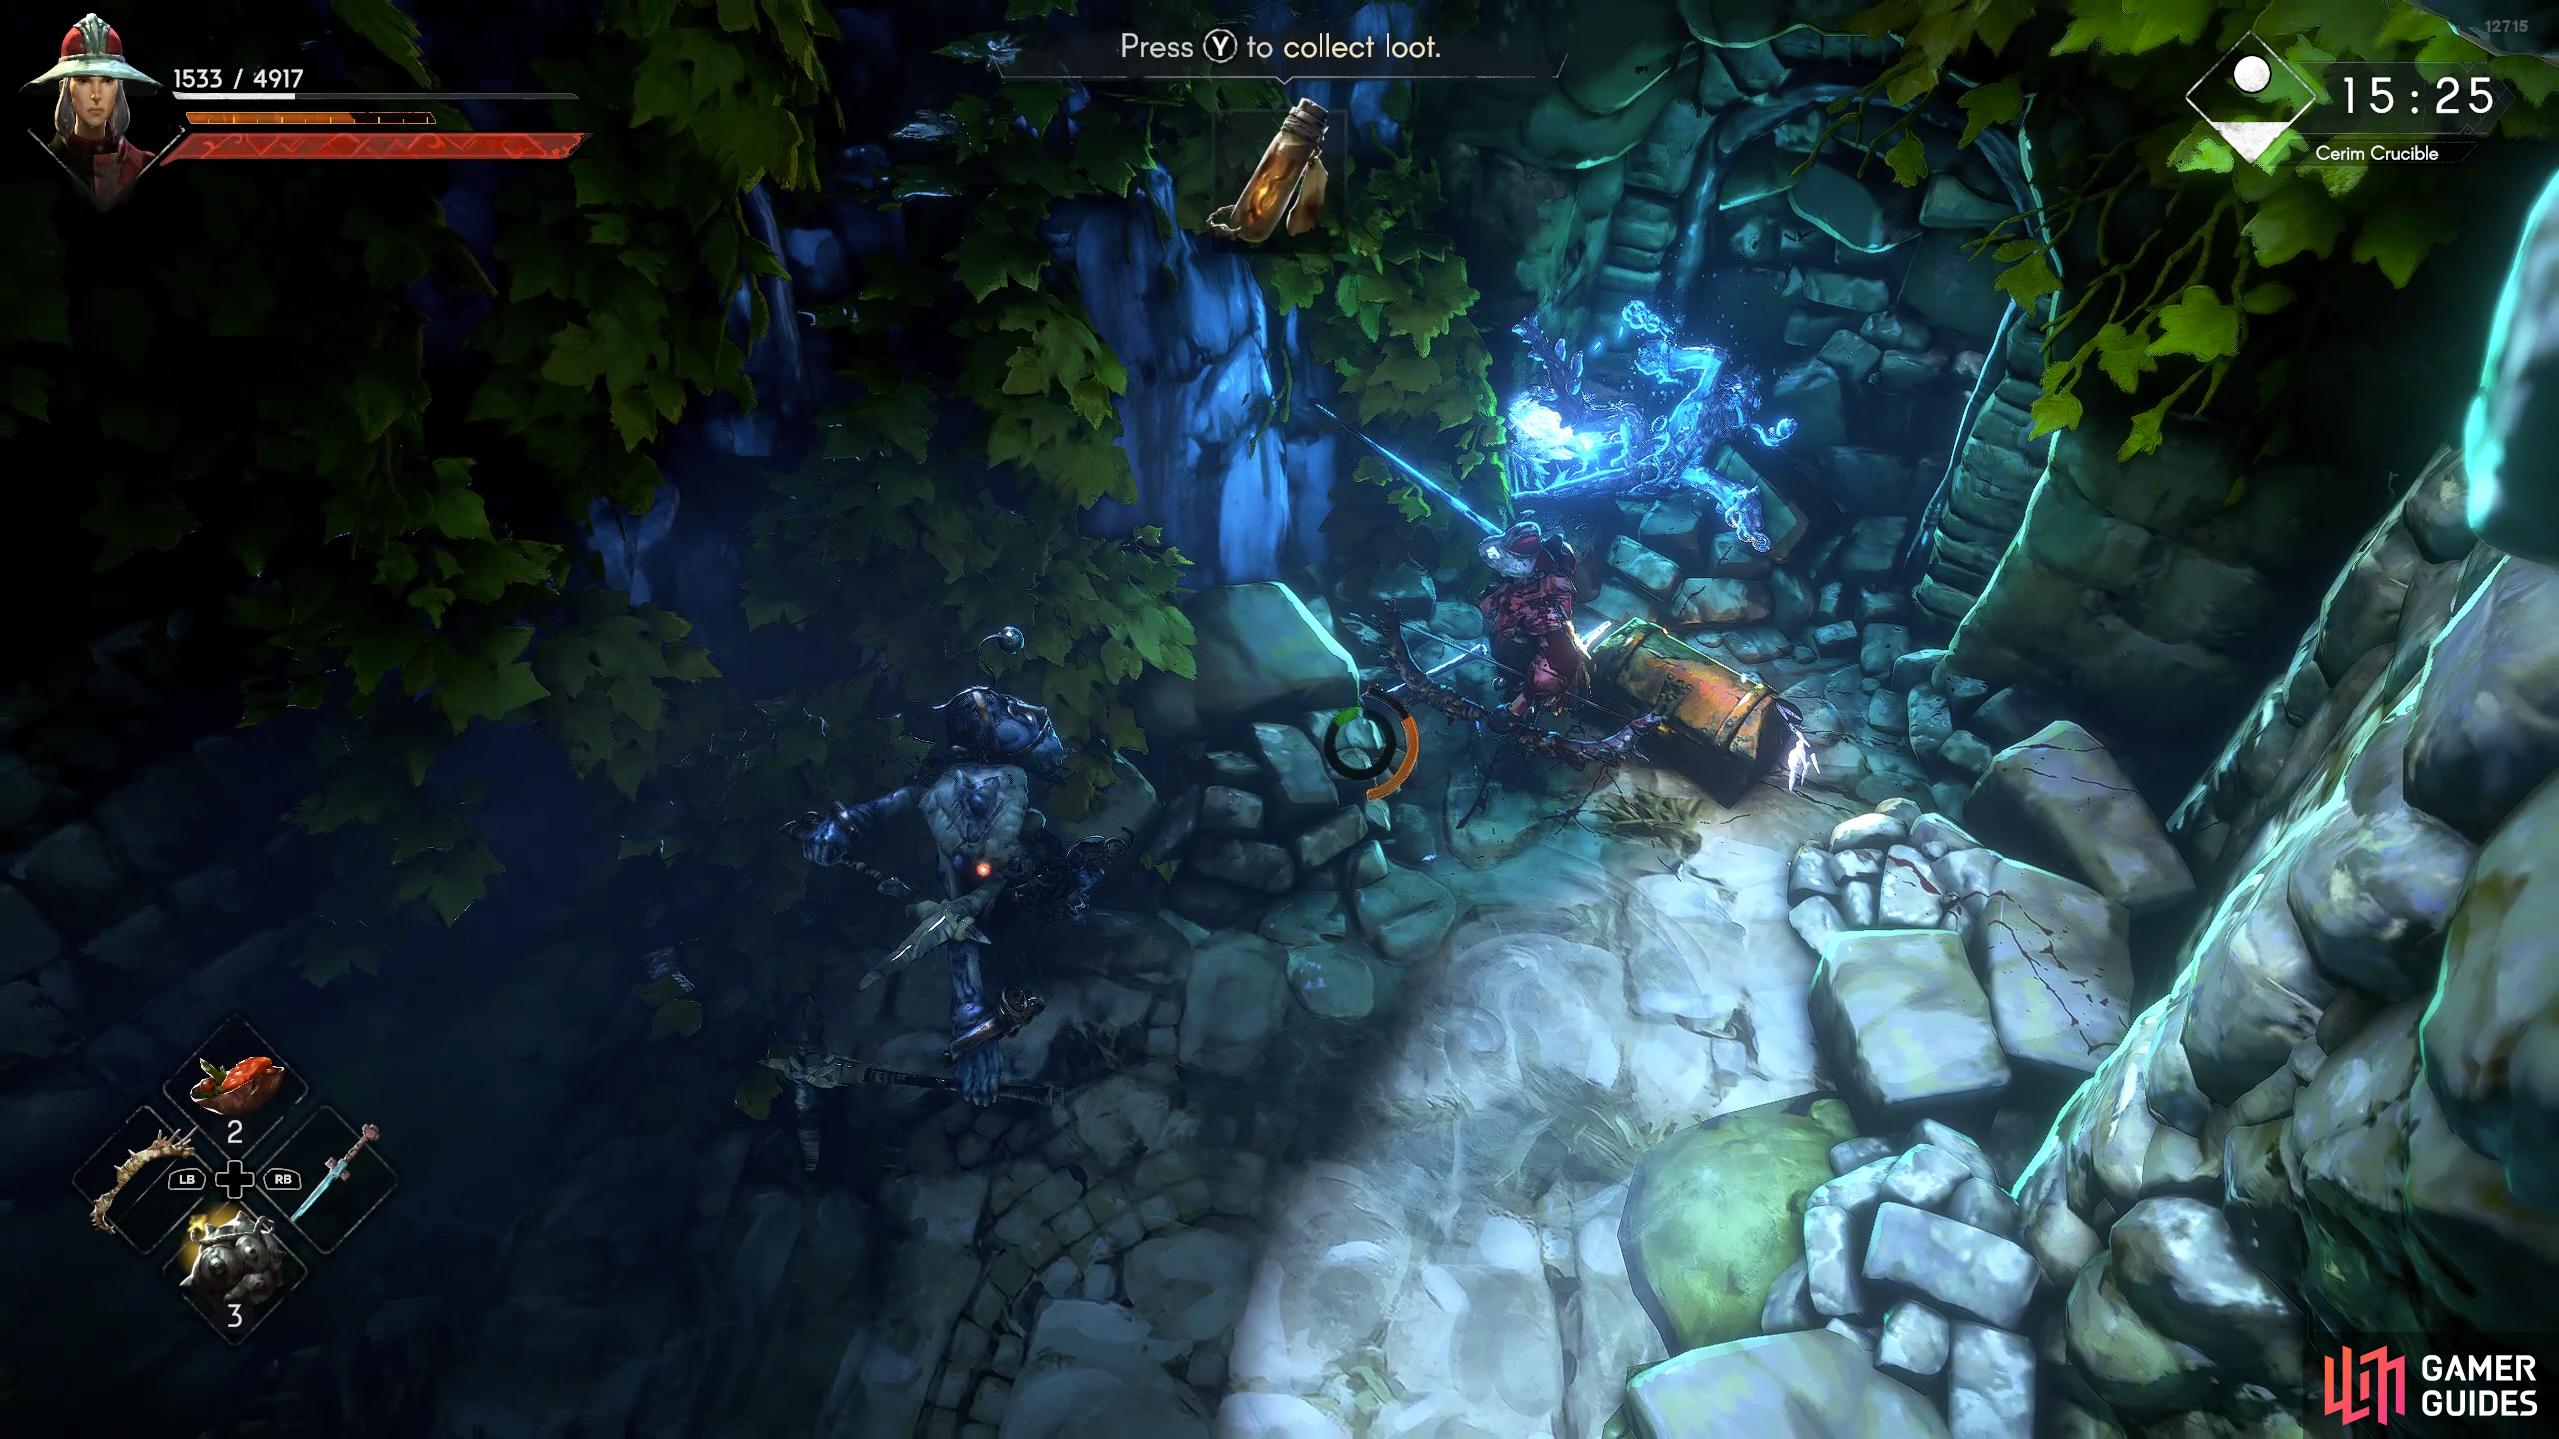
The Sewer Floor (not to be confused with the Caged Sewer) has a green hue to the area. You’ll exit the elevator room from the northeast into an open room with lots of intertwined paths. On this floor, you’ll find numerous explosives scattered across the ground that will detonate when you get close to them. This works the same for enemies, so you can use them to your advantage. Most of the enemies here are the agile duel-wielding spear/pick enemies, which shouldn’t cause you too many problems but there is a large enemy wielding a large mace to contend with.
From the beginning area, head over to the left and hit one of the enemies with a ranged attack to bring it back to the entrance. Sometimes there may be another one there and it’ll come with it. Take care of them, and then do the same to the right of the entrance. Now, you should only have the big enemy left. Bait out its attacks, roll through the last one, and get a few hits on it before retreating. Repeat this, and it’ll soon die. Take out any remaining enemies, and then pick up the blue orb behind the circular platform before heading north and taking the elevator to the next floor.
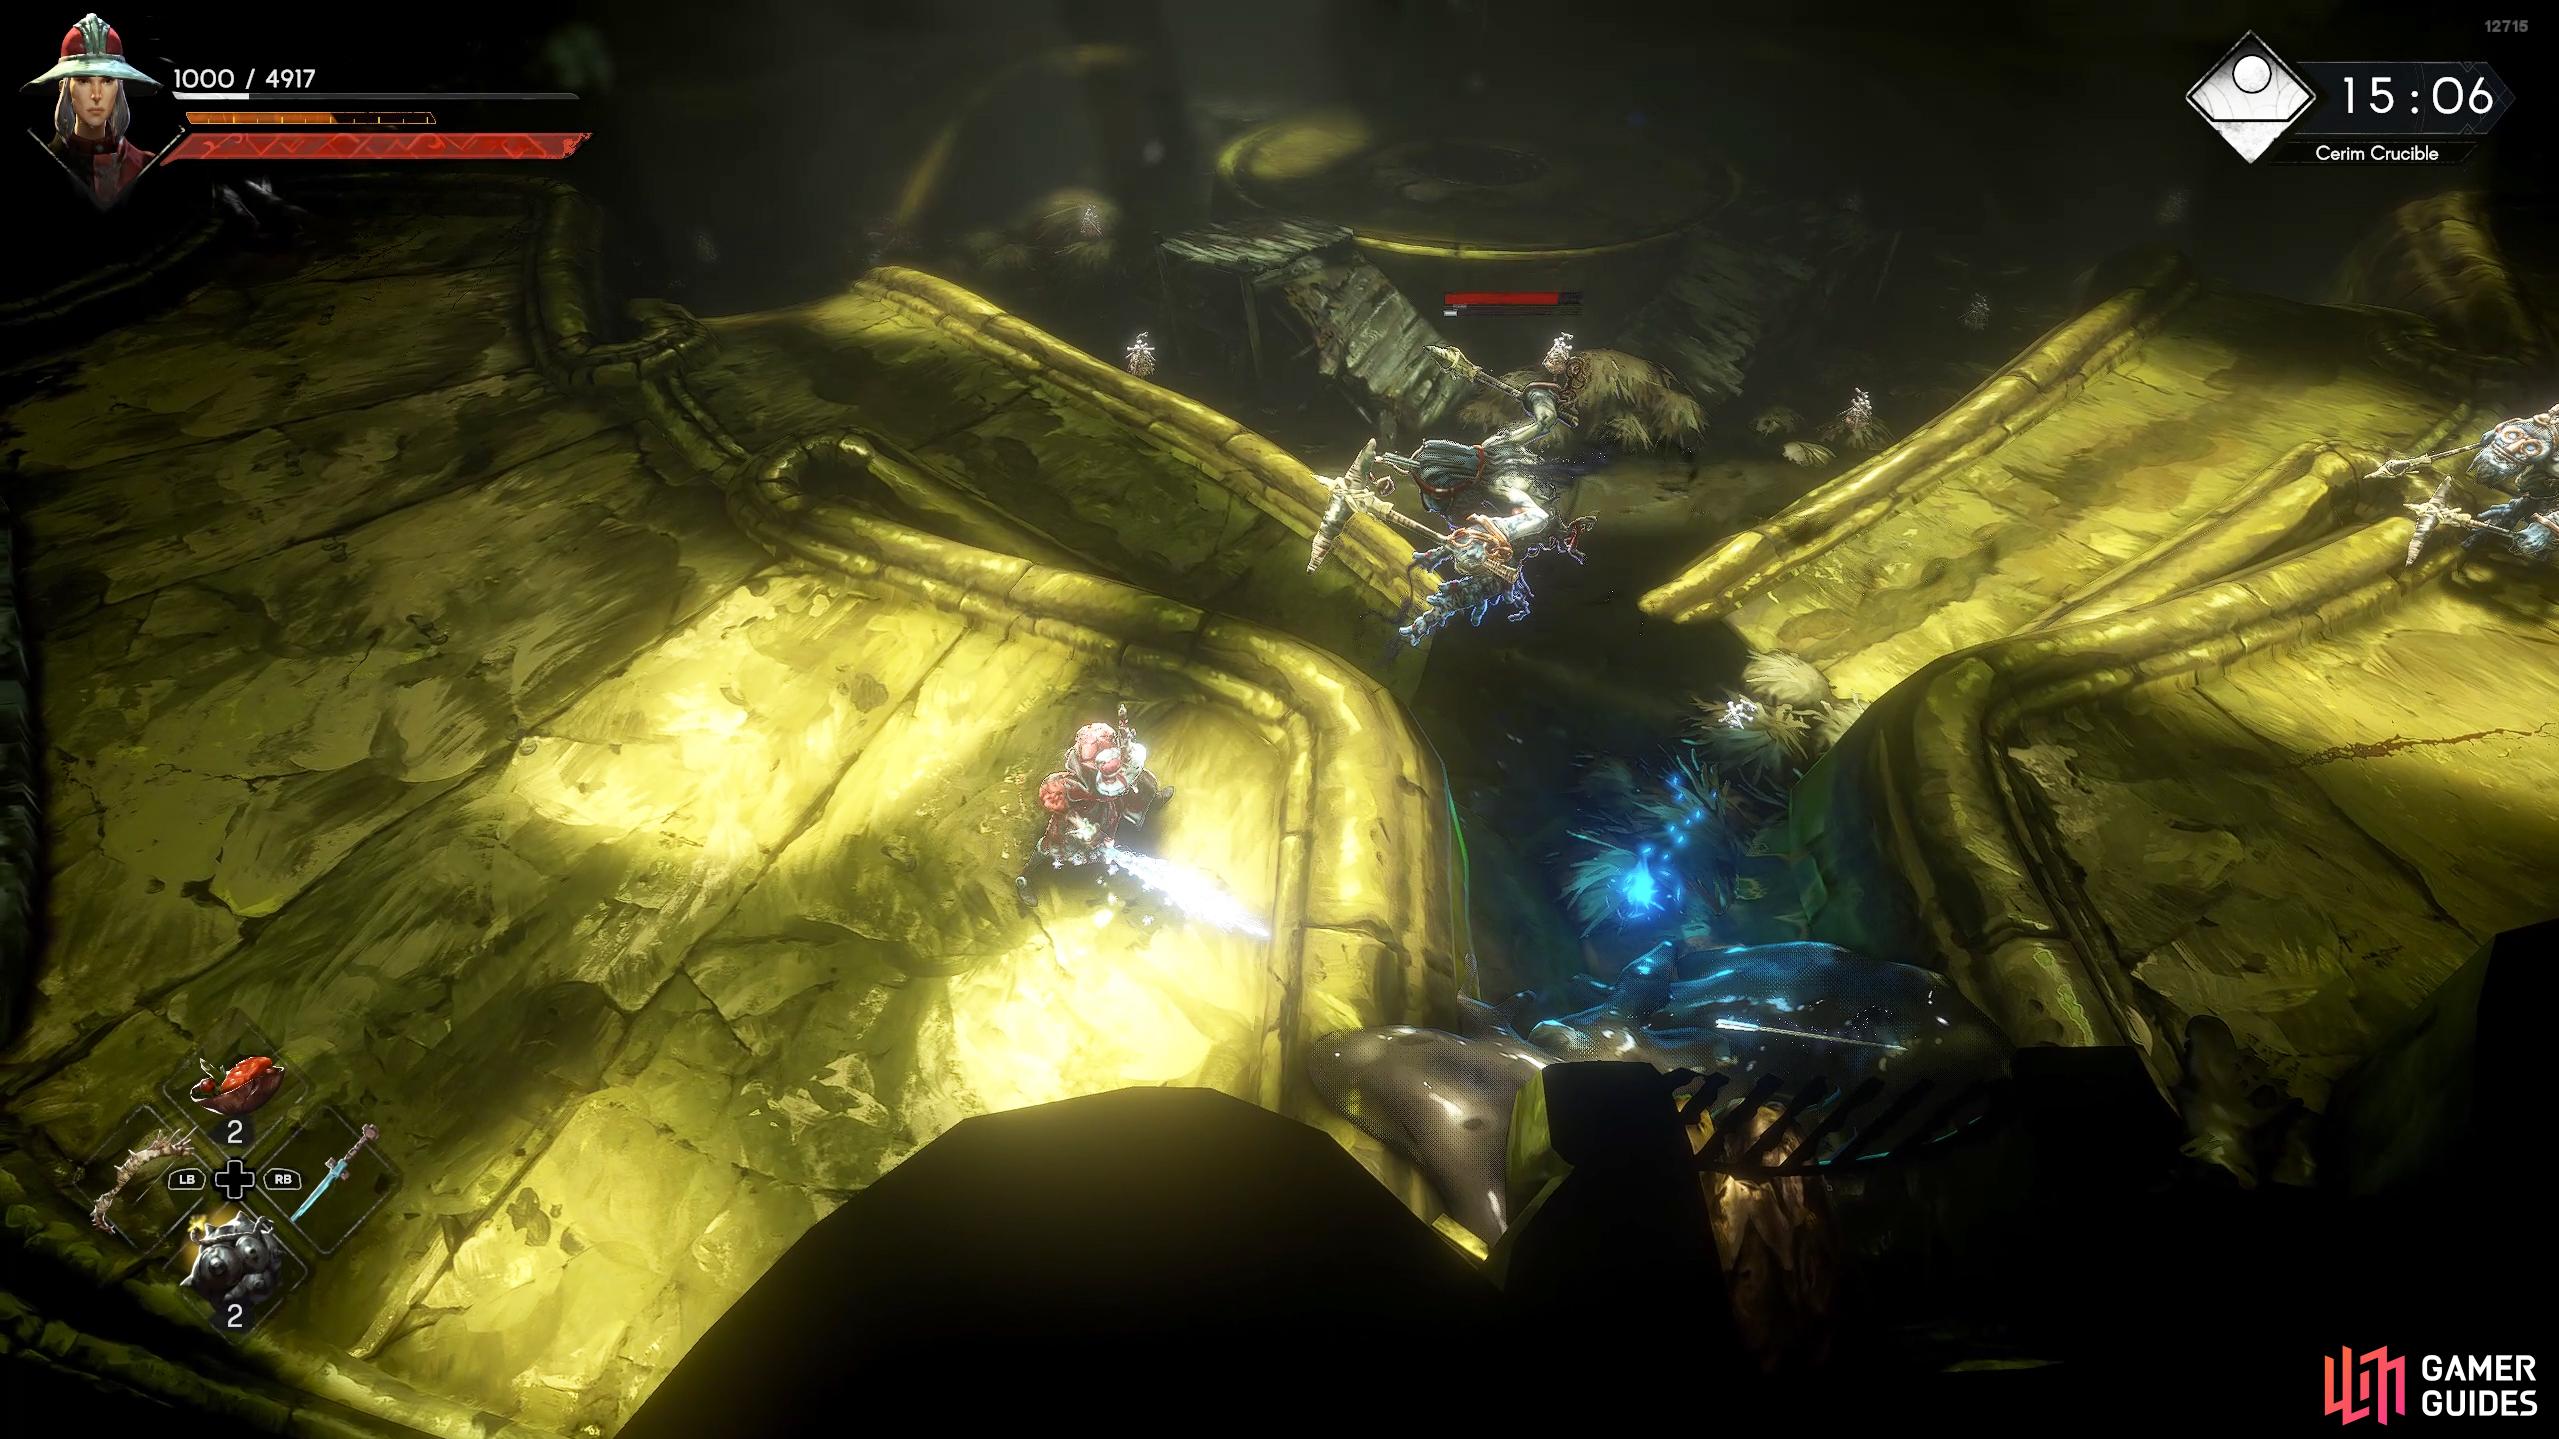

(1 of 3) This is a small floor with a couple of enemies to the northwest,.
Forest Ruins Floor
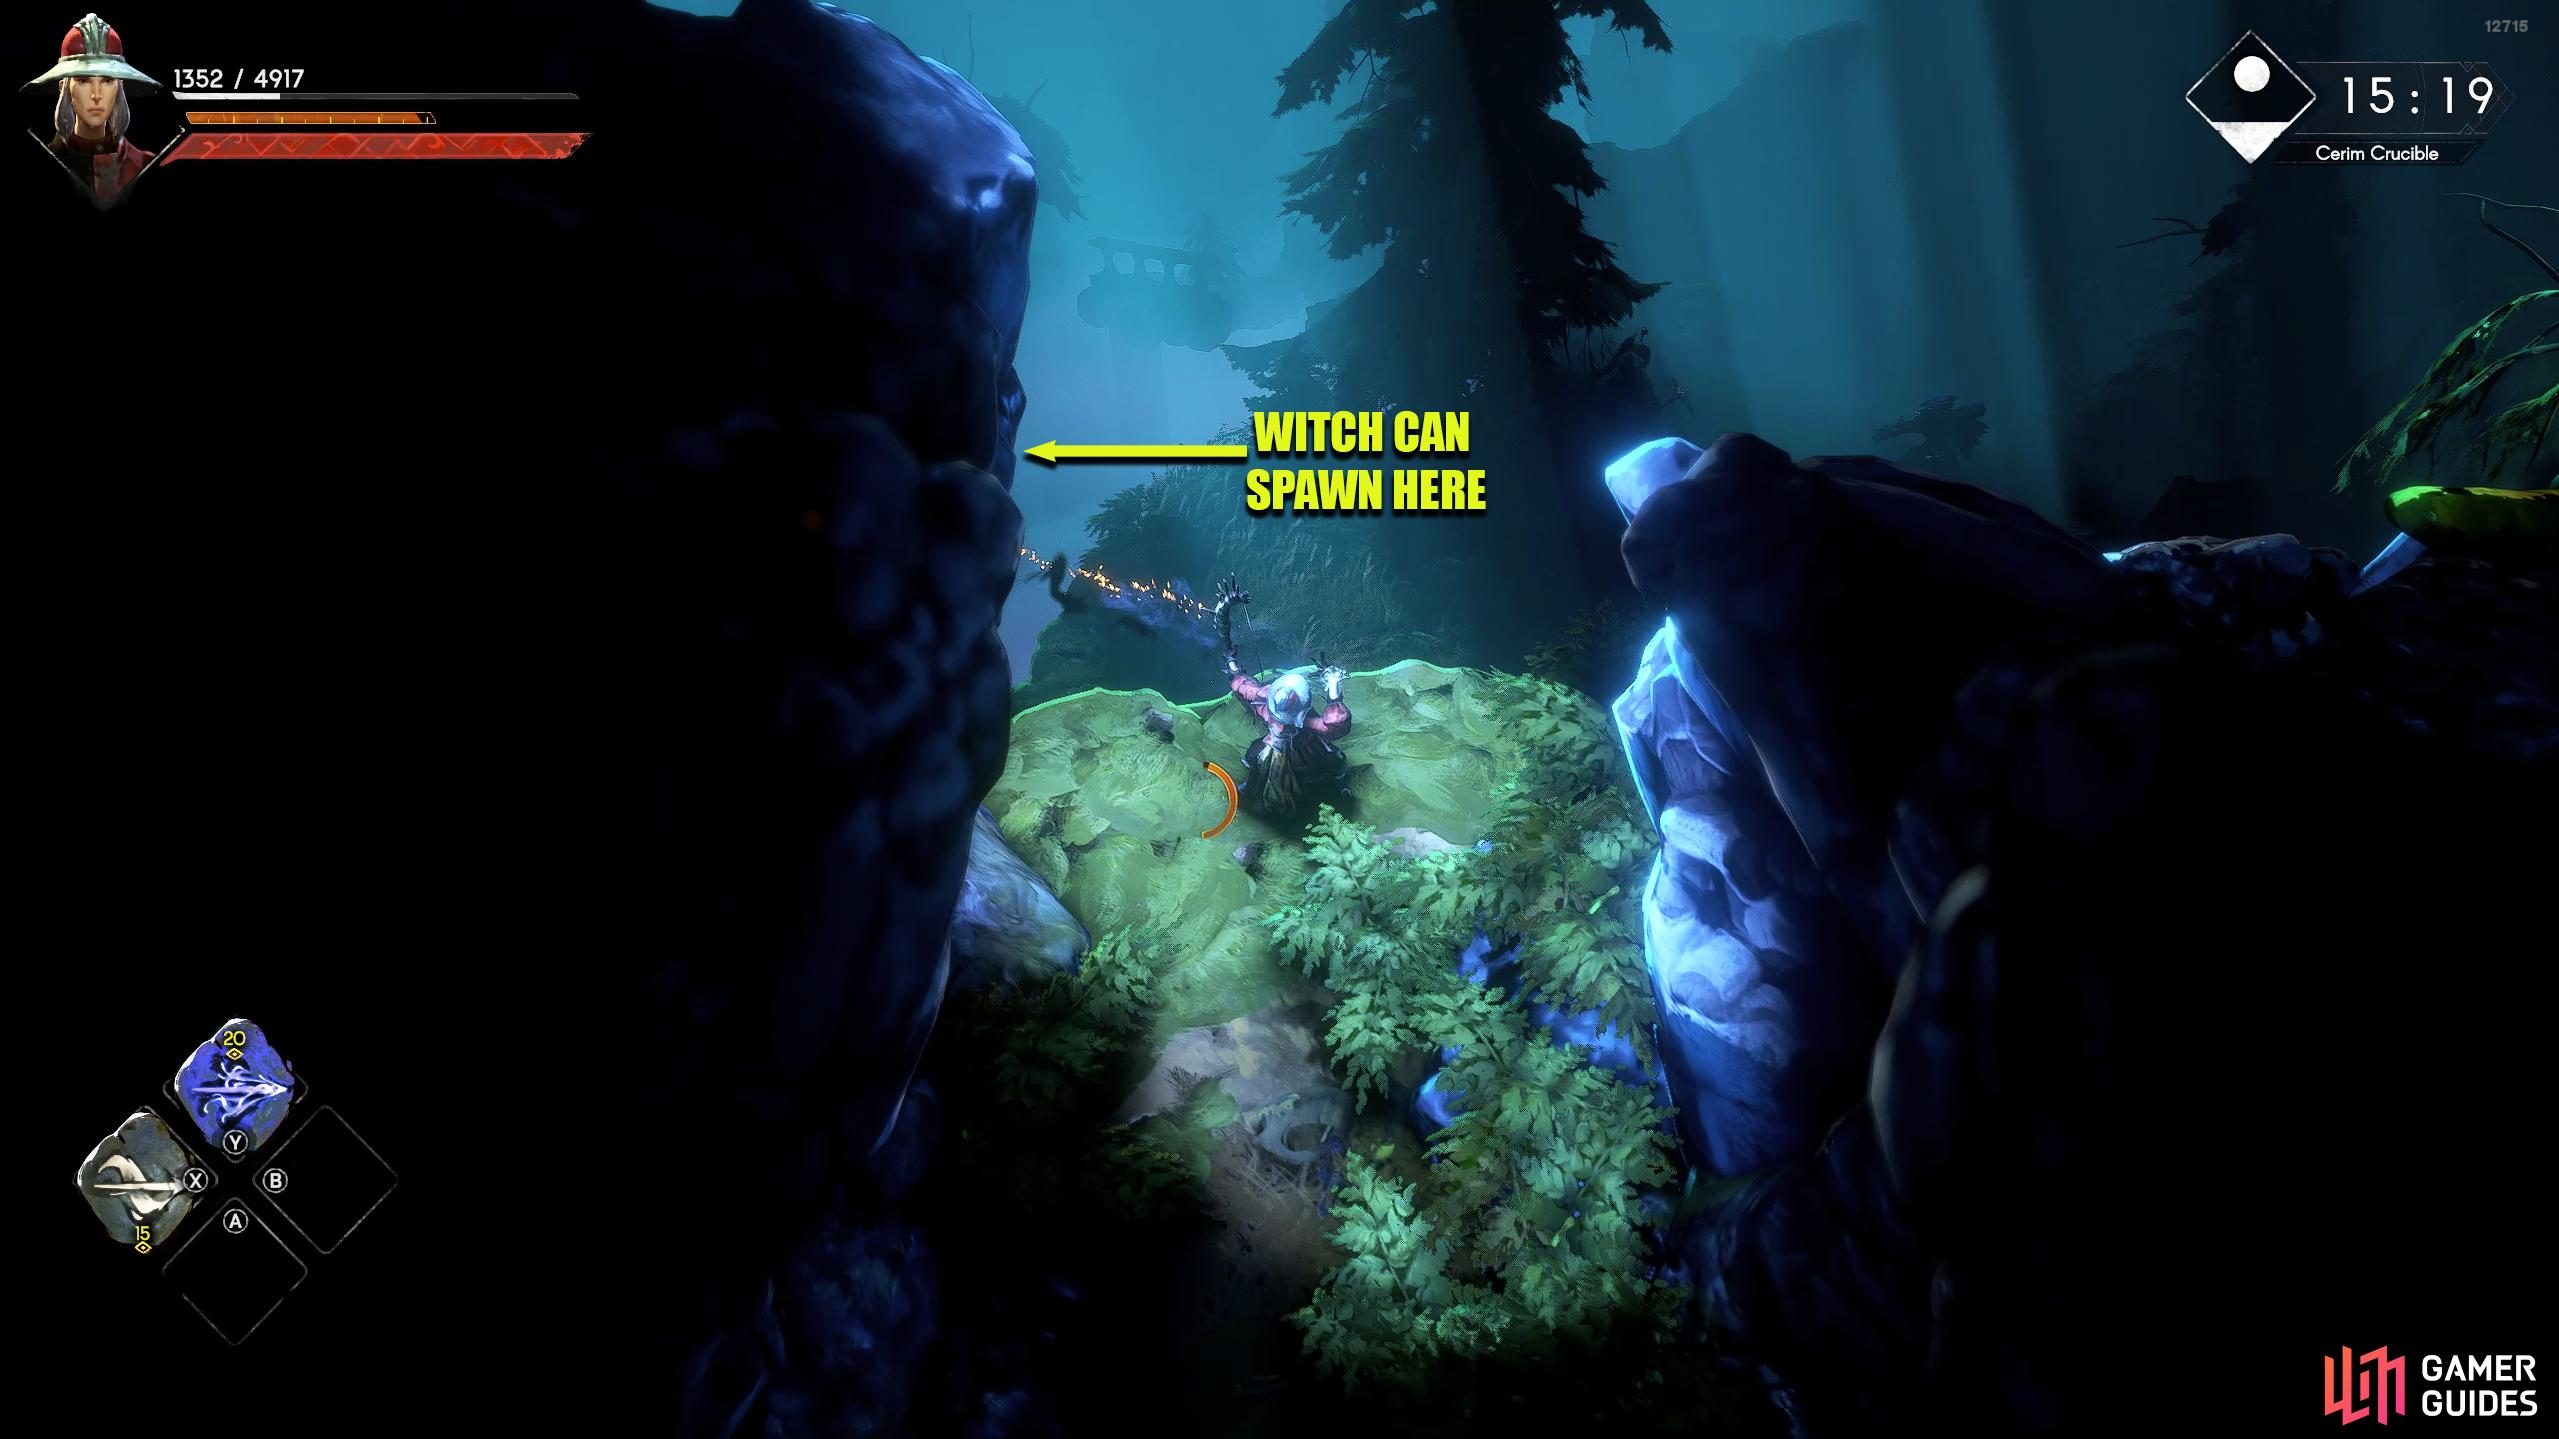
This floor is another forest but this time with a cool blue hue. You’ll exit the elevator room via the north but where you reach the main area, don’t drop just yet. Instead, aim your ranged weapon to your left and fire at the Witch who is sometimes sitting on the platform there. This isn’t always here, so if the bow doesn’t soft-lock onto it, you can ignore it. To the north of you are usually a couple of enemies. This will either be a Witch and an agile duel-wield enemy or two of the latter. Either drop down and take them out in melee combat or hit them from the starting platform with a ranged attack.
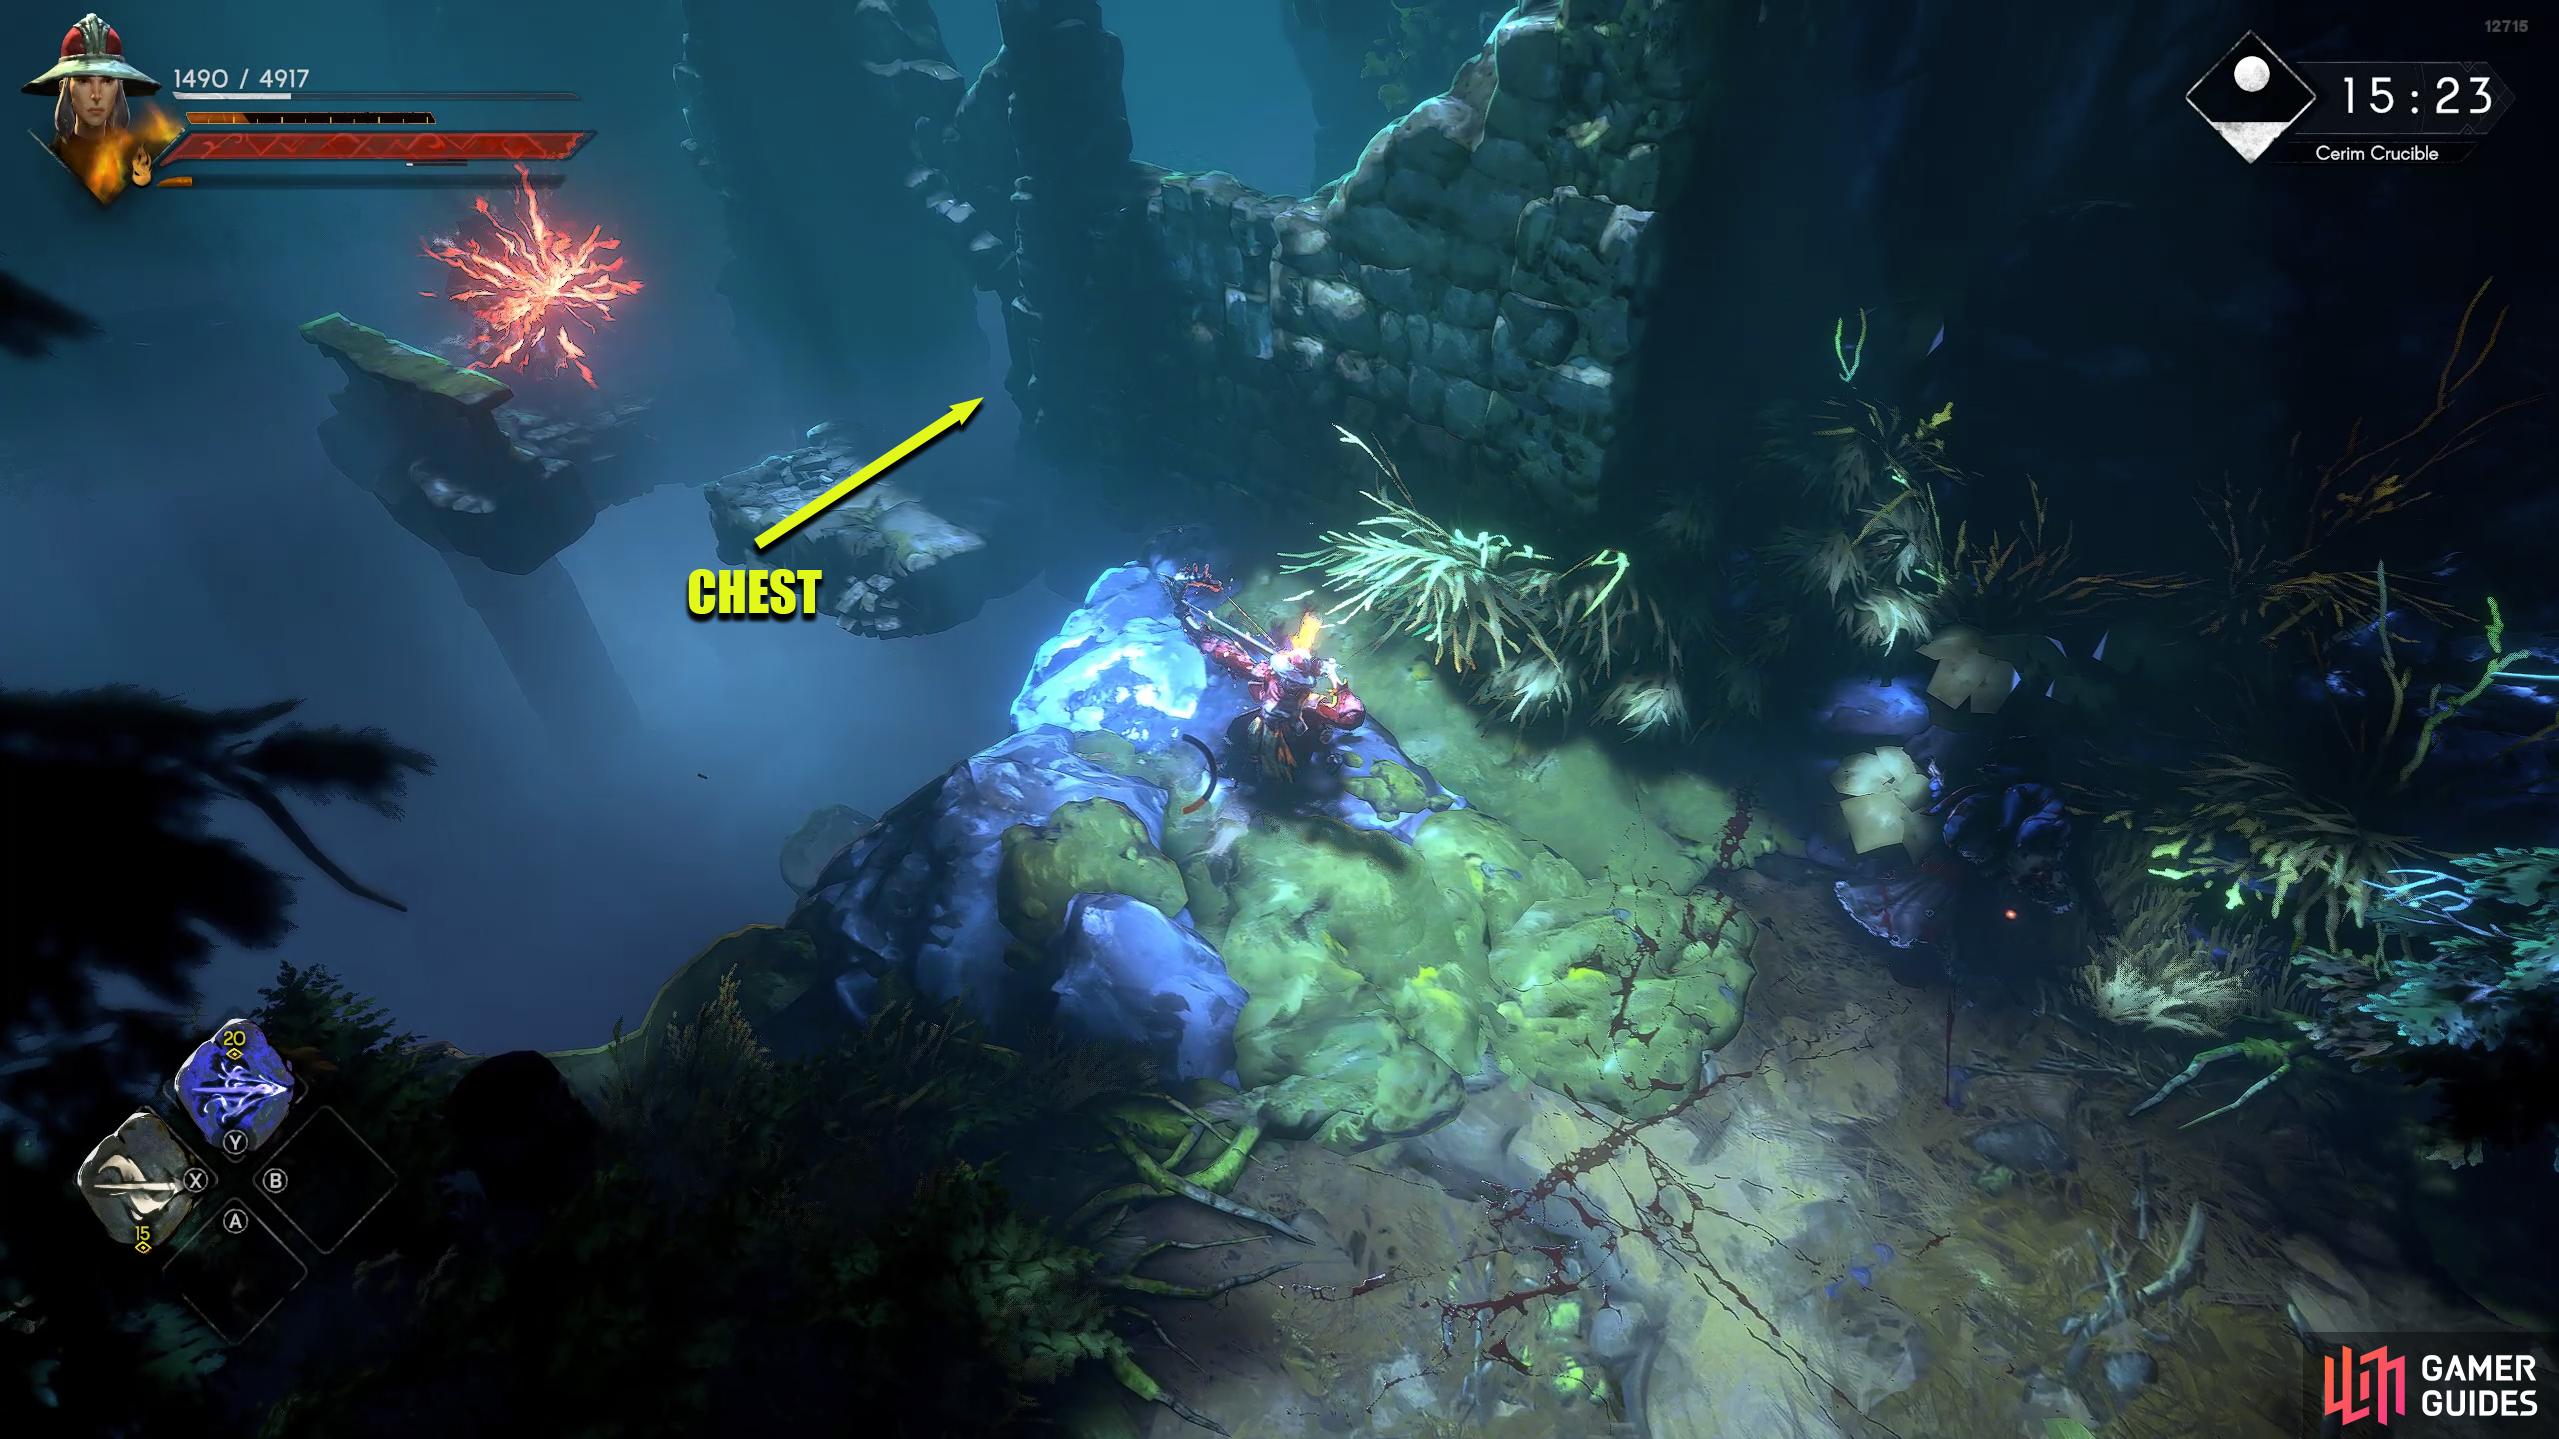
When they’re taken care of, head north toward the ruins, and take care of the Witch at the end of the broken bridge next to the ruins. Ranged attacks are the easiest method but you can knock them into the shallow water below if you hit it with a melee attack. Now, enter the ruin to your right, and open the chest at the back. Sometimes you may find a couple of enemies here, if so, defeat them first. Head back out to the broken bridge and jump across the gaps to the north where you’ll most likely find another Witch. Take care of it and follow the path north to find the elevator.


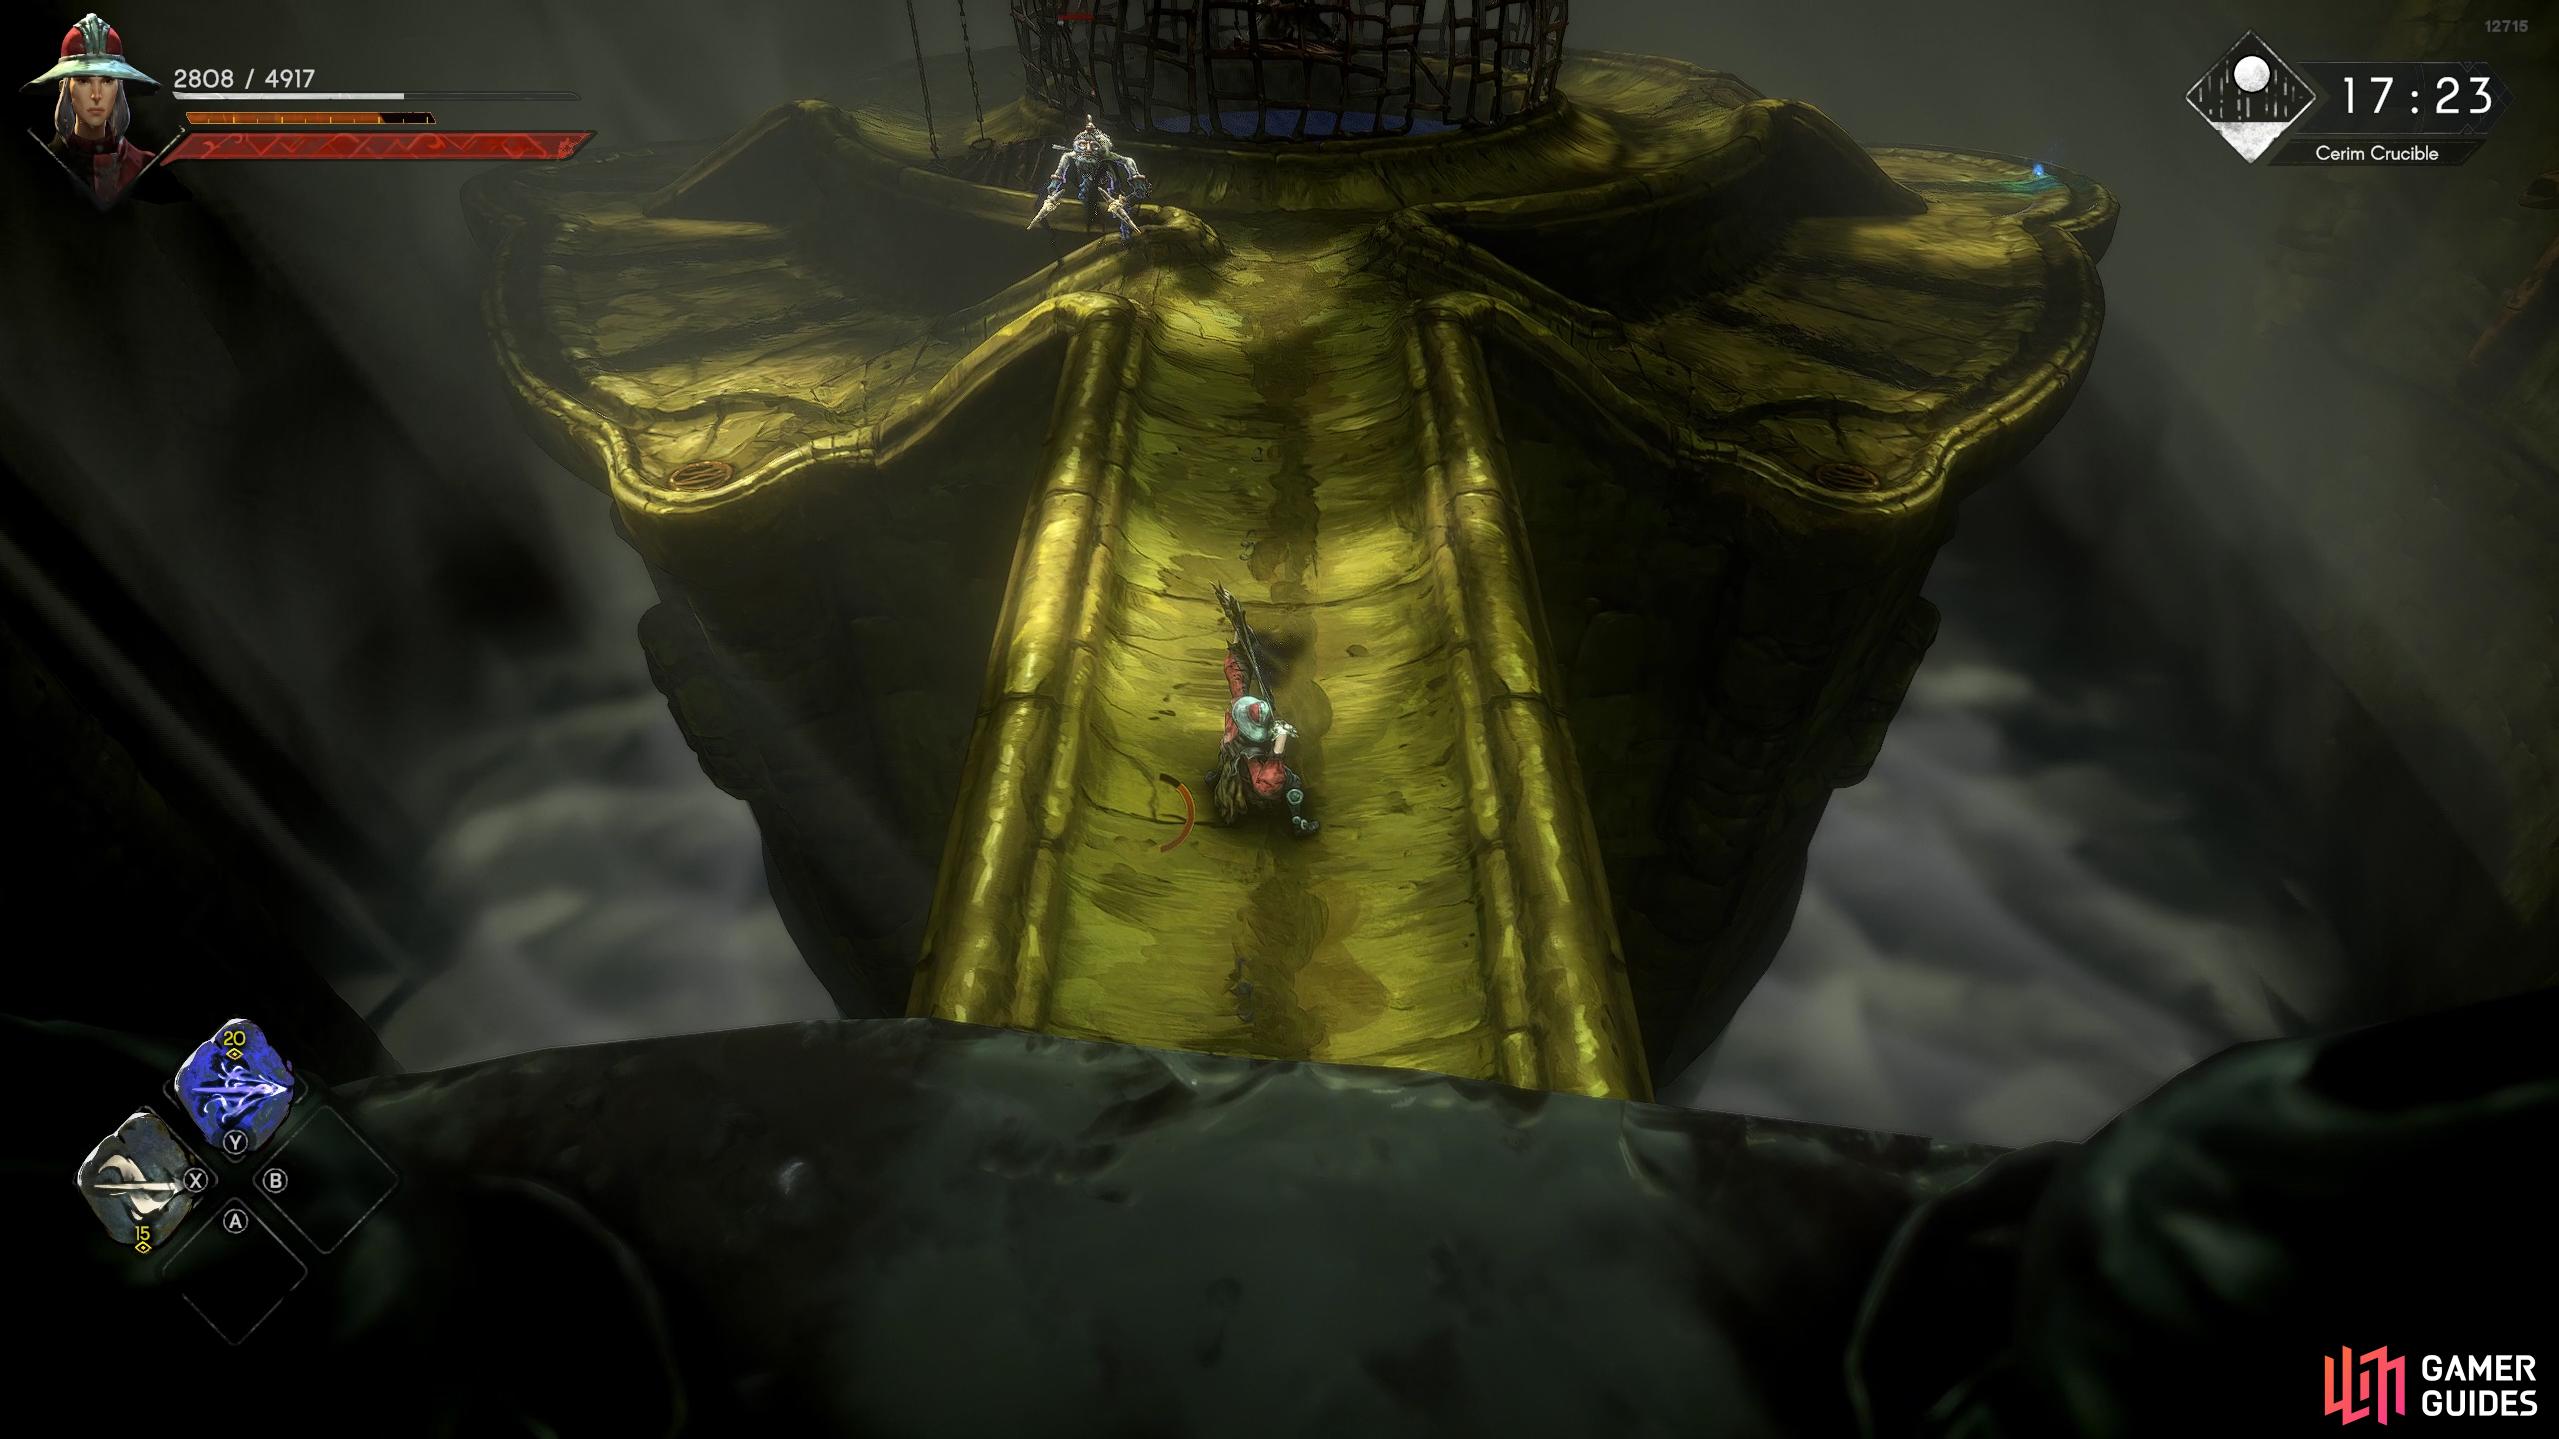
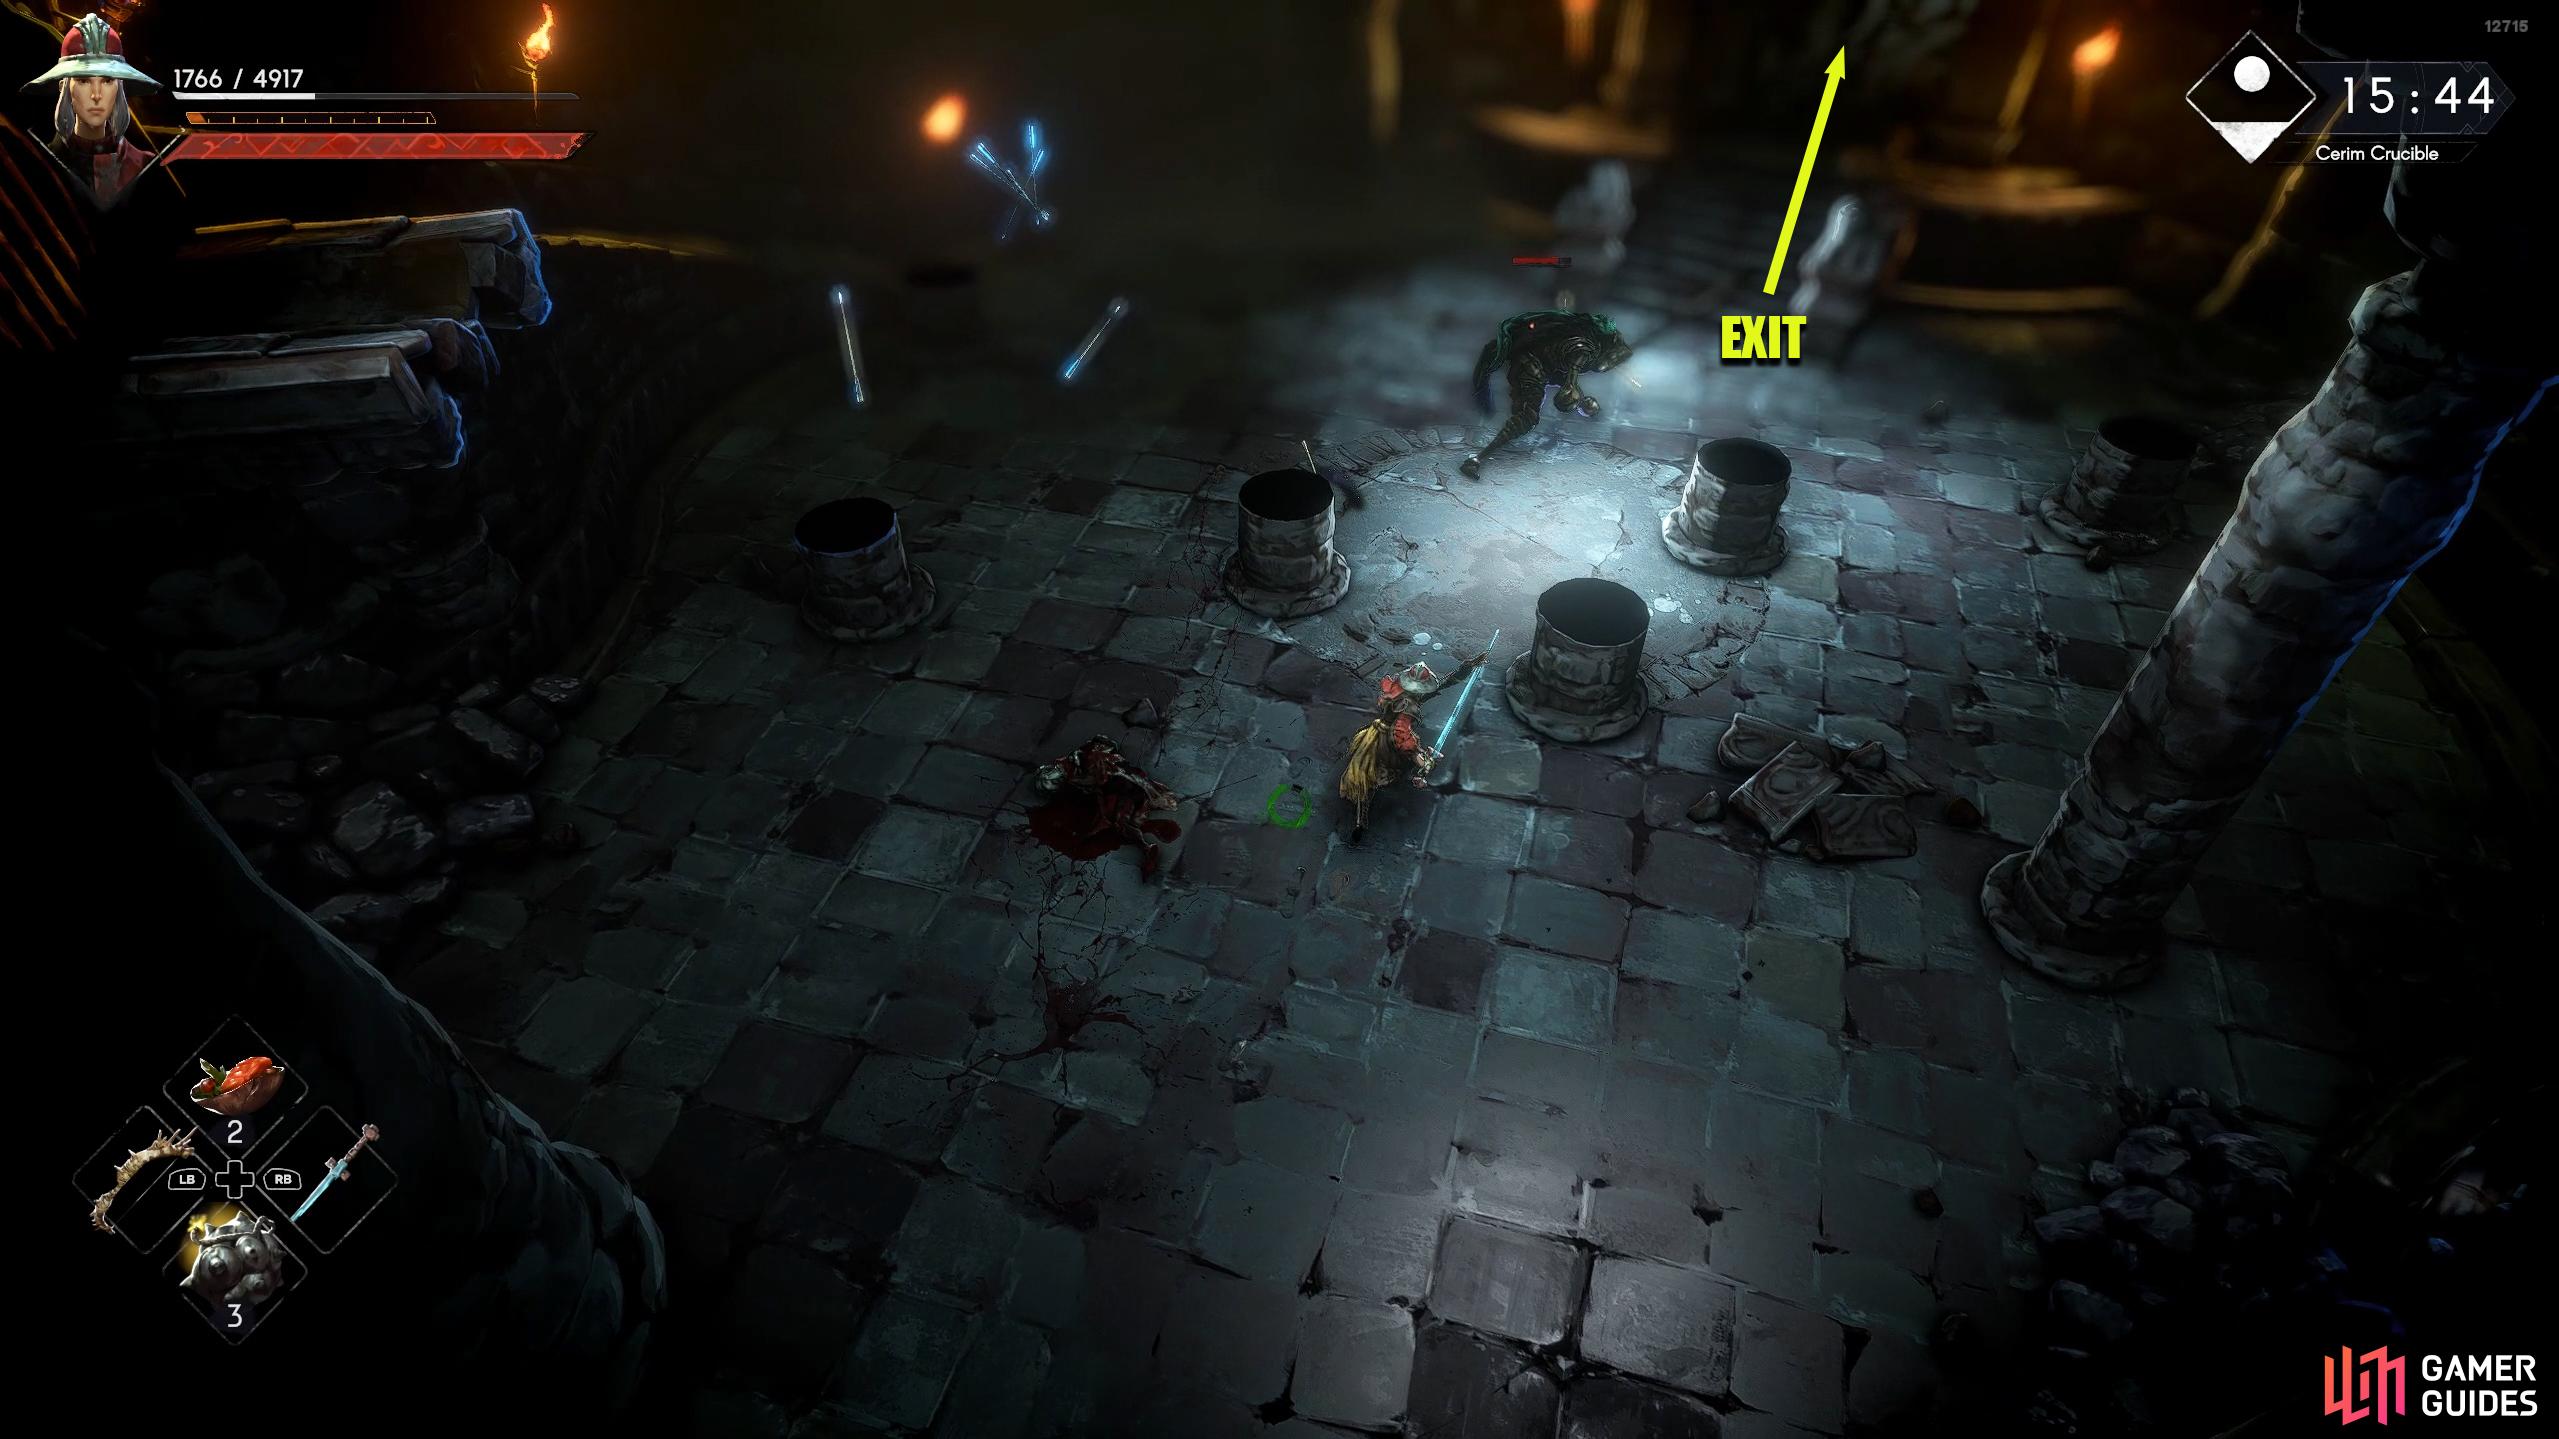
Caged Witch Floor
This is another floor with a green hue but as soon as you exit the elevator room via the north, you’ll notice a large cage in the center of the room. This cage hosts a Witch who’ll hurl fireballs repeatedly while you deal with the enemies. Each time you take out a group of enemies, the platform the Witch is standing on will lower until it finally drops into the water below it. Ranged attacks are king for this floor. Drop onto the narrow platform below, walk toward the Witch, and some enemies will spawn. Run back to the entrance, and begin firing your ranged attacks at the enemies that come your way.
You should be able to defeat them before they get to you and you’ll also be far enough away from the Witch that you won’t get pelted with fireballs. If the enemies do get close to you, roll through their attack and bring them back to the center. Be careful not to stand close to the edges of either side of the cage otherwise, you’ll get blasted by projectiles from enemies off the screen (you don’t need to defeat these).

(1 of 2) The Witch in the image will constantly hurl fireballs at you while you fight the other enemies.
The Witch in the image will constantly hurl fireballs at you while you fight the other enemies. (left), That is unless you stand here and attack them with ranged attacks! (right)
After the first group is dealt with, another group will come with more enemies with one of them being a large enemy who has a lot of range. Use the same strategy as before but odds are you won’t defeat the large enemy by the time it gets to you. When it gets close enough to hit you, roll through its attack and fight it around the cage as the Witch should be too low to hit you by now. Use the cage to keep the enemy at a distance, and take it out when you spot an opening or use ranged attacks. When all the enemies are dealt with, the caged Witch will drop, completing the floor. The exit is to your north but pick up the two blue orbs before you go. One will be on the outer edge of the arena to the right (you will get projectiles shot at you when you go to pick this up), and the other will be behind the cage on the left. When you’re done looting, leave the floor via the elevator in the north.


(1 of 2) By the time you have to deal with the larger enemy, the Witch won’t be active no more, so feel free to use the whole arena.
By the time you have to deal with the larger enemy, the Witch won’t be active no more, so feel free to use the whole arena. (left), Pick up the blue orbs and then exit the floor via the path to the north. (right)
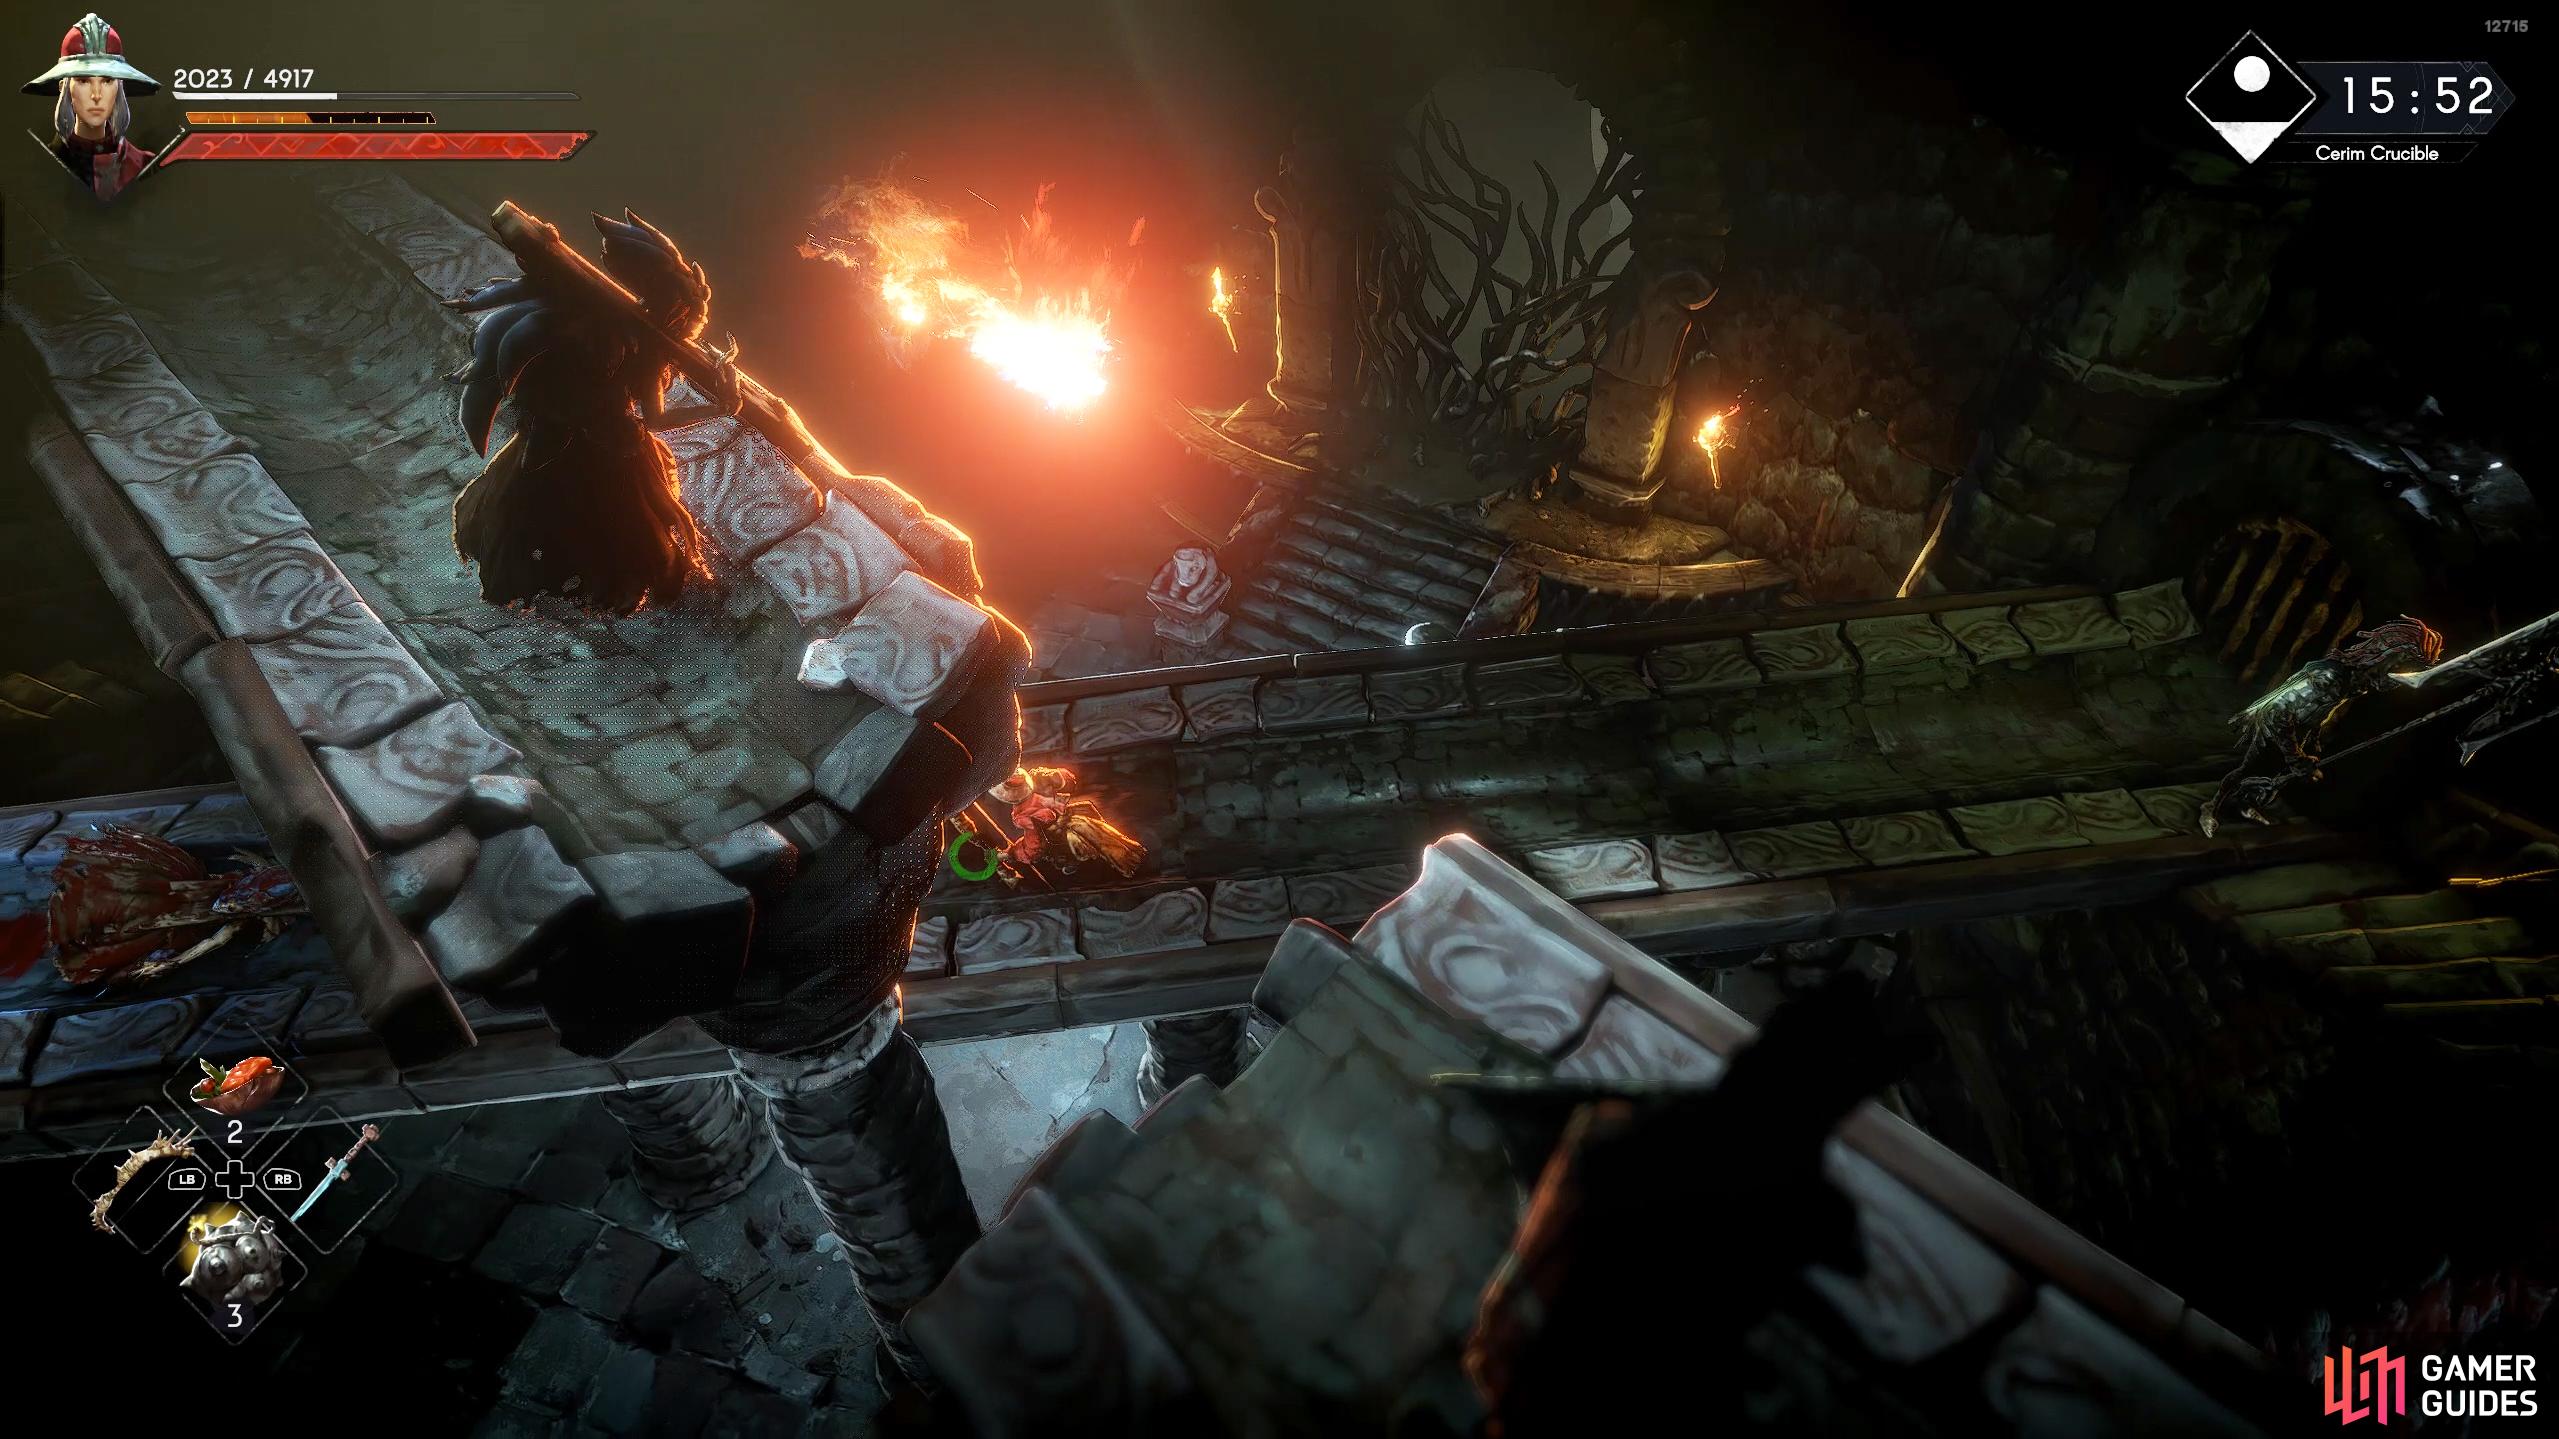
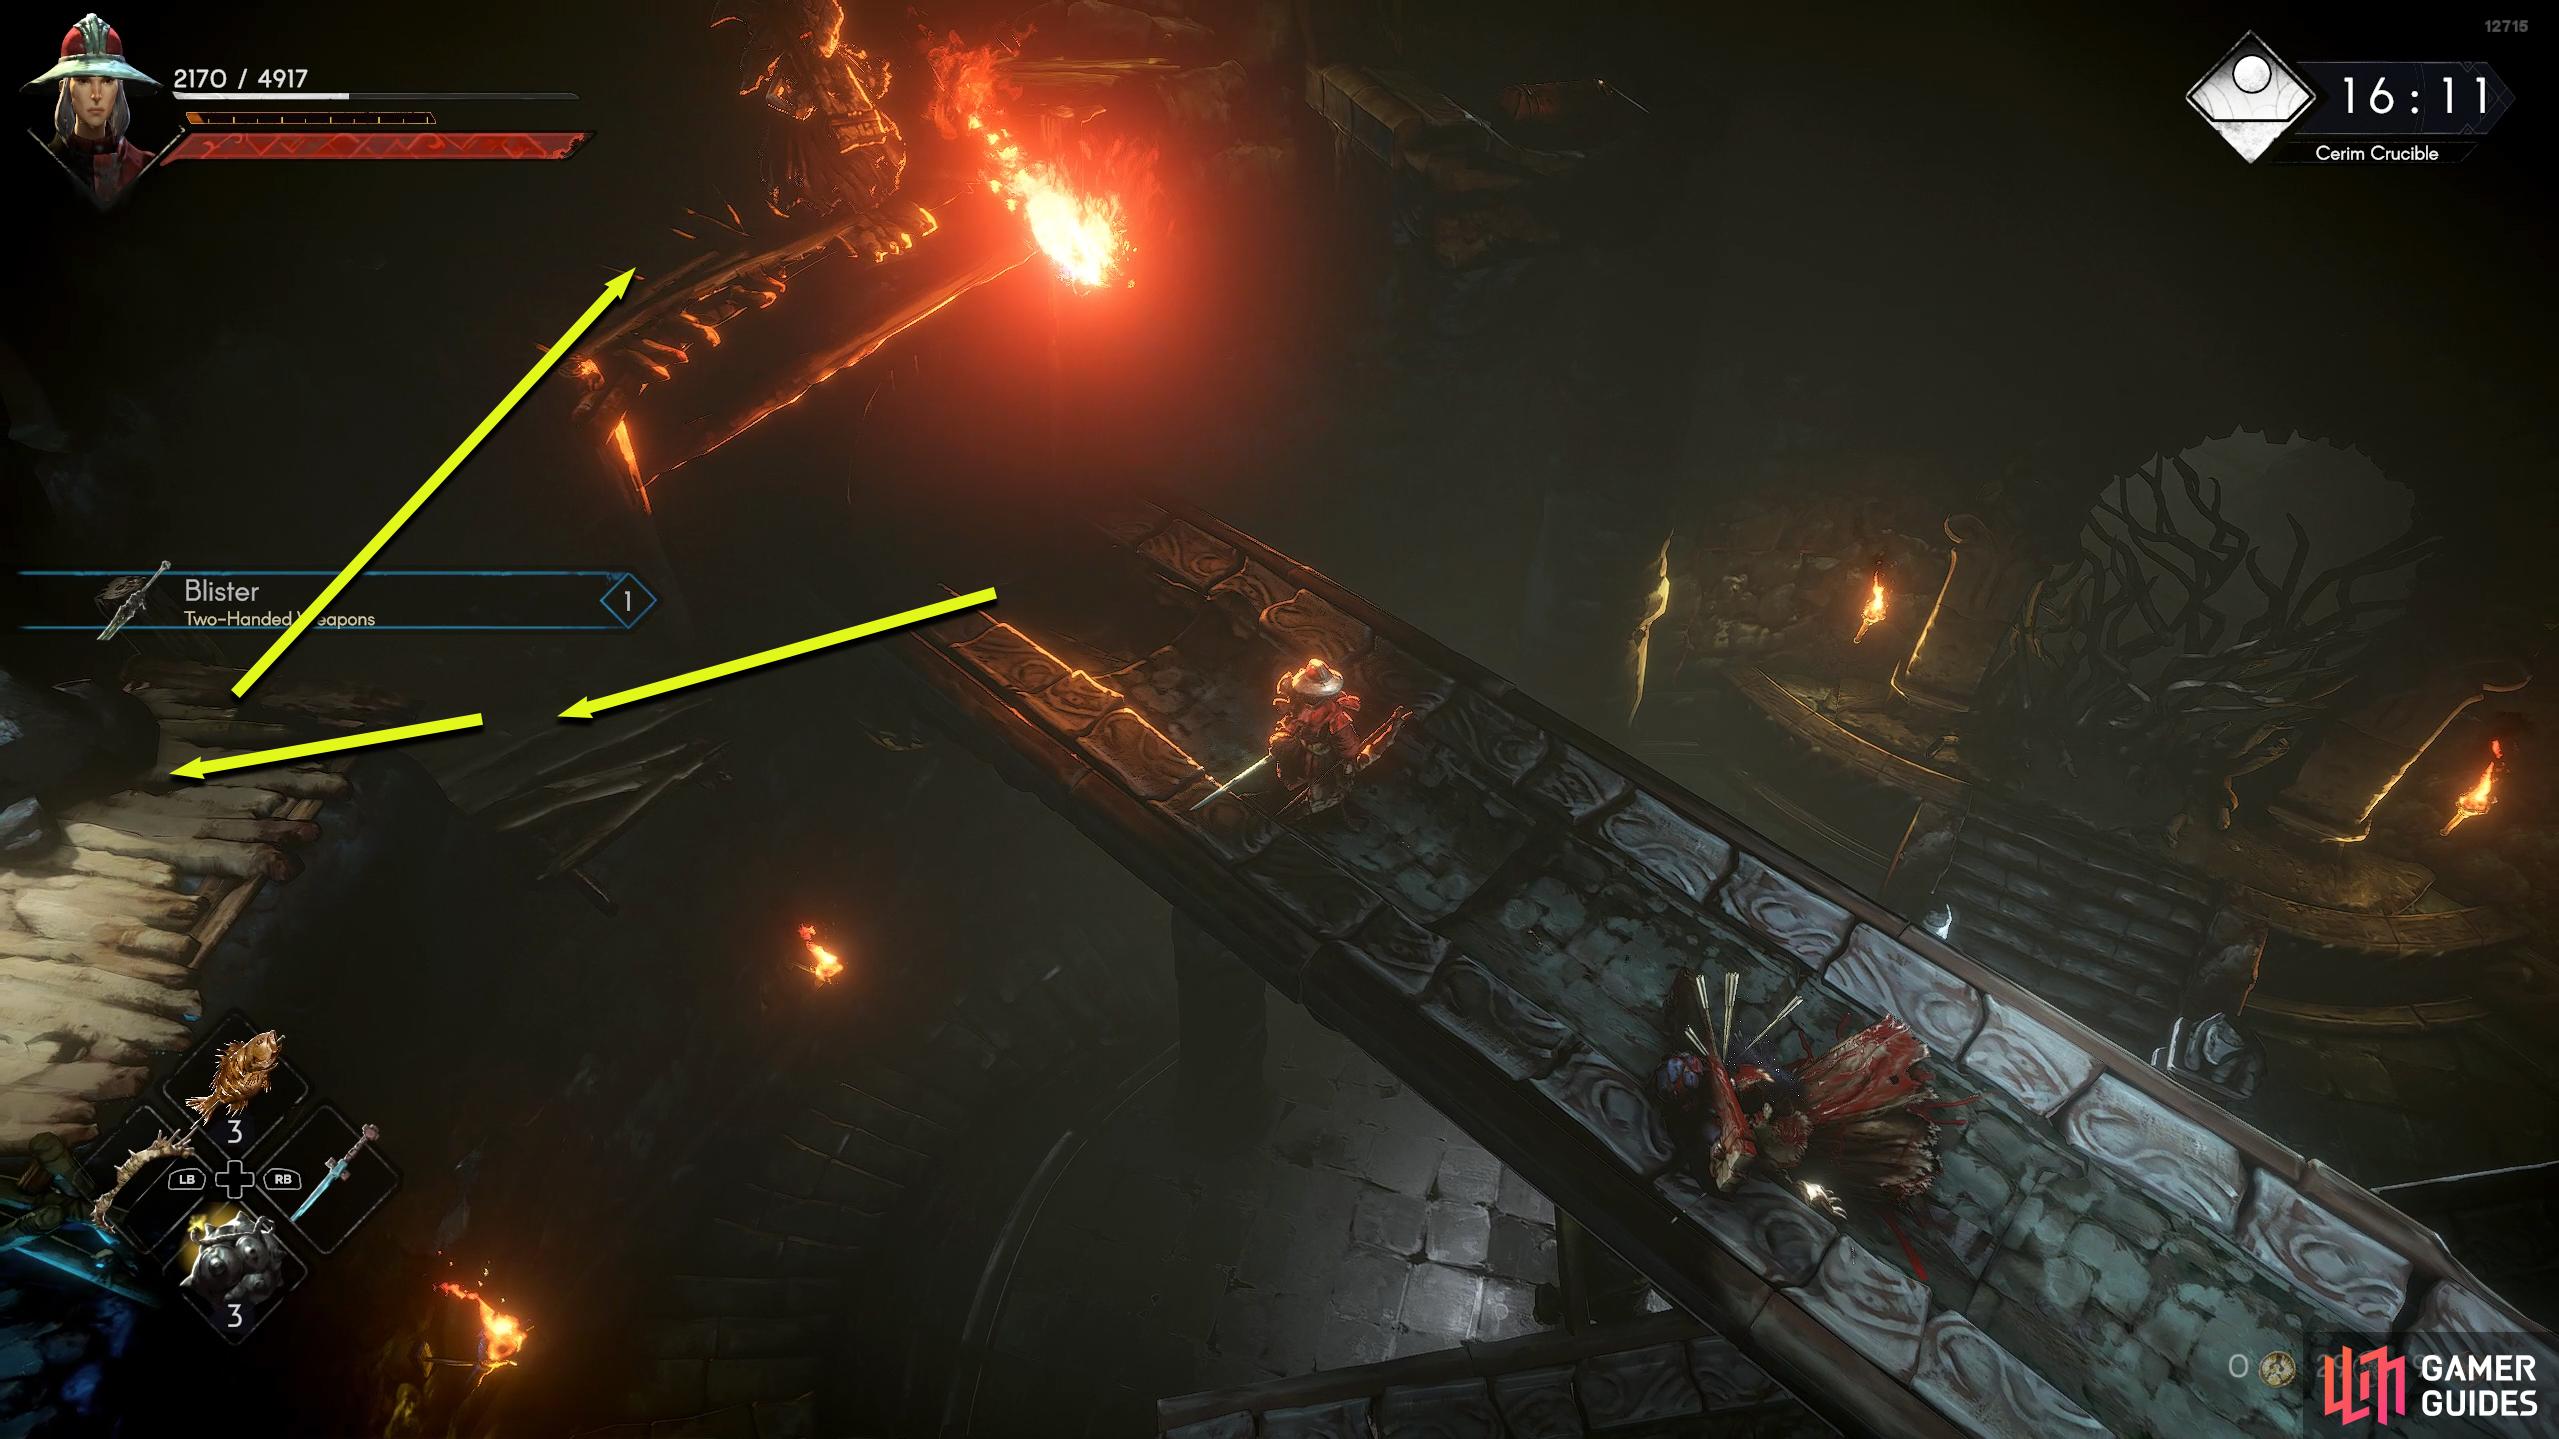
Ruined Bridges Floor
This floor is relatively small with a bunch of broken bridges in the center. You’ll exit the elevator room via the northeast. Before you drop to the ground below, take out any enemies you can first with some well-placed ranged attacks. Sometimes you’ll see a Knight near the entrance, which you can defeat from the start. When the immediate threats are dealt with, walk further in a little to find a Witch standing on the bridge above. Either take it out from the floor with ranged attacks, or go up the path to your left, and attack it from there.
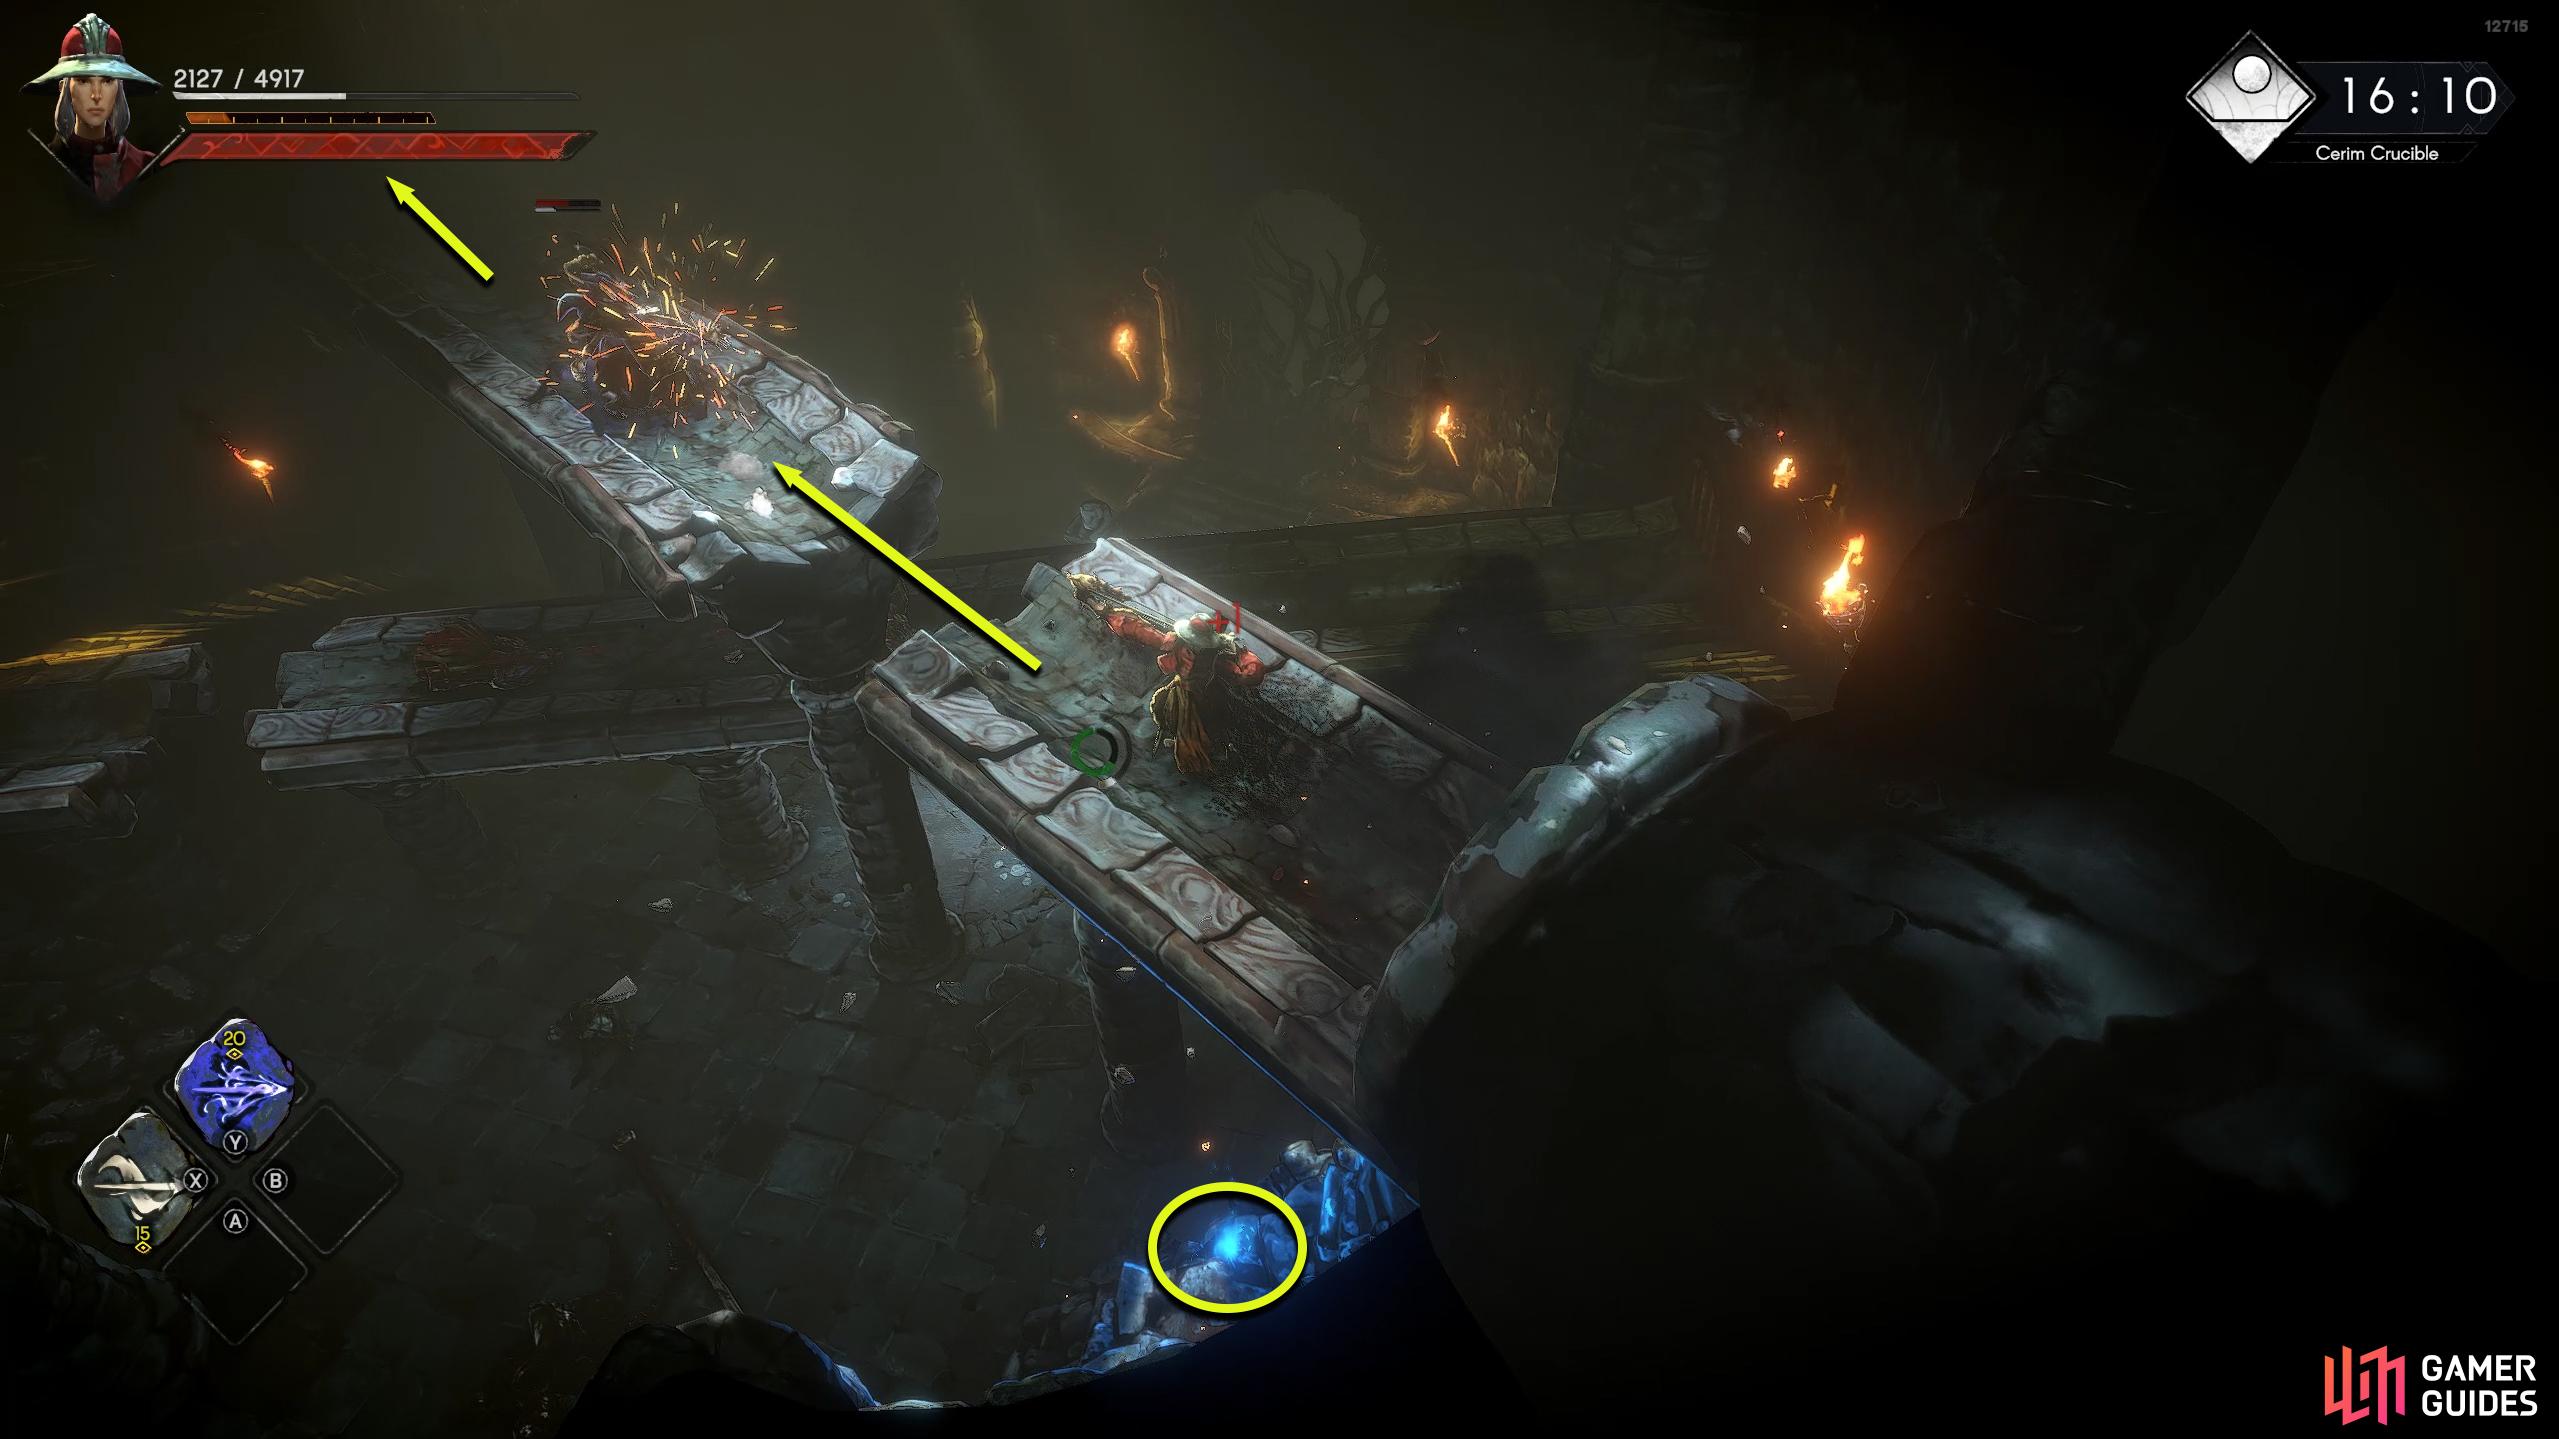
Once the Witch is dealt with, head up the stairs on your left if you haven’t already, and make your way east across the bridge. At the end, you’ll find a Knight of some kind. As you go to fight the enemy, a Witch will hurl fireballs at you from the bridge above. Stand under the bridge to avoid any potential fireball and fight off the Knight under there. When it’s defeated, sprint east and head up the stairs to the next bridge, and rush the Witch to take it out. Jump across the gap to the other side of the bridge, but be careful of another Witch who can sometimes be found on the Wooden platform above the bridge.


(1 of 4) Take out the Knight from the raised platform with ranged attacks if you can.
If there is one there, either kill it with ranged attacks or run forward, jump on the wooden platform to your left, and then jump over the gap to the Witch. Once the Witch is taken care of, roll over to the small platform on your right and open the chest. Go back over to the wooden platform to the west, and follow it south to find a blue orb to loot. Now, go back across the bridge you came from, and drop onto the rubble near the start of the bridge to the left. All that’s left to do is defeat the last big enemy on the ground floor. Bait out its attack by getting close to it, roll through the last attack, and get a couple of hits on it. Repeat this process until it dies. Alternatively, attack it from range. When it’s defeated, go through the unlocked gate to the north and take the elevator down.


(1 of 4) Run to the end, jump to the wooden platform to your left and use it to reach the Witch.
Swamp Floor
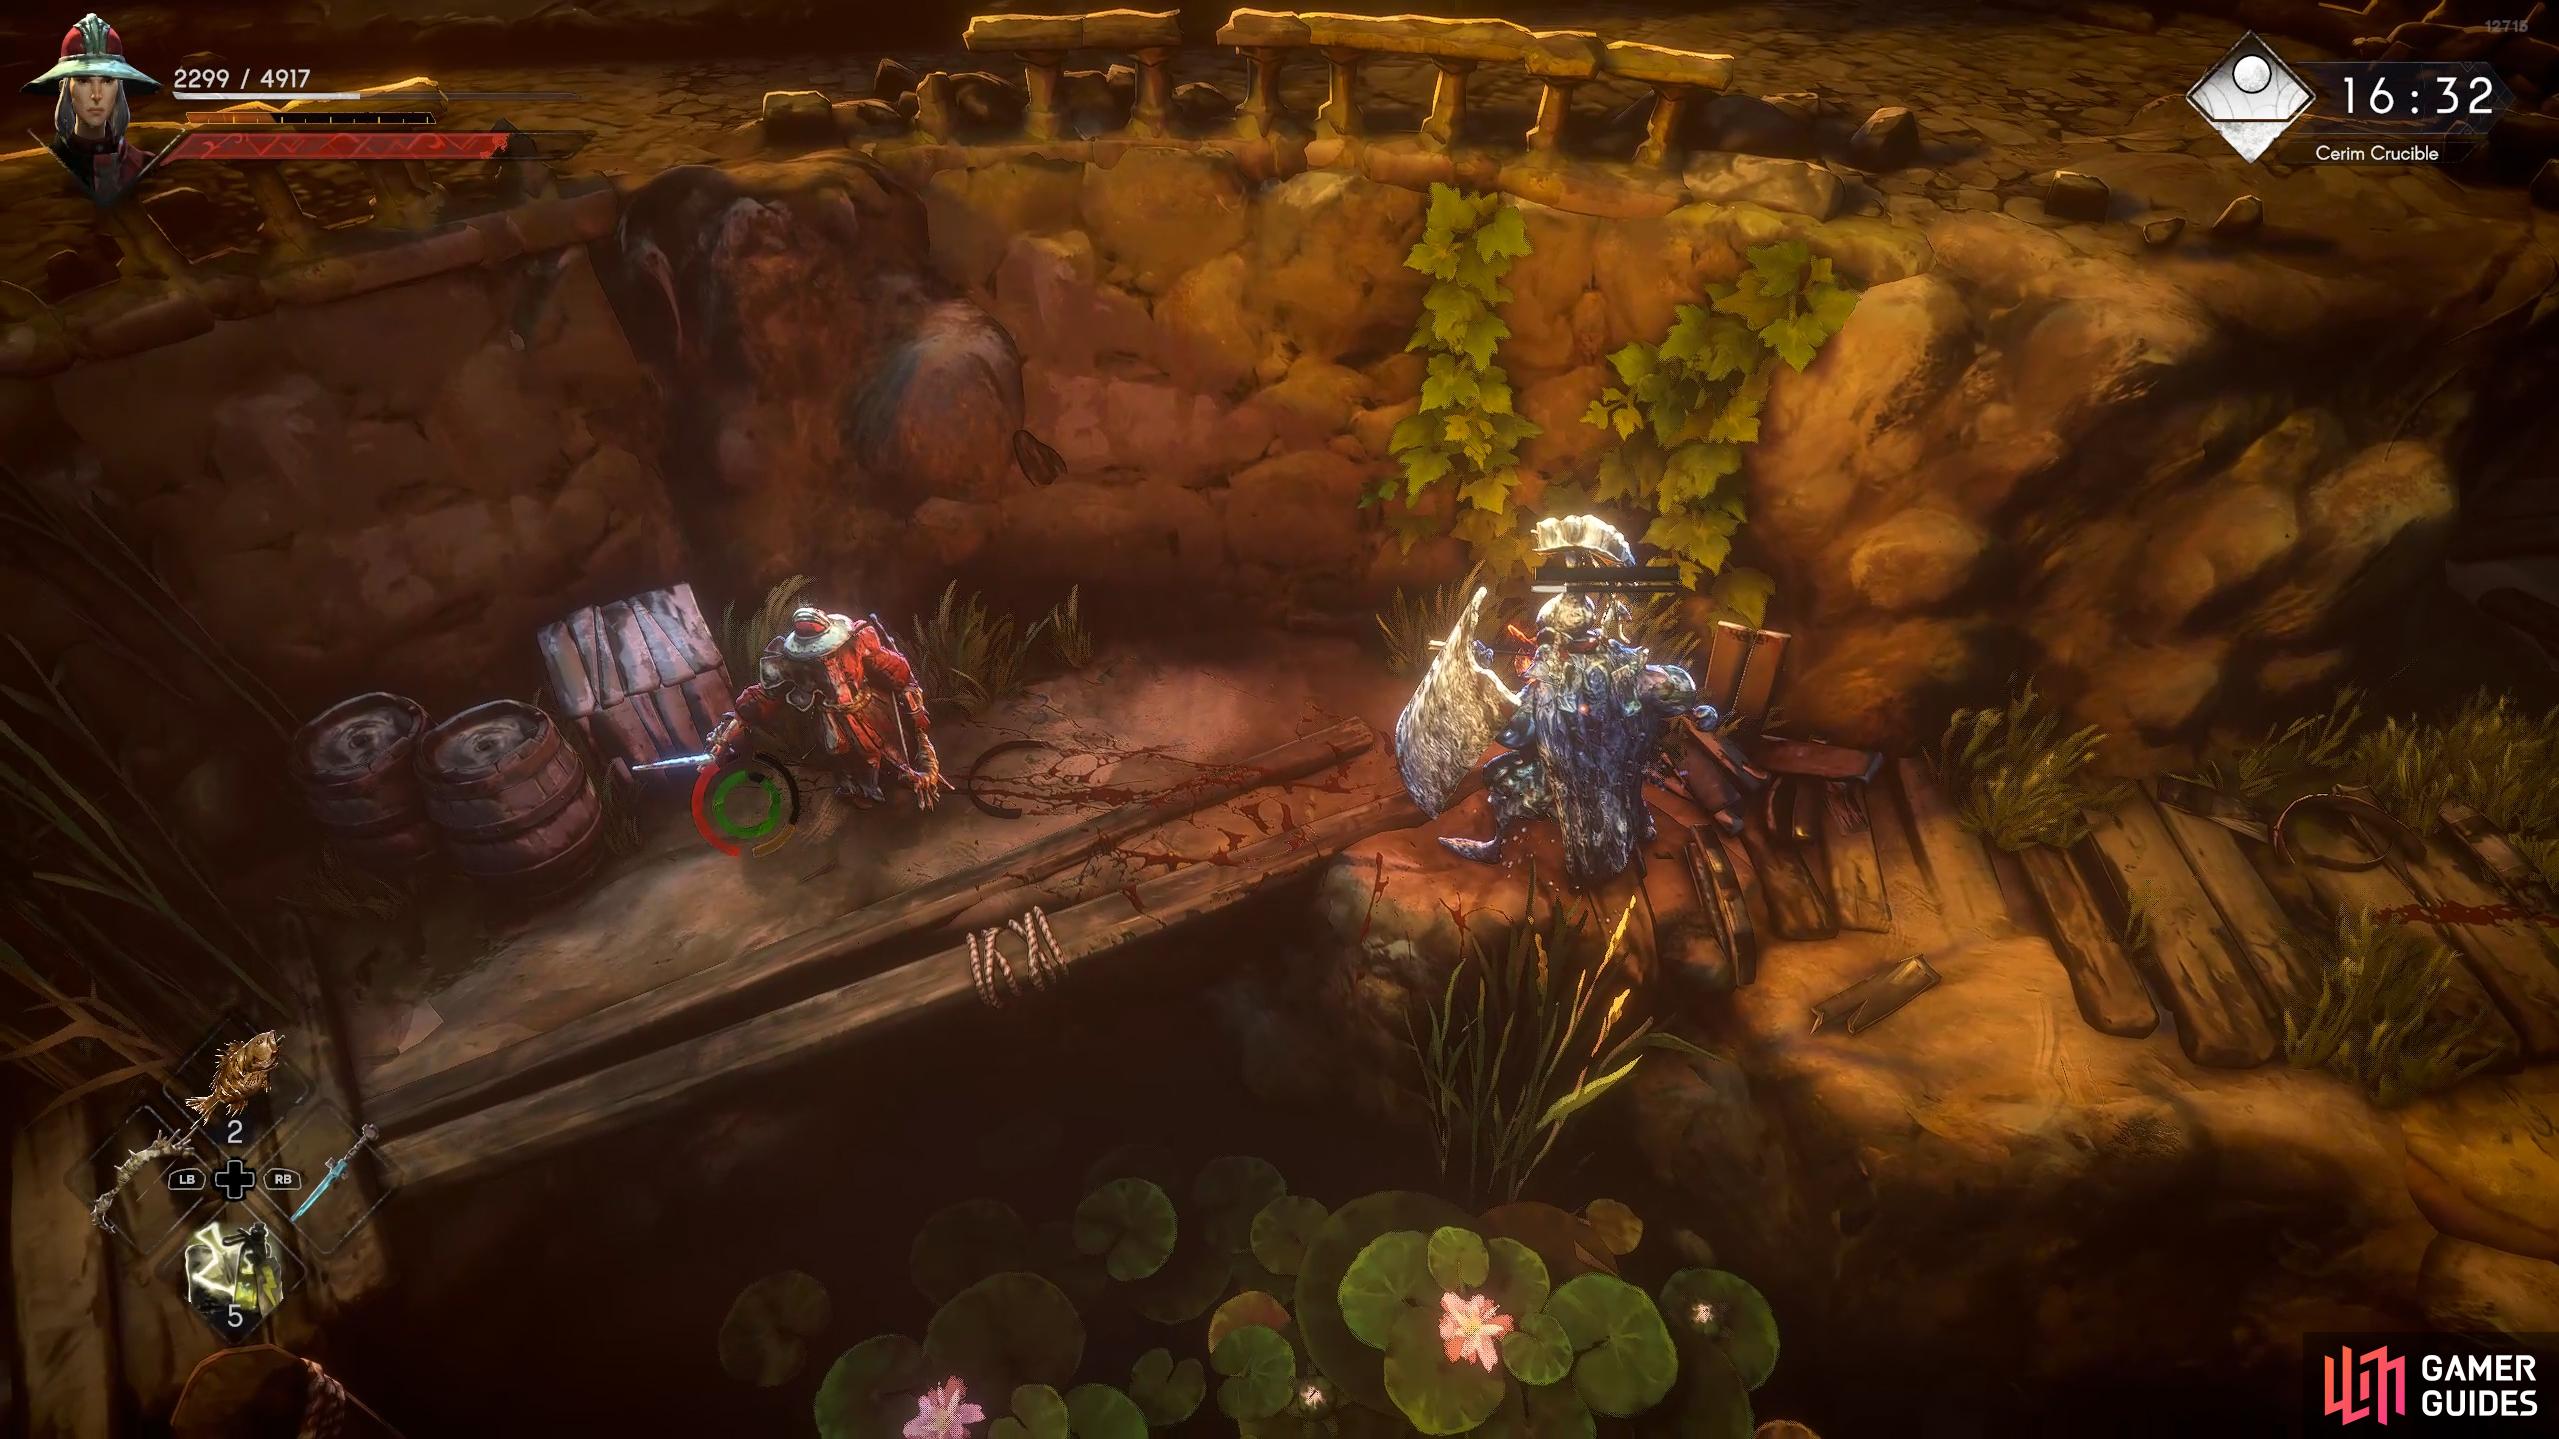
This floor has an orange hue with a field of sunflowers to your right as you exit the elevator room from the north. Head forward and hit the enemy across the swampy water with a ranged attack to get its attention. If it doesn’t react to your attack, continue hitting it with ranged attacks or failing that, go over there and defeat it with melee attacks, but be careful of the explosives scattered across the floor. When the enemy is defeated, jump across the water, break the barrels for a chance of some loot, and then head east across the wooden planks while avoiding even more explosives.
Across the planks is another enemy, which is normally a Knight of some kind. Bring it back to the last enemy’s position, and take it out there. Sometimes you may grab the attention of nearby enemies as well, if that is the case, jump back across to the sunflower area where it’ll give you a brief moment of respite. Once you’ve dealt with the immediate threats, continue east across the planks and make your way up the slope to the north. You may find an enemy up here, it depends on whether it came down while you were fighting the other enemies. Defeat it if it’s there, and continue west past the doorway to find a hidden chest in the corner, against the wall. Note that there is an explosive right next to it but if you keep rolling until its exploded, you won’t take damage from it. Once you’ve looted the chest go through the doorway you just passed and take the elevator down.
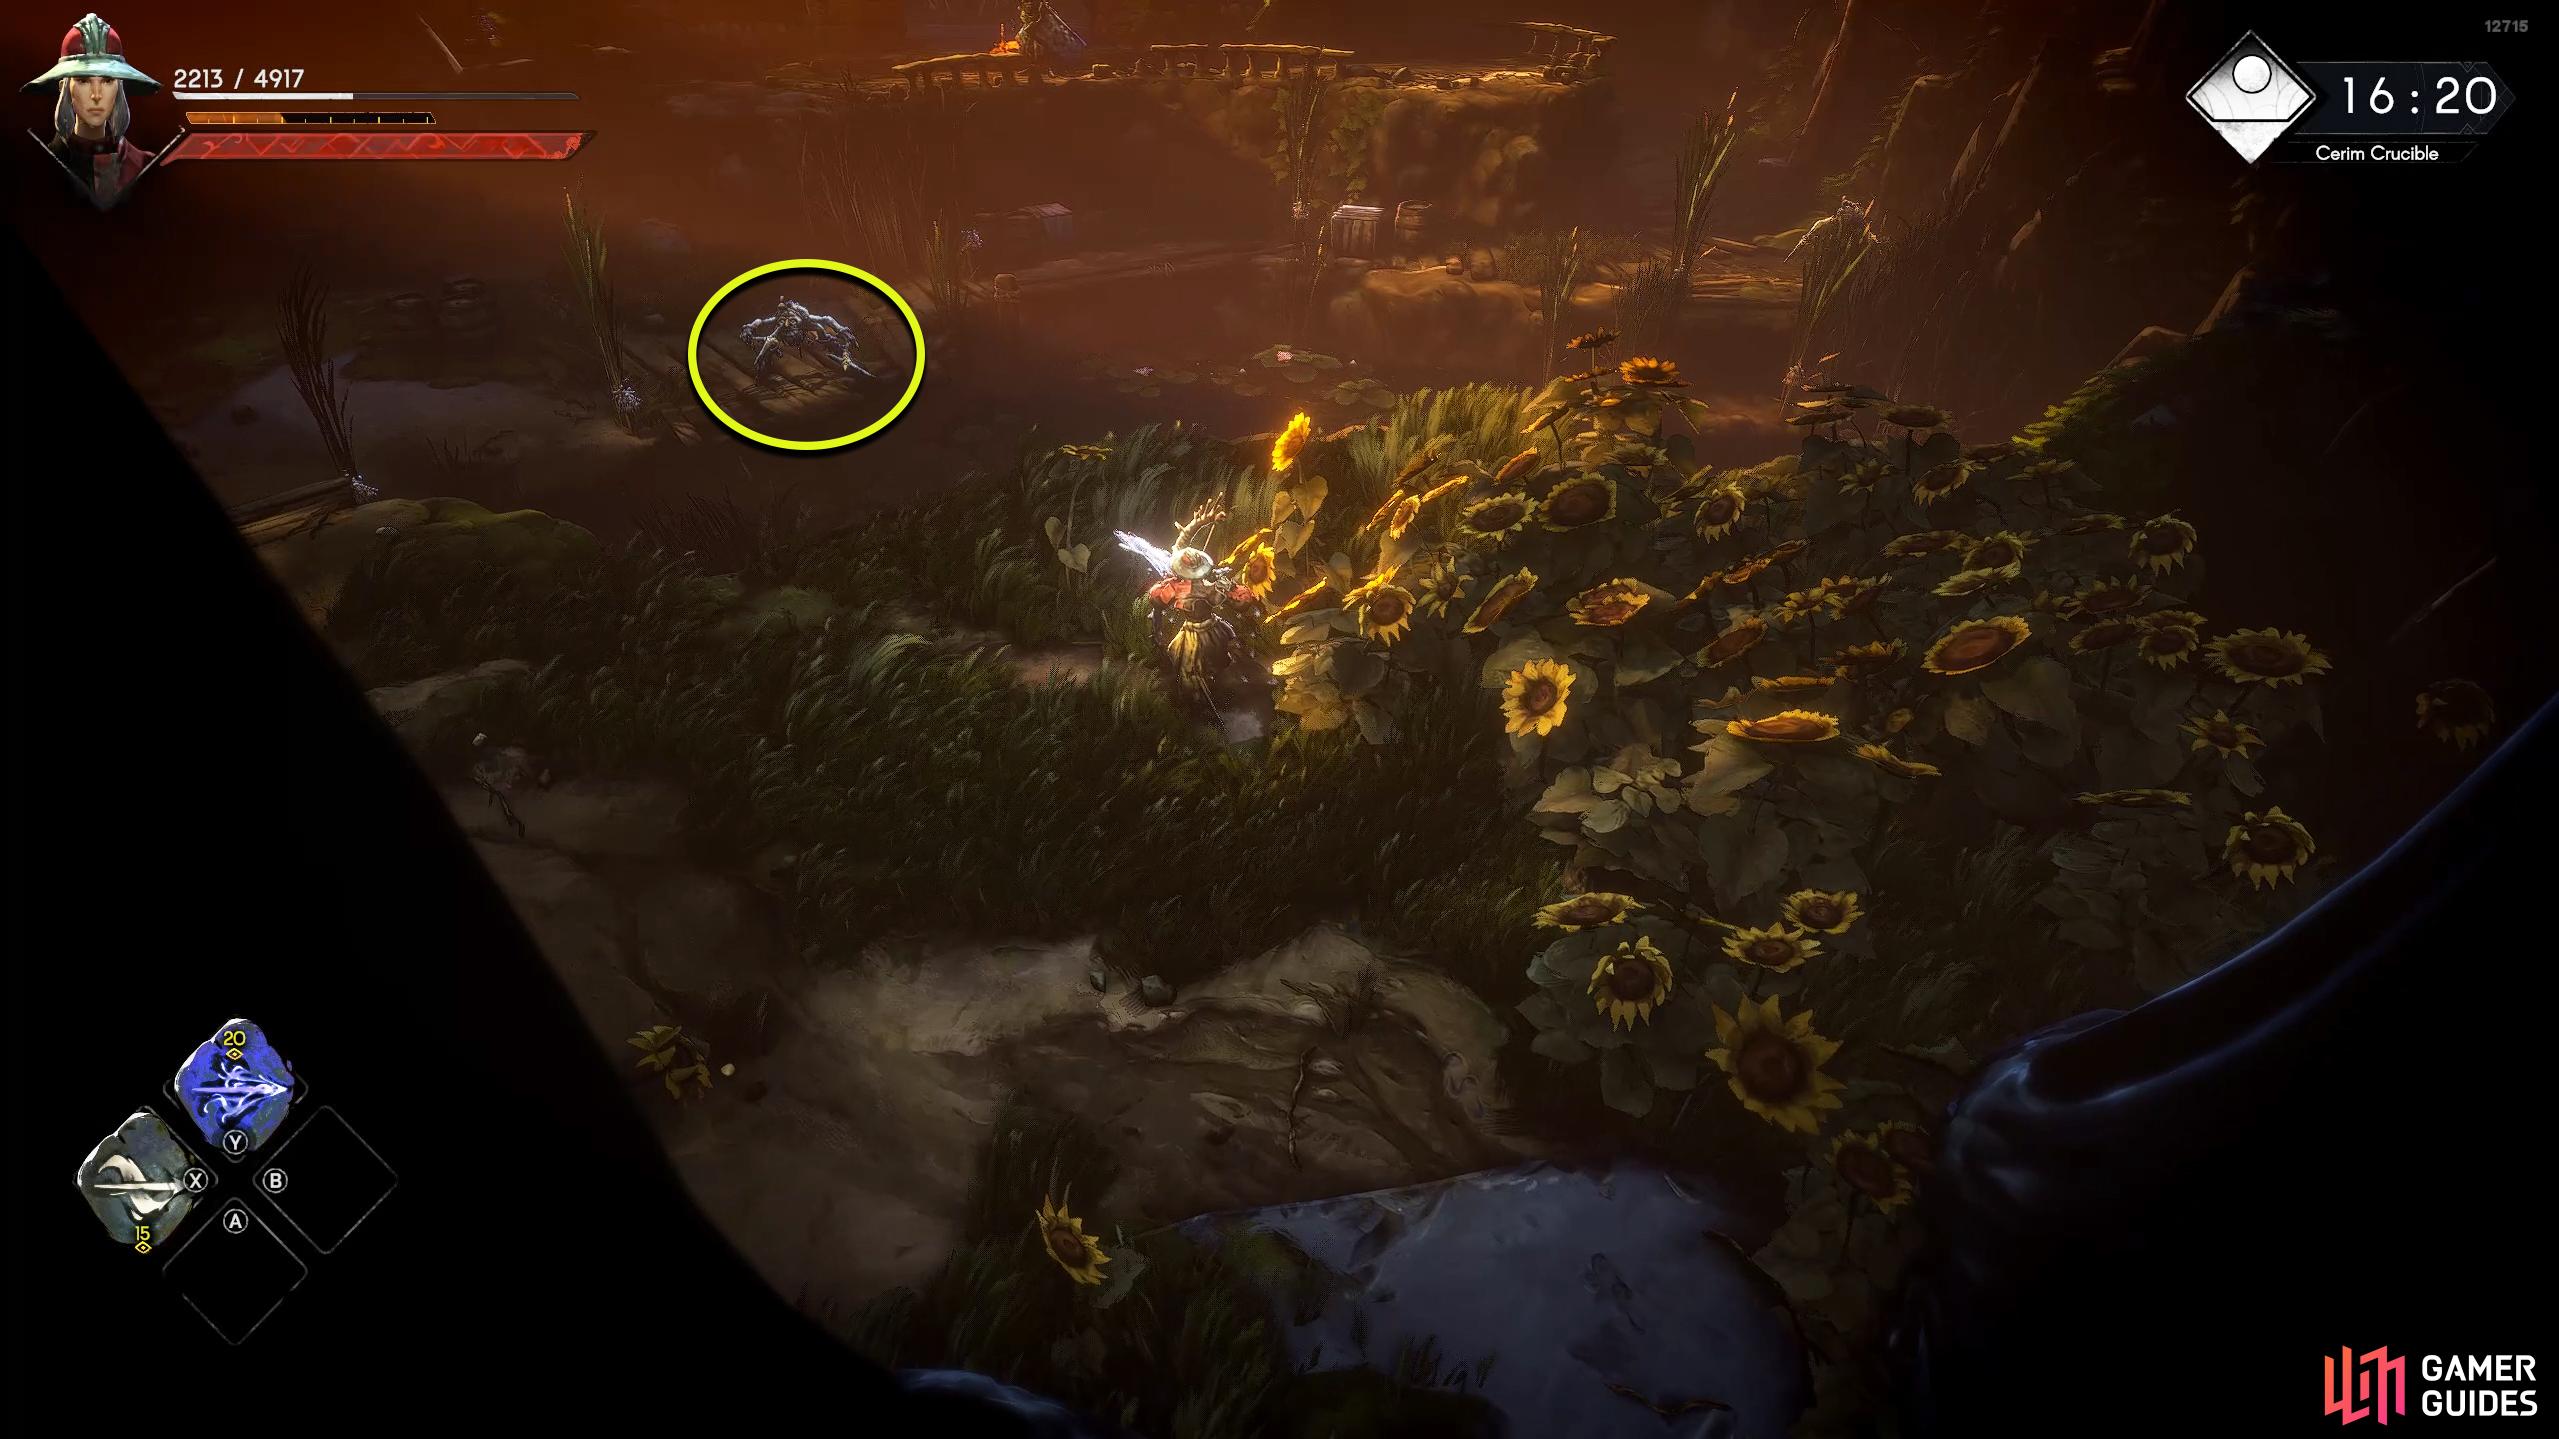

(1 of 4) Head across the swampy water and take out the enemy on the other side.
Dark Woods Floor
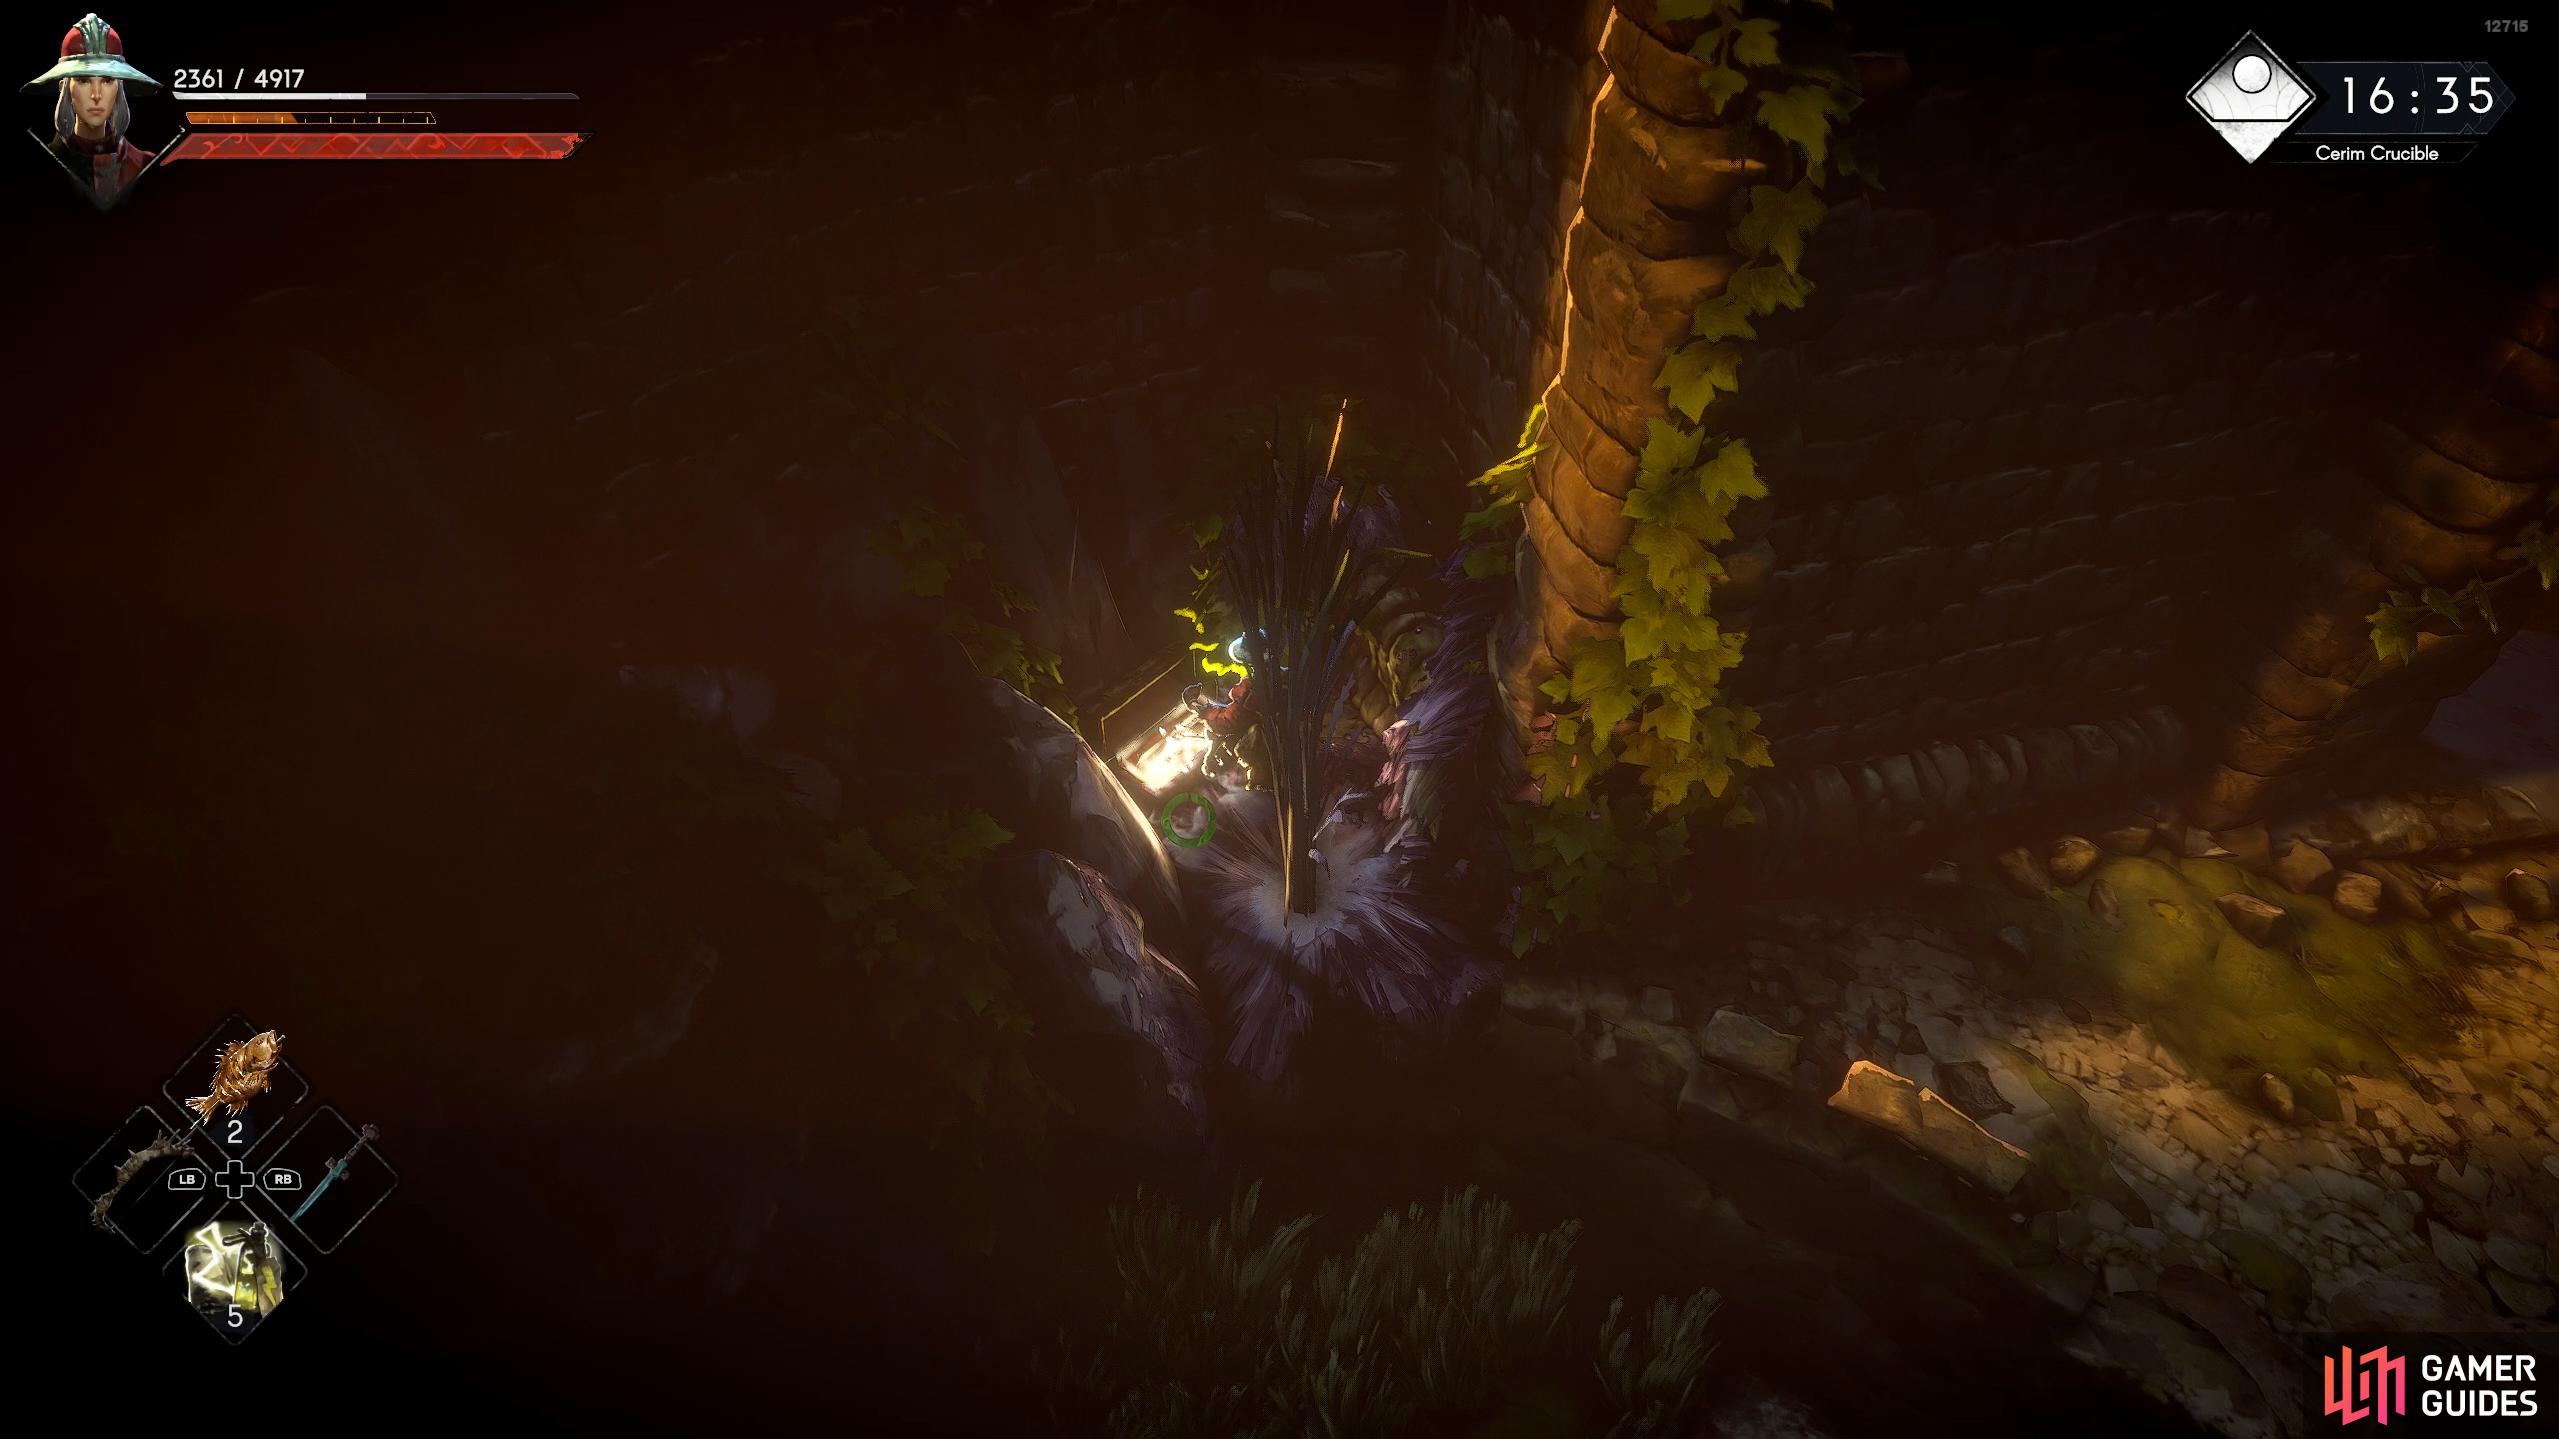
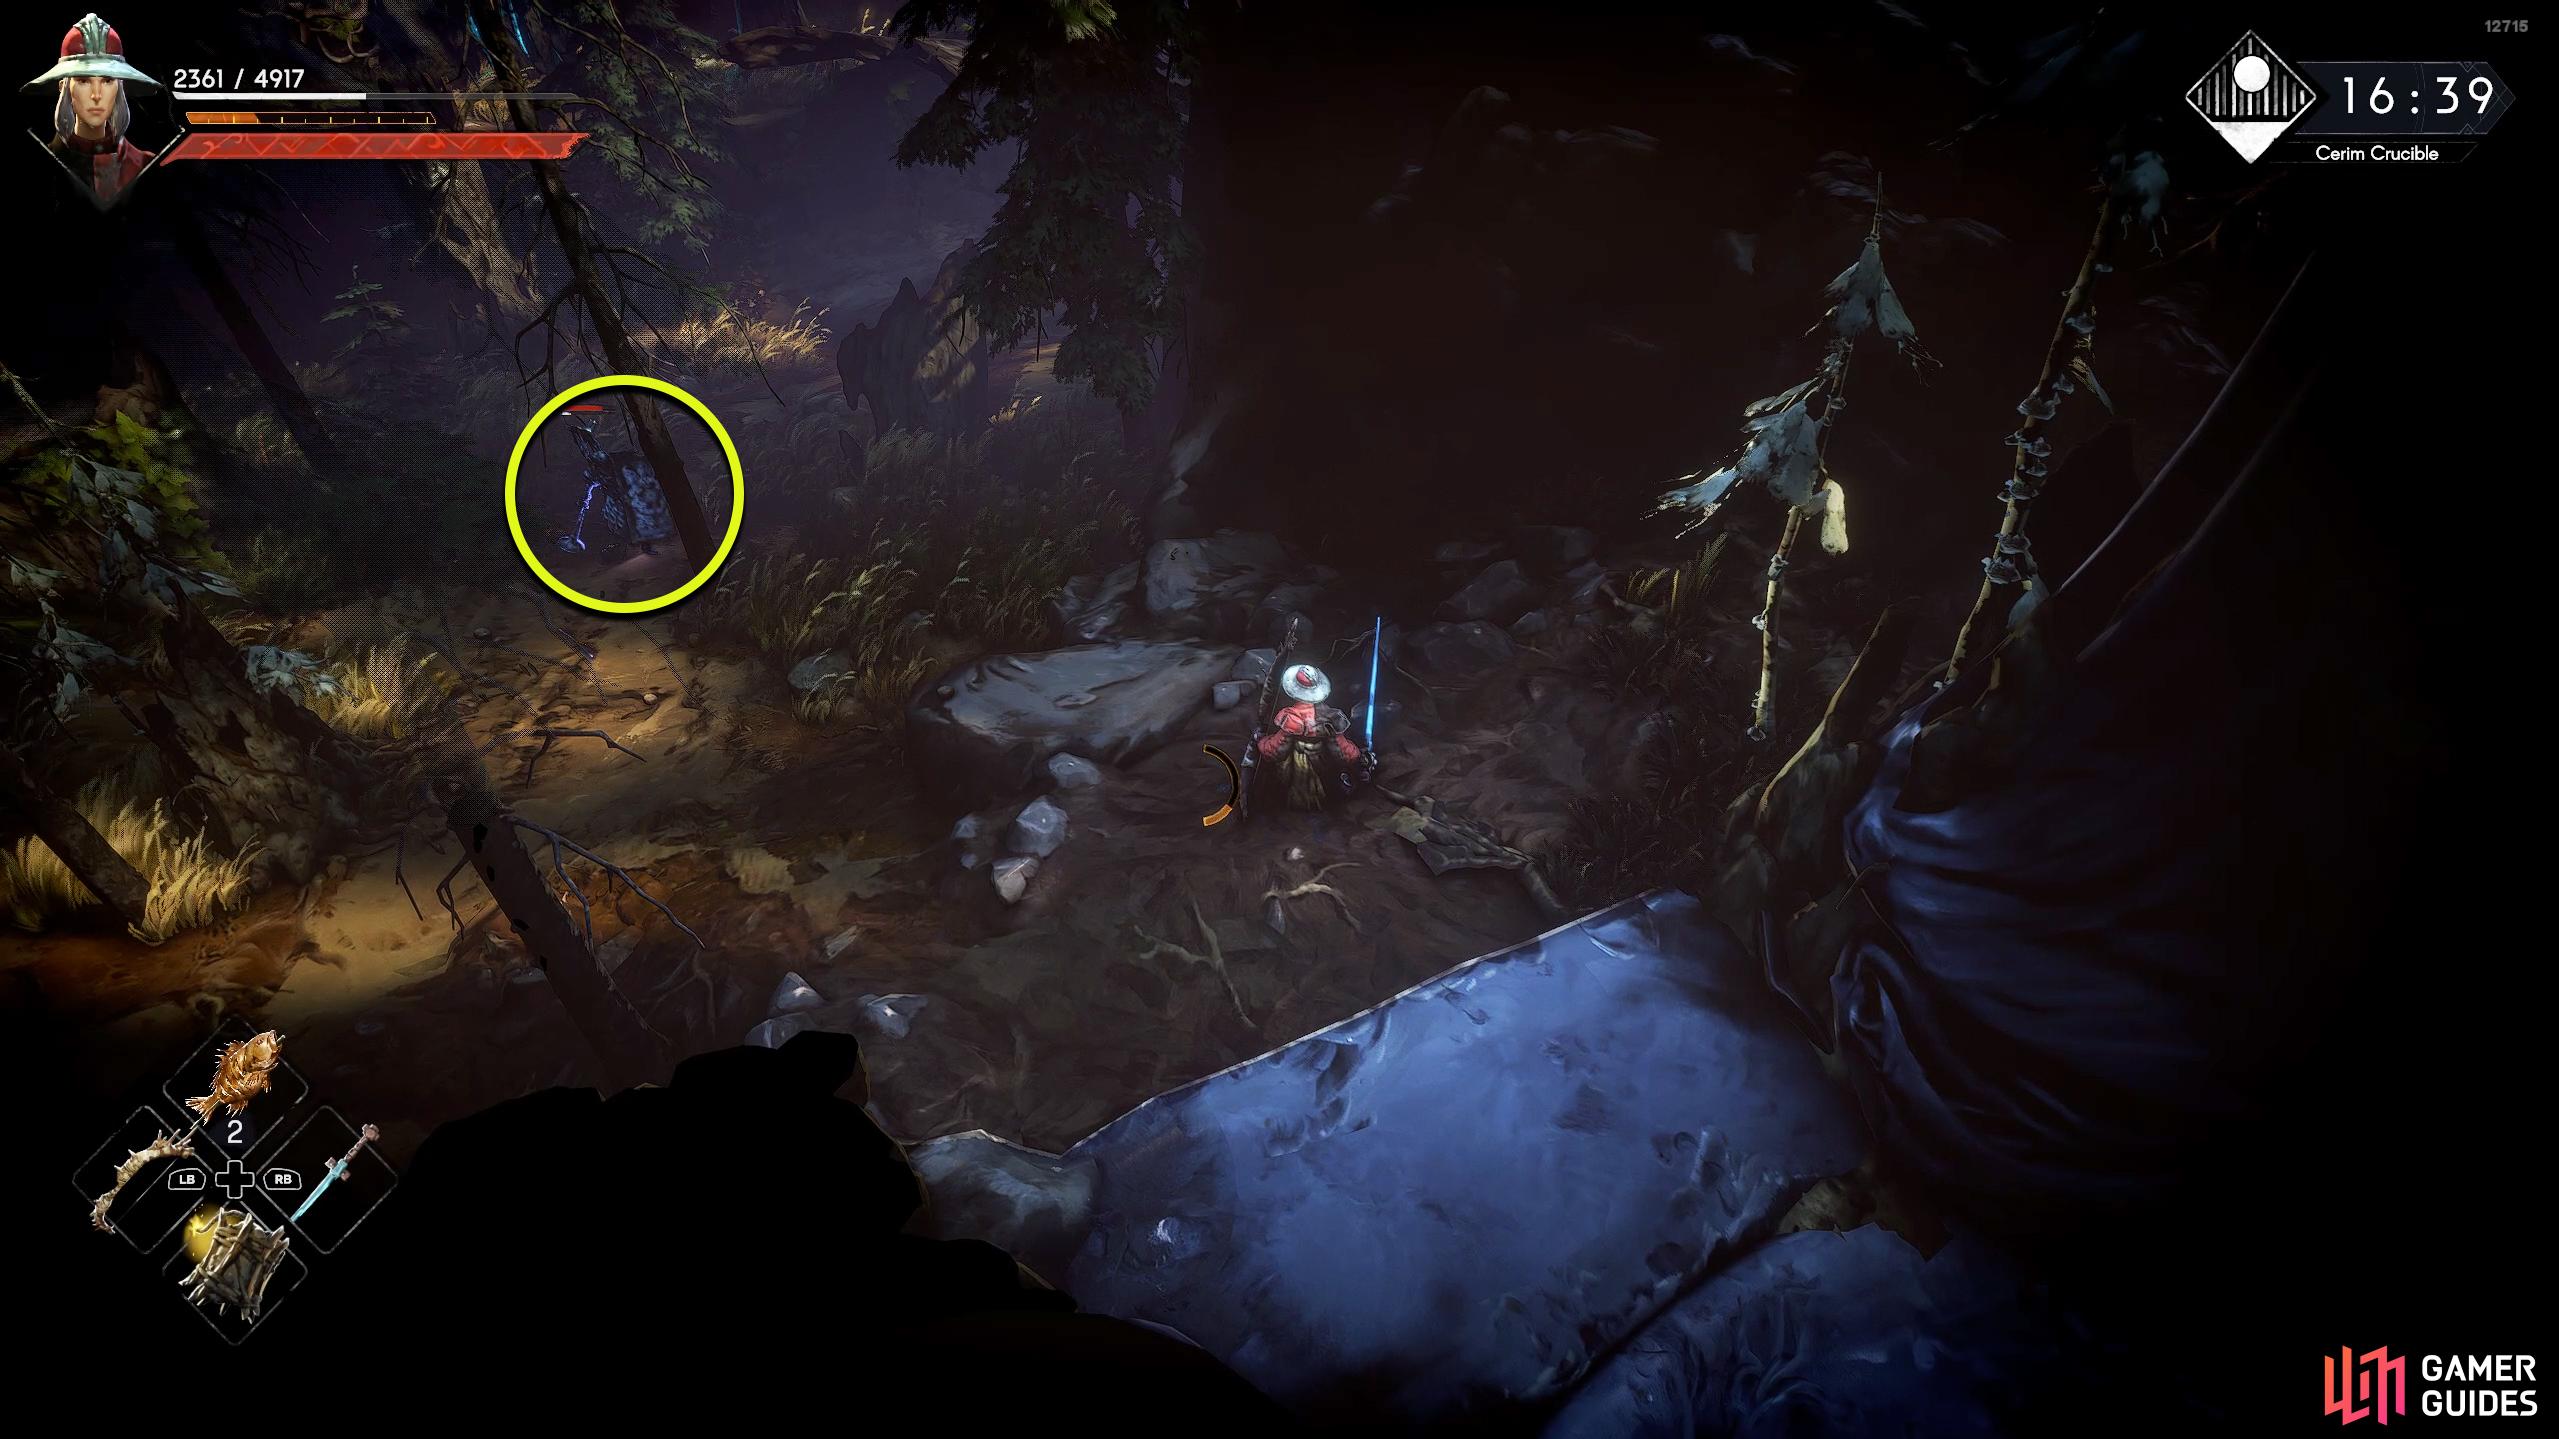
Another forest-like map but this one is a lot darker. You’ll exit the elevator room via the northwest, and you’ll be immediately met by a Knight as soon as you enter the area, which may be obscure by the trees. Defeat the Knight, follow the path north, and go through the hollowed-out tree. Hug the right side of the hollow tree and you’ll find a hidden chest about halfway through. Loot the chest and continue north. At the end of the path are some vines which you’ll need to climb up but there is a Witch to your left who’ll begin hurling fireballs at you. If you can, try and take it out with ranged attacks by standing near the vines. If not, wait for the fireball to explode, and then climb the vines and head right onto the platform.
As soon as you reach the other side, you’ll be met by a Knight. This can become problematic if the Witch is still alive as you’ll need to deal with both of them at the same time. Sometimes, even a big enemy with its two-handed mace can join the fray. What you want to do is roll through the Knights attacks and rush the Witch if it’s still alive. With that defeated, position yourself so the Knight is in between you and the big enemy as the latter will hit the Knight with its attacks. If things get too hectic and you need to heal, drop to the floor below to catch your breath. The enemies won’t drop down, and you should be safe.

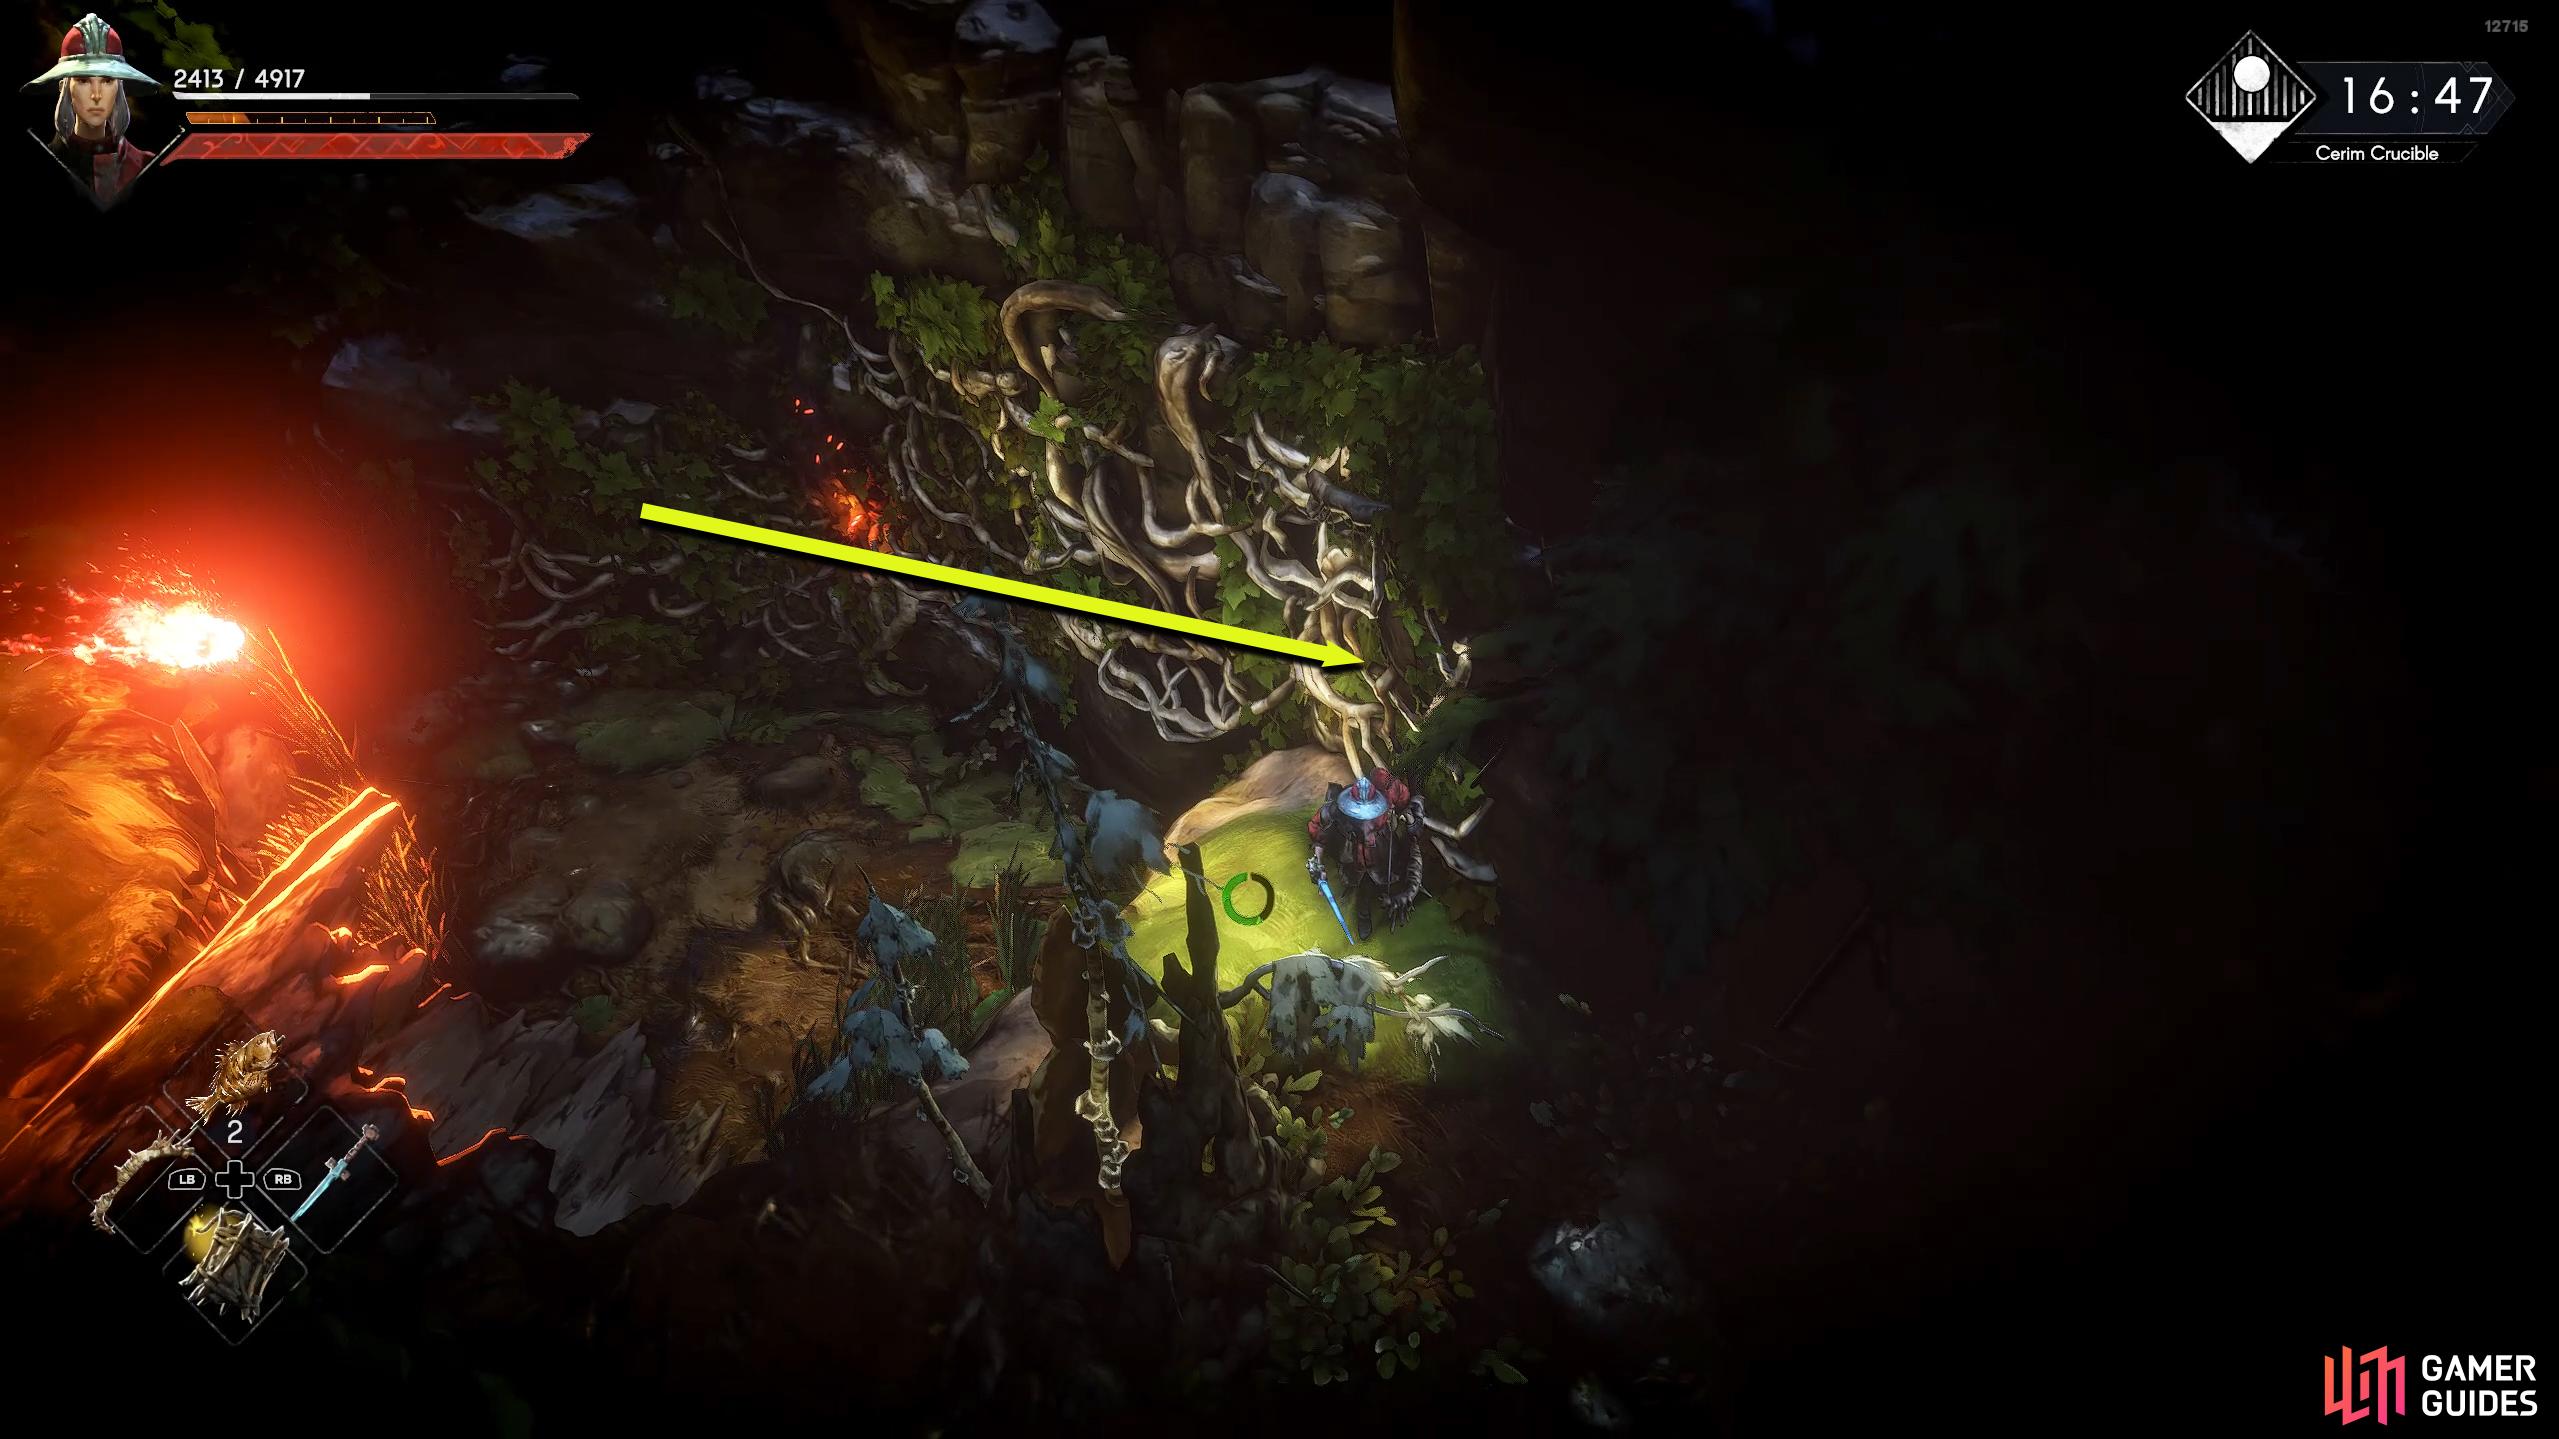


Once you’ve taken care of the enemies, you’ll have one more to deal with. This will be another Witch who is sitting atop a tree trunk to your left. Fortunately, you can climb the vines on it to reach and dispatch her. When you’ve defeated all of the enemies, break the rotten tree trunk near the tree trunk you killed the Witch on to loot the blue orb and then head north and take the elevator down.

 Sign up
No Comments