
The Of Rats and Raiders quest starts when you speak with Winnick in Sacrament. He’ll approach you after resting at the Rookery Lodgings for the first time, and ask you to track down a menace named Darak. The first encounter with Darak will be a single boss fight, which you can learn more about in our detailed guide here. After defeating Darak the first time and forcing him to flee, you can return to Winnick in Sacrament to begin the next phase of the quest. On this page, we’ll guide you through how to find Darak a second time and defeat him for good.
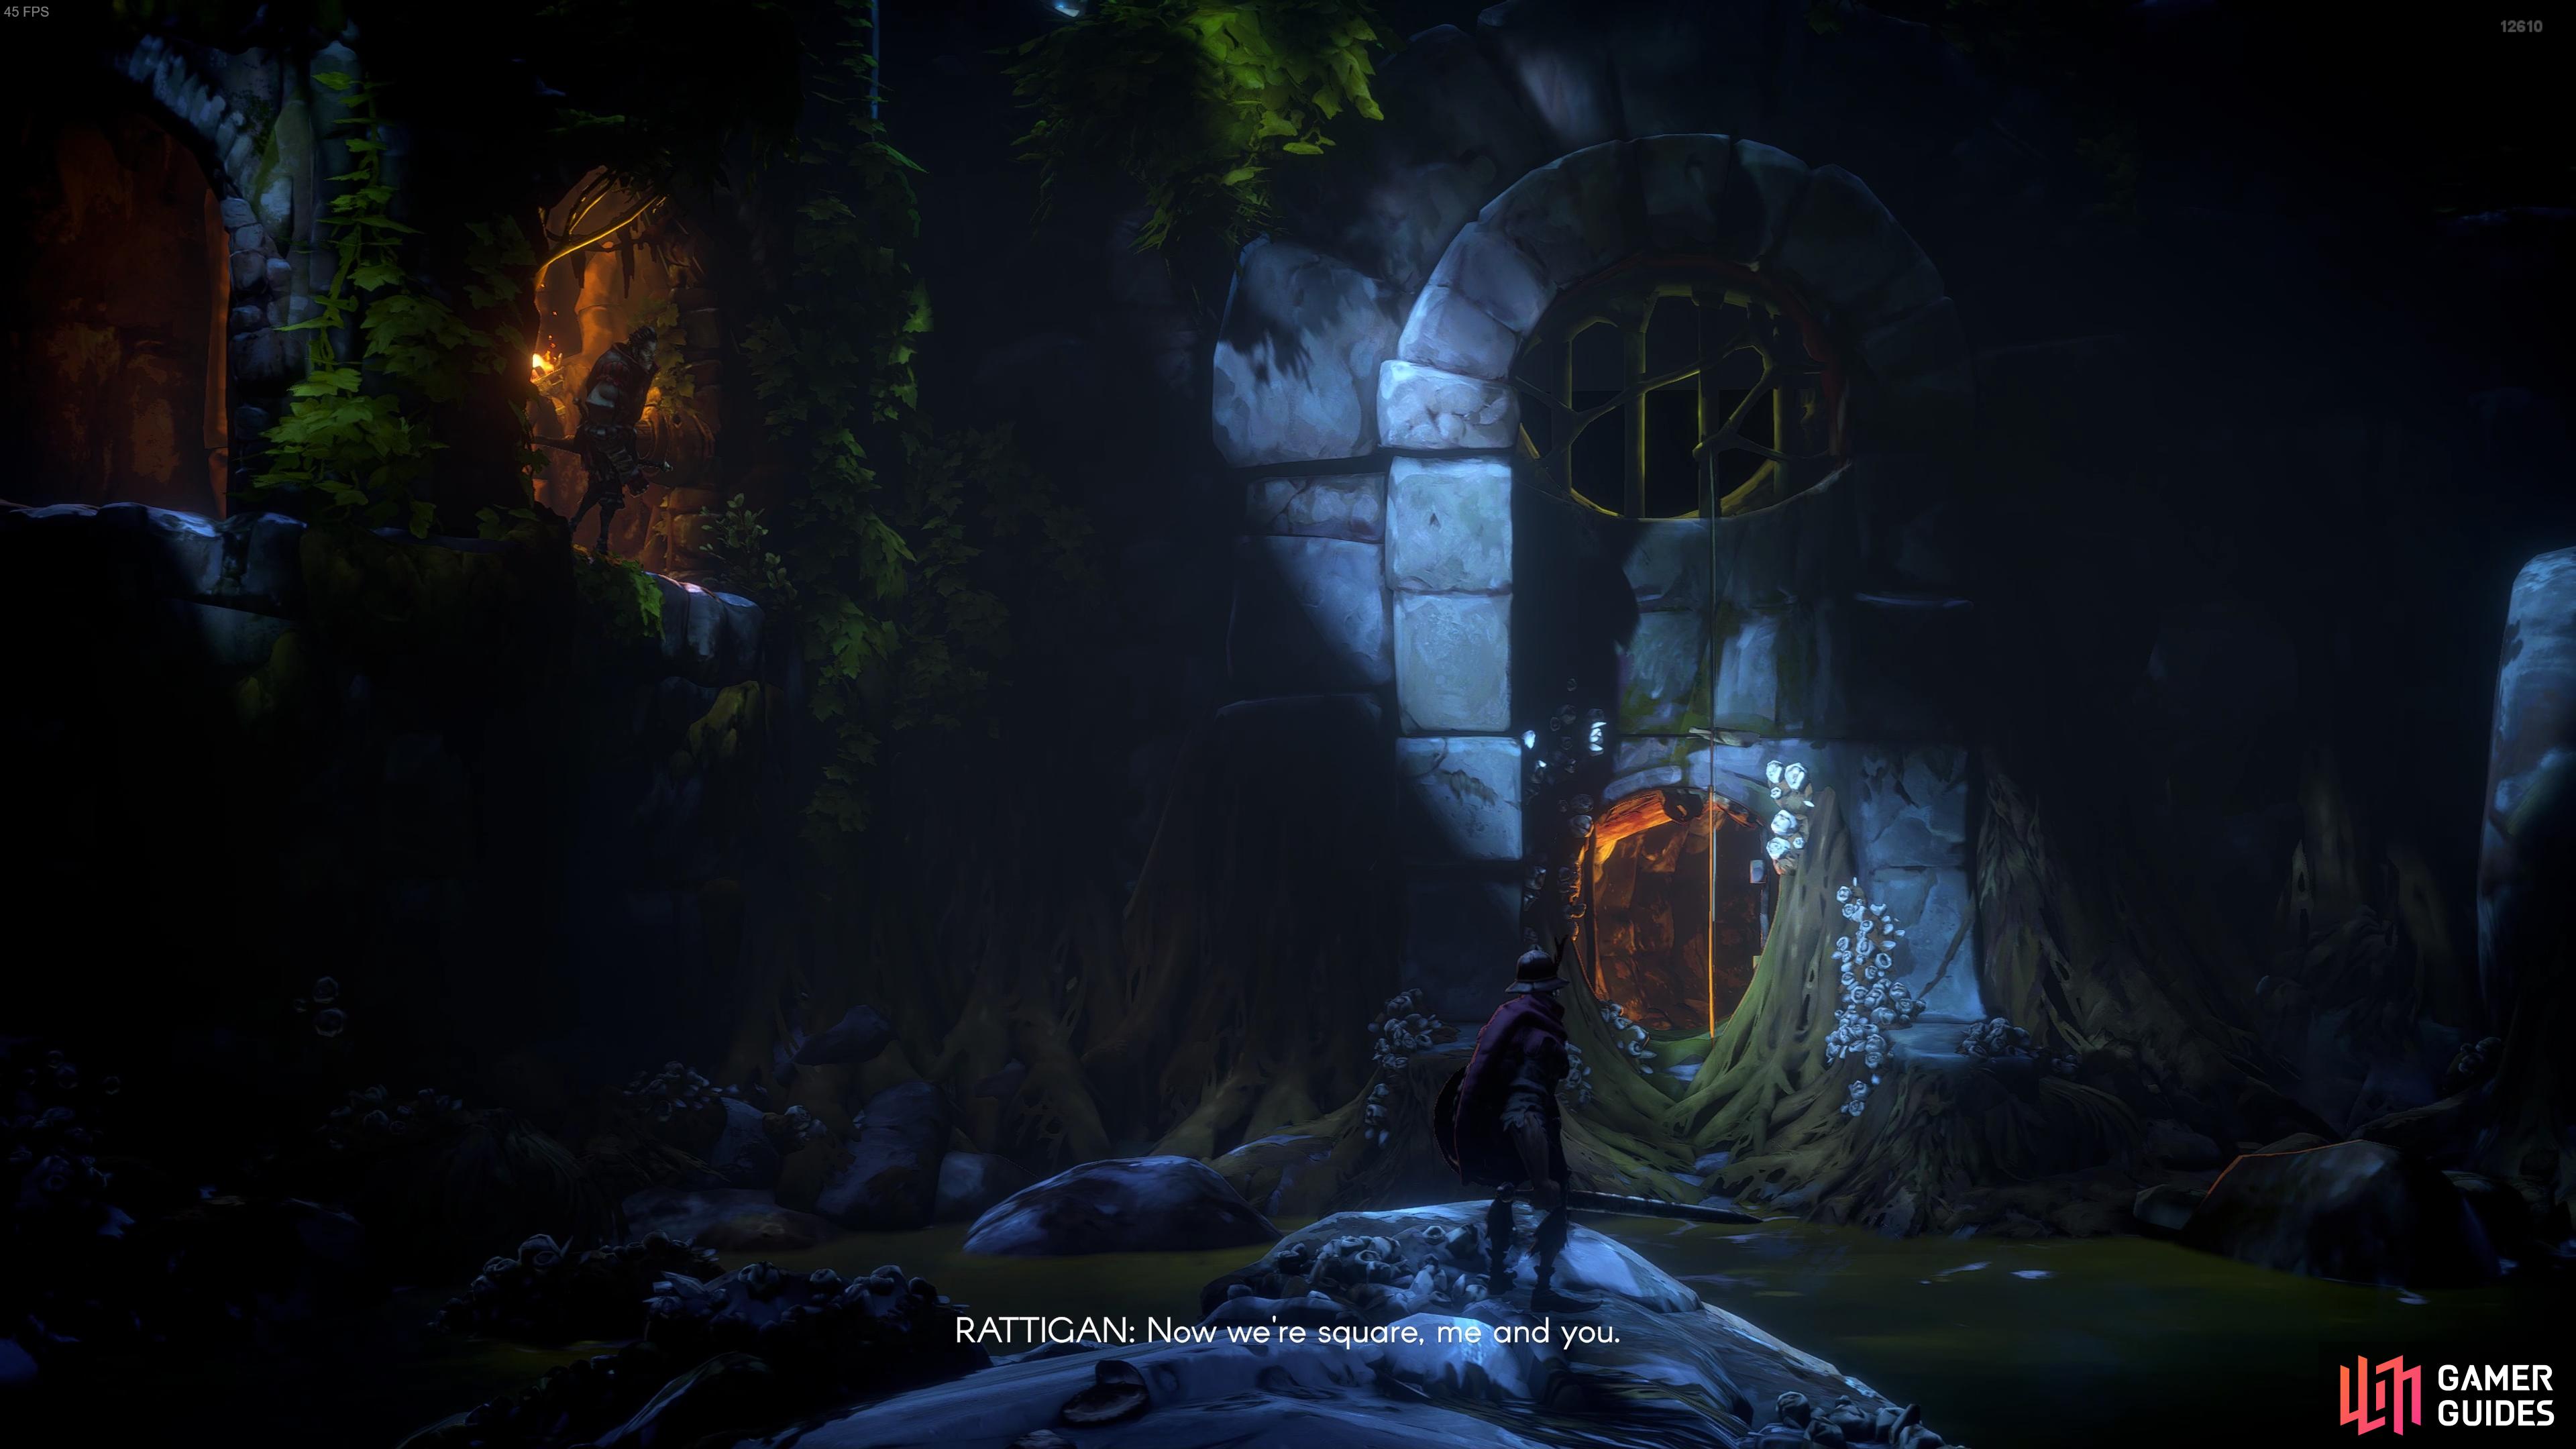
Rattigan will reveal the entrance to the sewers where you can find Darak.
Free Rattigan
Once you’ve defeated Darak for the first time, you can report back to Winnick in Sacrament. He’ll congratulate you on the victory, but he doesn’t know where Darak might’ve fled to. To advance the quest from this point, you can speak with one of Darak’s imprisoned cronies, named Rattigan, who can be found in a wagon cell just to the south of Winnick. When you speak with Rattigan, he’ll tell you that he knows where Darak is, but he’ll only show you if you help him escape.
Wagon Cell Key Location
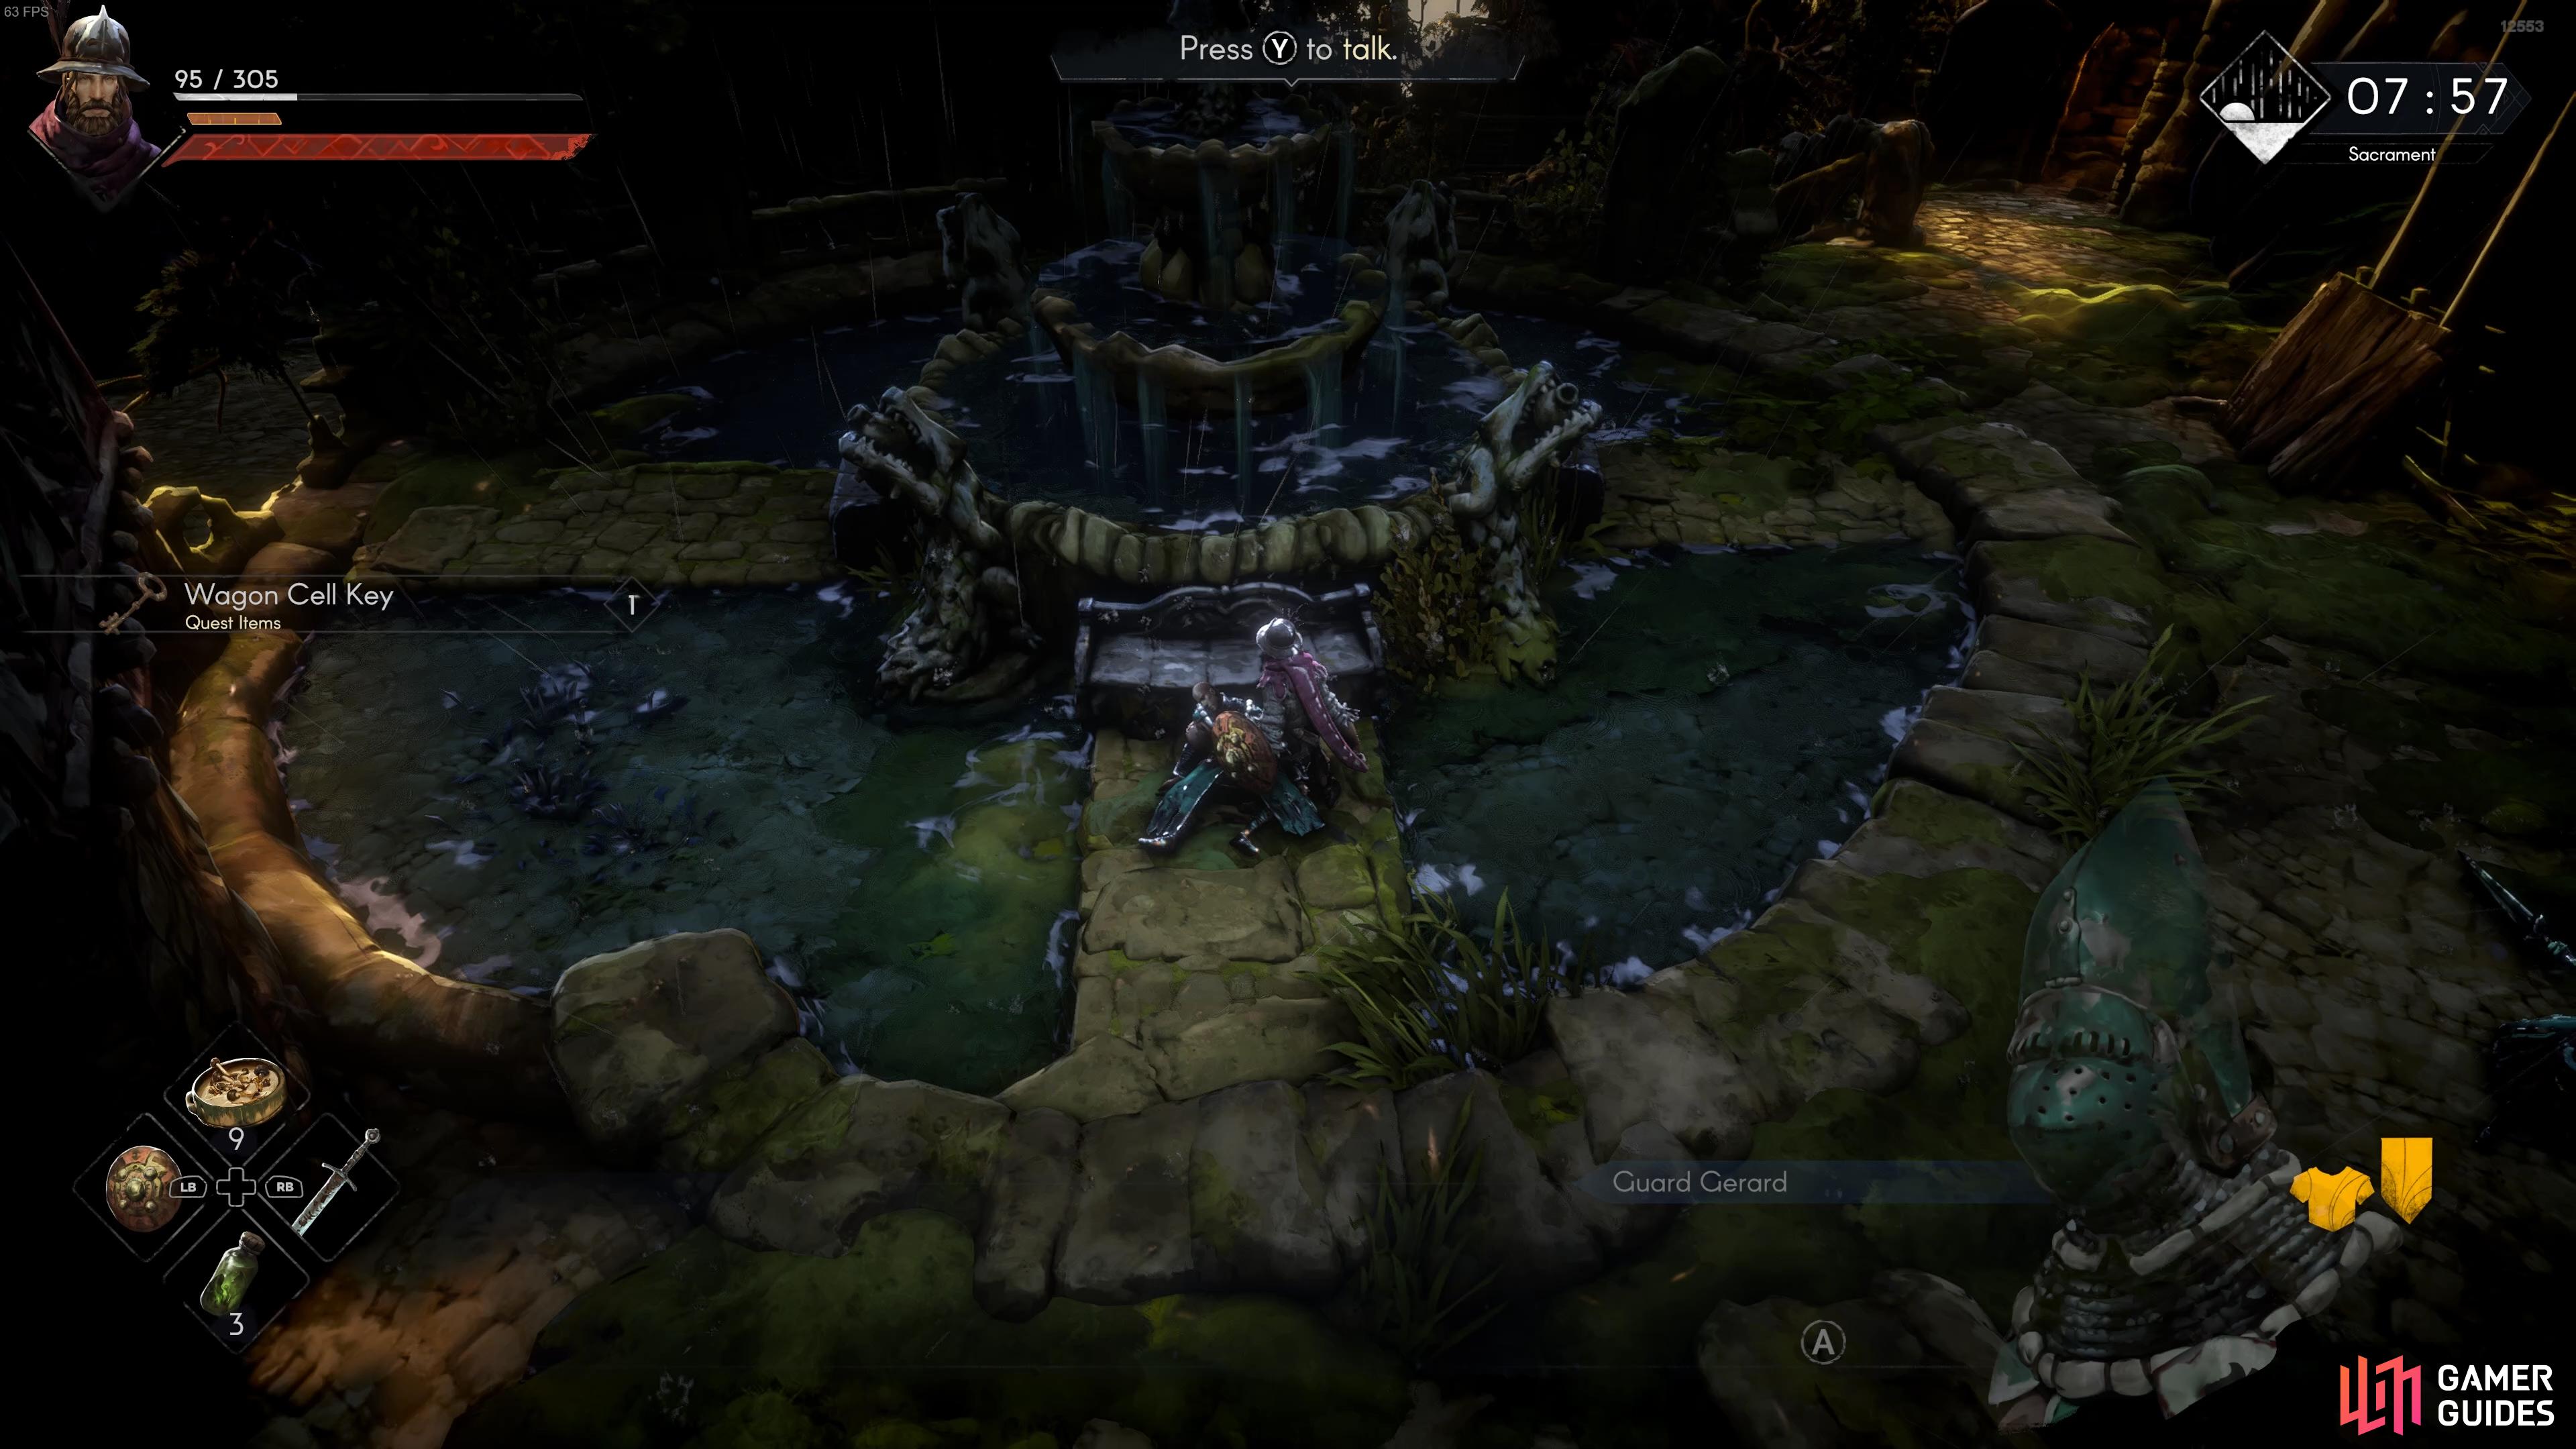
If you want to progress this quest, you need to help Rattigan escape, and to do that you need to find the Wagon Cell Key. You can get a hint about its location by standing next to the guards just to the south of Rattigan. As you approach, they’ll begin a brief dialogue during which you learn that the Wagon Cell Key is being held by a guard who has been drinking by a fountain to the northwest. It’s easy enough to get there, and once you’ve overheard this, the location will be marked on your map.
All you need to do from here is find the guard by the fountain (who will be passed out), then interact with him to loot the key. You can then go back to Rattigan and open the wagon cell. Rattigan will tell you to meet him by the entrance to the sewers to the southwest of Sacrament, which you can do at any time from here on. However, some players have reported that Rattigan only appears at night, so if it’s currently the daytime for you in-game, you may want to wait until then.
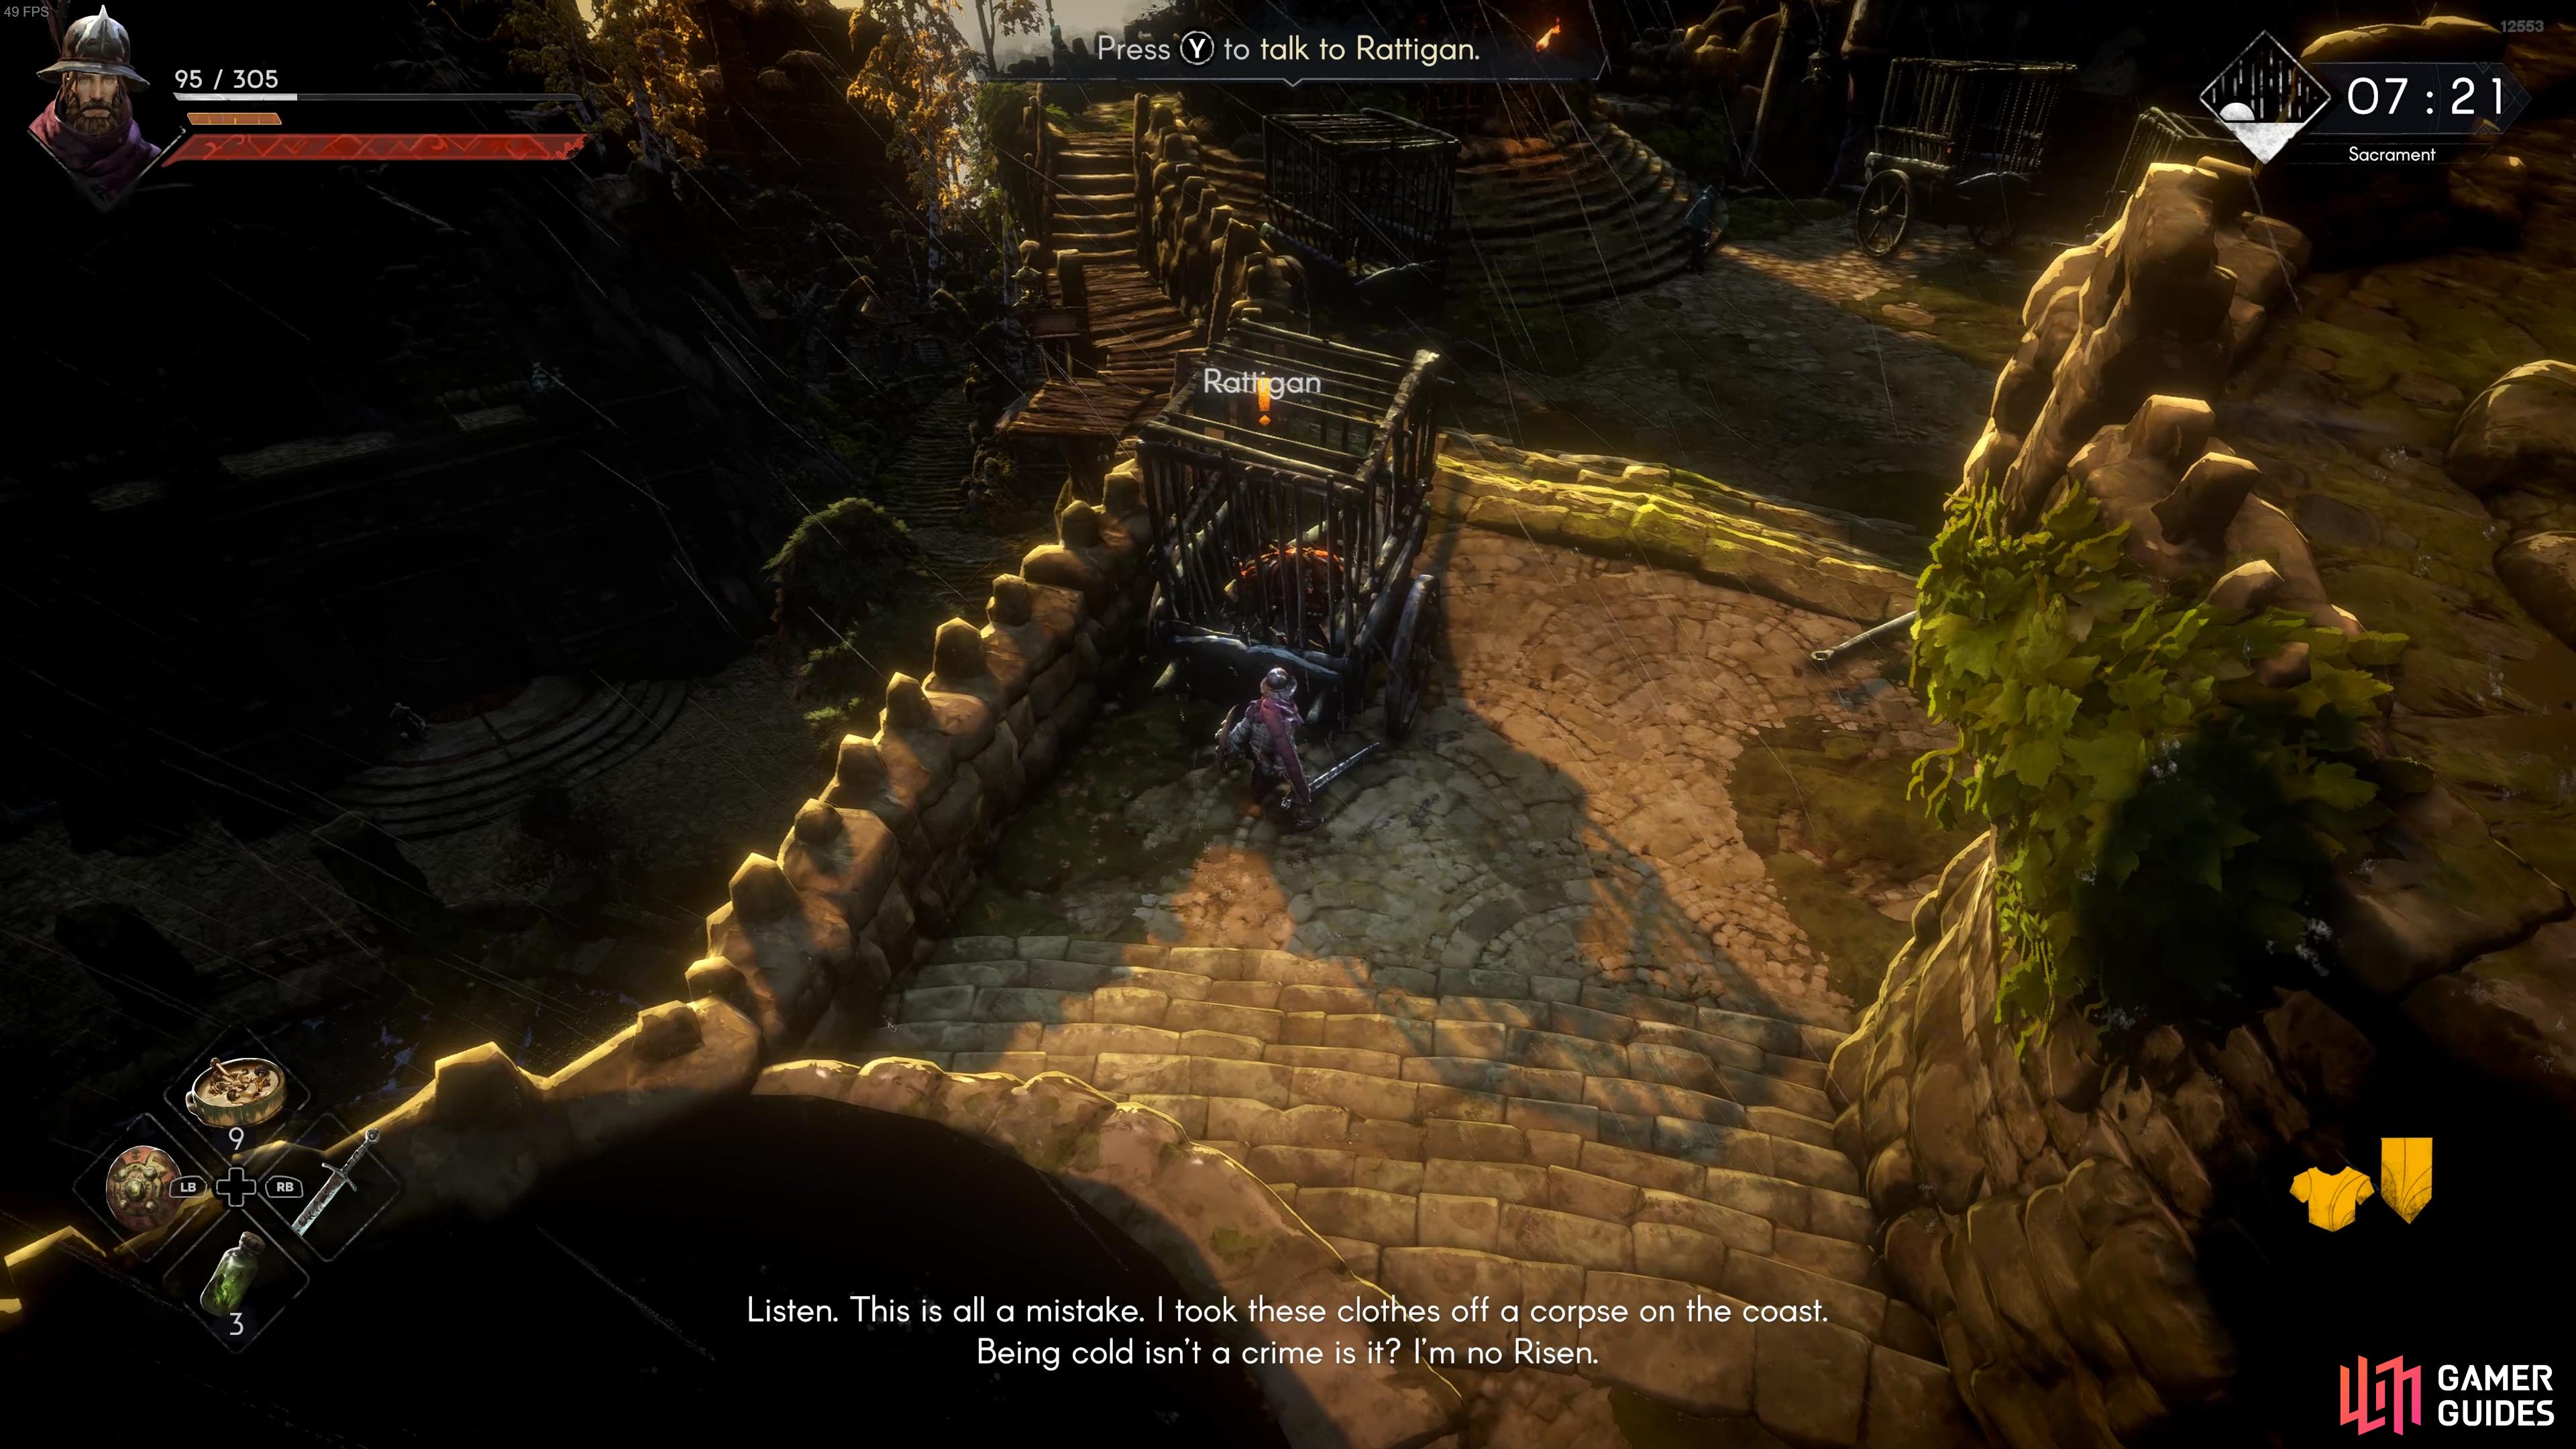
(1 of 2) Speak with Rattigan in the Wagon Cell to learn more about Darak’s location.
Speak with Rattigan in the Wagon Cell to learn more about Darak’s location. (left), You can find the Wagon Cell Key on a guard by the fountain in Sacrament. (right)
Meet Rattigan Outside the Sewers
When you’re ready to continue with the quest, preferably after reaching at least level 8, you can go to the location marked on your map to the southwest of Sacrament, where you’ll find the entrance to the sewers. You need to approach it from the south to trigger a cutscene in which Rattigan will appear and open the sewer gate for you. You can then go inside and begin exploring the sewers.
The Black Trench
As you enter the sewer system, you’ll discover that it’s known as The Black Trench, and that it serves as a hideout for Darak and his forces. To begin, you’ll need to make your way to the northwest, where you’ll soon find a crossbowman on a ledge above, but you won’t be able to reach them unless you have ranged damage. Ignore this enemy and continue northward, then take the steps to the south until you find a respawn point. You should interact with this to act as your go-to return point if you should die in the sewers (which is highly likely unless you’re overpowered).
After interacting with the respawn point, you’ll notice another ledge to the northeast, and what appears to be a broken bridge that once led to it. This bridge isn’t actually broken, but instead it extends outward once you activate the nearby lever to the south. The problem is, you can’t use this lever until you find the Sewer Lever Handle, which will become the main task of your exploration in the sewers for now.
Sewer Lever Handle Location
Now that you have a clear objective in the sewers, the task becomes finding the Sewer Lever Handle so that you can progress over the bridge. Sounds easy enough, right? Well, it becomes more difficult when you consider the number of enemies that you’ll need to cut through to get there, alongside a bit of platforming. There are several more levers that you need to activate along the way, but we’ll explain where to find them all below.
To start, make your way down the stairs from the respawn point, then head north through the green mist in the depths. You need to reach the northernmost point of this level to find the Drainage Cellars Key, and you’ll be fighting a few infected sewer rats along the way. You’ll also find a humanoid and some leeches down here, and although you don’t have to kill them to progress, it’s worth doing for the XP progression. If you kill everything in the sewers, you can gain a decent number of levels while you’re here.
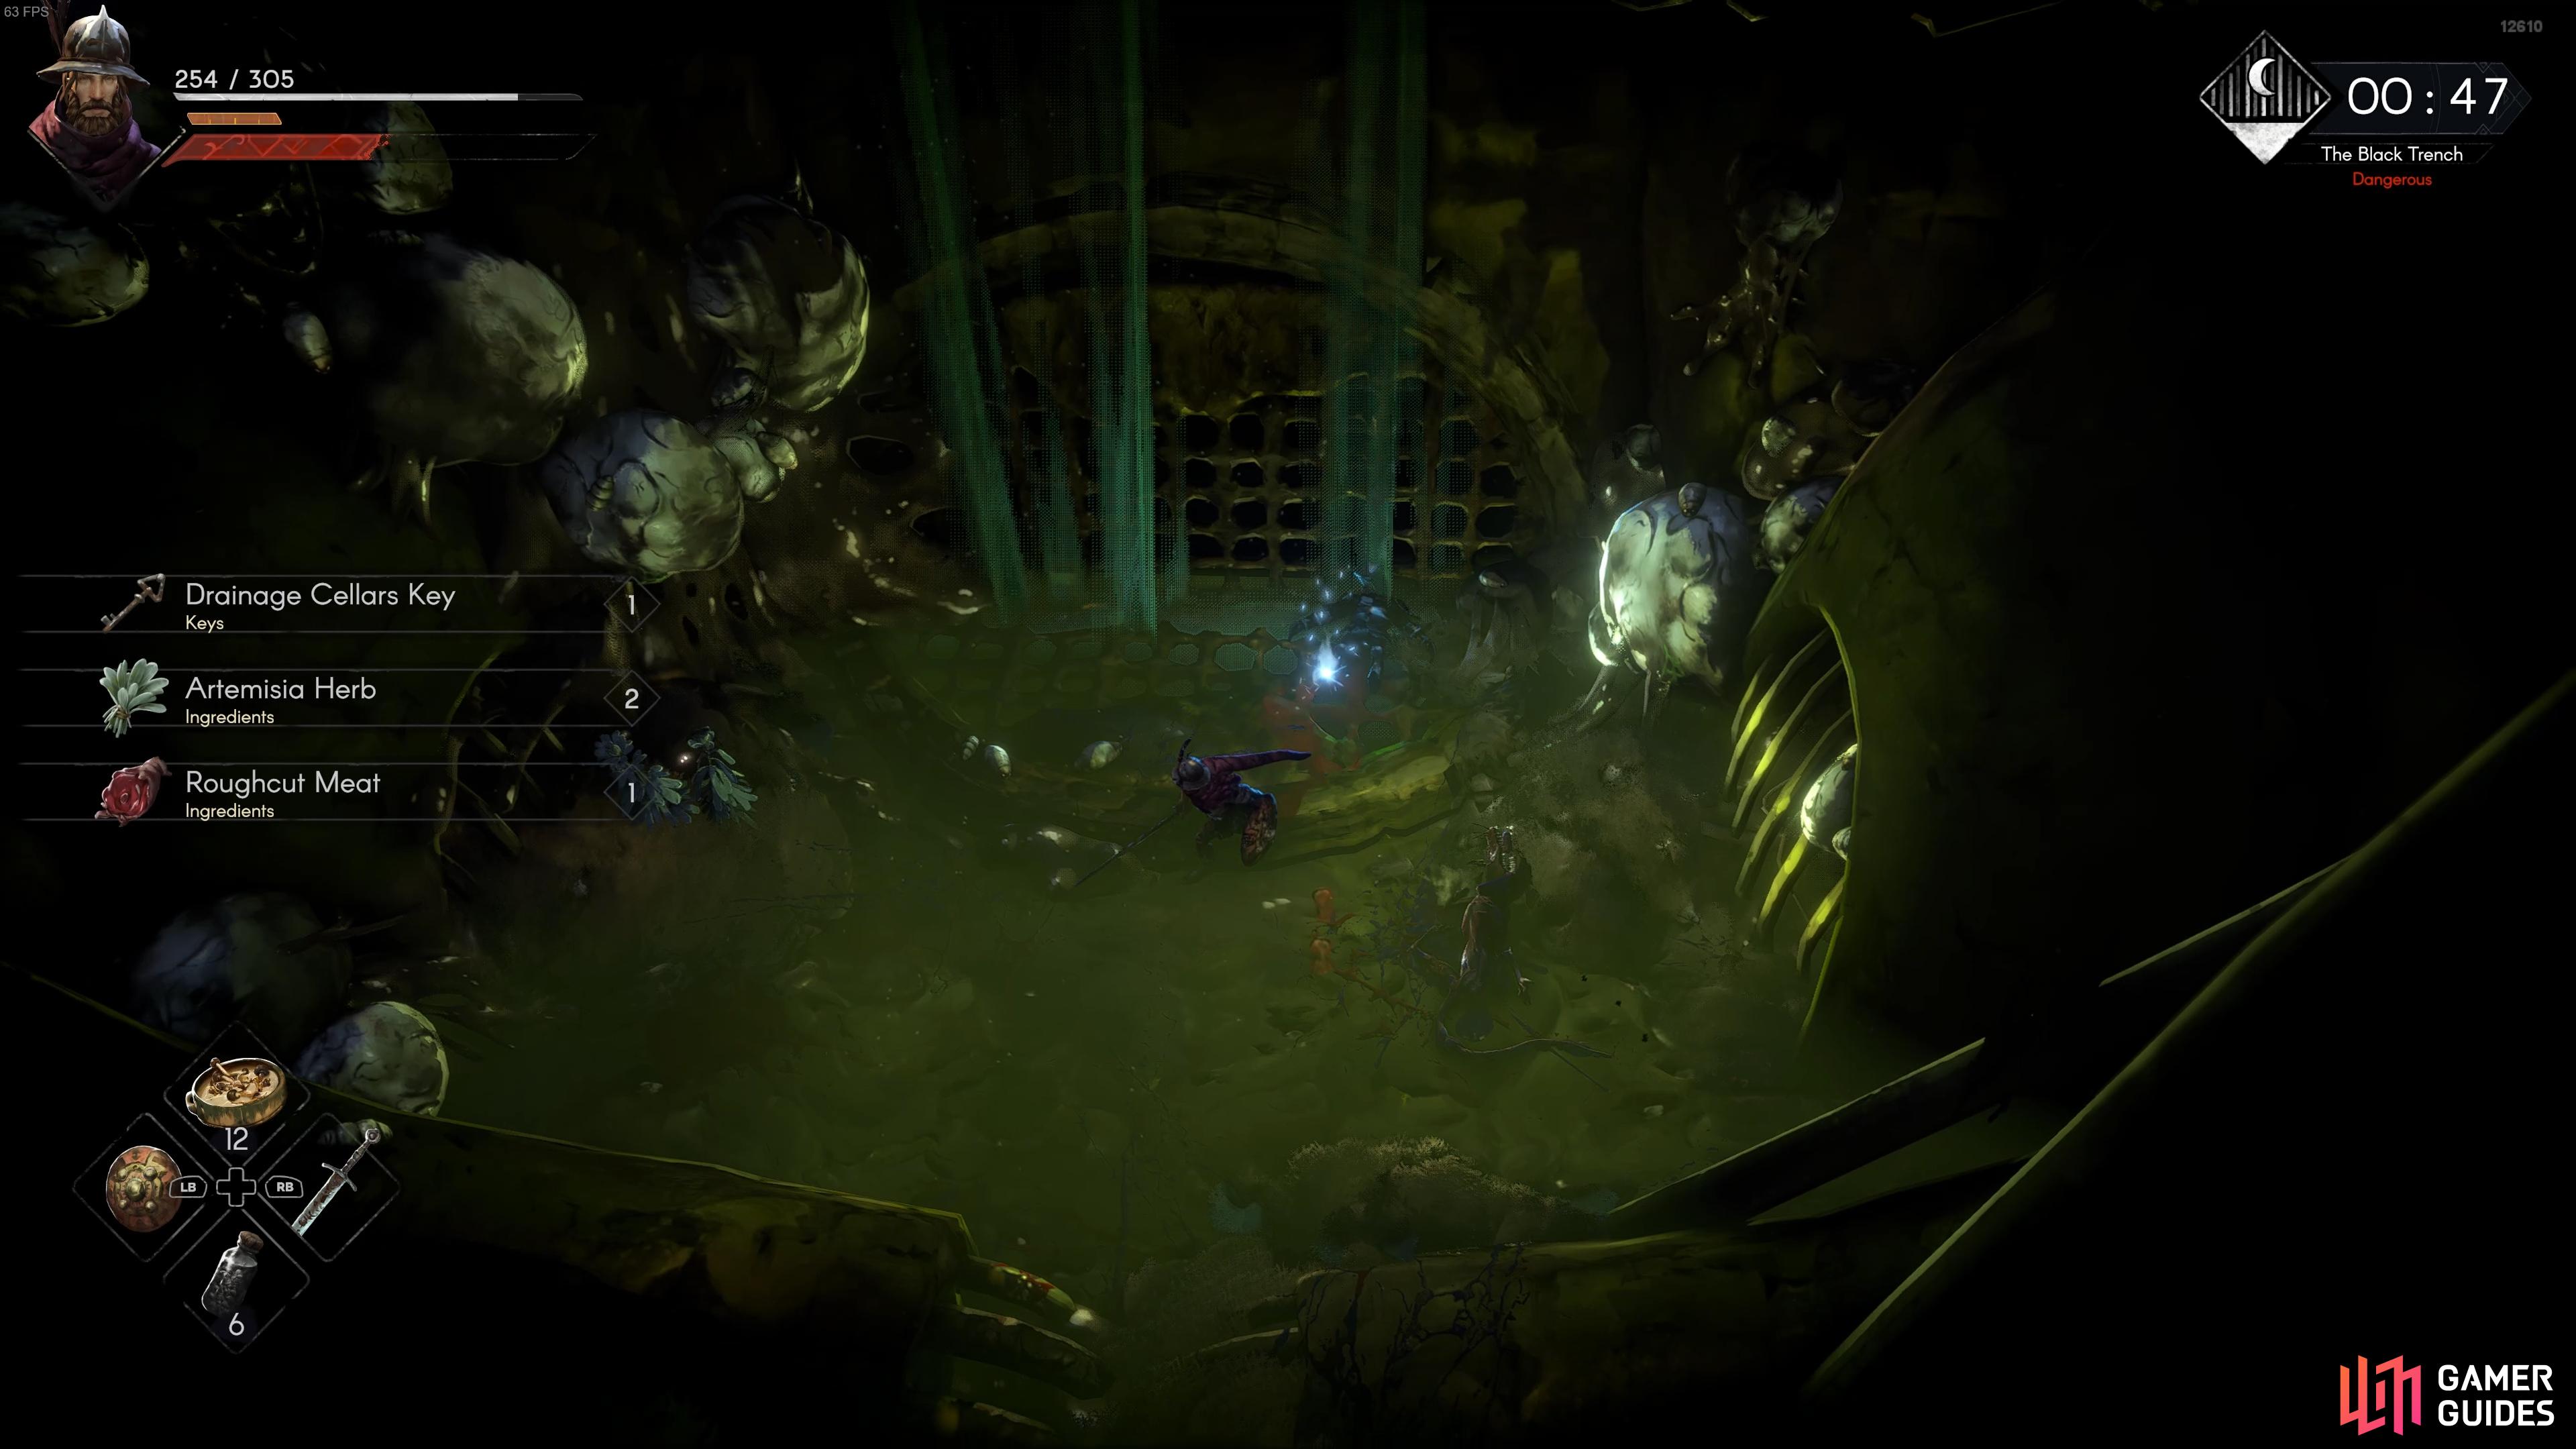
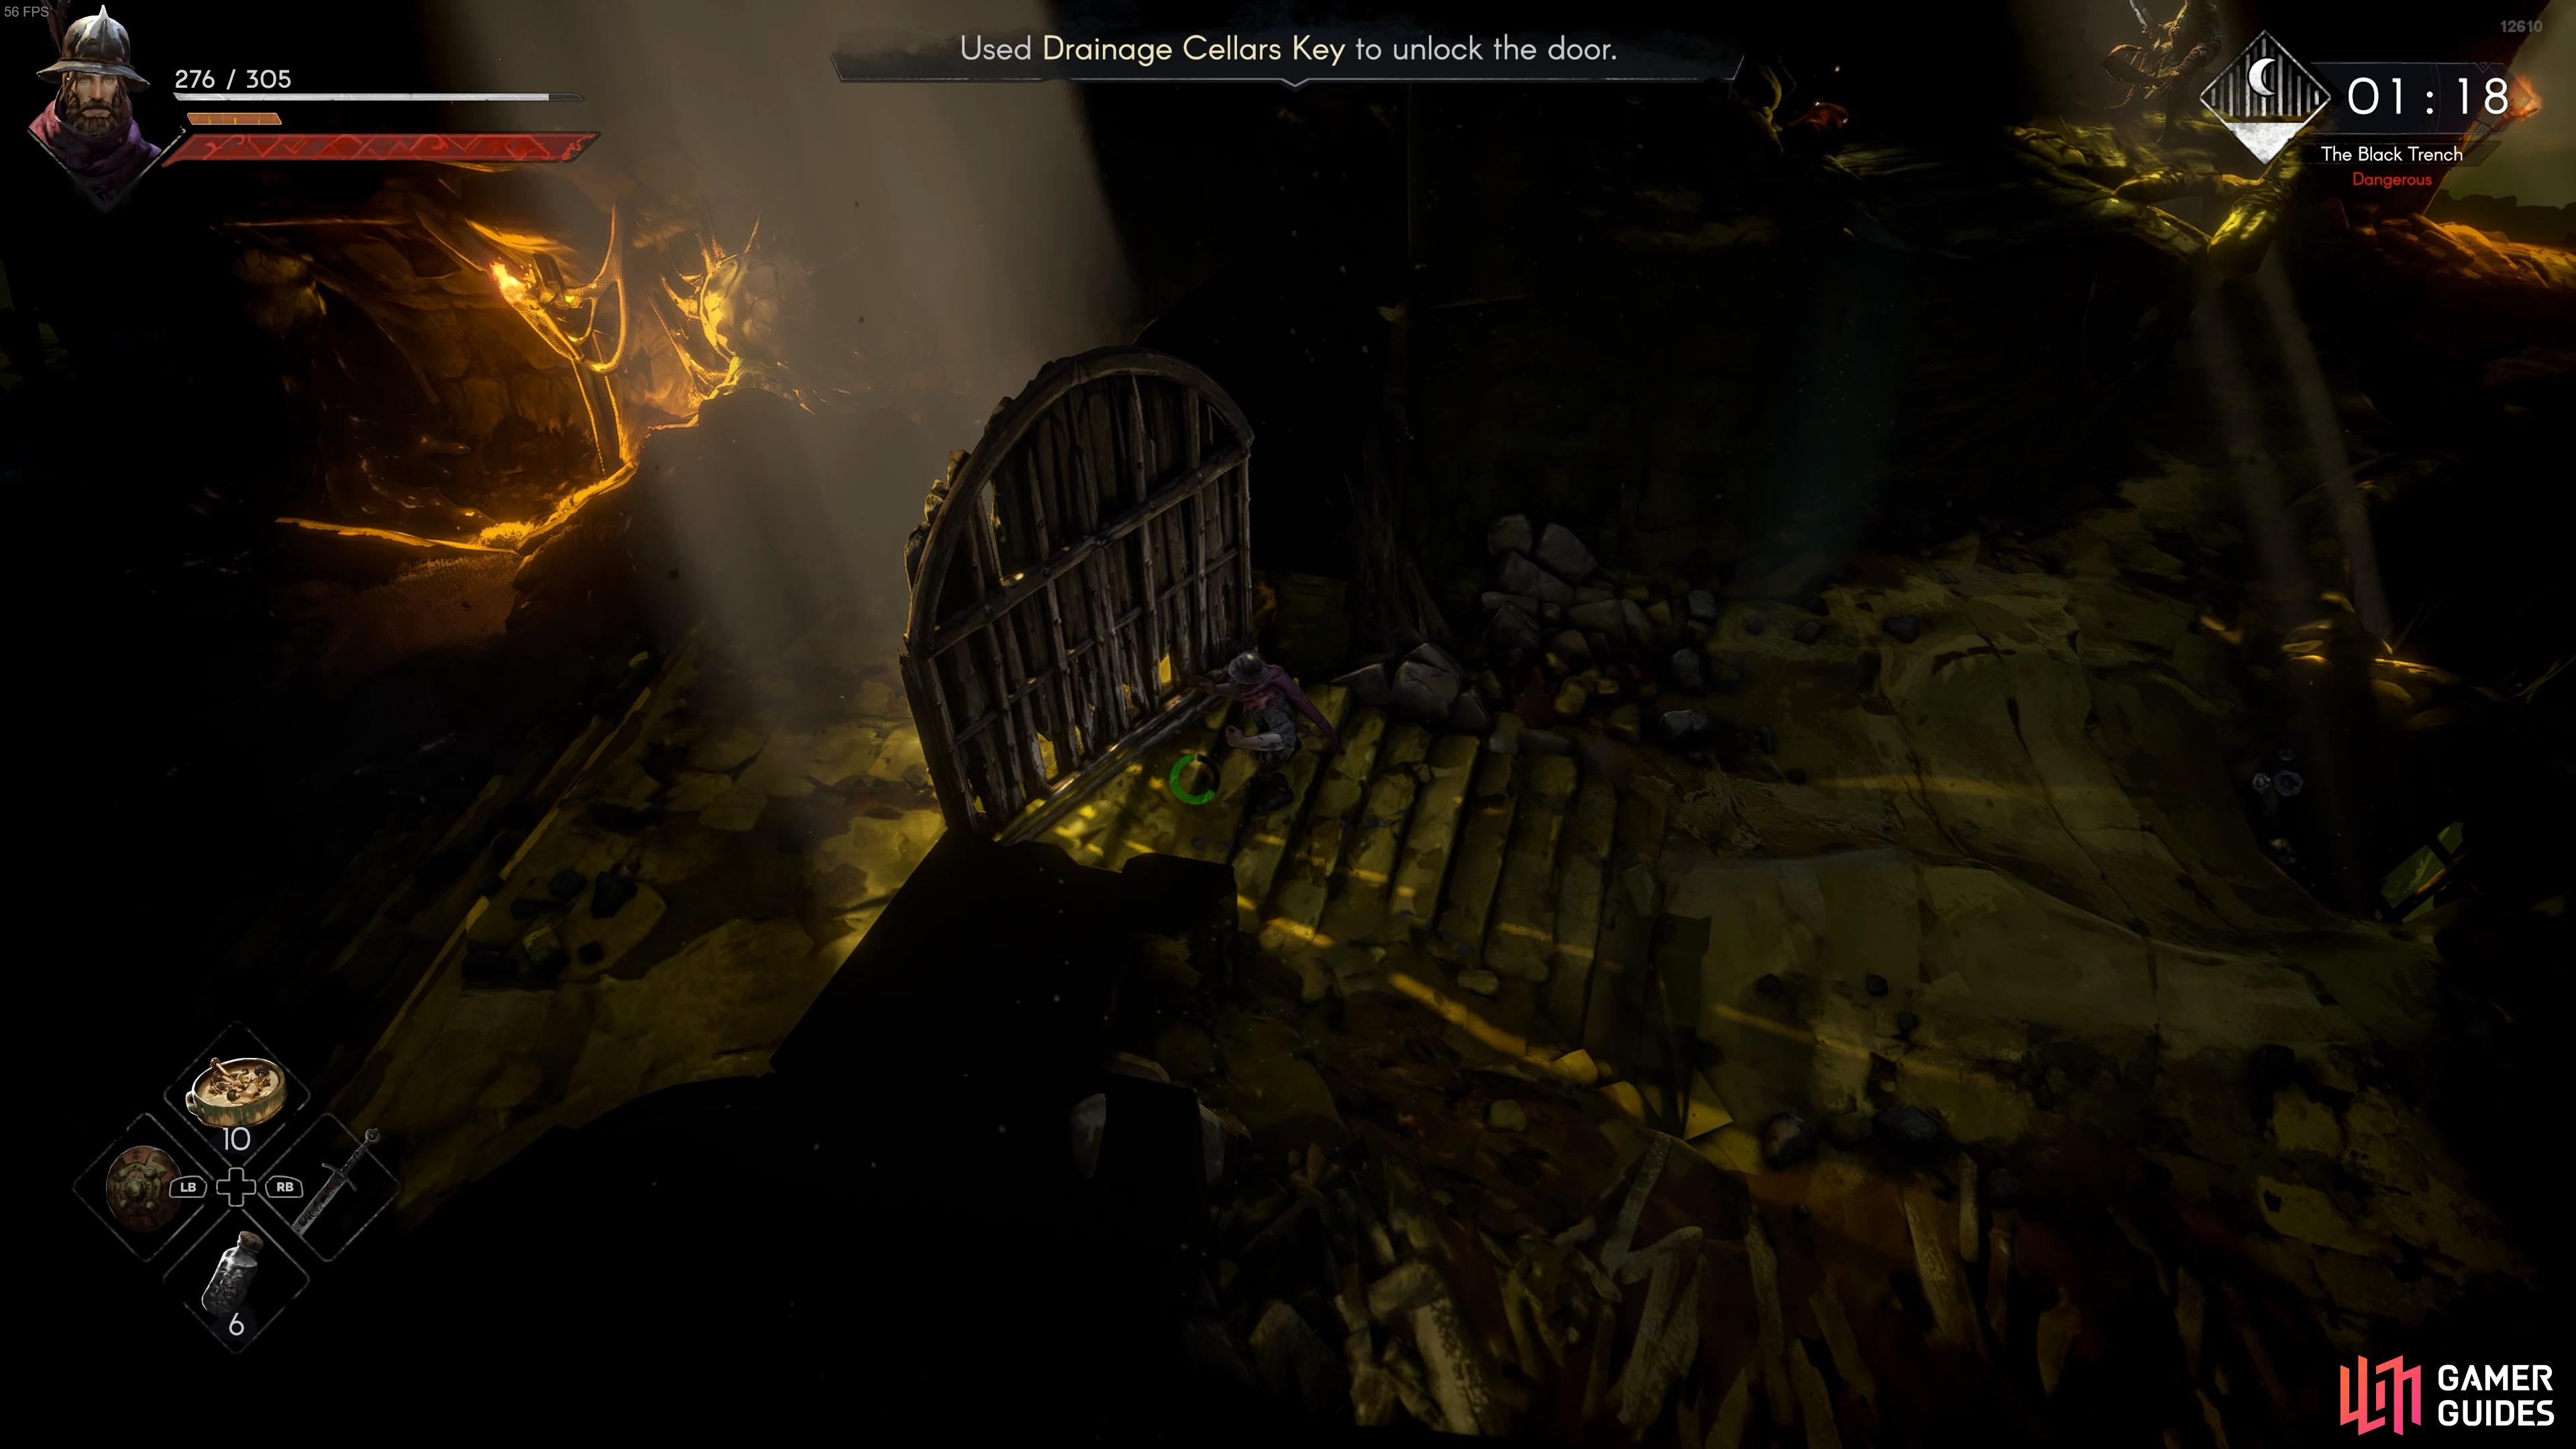
(1 of 2) Loot the Drainage Cellars Key from the northernmost part of the first chamber.
Loot the Drainage Cellars Key from the northernmost part of the first chamber. (left), Use the key to go through the door in the southwest of the room. (right)
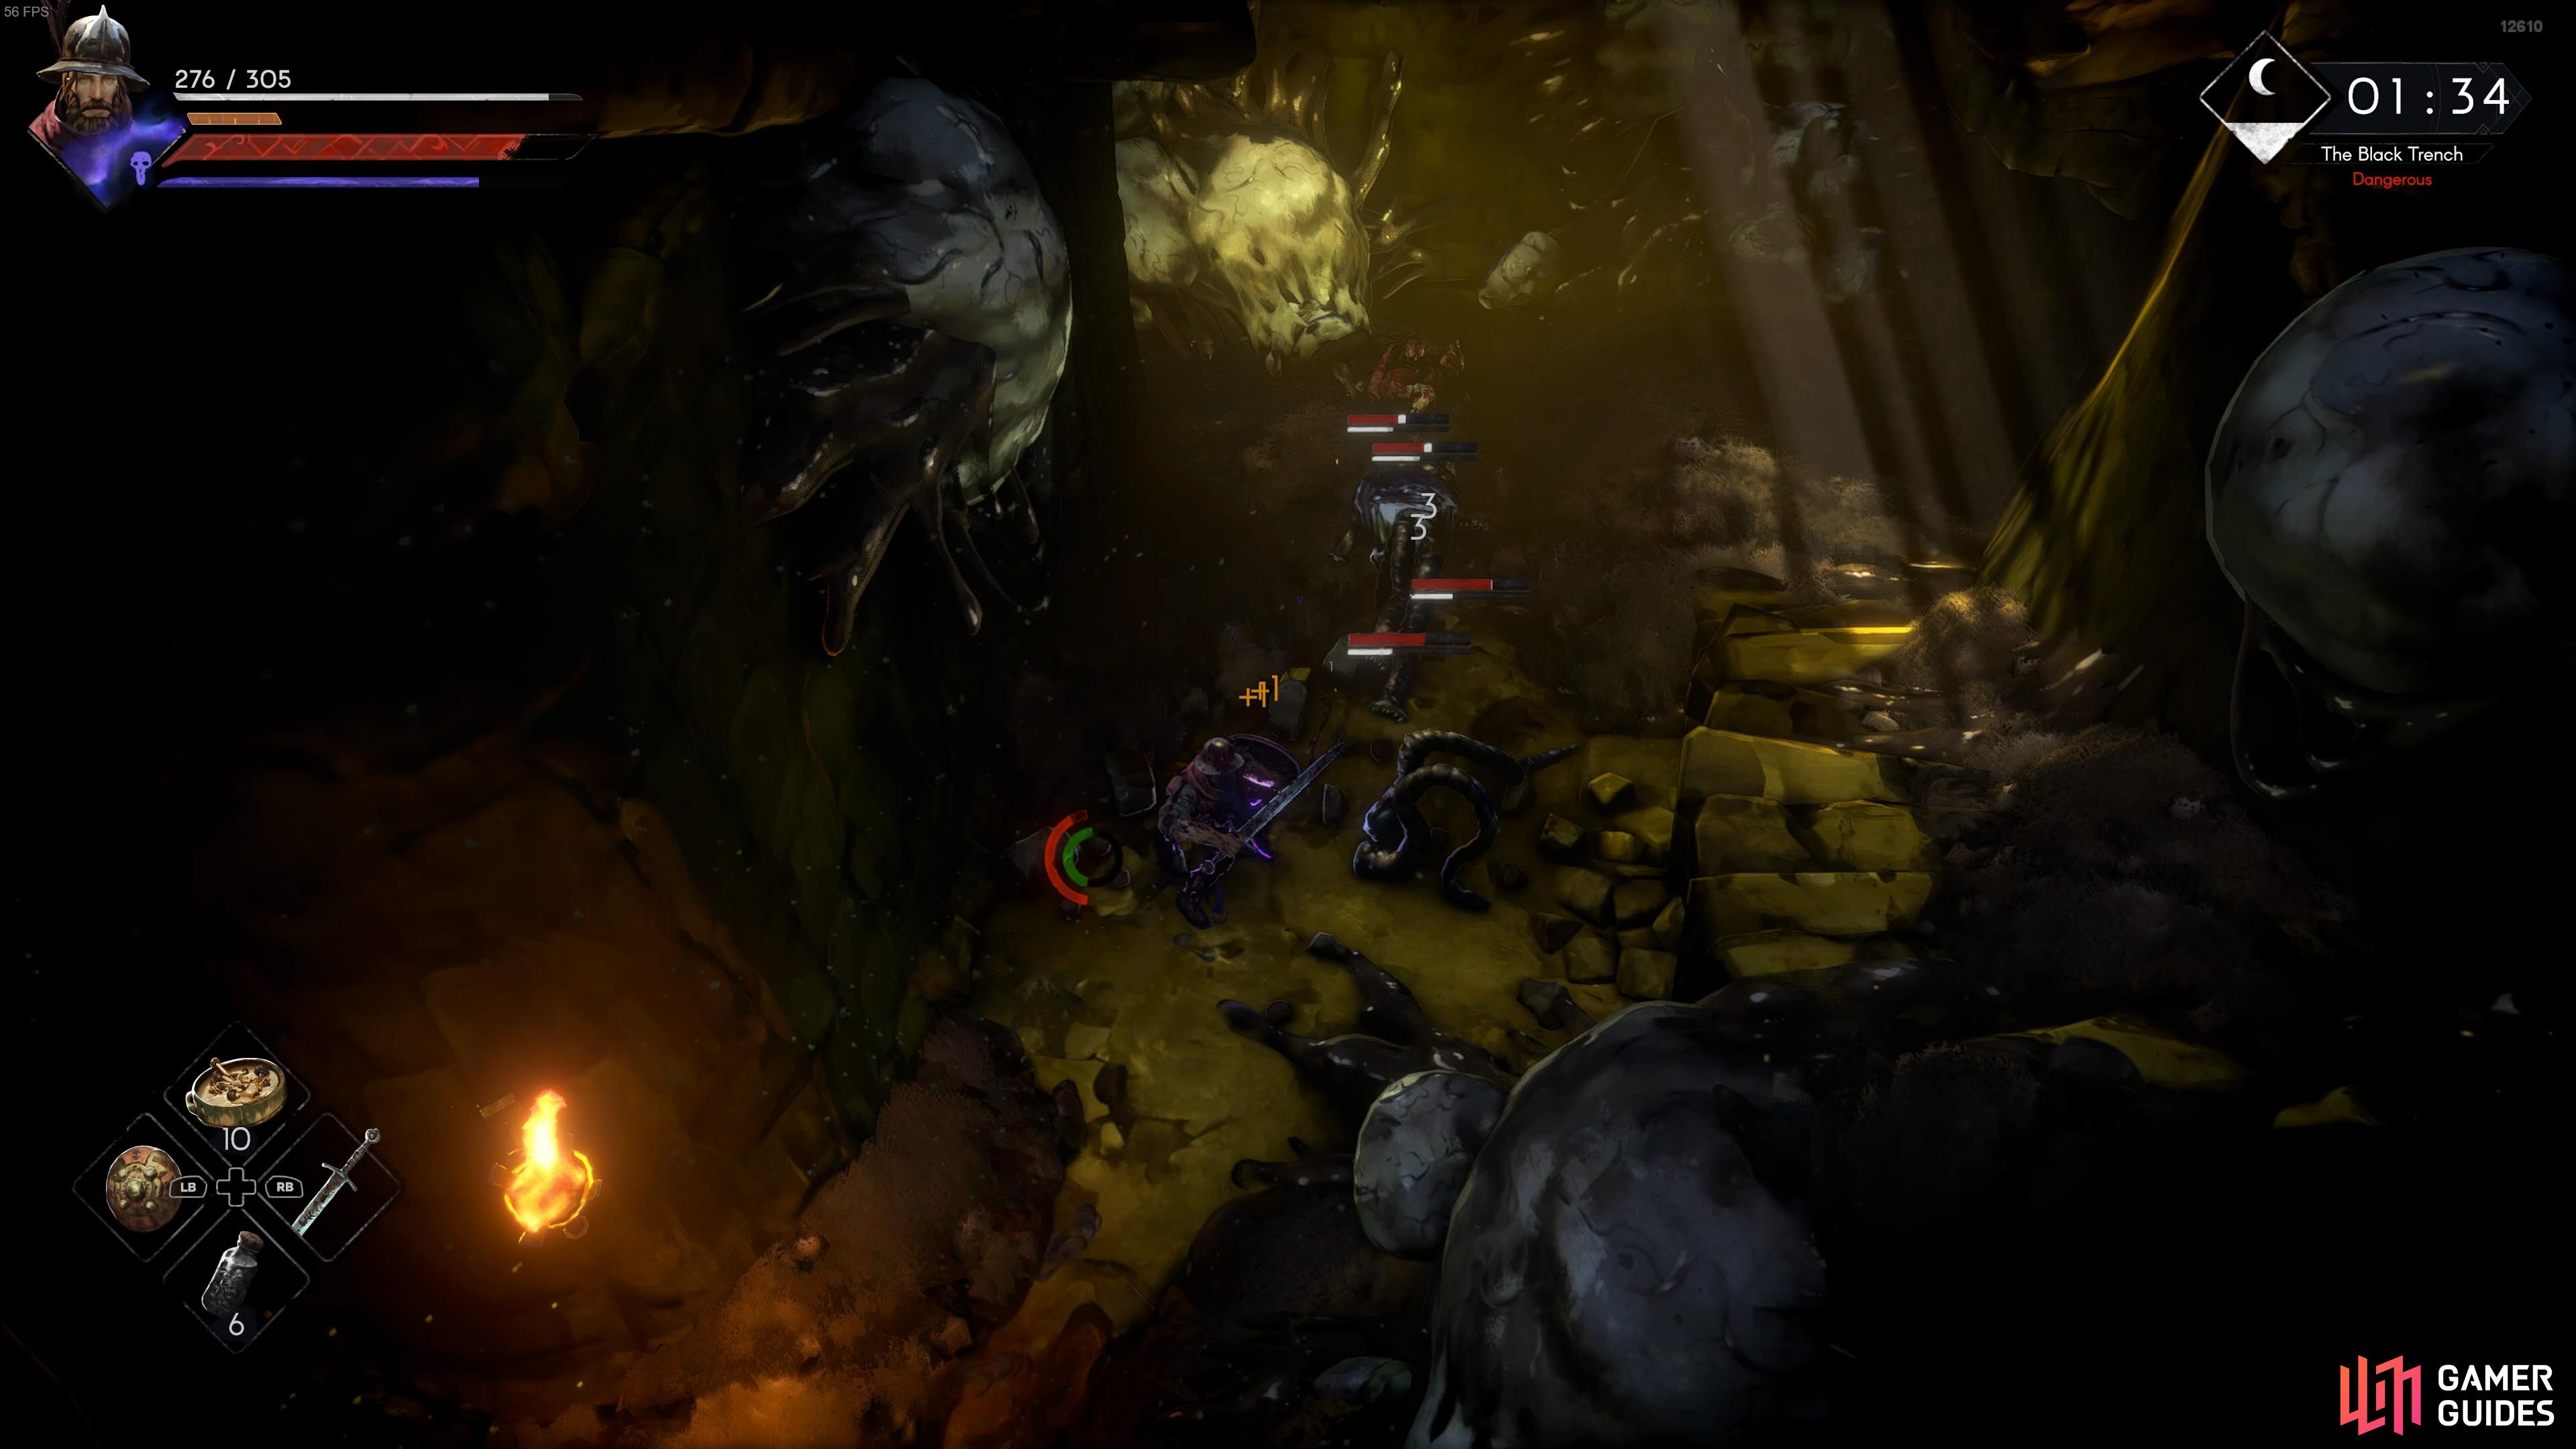
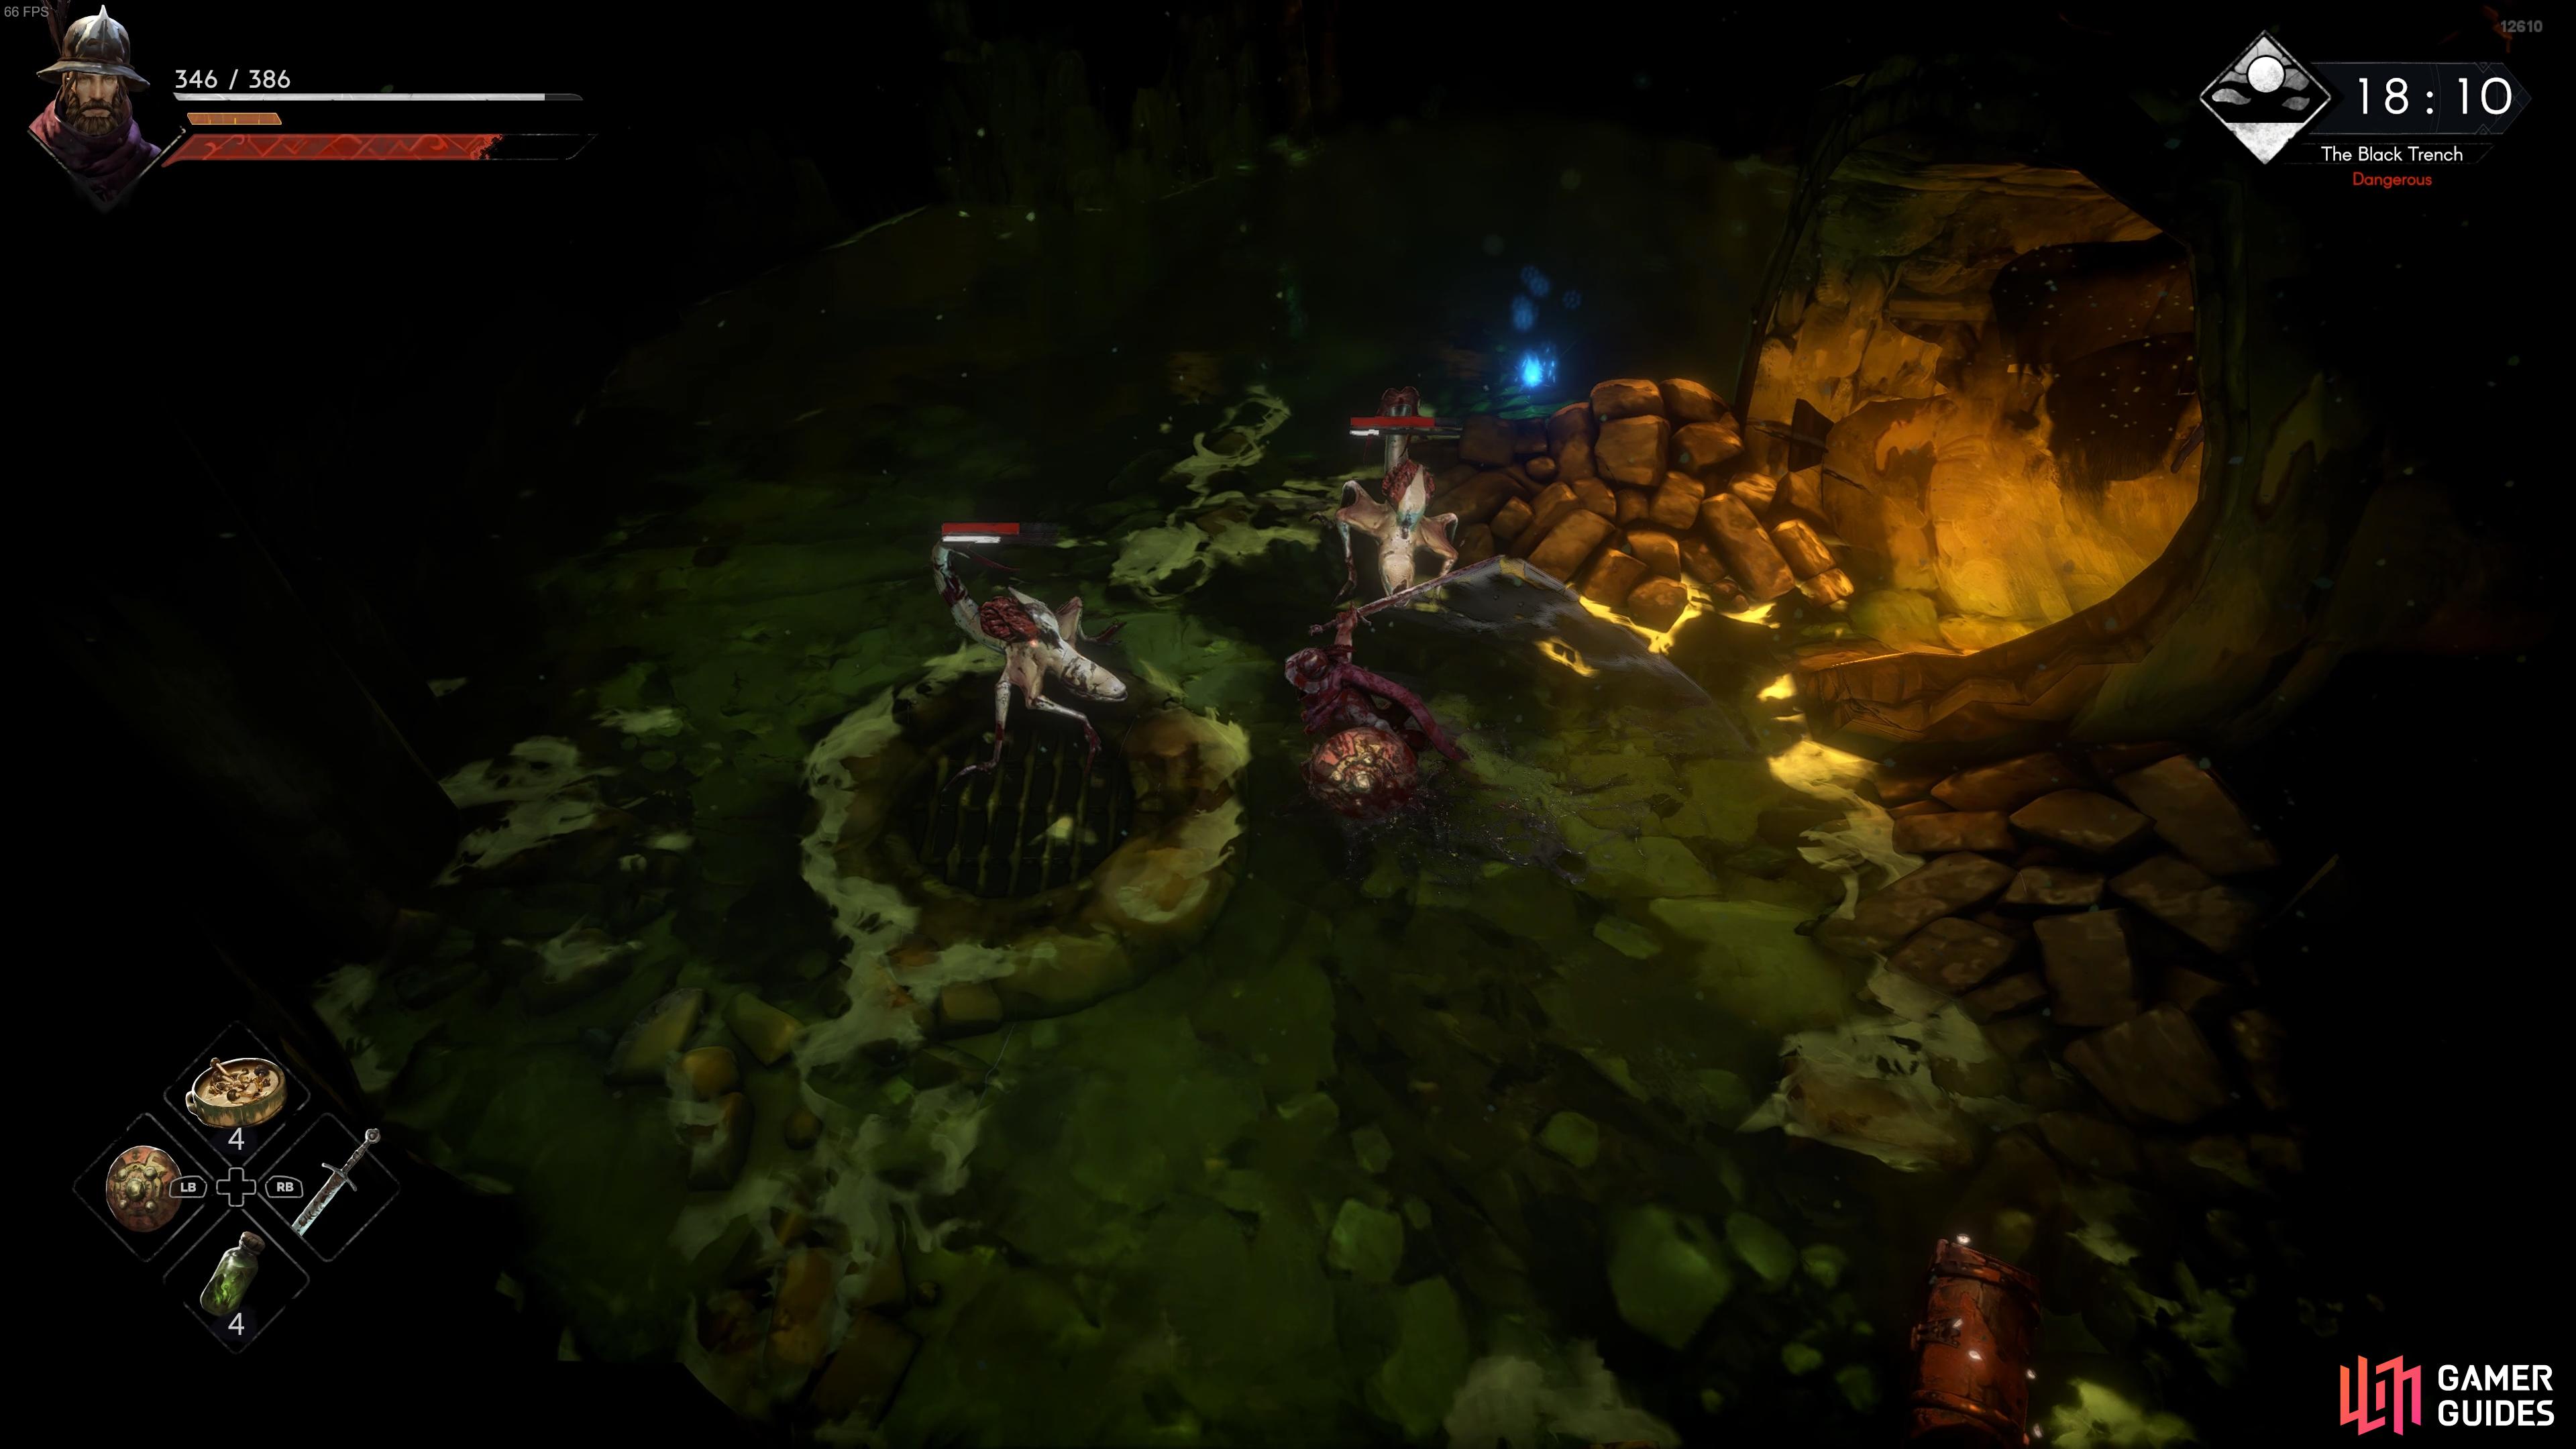
Once you have the Drainage Cellars Key, go back up the stairs and make your way to the westernmost point on the level where you entered the sewers from. You’ll find the drainage cellars gate here, just below where the crossbowman is on the ledge. From this point on, you’ll be facing some significantly tougher enemies in the form of plague abominations. There are two main types: humanoids with far-reaching tentacles which explode when they’re killed, and albino rat/lizard hybrids which multiply into smaller forms when they’re killed.
Both of these new enemy types are deadly. They hit hard and the fight is rarely over after killing them, so you need to be ready to avoid the explosion from the humanoids after hitting the killing blow, and be ready for a continuous fight as the rat/lizard hybrids multiply. Patience, potions, and well-timed attacks/dodges will be your friends here. It may be a tough learning curve, but if you observe the enemies and adjust to their attack patterns, you’ll soon get the hang of it.
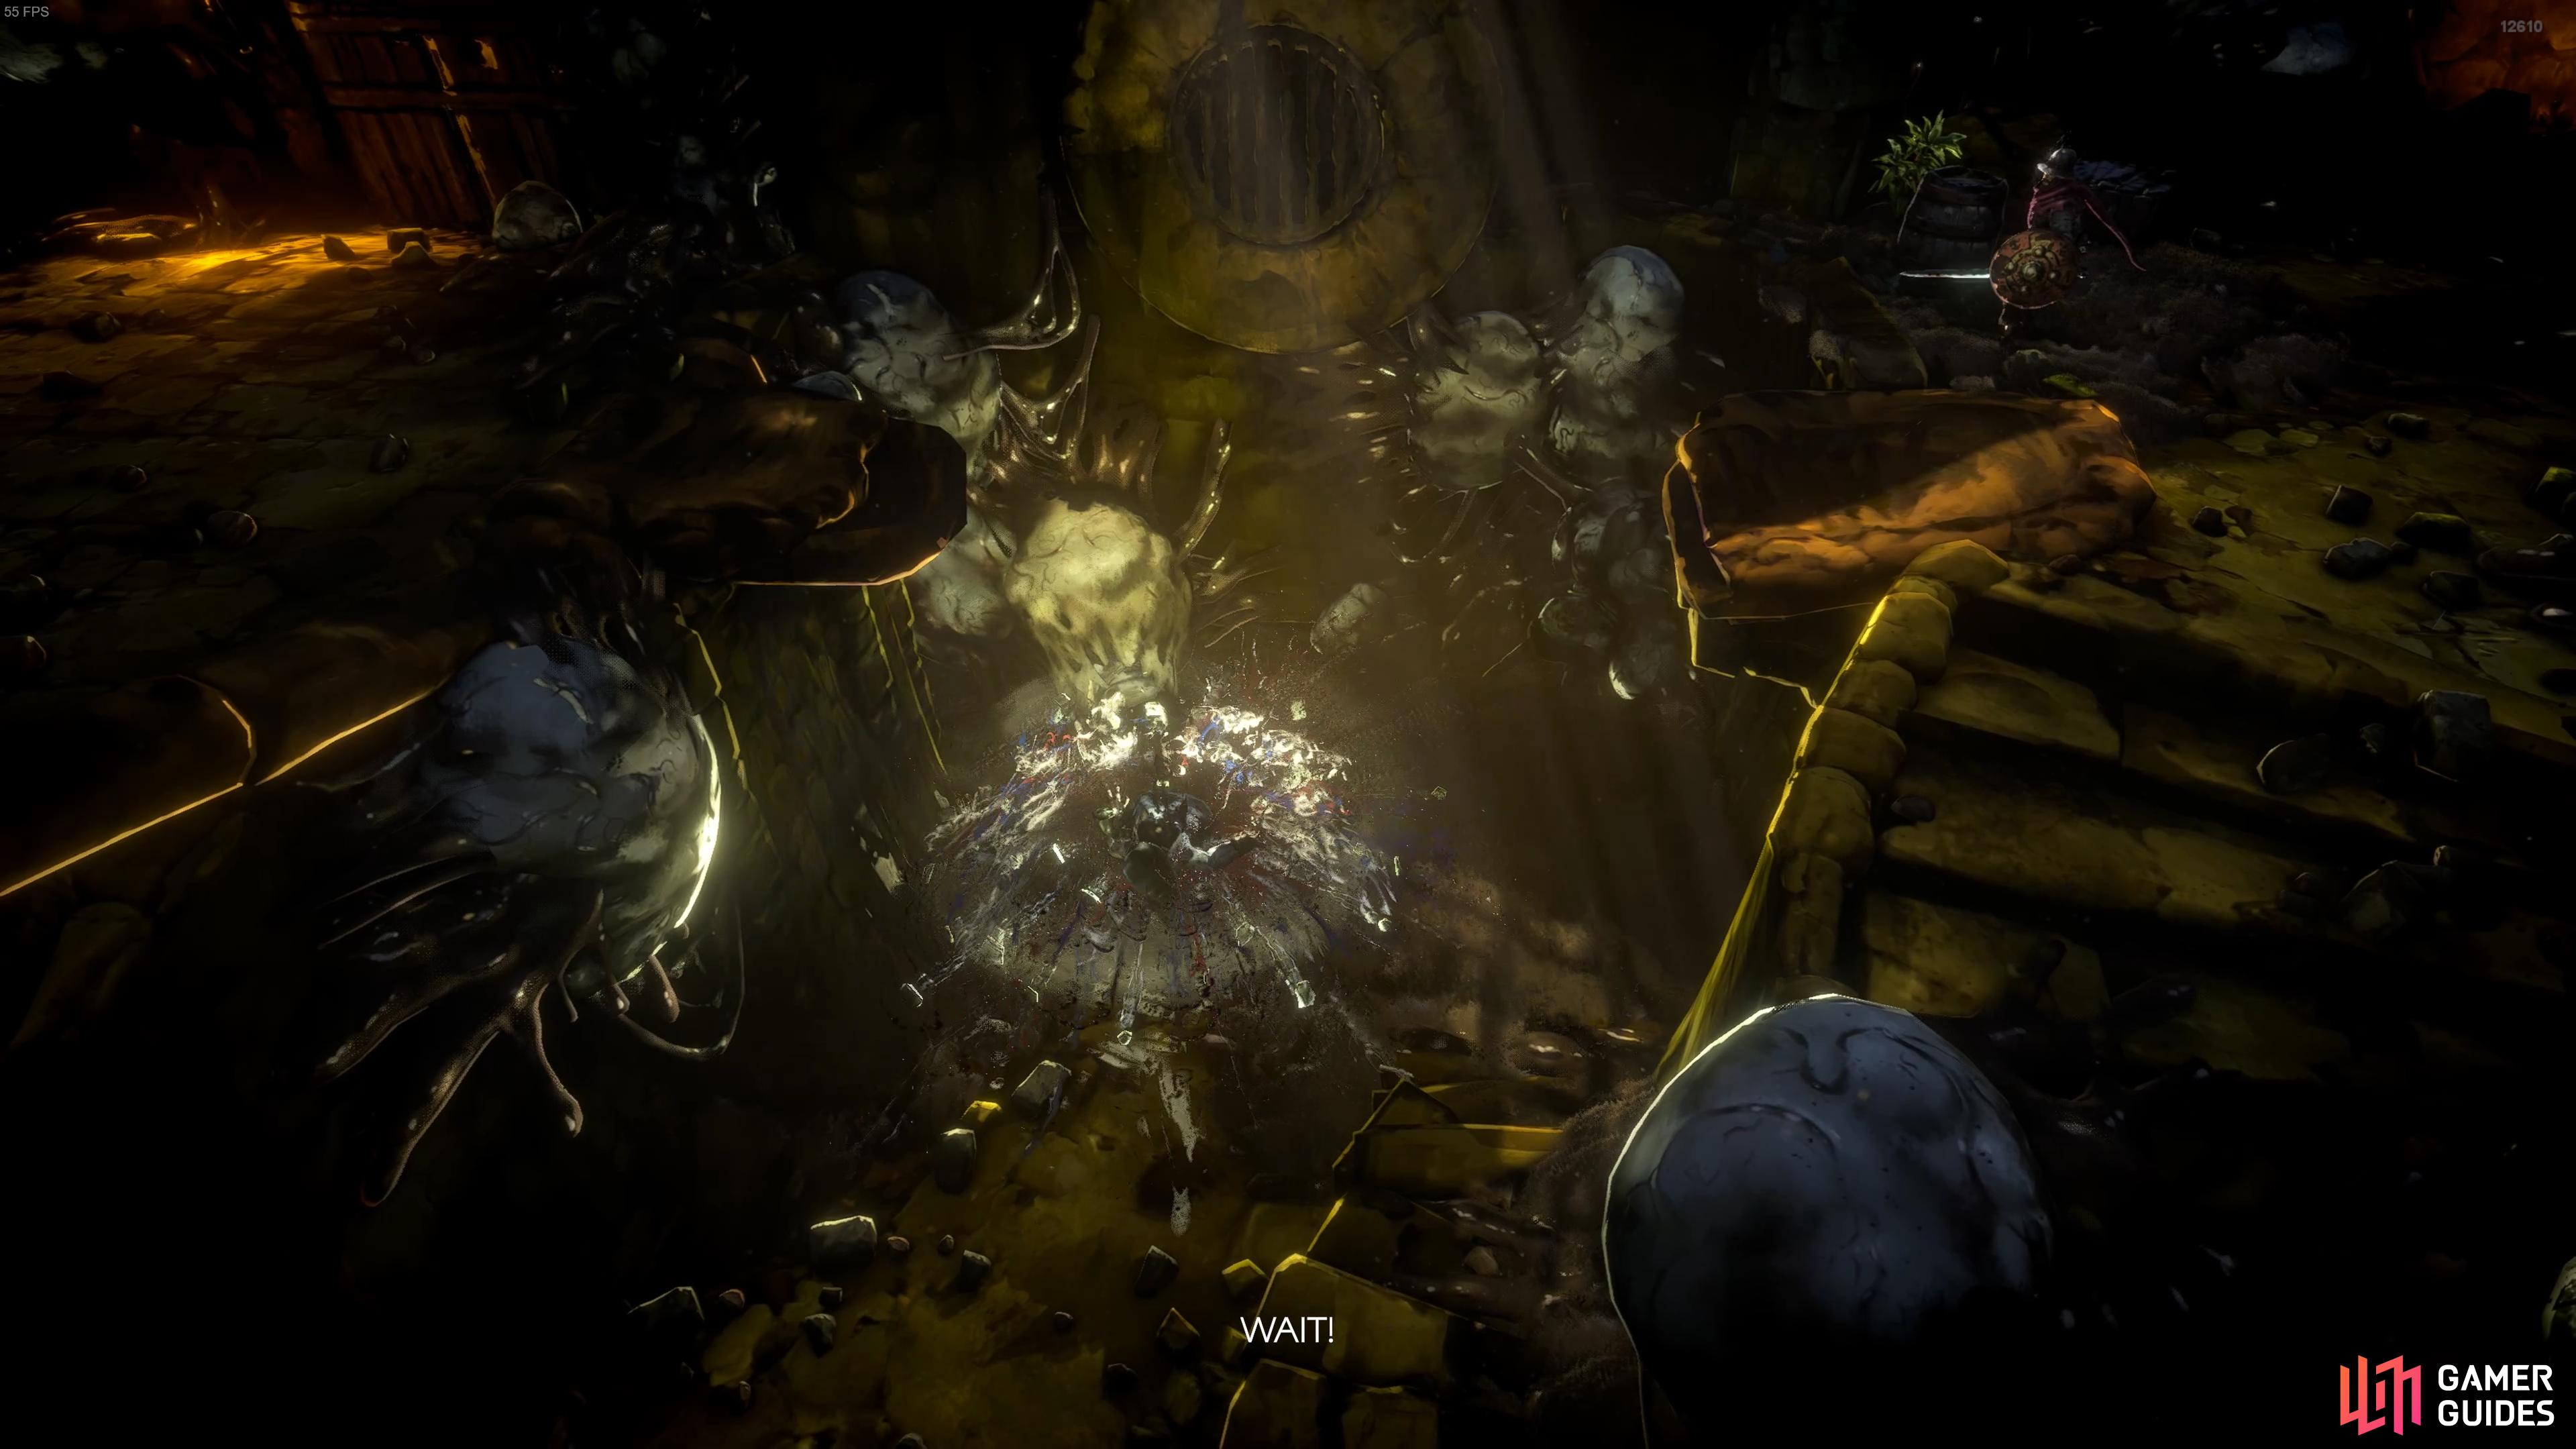
(1 of 2) The infected humanoids will explode when you kill them.
The infected humanoids will explode when you kill them. (left), You’ll have to deal with leeches which emerge from the exploded corpse. (right)
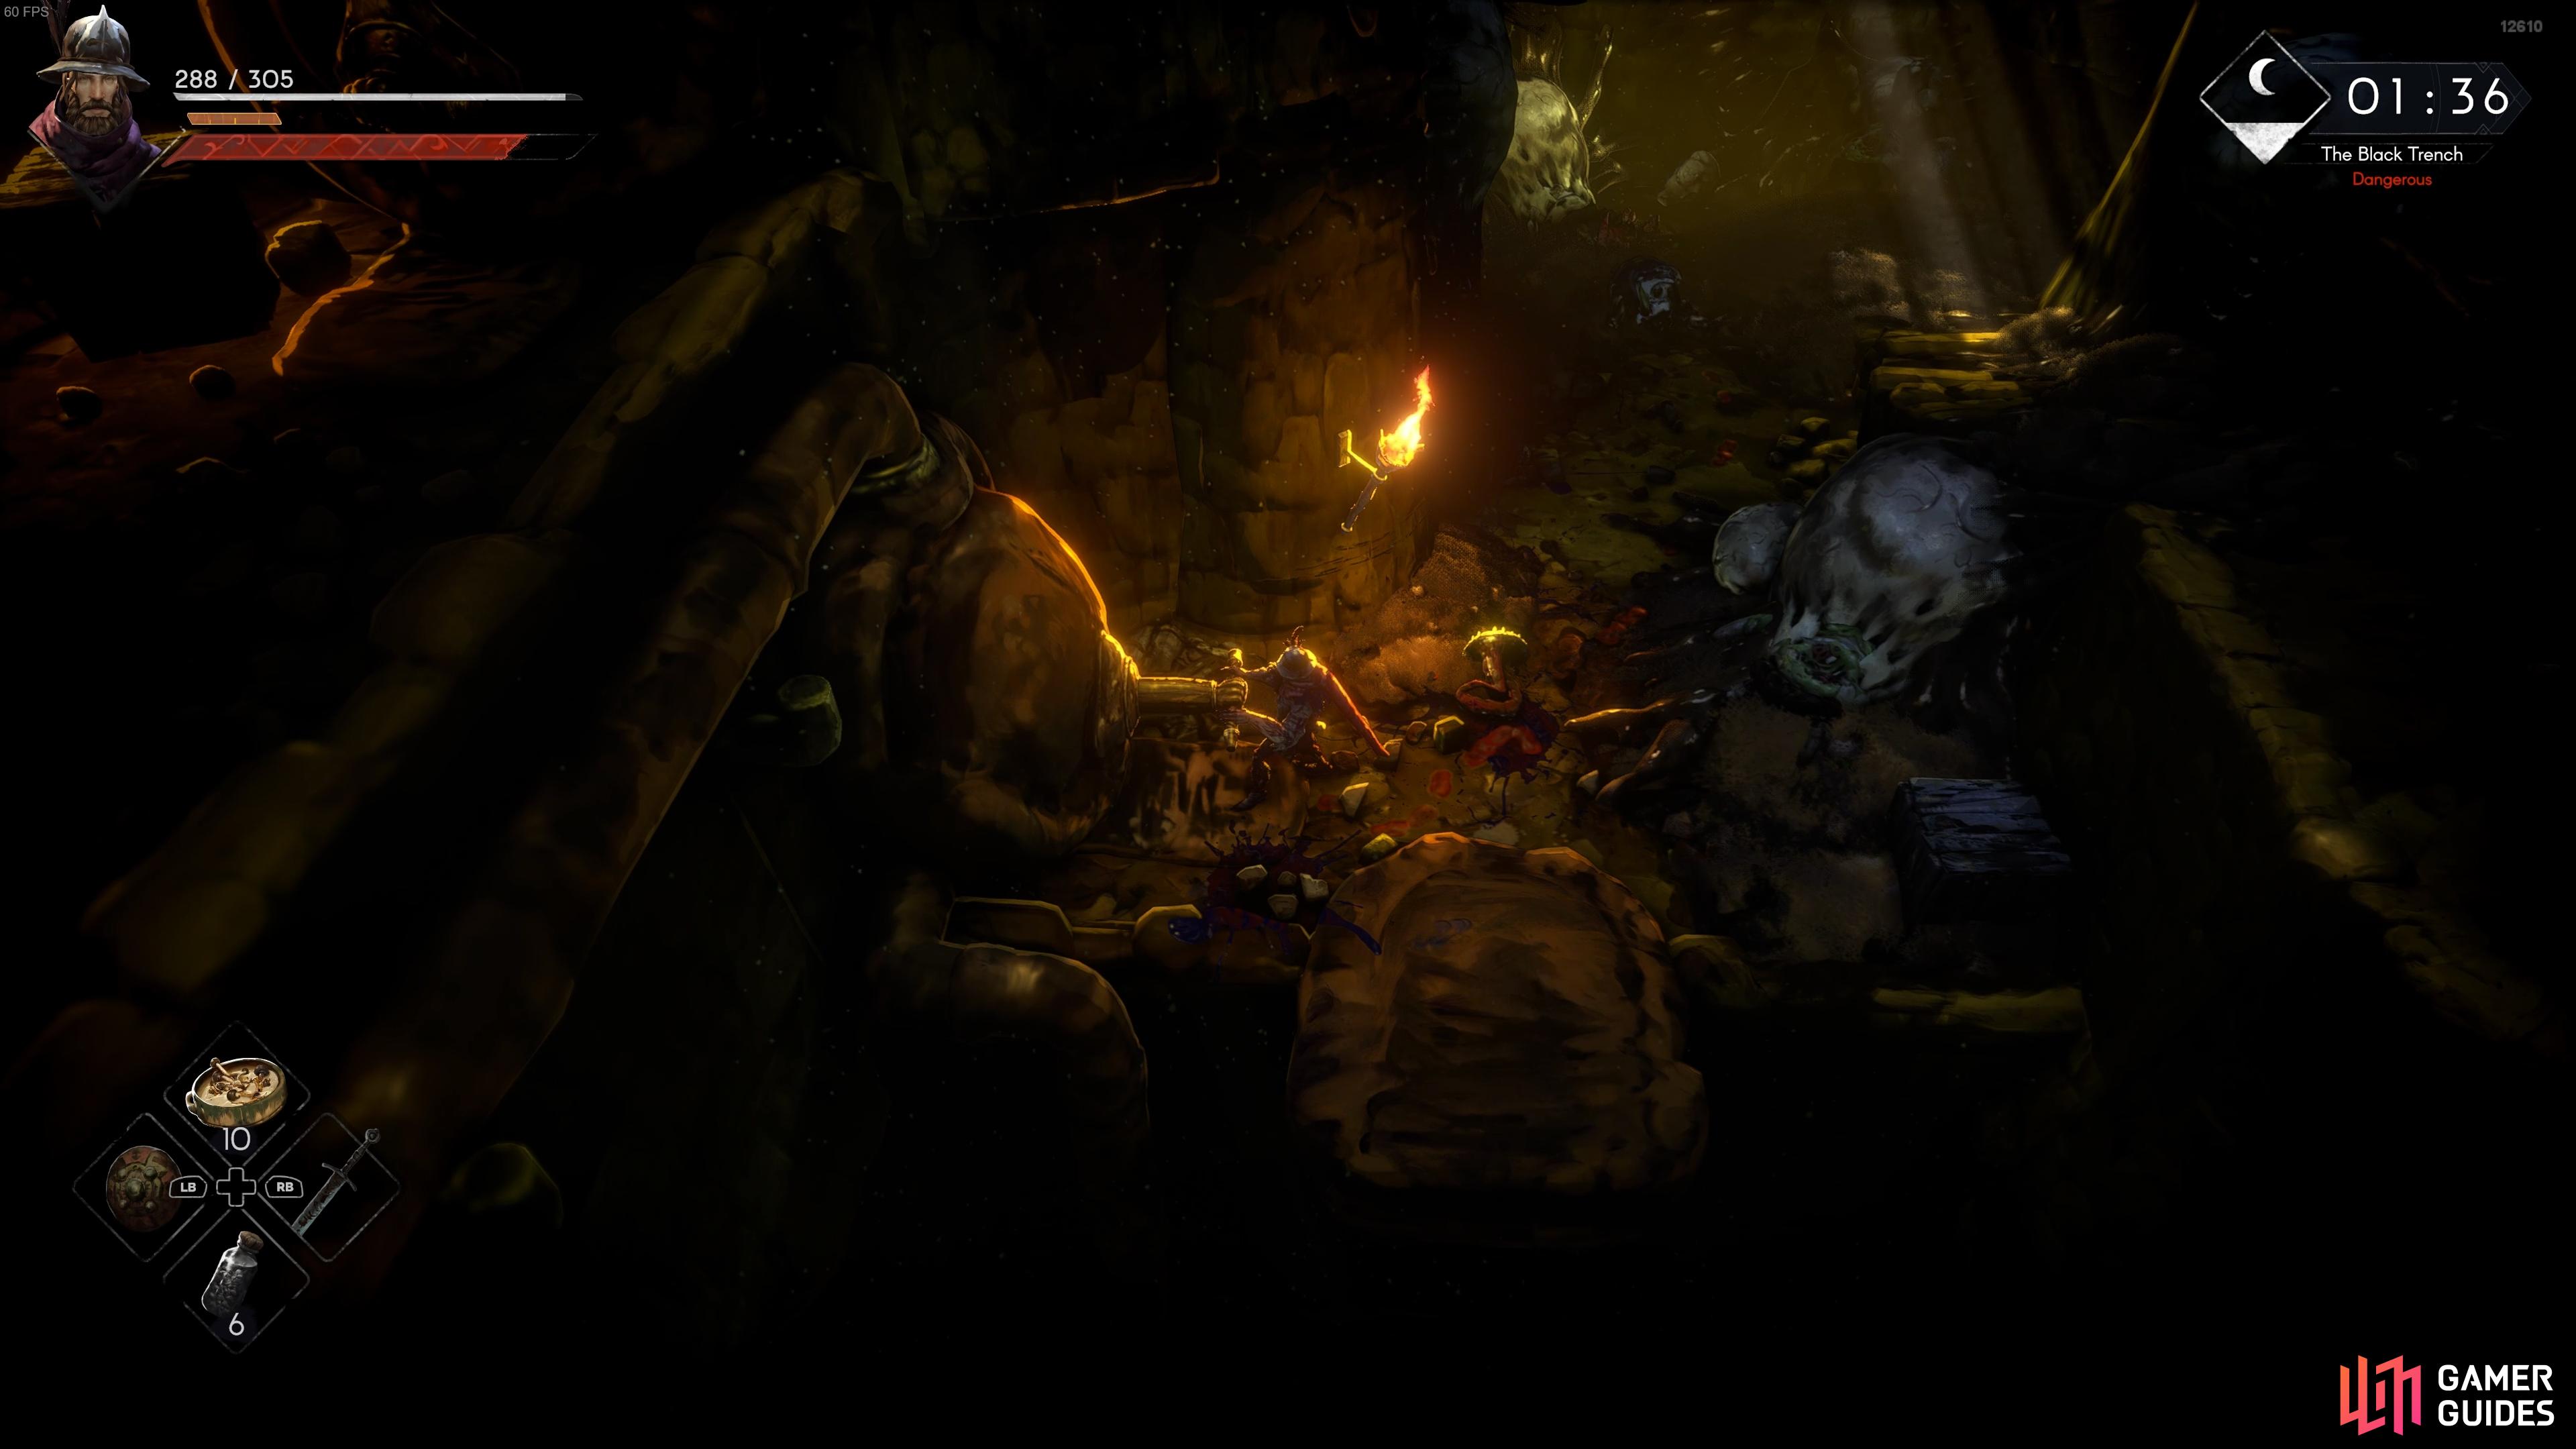
Once you’ve dealt with the enemies in the first room, go to the lever on the western side and interact with it to extend the bridge to the south, then walk over and deal with the enemies on this side. You’ll find a lot more structural elements here which you can use to kite the enemies around if you’re in a pinch, and they’re perfect for regenerating stamina or giving yourself some time to use a healing item.
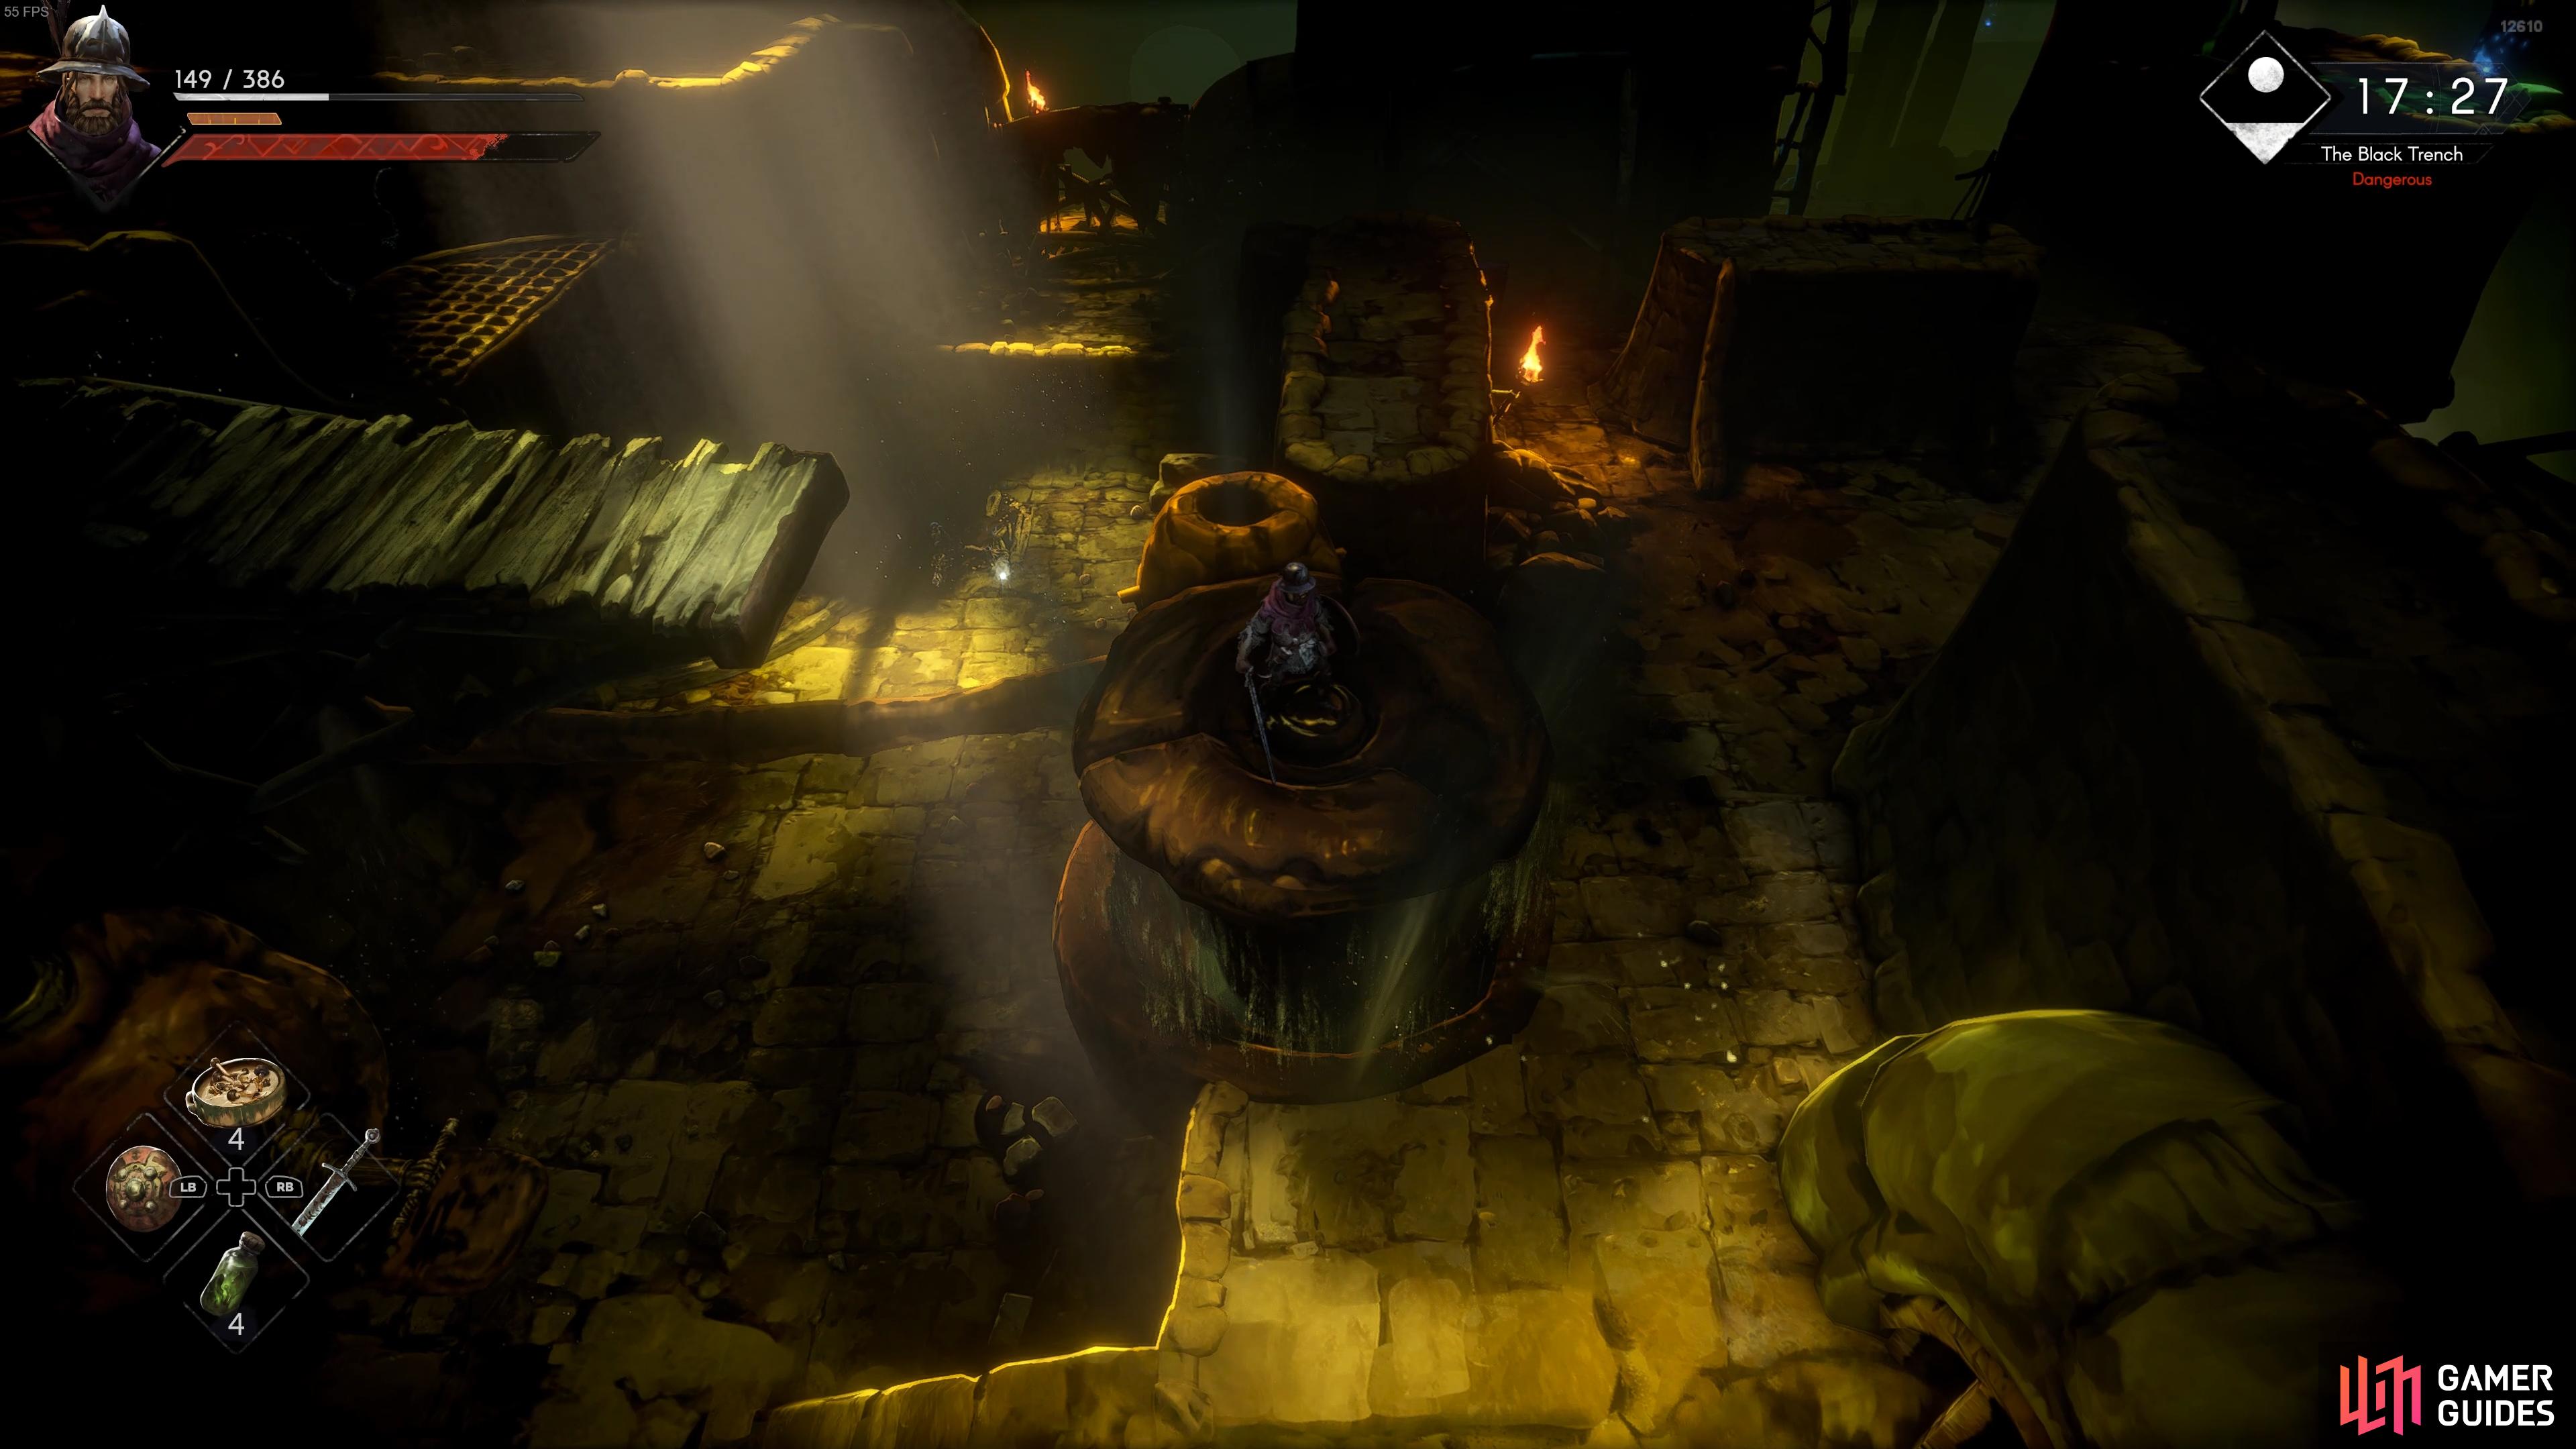
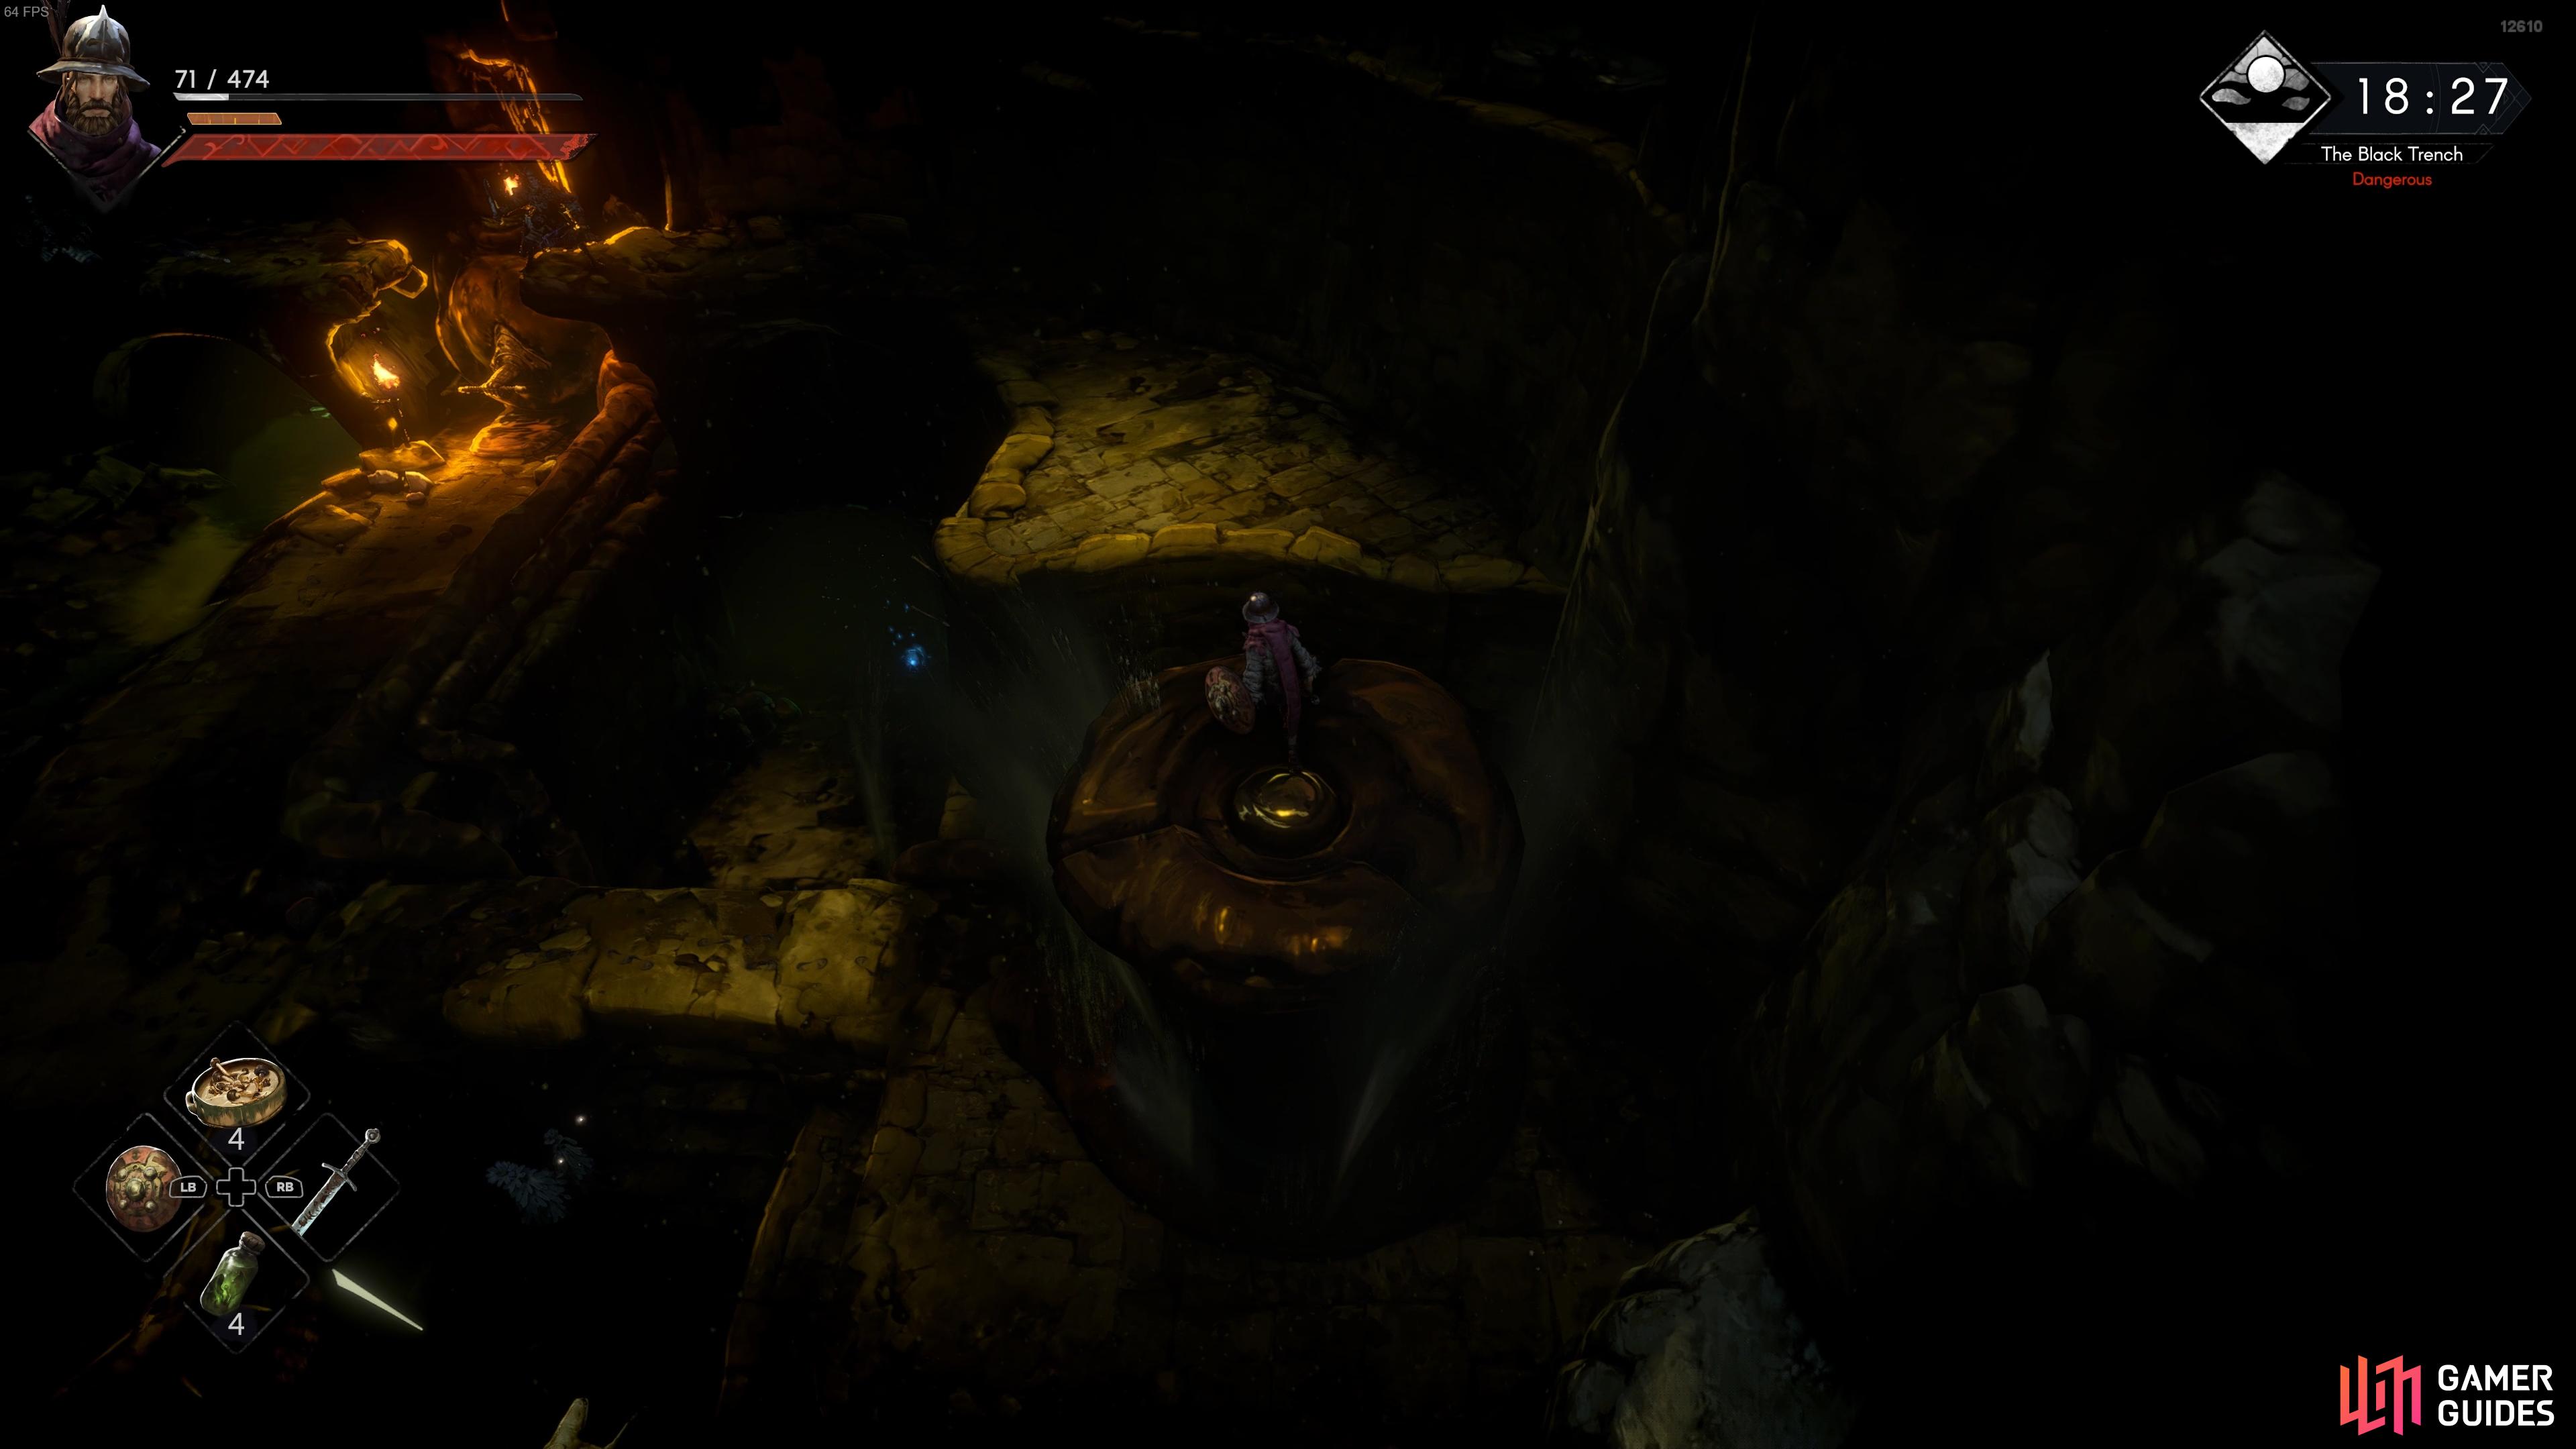
With all the enemies dead, make your way to the westernmost part of the room and interact with another lever there. This one will cause the platform directly to your east to rise, so you need to run to it as soon as you use the lever. With the platform fully risen, you can jump to the wooden bridge to the west and continue northward. There’s a fire just to the south here, which provides a good opportunity to craft more healing items if necessary.
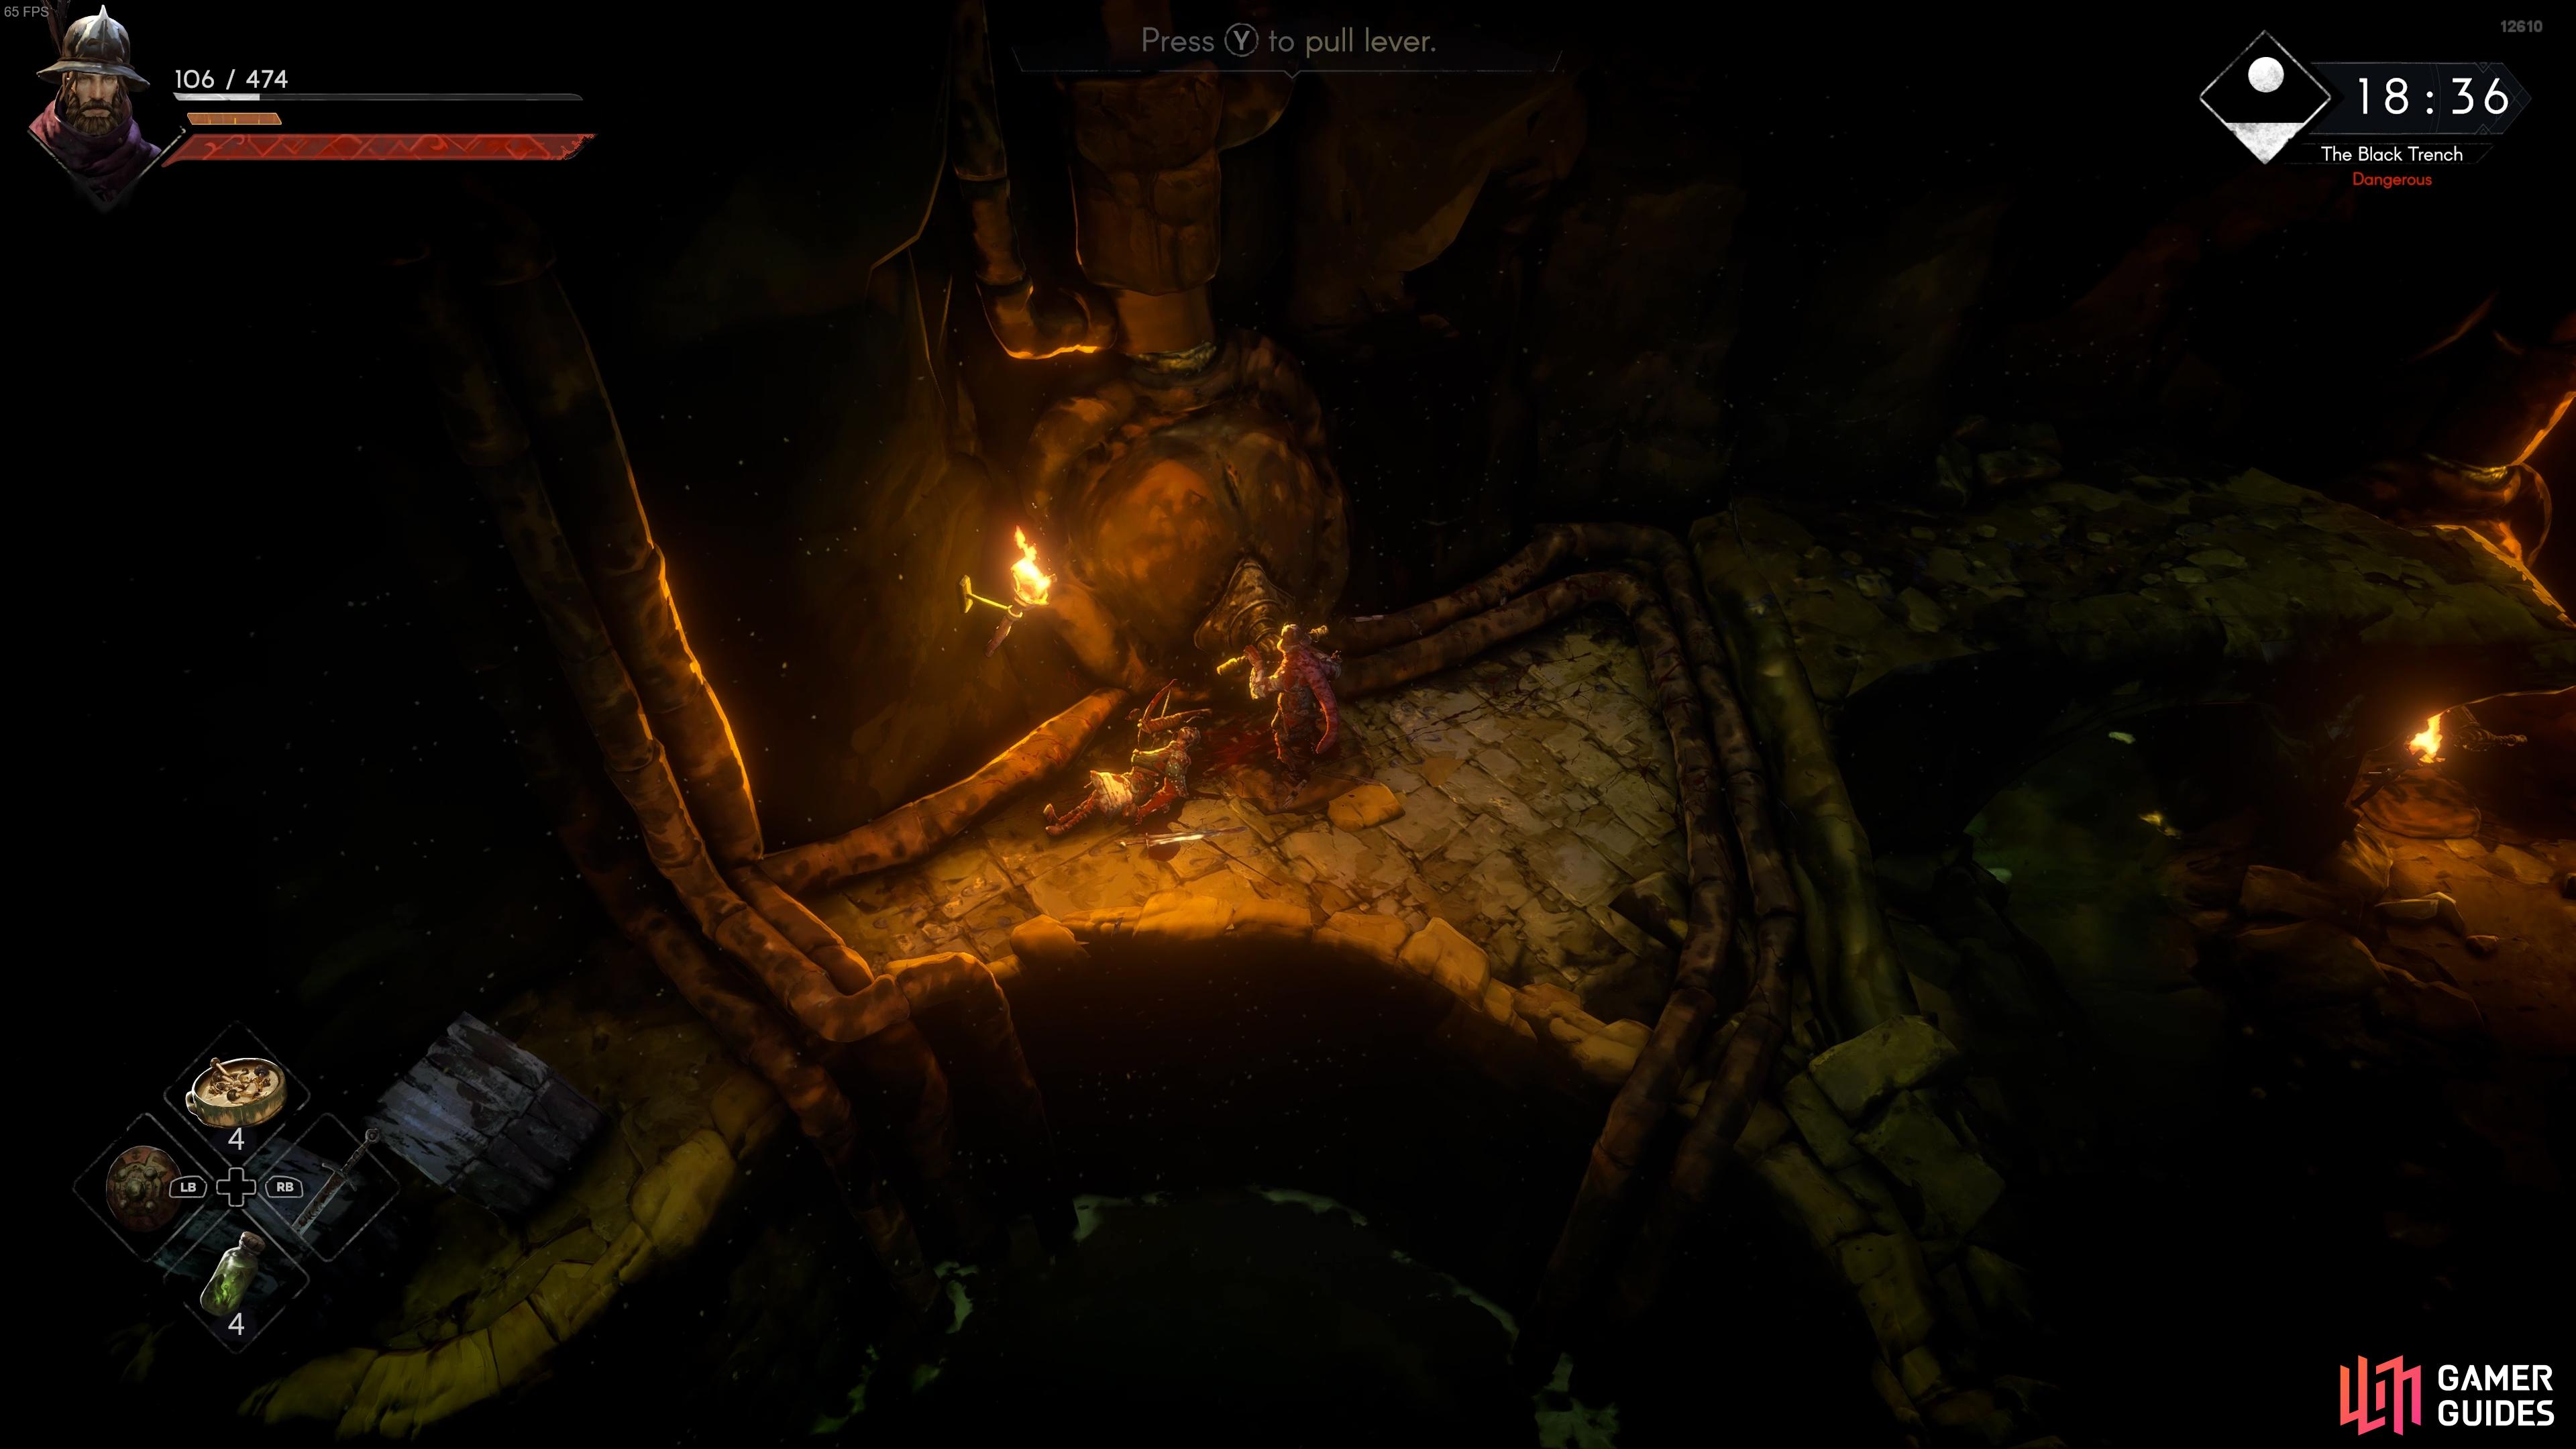
Keep following the path northward here until you find another lever, then interact with it to extend a bridge to the northeast. You can jump down from here to reach the bridge, and on the other side you’ll find a door to the north which requires the Water Channel Key to open.
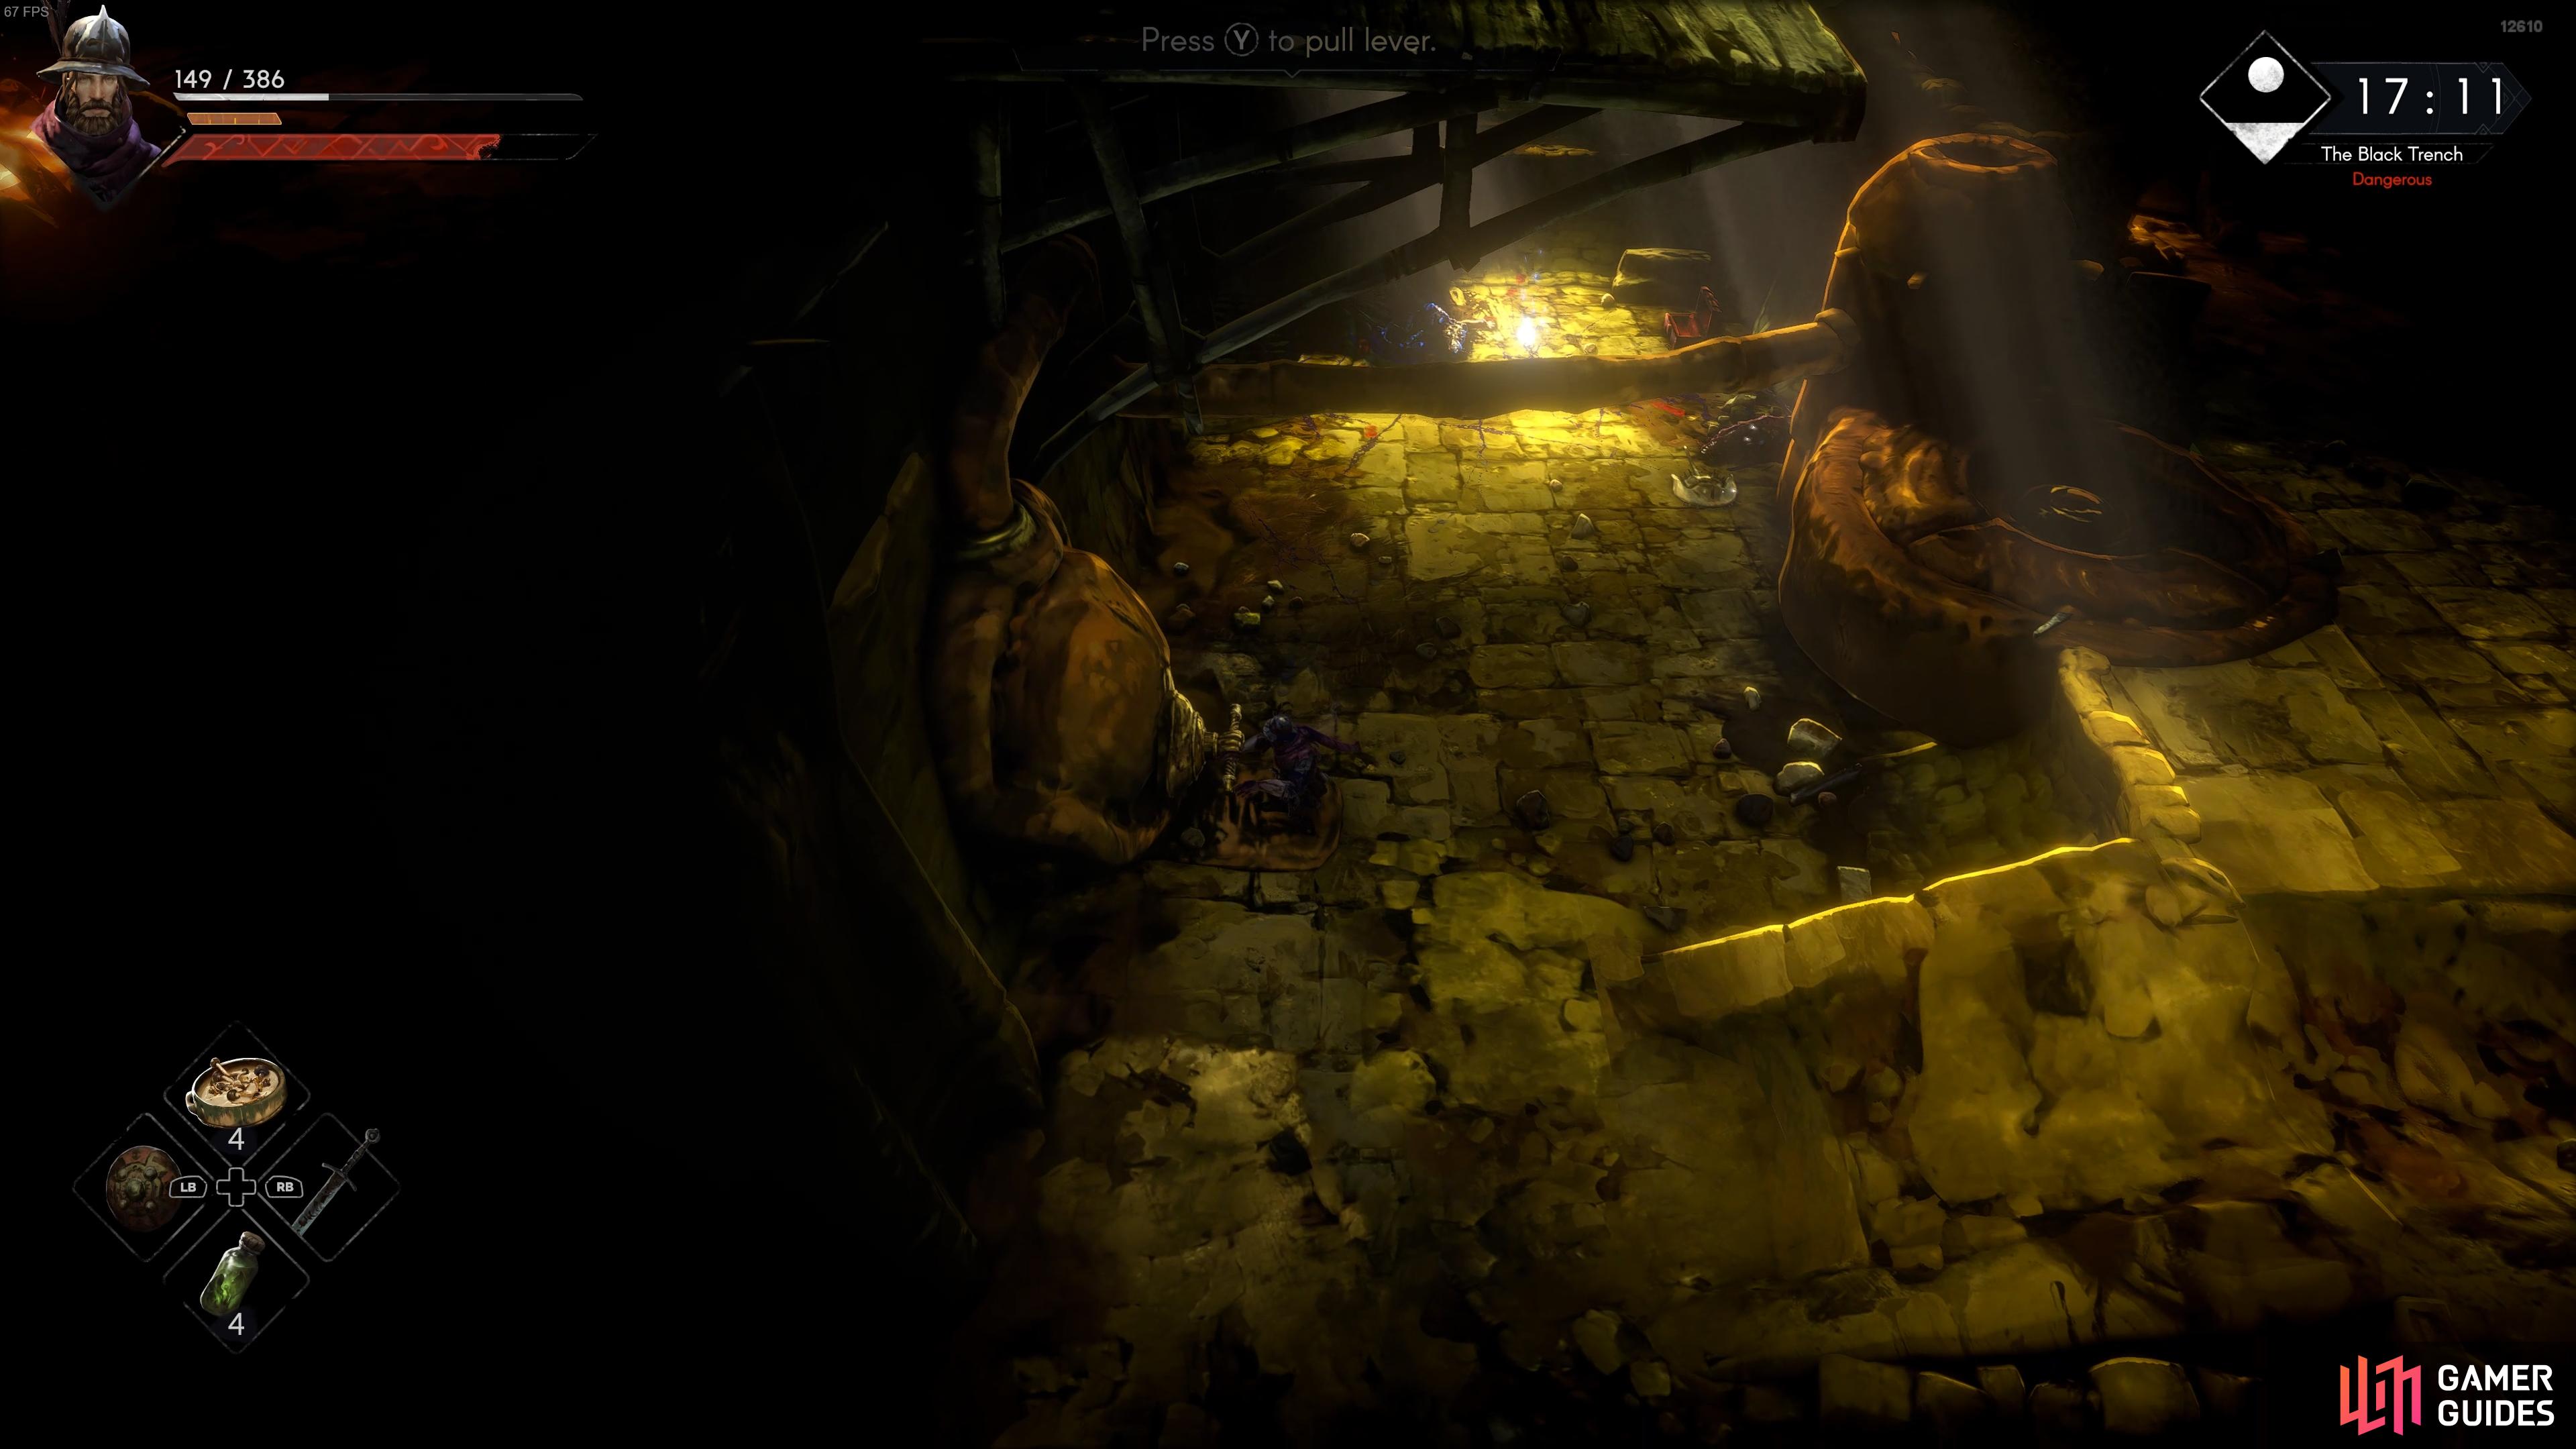
(1 of 4) Interact with the lever in the southern part of the room to extend the bridge.
Water Channel Key Location
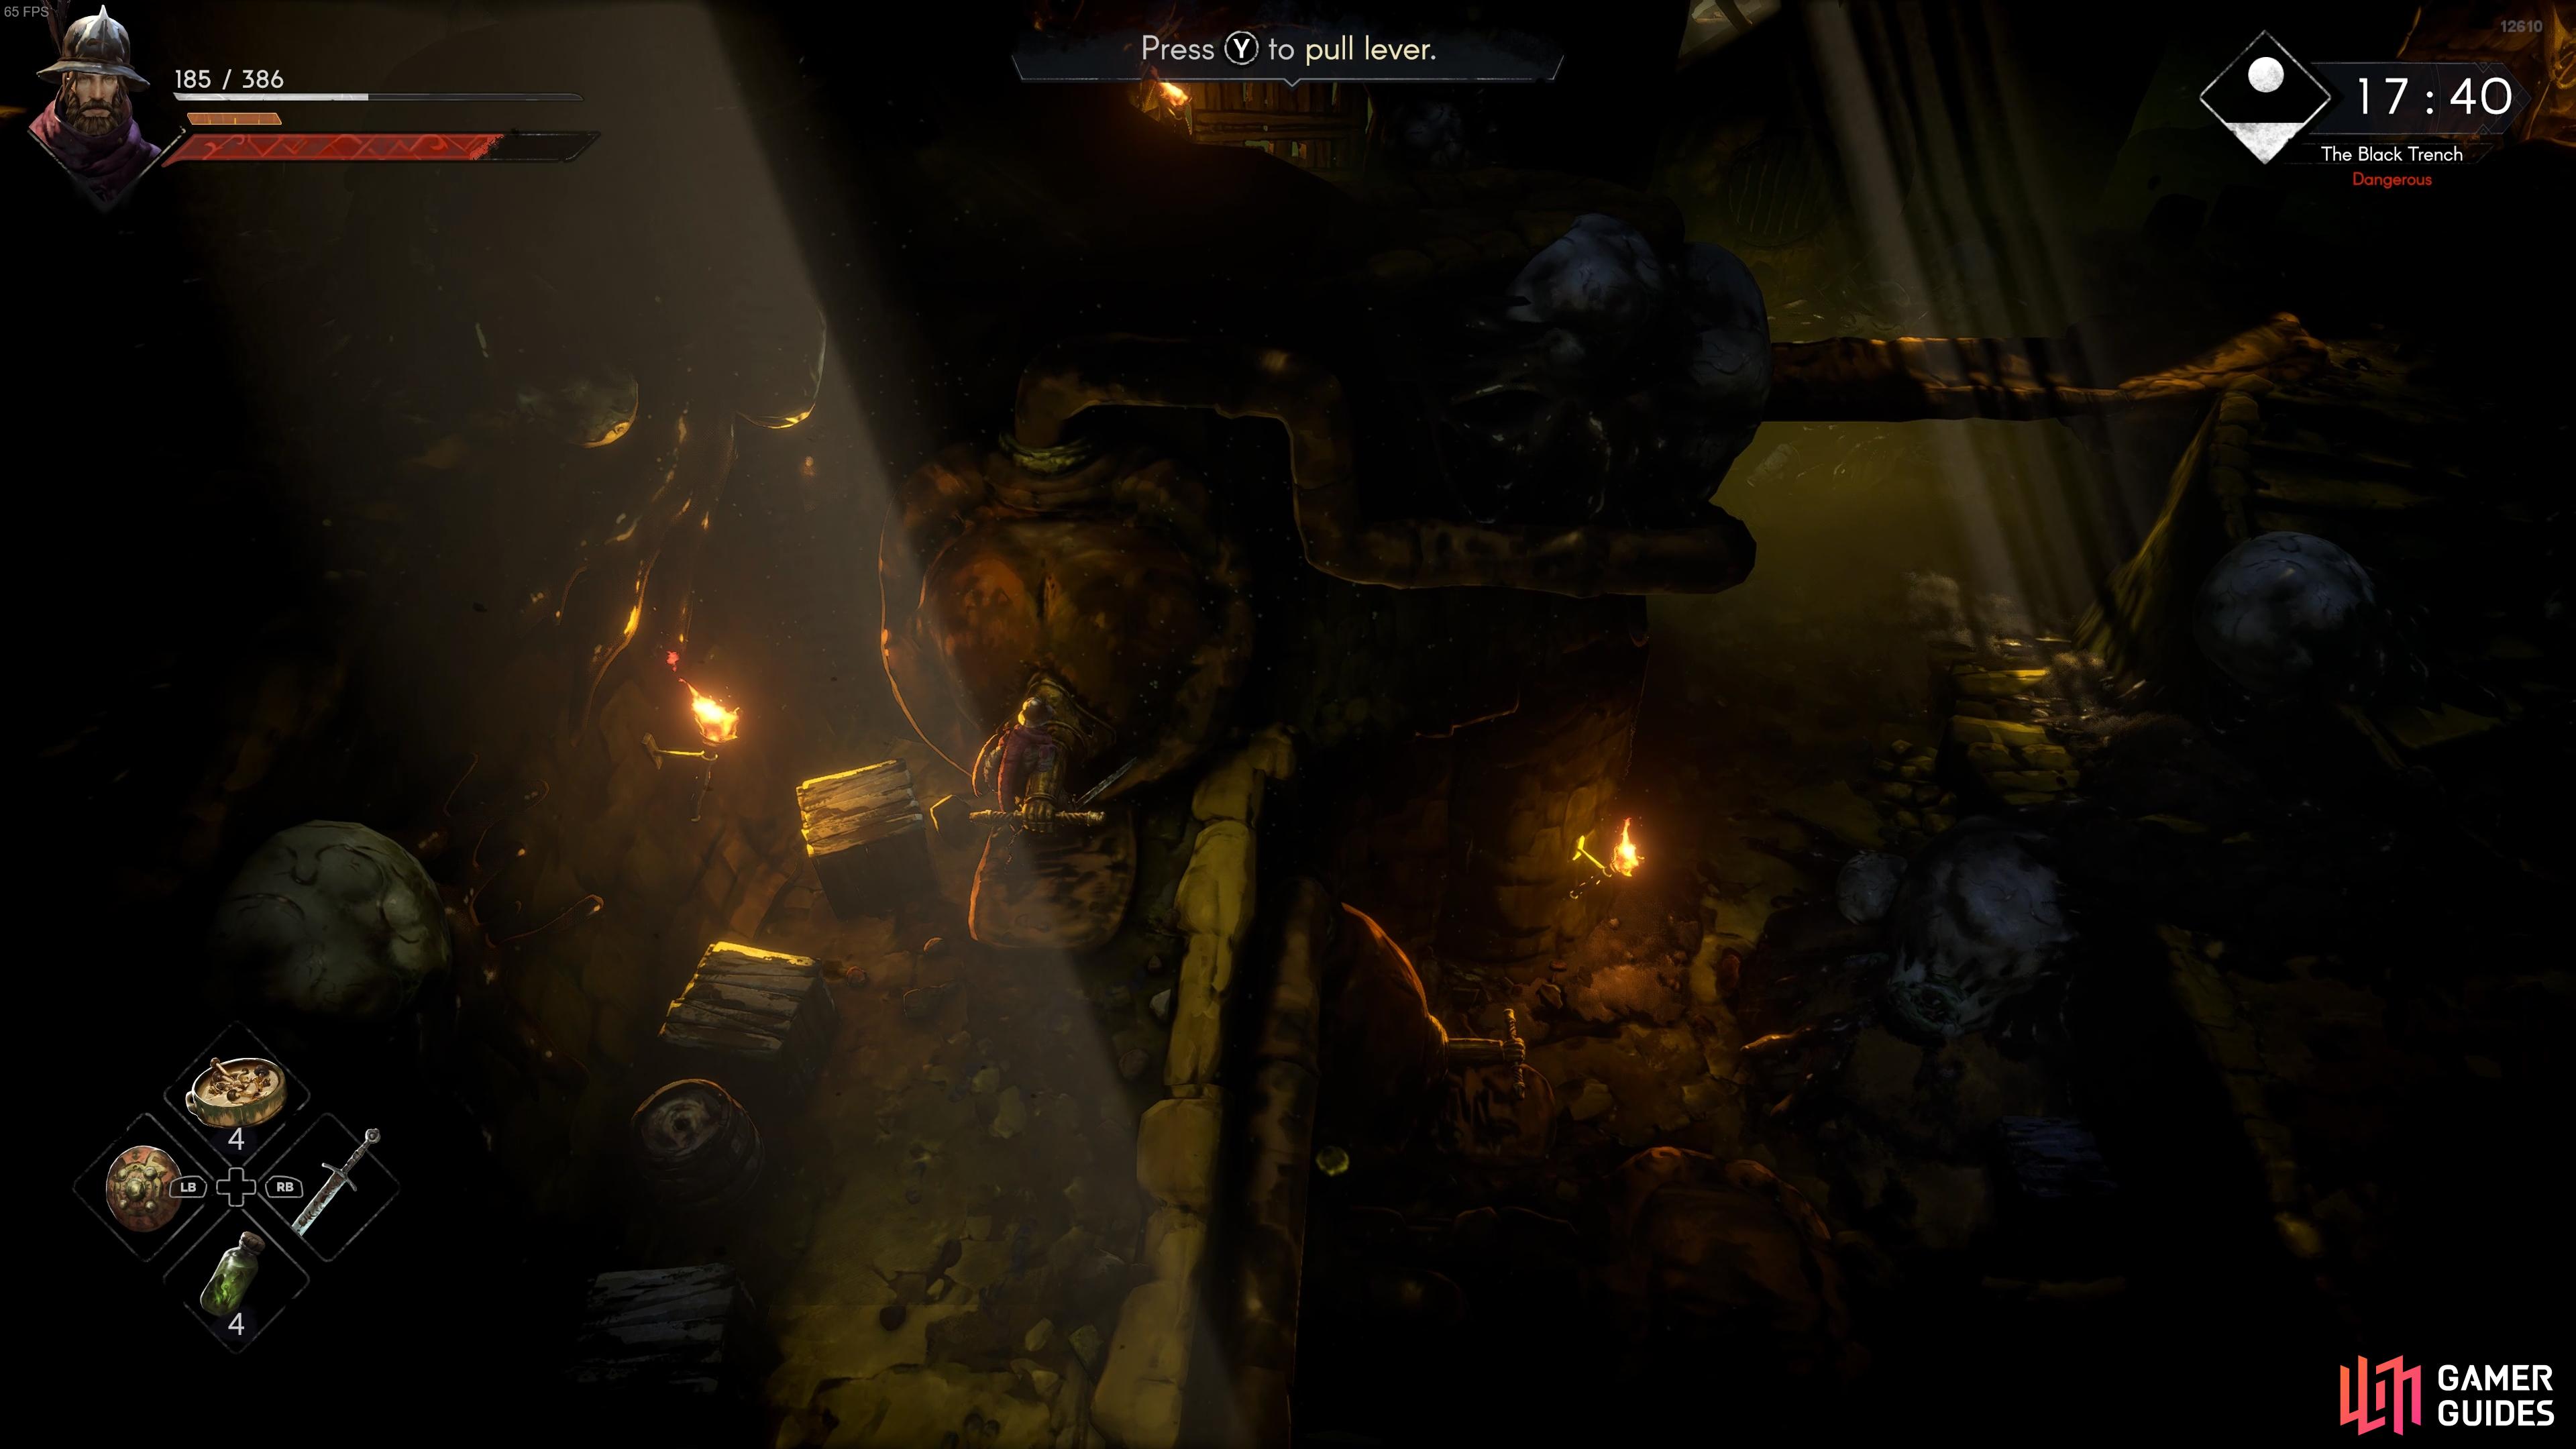
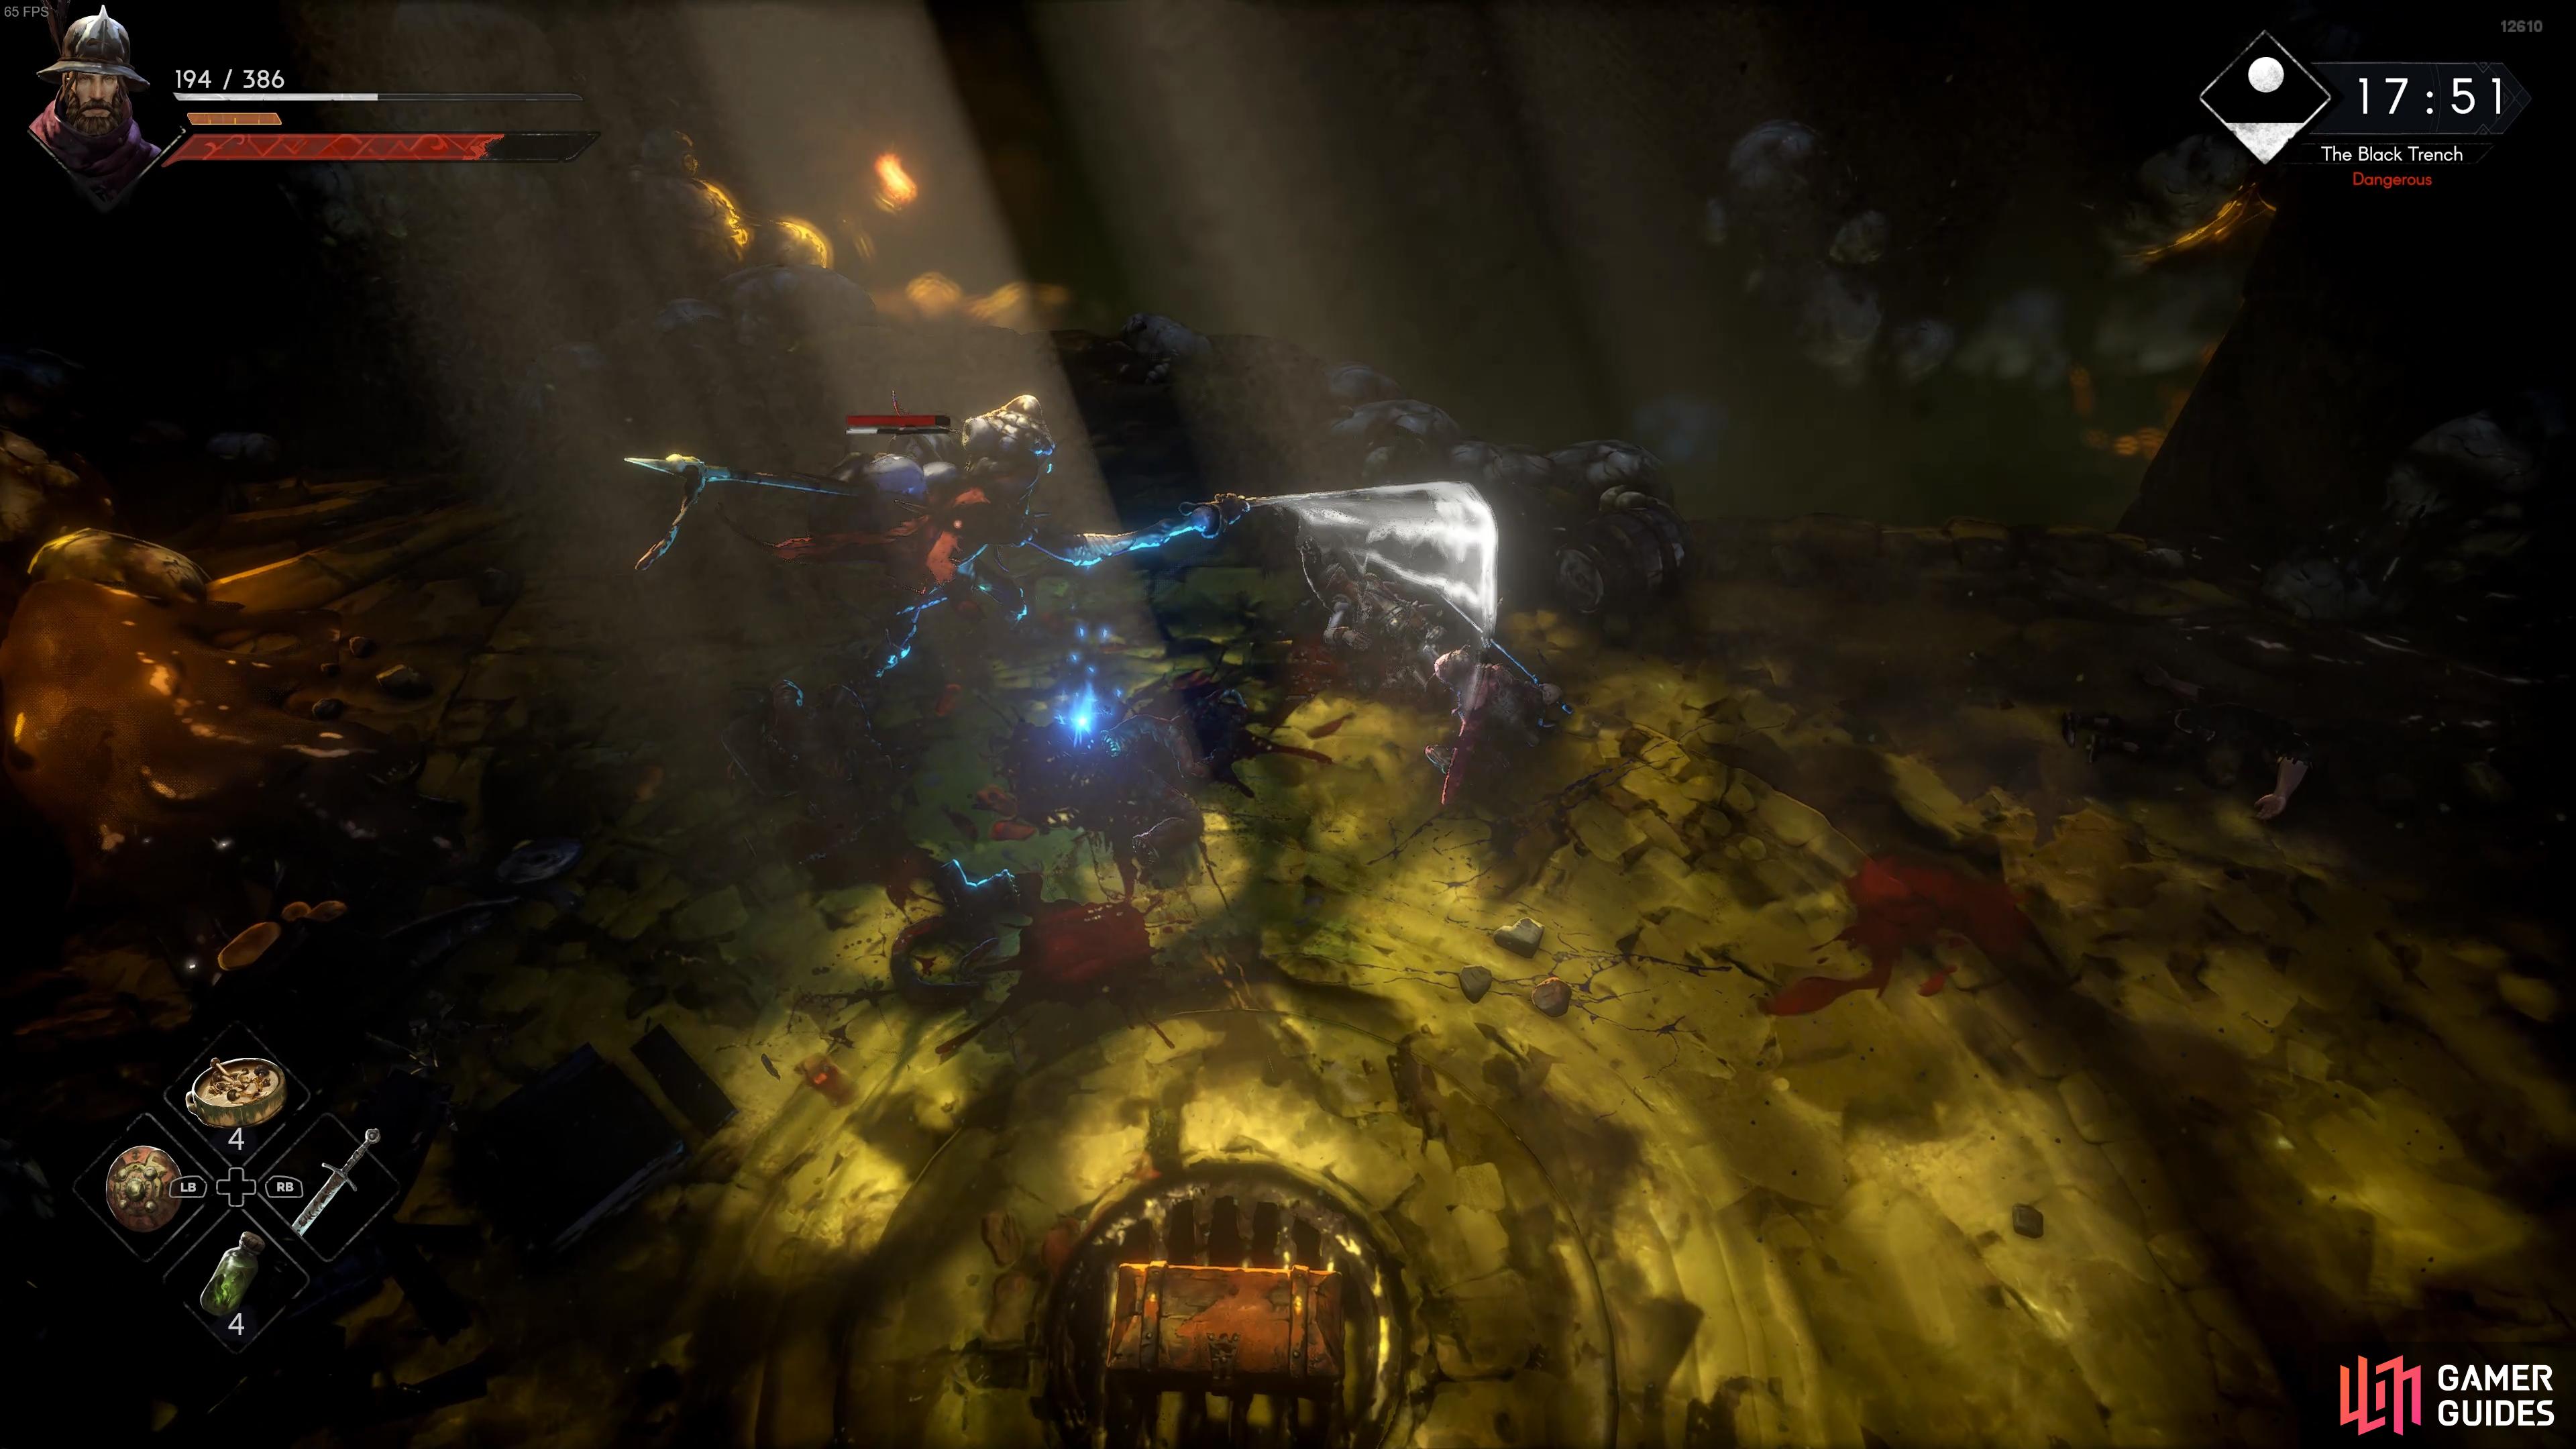
From this point, you need to make your way up the stairs to the west but be ready to fight a much tougher enemy at the top. This is a monstrous humanoid wielding a spear with a rather large reach, so you need to be ready to dodge/roll from these attacks to avoid them, then quickly retaliate with a few attacks of your own. Despite the difference in appearance, this mob functions in a similar way to Darak; wait for it to exhaust itself with multiple attacks, then chip in with a few of your own. As ever, patience is key here.
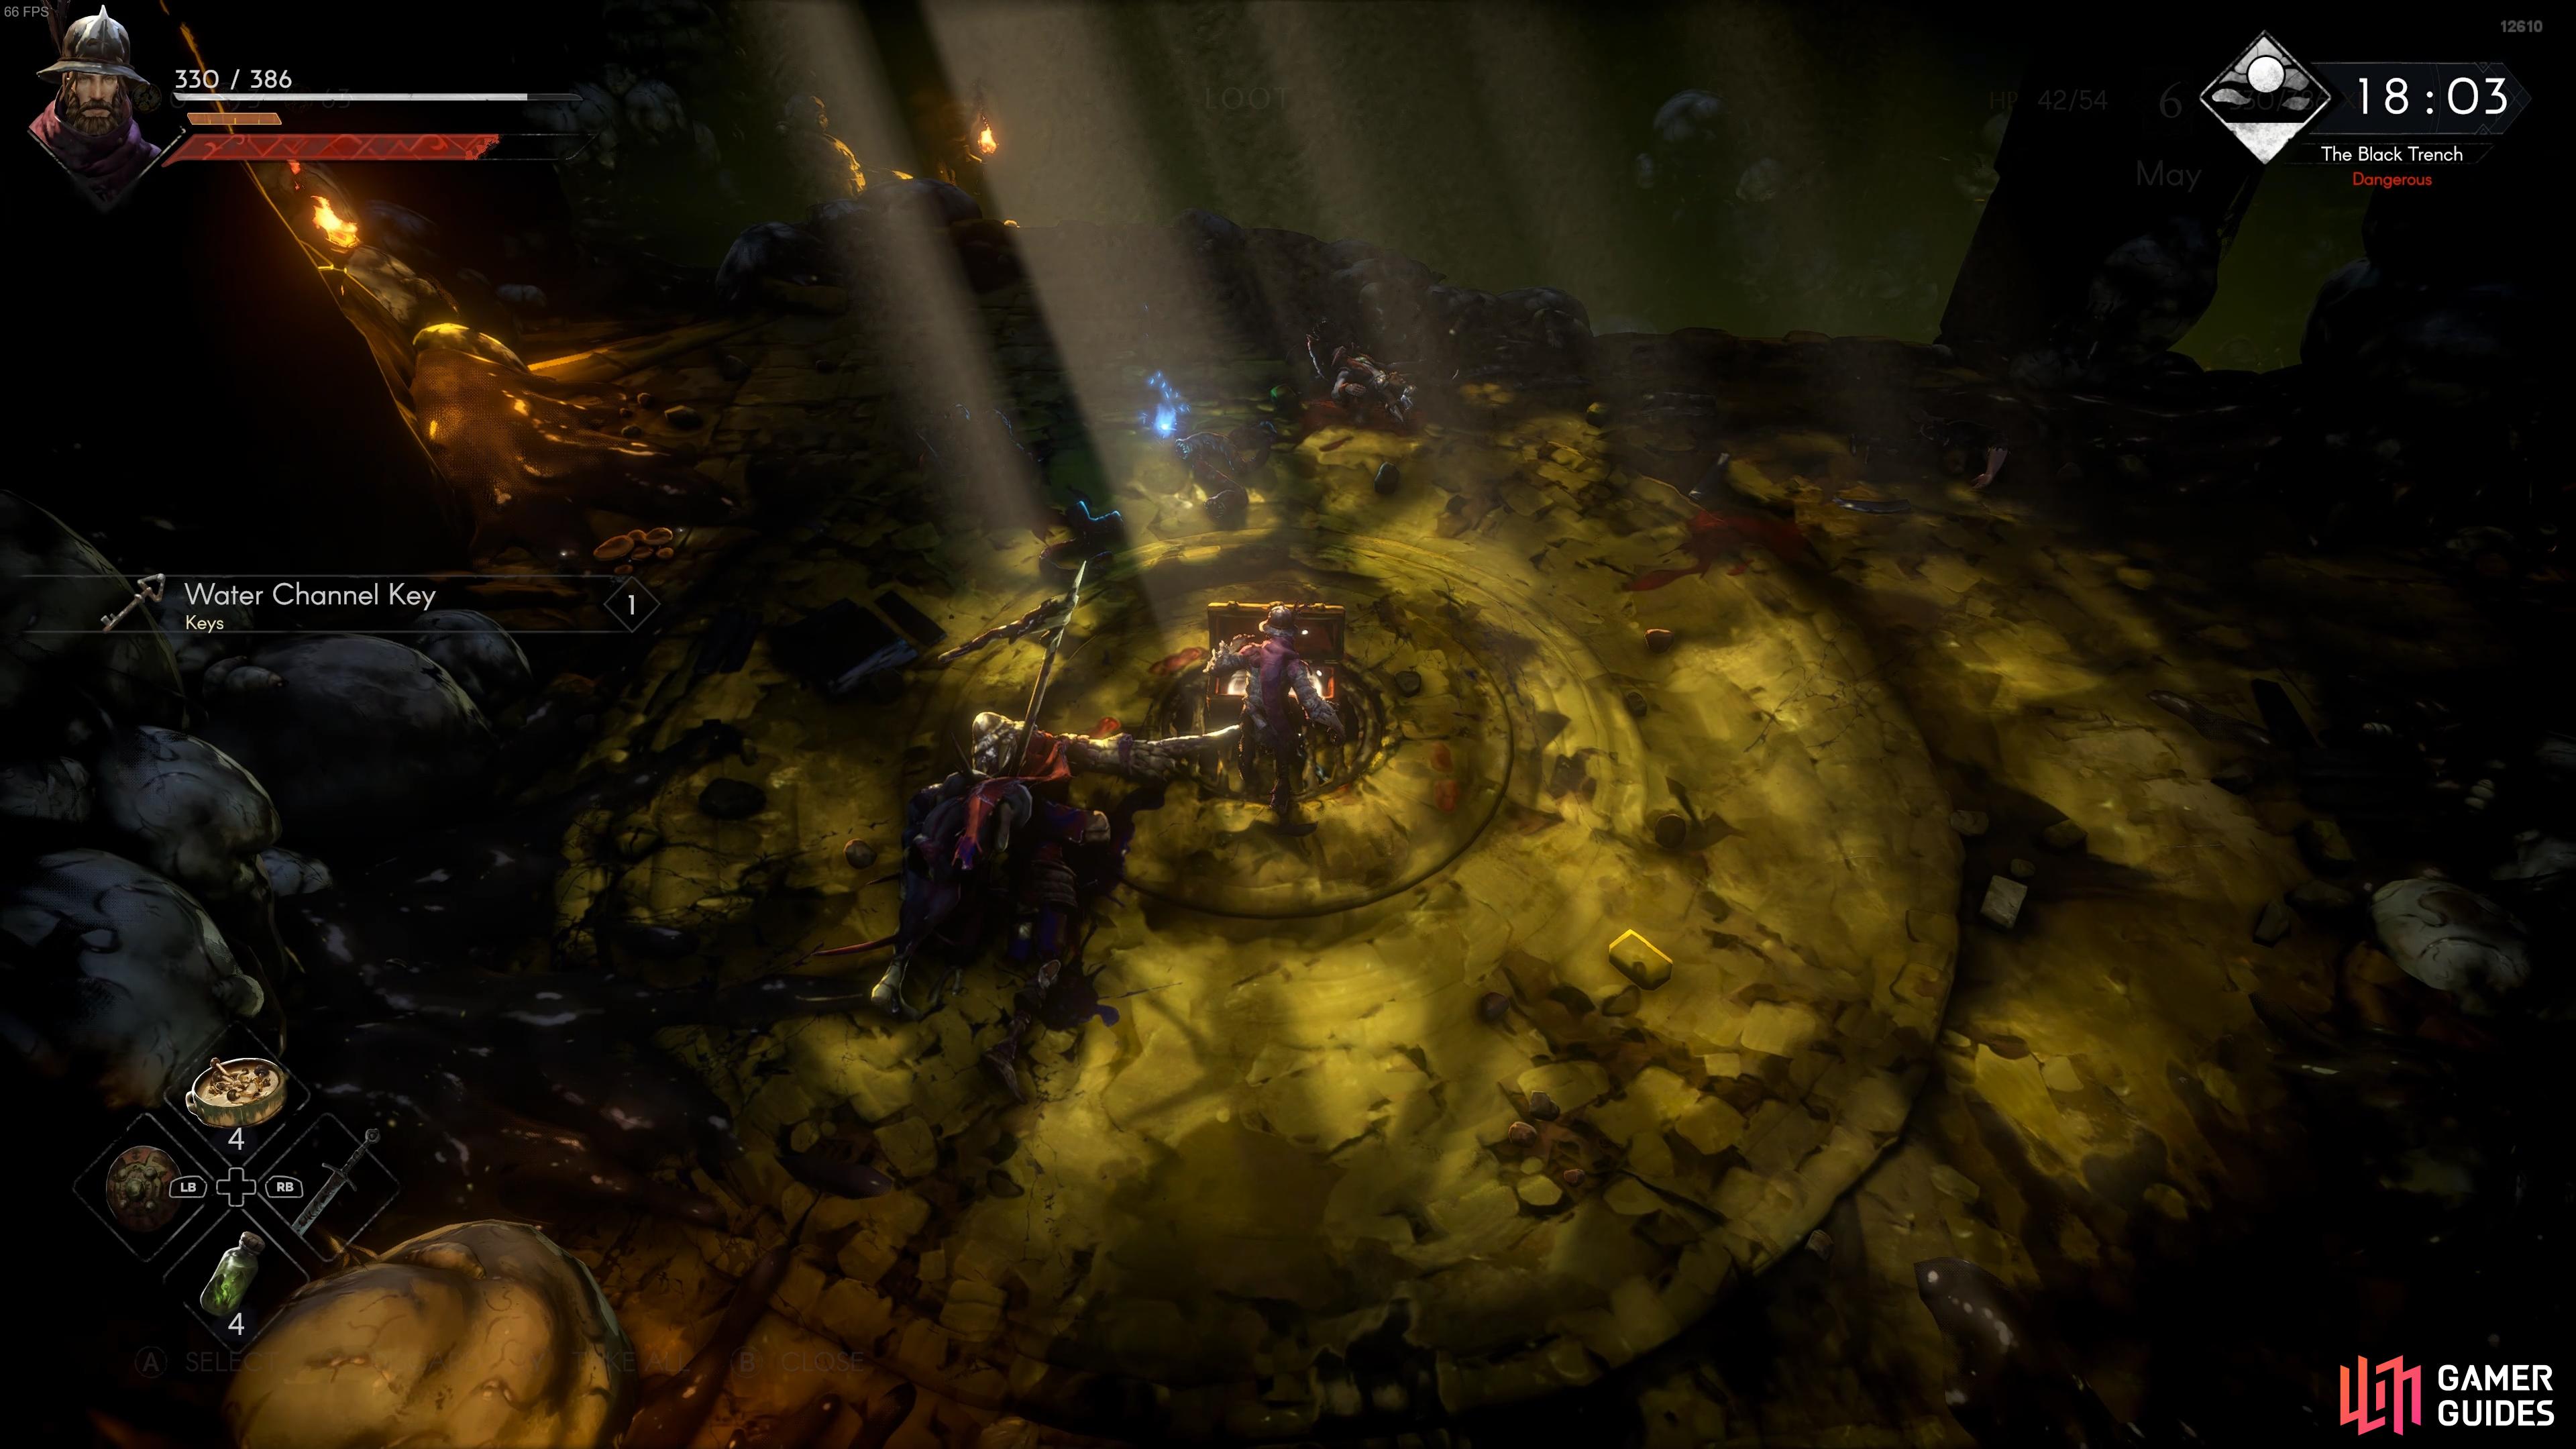
Once you’ve defeated the monstrous humanoid, you can loot the chest in the center of the platform for the Water Channel Key, then use it to open the door down the stairs, leading to the central drainage area of the sewers. This area is where you’ll meet the infected rat/lizard hybrid enemies, and they can be quite a bit more tedious to fight thanks to their ability to multiply when you kill one. It’ll be a bit of a slog through here, and you might want to try to avoid some enemies where you can to save time.
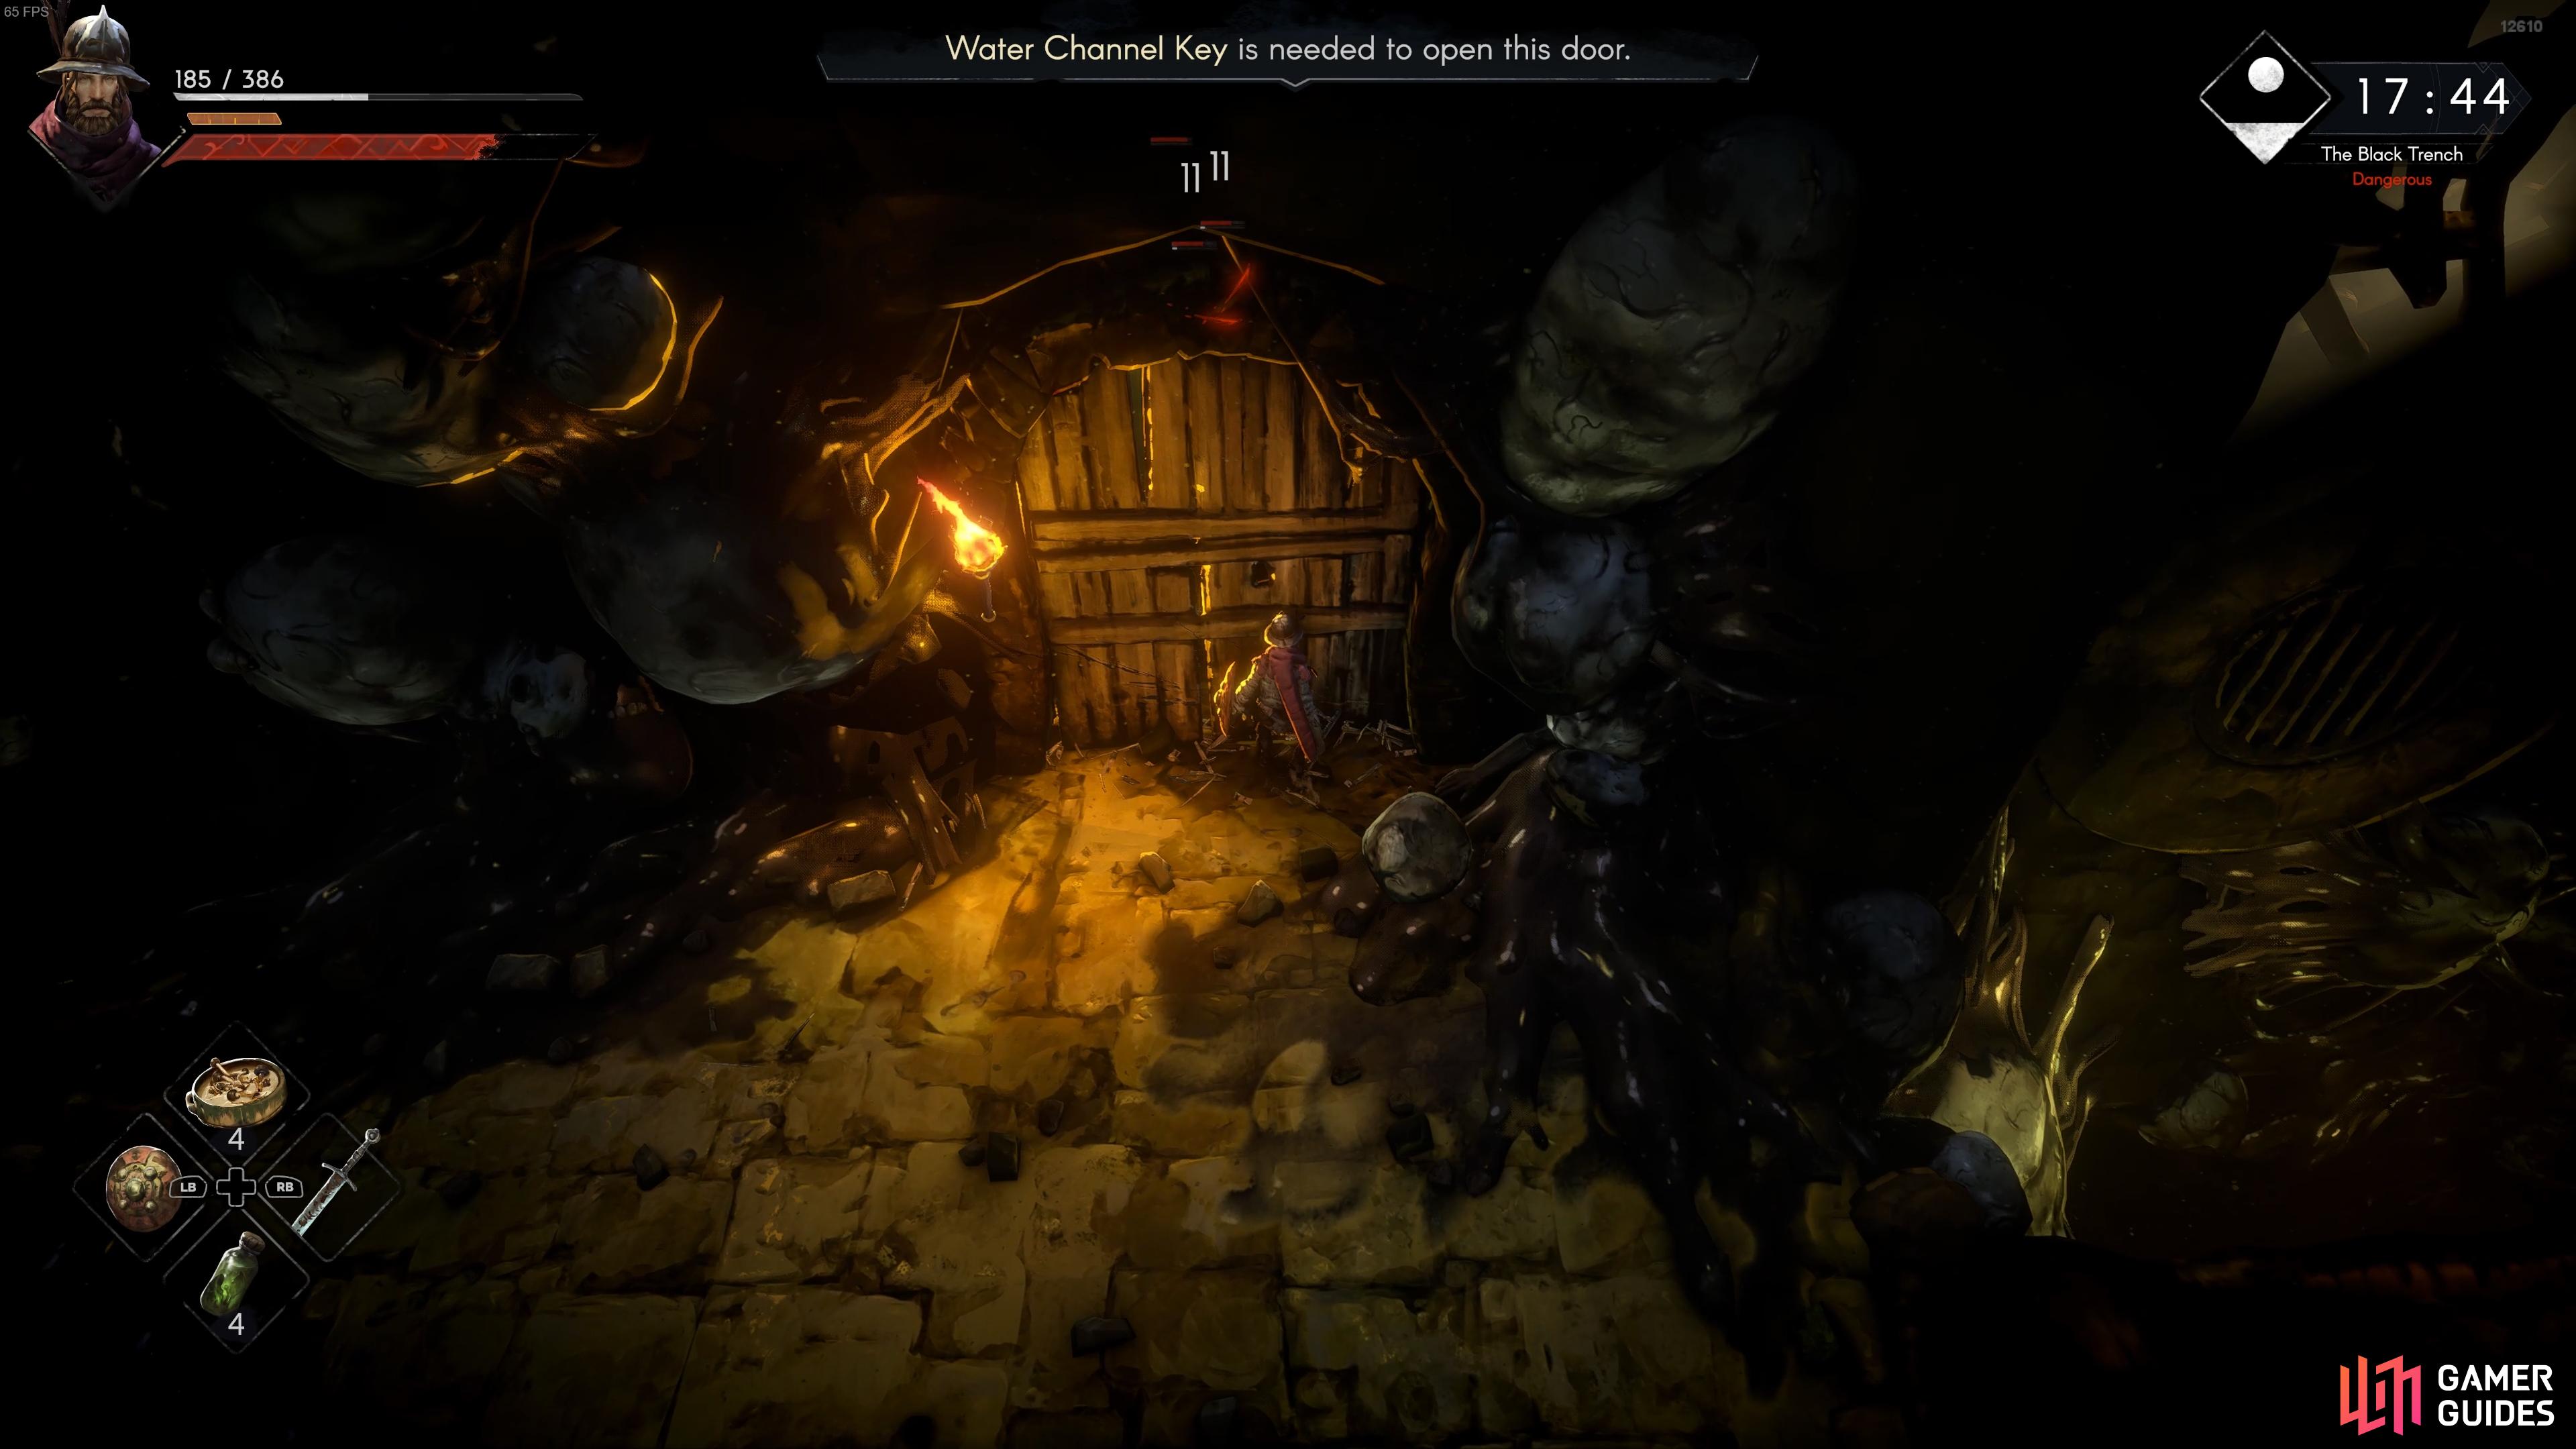
(1 of 3) You need the Water Channel Key to open this door.
With the first set of enemies in this area dealt with, make your way to the northern part of the room to find another lever. There are two crossbowmen on ledges above either side here, but you can ignore them since they won’t be able to hit you while you’re next to the lever. Just be ready to avoid the bolts as you run southeast, which you need to do quickly to stand on another rising platform, at which point you can reach the ranged enemies and take them out.
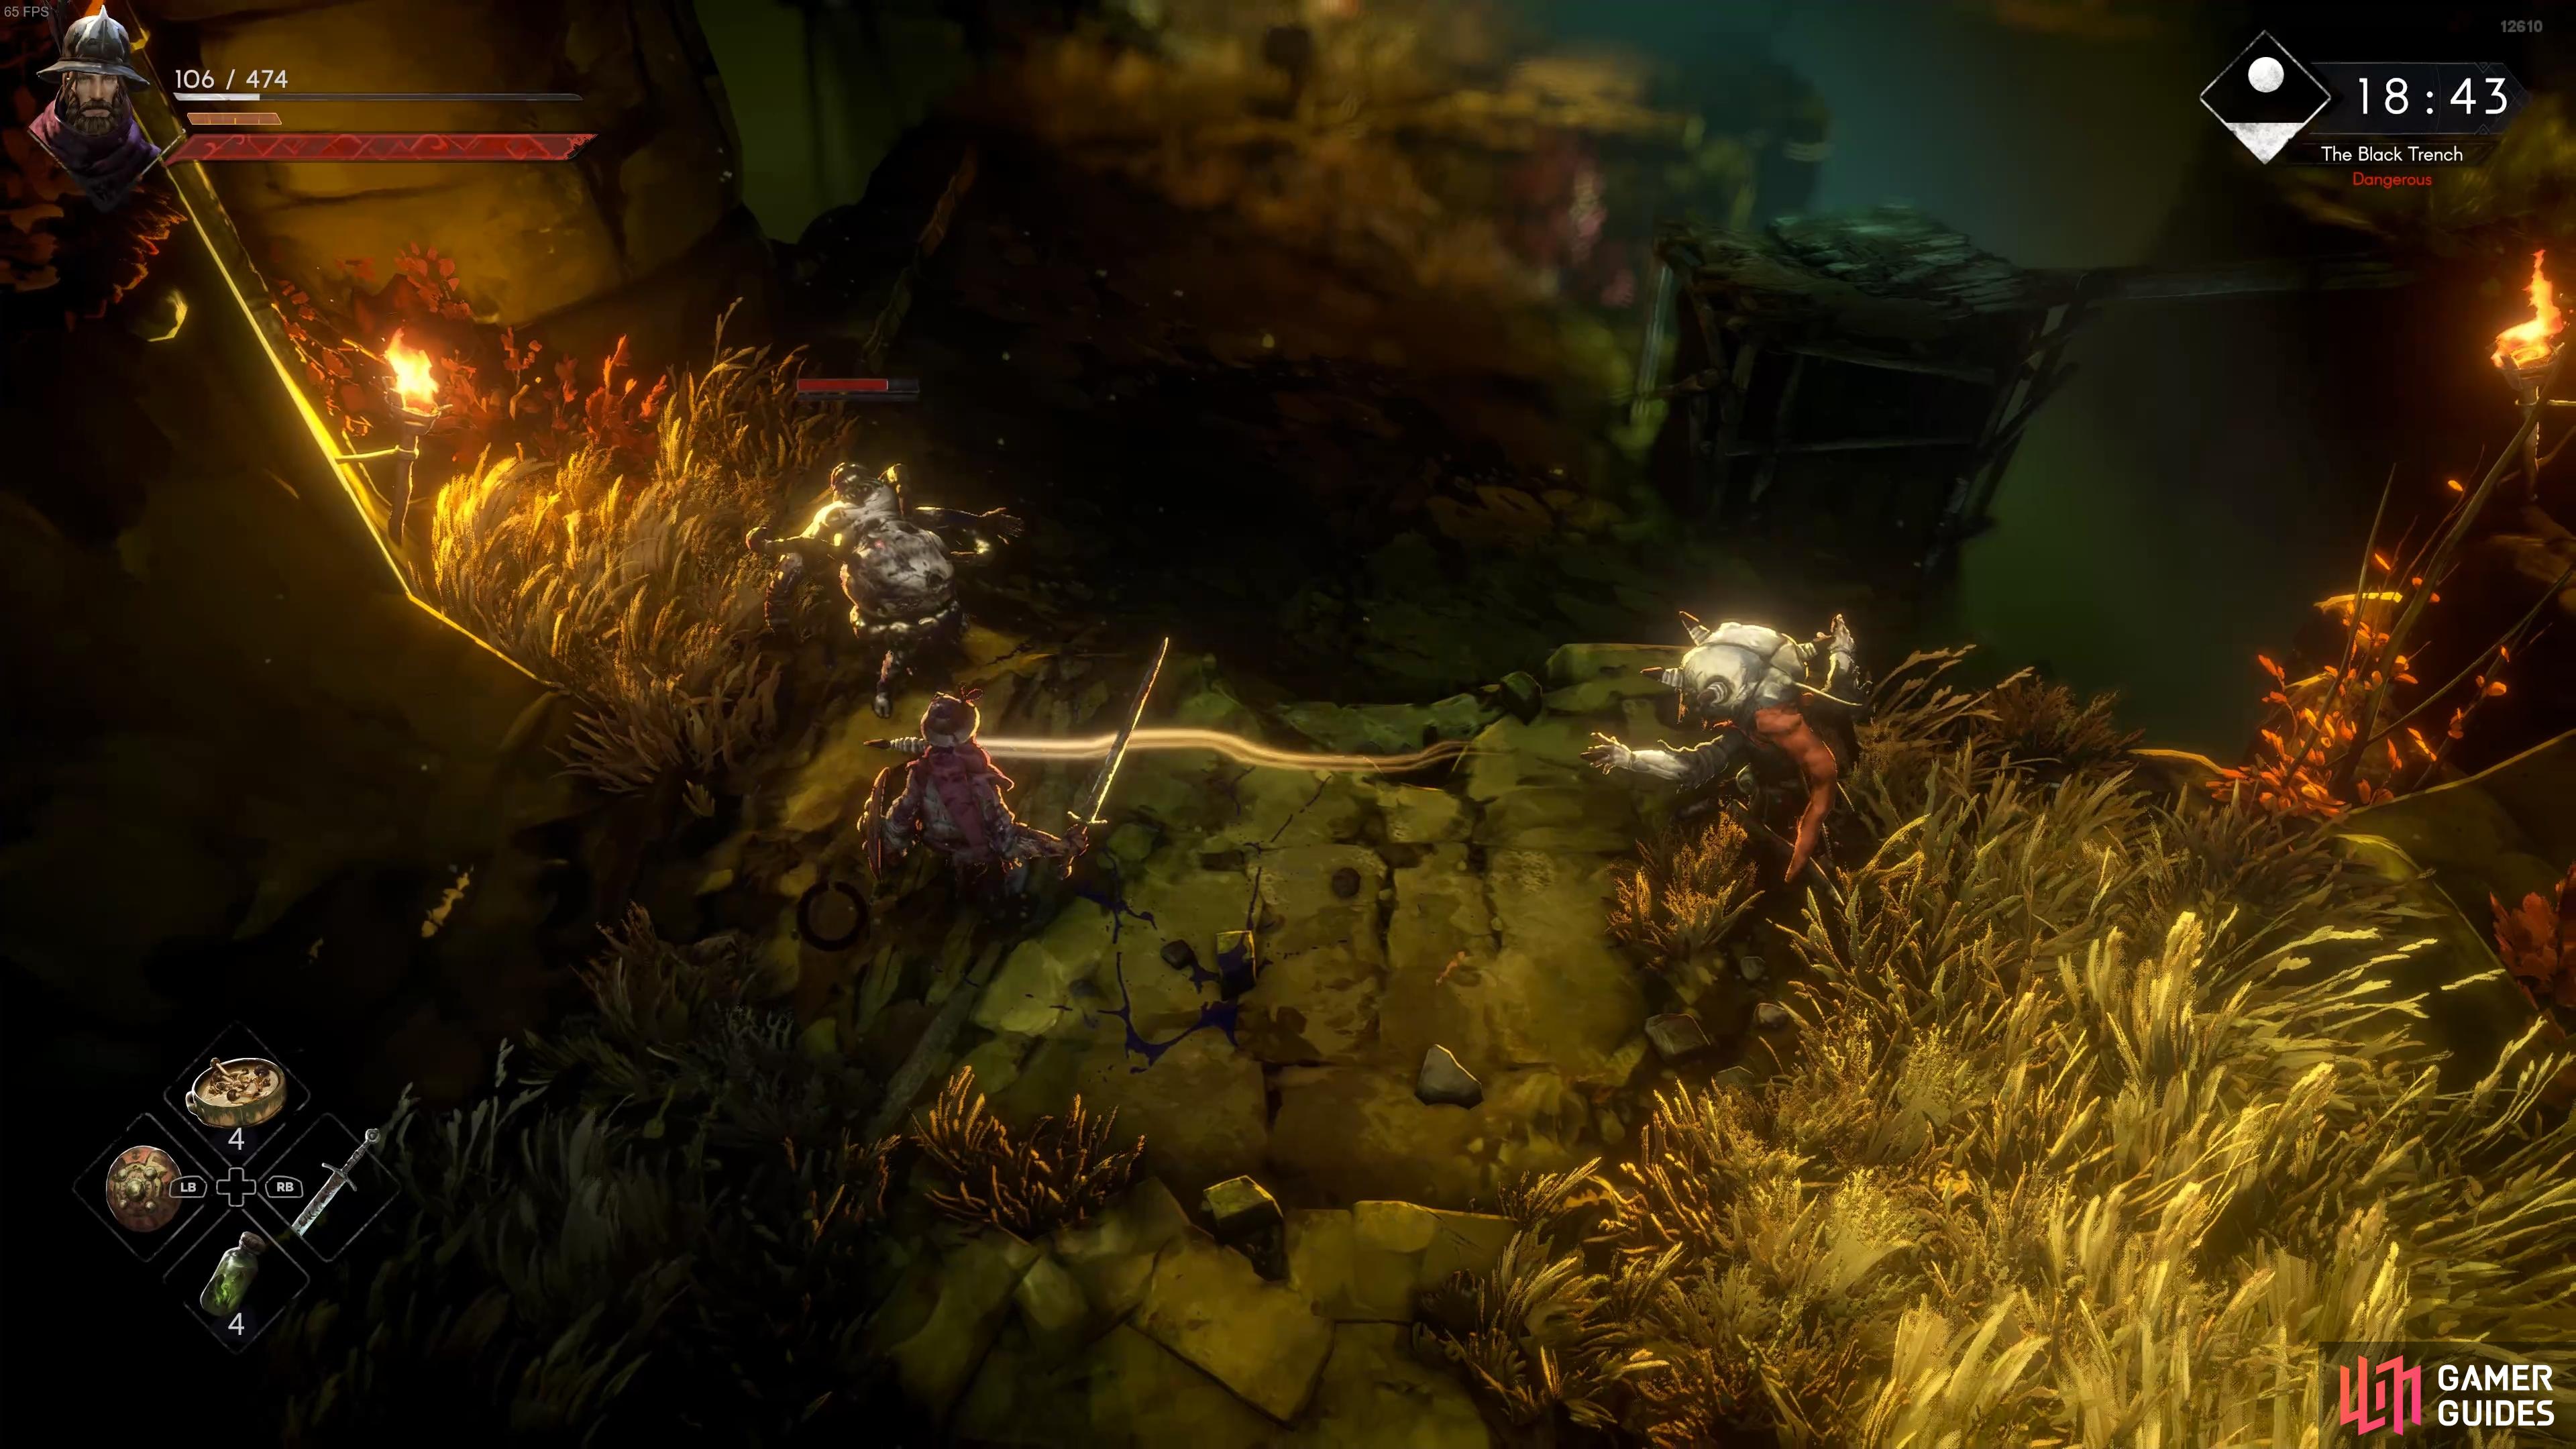
After dealing with the crossbows, make your way to another lever on the western side. This one will open a small grate just to the left of the previous lever, so you can jump down and enter another part of the sewers through it. There’s some foliage growing throughout this section, and you’ll find new infected enemies that use ranged attacks, so be ready to avoid these by dodging/rolling as you charge them. This is the largest area of the sewers, and you’ll find another respawn point to the northwest.

(1 of 3) Run to the lever in the northern part of the room and ignore the crossbowmen.
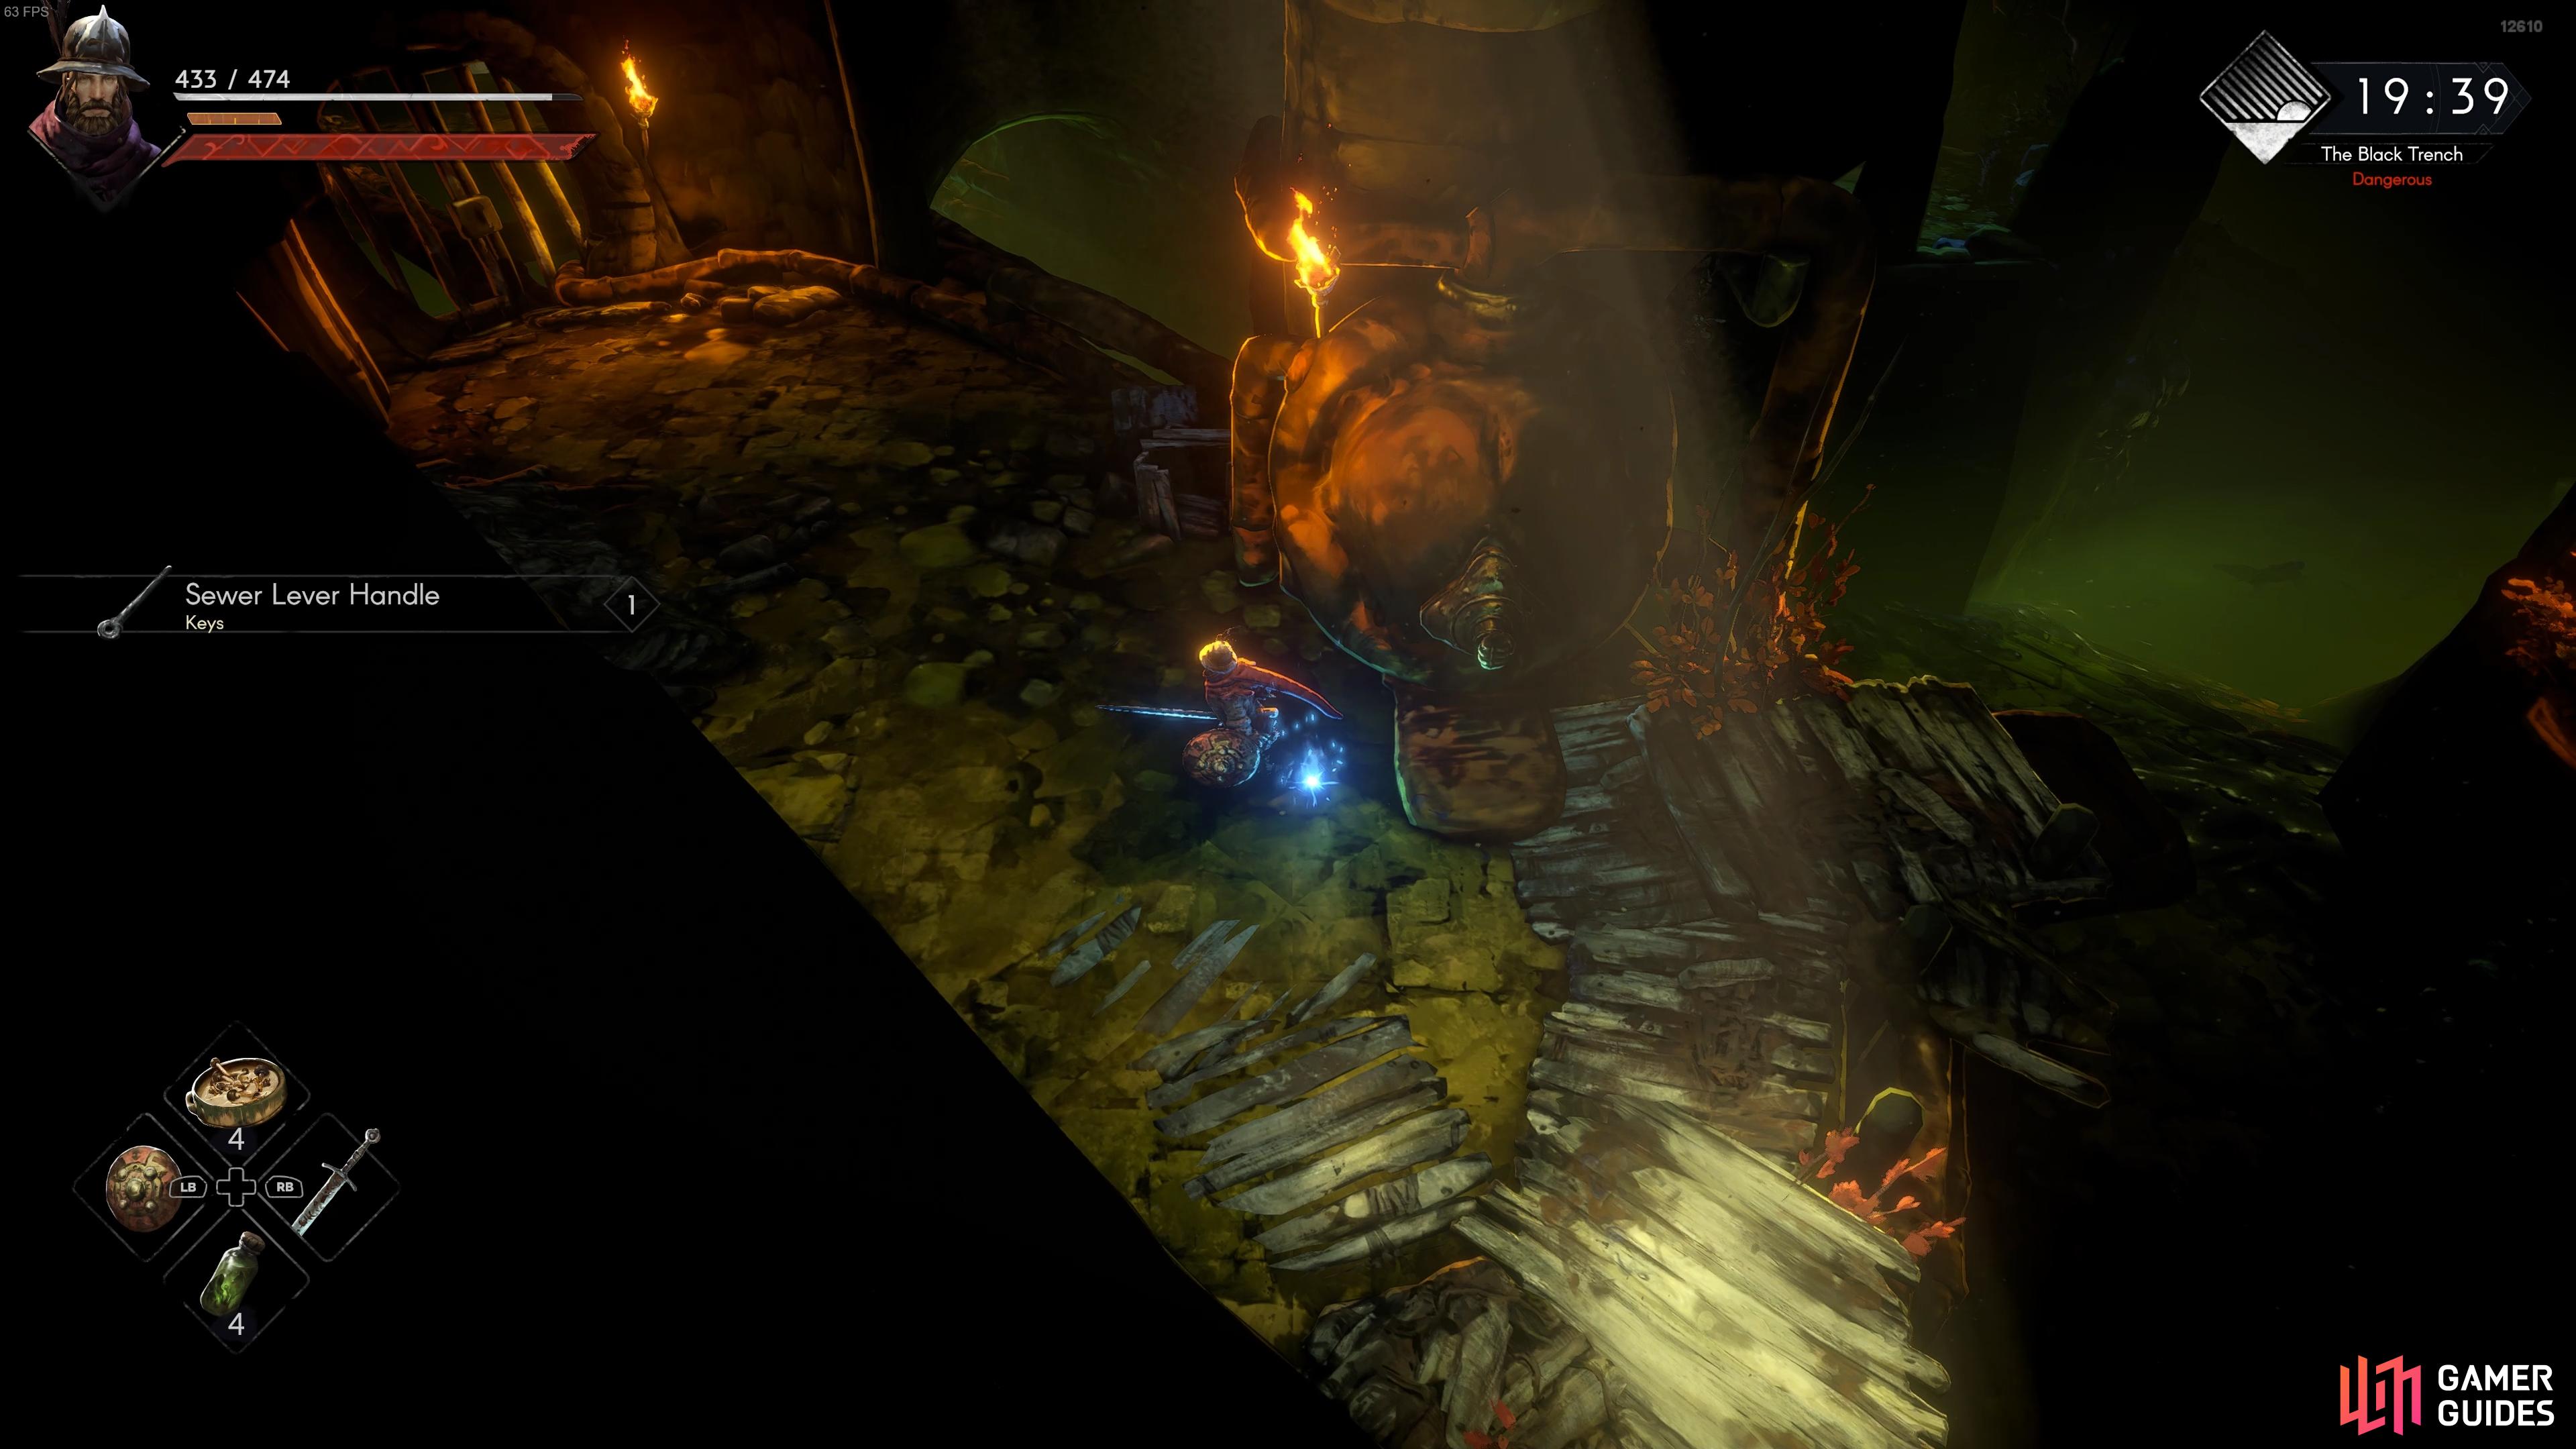
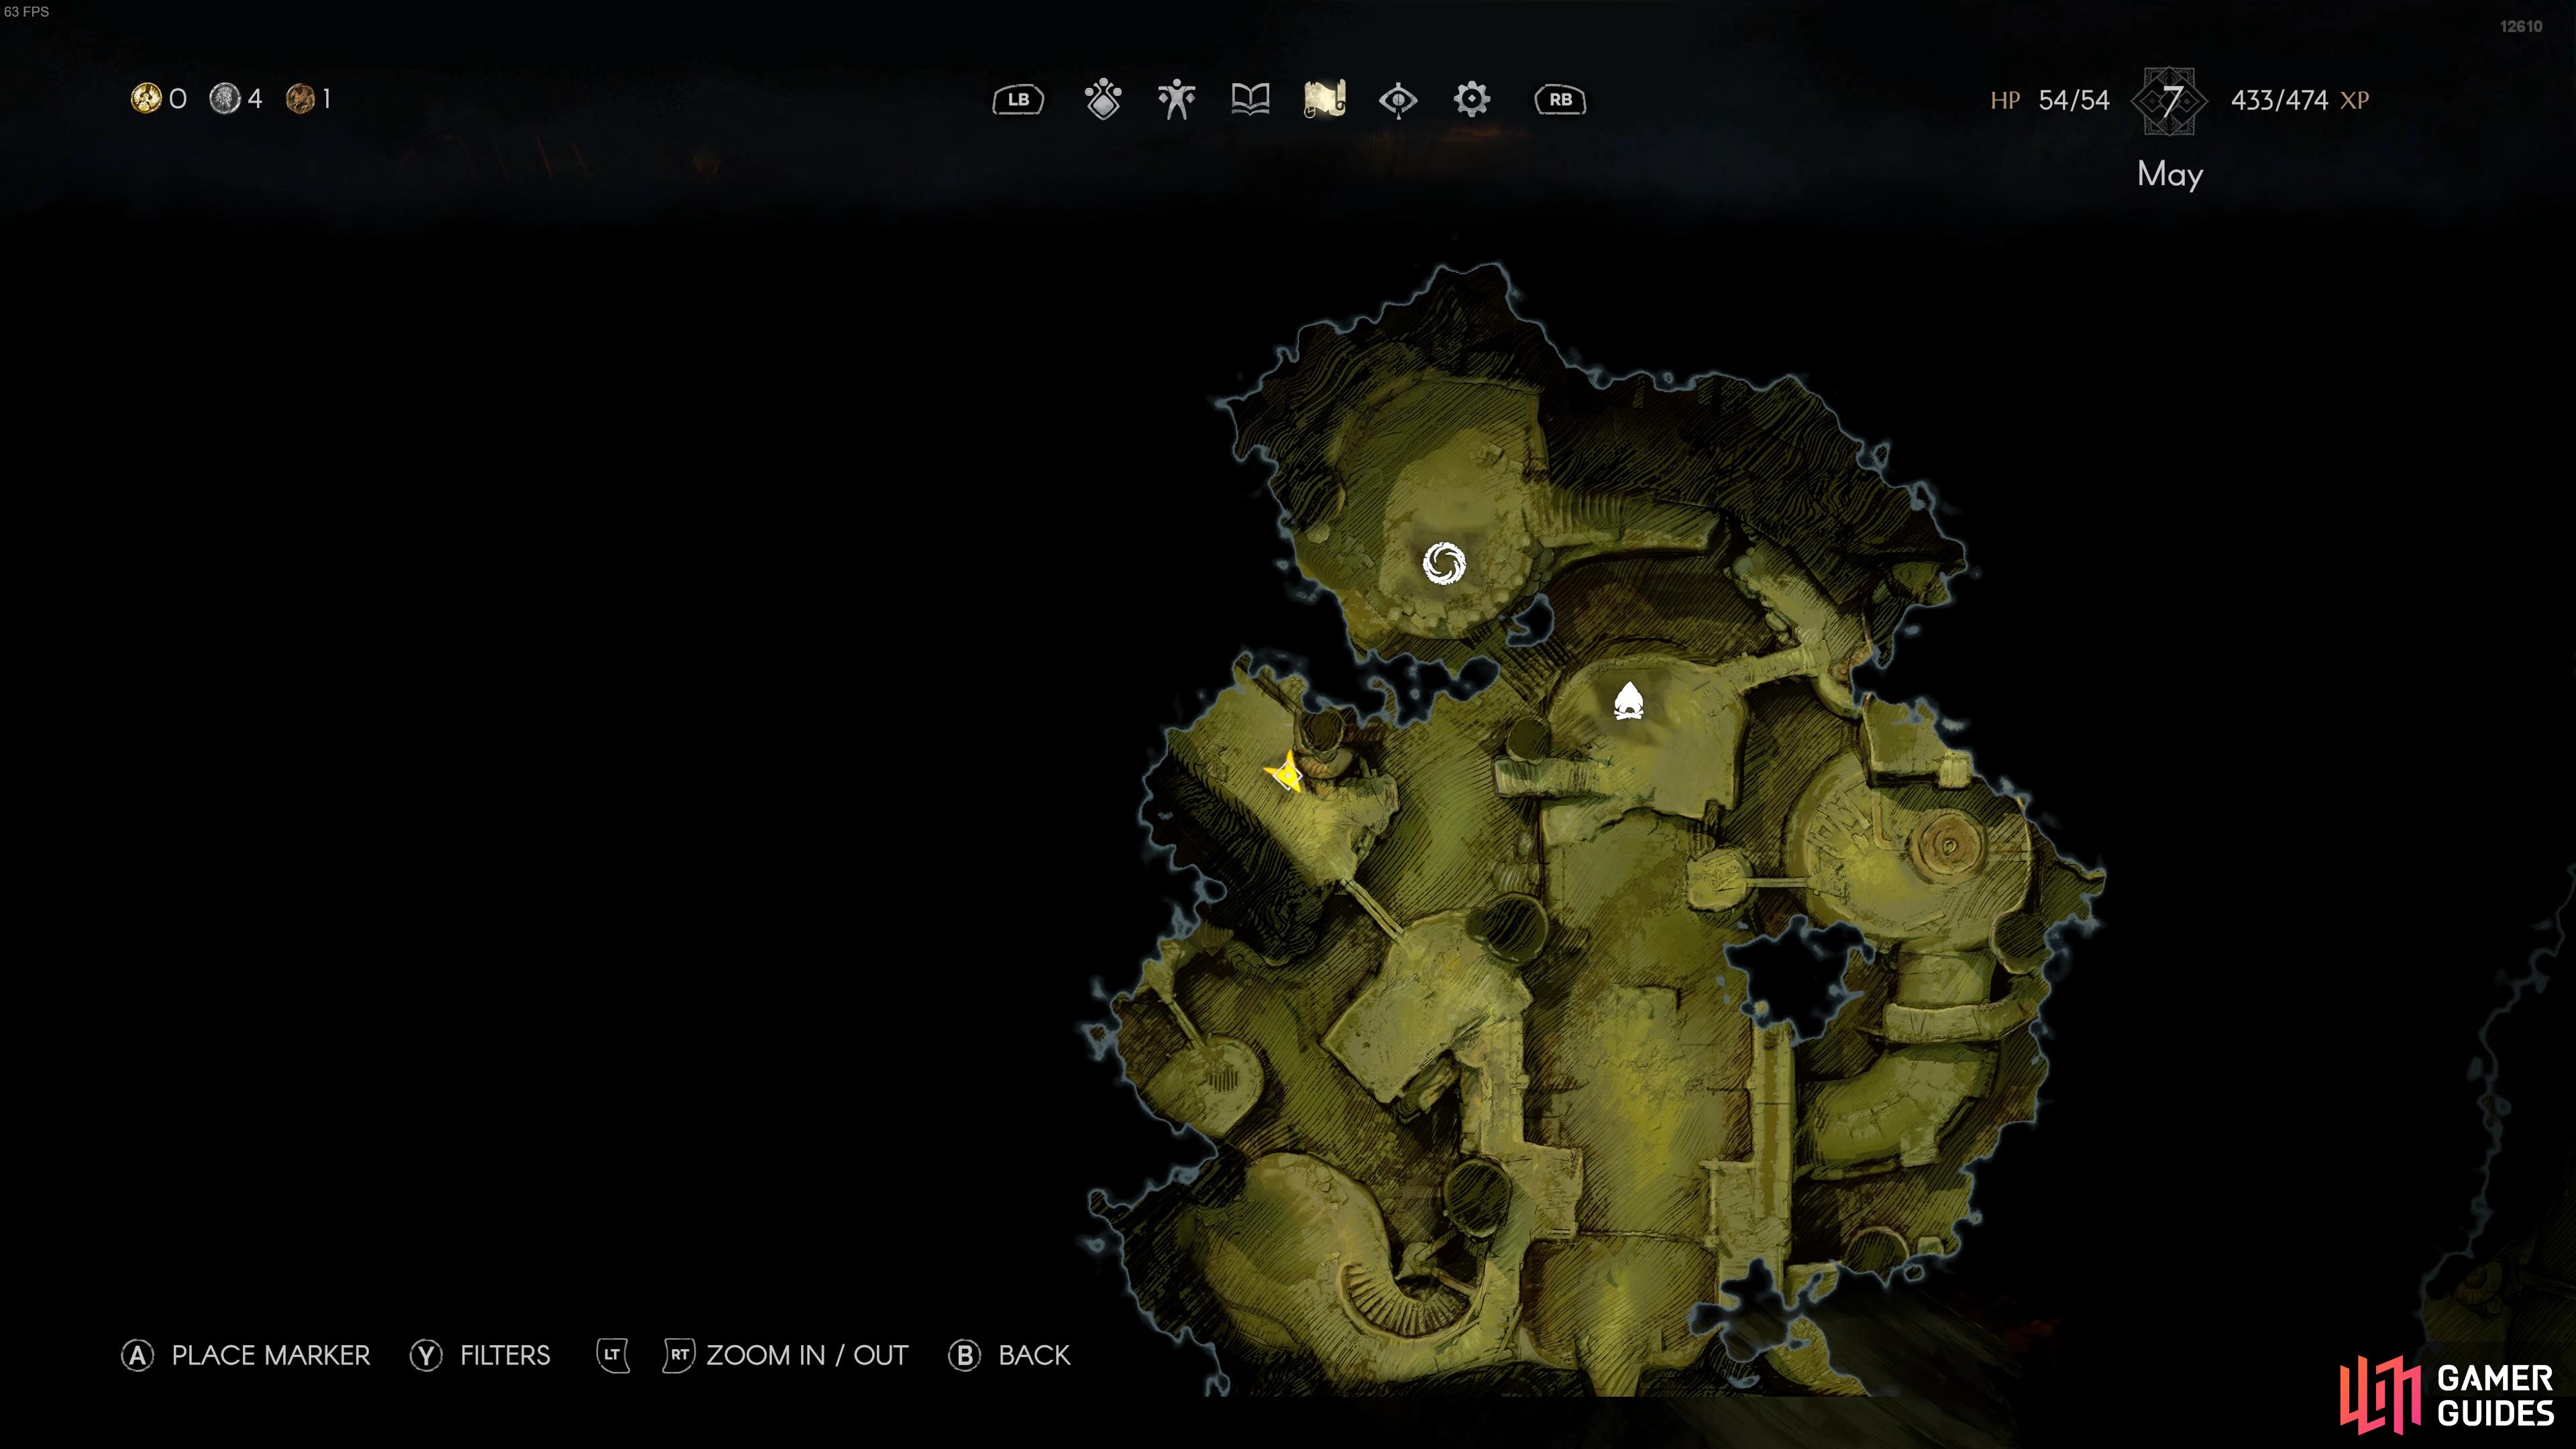
Now that you’ve activated the respawn point in this area of the sewers, look to the platform directly to its south. This is where you’ll find the Sewer Lever Handle, which you need to extend the bridge right at the beginning of the sewer entrance, where you first entered. There are a lot of enemies along the way here, and you’ll need to do some platforming over narrow planks that you can walk across.
With the lever handle in your possession, you can use it to interact with the lever directly next to where you found it. This will extend the bridge to the east, and you can make your way back to the entrance from here, pulling the additional levers that require the handle along a fairly linear path. It won’t take long for you to get back to the first respawn point near the entrance, and you can finally progress over the bridge to find Darak.
(1 of 4) The rat/lizard hybrids will multiply when you kill them.
Second Darak Boss Fight
The second encounter with Darak will be your last. This time you’ll be able to finish him off, and the first phase of the fight is exactly the same as it was during your first encounter, with all the same attack patterns. If you need a refresher on his attacks, see our Darak Boss Fight page.
The main difference here is that once you bring Darak to zero health in his normal form, he’ll turn into a plague-infested version of himself, with tentacles that are capable of hitting you from a much greater range. His attacks here are essentially the same as the smaller humanoids with tentacles, so you just need to get the timing right to avoid them by dodging or rolling, while being ready to retaliate with your own attacks when you get the chance.
Once you’ve defeated Darak, Winnick will appear with Rattigan in chains. He’ll inform you that he knew all along about your deal with Rattigan, but since it turned out for the best (and since he also knew without telling his superiors), your secret is safe with him. It seems there’s more to Winnick than meets the eye.

 Sign up
No Comments