
After the initial prologue in No Rest For The Wicked, you will end up stranded on the beach, with nothing but the bare clothes on your back. From here you will need to set off, gather equipment, tools, and weapons, and find healing item resources and other materials to ensure your survival in the brutal world.
The first quest you will have is Sacrament, which requires you to make your way to the town. However, it won’t be an easy journey. Here is a breakdown of the steps and how to survive along the way.
The Shallows
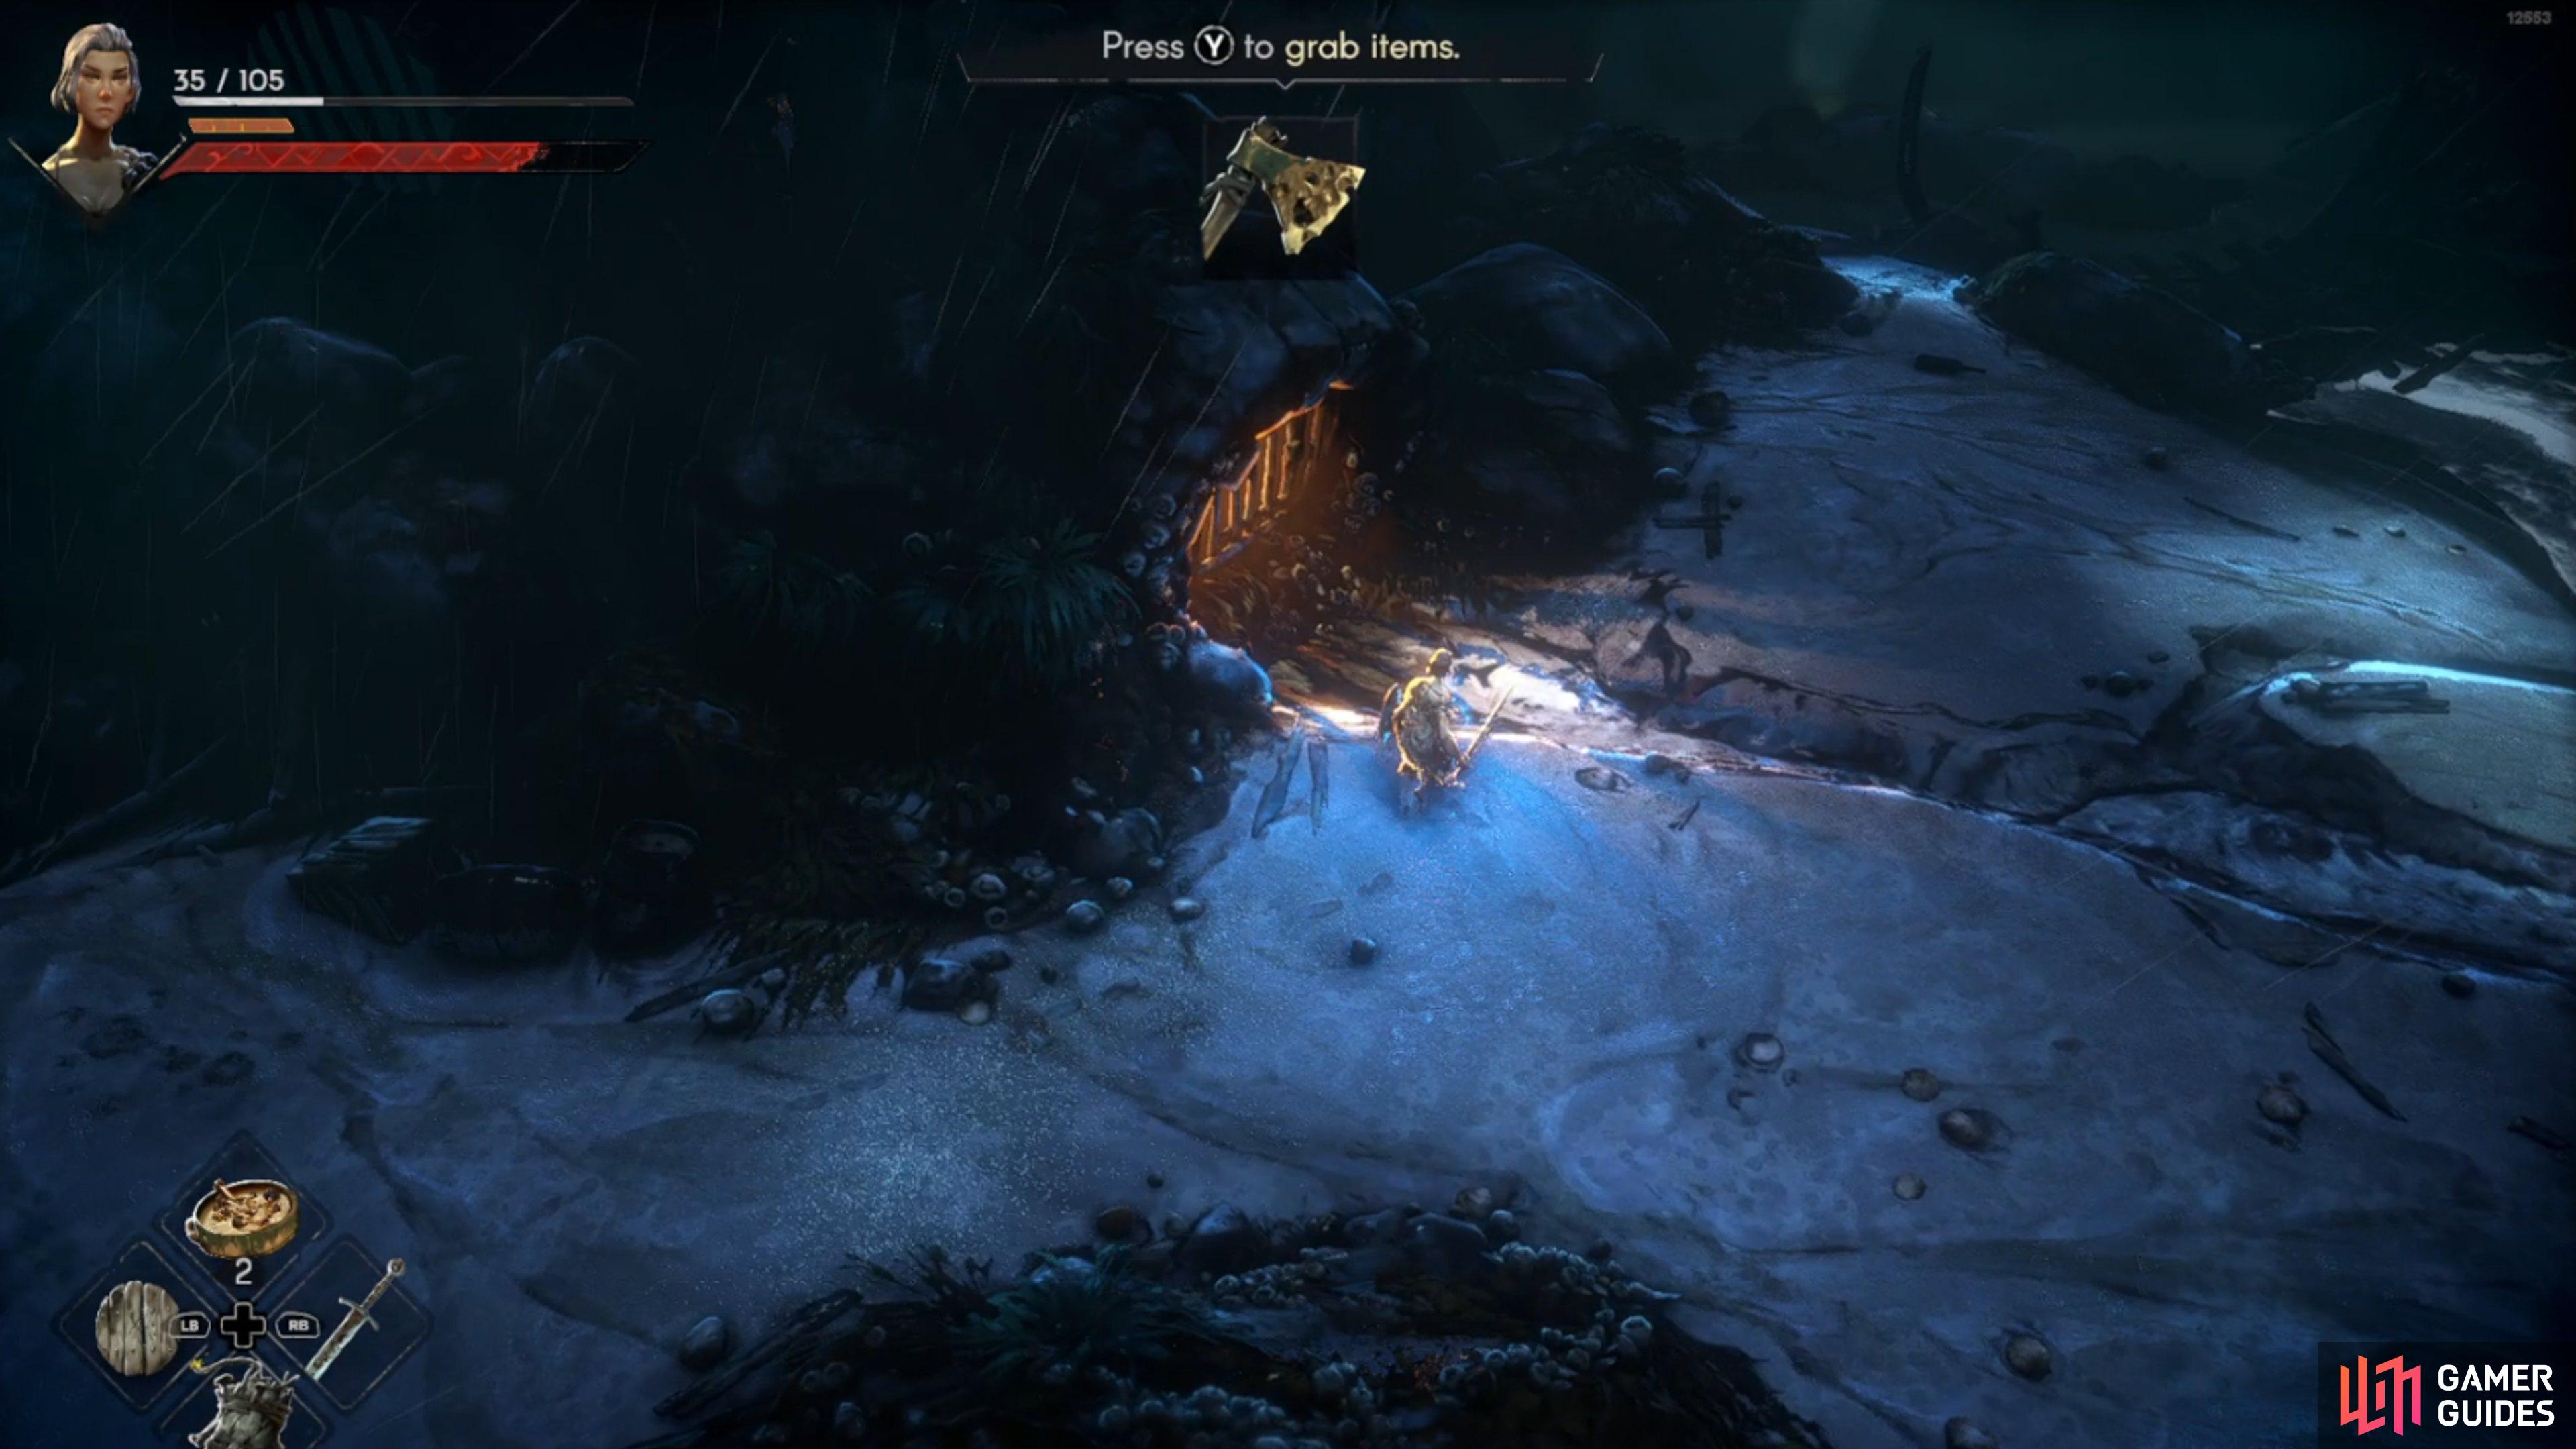
Initially, you will be incredibly disorientated upon waking up, so you will want to explore the initial shore area. Here you will find a few crabs to kill, ingredients and resources to loot, and you may even find one of the tools. These are incredibly important items that are vital to your survival and crafting gear and loot later on.
For a deeper dive on where you can find these tools in The Shallows, check out our guides on where to get a shovel, where to get a fishing rod, where to get a woodcutter’s axe, and where to get a pickaxe. You will have to do a good amount of searching in this initial area to find them.
Return to the shore and other areas fairly often for additional items and enemies to defeat.
In this area, you can swim out to the sea, but we suggest heading east or west, as you can find some items lying on the ground or in chests. These may contain some weapons, but loot is always random so your chance of getting a weapon is up to Lady Luck.
Once you have obtained some gear, tools, and hopefully some weapons, you want to head north into the main fort. Just outside you will find a campfire where you can rest and craft healing items, as well as some enemies.
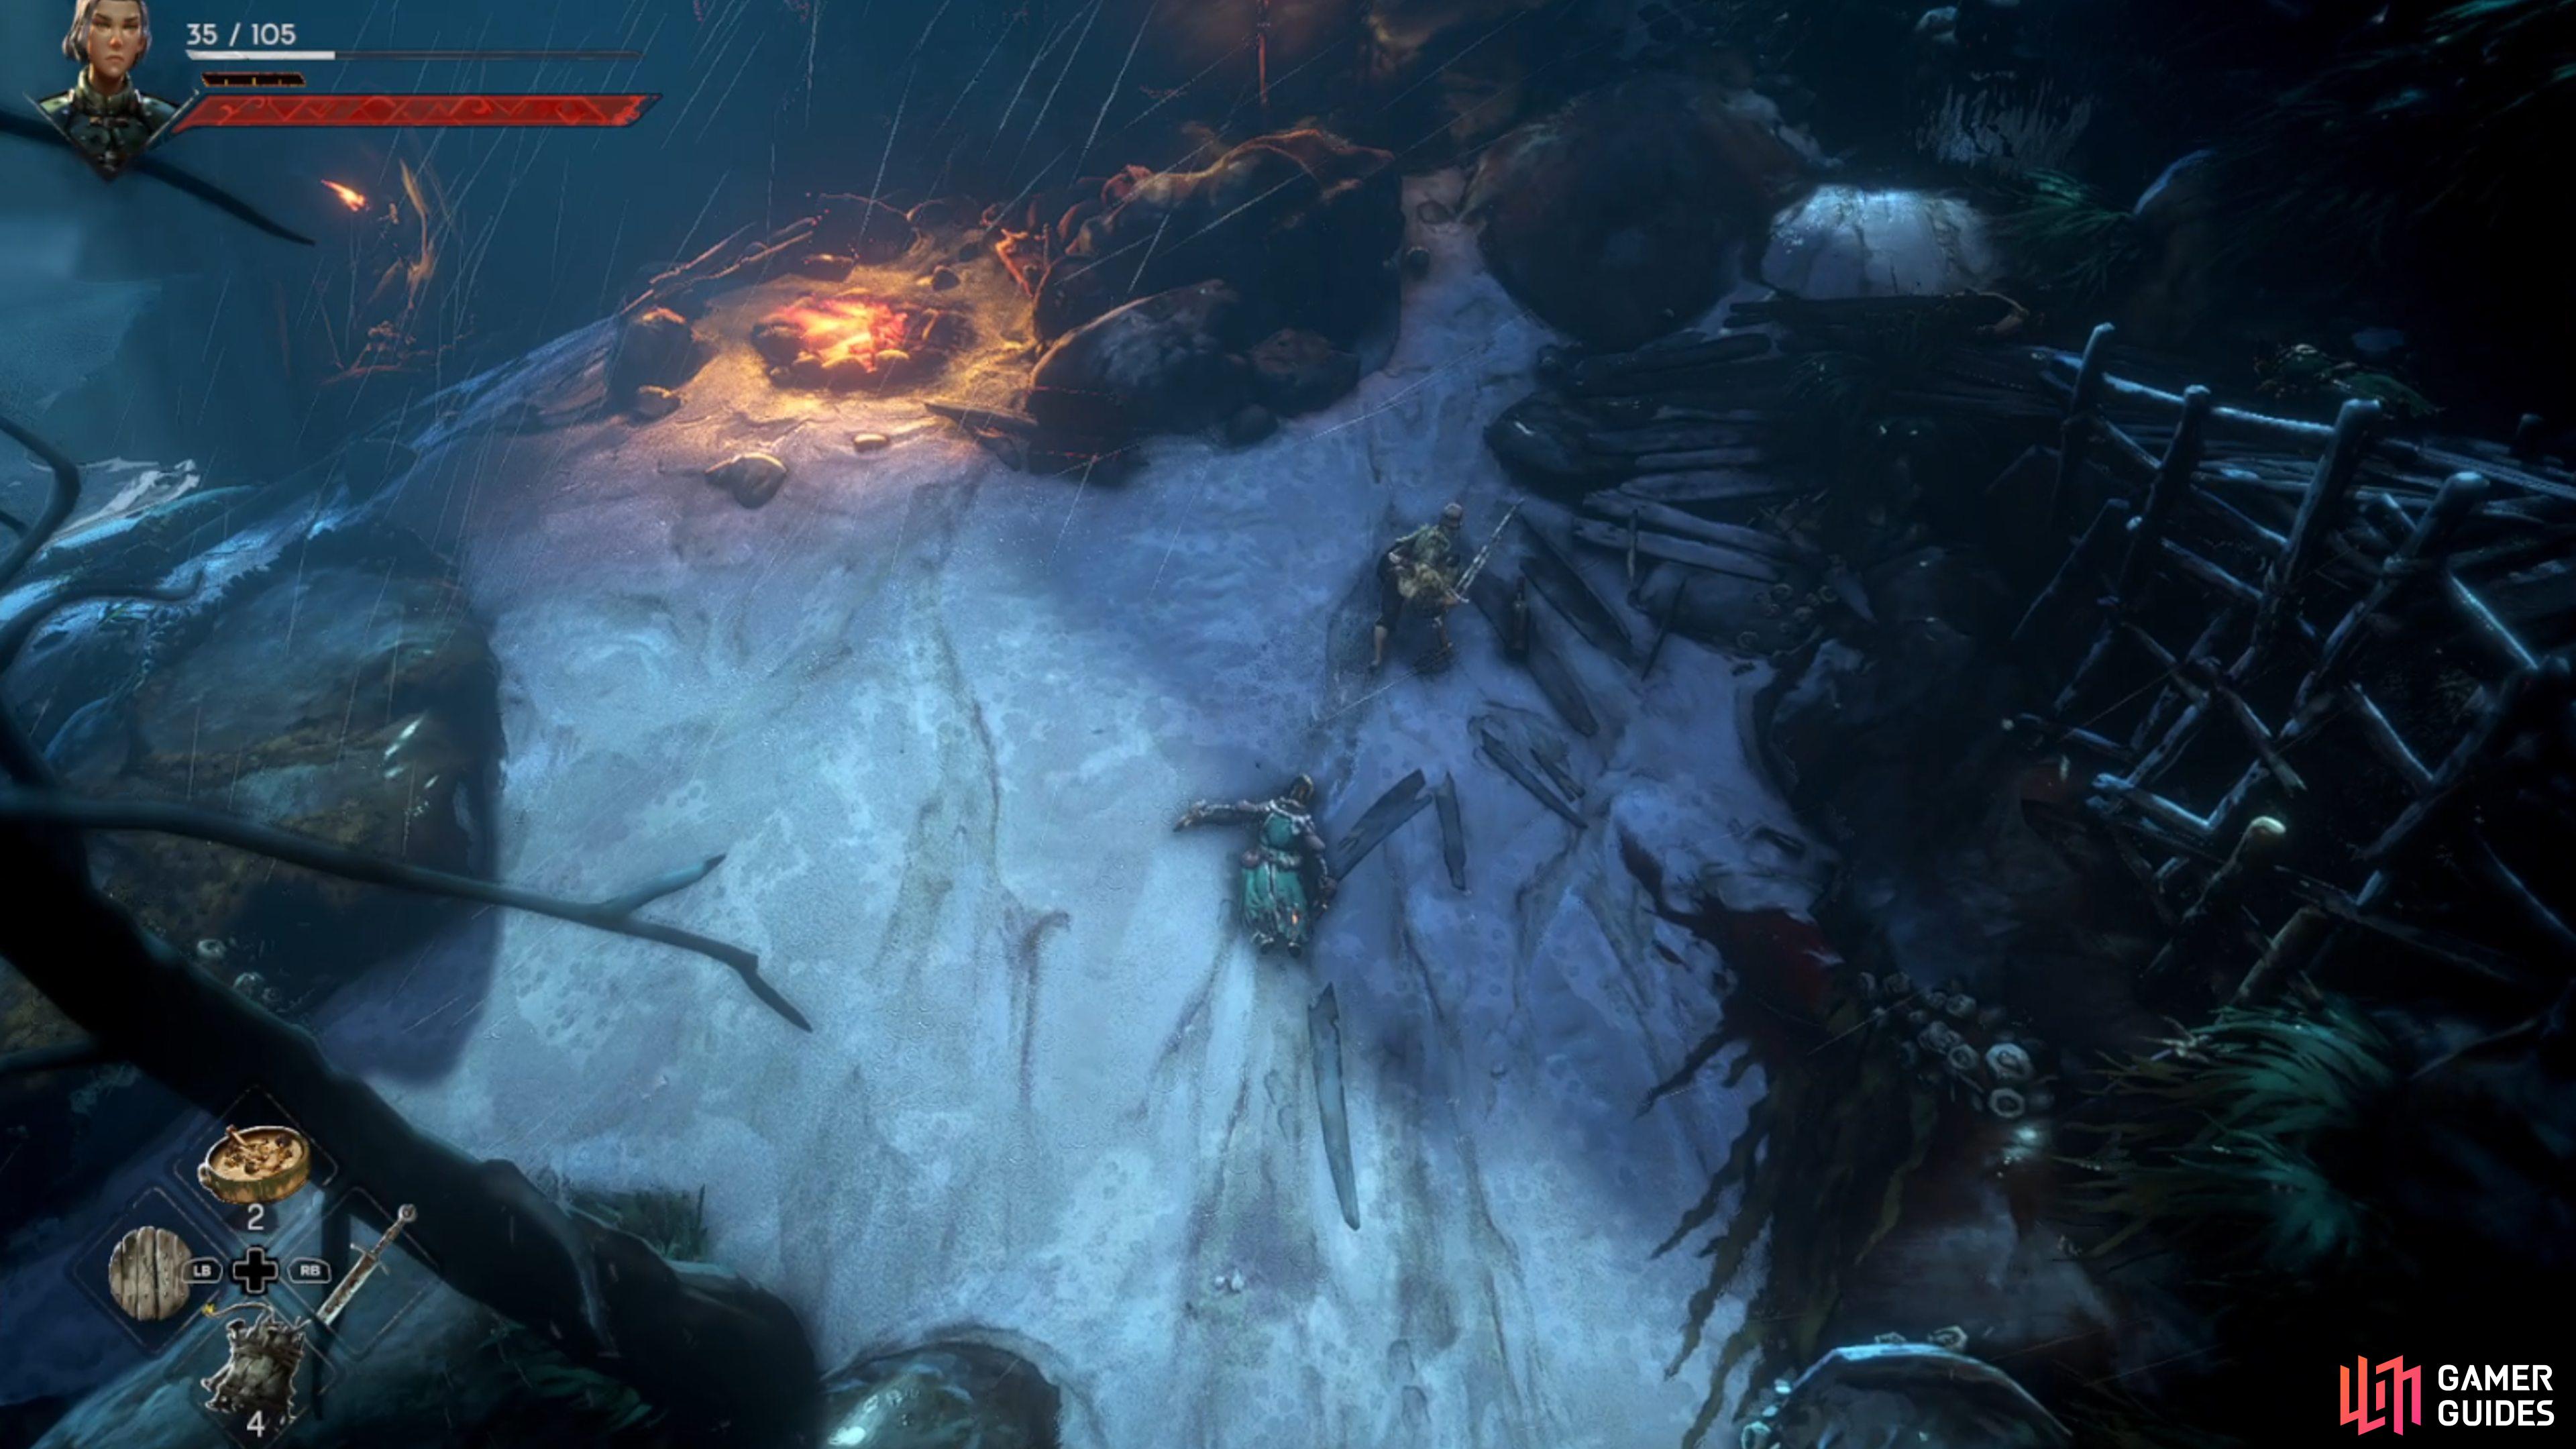
Make use of campfires wherever you find them to craft new healing items.
Mariner’s Keep
Once inside Mariner’s Keep, you will want to head up towards the north-west. Here you can find a Whisper which will save your game (and later be used for fast travel). That way if you die you can respawn here.
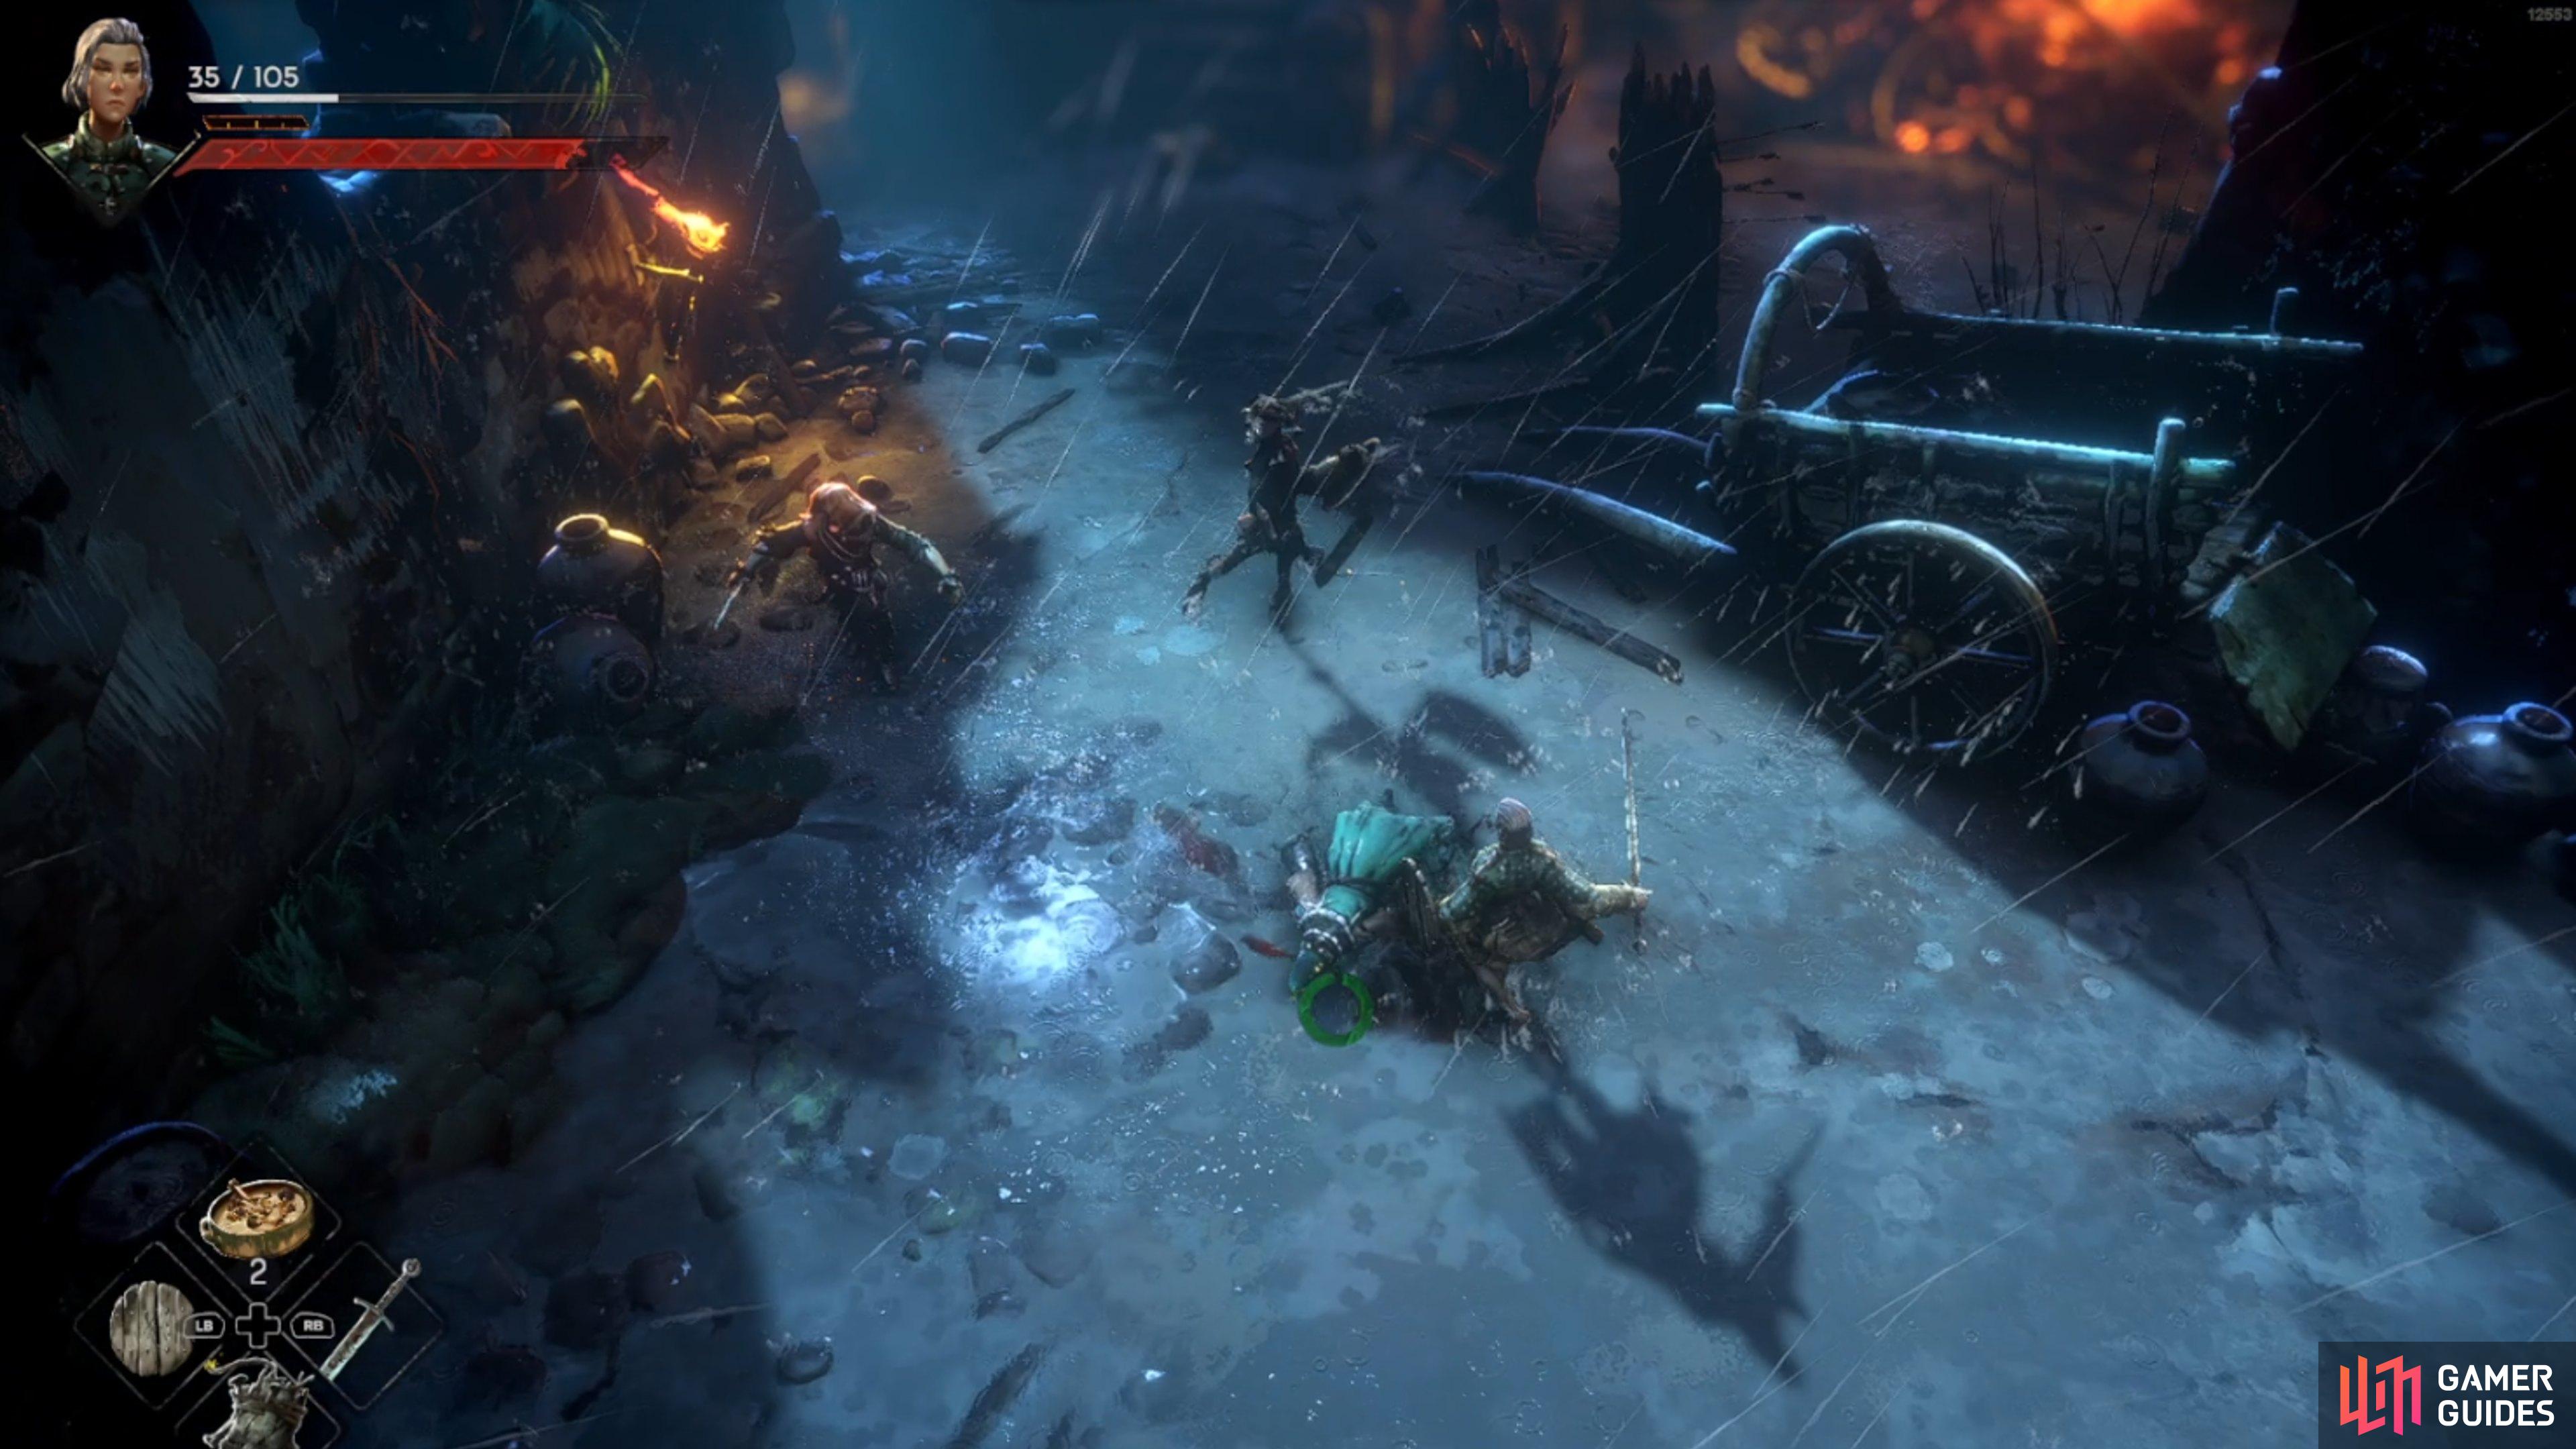
The initial set of enemies in the Keep isn’t too challenging. They are standard soldiers and grunts. However, they can catch you off guard at this early stage as you are still getting used to No Rest For The Wicked’s combat.
As with our other boss and combat guides, you don’t want to get too greedy. Land an attack or two and conserve your stamina so you can dodge out of the way or prepare to parry. You can also use these enemies to practice and hone your skills.
If you are struggling with one or more enemies, you can use your Rune abilities to deal powerful attacks, depending on the weapon you have found.
Facing two or more enemies is extremely deadly in No Rest For The Wicked, so try to avoid getting into these situations.
Along the west side of the Keep, you can find some more chests, enemies and items, if you want to take them on and collect the rewards. However, to progress, you want to head east. Keep an eye out for enemies with crossbows and firebombs as they can deal a huge chunk of damage. You want to roll towards them and kill them as quickly as you can as they can disrupt the flow of your attacks.
When you reach the far east, you will come across a locked gate. To open it, you will need to first enter the Mess Hall. Our guide on the Mess Hall Key location covers exactly where you can find it, but you want to head south from the gate and look on the balcony overlooking the shore for a body with it.
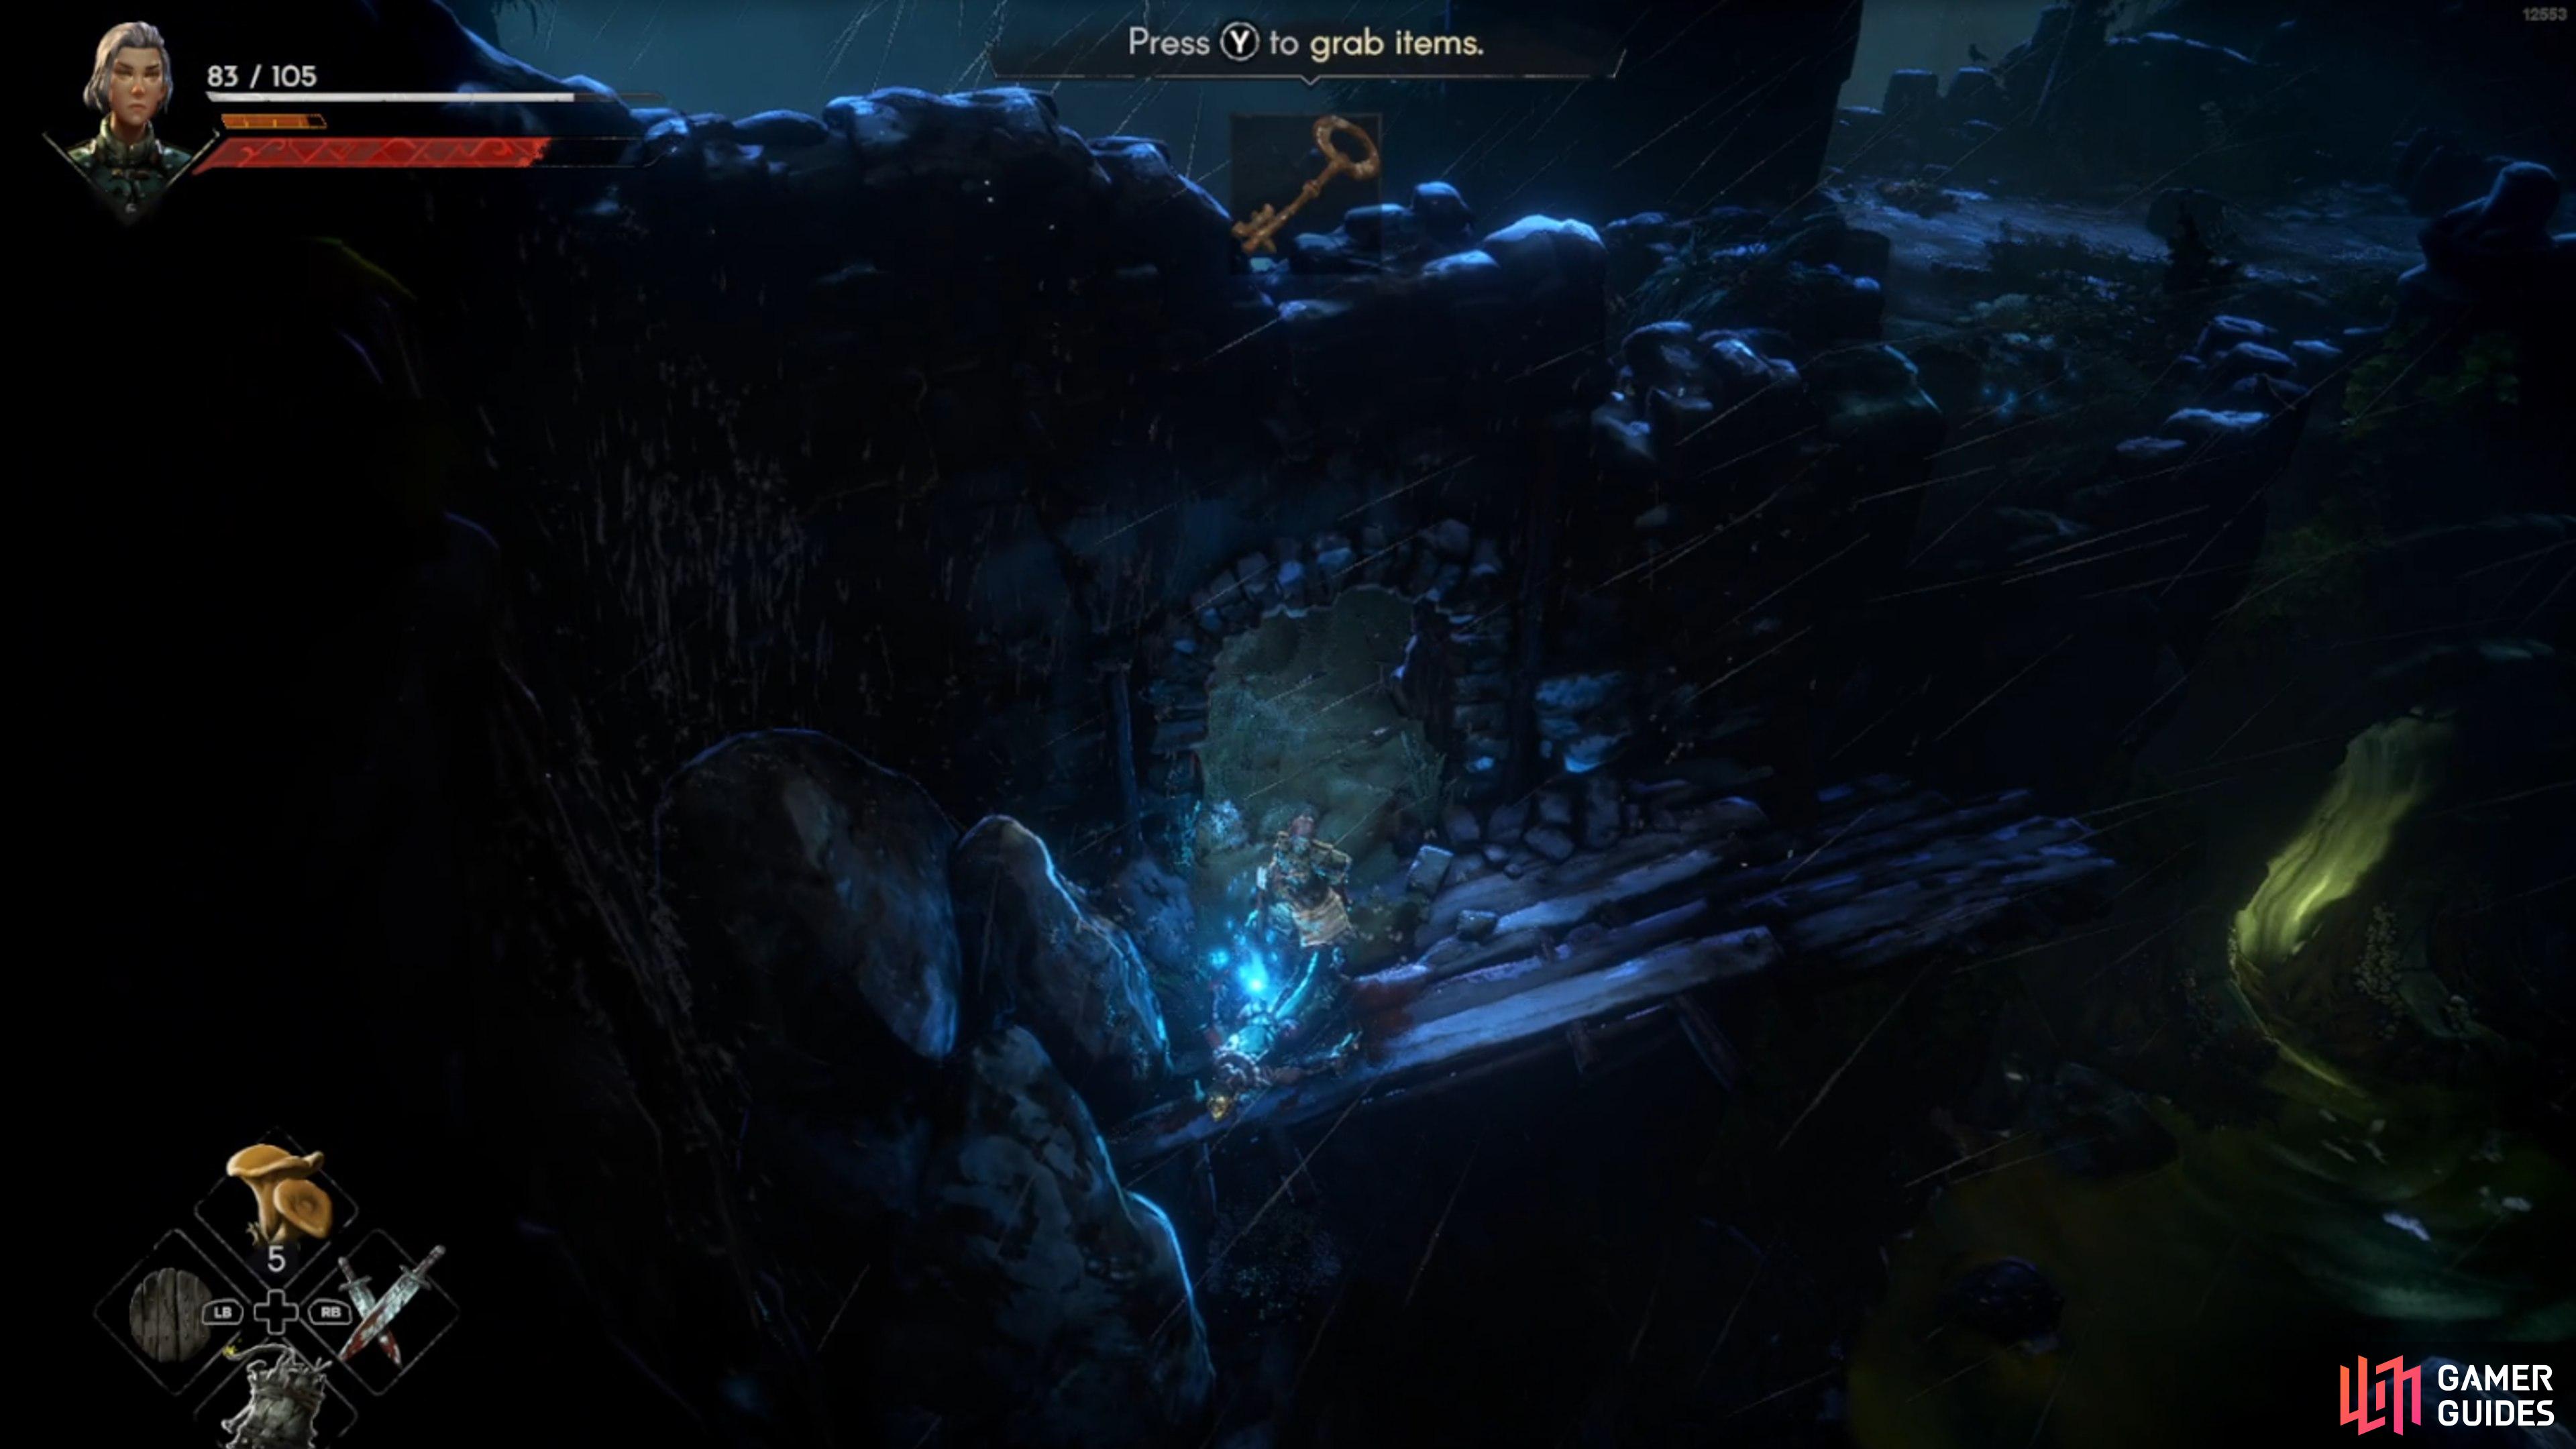
Thankfully, the key isn’t too far away from the Mess Hall itself.
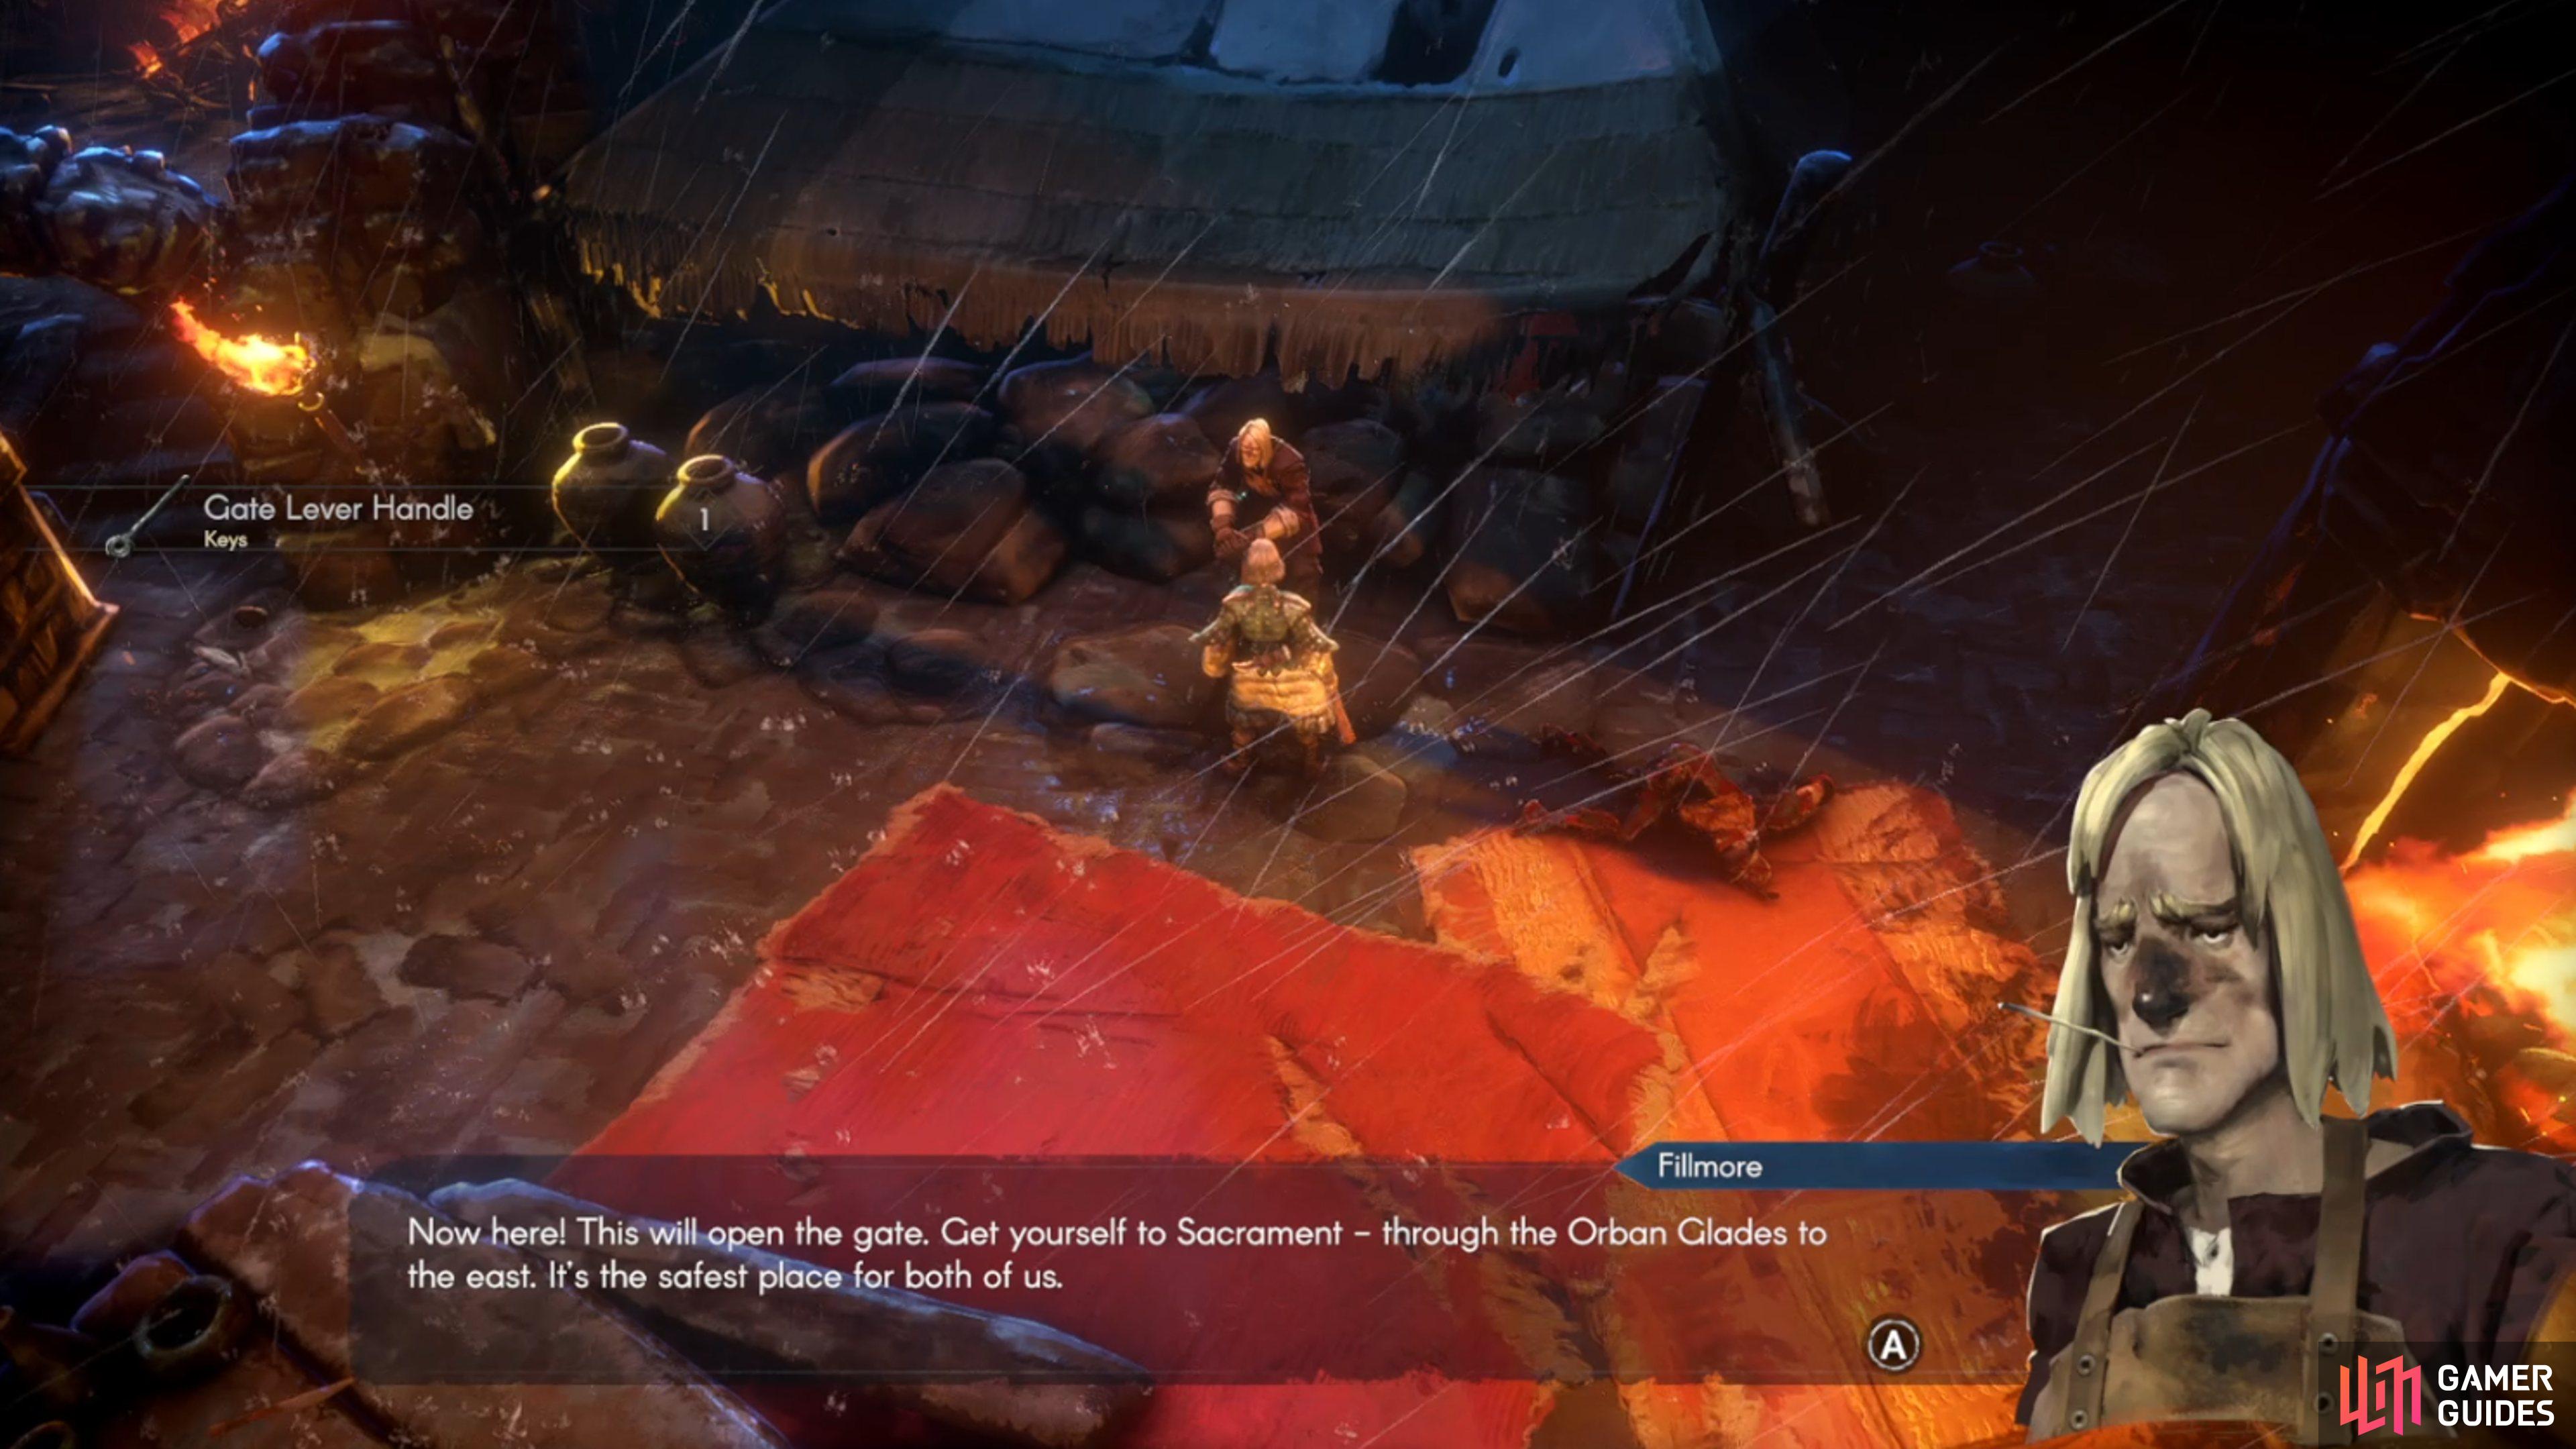
Head back to the main courtyard west of the locked gate and in the south you will find some enemies harassing a blacksmith. You can enter the door here to the Mess Hall with this key and kill those enemies. Talk to the blacksmith, who will introduce himself as Fillmore. Here you can repair gear and weapons, and he will eventually move to Sacrament once you have visited the town.
Alongside repairing items, you can also buy recipes, resources, and gear here too. However, at this point in the game, you won’t be able to afford it. It is worth picking up one of the tools if you haven’t already found them all in the world.
At this point, Fillmore will also give you the lever which can be used to repair the gate. With the lever in hand, head back to the main courtyard and up towards the Whisper. To the east, you will see a walkway by the north wall which you can climb or jump onto. Walk along and you can interact with the switch to fix it and pull the lever - opening the gate.
Alongside the Mess Hall, Fillmore will move to the campsite on the outer edges of the Keep if you happen to die to foes further into the level.
Outer Mariner’s Keep
Once outside Mariner’s Keep, you want to largely stick to the main path to progress towards Sacrament. You can head north down the elevator to the other side of the main keep wall, but you might struggle to take the enemies down here. There also isn’t much of use here. So continue onwards, rest by the bonfire and make your way along the path towards the next Whisper, where you should save.
You will want to save because up this path is the game’s first boss: Warrick The Torn. This is a tough fight and a real skill check for most players due to his high-damage attacks and fast swings and swipes.
However, our Warrick the Torn boss guide for No Rest For The Wicked breaks down his full moveset and how you can make the most of his recovery times to slay him.
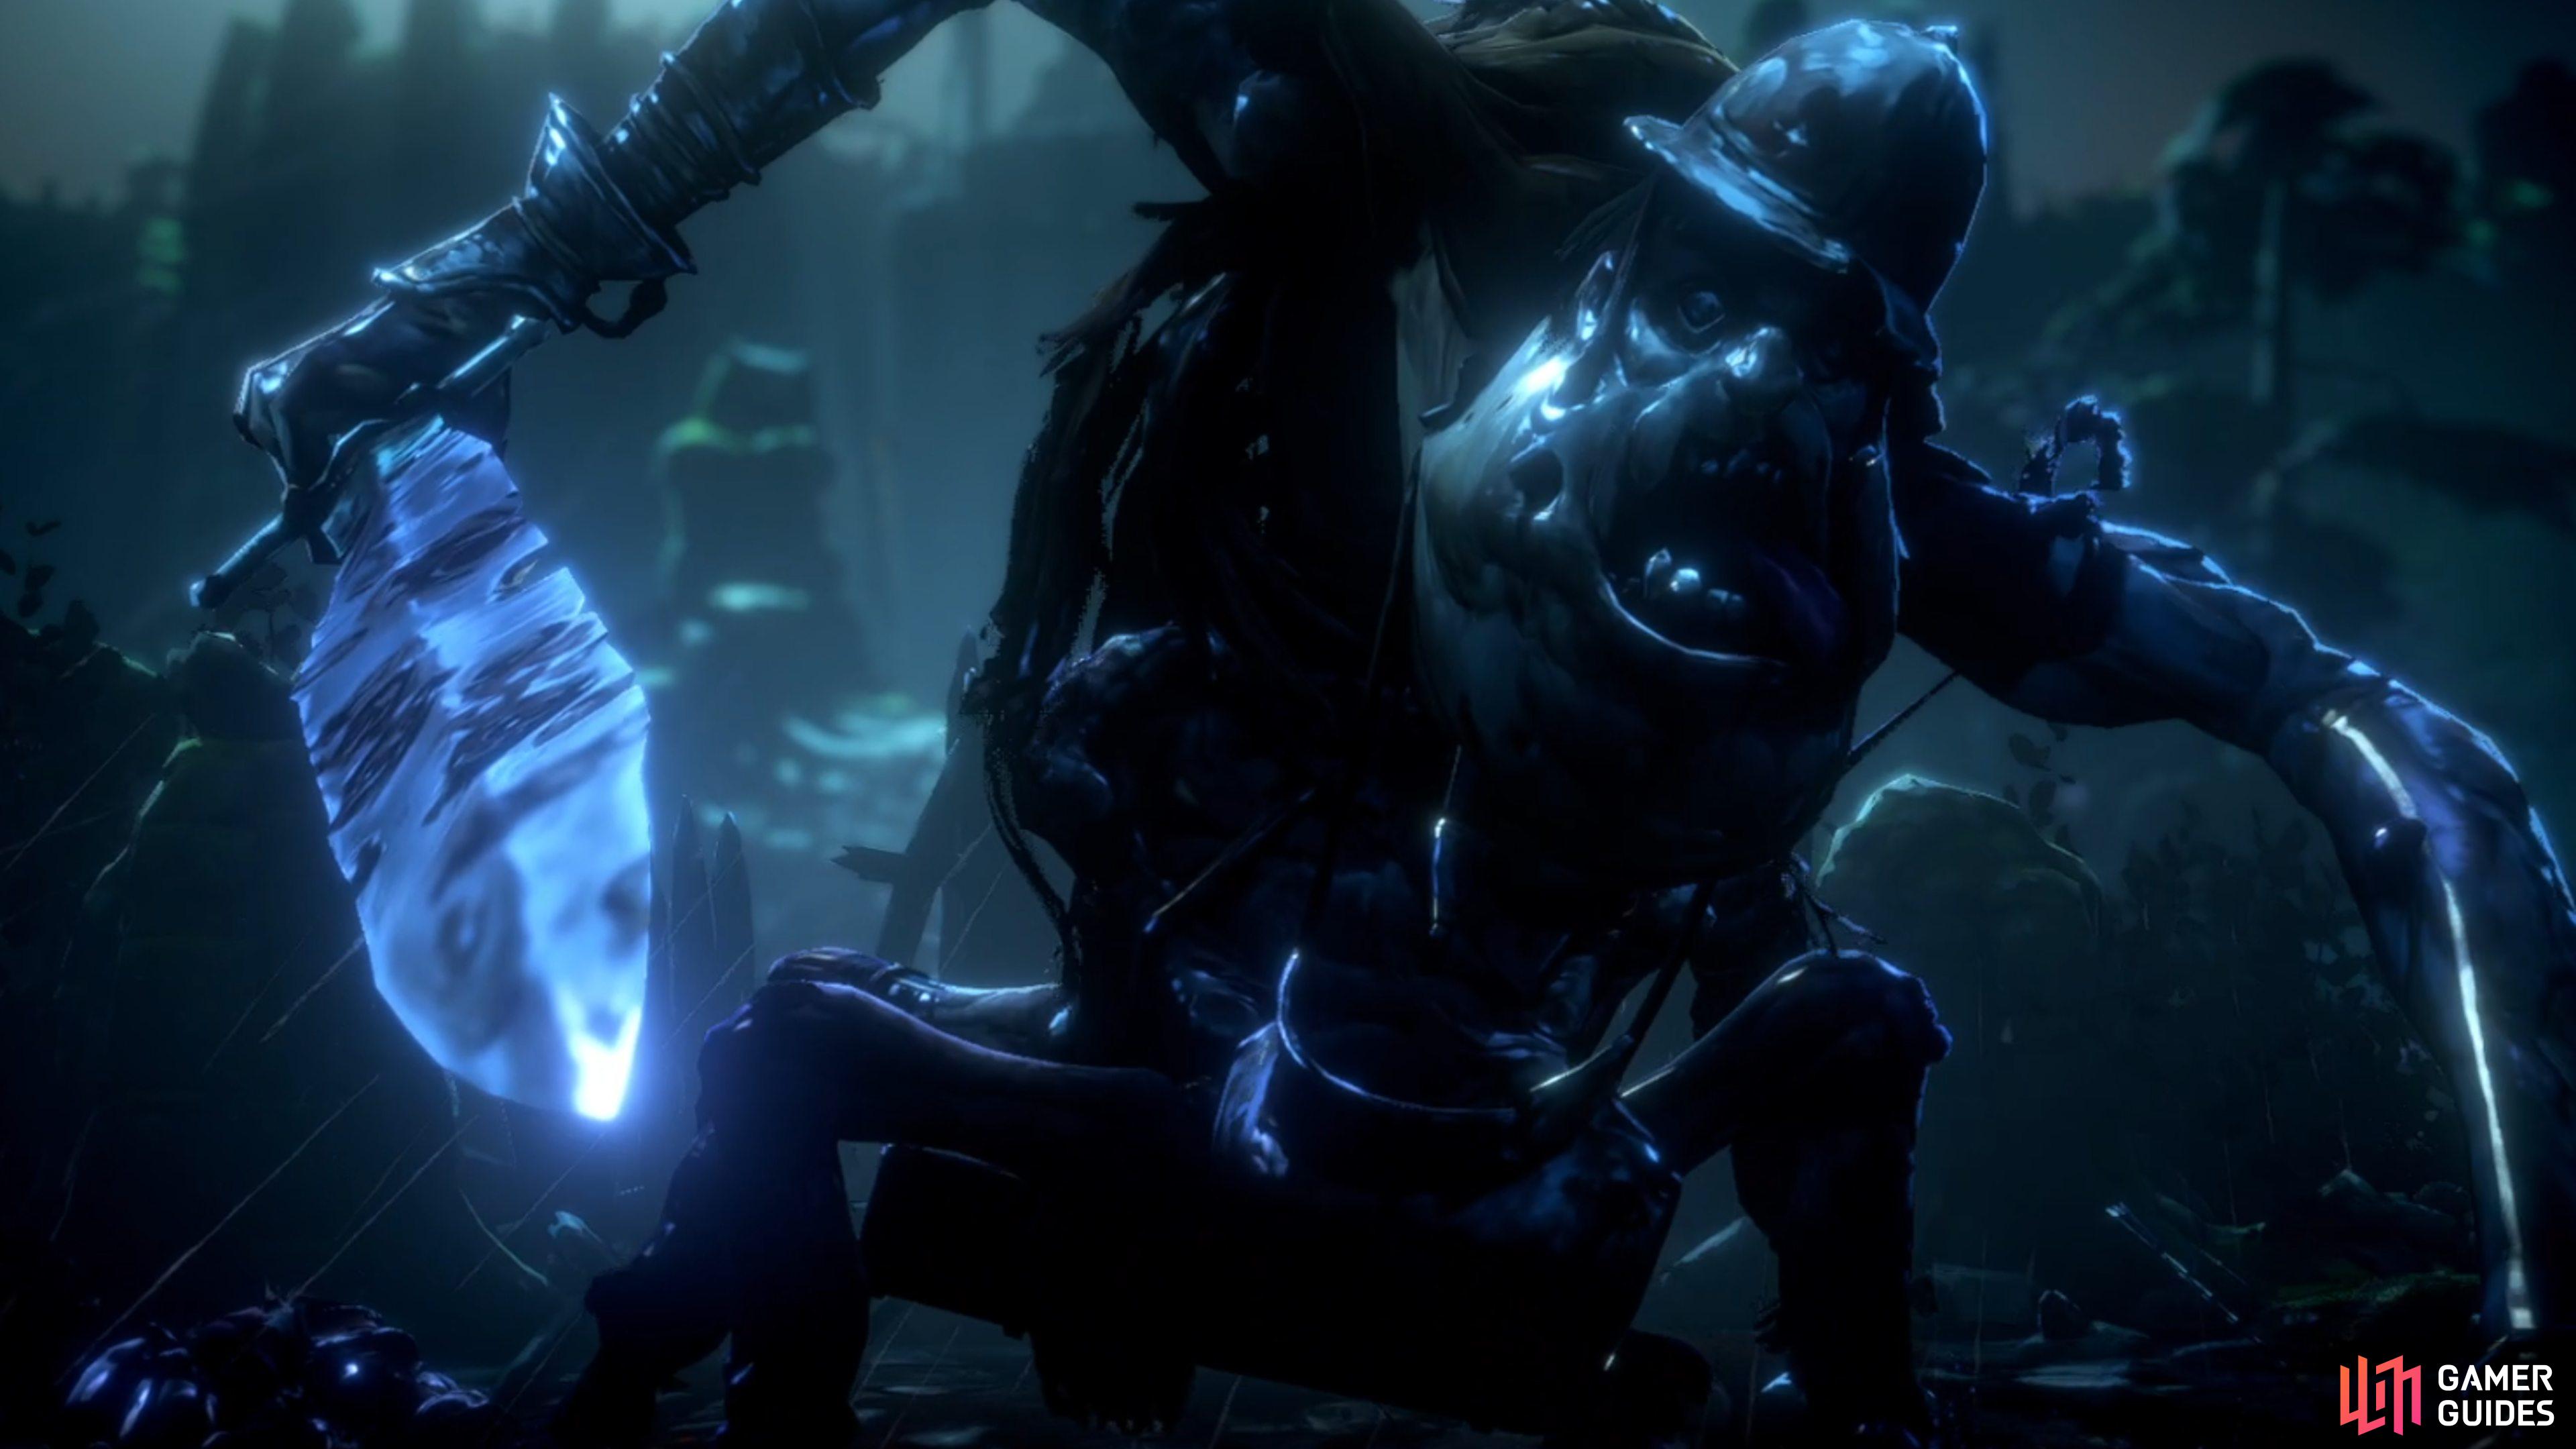
Warrick is no easy foe for anyone. Ensure you are at least level 3 or 4 and have a decent weapon you are comfortable with.
With Warrick dead, that means you can then move on towards the city where you will be greeted by Ellsworth, Winnick, and a ton of soldiers who will greet you into the city. You will then be asked to head to the Rookery. This can be accessed from the eastern side of the town or by following the guards who will point you in the right direction - as they are scattered around Sacrament.
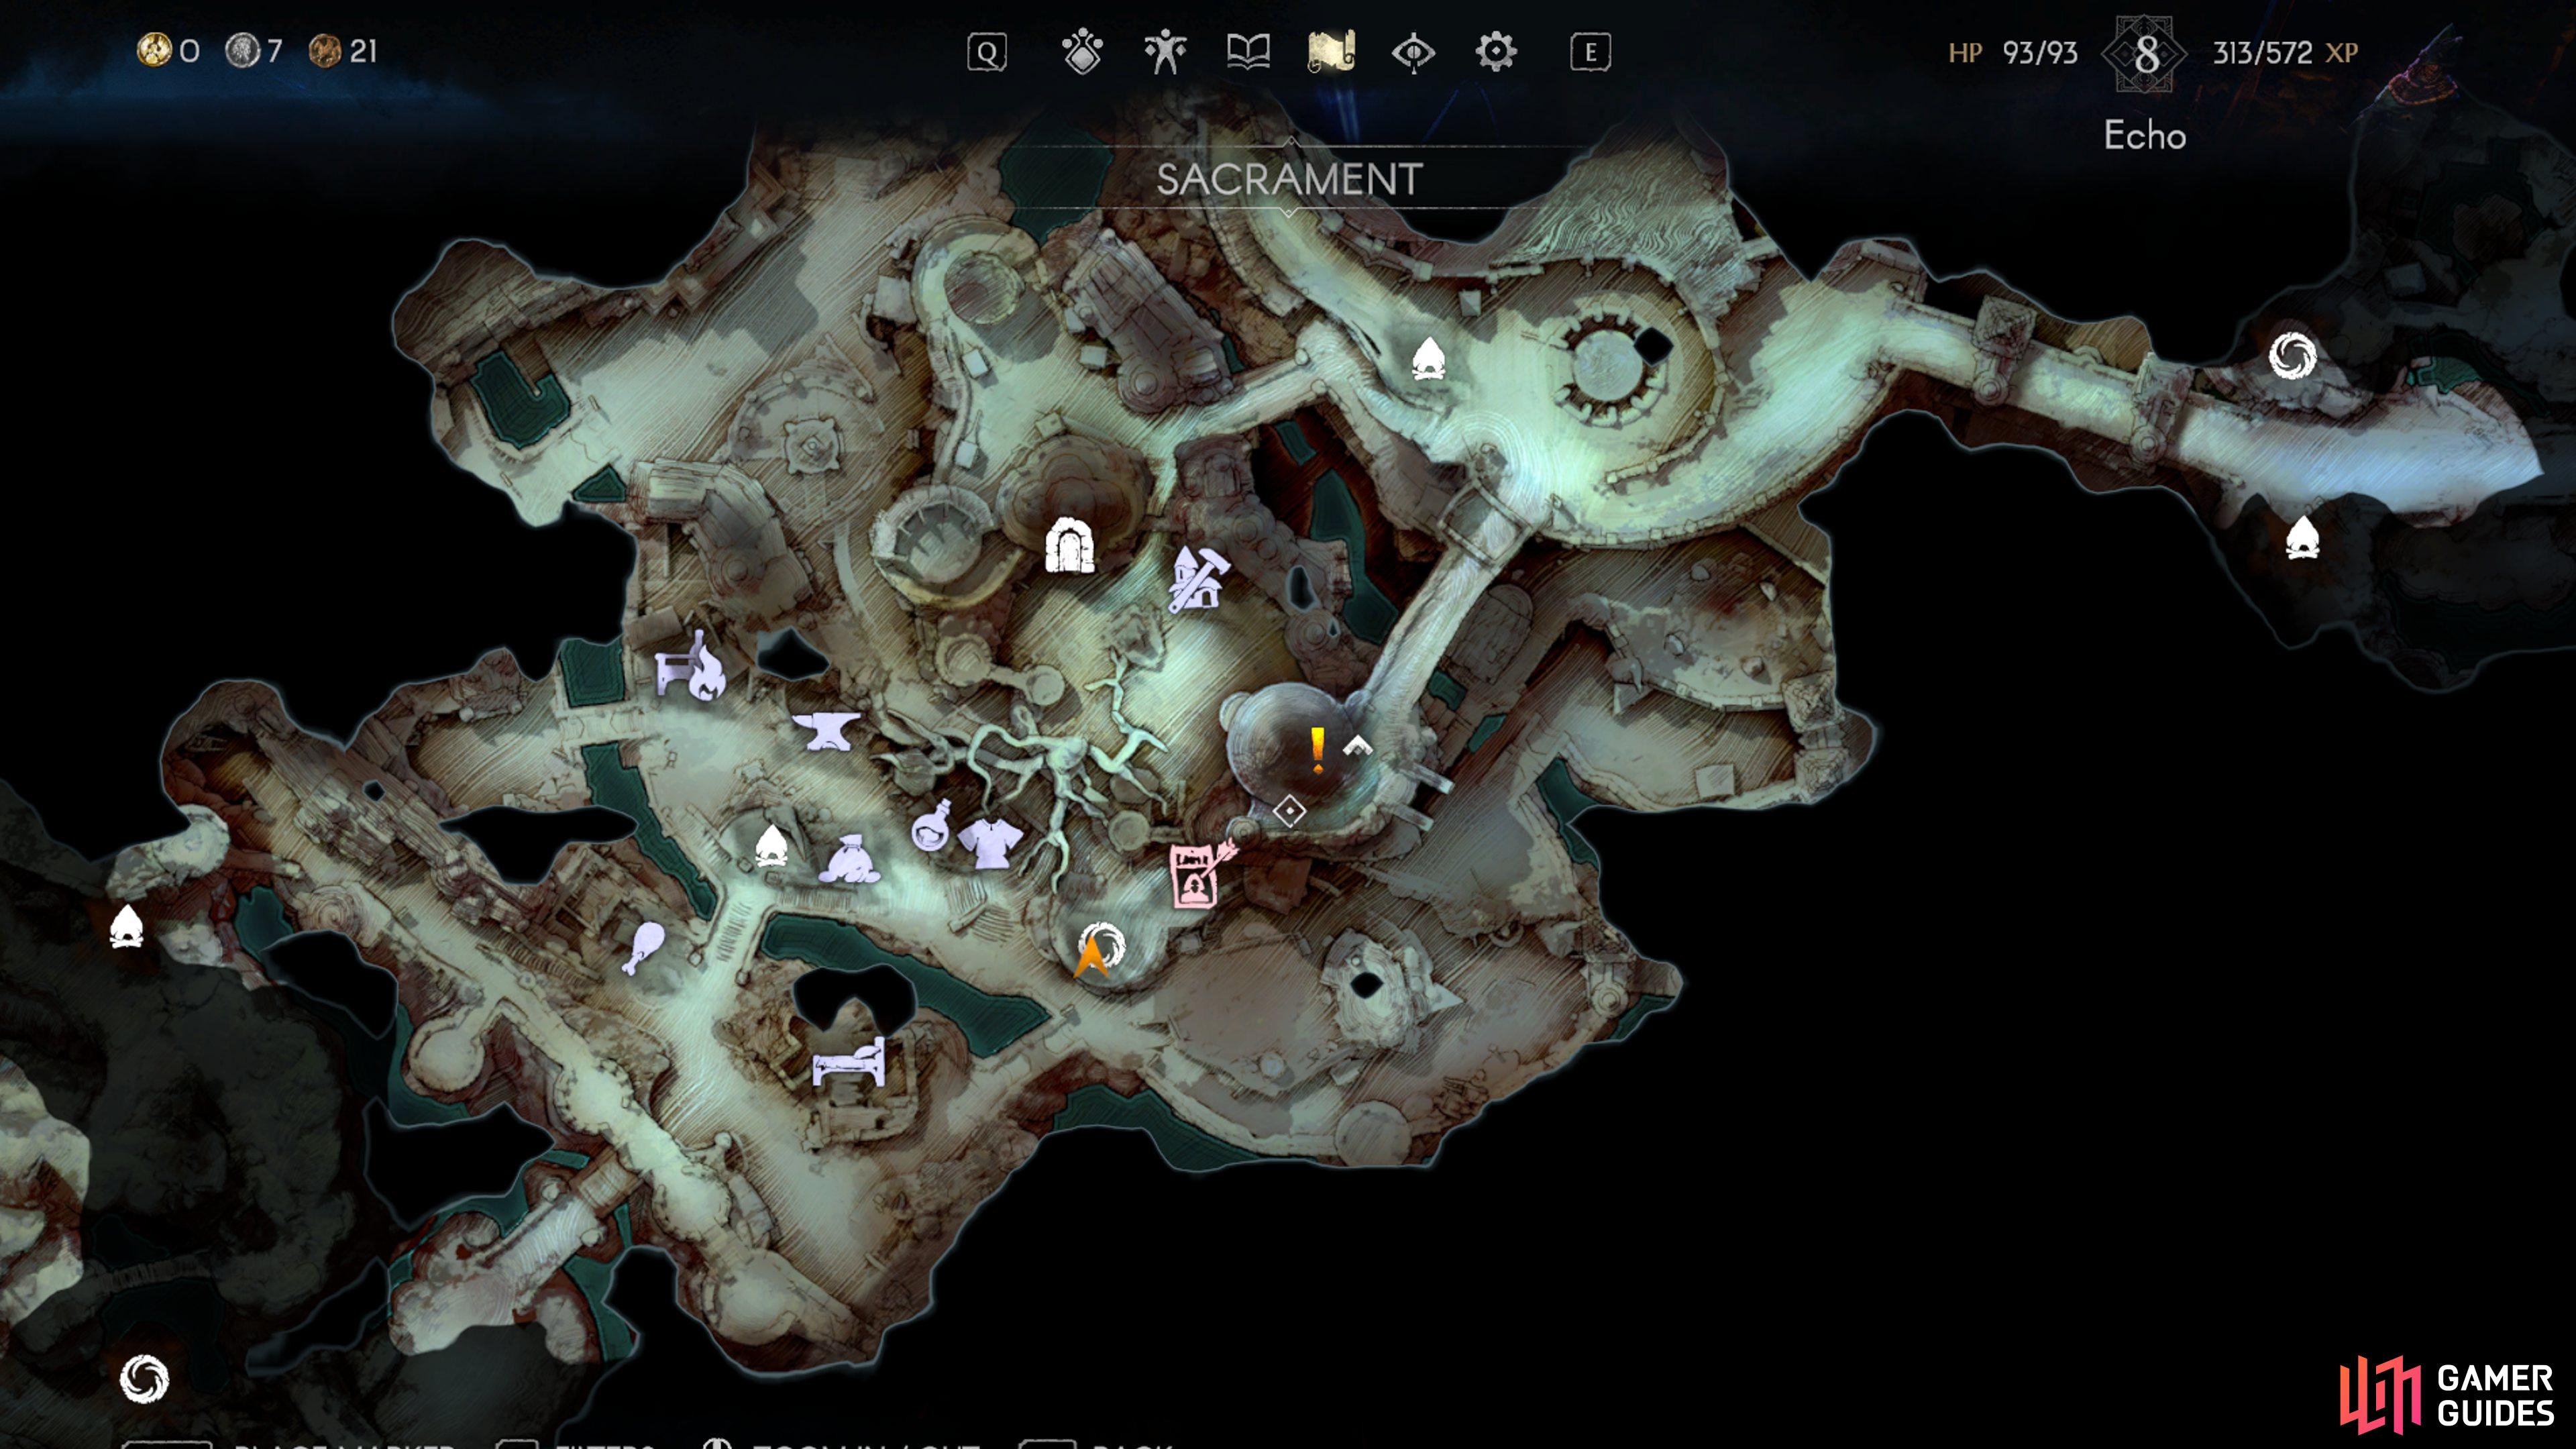
The Rookery can be accessed either from the east or by heading north to the top level of Sacrament and then across the rope bridge.
Head inside and after a brief scene you can rest in bed for the night. You can then talk to Roan in the Rookery to expand your inventory and complete the quest.
With Sacrament completed, you can now move on to the next main quest in No Rest For The Wicked, which involves finding Plague Ichor and exploring more of the map. On your way you will come across several more bosses, including Darak and The Riven Twins, both of which we have breakdowns and guides on how to beat them.

 Sign up
No Comments