
During Scene 04, Emem’s second scene in the game, one of your key objectives will be finding Emem’s missing memories as you explore. Some of these can’t be missed, but a number of them are hidden throughout the scene, and if you don’t find them all you’ll fail the objective, earning less XP.
Memories can be triggered by interacting with various objects in the level. There’s not a whole lot of fanfare for most of them, so they can be somewhat easy to miss, even if you walk right by them. Once triggered you’ll get to witness the memory play out, after which a portal will spawn and you can return back to reality.
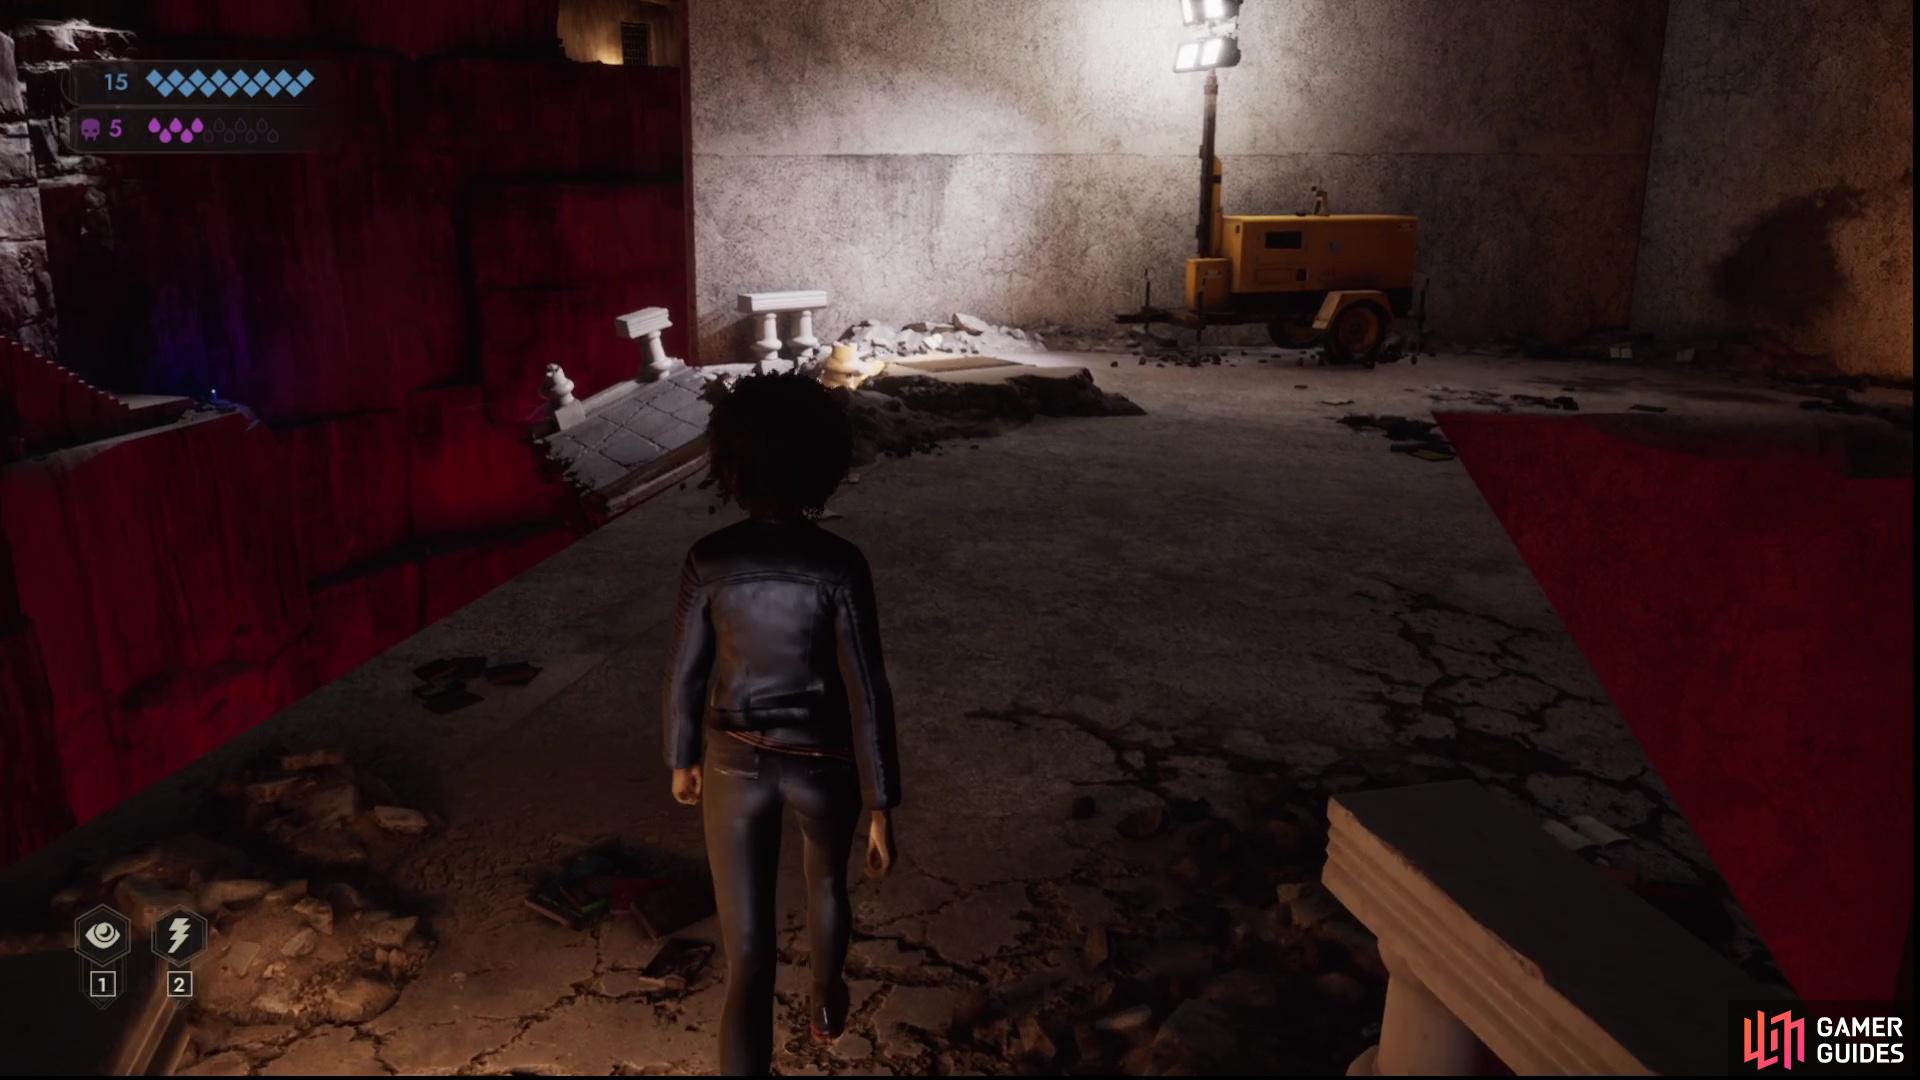
The first memory can’t be missed - you’ll acquire it as you approach the “Jefferson Library” sign.
Emem Memory - Captured by the Hartford Chantry
This first memory cannot be missed, and it serves as an introduction to recovering Emem’s memories and provides backstory for how she found herself in her current predicament. From where you start the level, you’ll need to look at the pit opposite the cell door and use Celerity - Blink to reach a lower walkway. This will set you back 3 Hunger, and you start the scene with 10 Hunger, so you may need to overturn a rock and snack on some rats. Once you’re on the lower walkway, just head forward and Emem will see a “Jefferson Library” sign that triggers the memory. You’ll have to perform some free (0 Hunger) Blinks during this memory, but otherwise it’s a fairly straightforward affair.
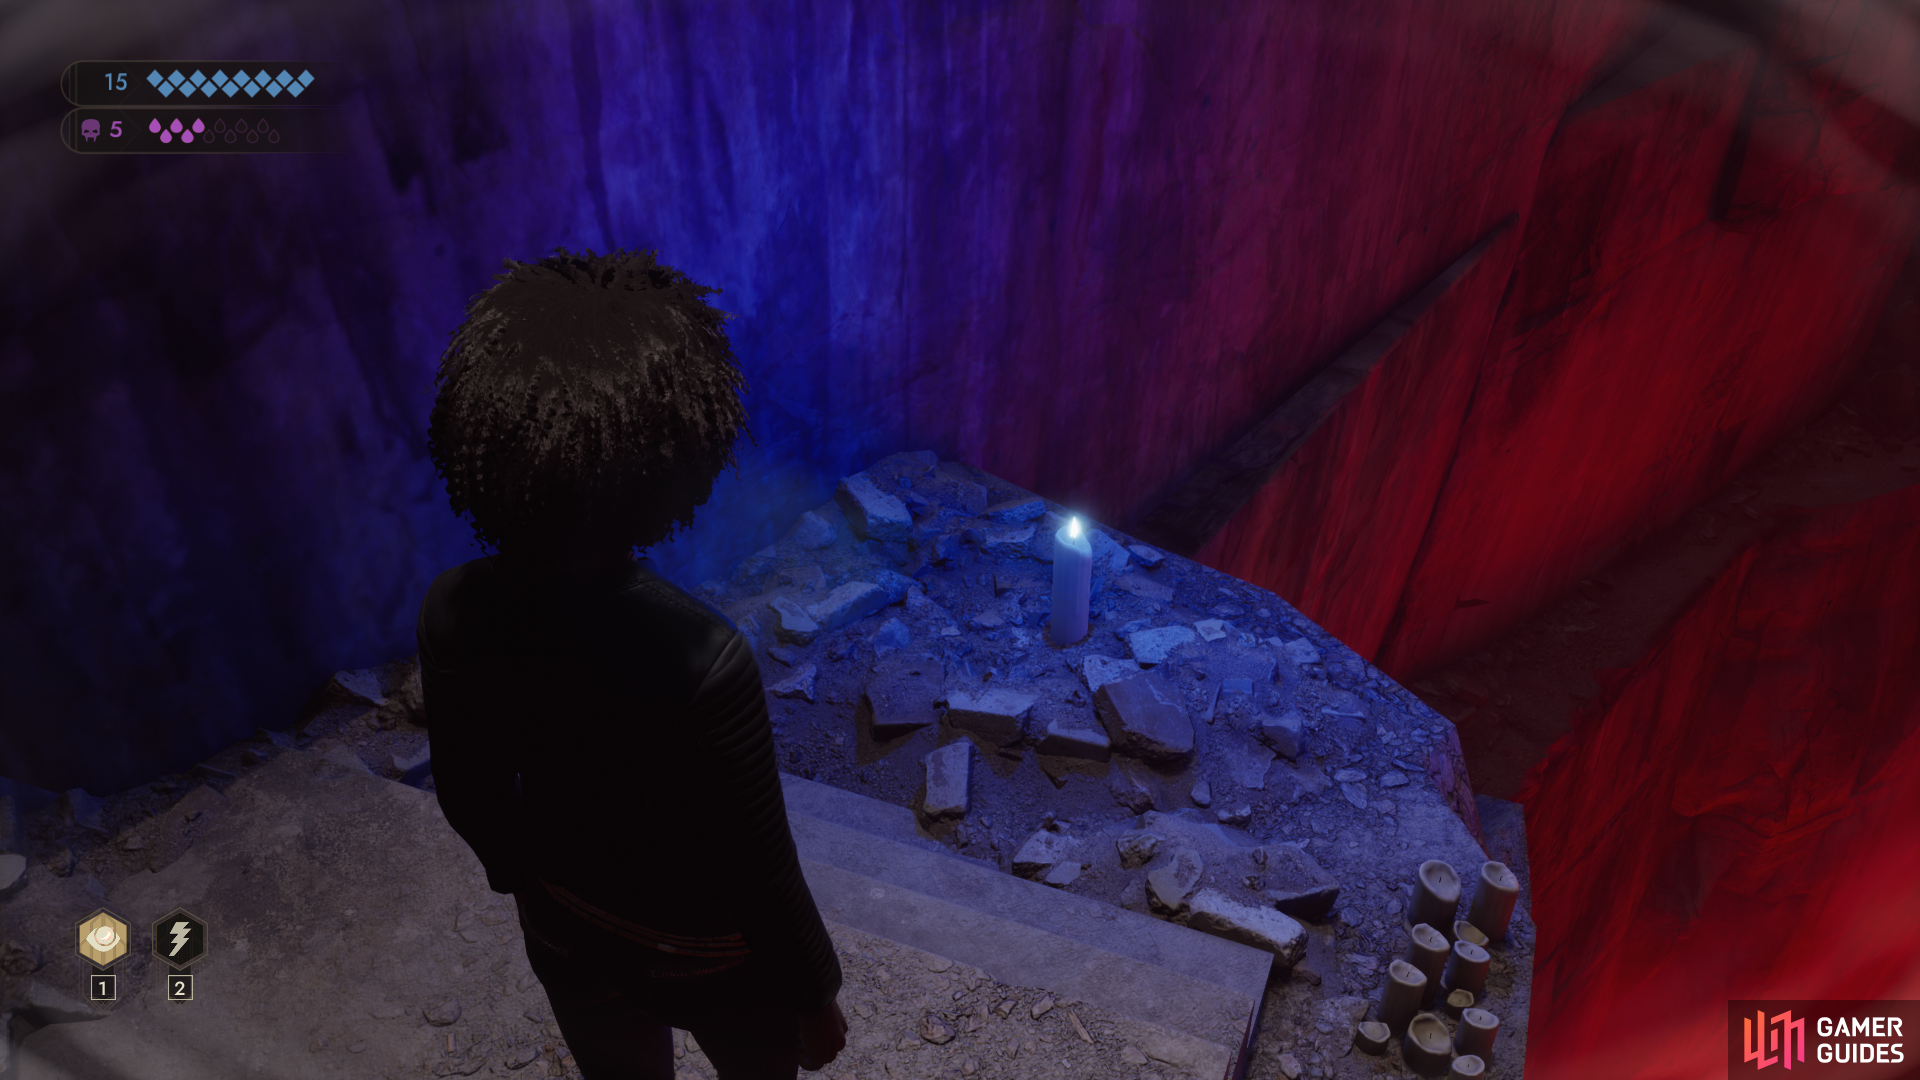
Examine a blue-flamed candle to trigger a memory.
Emem Memory - The Embrace
After you recover from your first memory, “Captured by the Hartford Chantry”, activate Celerity and look for a Blink spot near the Jefferson Library sign. Blink once to reach a shattered walkway, then you’ll need to quickly turn left or right and blink again to reach another ledge. Blink to the right the second time, then note a staircase near where you arrive after the second Blink. Head around the stairs to find another Blink spot and Blink down to a lower ledge, then walk down some stairs to find a blue candle. Interact with the candle to trigger this memory.
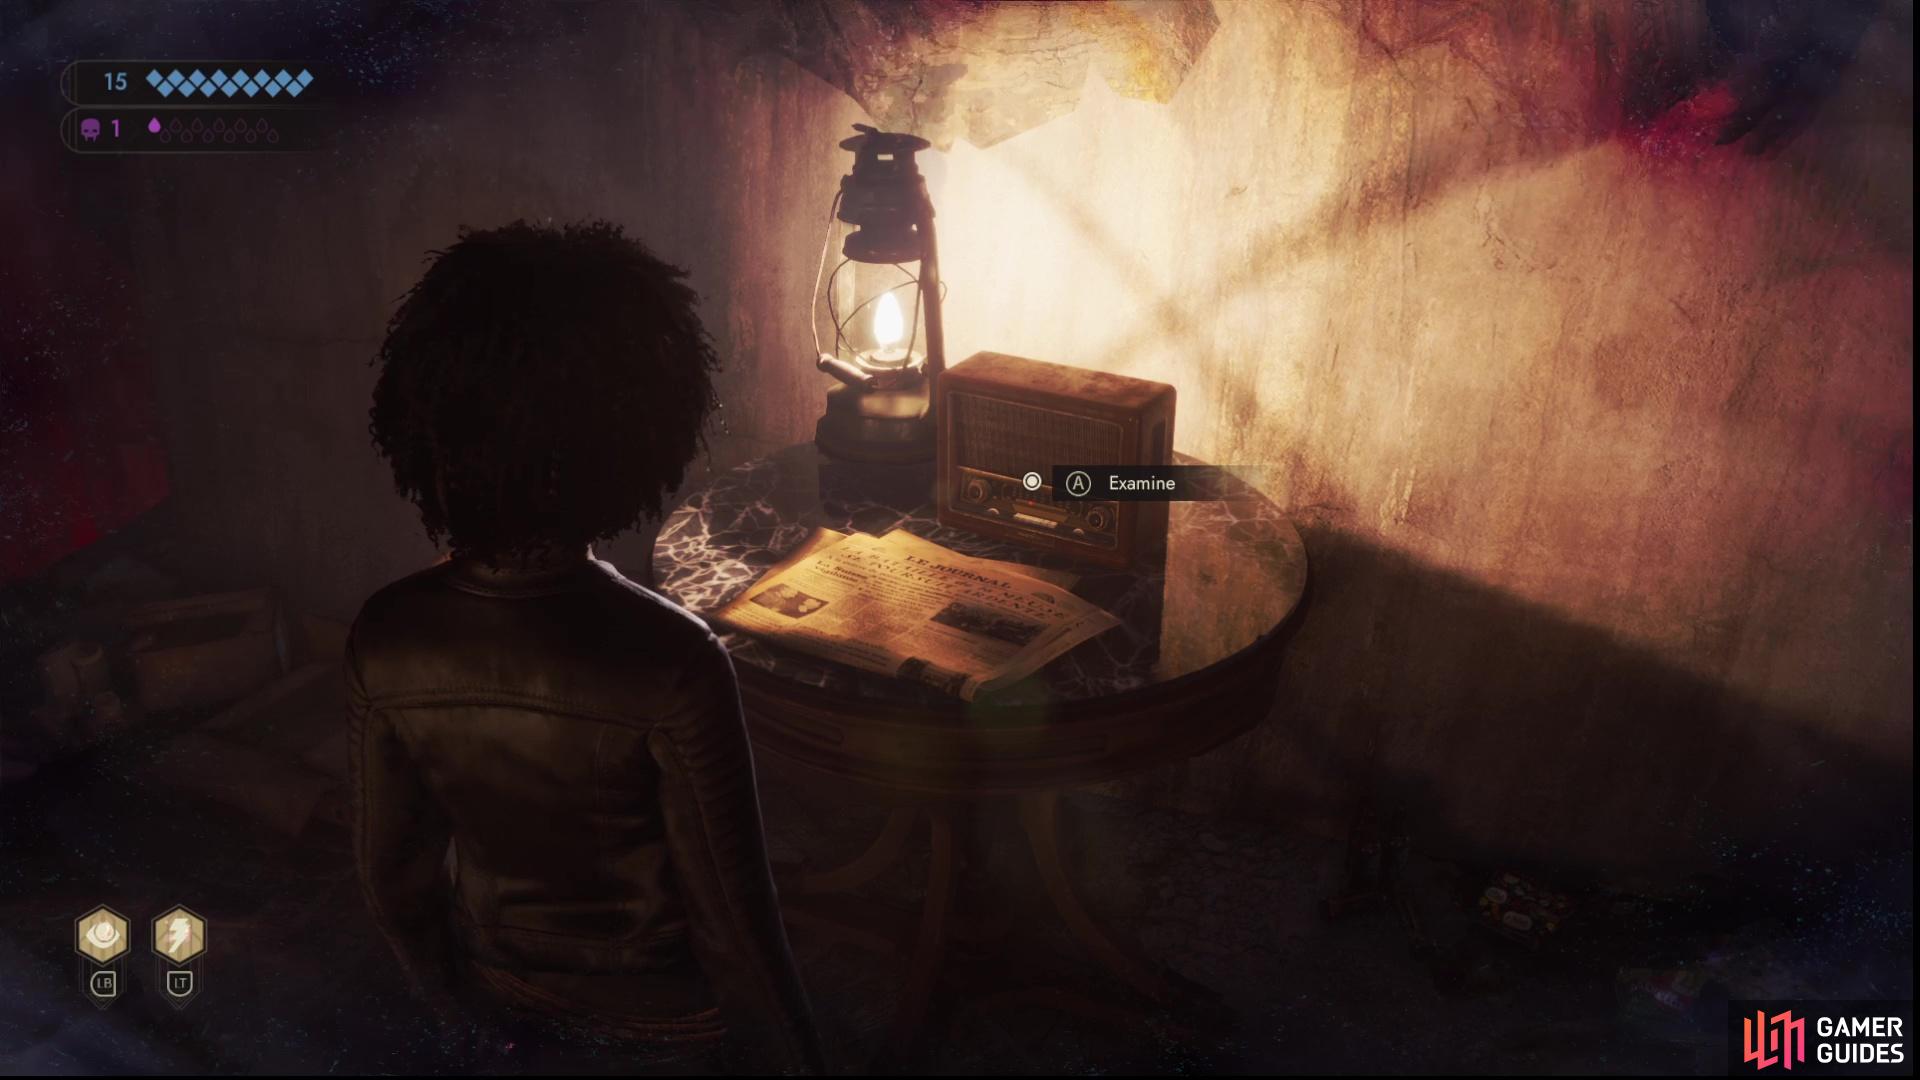
Examine a radio to trigger a memory.
Emem Memory - Asylum
Enter the study (the well-furnished room across from the stairs leading to the elevator/tower) and turn right to find three levers on the wall. The middle lever is inoperable, but the right and left levers will lower portcullises blocking the cell-laden hallways just outside the study. The right lever (facing the levers on the wall) will lower the portcullis blocking the left hallway (facing away from the study) while the left lever will lower the right portcullis. Lowering the portcullises will block the hallways, but remove the seals on the cells within. To get beyond the portcullises before they close, you’ll need to use Celerity, then, before you push the levers, activate Fleetness. You will need Celerity Rank II to access Fleetness, but you can consume the Tremere Potion (found on a desk in the study) to boost your Celerity by one rank for the duration of this scene.
Once past the left portcullis, head down the hallway and enter the second cell. Investigate a radio on a table to trigger this memory.
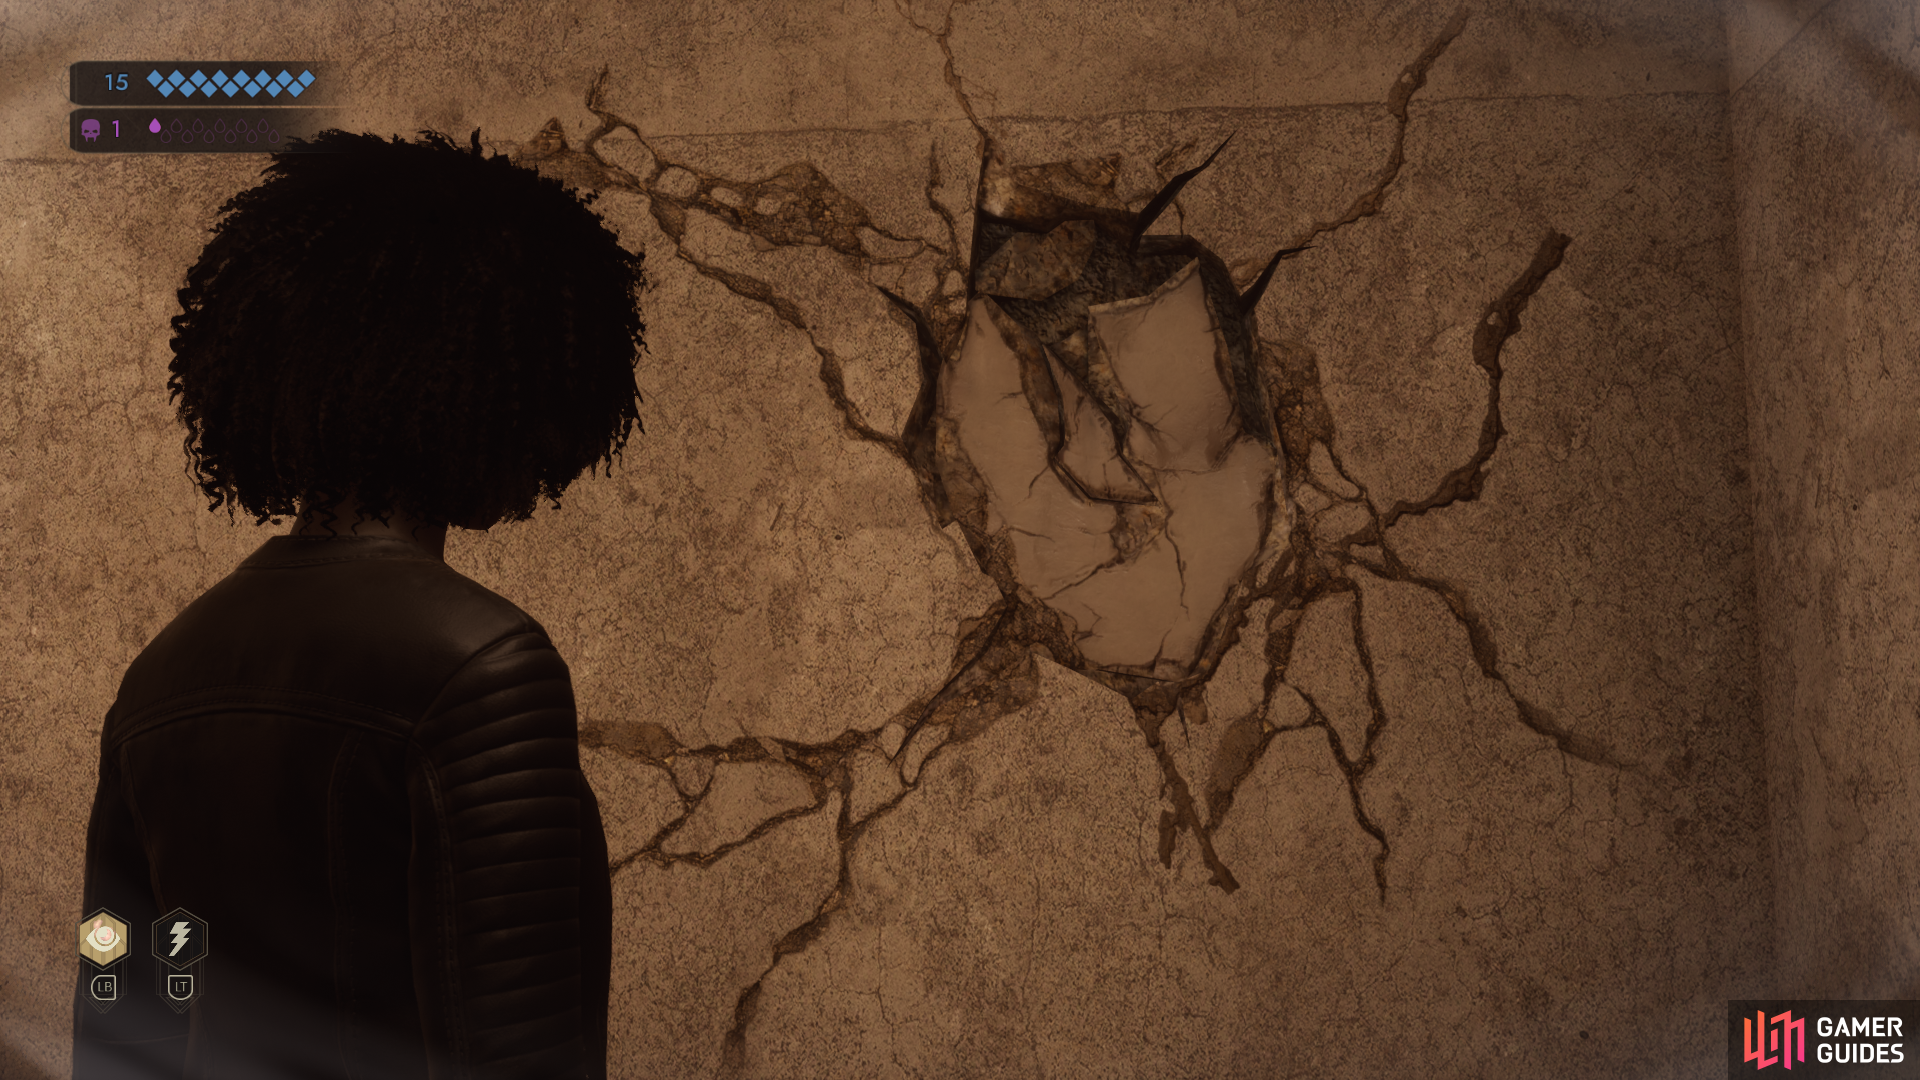
Examine a damaged wall to trigger a memory.
Emem Memory - Breakup with Hilda
Enter the study (the well-furnished room across from the stairs leading to the elevator/tower) and turn right to find three levers on the wall. The middle lever is inoperable, but the right and left levers will lower portcullises blocking the cell-laden hallways just outside the study. The right lever (facing the levers on the wall) will lower the portcullis blocking the left hallway (facing away from the study) while the left lever will lower the right portcullis. Lowering the portcullises will block the hallways, but remove the seals on the cells within. To get beyond the portcullises before they close, you’ll need to use Celerity, then, before you push the levers, activate Fleetness. You will need Celerity Rank II to access Fleetness, but you can consume the Tremere Potion (found on a desk in the study) to boost your Celerity by one rank for the duration of this scene.
Once past the left portcullis, head down the hallway and enter the third cell, approach the edge and use Blink to reach a lower ledge. Head down the walkway ahead and enter a room where most of the furnishings are on the ceiling save for a single chair and rug, which are oriented as gravity prefers. Turn left and examine a damaged section of wall to trigger this memory.
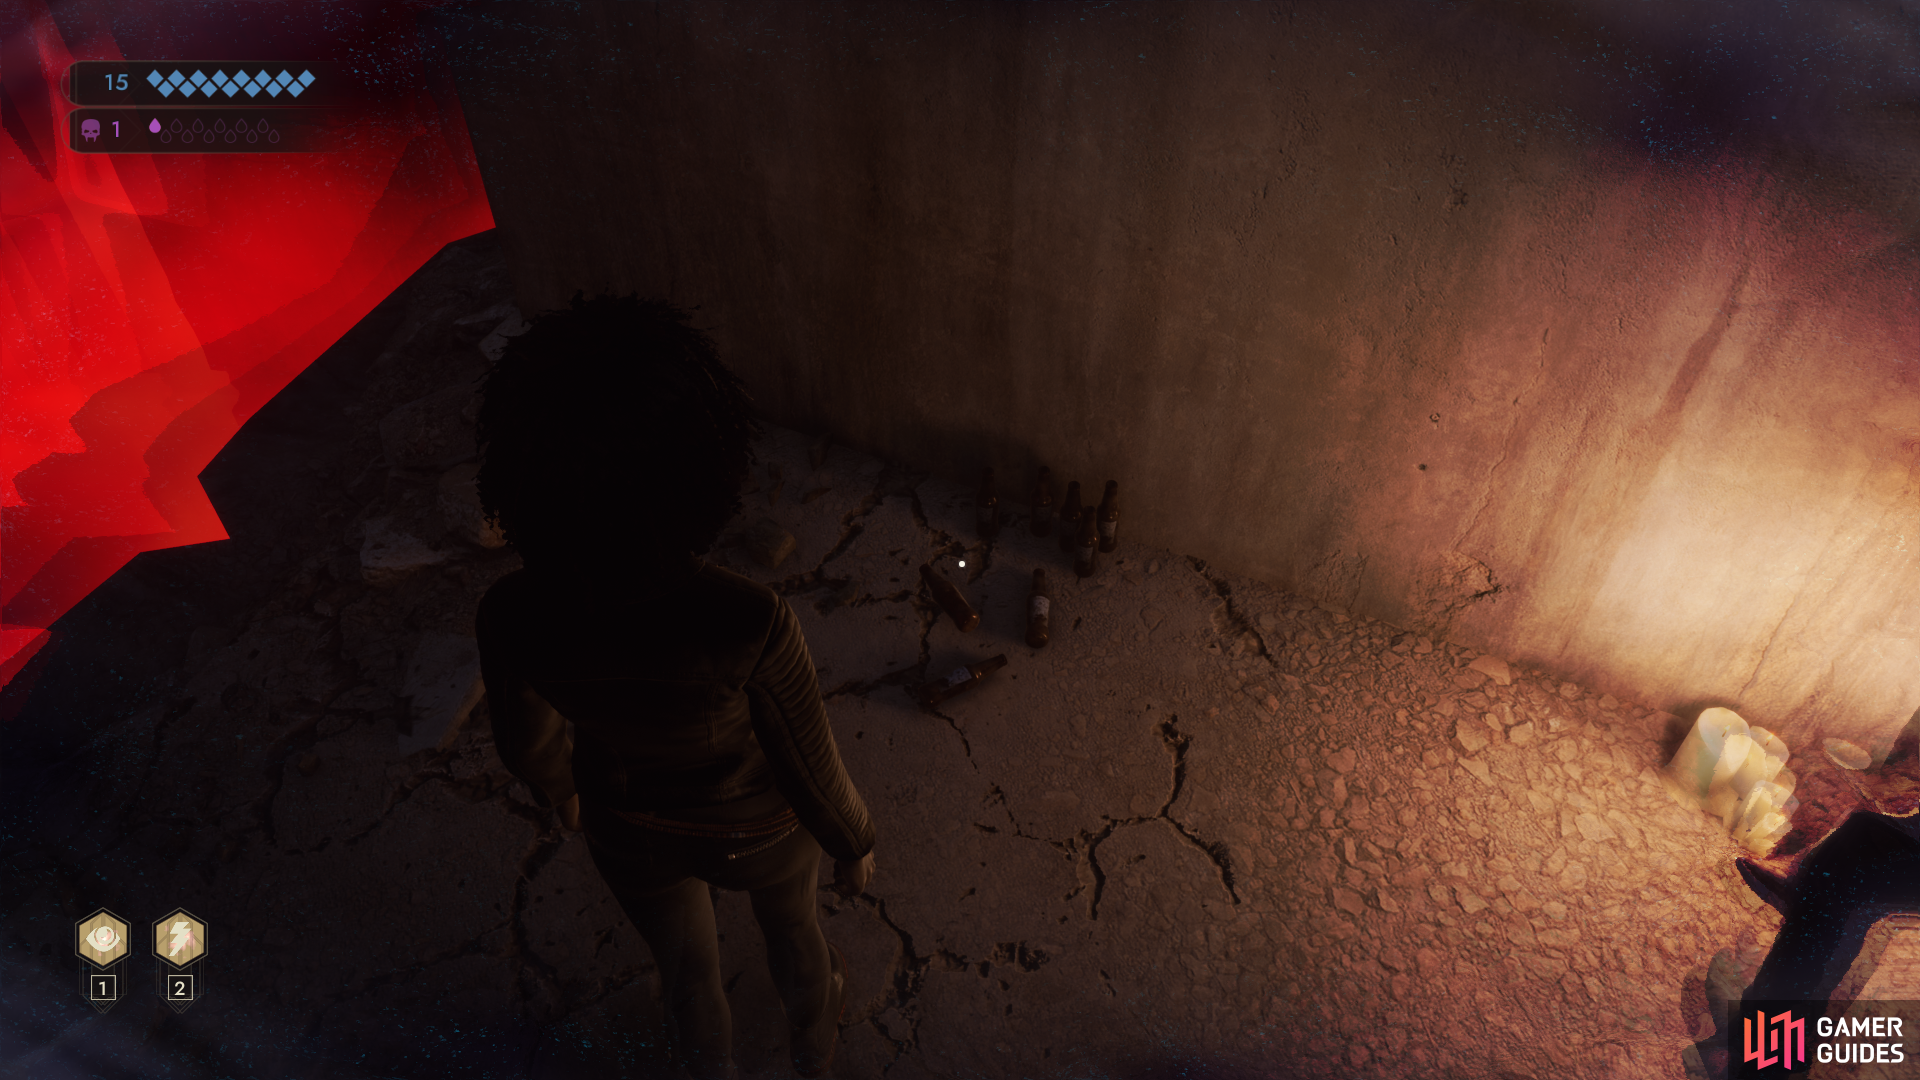
Examine some rather inconspicuous bottles to trigger a memory.
Emem Memory - A Night Out with Journey
Enter the study (the well-furnished room across from the stairs leading to the elevator/tower) and turn right to find three levers on the wall. The middle lever is inoperable, but the right and left levers will lower portcullises blocking the cell-laden hallways just outside the study. The right lever (facing the levers on the wall) will lower the portcullis blocking the left hallway (facing away from the study) while the left lever will lower the right portcullis. Lowering the portcullises will block the hallways, but remove the seals on the cells within. To get beyond the portcullises before they close, you’ll need to use Celerity, then, before you push the levers, activate Fleetness. You will need Celerity Rank II to access Fleetness, but you can consume the Tremere Potion (found on a desk in the study) to boost your Celerity by one rank for the duration of this scene.
Once past the right portcullis, head down the hallway and enter the fourth cell and search along the wall to the right. Examine some beer bottles to trigger this memory.
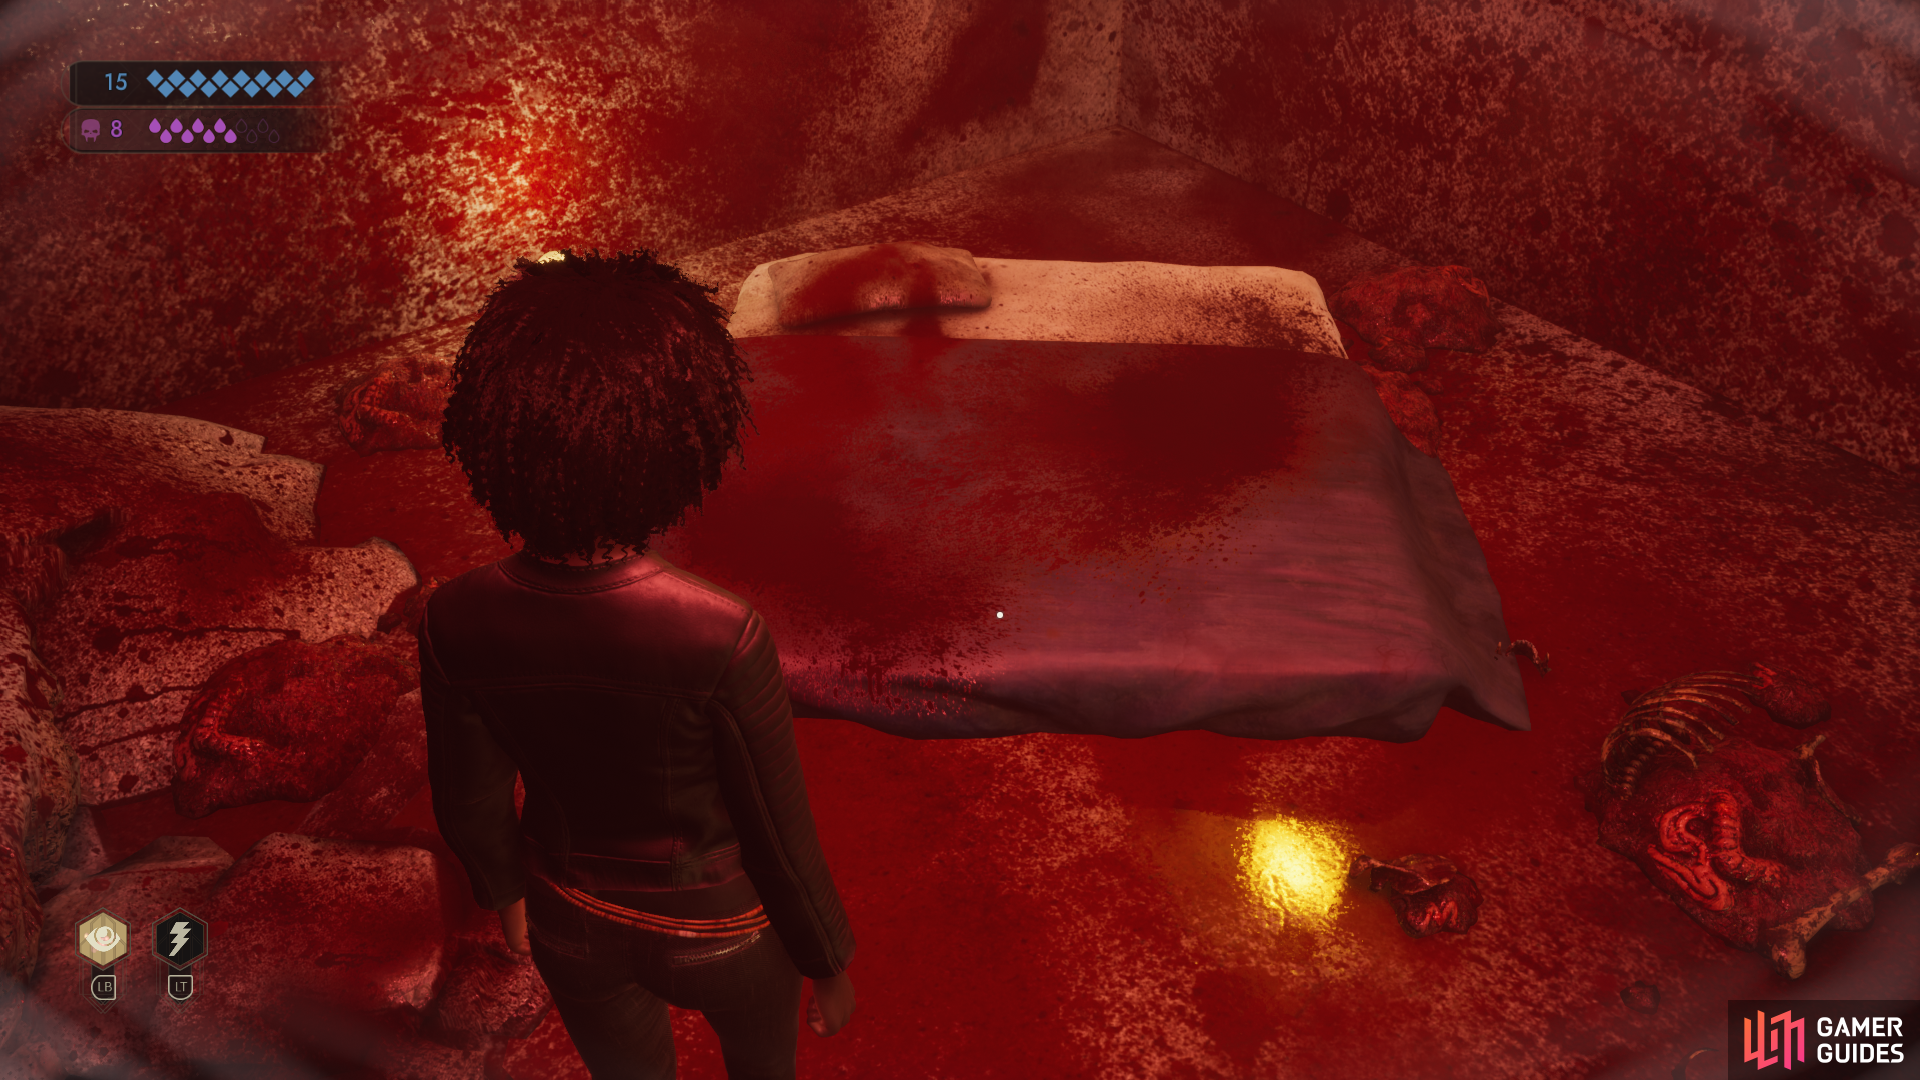
Examine a bloody mattress to trigger a memory.
Emem Memory - The Assault
Looking out from the study, head down the cell-laden hallway to your right (you don’t need to use Celerity - Fleetness to bypass the portcullis this time). At the end of the hallway turn left and you’ll find a doorway leading outside. Once outside, turn right and continue down a walkway until you find a Blink spot. Blink to a lower ledge, then drop down a few times to reach a room full of medical equipment, put to unsavory work. Go through a doorway to find another Blink spot and Blink twice to reach a distant, bloody room. Examine a gore-covered mattress to trigger this memory.
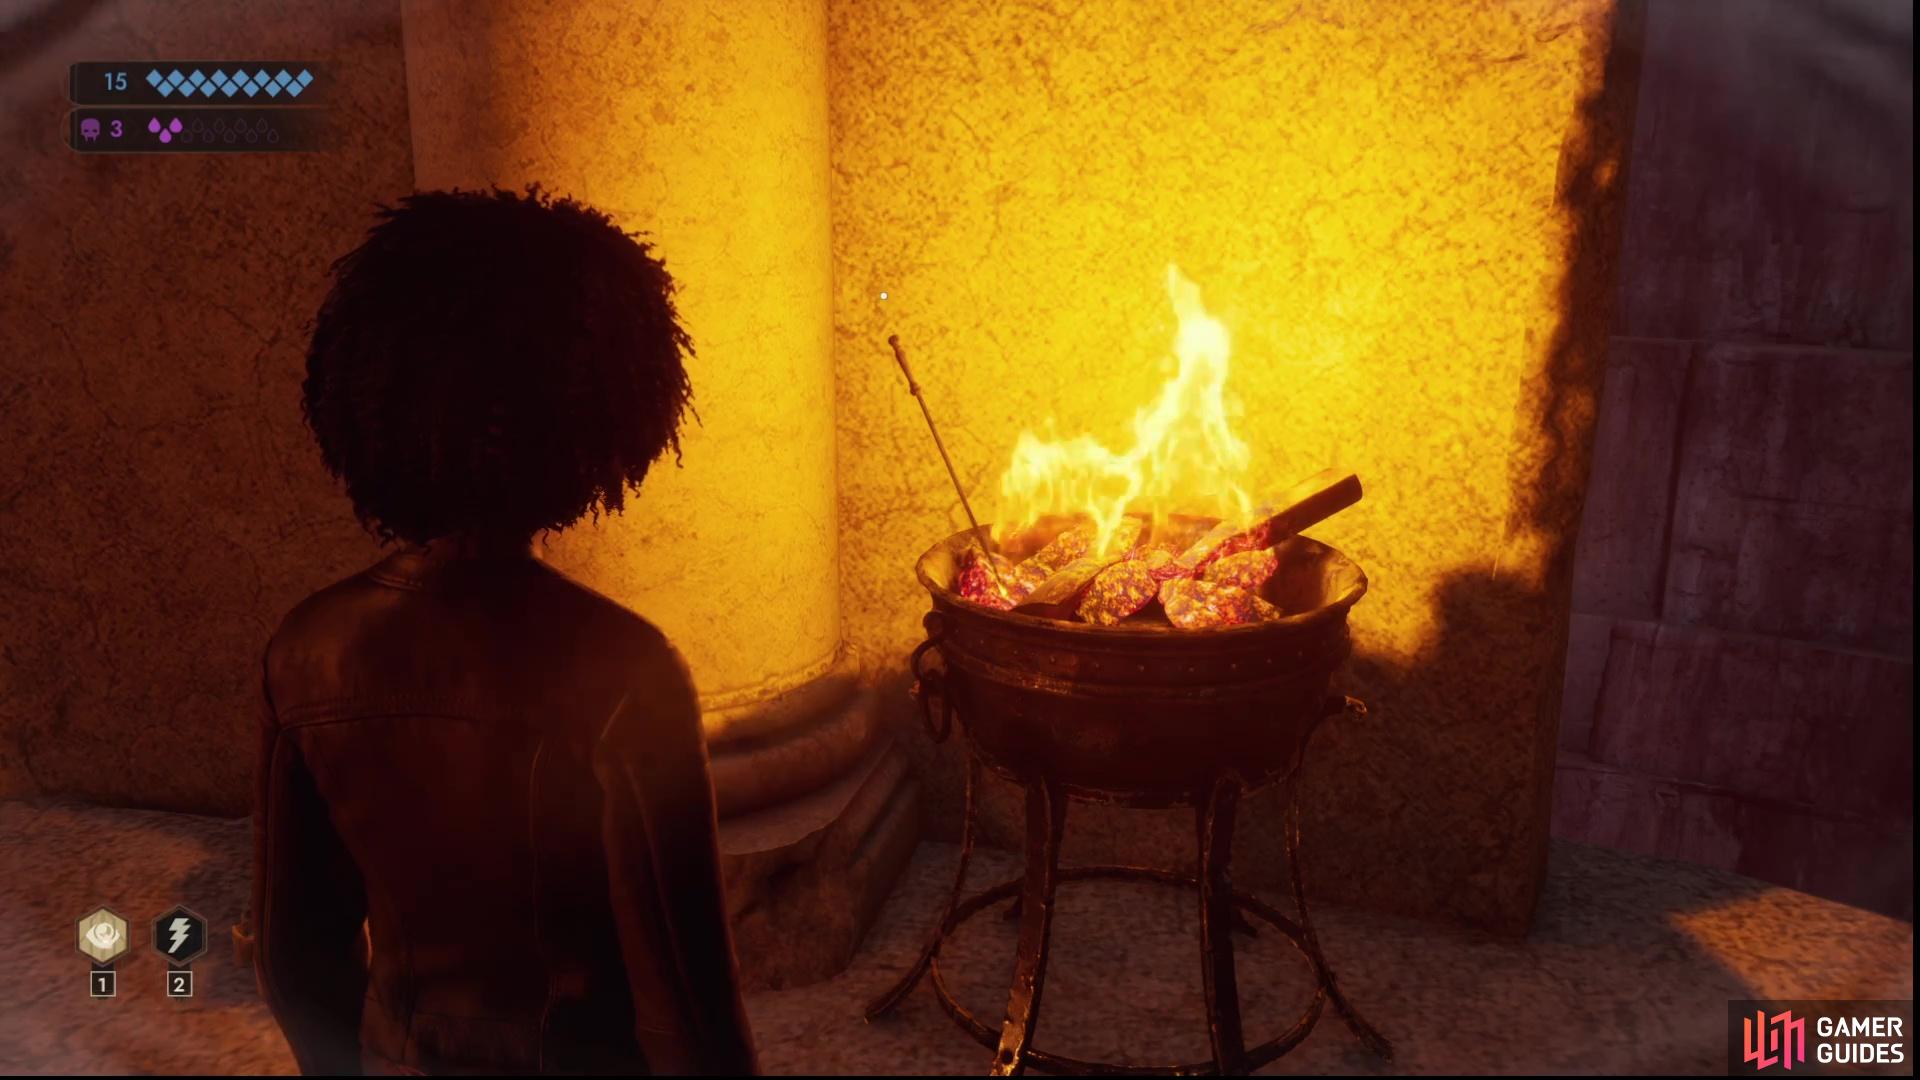
After solving all three elevator puzzles, examine a brand in a brazier to trigger a memory.
Emem Memory - Sins of the Childe
Complete the three puzzles in the elevator/tower to ascend to the 4th floor, then examine a brazier to trigger this memory.
No Comments