
How to win the confrontation with Richard in Leysha’s second scene (Scene 03 - The Loft) in Vampire the Masquerade: Swansong.
Near the end of Leysha’s second scene (Scene 03 - The Loft) you’ll find Richard, who isn’t keen on seeing Leysha running around outside the confines of the institution, doing the Prince’s bidding. Despite his misgivings, however, he’s not immune to reason, and if you win your confrontation with him he can be convinced to provide some assistance.

You’ll find Richard in one of the bedrooms. He’s seen better days.
Where to Find Richard
You’ll have to progress through the scene a bit to find Richard, who can be found in a bedroom that - thanks to the violent confrontation that took place in the loft - is now open to the balcony.
After the intro conversation with Halsey, Obfuscate to copy the uniform of a Homicide Officer, pass through the police tape to enter the second room and get through the first confrontation with Halsey. Check out the link for more information about how to win the series of three confrontations you’ll have with Halsey, all of which must be dealt with before you reach Richard.
Once done, go through a door to the loft proper and turn right, passing through the living room where you’ll be treated to a scene of some cops and feds divvying up the crime scene. Continue forward and when you reach a fork turn right down a hallway, where you’ll have your second confrontation with Halsey.
To your right is the Safe Room - Bathroom, which will be useful in a bit. First, however, go through a door to the left to reach the kitchen, talk to Officer Opuedo (he can be found standing nearby in the kitchen), then use Obscucate to copy a Forensics Specialist uniform. Change in the Safe Room - Bathroom, then cross the police tape just outside the kitchen. Halsey will appear shortly thereafter and guide you into another Safe Room, where the third confrontation with Halsey will occur.
After the third encounter with Halsey, exit the Safe Room - Laundry Room and turn right. Head down the hallway and go through the door to the right. In this room you’ll automatically engage in a confrontation with Richard.
This is a three stage confrontation and you’re allowed one miss.

Either pass a Rhetoric 3 or Psychology 4 check, or tell Richard that you came for him to win the first stage of the encounter.
First Response to Richard
Upon awakening, Richard will go through some hysterics regarding the mortals that bested the vampires partying in the loft, after which it’ll become clear that he’s not fond of the Prince using Leysha’s powers for her own benefit, nor is he fond of Leysha being out of the confines of the Institute in general. You can either pass a Rhetoric 3 or Psychology 4 check to win this phase of the confrontation, or you can guilt-trip him into relenting by telling him that you came to help him. It’s worth noting that you can appeal to Halsey for input, but for this stage she does nothing but whine about potentially being “put back to sleep at the Institute”, which isn’t all that helpful:
- Rhetoric 3: ”I’m on a mission.”
- Psychology 4: ”He’s afraid I’ll turn my back on him.”
- ”I came for him!”
After this Richard will accuse the Prince of using Leysha for her own games, and while you can pass an Education 1 check to cooly deflect the claim, your choice here doesn’t really matter when it comes to passing this stage of the confrontation.

Pass a Psychology 4 check or tell Richard that the Prince trusts you to win the second stage of the confrontation.
Second Response to Richard
For the second stage of the confrontation, Richard will expose his paranoia about the Prince’s goals and insist that the Prince is trying to take Leysha from him. Probably not the healthiest attitude for a therapist to have with his client. This time Halsey’s advice is useful, as she’ll warn you not to tell Richard about her because “he doesn’t want us to be together.”. Something to keep in mind for the future. To get through this stage without a miss, pick one of the following options:
- ”She said she trusted me.”
- Psychology 4: ”She told me about this treatment.”

Either pass a Persuade 3 check to convince Richard you’re not sick anymore, or calm him down by pretending to acqueisence to win the third and final stage of the confrontation.
Third Response to Richard
Assuming you make it onto the third stage of the confrontation with Richard, he’ll put Leysha’s incarceration above the far more immediate concerns the situation warrants. Now’s not the time to be headstrong - acquiesce, or at least pretend to, or attempt the Persuasion 3 check to win this stage.
- ”I’ll go back later.’
- Persuasion 3: ”I’m not sick anymore.”
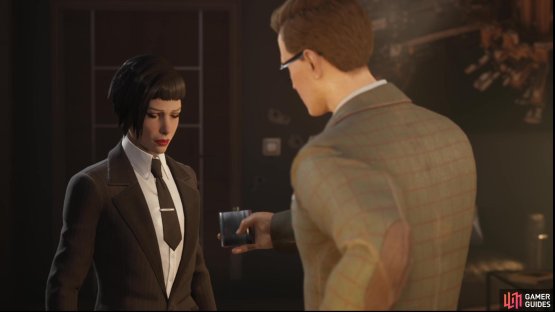

(1 of 2) If you win the confrontation against Richard, he’ll give you a concoction that grants the Elusive trait,

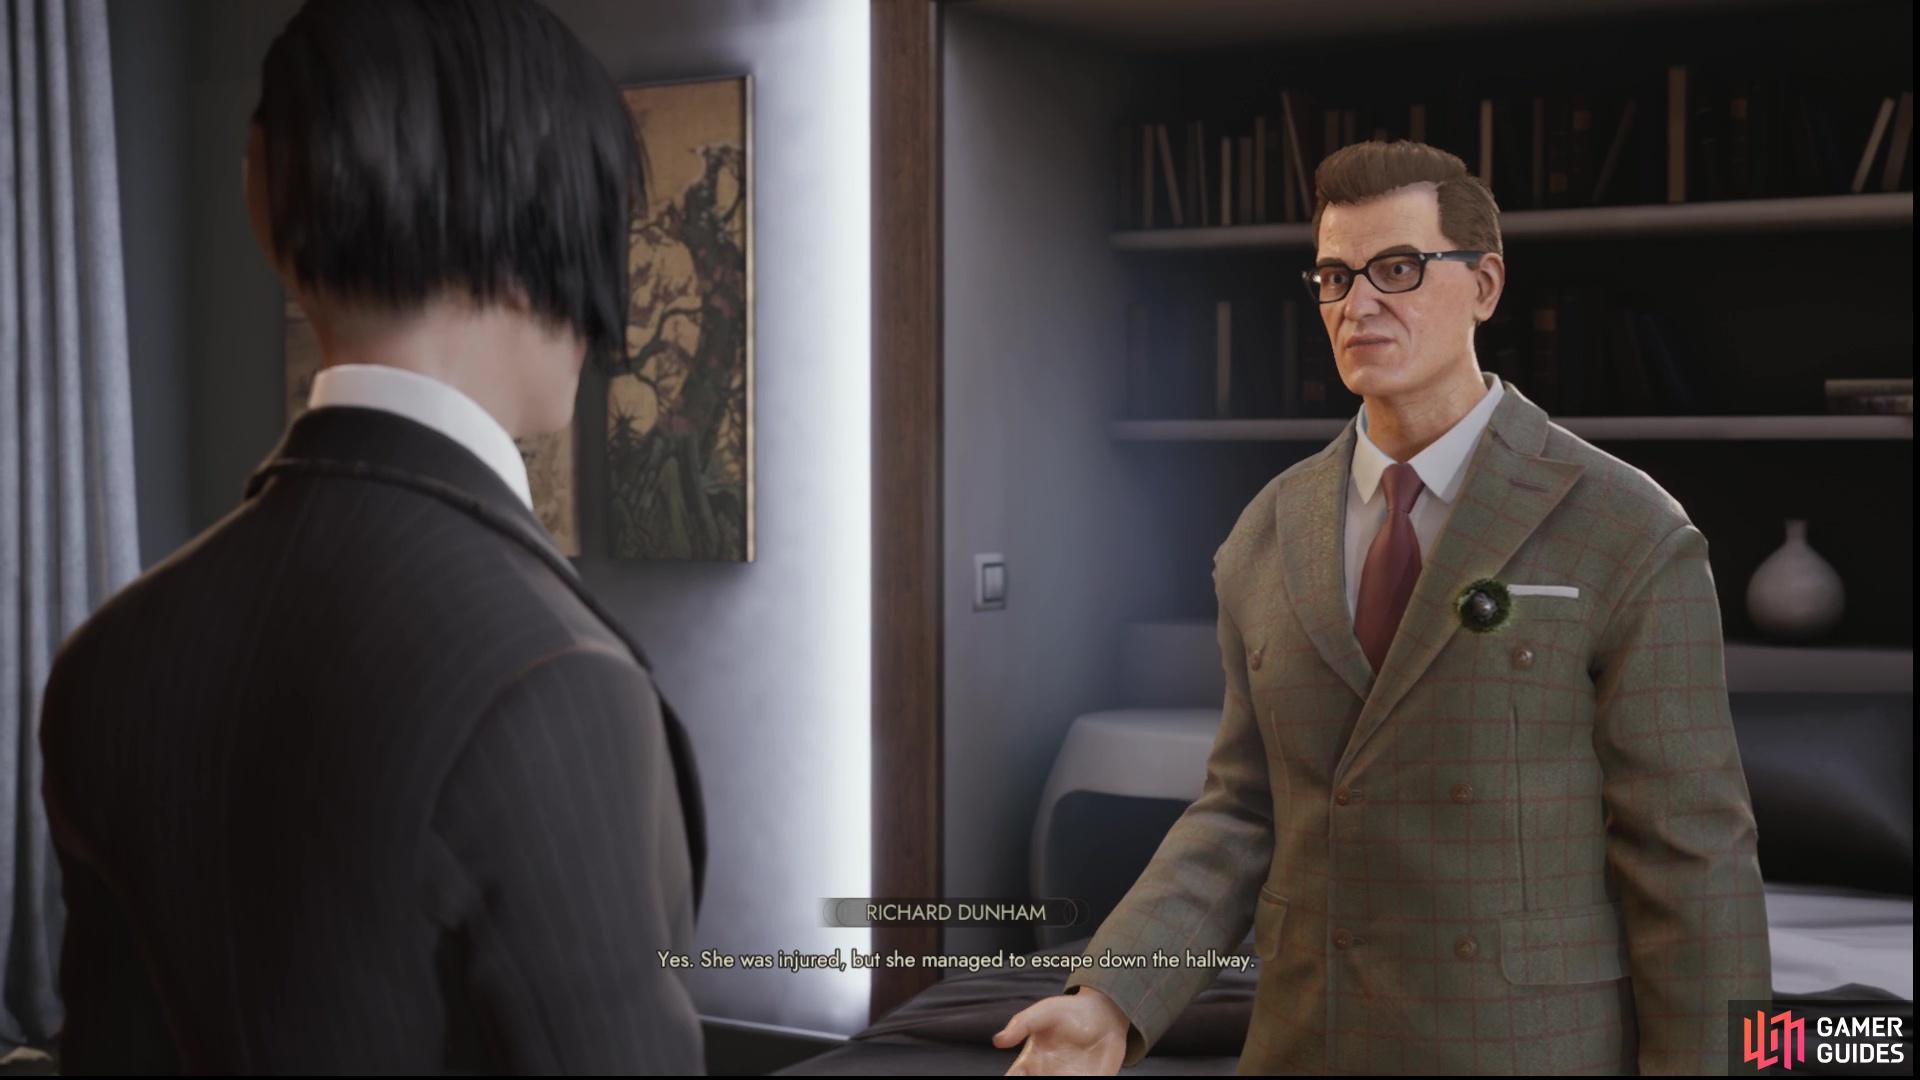
If you win the confrontation against Richard, he’ll give you a concoction that grants the Elusive trait, (left), and he’ll tell you useful info regarding Miley. (right)
Consequences of the Confrontation with Richard
Should you win at least two of the three stages of the confrontation with Richard he’ll agree to help you, giving you a concoction that’ll give you Obfuscate 4 - Doppleganger for the rest of the scene, which allows you to meet Monsignor Stanford, should you choose. He’ll also give you some useful information regarding Miley, if you’d rather focus on doing what the Prince sent you here to do. Miley is, according to Richard, still in the area, but is wounded. She apparently managed to flee down the hallway during the attack.
For more information check out the following pages:
No Comments