Scene 07 in Vampire: The Masquerade - Swansong sees Leysha journey to the Red Salon to track down Richard Dunham. Throughout this scene you will encounter many puzzles, and an optional one can be completed to potentially earn the Right Dose Trophy/Achievement.
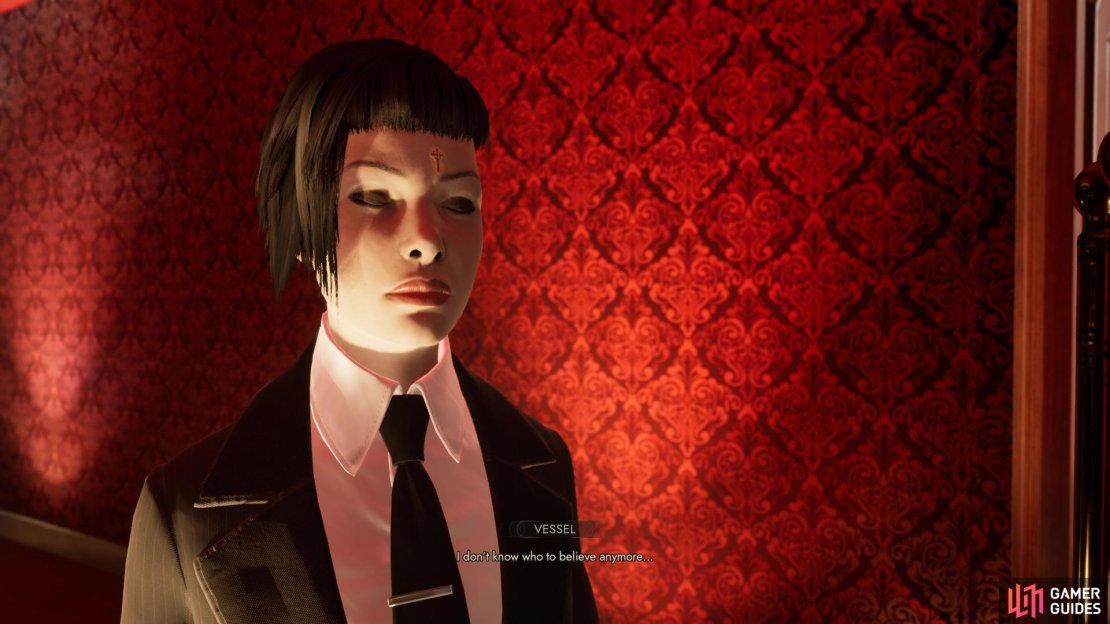
Leysha needs to convince this vessel to leave the locked room in Scene 07.
Where to Find the Uncooperative Vessel
Early in the Scene, Leysha will enter the main bar where you’ll find all manner of crisis control underway. Speaking to the Staff Members here will reveal that they’ve been asked by Richard to move the vessels however they can’t leave until all are accounted for. Unfortunately, there is one particular vessel, Clarisse, who in her paranoia, has locked herself in the culture room.
Head to the back and you’ll find Betty, the Manager, who will fill you in on the situation. It seems that a high value donor has locked themselves away in the culture room and she requests your assistance at coercing her out of the room. She’ll also inform you of where you can find a Staff Keycard if you haven’t already missed it. Simply return to the bar and look on the corner to locate it, you’ll need it for the next step of this puzzle.
What TrajaX to Give to the Vessel
The main goal of this puzzle is threefold, you first need to locate what type of TrajaX you need to give her, how many does without causing her to overdose and finally, how to deliver it to her considering she won’t open the door to anyone.
First you need to learn what type of Trajax you need, so head to the room where the vessel is locked up and speak with her to learn of her paranoia. Now head to the Manager’s Office and in the corner you’ll find the system that sends the injections into the room where the vessel is. Head over to the desk nearby now where the security is set up and you’ll find the Emergency Treatment Handbook to the right of the monitor. This will explain how you identify what TrajaX she needs and how many.
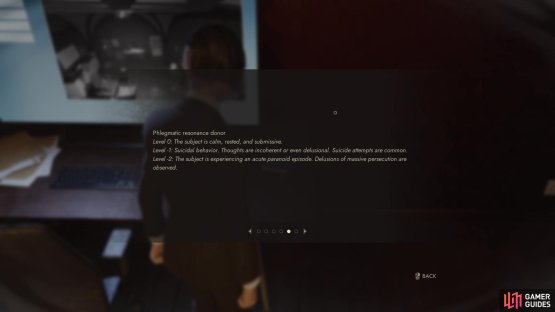
(1 of 2) Taking a look at the handbook will show you that the emotional state of the vessel applies to the Phlegmatic resonance
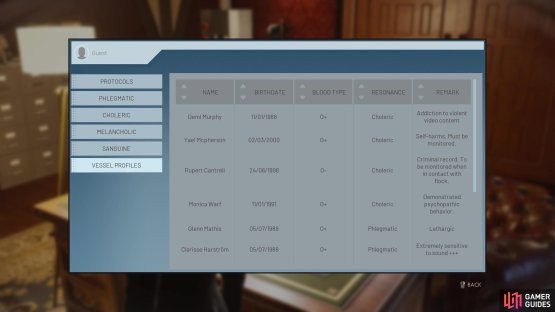
Taking a look at the handbook will show you that the emotional state of the vessel applies to the Phlegmatic resonance (left), alternatively, if you got her name from a vessel in the bar, you can just look at the personnel tab for Clarisse. (right)
After reading through the book, you can use the security system to speak to the vessel and reconfirm her state of mind, that of extreme paranoia. Next, take a look at the computer on the Manager’s desk to have all the tools you need to discover what TrajaX you need. If you take a look at the entry for Phlegmatic, you’ll learn that it keeps the subject in a calm and meditative state, perfect for someone with extreme paranoia. Alternatively, if you spoke to the vessel in the bar and learned her name is Clarisse then you can look at the Vessel Profiles tab to learn that she’s a Phlegmatic resonance there. From all of this, you can deduce that you need to give her TrajaX MG.
Your next task is to work out how many doses you need to give her to prevent her from overdosing or enough for the effect to work. Refer to the Emergency Treatment Handbook once more and look at the entry for Phlegmatic, you’ll learn that she fits the profile for Level -2 and thus, requires two doses of Trajax MG.
Where to Find TrajaX MG
Now that you know that it’s TrajaX MG that you’re looking for, your next task is to locate it. To do that, you’ll need to ensure you have the Staff Keycard from the bar and use it to access the basement. Once there, head left and in the main room here, you’ll find your first set of TrajaX MG provided you can pass the Security 2 skill check.
(1 of 2) You can find some TrajaX MG in the basement if you have at least Security 2
You can find some TrajaX MG in the basement if you have at least Security 2 (left), alternatively, you can find them in the TrajaX storage room without any skill requirements. (right)
You’ll find three refrigerator boxes and in the top one on the left, you’ll find TrajaX MG. You’ll have to be quick after taking each dose as once you take them out of the box, they’ll quickly lose their required temperature. Instead, there’s an easier method to this that doesn’t require a skill check. Head into the TrajaX storage room and you’ll be able to move the shelves so you can access the second from the left to access some TrajaX MG.
How to Deliver the TrajaX to the Vessel
Now that you have everything you need, the final challenge is to deliver the Trajax MG doses to the vessels in the culture room. You can only hold a single dose at a time, so one-by-one, insert them into the injection delivery system in the TrajaX storage room. Once you have sent both upstairs, quickly take the lift back up and return to the Manager’s Room.
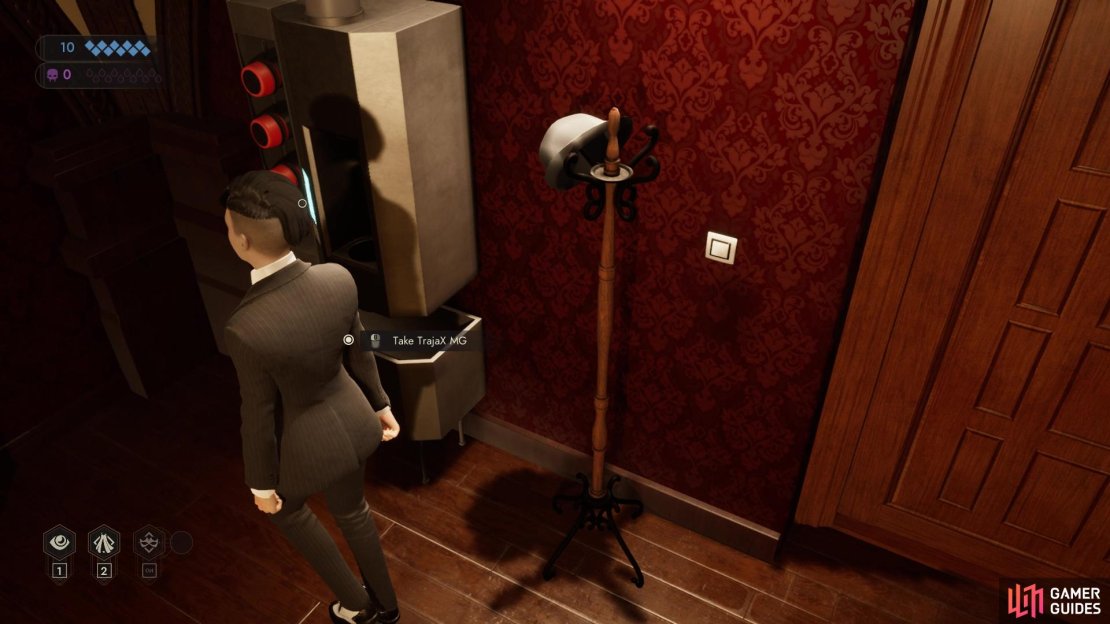
(1 of 3) Return to the Manager’s Office to retrieve the TrajaX MG sent from the basement
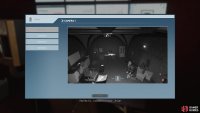
You’ll find two delivery systems here, look inside the one near the door to discover your TajaX MG doses you sent up from the basement and insert them into the other delivery system, near the security system. Once both have been sent, take a look at the security system to see the vessel is finally at peace and will leave the room, removing suspicion in the process. Before you finish up here, head into the now unlocked room and look on the chair there, you’ll find Halsey’s Teddy Bear which will be used in a later scene.
There are plenty more tasks to undertake in Scene 07, and you can access more details about in the following pages:






No Comments