Preparations
When you travel back to Hyrule, you will not be returning to surface for a while, maybe not even at all. You will need to be very well prepared before going below the waters again. I highly recommend you get everything on this list.
-
Completed Triforce of Courage ( required )
-
Have at least twelve hearts (fifteen or more is recommended)
-
Have the Magic Gauge’s capacity doubled
-
Get both Arrow upgrades
-
Get both Bomb upgrades
Get all four bottles, with these contents: -
Elixir Soup (x1)
-
Fairy (x3)
-
Have the Hurricane Spin
The Tower of the Gods (Outside of dungeon)
When you arrive in the courtyard, the King of Red Lions asks you to show your piece of the Triforce to the gods. When Link holds it up, the shining gate to Hyrule appears… and the Triforce appears on Link’s hand. This can mean only one thing: you have become the true hero. The King of Red Lions gives you the name of the Hero of Winds, then sails into the circle.
Hyrule
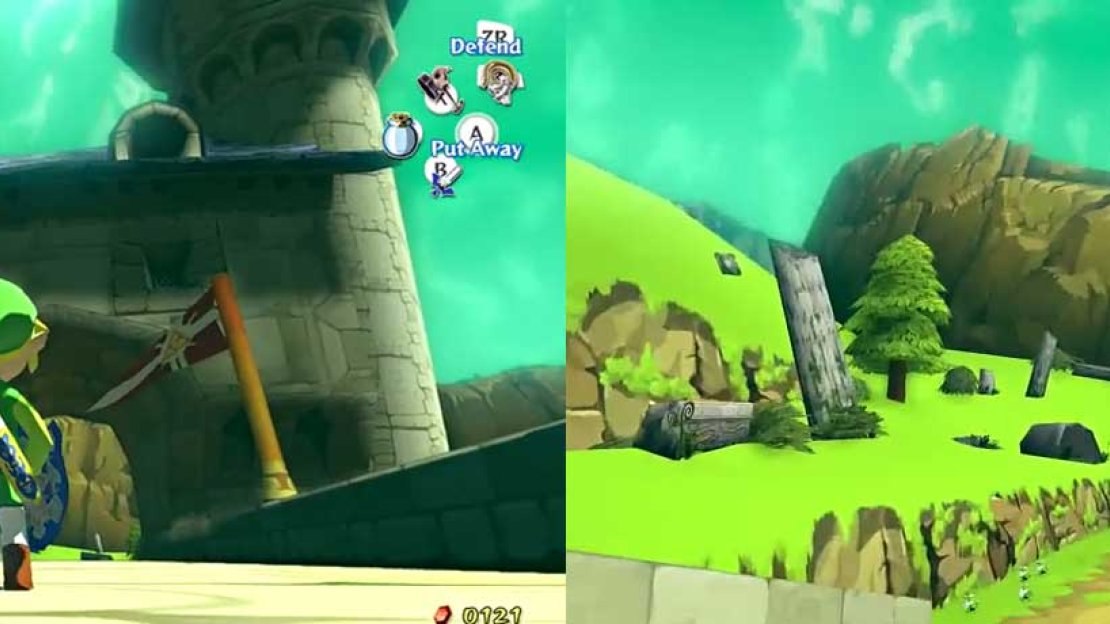
When you arrive, get out of the boat and walk into the castle. When you get in, you see that the statue of the Hero of Time has been severely damaged and slid back; this can’t be good. Walk into the basement.
These monsters are definitely are the elite of the elite. These enemies have much more HP than other Darknuts, and the one main hope of getting to their armor (the red X on the back) is blocked by a sturdy cape. How are you going to get at them, then? Well, isn’t cloth flammable? Just shoot a Fire Arrow at each of them; it won’t do damage, but it will remove the cape. After that, use your parries as usual.
When you defeat these two monsters, the ring of fire disappears. Leave the basement, and Link will automatically go to the other exit of the main room. Go through it to emerge outside.
Earlier when you visited, you may have noticed the barrier outside Hyrule, and how nothing could penetrate it. Now that the Master Sword has gained its full strength, merely give the barrier a swat with it; it breaks into shards and falls to the ground. Now, you are to go along the dirt path to Ganon’s Tower, which you may have also noticed earlier.
Along the way, you’ll fight a few Red Chuchus, a Moblin, and a Darknut; nothing too hard. Just past the Darknut, you’ll find several ledges that used to be part of a bridge, but something broke them. Just use the Hookshot on the targets to get from ledge to ledge. You may fight a couple of Keese along the way; defeat them with the Boomerang. When you get across, enter the cave - the entrance to the sixth and final dungeon: Ganon’s Tower.

No Comments