As you have probably noticed, you aren’t travelling with the pirates; therefore, you shall not be bound to a barrel launched and mis-aimed at a window causing you to lose your sword and avoid even the easiest enemies. Nope, ain’t gonna happen.
Surrounding the outer wall, you’ll find quite a few cannons. Ignore some and focus on the ones near the door on the south side. Once you can, shoot the door and sail into the fortress. Look around for the staircase you used last time you were here. Walk up the staircase and into the courtyard.
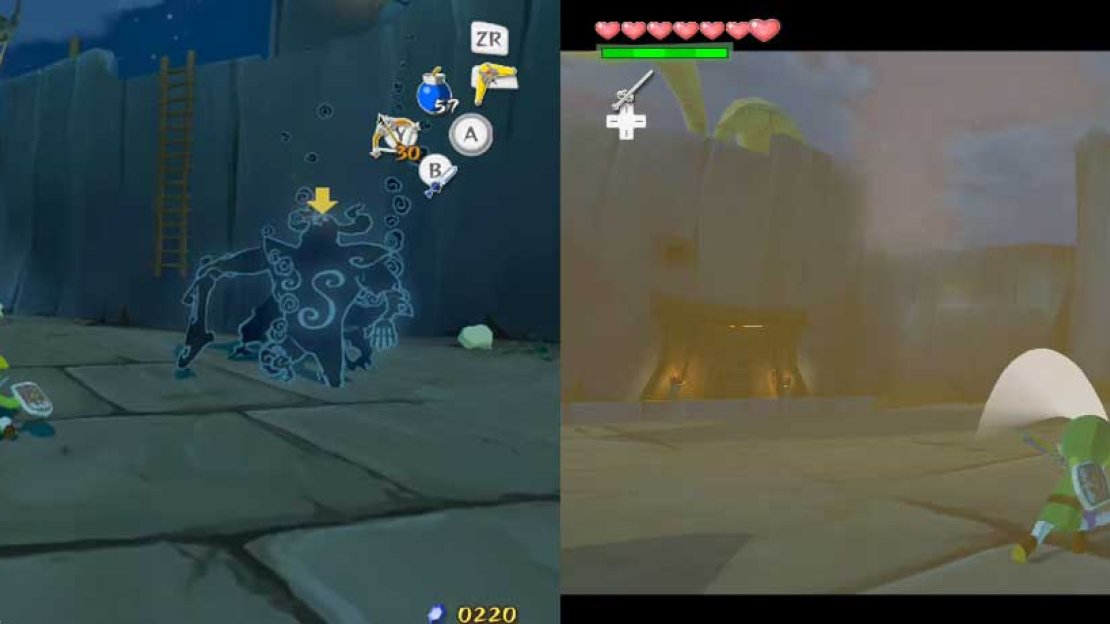
You can now ignore the searchlights; these monsters stand no chance against you now… or do they? As you approach the center of the courtyard, a dark spirit will appear - Phantom Ganon!
Phantom Ganon
This may be the only true mini-boss in the whole game. There is only one way to defeat him - it comes true in the saying “the best offense is the best defense.” It is quite true here - you will knock back the phantom’s attacks!
The attack you are to reflect is the large electric ball of energy he throws. When it grows close, use your sword as if hitting the ball. If you hit it, it will bounce back to him. He will hit it back it to you.
This game of deadly tennis shall continue until either you or him miss. If you miss, you’ll take 1/4 heart damage; if Phantom Ganon misses, he’ll fall to the ground. When he falls to the ground, strike him.
After defeating him, Phantom Ganon will rise into the sky, laughing maniacally, until he disappears. In his wake, a treasure chest will appear. Open it to receive the Skull Hammer. This item can pound objects into the ground and stun enemies that it or its shockwave hits.
The Forsaken Fortress (Continued)
Now, then, I mentioned earlier that you can ignore the searchlights. Well, you sort of can. Although you will not be captured, the lights will target Miniblin and cannons to you. You may remember the searchlight locations; if not, just take the path to the right and go all along the second floor.
You’ll come across the searchlights eventually. Remember, to disable them, you must kill the operator - the Bokoblin. You may come across some spiked pegs - hit them with the Skull Hammer to knock them into the ground.
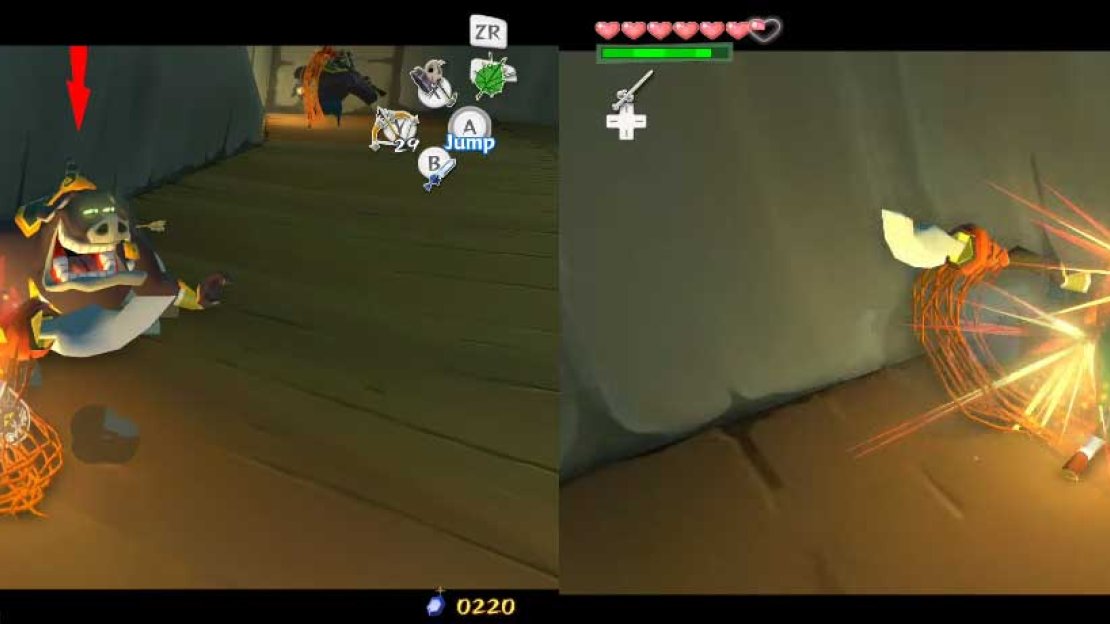
Now, then, when you have ended the operation of the searchlights, use the path to go to the northern room of the second floor. I believe this room earlier had two Moblin on patrol. They’re still here. You can defeat them.
When go to the stairway on the northern side of the room, it is guarded by a laser-shooting statue mounted on the wall. Quickly run/roll up the staircase to avoid it, then go through the door.
Go up the path as usual. You’ll come across some Miniblin attacks. It is almost pointless defeating them. In fact, as you go up the path, you’ll come across some spiked pegs. Hit them with the Skull Hammer to knock them into the ground. If you want to avoid the Miniblin, it seems that knocking down the far left one and then going on will virtually make them no longer a nuisance.
Past the pegs, you’ll find a ledge to sidle across. Do so, and then once more to get to where you found you Hero’s Sword on the previous trip. The door is locked by a different mechanism than before. Hit the nearby un-spiked peg with the Skull Hammer to unlock the door. It is now time to save Aryll!
Inside, Link looks around cautiously (don’t want to flung away, do you?) and then notices his sister. Link runs up to the cell, and the two kidnapped girls from Windfall Island take notice of you. Aryll is overjoyed to see you, but it seems that Link can’t open the door - it’s locked.
As Tetra leaves, she winks at Link and says that she will be back. The door then somehow locks and the water begins to rise as the Helmaroc King flies down in front of you, beginning a boss battle!


No Comments