This room is sort of another hub room, like the lobby. You’ll come back here a few times. The pots usually contain health, magic, or item refills. When you are ready, go through the only other unsealed door - the eastern one.
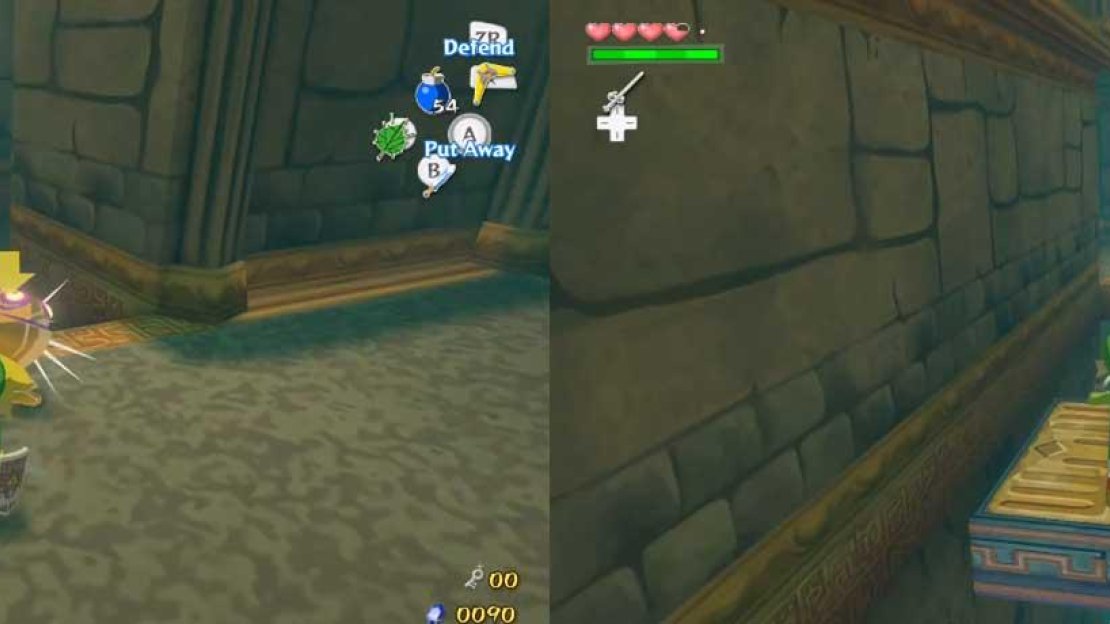
In here, you’ll encounter a Yellow Chuchu almost as soon as you enter the room. Defeat it and jump onto the moving platform that is behind it. Ride it to the opposite, where you’ll have to defeat two more Yellow Chuchus. Go to the next room when ready.
Here, you’ll find a winding maze-like path that is underneath a rainbow platform. The easier route right now is to take the platform. At the other side, the King of Red Lions talks to you through the Pirate’s Charm (I forgot what he said). In front of you, on the other side, is a large pillar, on top of which is a different type of statue.
Read the nearby tablet to figure out that you can use R to call the statue and make it follow you. When near the pillar, press R. The pillar will lower and the statue will follow you. However, you have a slight problem - the platform is too low for you to carry the statue across AND you can even get onto the platform.
By using R and carefully going along the path underneath the platform, have the statue follow you. At the end of the path near the entrance, pick up the statue and jump across the small gap that separates you from the entrance, then go through the door while still carrying the statue.
Back in here, simply jump across the gap by using the moving platform.
In the hub room, the statue will jump out of Link’s hands and onto a circular platform, which will then rise. A glare of light will engulf the center platform. When the light dissipates, you’ll see a tablet on the platform - on which you’ll see directions for the Wind Waker!
Walk up to the stone tablet and whip out the Wind Waker. Remember to hold the Control Stick left and move the C-Stick in this pattern - Left, Center, Right, Center. This melody you have played is the Command Melody, which can allow to control (and “become”) various things, one of which would be the statues (only the kind you just put into this room!).
The statue will then - somehow - talk about returning his kin to the place of truth. Hmmm…. His kin would be similarly-looking statues and the “place of truth” is likely to be right here, as he doesn’t seem to be going anywhere any time soon. When the statue is finished talking, the tablet will disappear and the western door will unseal. Obviously, go through it!
This room almost reminds me of the third room of the Dragon Roost Cavern. However, the only heat comes from the Red Bubbles (remember, flaming skull?) that are above the gap. You can lure one of them over and defeat it. Okay, above the gap, you’ll find two sticks you can use the Grappling Hook on. Do so and swing across the gap, then go through the door.
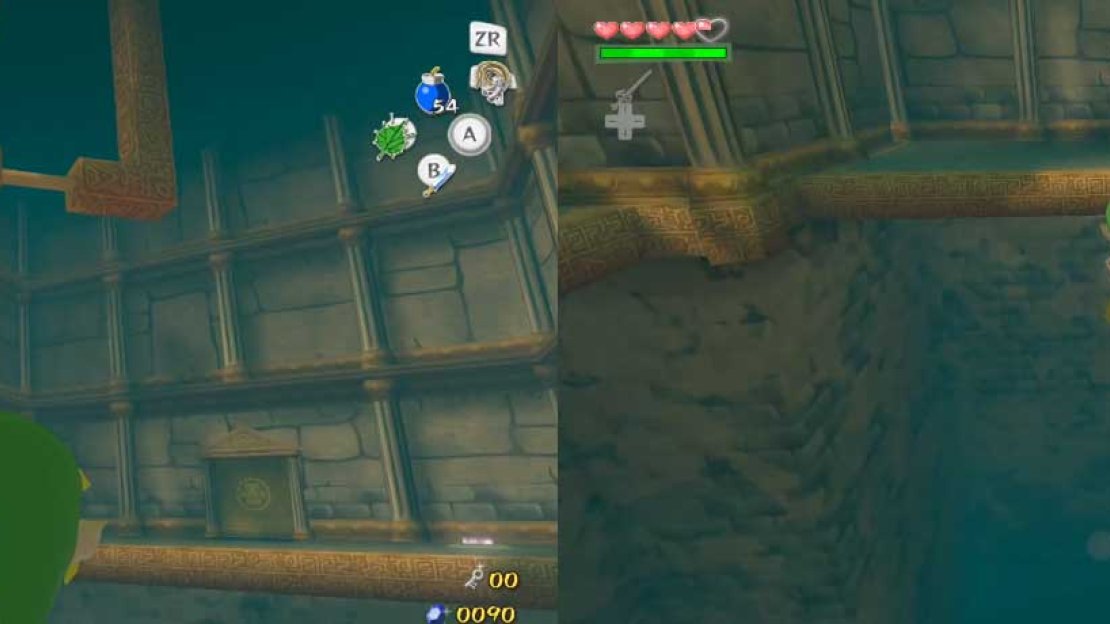
You end up in another room with a pit. Again, look up to find some Grappling Hook Sticks. Swing across to the other side. Press R while near the statue’s pillar to call it.
Now to get across… Uh oh. Link may claim to be strong, but we all know there is no way he can carry that statue AND swing across, or simply throw it across the gap.
I guess that’s why that glowing platform is there. Have Link stand on the platform and a bridge will appear. Now, use the Command Melody to have Link control the statue and move it across the gap. When it is on the other side, have Link take control of himself and swing back to the other side. Pick up the statue and go through the door.
As before, you are presented the same Grapple-without-the-very-important-statue problem. For now, pick it up and place it on the glowing platform. This unseals the only unused door in the room on the south side. Somehow kill the Red Bubbles once more, then Grapple onto a stick. Hold R and rotate to face to the right, then swing back and forth so you can get across. On the other side, go through the door.
You’ll end up in what may be a true mini-boss. The Darknut, your current opponent, is one of Ganondorf’s armored knights. For now, consider yourself lucky that you have to fight just one - you will have to encounter a group of about FOUR (OR MORE!) at one time!
I hope you remember how to parry because, until MUCH later in the game, that will be how you dismantle the Darknut’s armor - which causes him to be invulnerable to all except one other attack - again, not available until later.
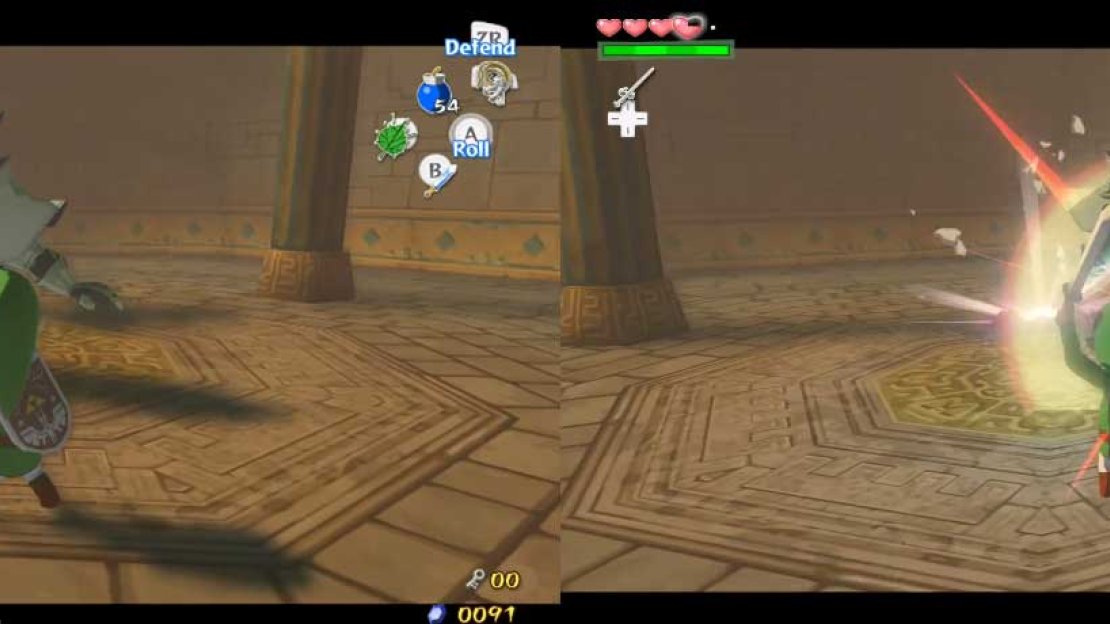
Okay, to begin, draw your sword. Wait for the A to change so you can parry. The parry will either remove the torso or helmet armor. If it removes the helmet, use the Boomerang to stun the monster (and use the Grappling Hook to get a Knight’s Crest!) and move to its back.
You’ll find a red X thing here - strike it to remove the torso armor. If the parry removed the torso armor, continue at this point. Since the thing has no armor (it may have helmet armor), it is vulnerable to attack. Stun it once more with the Boomerang and continually attack it. Repeat until death.
At the end of the battle, a treasure chest appears. Inside, you’ll find a VERY useful item - the Hero’s Bow. This is your typical bow & arrow. Nothing special. You do get to hold 30 Arrows, though, until you upgrade the item. Now then, leave the room.
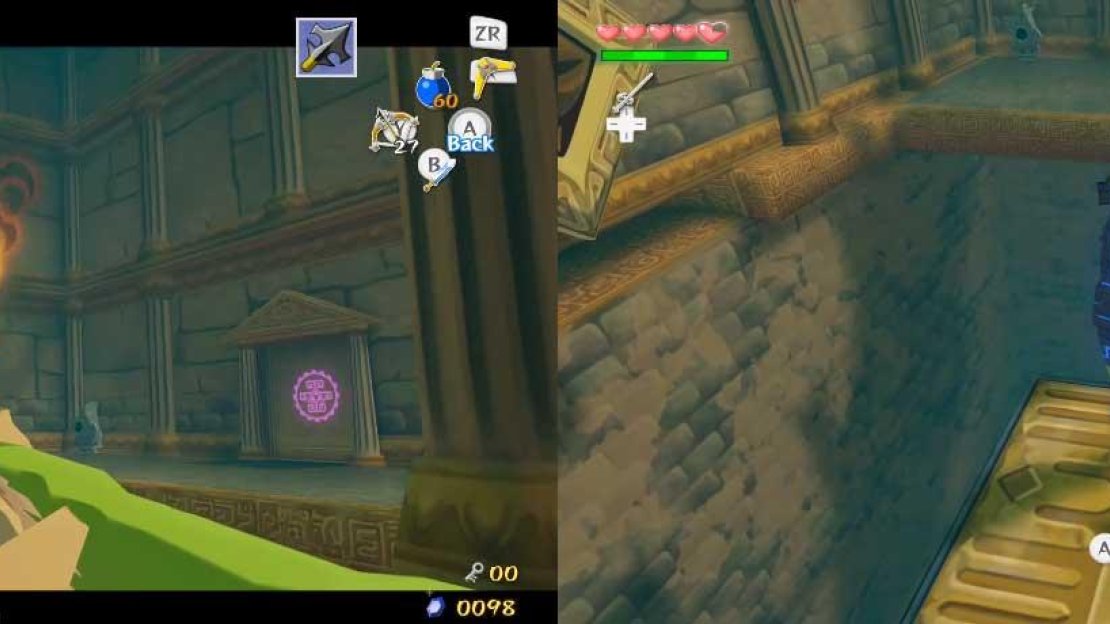
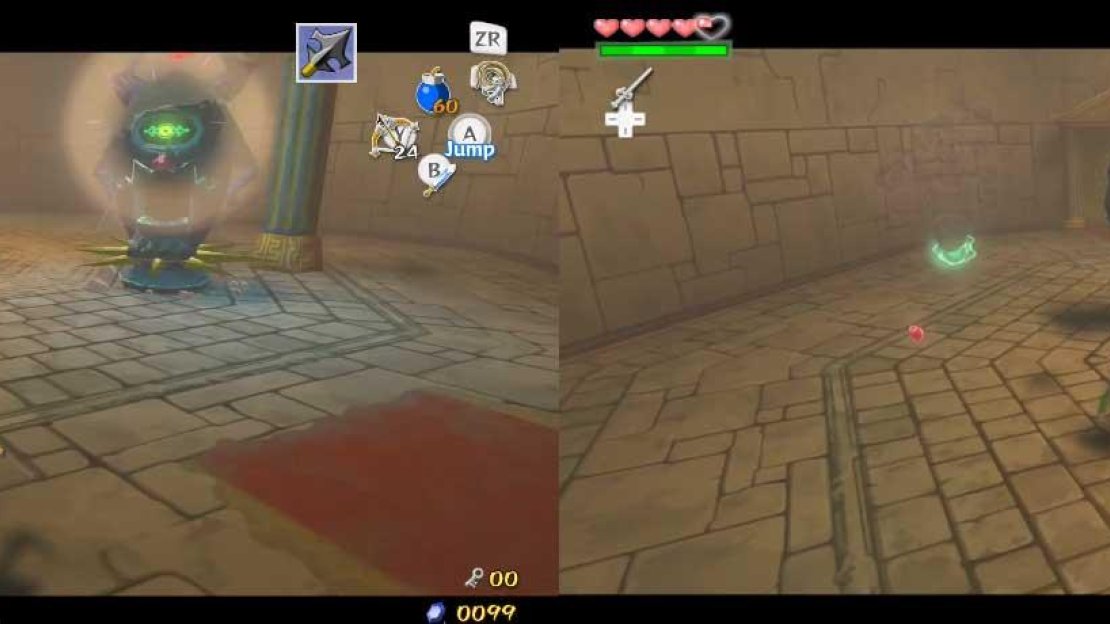
Now, you can take the easy route of defeating the Red Bubbles! Simply equip the Hero’s Bow by setting to X, Y, or Z, then aim to the target. Firstly, eliminate the Red Bubbles. You’ll also find a weird eye on the opposite side of the room from you. Shoot it with an arrow.
Two floating platforms will emerge from an alcove beneath the eye. Now, use the Grappling Hook to swing to what is now your left side of the room - where you left the statue. There, pick up the statue and cross the floating platforms and go through the door.
Back in the hub room, the statue will jump out of Link’s hands and get onto its pedestal, which will then rise. The final door will also unseal. However, since you obtained the Hero’s Bow, let’s get a few unnecessary, but sometimes useful items, covered in the next few paragraphs.
Joy Pendant
From the hub room, go through its eastern door - the first one you used. In here, you’ll still find the Yellow Chuchus, as well as another enemy - the Wizzrobe. It is best to L-target it and shoot it with two arrows. However, beware, as it shoots fireballs and will disappear soon after being struck.
When it is done, get onto the moving platform. You will see a point where it branches off to the right. Along that path, you’ll see an eye. Shoot it with an arrow to make another platform appear. Get onto the platform and ride it to the ledge. Up here, you’ll find a door to go through.
Inside, you’ll find a new enemy - Armos Knights. These could be classified as among the weakest in the game. When you get close to it, it will jump three times towards you. Afterwards, it will open its mouth. From your own stock, grab a Bomb and L-target the Armos Knight. Throw it; the Bomb will land in its mouth.
The Armos Knight will then wildly spin around, damaging you if you touch it, before exploding. There are two of these monsters in here. If you are quick enough, you can make both enemies eat the Bombs. After they are defeating, a chest will appear. It contains a Joy Pendant.
Treasure Chart No. 6
From the hub room, go through the southern door. You’ll end up back in the super-tall room. Go to the other door on the southern side of the room. You should end up in the entrance room. To its left side, past the broken wall. Go up the staircase and enter the door at its peak.
Here, you’ll fight another Red Bubble. Defeat it and look up a bit. You’ll find another eye. Shoot it with an arrow to make the two bluish panels below it explode, revealing a chest. This chest contains a Treasure Chart, Treasure Chart #6 !
No Comments