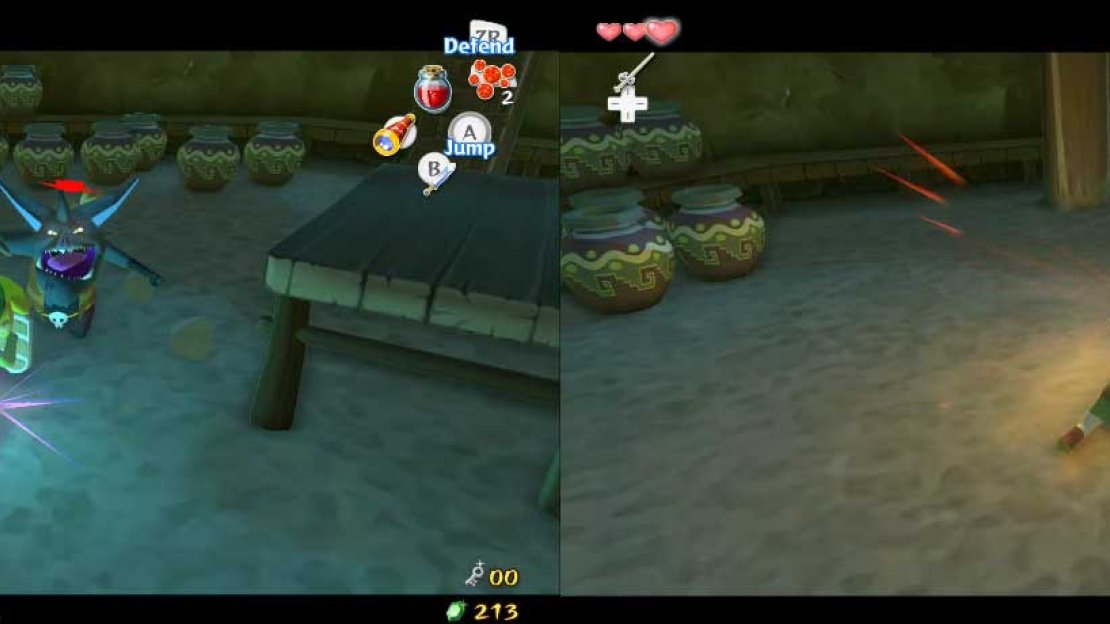
In front of you and to your right are water pots like those from the third room of dungeon. Obviously, you’ll use these to make temporary paths across the lava. To your left, you’ll see a platform with a Magtail on it; farther in that direction is a periodically-rising lava spume.
To begin, grab a water jar. Use L to lock-on to the Magtail, then throw the water pot. This should stun the Magtail and make it curl up into a little ball. Jump across to the small ledge and grab the Magtail. Bring it over to the other side and repeatedly slice it with your sword to kill it. Next, grab a water pot and jump across the gap.
Throw it towards where the lava spume rises, then jump onto the new rock. Soon, the lava spume will rise once more and you, being on the rock, will rise with it. Jump onto the wooden walkway and go through the door.
This room is sort of the final room of the dungeon, as you will come back here before defeating the boss of the dungeon. This will not happen yet. To the right, you see a golden door at the peak of a stone staircase. Unfortunately, the lava river is too wide to merely jump across. Even if you could, look carefully at the door (with the Telescope, if needed) - it requires a key!
There is also a Bomb Flower to your left. Use it to destroy both of the large boulders in the room. This allows access to another door and another pot (the last of the dungeon). Go through the door when you’re ready.
Again, you are outside, faced with an even deadlier drop if you fall (same damage, though). To your right, you’ll find a staircase. Climb quickly, though, as the steps fall as you step on them. At the peak, you find you are in a clearing just below Valoo.
In front of you is not just the clearing, but also a cage - with Medli inside! She is being held captive by two Bokoblins that are carrying swords. Enter the clearing, after which the gate closes behind you, and engage in battle with the Bokoblins. The main point to try to disarm them, then strike!
After defeating them, a Kargaroc drops a Moblin into the clearing. You probably remember these from the Forsaken Fortress. This will be your first fight with one, though. My strategy usually involves an all-out offense until it blocks, at which point I use a Jump Attack. Regardless, beware of its highly powerful punch that it uses while unarmed (yes, you can disarm it like you can with Bokoblins.
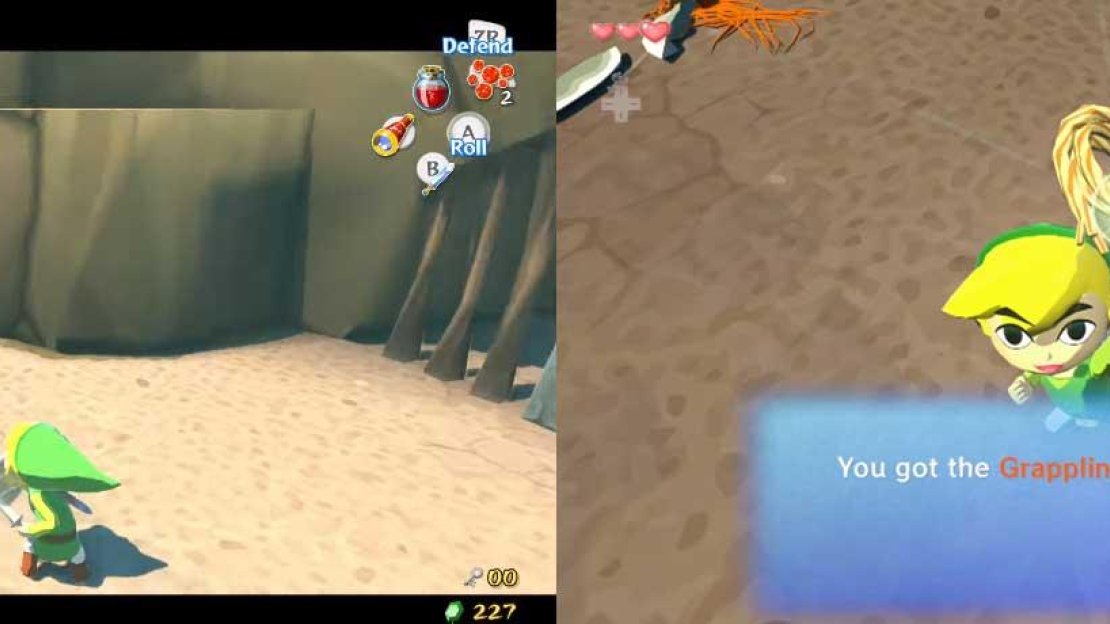
After the battle, Medli’s cage opens. When you talk to her, you find that she has found the cause of Valoo’s anger: something in the room below Valoo is messing with his tail. Medli decides to go and tell everyone what’s happening. Before she leaves, she gives you a Grappling Hook and a tutorial on how to use it.
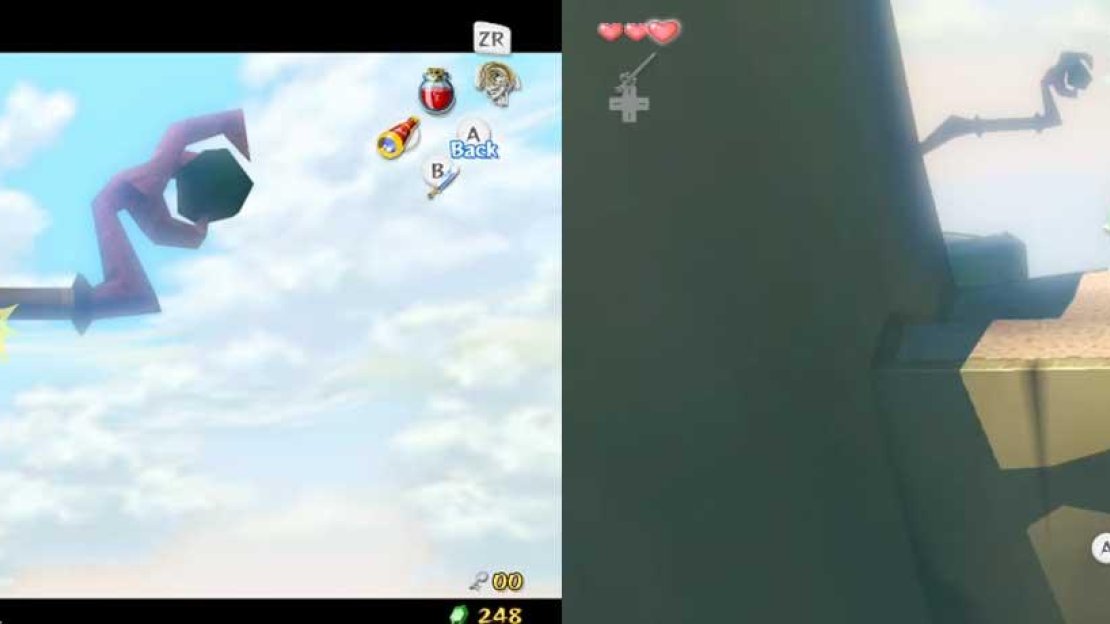
This is how she got up here, as the Rito used before they developed wings. Anyhow, she directs you to the top of the staircase. Set the Grappling Hook to X, Y, or Z and press that button. Look upwards and you’ll see a stick jutting out of the wall.
When the red dot (the laser-target, sort of) turns into a yellow sparkle. This is also accompanied by a sound. When this happens, press the button you set the Grappling Hook to.The Hook will wrap around the stick several times.
At this point, it is the same as clinging to the lanterns from the pirate’s ship and in the Forsaken Fortress. Swing across and repeat this once more. In front of you, you’ll find some boards. Hit them to destroy them, then, once you hit the ground, look to your left. There are some more sticks and ledges there. Use the Grappling Hook to get across them all and enter the door you find.
Now, I believe I should mention a somewhat useful ability of the Grappling Hook. You can see that Bokoblin in front of you, correct? Well, lock-on to it and use the Grappling Hook on it. Why? If you do, you’ll get a Joy Pendant .
The Grappling Hook actually stole an item from the enemy! You can do this a total of three or four times to receive one item (for certain enemies), Rupees, magic jars, or hearts. Anyhow, get rid of the Bokoblin on the bridge, then, when across, a Bokoblin will jump out of one of the pots in front of you.
After you defeat it, a chest appears on the path below you. Get onto the bridge and attack the rope supports to make the bridge fall. The bridge will break, causing you to fall onto the path below. Open the chest to receive a Joy Pendant . Now, go through the door.
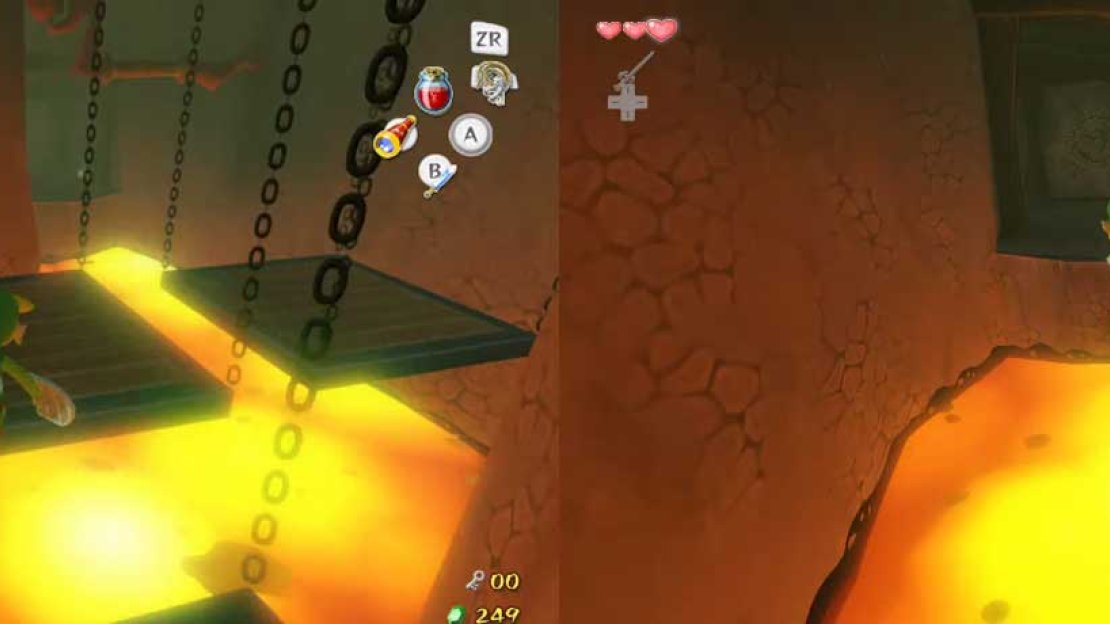
You have entered an even higher part of the second room. To your right, you’ll find a birdcage-like object. Below it, a lava spume rises periodically. Get into the “birdcage” and walk into the center (onto the symbol). Use a Spin Attack to break the supports (otherwise, it’ll tilt and you’ll fall into the lava).
Once the platform hits the lava below, go into the nearby tunnel and jump across the platforms to get to an ladder. Climb up it. This is the highest point in the room. To your right is a sealed door. To unseal it, look above and to the left. You’ll see a stick that you can hook onto with your Grappling Hook. Do so and this will activate some mechanism to unseal the door. Get back onto the ledge and go through the door.
This room SUPPOSEDLY is a dead end. However, look above and use the Grappling Hook to hook onto another stick. Hold R to stop swinging. Continue holding R and use the Control Stick to face to the right.
Change your height by moving the Control Stick as needed, then swing onto the ledge. Jump across the platforms. On the last one, use the Grappling Hook to look above, then hook onto the stick. Swing across to the door and go through it.
This room contains an elaborate chest. In all dungeons, these chests contain the Boss Key , which is required to attempt to defeat the boss and complete the dungeon. At the moment, it is surrounded by a ring of fire. You’ll see a switch near the chest. Whenever you put something on the switch, the fires are extinguished until the object is off.
Therefore, Link can’t be the switch as he can’t be in two places at once. There are Magtails around the room. If you remember, they curl up into liftable balls when stunned. L-target one and wait for it to open its jaw-things. Hit it and it should curl into a ball. Lift it and put it on the switch.
Go to the chest and open it to receive the Boss Key . Now, you COULD backtrack to the boss room, or do what I would - save & quit. Once the file is reloaded, you’ll end up in the first room. From there, just jump into the pot twice to be back in the pre-boss room.
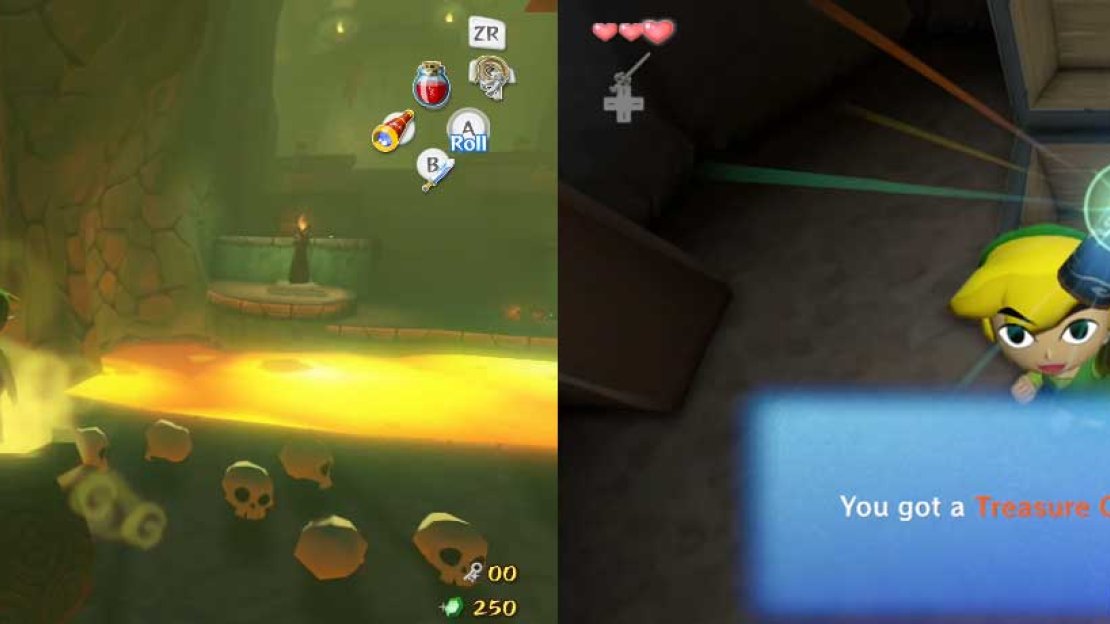
In the passage is a large gap with lava in it. Use the Grappling Hook to hook onto the stick above the passage. Swing across to the chest to receive a Treasure Chart (#39) .
In the pre-boss room, look above the lava river. There will a stick you can use the Grappling Hook on. Do so and swing across to the other side. Defeat the Magtail and grab some treasure. In the chests, you’ll find a Yellow Rupee and a Knight’s Crest .
In the pots, you’ll find some stuff, most notably fairies. The fairies will fully heal your health. Even better, you can use an Empty Bottle to catch one. This way, they are an auto-life, because they will revive you one time when you are KO’ed. You can also use one immediately to fully restore your hearts.
However, you have to empty your empty bottle. If you have a Blue Potion from the rat, I probably wouldn’t empty the bottle, though. Your choice. Anyhow, when you’re ready, save and open the door.
Inside the room, you’ll see that it consists of a ring of rock surrounding a pool of lava. There are wooden platforms on the walls and Valoo’s tail hangs down from above…
WAIT! Didn’t Medli mention that something was hurting Valoo’s tail? It must be fairly large to disturb Valoo, so large that it must be the boss! As you walk forward, the lava begins to ripple and a large scorpion-like monster erupts from it! Battle time!
No Comments