
This page covers Sandinus Ravine in Calaglia for the story in Tales of Arise. This walkthrough will take you through obtaining all items and uncovering everything available to you.
Sandinus Ravine is a location in Calaglia.
| Items | Location |
|---|---|
| Life Bottle x3 | Chest to the north of the first Mining Point |
| Sage | Patch of land near the lake |
| Apple Gel | To the west before you reach the bridge |
| Orange Gel | Southwest from Ulzebek entrance |
| Owl | On the tree to the right of the bridge |
| Collection Points | Location |
|---|---|
| Carp | In the lake before reaching the bridge |
| Mushroom | Northeast, near the Gigant Zeugle |
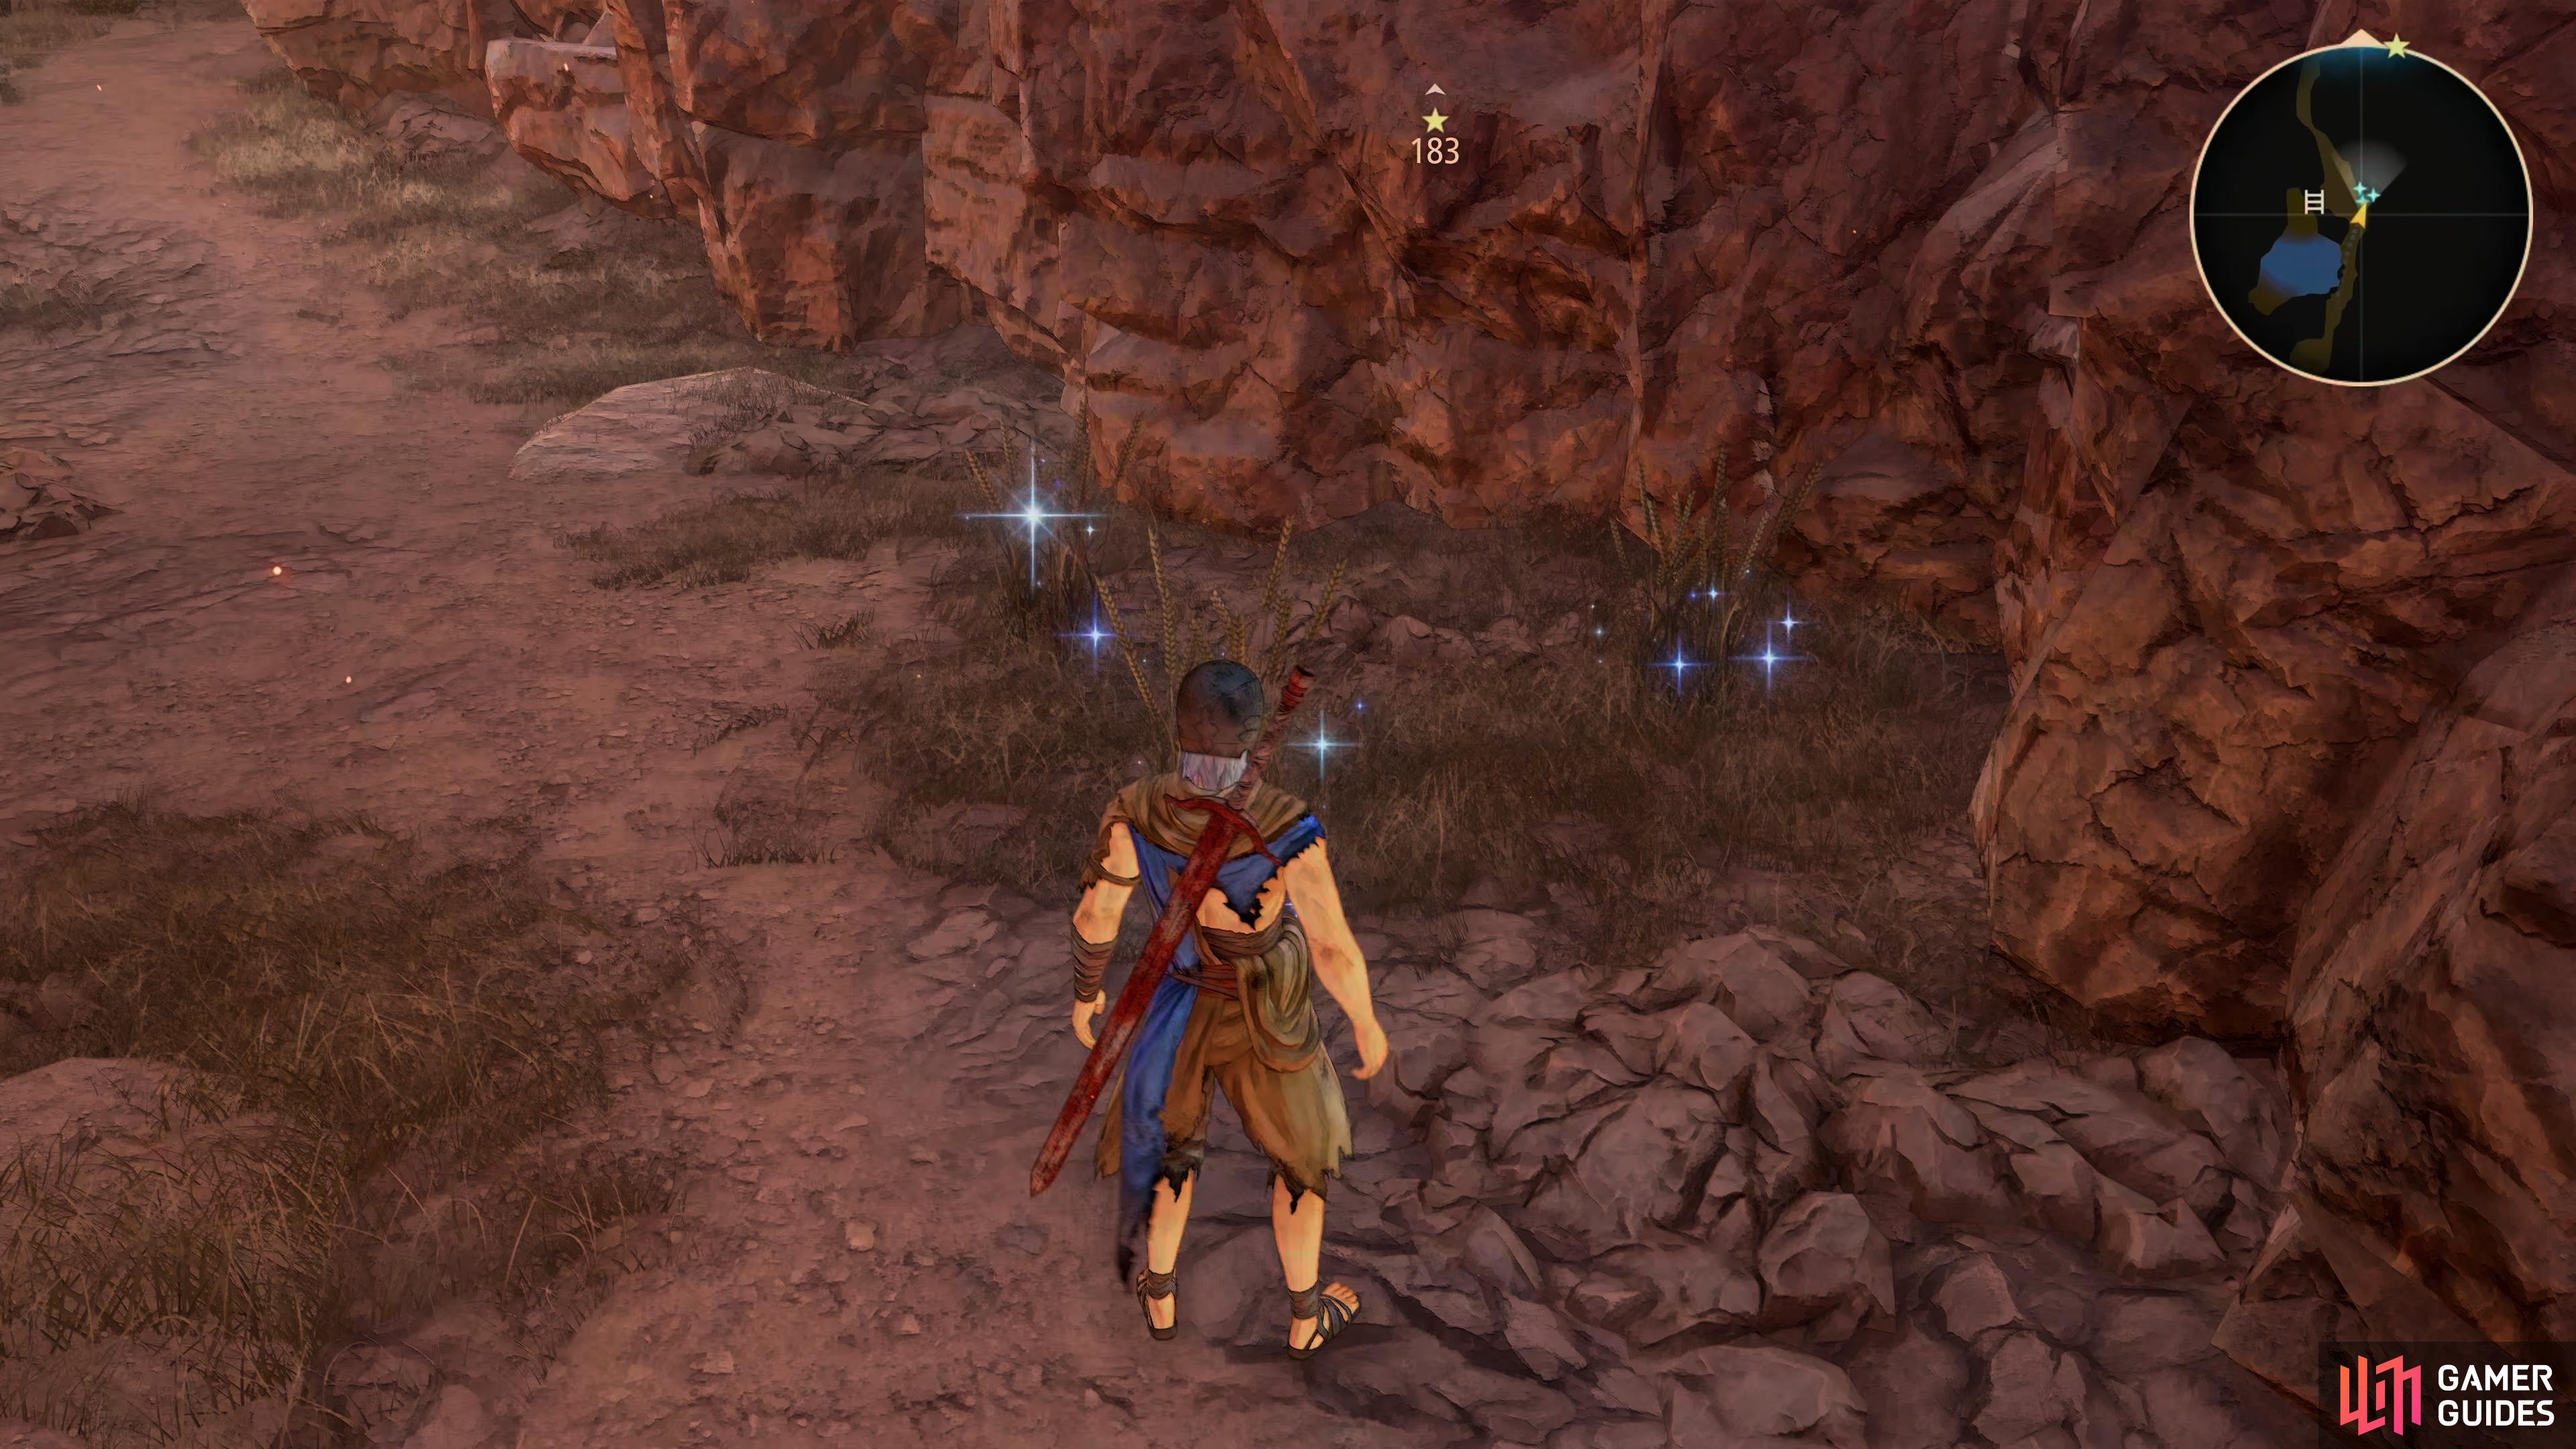
| Wheat | Southwest from Ulzebek entrance |
| Enemies | Lv | Weakness |
|---|---|---|
| Armadillo | 7 | – |
 Golem Golem |
9 | Wind |
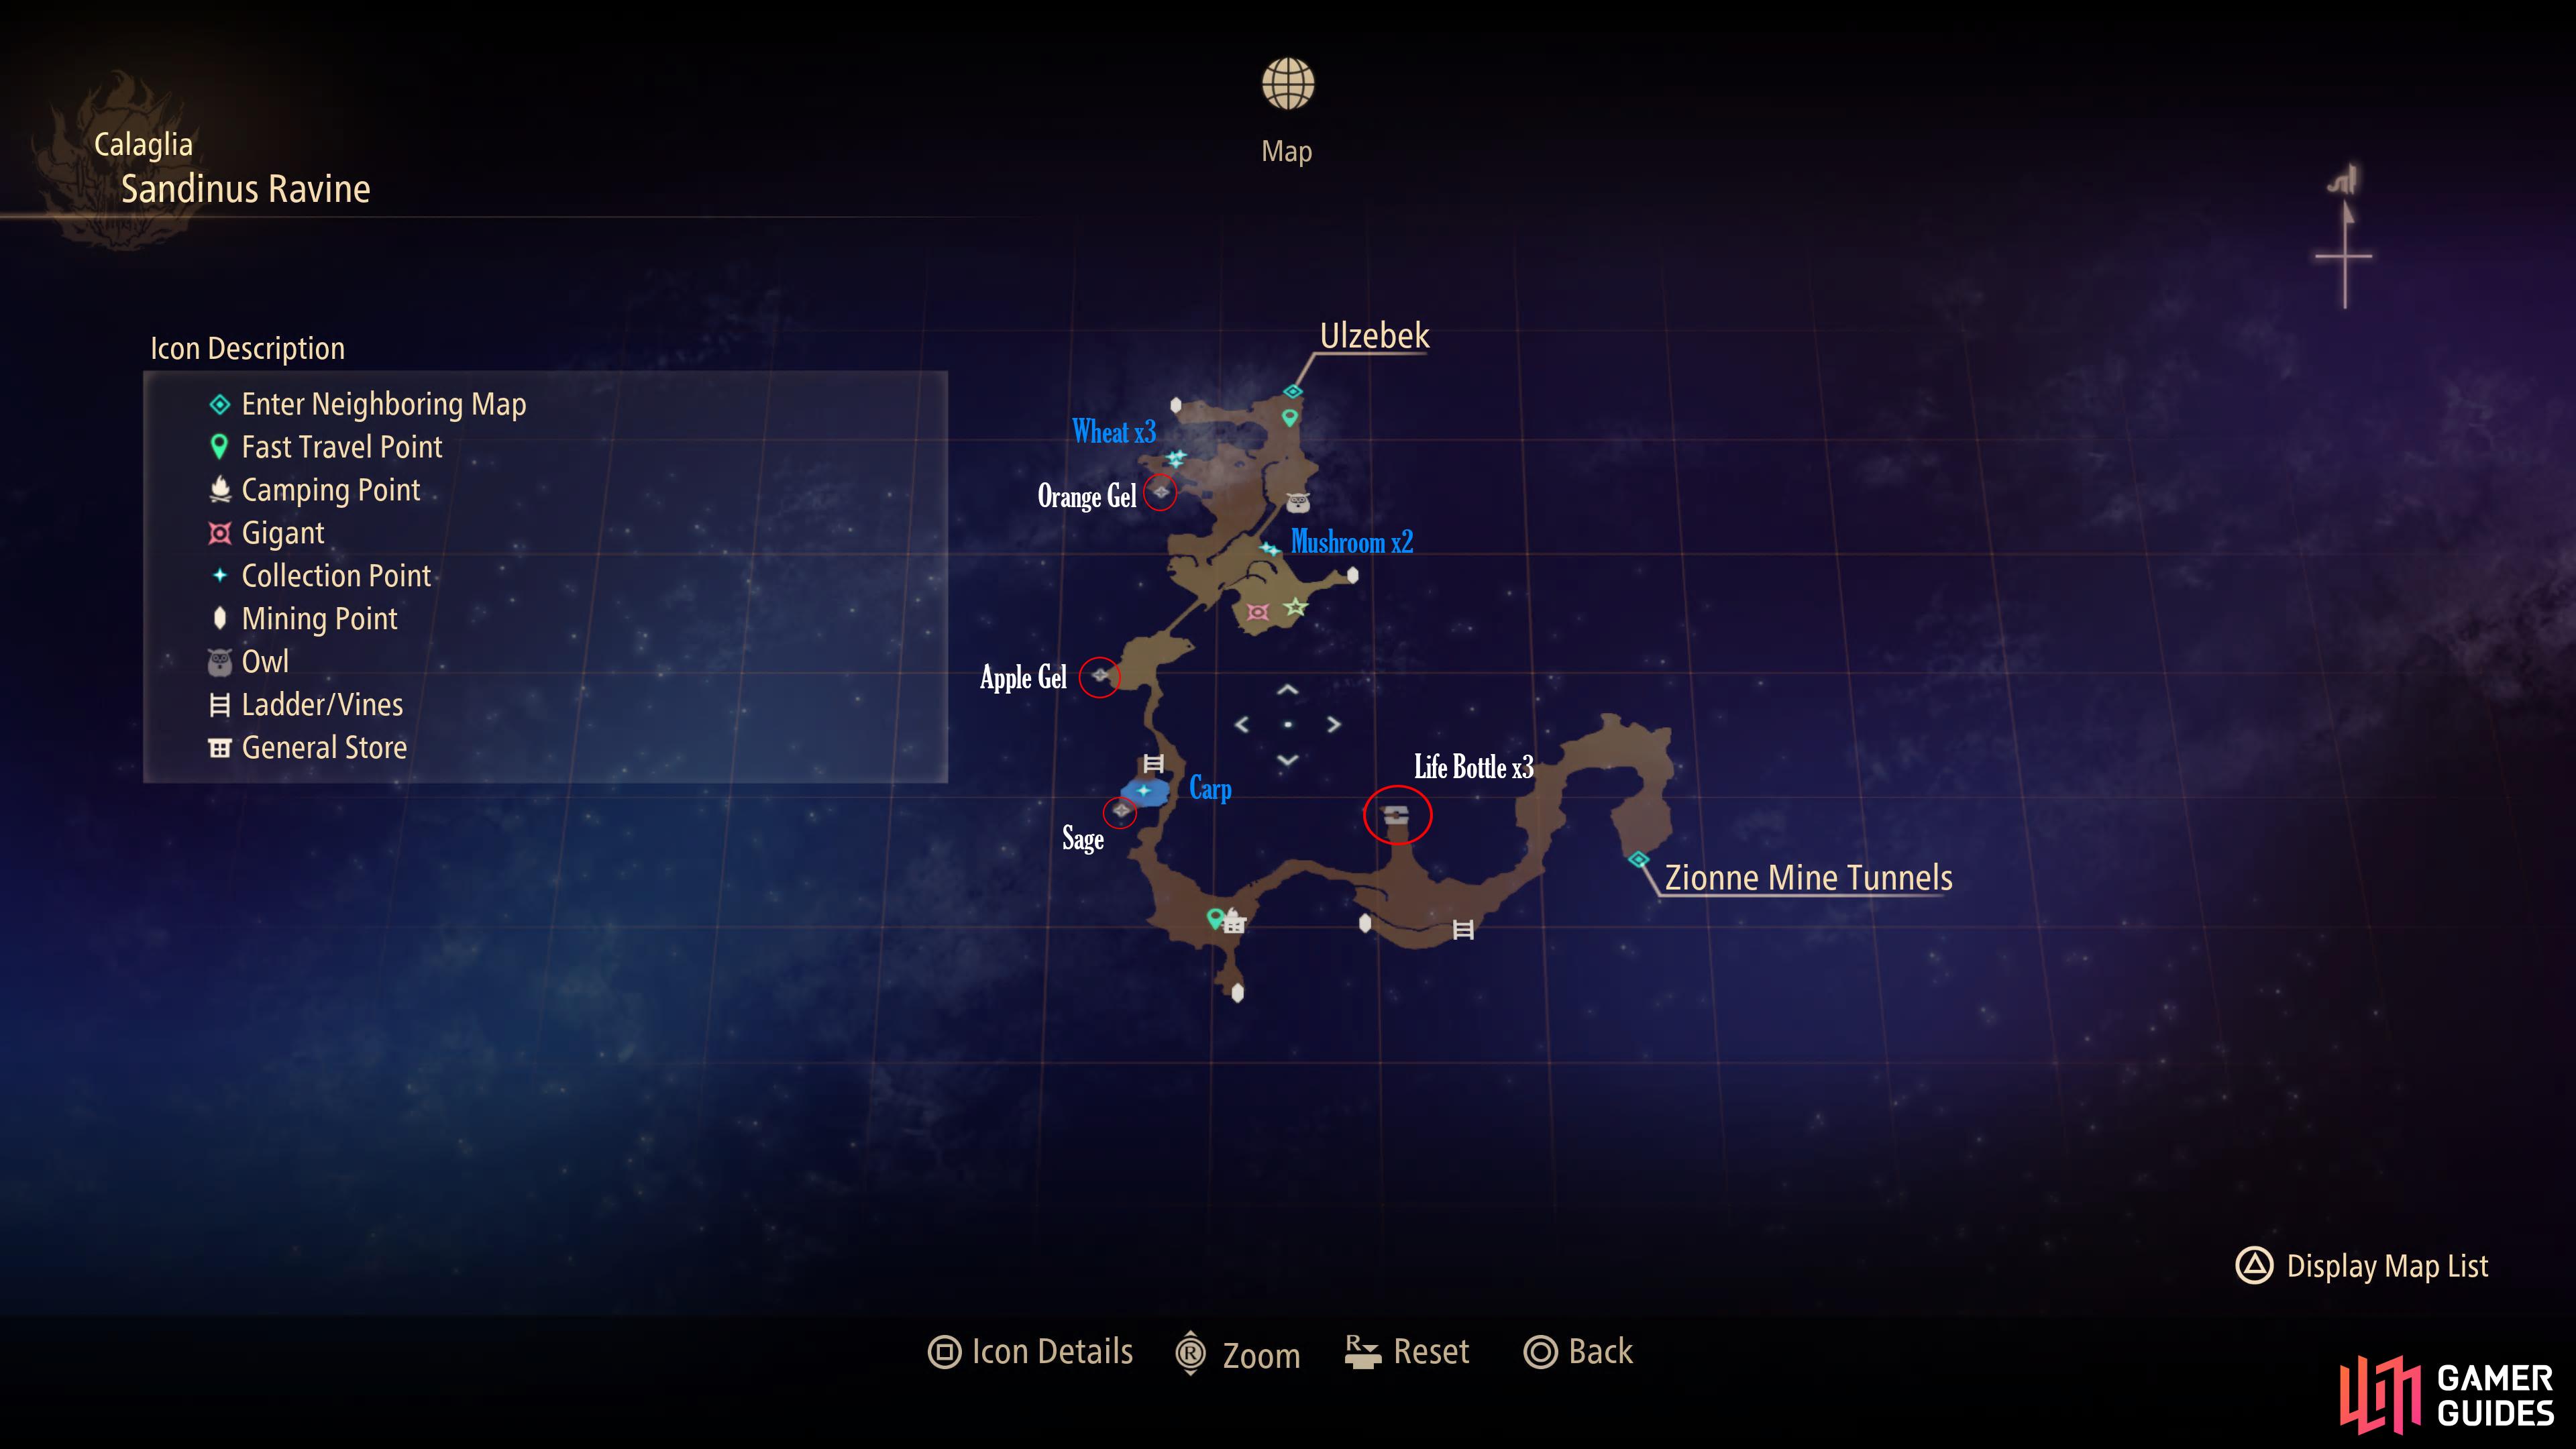
The map for Sandinus Ravine.
Teaming up with Zephyr
The Sandinus Ravine is the first chance you have to truly engage with the combat system in Tales of Arise and with it, your first chance to actually suffer a defeat. Pay attention to your CP, should you lose a battle, you’ll be restored on the spot with your CP taken up to restore you. If you have no CP remaining, you’ll remain with 1 HP so it’s always best to keep track of it and use Camps to restore whenever it is low.
For now, follow the path to trigger a scene and then continue on to encounter a group of three Wolves. You’ve already fought these back in the mines, but now you have the aid of Shionne and Zephyr who should make the battles that much smoother. You’ll get a quick primer on the different control methods available to you here but the short version of it is that Semi-Auto will automatically move your character into attack range when using Artes and regular attacks whereas Manual will execute your commands where you stand, placing greater emphasis on your positioning.
As you round the next corner, you’ll encounter your first battle with a large Zeugle, a Golem. It’s Lv 9 so can be tough if you’re not prepared (especially on the harder difficulties) but perfectly beatable (in fact, most enemies are beatable as you encounter them for the most part) if you play it safe. For starters, make full use of the fact that Zephyr can’t be killed, not only does he pack a punch, but you can let the enemy focus on him while you go for hit and run attacks. Unlike the other Zeugles you’ve fought so far, this one has a weak point, indicated with the large orange glowing rock on its back. This is ideal for Alphen or Shionne to head around behind it while it focuses on Zephyr to take it down as causing enough damage to it will cause a Core Break and incapacitate it, allowing you to wail away at it. As for the Golem’s attacks, the only real threat is the Spin attack, once you see it wind up, be sure to dodge away to avoid it.
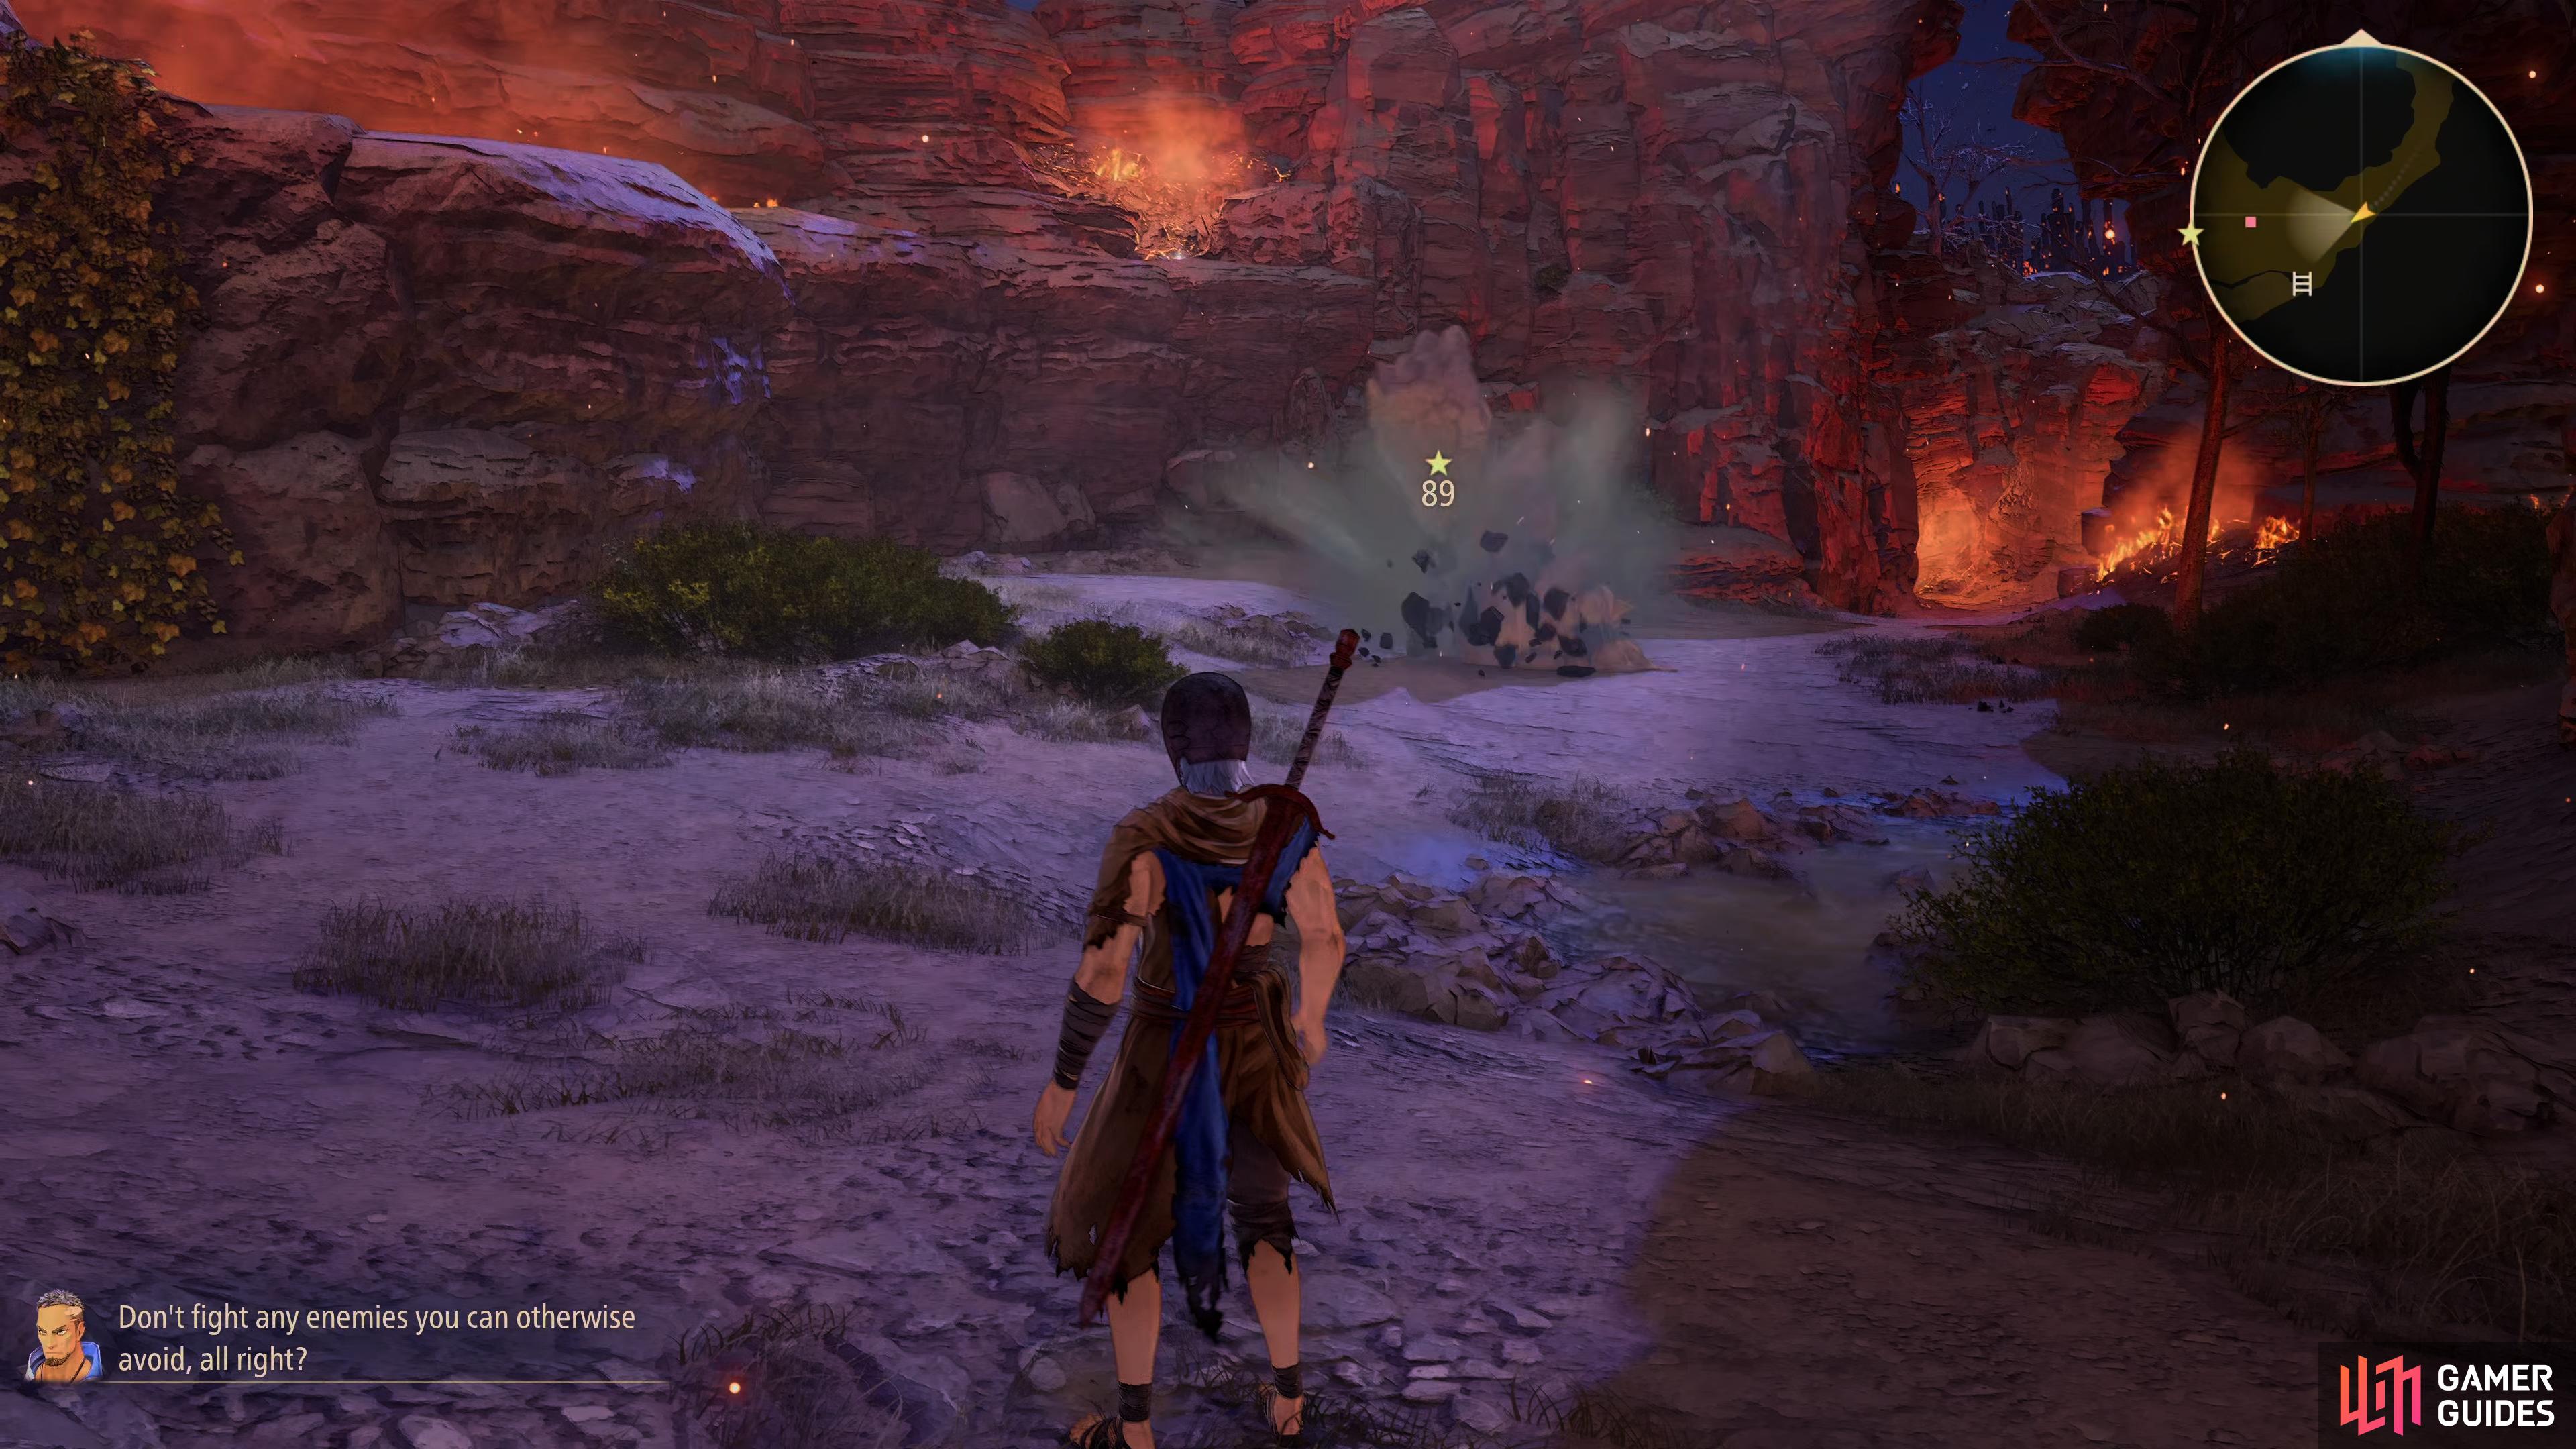
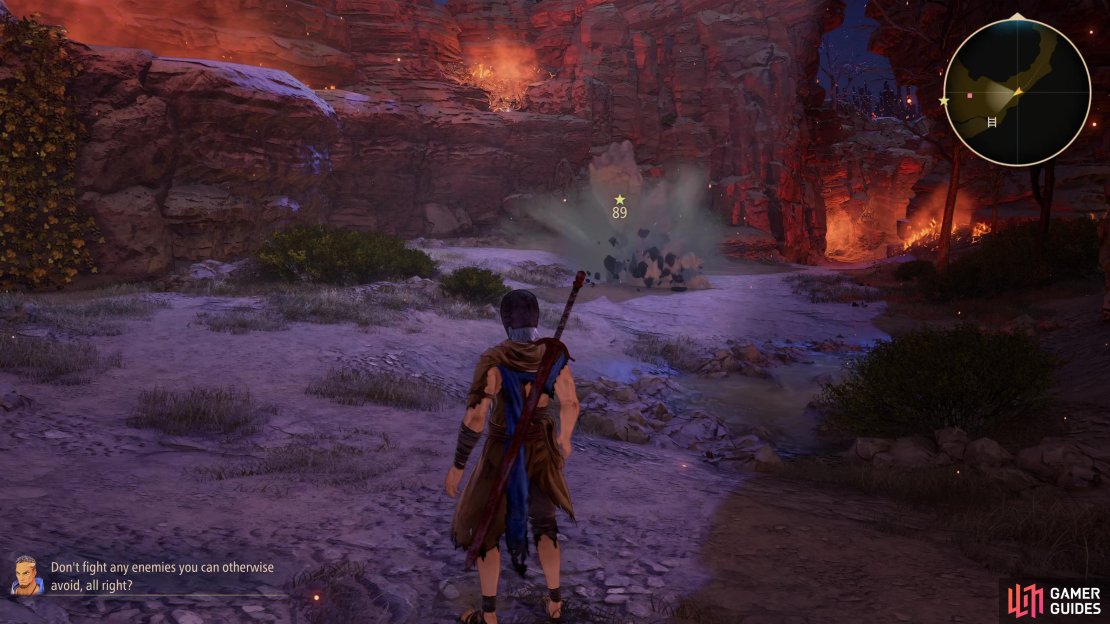

(1 of 4) You can avoid the Golem by taking the vines up to your left
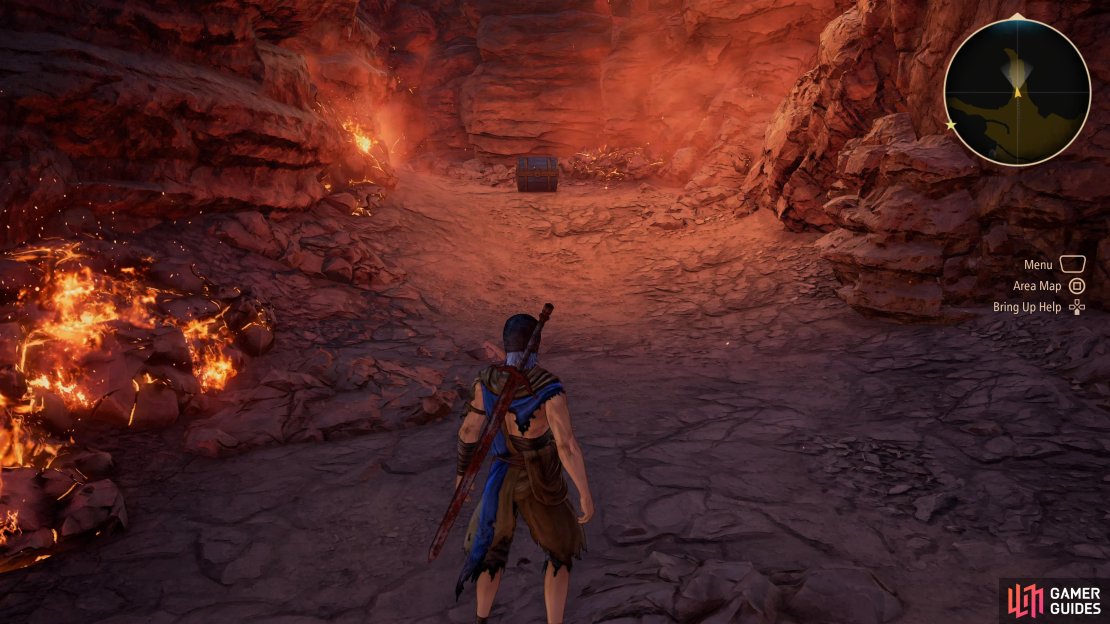
Once the battle’s over, take the vines up to the left and you’ll encounter your first Mining Point. These contain different types of Ore and you’ll receive different rarities from a pool of available Ore at each point (this can be enhanced later), you won’t be able to make use of the Ore for now, but hold on to it as it’ll come in use a bit later in your adventure. Also note that Mining Points, like Collection Points (which you’ll soon encounter) will replenish after a certain amount of time has passed. The map keeps track of this, the icons will be lit up if they’re available for collection. Once you have the Ore, drop down and head north to open the Chest containing three Life Bottles.
Life Bottles, like most consumables in Tales of Arise, are a precious commodity. As Gald is hard to come by for the most part, you won’t be able to purchase stacks of consumables for use in the game. Considering that CP is a finite resource between resting (outside of using Gels) and Artes like Resurrection have a hefty CP cost, keeping your Life Bottles and other consumables for the tougher battles is always a sound plan. Pocket the Life Bottles and you’ll trigger a scene at the first Campsite.
You’ll be introduced to the Camping Out mechanic at this point, this allows you (at the cost of no resources) to set up camp at which point you’ll restore all HP and CP. Not only that, but you can sometimes here exclusive pieces of dialogue between the characters and even trigger some Skits (along with watching any you’ve already seen). You also have access to the DLC menu here and a bit later into your adventure, you can cook a meal for benefits that are crucial for your survival. For now, there’s not much you can do but trigger the Skits and rest up for the night.
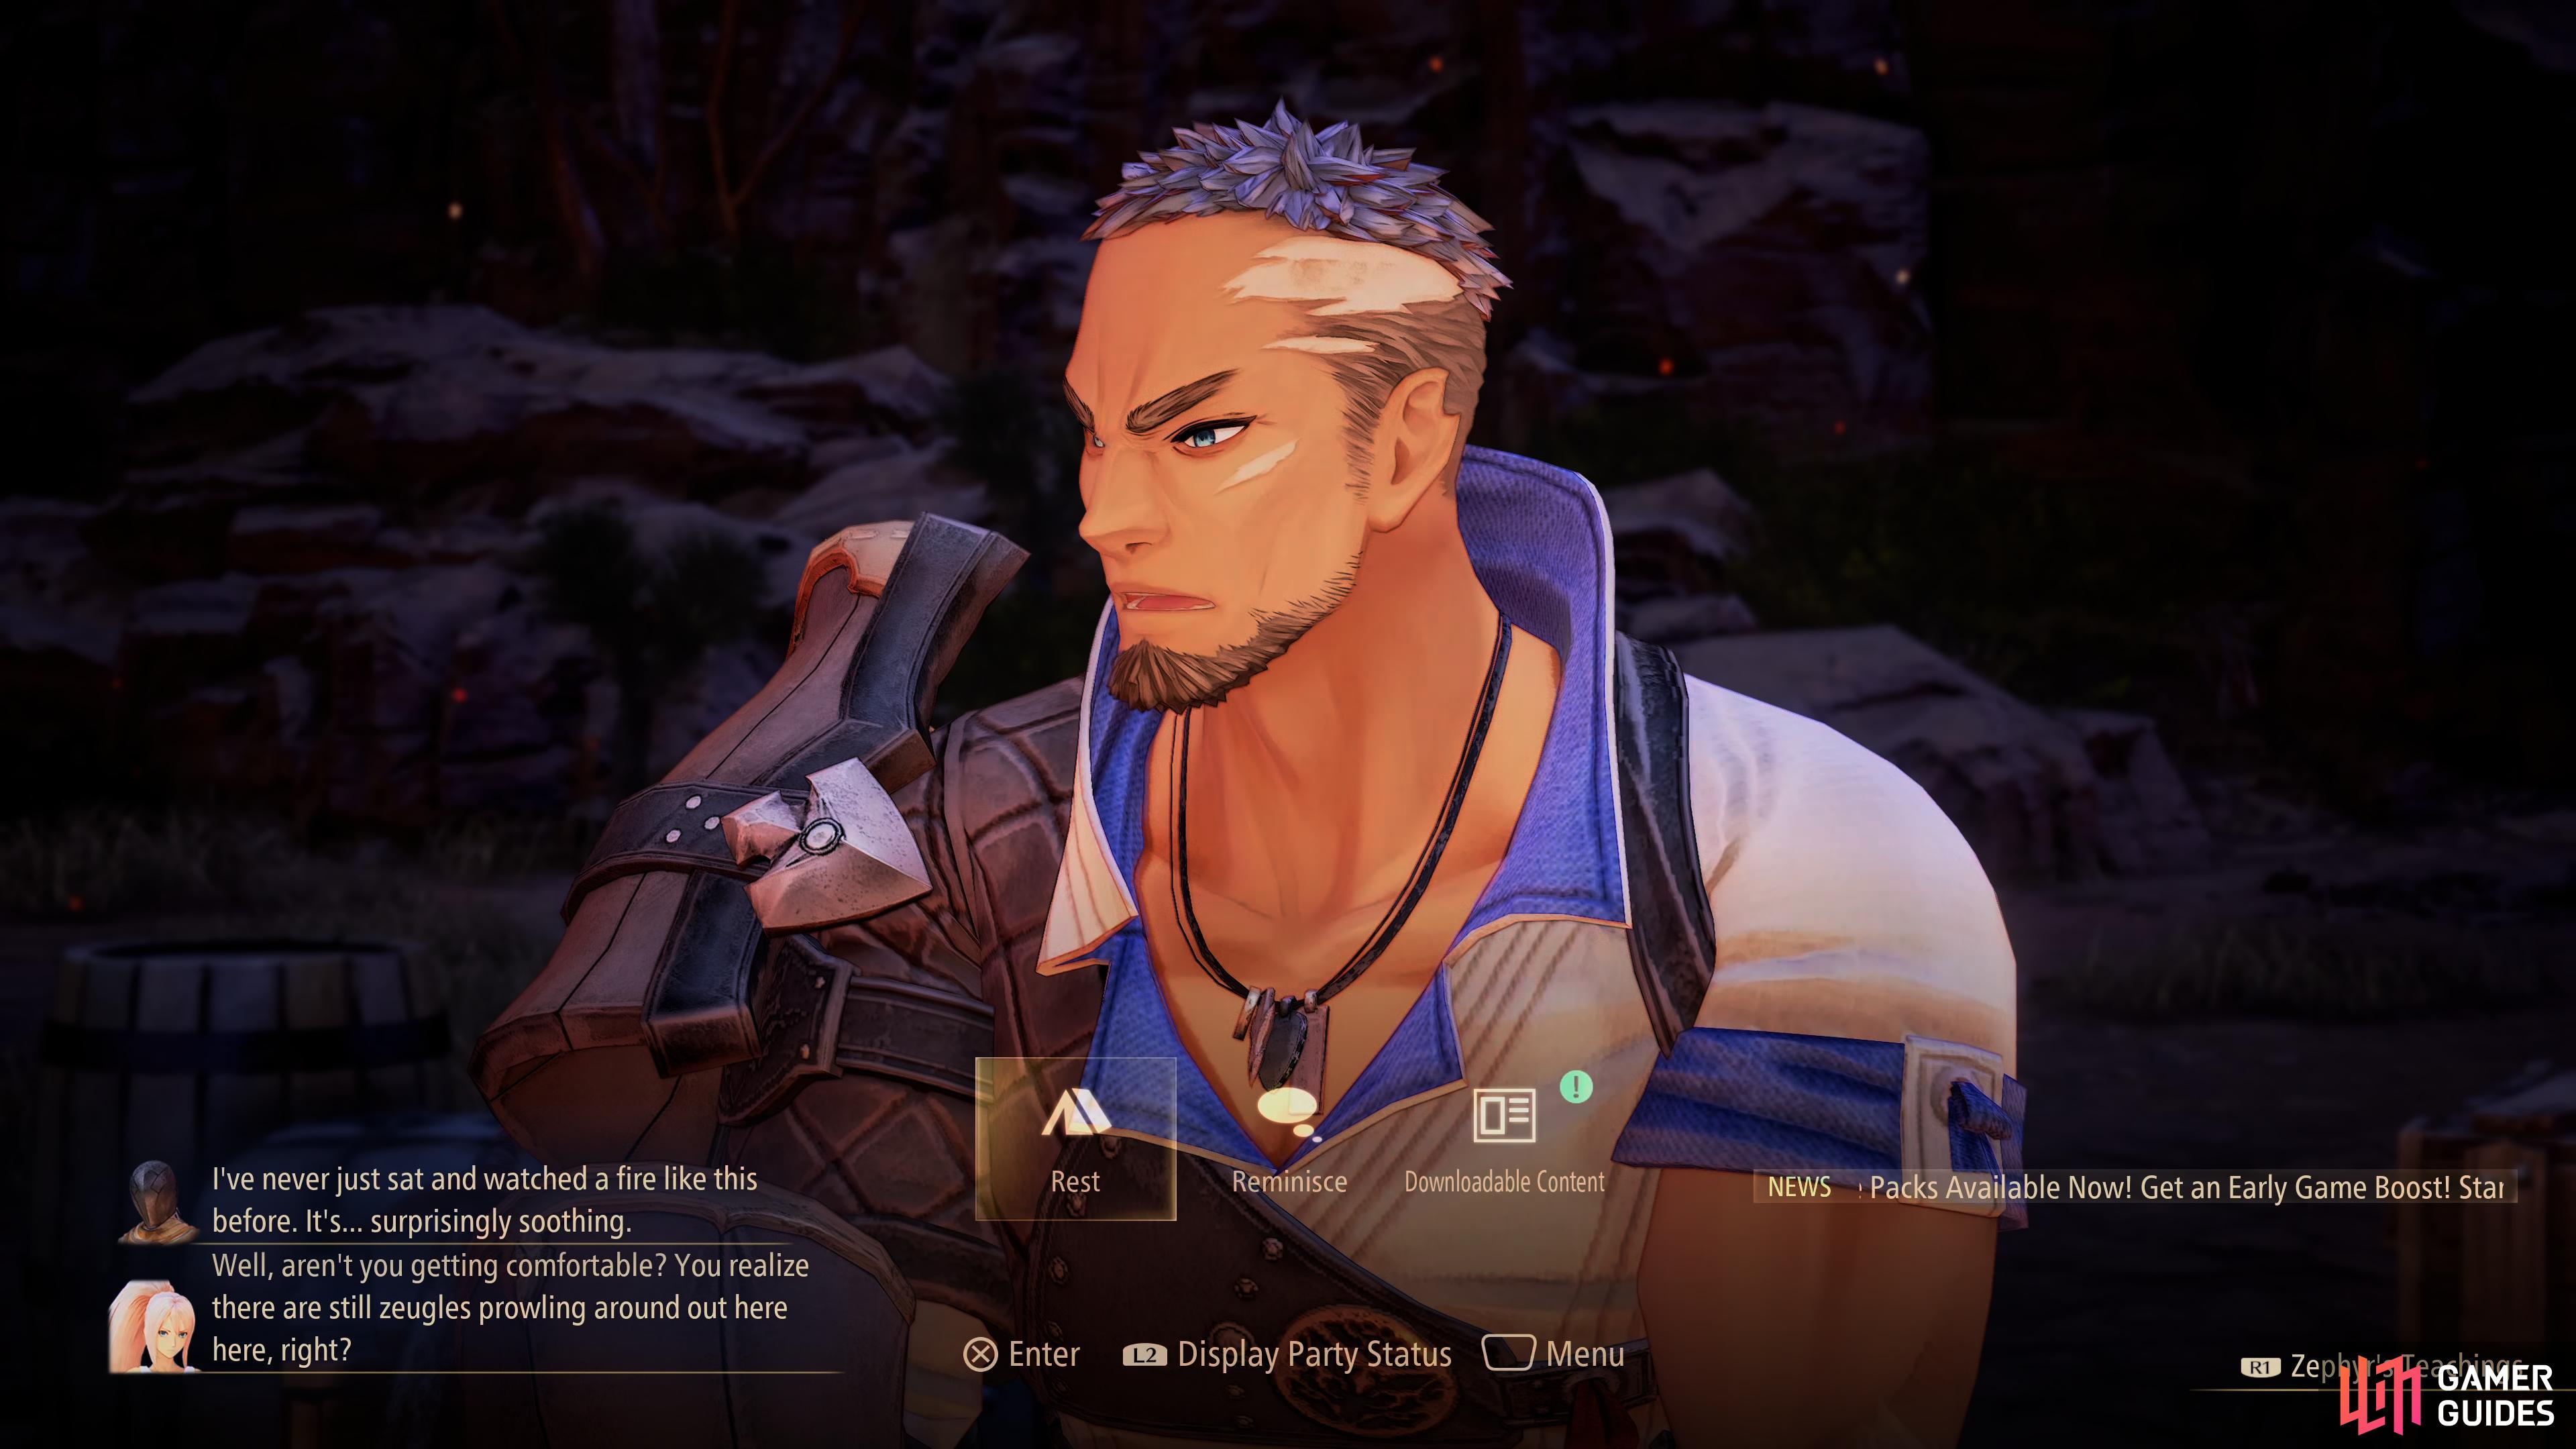
Make use of camping to restore HP/CP and listen to Skits.
After the following scenes, you’ll awake in the morning and another Skit is available to trigger. Head south from your current location to find another Mining Point and then continue north to find a broken bridge with your first Collection Point containing Wheat. As mentioned above, these points will replenish over time and for the most part, these items can be used for the many Cooking Recipes you’ll soon amass.
Ignore the path north for now and instead drop down to the left (there’s no fall damage so feel free to jump off rather than taking the vines down). You’ll find a lake here with a Carp Collection Point and on the piece of land to the southwest, a Sage. These plants offer a permanent upgrade to a different stat based on the plant you use, Max HP in the case of Sages. You’re free to give it to anyone, but it can never hurt to have extra HP on the character you control in battle.

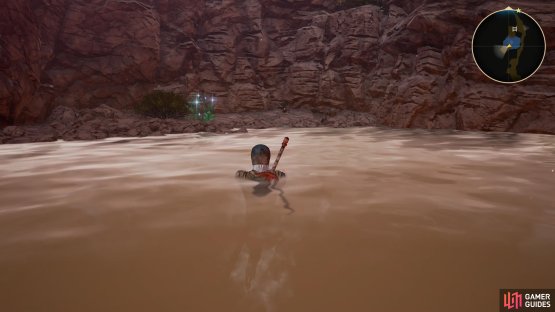

(1 of 2) Drop into the lake to locate a Sage
Drop into the lake to locate a Sage (left), you’ll also find Wheat at the Collection Point here. (right)
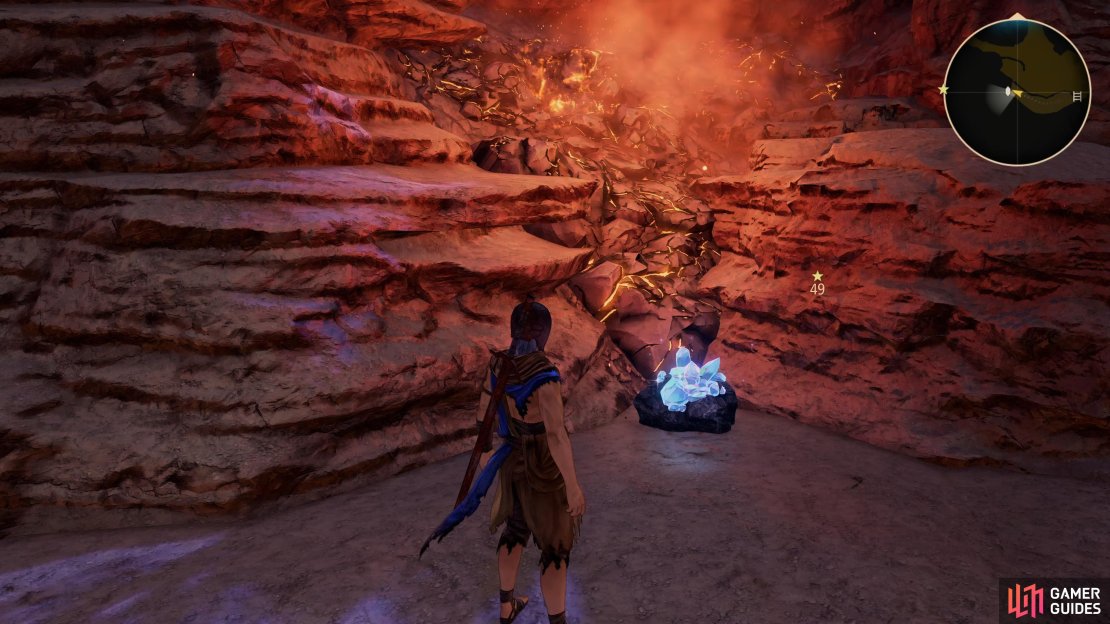
Take the vines back up and follow the path north until it opens up a little, on the edge of the cliff to your left you’ll find a bag containing an Apple Gel. Pocket it and continue to the north and you’ll reach some tracks and as you cross, Iron Mask will remark about the giant stray on the ground above. These are known as Gigant Zeugles and are essentially the same as bosses. You’ll only be able to kill them once but you’ll obtain an Astral Flower for each one you kill, granting an upgrade to your Max CP. Outside of this first instance of a Gigant, it’s entirely possible to beat every Gigant as you encounter them.
Continue along and head east of the bridge to find a Mushroom Collection Point before another Mining Point to the east of the Gigant (avoid this for now!). Cross the bridge to the northeast now and you’ll encounter a group of Armadillos, these Zeugles will attempt to roll into you so be prepared to dodge at the last moment to evade their attempts and follow up with your own combos.
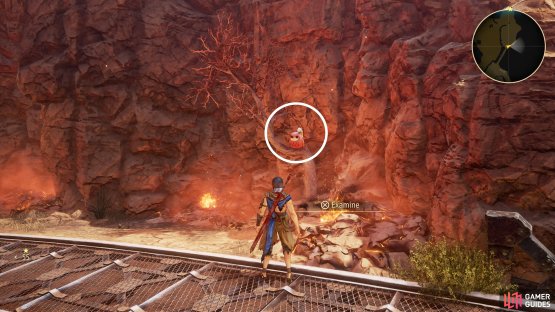
Once the battle’s concluded, stop and turn your camera to the right to spot a cheeky Owl perched on a tree. This is one of the main collectibles in Tales of Arise and there are three Trophies associated with tracking them all down, along with many rewards to be had. You won’t be able to begin the Sub-Quest for these for some time, but you can get started on collecting them now to save time later. For each Owl that you examine, you’ll gain the Attachment that they have on them to be used in the Outfits menu. This Walkthrough will cover every Owl as they become available, but for more information on all of them, head to the Owls chapter.

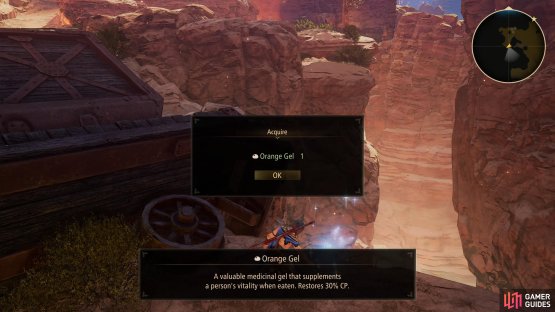
(1 of 2) Hold on to your Orange Gels for emergencies

Hold on to your Orange Gels for emergencies (left), you can find the first Owl on this tree. (right)
Claim this Owl and then before heading north to Ulzebek, head west and deal with the Armadillos here. Head west once they’re defeated to locate another Wheat Collection Point and then, as you head around the fallen cart, you’ll find another bag containing an Orange Gel on the cliff’s edge. These items are extremely lucrative items that you’ll want to hold off on using unless you’re in a difficult encounter. Using them will restore 30% of your CP and you won’t come across them often, indeed when they become available in shops, they’ll cost a staggering 3000 Gald per one.
With the Orange Gel in hand, head back north toward the gates of Ulzebek but hang a west first to dispatch one more group of Armadillos and locate the final Mining Point in this area. Once you’re satisfied with everything you’ve explored here in Sandinus Ravine, head through the gates to enter Ulzebek.
No Comments