Dragonspiral Tower
Dragonspiral Tower - Exterior
| Name | Type | Location | Encounter Rate |
|---|---|---|---|
 Sawsbuck Sawsbuck |
Normal/Grass | Grass/Dark Grass (Win only) | 35%, 30% (Win form only) |
 Mienshao Mienshao |
Fighting | Grass/Dark Grass (Win only) | 25%, 30% (Win), 29% (Dark Grass in Win) |
 Audino Audino |
Normal | Shaking Grass | 85% |
 Emolga Emolga |
Electric/Flying | Shaking Grass | 10% |
Winter Only
| Name | Type | Location | Encounter Rate |
|---|---|---|---|
 Vanillish Vanillish |
Ice | Any Grass | 25% |
 Vanilluxe Vanilluxe |
Ice | Shaking Grass | 5% |
 Beartic Beartic |
Ice | Any Grass | 15% |
 Mienfoo Mienfoo |
Fighting | Dark Grass | 1% |
Spring/Summer/Autumn Only
| Name | Type | Location | Encounter Rate |
|---|---|---|---|
 Tranquill Tranquill |
Normal/Flying | Grass | 35% |
 Druddigon Druddigon |
Dragon | Grass | 5% |
 Unfezant Unfezant |
Normal/Flying | Shaking Grass | 5% |
Surfing and Fishing
| Name | Type | Location | Encounter Rate |
|---|---|---|---|
Red  Basculin Basculin |
Water | Surf/Super Rod | 100% (Surf), 30% (Fishing) |
Blue  Basculin Basculin |
Water | Surf/Super Rod | 100% (Surf), 30% (Fishing) |
 Dratini Dratini |
Dragon | Super Rod | 70%, 60% (Rippling) |
 Dragonair Dragonair |
Dragon | Super Rod | 9% (Rippling) |
 Dragonite Dragonite |
Dragon/Flying | Super Rod | 1% (Rippling) |
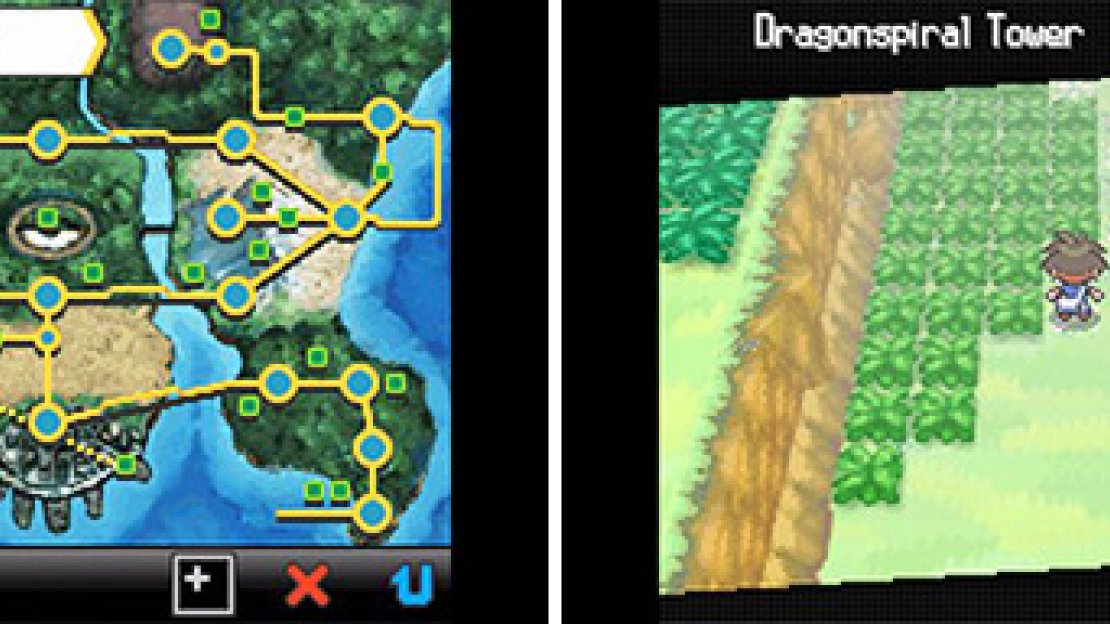
As soon as you step foot in Dragonspiral Tower’s exterior, head north past the Tall Grass until you reach an entrance leading through the trees. Move through it.
Here you’ll find a man looking out at the tower. It’s Cedric Juniper, once more! If you have the Dark Stone or Light Stone that N gave you back in his castle, Cedric will stop and speak with you. Before he finishes speaking and leaves, he’ll hand you the Old Gateau .
Now head onto the bridge and move onto the water to the east of it by using Surf . Move east across the water until you reach land. Move onto it. Head north-east through the grass here to find some Carbos . Now backtrack to the bridge. Move north along the bridge and into the tower itself.
Dragonspiral Tower - 1F
| Name | Type | Location | Encounter Rate |
|---|---|---|---|
 Mienshao Mienshao |
Fighting | 1F | 20% |
 Druddigon Druddigon |
Dragon | 1F | 30% |
 Golurk Golurk |
Ground/Ghost | 1F-2F | 50% (1F), 100% (2F) |
For the first floor, simply follow the path around until you reach the stairs. Move up the stairs to 2F.
Dragonspiral Tower - 2F
Take the path leading north found slightly to the west of the entrance. When you reach the boulder, turn your Dowsing MCHN on and continue north. Use it to find the hidden Red Shard . From there, head south-east under a fallen pillar. You’ll find that an Elixir was being obscured by the pillar.
Grab it, then head back around to the boulder. Use Strength on it and push it into its hole. Head over it and up the stairs. From there, head south over to the item on the pillar. Grab it to find that it’s an Ultra Ball . Now head through the doorway near the stairs, into 3F.
Dragonspiral Tower - 3F
Head up the curving stairs. When you reach the top, you’ll find gaps in the platforms here, with a number or ramps between them. You can use these ramps to jump from platform to platform, but they’re only one-way, making it a little harder to traverse the area.
First, use the ramp to jump to the platform to your south. Now take the middle of the three ramps heading west. Continue using the ramps until you reach the Shiny Stone . Pick it up, then jump north, north again, then east. Grab the Protein here. Now jump south twice, then east. You’ll be back at the start.
Now that you have the items, you can move on to the next level. Once again, jump south. This time, use the bottom of the three ramps leading west. Head west two more times, then head north. You’ll now be able to move over and head up the stairs to the next floor, 4F.
Dragonspiral Tower - 4F
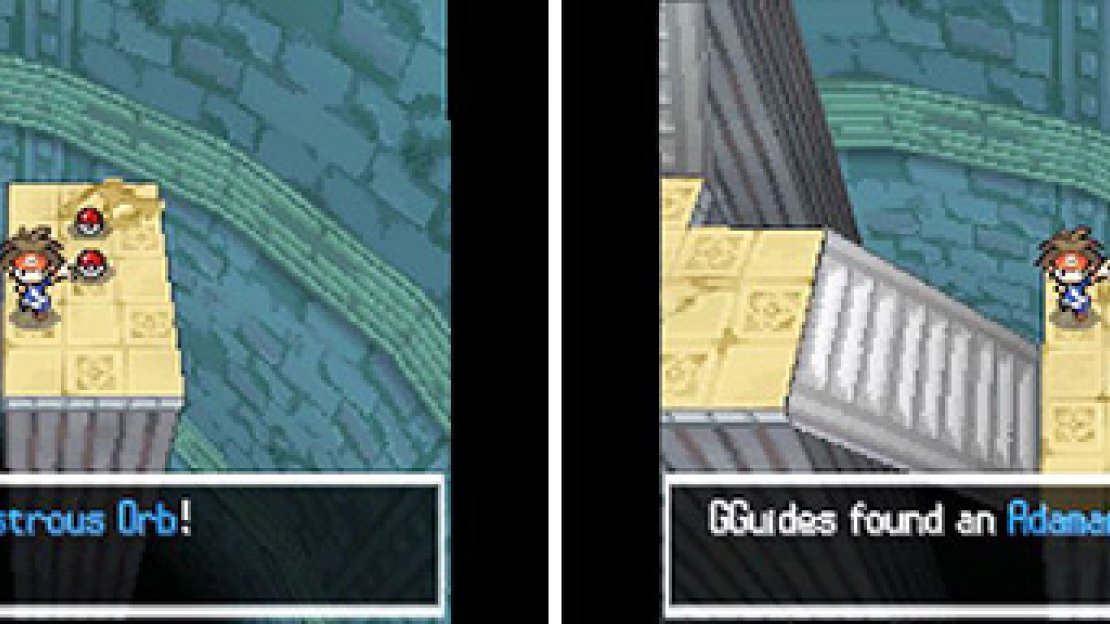
The three orbs you find are meant to be held by the legendary Sinnoh dragons: Palkia, Dialga and Giratina. In particular, the Griseous Orb transforms Giratina into its Origin Forme.
Head west up the steps, then south to the next set. Move up them, and continue around until you’ve moved up another two sets. Once you’ve done that, head east past the next set leading up and you’ll reach a set leading down. Move down them and grab the three items here.
The top one is an Adamant Orb , the middle a Griseous Orb and the bottom a Lustrous Orb . Head back up the steps and up the set leading north. Head through the door into 5F.
Dragonspiral Tower - 5F
This puzzle’s a little tricker as it’s more difficult to easily see a path through. From the entrance, head right until you see a bridge taking you to a ring further in. Now head left until you reach the next bridge. Move across it and grab the TM02 - Dragon Claw .
Jump over the one-way ramp and head right, past the bridge leading onto a ring further in. When you reach two bridges leading out, move over both of them and head left. You’ll find a PP Max at the end. Head back to the right and head back over both bridges. Head left to the bridge leading and head over it.
You’re now in the inner-most circle. Head right and jump over the one-way ramp. Move over the bridge to a right further out. Head left and head over another bridge. Head right over the bridge to the outer-most ring and instead continue on to the end, where a Max Revive is waiting for you.
Grab it and move back to the bridge that you skipped past. Move over it and head left to the stairs leading to 6F.
Dragonspiral Tower - 6F
Follow the path around. When you see the Comet Shard , grab it. Continue along the path until you reach the next set of stairs. Move up them onto the final floor.
Dragonspiral Tower - 7F
Head east, then north across the thin path to the main area. Move forward. If you have the Dark Stone or Light Stone you’ll stop. You’ll be given two options. ‘Yes’ or ‘No’. If you choose yes,  Reshiram or
  Zekrom, depending on which game you’re playing, will be released from the stone.
Watch the epic cut-scene. Once you have, interacting with the Pokemon will cause the battle to commence. First though, head east to the very edge of the platform. Head north between a thin gap between some rubble and the edge. Now find the nearby hidden Comet Shard with your Dowsing MCHN.
Once you have it, head back around to the Pokemon and interact with it to begin the battle! Before interacting with it, remember to Save your game first, especially if you intend on catching it. It can take many goes before you catch a Legendary Pokemon after all.
Legendary Pokemon Battle
You can finally have a chance at capturing the legendary Zekrom or Reshiram!
If playing Black 2
| Pokemon | Level | Type |
|---|---|---|
 Zekrom Zekrom |
70 | Dragon/Electric |
If playing White 2
| Pokemon | Level | Type |
|---|---|---|
 Reshiram Reshiram |
70 | Dragon/Fire |
This time around, you can catch the Pokemon! You can consider using one of your Master Balls here for a guaranteed catch or you can save it for a Pokemon that’s more difficult to catch. If you want to do it the old-fashioned way, be prepared to spend a lot of time (and Poke Balls).
Like always, it’s all about getting the Pokemon’s HP as low as possible and using Ultra Balls or an appropriate special Poke Ball. However expect the Legendary to hit your Pokemon hard and constantly break out of your Poke Balls, unless you’re really lucky.
To make your life easier, aim to inflict Paralysis at the beginning of the battle, so the Legendary spends less time inflicting damage. This will also increase the catch rate. Having Pokemon that resist Electric- (for Zekrom) or Fire-type (for Reshiram) moves will also help massively.
After catching Zekrom or Reshiram, N will come and give you a helpful hint: apparently  Kyurem has reappeared in the Giant Chasm . Hmm… I wonder where we’ll be going next? Use Fly at the top floor to leave the tower, then begin heading to the Giant Chasm or any place you’d like.
If you don’t have a Dark Stone or Light Stone, nothing will have happened here. Boo… What you need to do is head to N’s Castle first to get the stone, then return here. For details, you can check our N’s Castle guide just a few pages back.


No Comments