The Pokémon world can be a vicious place. Step into the tall grass that occupies much of rural Unova and wild Pokémon will jump out to attack you. Your only defence is Pokémon of your own, but if anyone sees you with Pokémon, they can challenge you to a battle that you cannot escape from.
So either way, you and your Pokémon will be constantly fighting for their life. Veteran trainers will know how to take care of themselves, but novices should pay attention! Here are the key things you should know to survive travel in Unova:
1. Gotta Catch em All!
Rule number 1 of Pokémon: just catch them all. It’s not just a cool/corny (take your pick) marketing slogan, but it helps you in more ways than one.
Ideally you should aim to catch any unique Pokémon. At first, this will help you to form your ragtag Pokémon team so you can stand your ground against early challengers. Later, as your team matures and evolves, you can use new catches to fill in weaknesses or missing roles.
2. Study Type Match-Ups
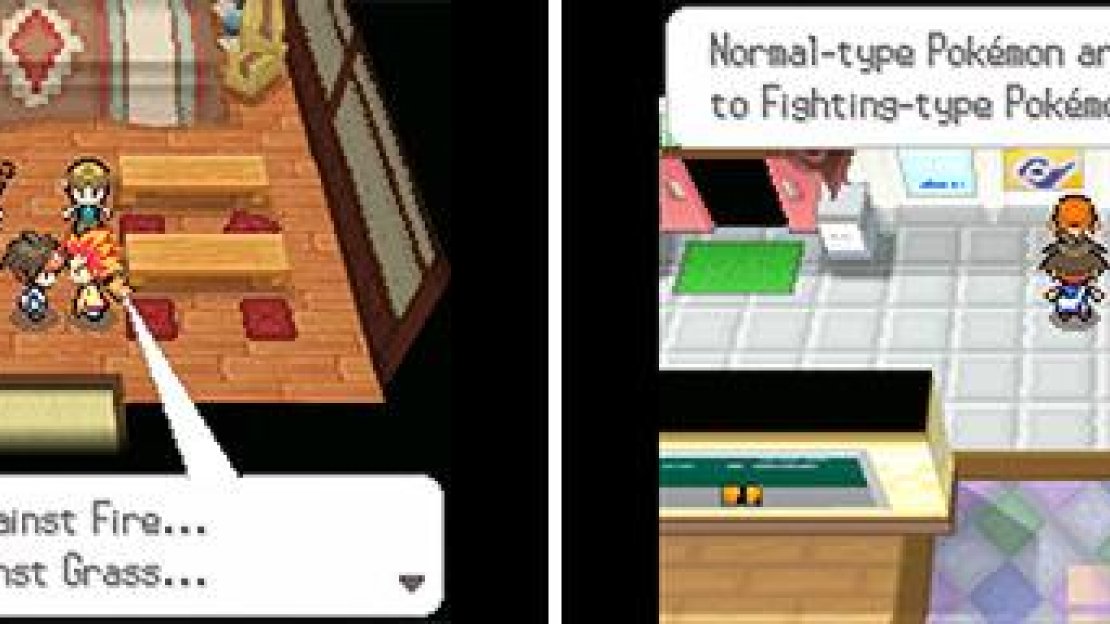
Even school kids know their Type Match-Ups. But if you’re feeling the pressure, there’s still plenty of time to learn.
The easiest way to floor your opponent is to take advantage of Type Match-Ups. With up to 6 Pokémon in your roster and up to 24 moves between them, it’s not hard to incorporate one move from each of the 17 Types.
Then it’s just a matter of how to get more bang for your buck. At one point in your life (or more), this will likely require studying the Type Match-Up chart so you know what Type is good or weak against what. It’s not massively exciting, but the payout is immense.
3. Heal Your Pokémon
Black 2 and White 2 are some of the tougher games in the series, so it’s important that you heal your Pokémon after each bout or at least keep your healthy Pokémon in front. Who knows when a tough trainer may pounce upon you. Worse if it’s a surprise Triple or Rotation Battle!
When you’re at a city, you can of course heal your Pokémon for free at the local Pokémon Centre. When far from civilisation, you’ll need to rely on Potions bought from the Poke Marts in the Pokémon Centres. Or search for kind individuals who heal your Pokémon for free.
For instance, Nurses and Doctors will heal your Pokémon, but you do need to battle them and win first. If you’re out of Potions and far from safety, you can use Repels to ward off wild Pokémon and avoid trainers’ eyes, but do try and be careful. Don’t forget about Escape Ropes and HM Fly too.
4. Get Up To Speed With Exp. Share
Struggling to manage your Pokémon team or a tricky individual in general, who keeps fainting in every battle? Well then, the Exp. Share item obtained from Castelia City’s Battle Company may be your new best friend.
When a Pokémon holds onto this item, they will gain a portion of the battle experience, even if they don’t participate. This way, you can continue to bulldoze through opponents with your strong Pokémon, while your weaker Pokémon still gain experience and slowly catch up.
Naturally, the disadvantage of this is that your lead Pokémon will gain less experience. However, as lower Level Pokémon gain more experience in comparison to higher Level Pokémon, it generally balances out. Plus a well-balanced party is usually better than a one-man army.
5. Pokémon Training Bags
No clue how they heal their Pokémon so fast, but who’s complaining?
When Exp. Share starts slowing down, it may be time to bring your trainee Pokémon to the front so they can rake in more experience. Annoyingly, sometimes you can reach a roadblock, like a tough Gym Leader and you’ve got no more trainers to fight, so you’re stuck with wild Pokémon that give less experience.
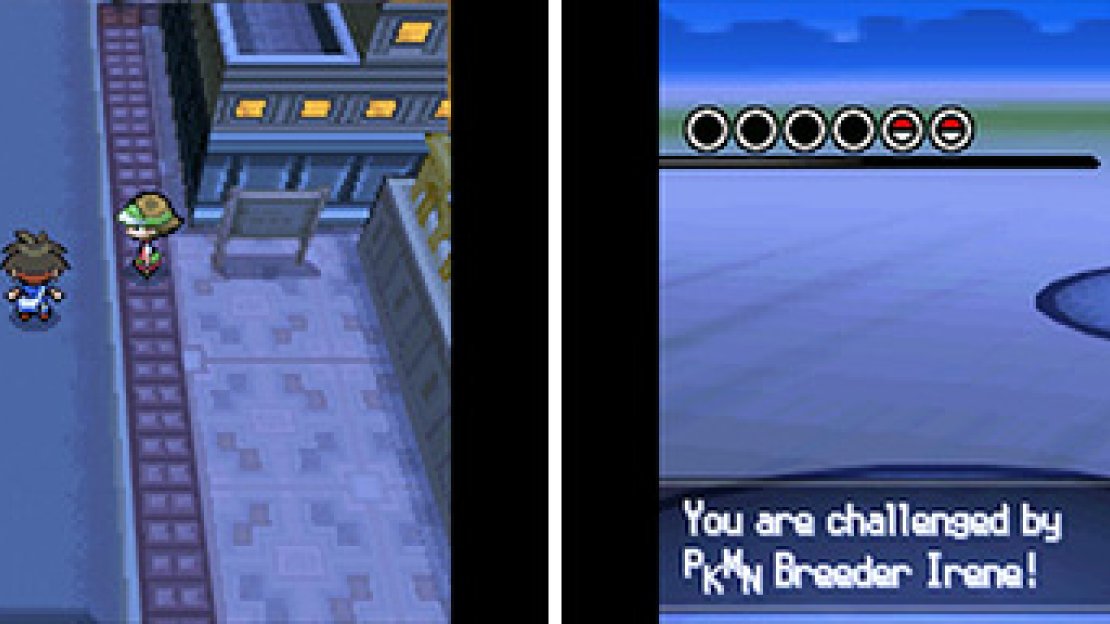
Fortunately, there is one type of trainer that you can challenge over and over again: Pokémon Breeders . After you’ve defeated a Pokémon Breeder and exit the area they’re found in, they will challenge you to another battle when you re-enter the area.
So once you’ve found a Pokémon Breeder, be sure to memorise their location. Then you can simply go back and forth between checkpoints and keep battling them until you’re content with the Level of your Pokémon. Easy!


No Comments