21 - Extract the Highly-Skilled Soldier 11
You’ll find this target at Munoko ya Nioka Station. There are a lot of enemies inside, but if you come from the southeast/east, there is a ledge you can climb onto that overlooks the base. You’ll probably have to take out two soldiers (one right outside the gate and the watchtower one) before you can climb the ledge without having to worry. From here, you can put each enemy to sleep, one-by-one, including the target, who is walking around with another enemy.
22 - Extract the Highly-Skilled Soldier 12
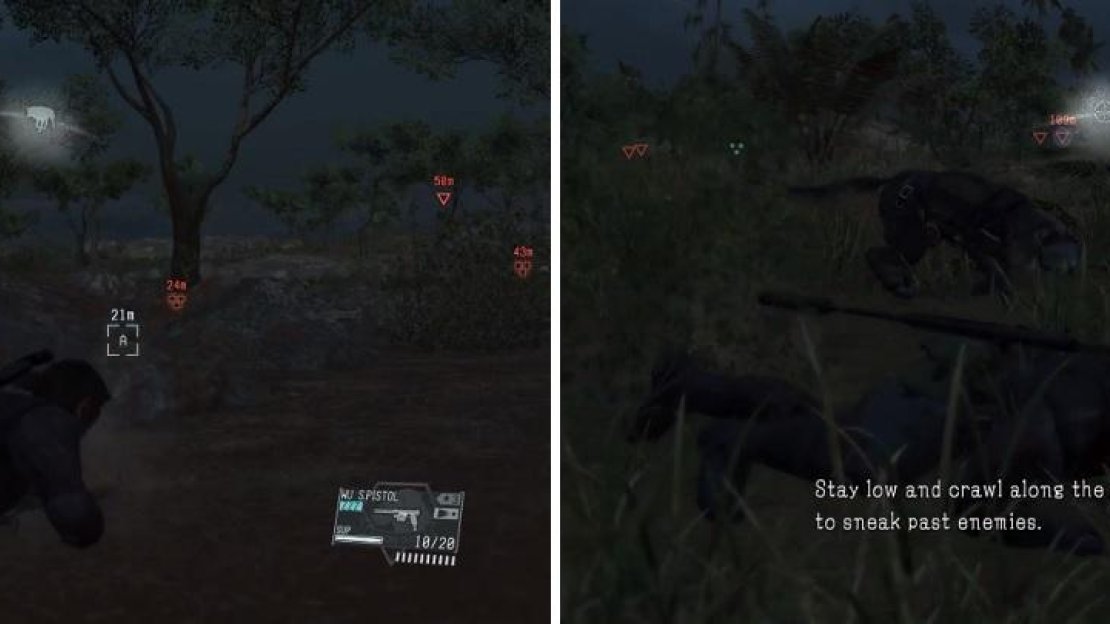
The target is a sniper that will be stationed on a hill, with another of his men next to him. There will also be other men patrolling around him, as well as an extra sniper on another hill. It’s also a possibility that you might run into some wild animals (not passive) in the area, so bringing D-Dog along will be helpful in providing their locales. Shoot the target and his pal from afar, then move in to extract him when the coast is clear.
Be careful of the wild animals in the area (left), as they will attack you on sight. Snipers have a great field of vision (right), so if you see the white bar at the top, go prone immediately.
23 - Extract the Highly-Skilled Soldier 13
There’s a landing zone nearby, which is in sight of the enemies in the area, so it’s up to you whether you want to get off there or not. The target is a sniper and is on the cliffside opposite you to the east. In addition to there being another sniper there, you will also have to contend with six other enemies. This is where a sniper rifle with tranquilizer darts comes in handy, as well as D-Dog.
Go after the lone sniper first, then pick off the rest of the troops roaming away from the target. Hopefully, you knock the not-so-close enemies out cold before the first sniper you shot gets woken up. This will allow you to go down to the road and up the hill on the side, where you can take out the normal guards, then go after the snipers, including the target.
24 - Extract the Highly-Skilled Soldier 14
You’ll find this target at Afghanistan Central Base Camp. He’ll be on top of a building south of the eastern big building on your map. There might be two enemies patrolling right by the building, as well as some more shooting at the firing range. You can either climb onto the building from the front or go around the side to find some stairs leading to the roof.
25 - Extract the Highly-Skilled Soldier 15
Hooray for the annoying Code Talker mansion, which is where you will find this skilled soldier. You’ll find him patrolling the upper floor of the mansion, making it a tiresome and annoying ordeal to get to him, since there are a lot of enemies around the place. The best thing to do, if you want to do it without raising an alarm, is to take it slow and possibly Fulton everyone out when you can.
26 - Extract the Highly-Skilled Soldier 16
Although your first time running through OKB Zero was likely a nightmare, due to the heavily armored enemies, they aren’t there anymore. However, there are still a lot of enemies throughout the compound, making it a hassle to infiltrate it, although you can still move up the side without running into anyone.
The target will be located in the second large area, underneath the walkways there, with quite a few enemies also there. This is a small area and it’s possible that enemies might see you as you’re trying to go for another one. You can try to lure them away from one another by using your arm to “knock” or by tossing empty magazines.
27 - Prisoner Extraction 01
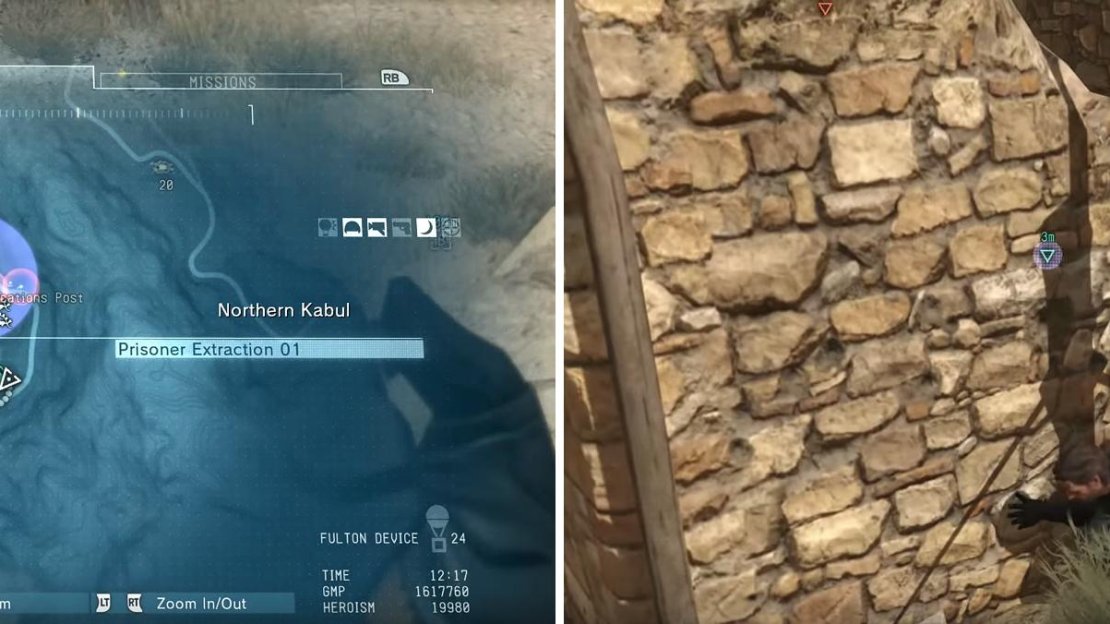
Go to the Eastern Communications Post and try to hold up one of the guards there (there are a lot here, so be careful), interrogating him into giving you some intel on the area. This will reveal the location of the prisoner, who’s inside the buildings, being guarded by a soldier with a shield and helmet. If you get behind him and point your gun at him, it should make him freeze, allowing you to order him to lay down. Hop inside and grab the prisoner, then make your escape.
The base where the prisoner is found is swarming with soldiers (left). The soldier guarding him has a shield and is awkward to remove (right).
28 - Prisoner Extraction 02
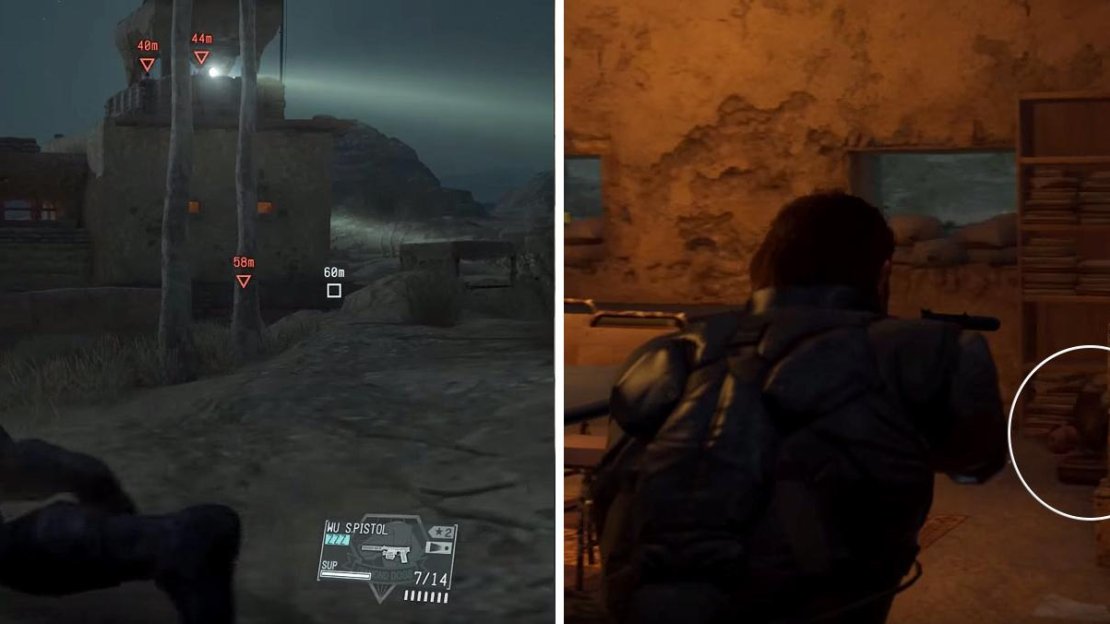
Find an isolated enemy and interrogate him to see where the location of the prisoner is, who is on the second floor of the building closest to the landing zone just west of the town. There will likely be some enemies posted in the watchtowers, which will be active with spotlights at night. Of course, there will also be plenty of other enemies around, so try to find a high spot outside of town to mark as many enemies as possible before you infiltrate the area.
The prisoner can be found in this tower (left). She is hidden in the corner of this room (right) on the floor.
29 - Prisoner Extraction 03
You will have to brave the Afghanistan Central Base Camp for this prisoner. If you’ve been here before, you know it has a lot of enemies. The prisoner is located inside a green tent on the northeast side, so it’s best to take the landing zone just to the southeast (if you’re coming from somewhere else). There will probably be one guard in front of the tent, as well as a sniper on a rooftop near it. Bringing D-Dog along for the ride to locate enemies is always ideal.
30 - Prisoner Extraction 04
You will find this prisoner at the Mountain Relay Base, which is a very big place. Finding the prisoner without aid will be a lot of trouble, so either bring D-Dog along for the Side Ops or interrogate an enemy. Luckily, there aren’t too many enemies around the prison, who will be located on the west side of the base.


No Comments